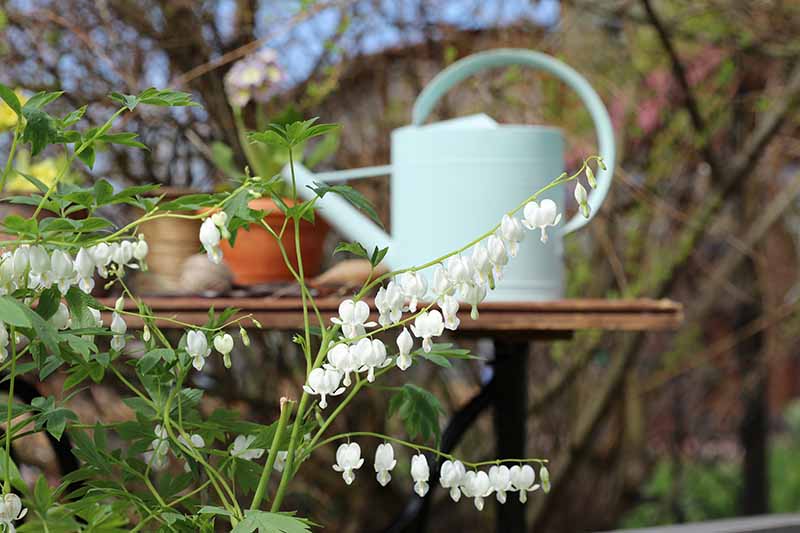
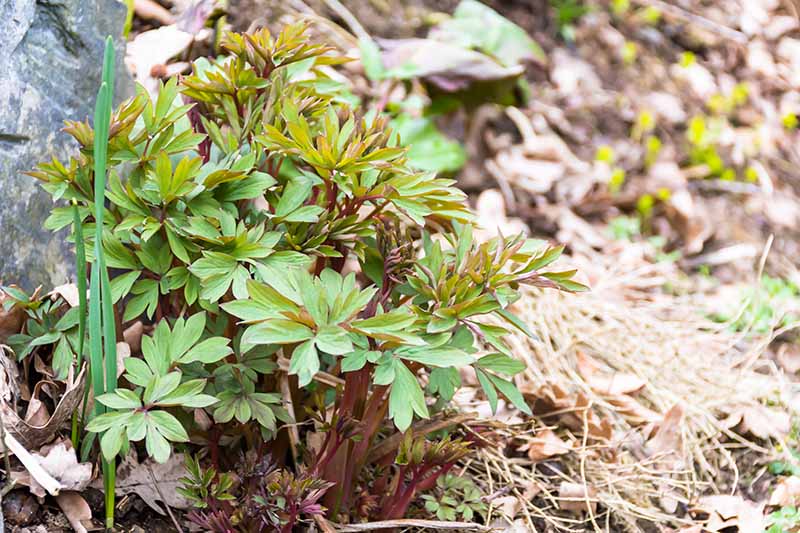
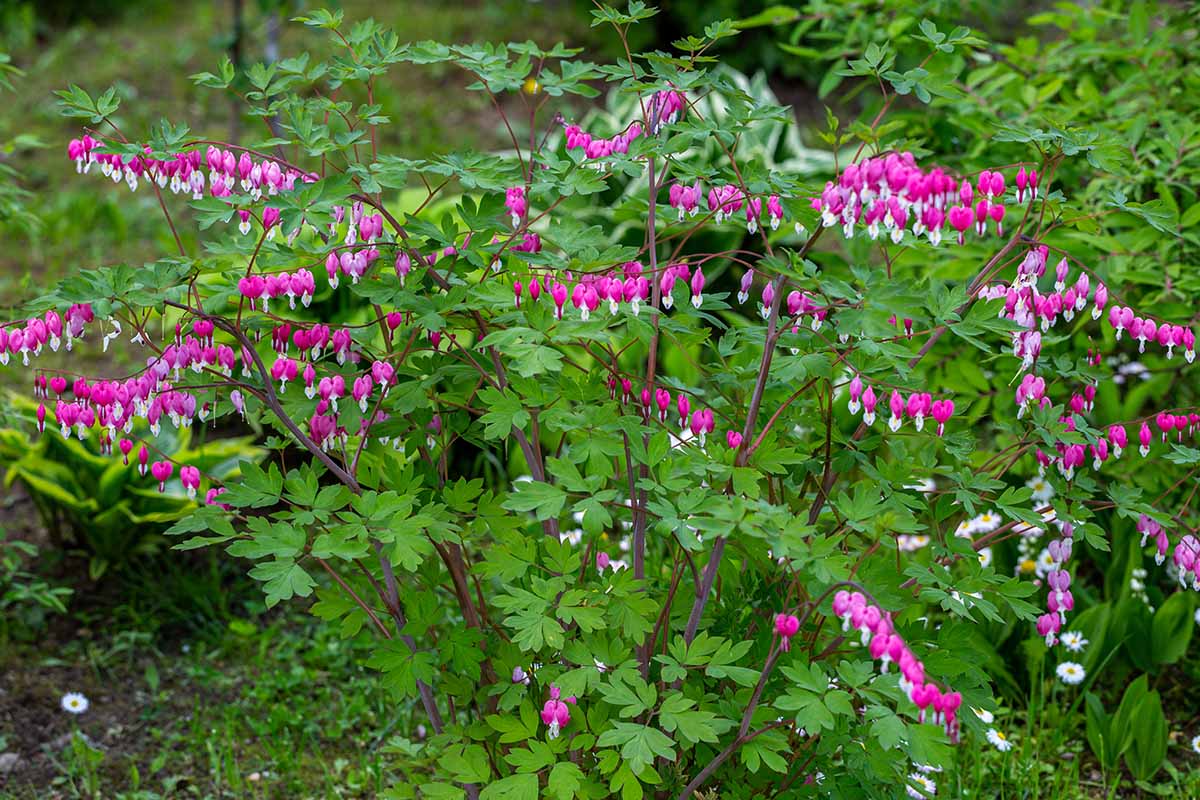
With its feathery leaves, fleshy stems, and heart-shaped blooms, this member of the poppy family, Papaveraceae, loves sweet spring breezes. Through the hot summer months, bleeding heart dies back and gets ready to enter dormancy before putting on a show again the next year. But how can you make sure it comes back? What should you do to prepare your bleeding heart for winter temperatures – or for surprise cold snaps after the plant begins to grow again in the spring? We link to vendors to help you find relevant products. If you buy from one of our links, we may earn a commission. Here’s what you’ll discover in this article: It’s simple to get your pretty plants ready for several months of cold weather. You’ll want to do this work in the late fall or early winter, in the weeks before and after your area’s average first frost date. Keep in mind that bleeding hearts are suited to USDA Hardiness Zones 3 through 9, which can clearly have wildly different weather in terms of the temperature range in the winter. In the tips below, we’ll let you know if there’s an adjustment to make based on your area’s growing zone. Before we begin, a quick word on terminology: An average first or last frost date generally refers to either the first night of temperatures at or just under 32°F in the fall, or the final night of temperatures at or just below 32°F in the spring. A frost caused by temperatures at or just below 32°F is also called a light freeze, and the cold temperatures generally only last two to three hours. A hard frost, also called a hard freeze, occurs when temperatures drop below 28°F for three to four hours or longer.
1. Cut Back the Plants
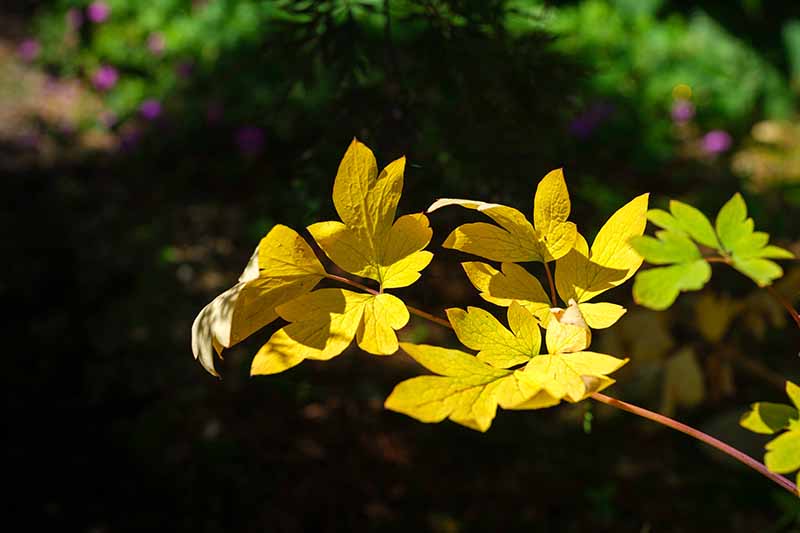
The first step to preparing bleeding hearts for chilly weather is to cut them back in the late summer or fall, or whenever the leaves have turned from yellow to brown, and are good and dead. Mind you, the plant itself isn’t dead, it’s just gone dormant. But the stems and leaves have finished the work of drawing in energy from the sun via photosynthesis, and sending it to the roots for storage. This is your signal to cut the dead foliage back for the winter. Using a pair of pruners, cut the stems down to two or three inches above the ground. You can throw the debris on your compost pile as long as it isn’t diseased or infested with aphids. Otherwise, burn it or dispose of it far from your garden.
2. Tidy Your Flower Garden
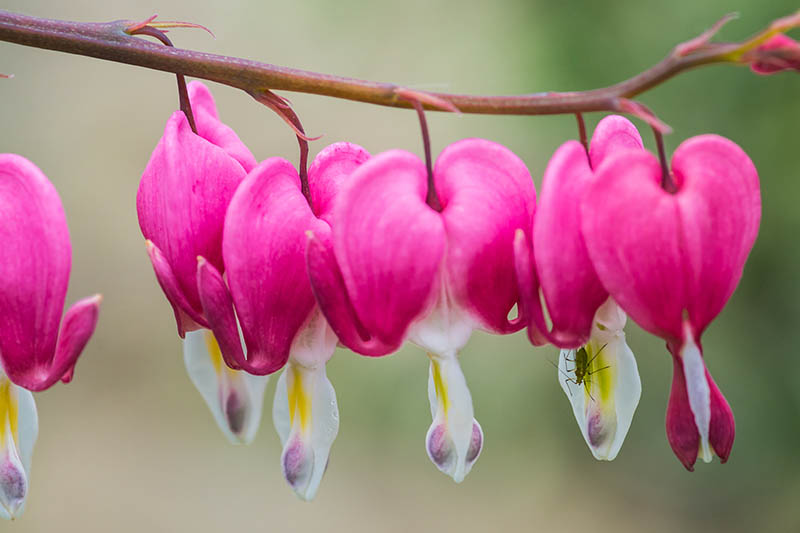
Next, you’ll want to clean out your flower bed. Discard any old, fallen foliage from your bleeding hearts and the plants around them. While L. spectabilis isn’t routinely plagued by pests or diseases, slugs and aphids are both fond of chewing the foliage. They’ll go for almost anything else in your garden, too, so keeping plant debris picked up helps to prevent them from overwintering in your flowerbeds, thus discouraging them from coming back right away in the spring – or visiting for the first time.
3. Water Well
It’s easy to assume you can stop watering your bleeding hearts once you’ve cut them to the ground, but don’t! Not until the ground freezes, anyway. By keeping the roots moist until the first freeze arrives, you increase the odds that your L. spectabilis will come back next year in strong, healthy form. If you stop watering in late summer or early fall, your plant can suffer from drought stress and this may reduce cold hardiness, says Linda Chalker-Scott, horticulturist at the Washington State University Puyallup Research and Extension Center. Water the plants as you’ve been doing throughout the growing season, giving them one deep watering a week in the absence of rain until temperatures plunge to 40°F and below. It might feel strange to water nothing but the soil around a few plant stumps, but you’ll thank yourself come springtime when your bleeding hearts return in full force! Once the first freeze comes, there’s no need to water your bleeding hearts again until the soil thaws in the spring.
4. Mulch for Winter Warmth
After the first hard frost in your area, add a two to three-inch layer of an organic mulch material to the planting site. A heavy winter mulching too early in the season can keep your bleeding hearts too warm, resulting in new growth that gets killed with the first hard freeze. It can also attract mice and other pests. For this reason, it’s best to avoid mulching well-established plants in the winter if you live in Zones 8 or 9, where hard freezes are less likely. According to Kris Wetherbee, a garden and horticulture writer for OregonLive, by the time the frost comes, the mice – and probably other pests as well – will have found somewhere else to spend the winter. So once that first freeze hits, go ahead and cover the pruned stalks along with the root area. I tend to mulch my entire flower garden to help all my perennials overwinter! I love using straw, but you can use wood chips, chopped leaves, or bark if you desire. After serving their purpose in the winter, these types of mulch will break down and add nutrients to the soil. You can remove about half of the mulch in spring to give your plants some breathing room when they start to put on new growth, but be sure to leave some to decompose in the soil as well. If you live in an especially cold and snowy area – such as Zone 3 or 4 – you’ll find that the snow falls on top of the mulch to create an insulated shelter for your plant’s crown and root system. This will help to protect it from the harshest cold spells. Even if you don’t live in a terribly snowy area, adding a layer of mulch can help protect your plants from fluctuating temperatures, and repeat cycles of warming and freezing.
5. Give a Little Extra TLC to Potted Plants and Transplants
This is especially important for first-year bleeding hearts, as well as transplants that you’ve divided and moved in the fall. While established plants are cold-hardy, younger specimens can be more susceptible to the elements. And container-grown plants can suffer cold damage as well. Mulch can help to prevent frost heaving, or the buckling of soil in winter’s fluctuating temperatures, thus keeping young or newly established roots from sustaining damage when they’re grown in the ground. It can also help container-grown plants remain warm in winter, although if you live in Zone 3 or 4, you may want to bury the containers in the ground for the winter instead. Mother Earth provides much better insulation than a container! To bury your potted bleeding heart, dig a hole the depth and width of the container in a low-traffic area of your yard. Place the pot inside the hole and cover with soil. Mulch the area with that two- to three-inch layer of material, and then mark the spot so you don’t forget about it. If your container is too large or you don’t feel like digging a hole, wrap a three- to four-inch layer of bubble wrap around the container, and place a three- to four-inch layer of mulch over top of the soil. To protect new growth in the spring, clear away one inch of the mulch, including whatever was on top of the old, cut-back plant growth. Leave one to two inches of mulch behind to help insulate the roots through the colder part of early spring. Keep tabs on your local weather report, and if you see that the temperatures are going to dip into the mid to low 30s, place an empty bucket or another sturdy container over your plant for the night.This should help insulate the plant from the worst of the frost. Just remember to remove it in the morning once the weather warms up again! And just wait: in late winter or early spring, you’ll see new shoots poking up through the mulch, and the work you did to protect and prepare your beds will prove worthwhile. Have you ever overwintered bleeding hearts? Let us know in the comments below, and share your questions and stories, too. We love to hear from you! Before you go, check out these articles about how to prepare flowering perennials for winter:
How to Winterize Astilbe Plants: 5 Easy StepsHow to Prepare Your Delphinium Plants for WinterHow to Prepare Coreopsis for Winter
