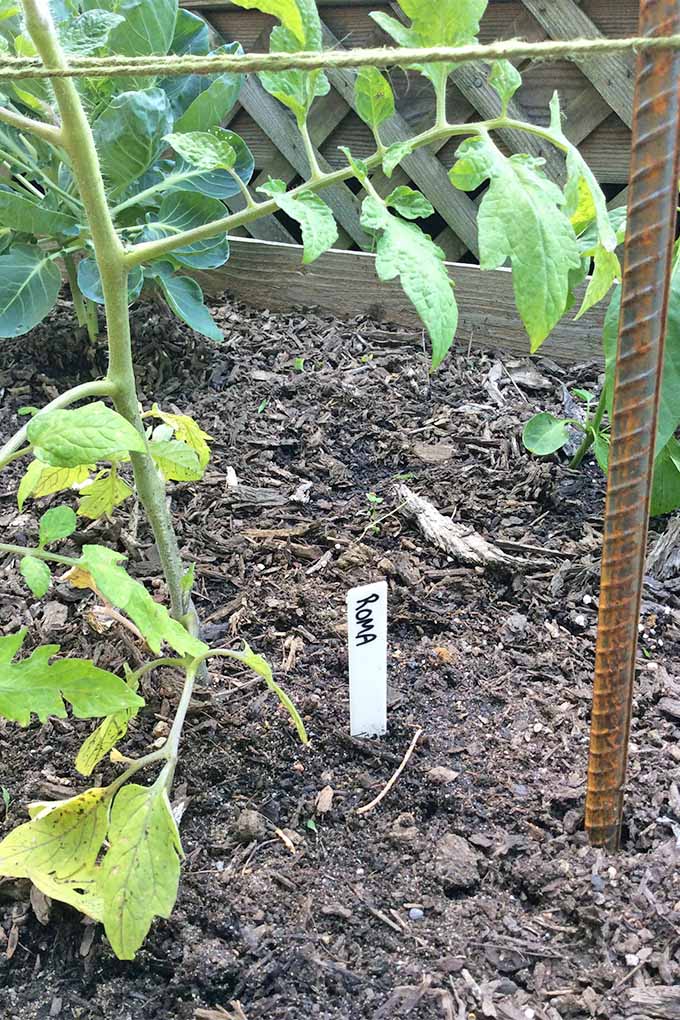
Last year I finally made it a point to seriously minimize my supply, mostly to get a good season of crop rotation in. I decided to grow just two Romas in my garden for roasting. Mmm… In the past, I’ve used a few different types of cages and they have never worked out like I hoped. Standard cages are too restrictive and typically aren’t tall enough. I’ve also tried stapling chicken wire to garden posts. But keeping up with tying each individual plant to the support was really time consuming. So, even though I have a small crop, I’m trying something different – the Florida Weave.
While I can’t pin down the full creation story of the Florida Weave, also known as the basket weave, it seems some farmers in Southern Florida began experimenting with trellising tomatoes in the 1920s. It’s no surprise that Florida farmers had an early role in this, as it is the one of the highest tomato producing states in the country, second only to California. The Florida Weave cuts materials requirements and demands on your time, and it still yields a large harvest – and the fruit is much easier to access. And although I only grew two Romas last year, starting small is a great way to try out something new.
The concept is to weave twine in and out of stakes and around tomatoes to create a trellis. Now, with just two Romas, it’s true that I wasn’t able to get the full effect of the weave. But, that’s what’s so great about it! Whether you choose to grow just a couple of tomatoes, or an unending row of them, this support system will get the job done. Standard cages just don’t seem to cut it. And as much as I love DIY projects (like my simple raised garden beds made from reclaimed wood), I’m know I’m not up to the task of building my own cages this year. And you don’t have to either! If you want something sturdy, reusable, reasonably priced, and that takes only minutes to put together, keep on reading.
Supplies
All you need is:
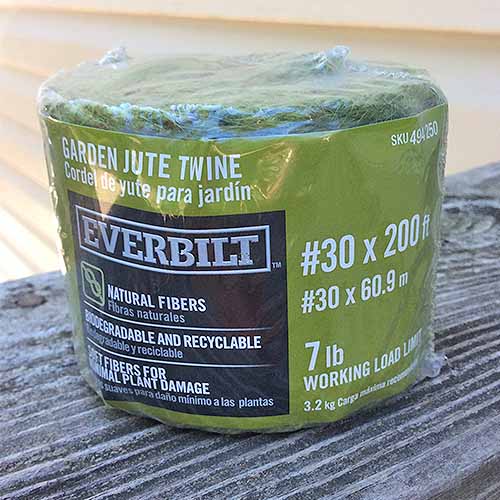
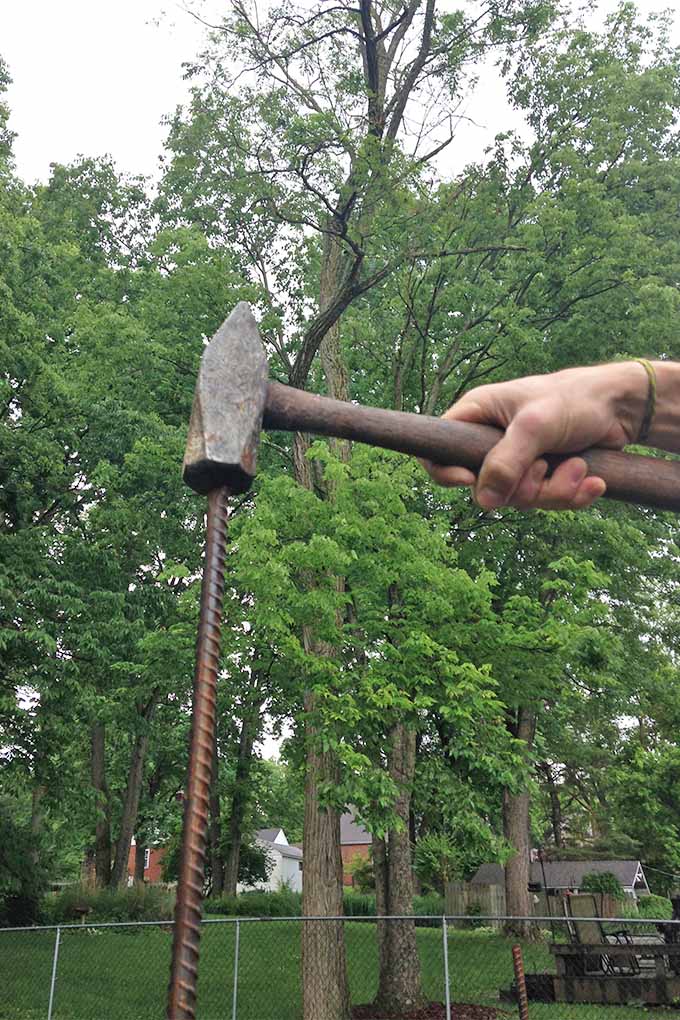
Rebar/bamboo/wood stakes Jute twine Sledgehammer
Depending on the variety of staking that you choose, it should be at least 4 to 8 feet long. I’m using rebar because I know I’ll always have it, and I want something that won’t budge once yummy, ripe fruits start adding weight. Rebar adds up in terms of cost, however, especially if you’re using one post for every plant. Just keep in mind that it’s an investment in the future. You will have the rebar for years to come. You’ll just need to stock up on twine each year, which is relatively inexpensive.
How It’s Done
First, figure out how many stakes you’ll need – use one for every two plants, and an extra one for the end of the row. For extra sturdy support, you can use one stake for every tomato plant. If you’re using this system with indeterminate varieties, which continue to grow until frost hits, I would suggest using rebar and using one stake for every plant. It will be much sturdier. I’ll translate to Morse code (this one made me giggle at myself) in case you aren’t following: Stake. Tomato. Tomato. Stake. Tomato. Tomato. Stake. And so on.
Drive posts at least 12 inches into the ground with a sledgehammer, making sure you don’t get too close to the base of a plant – you want to leave at least a 3-inch gap.
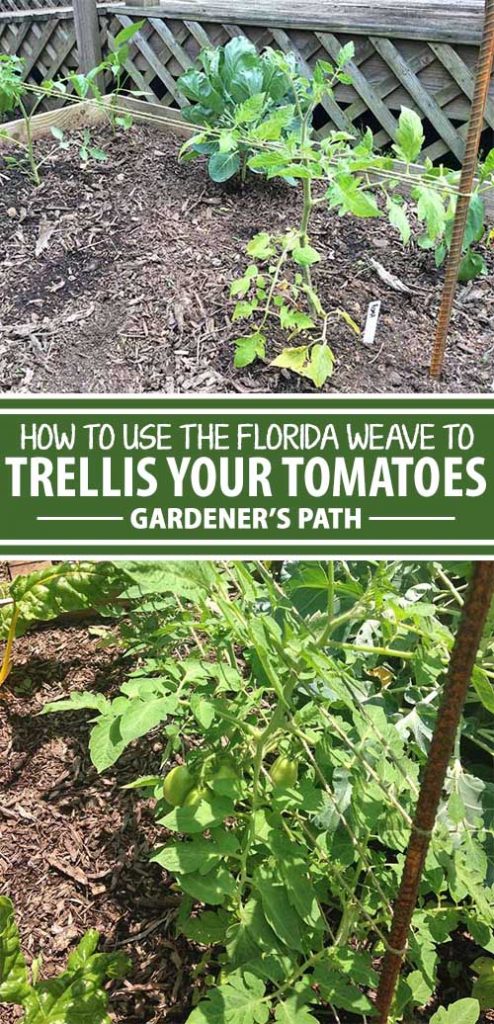
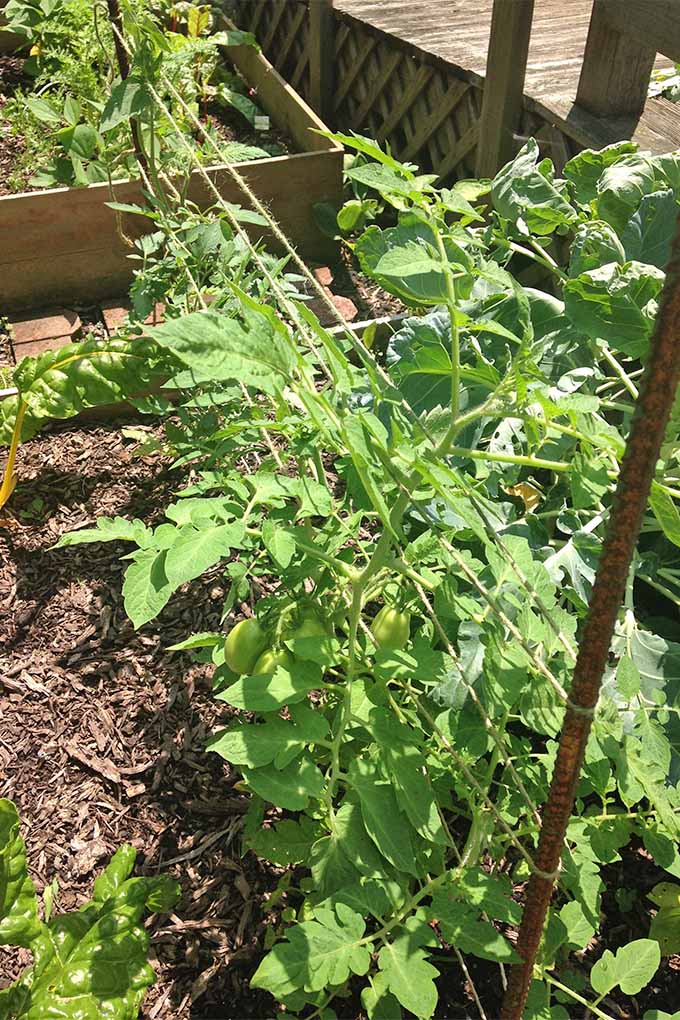
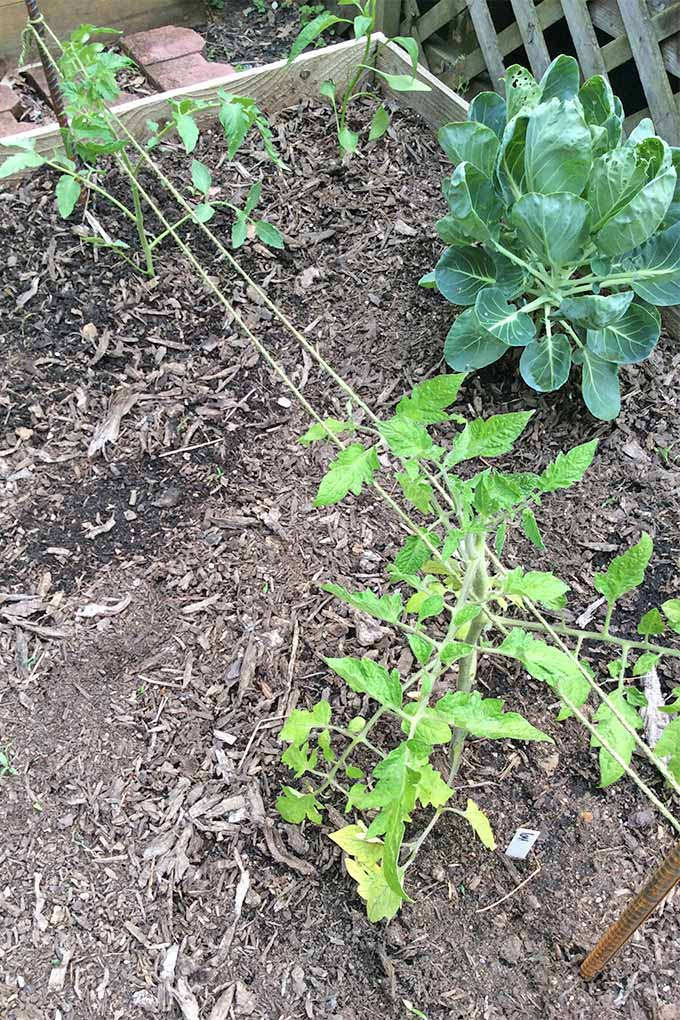
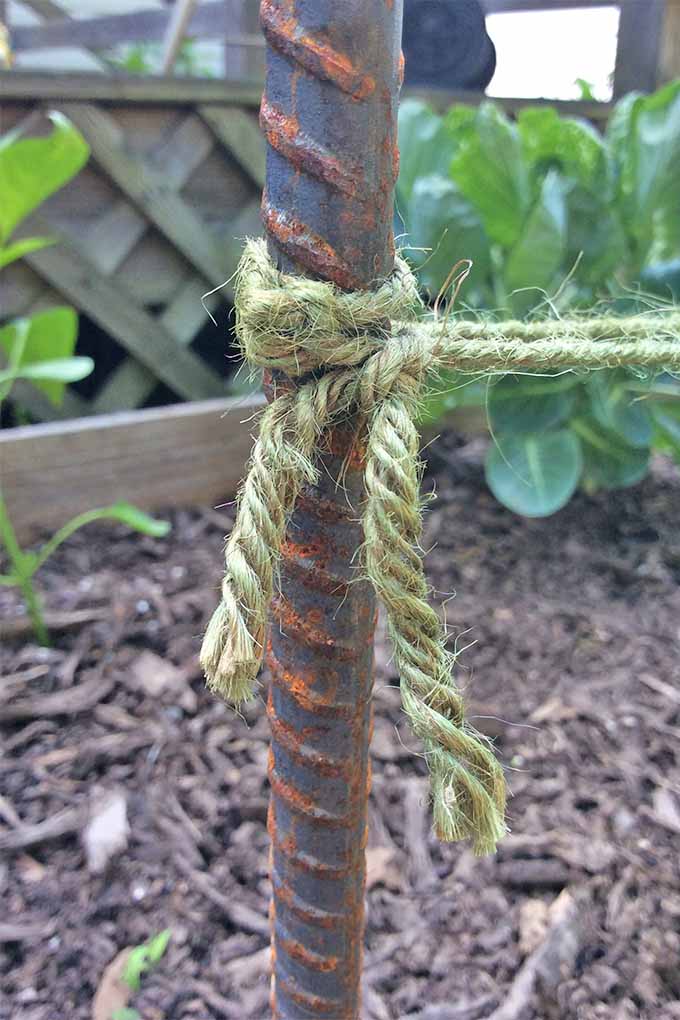
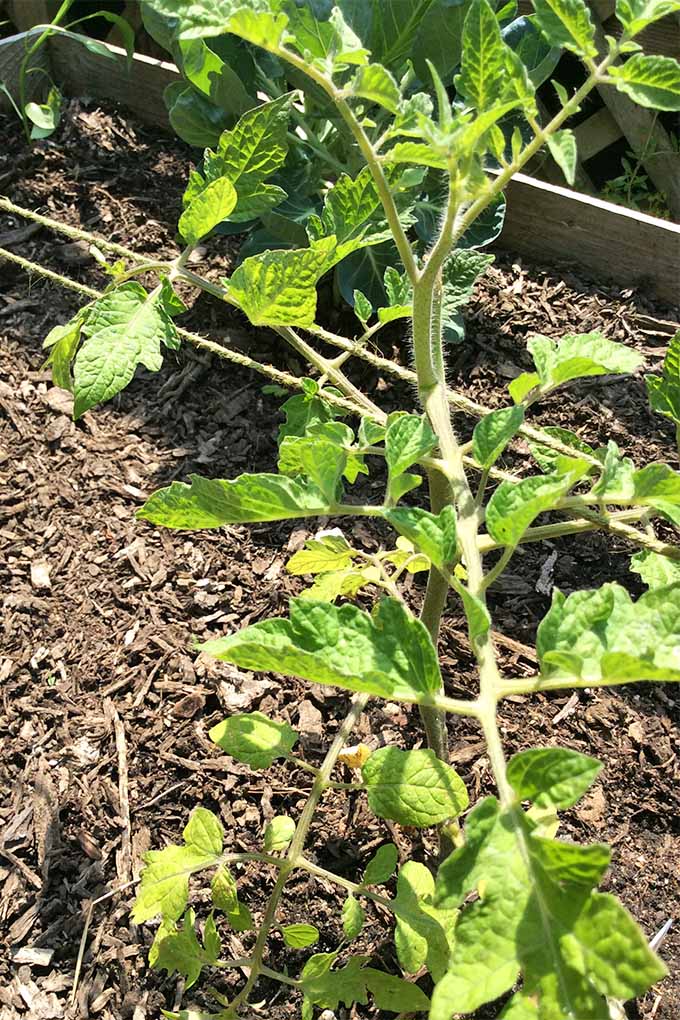
When plants are one foot tall, tie twine to one of the posts at the end of the row. Begin walking along your row of tomatoes, creating a figure-eight pattern with the jute.
Once twine is secured to the first post, pass two tomatoes and wrap the twine around the second post. On the opposite side, pass the next two plants and wrap the twine around the third post. Wrap the jute an extra time or two around each post for additional support before moving on. Work your way to the end of the row, turn around, and repeat the process. Tie the string off tightly right where you started.
Each plant should be effectively sandwiched between two strings of twine. For every 6 inches of growth, add another layer of twine. That’s it!
Give It a Try
Depending on how many plants you’re growing, it takes just a few minutes every week or so to weave another round of twine through your plants. And during the process you can keep an eye out for weeds, water needs, and pests! Weaving might be a little cumbersome in the beginning, but as you work your way up the posts, the process will get faster as you get into a flow and improve your technique. The Florida Weave is popular amongst growers because it saves time overall and requires few resources. And, at the end of the season, you can just cut the twine and compost it along with the debris – no wrangling leaves and stems away from a cage or netting. After my success last year, I have high hopes for this string trellis system, and plan to use it from here on out. Have you used the Florida Weave before? Share what you’ve learned with us! For more information about growing tomatoes you’ll need these guides:
15 of the Best Tomato Hybrids How to Make Tomatoes Turn Red When They Refuse to Ripen on the Vine 15 Best Heirloom Tomato Varieties for the Garden Grow Tomatoes from Seeds in 6 Easy Steps
Photos by Amber Shidler © Ask the Experts, LLC. ALL RIGHTS RESERVED. See our TOS for more details. Originally published April 14, 2018. [lastupdated].