Finding truly sustainable, healthy, and cost-effective solutions can sometimes be frustrating. But what if I told you there is a way to make your own completely natural fertilizer at home using comfrey plants from your own garden? We link to vendors to help you find relevant products. If you buy from one of our links, we may earn a commission. See detailed information on how to grow and harvest comfrey here.
Comfrey Is a Dynamic Accumulator
It’s worth noting that comfrey is called a “dynamic accumulator” in permaculture terms but there is some controversy among experts about the specific definition of this term. All plants need three important macronutrients in order to grow and thrive; these are nitrogen, phosphorus, and potassium, often labeled as NPK on fertilizer mixes.
Nitrogen is crucial for healthy growth and helps plants produce green leafy foliage.
Phosphorus encourages vigorous growth and helps protect plants from diseases and pests.
Potassium promotes fruit and flower production in perennials and mature fruiting annuals such as tomatoes and peppers.
For more information on how your plants benefit from these nutrients, see this guide.
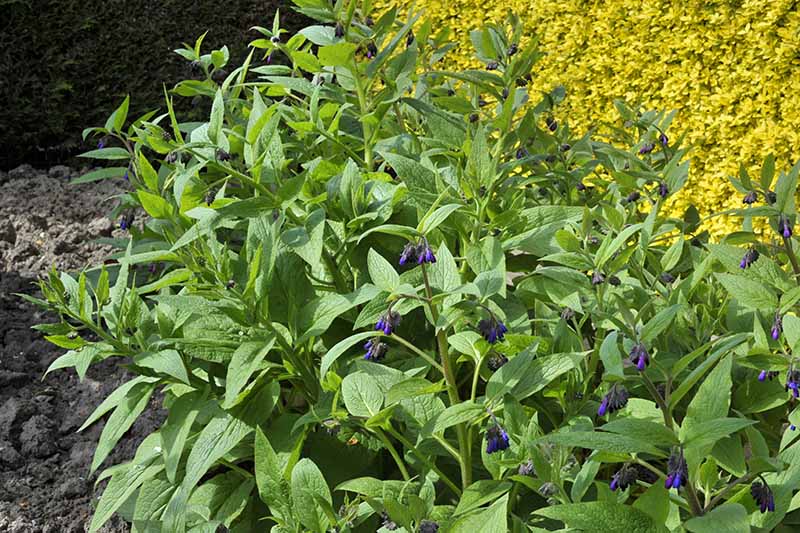
Comfrey is a rich source of all three of these macronutrients. It actually has more potassium than composted manure. Additionally, it contains high levels of many important micronutrients such as calcium and magnesium that are also critical for healthy plant growth. Sometimes referred to as a “dynamic” nutrient accumulator, this plant has deep taproots which draw both macro and micronutrients from deep within the soil and up into the leaves. These nutrients accumulate in the leaves where they are stored. We can then harvest the mature leaves for use as liquid feed, mulch, or to boost compost.
Natural Pest Control
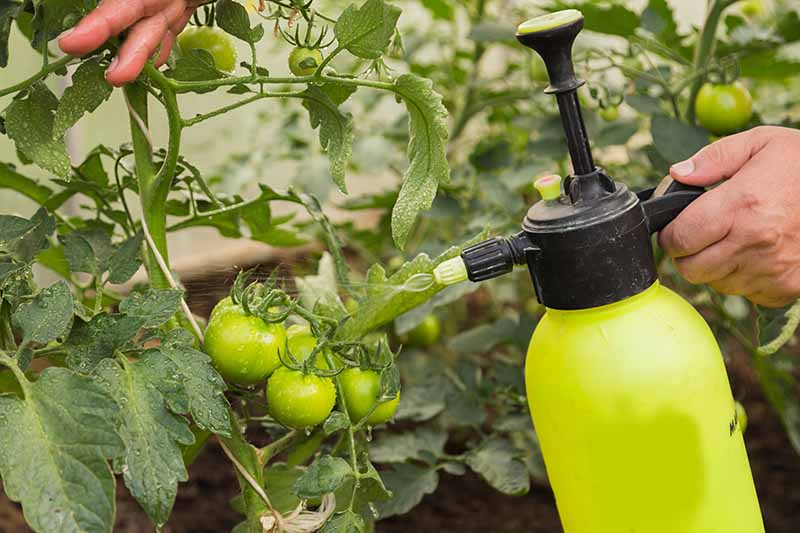
In addition to its high nutrient content, some gardeners use a solution of comfrey tea as a foliar spray to prevent powdery mildew. Application on the leaves of plants can help to prevent the spores from germinating.
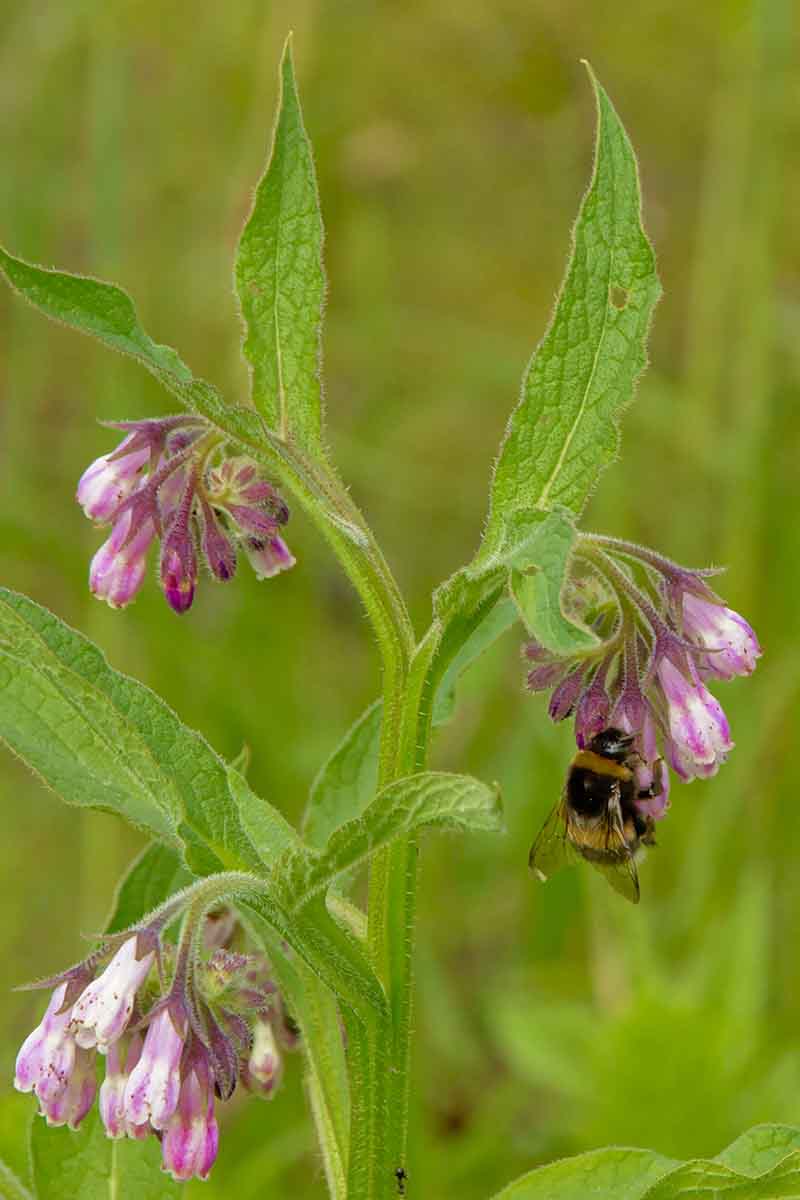
The plant also attracts beneficial predatory insects such as wasps and spiders, so having some growing in the garden can also help reduce pest problems.
How to Make Comfrey Tea Fertilizer
Comfrey tea liquid fertilizer is easy to make and use as a foliar spray, or add to the soil for annual and perennial plants.
A word of warning, however: it smells horrendous! So be prepared to hold your nose.
Harvest Comfrey Leaves
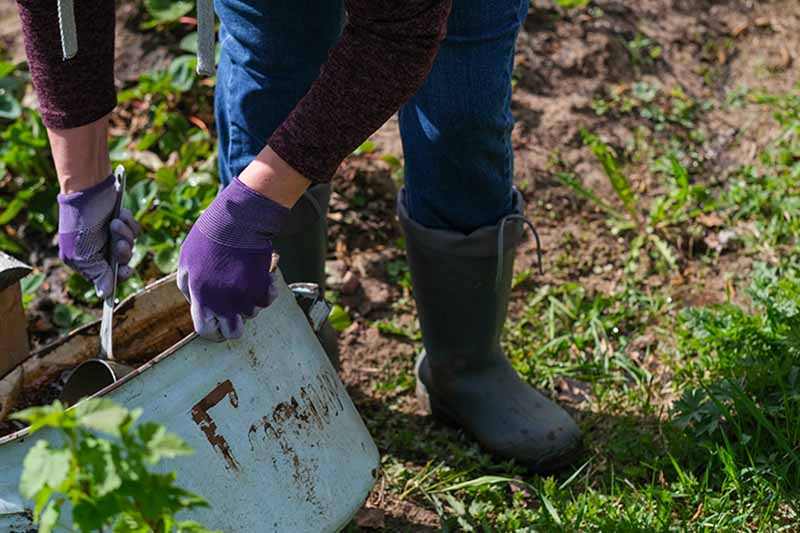
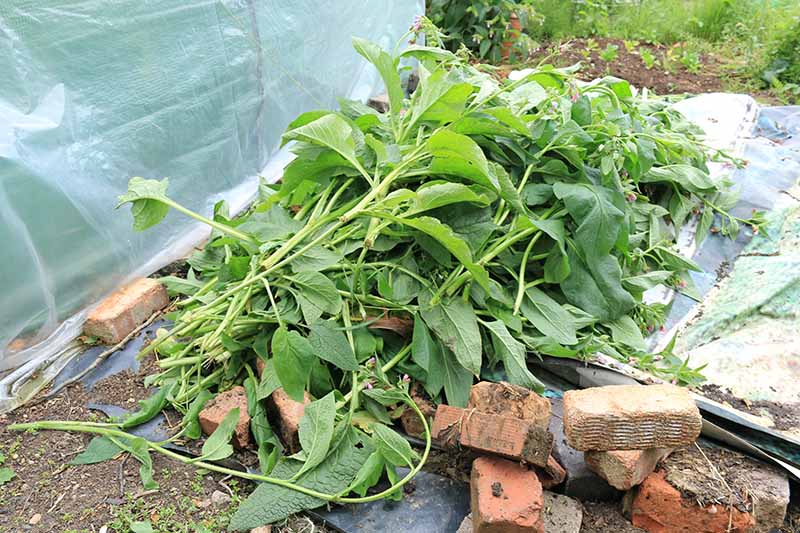
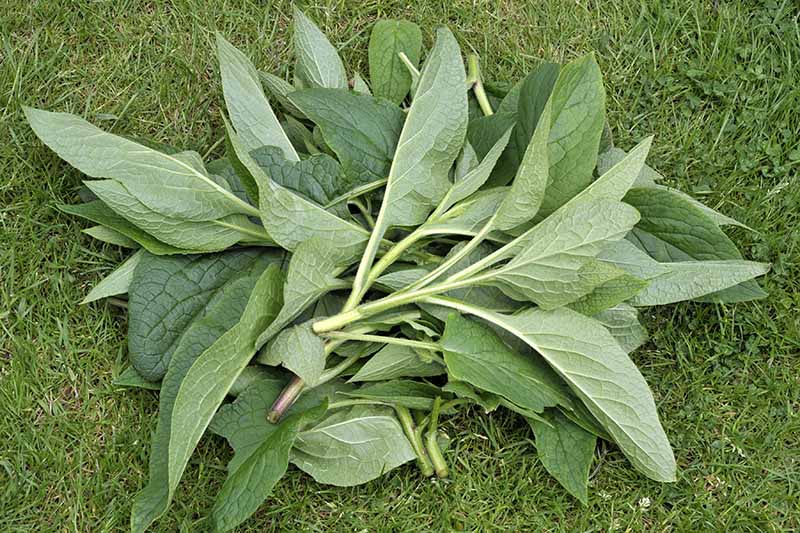
To make the fertilizer tea, start by collecting a bucket full of the large, fuzzy leaves. I suggest you wear gloves when you harvest them, as the hairs can be a bit irritating to your skin. When the leaves are at least 2 feet tall, use a garden knife or shears to cut them down to a couple of inches above the soil. Harvest the outer leaves first so the plant can continue growing. Snip the stems off from the leaves you’ve harvested – it’s the greens you want.
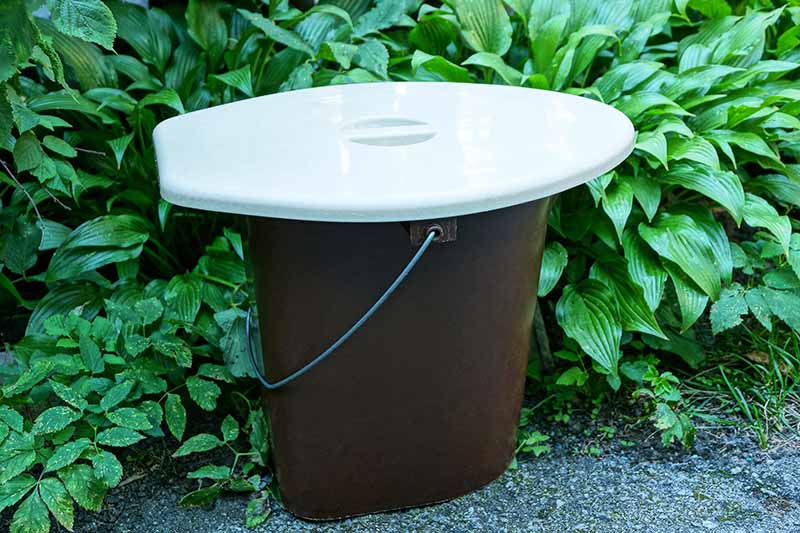
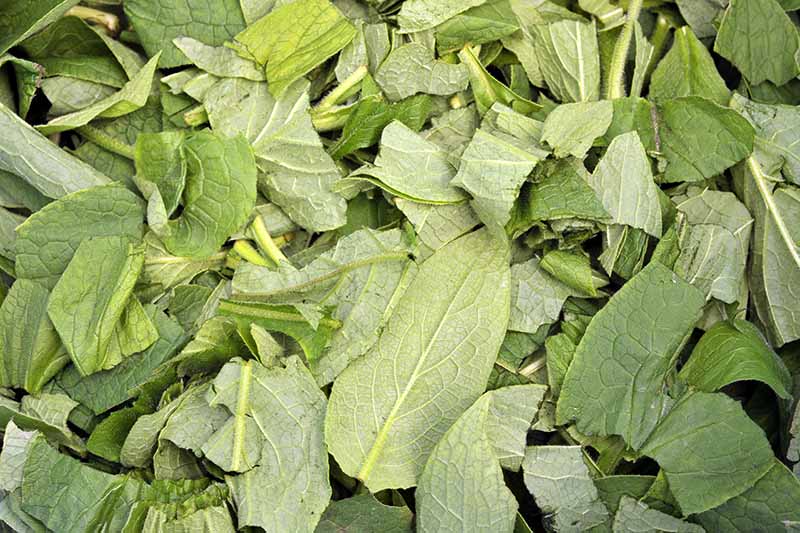
Next, place them in a bin or a bucket, pushing them down firmly. I usually use a simple 5-gallon bucket. You can put a couple of large rocks or bricks on top to weigh them down, and then fill the bucket with water. You can chop or shred the leaves to speed up the process. Make sure to always cover the bucket. This will keep away pesky insects, prevent dilution from rainwater, and most importantly, keep your whole garden from stinking!
Leave It to Steep
Place the bucket in a protected location in the garden, and let the fermentation begin.
To make a very strong tea, leave the bucket to steep for a long time. Recommendations are from anywhere in a 3- to 6-week range. Once leaves have broken down into a slurry paste, you will know that the tea is ready. In a pinch, any amount of time will give you something useful. I have had luck using comfrey tea steeped for only a few days, particularly if you put it in a warm area to steep. Just sniff around for that telltale stinky aroma, which is a good sign that the leaves are breaking down and the nutrients are being released. The final product will be a greenish brown liquid and some very nasty, mushy leaves.
How to Use Comfrey Tea Fertilizer
Once you are ready to use the liquid feed, scoop or strain out the decomposing leafy gunk from the bottom of the bucket. Throw this leafy goo into your compost pile, or use it to side dress other crops such as potatoes and tomatoes. Before use, you need to dilute the tea with water, as it can be very strong, and end up burning the plants. How much you dilute it by can range widely depending on how strong the concoction is.
The darker the liquid, the more you should dilute it. I have seen recommendations for dilution ranging anywhere from 1:2 to 1:15 parts tea to water. If you have steeped it for a full 6 weeks and you have a full 5-gallon bucket of liquid, I would recommend a 1:10 ratio, but if you only steeped for a few weeks, 1:4 would likely be fine. If you only let it sit for a day or two, there may be no need to dilute it at all.
Once the concentration is diluted, you are ready to feed your garden! Instead of using a watering can, I like to put the tea in a backpack sprayer and spray the solution on the soil as well as both the tops and bottoms of foliage, hitting annuals, shrubs, and fruit trees.
Tips
Do not use comfrey tea fertilizer on seedlings or very young plants. If you use it to feed younger crops, dilute the concentration significantly.
Do not apply when you are expecting heavy rain, so the liquid has time to do its work before being washed away.
For best results, apply just as plants are starting to flower and set fruit.
Alternative Methods
You can also try a quick-steep method, which is similar to how you might make tea for drinking. Just pour boiling water over comfrey leaves and let the concoction sit for up to 24 hours. Strain out the foliage and dilute by half prior to using. Or you can try continuous batch brewing, using a bucket with a nozzle at the bottom. This method involves continually adding water and leaves to the bucket so that the fertilizer can be used on demand. Every time you want to use some, just lift the nozzle to pour out the desired amount, and then top off the whole thing with more water and leaves to keep it marinating. Another technique is to drill holes in the bottom of a bucket and place a second bucket underneath it. Pack foliage in the inner bucket, weigh it down, and cover. After a few weeks, it will decompose into a black goopy mass. Collect the drippings in the bucket below and dilute to about 1:15 parts tea to water.
Other Ways to Fertilize with Comfrey
One of the best things about this herb is how quickly it grows. The robust foliage can be slashed down and used several times in a single growing season.
So if brewing up a stinky tea is not your thing, or if you want to try out several different approaches at once, here are some additional ways to use comfrey to boost soil nutrient content:
- Use the leaves as mulch. Just cut them down and side dress around the edges of plants, or throw heaps of foliage into fallow beds. Either dig them into the soil or layer with dried leaves or straw.
- Leaves can also help your compost heap kick into gear. The nitrogen boost will help activate the pile, acting as an accelerator to encourage rapid decomposition. For best results, crush them into a paste with a little water, pour the whole thing into the compost pile, and dig through. Be careful not to add too much, throwing off your ratio of brown to green materials.
- Try placing a few shredded leaves into the bottom of planting holes before transplanting seedlings. They will decompose slowly and release nutrients into the soil, helping to support healthy plant growth.
Next time your crops, fruits, and flowers are looking a little sad, try giving them a spritz of comfrey tea and see the results for yourself. Have you used comfrey as fertilizer for your garden? Share your stories in the comments below! For more organic gardening tips, try one of these guides next:
The Art of Cover Cropping: Sustainable Care for a Happy Garden How to Start Worm Farming: Adventures in Composting and Vermiculture How to Naturally Kill Insects on Kale: The Best Organic Solutions
© Ask the Experts, LLC. ALL RIGHTS RESERVED. See our TOS for more details. Originally published on January 25, 2020. [lastupdated]. Uncredited photos: Shutterstock. With additional writing and editing by Clare Groom and Allison Sidhu.


