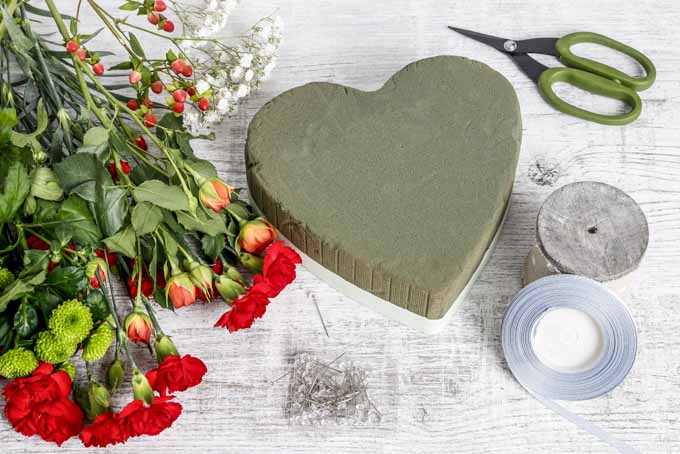
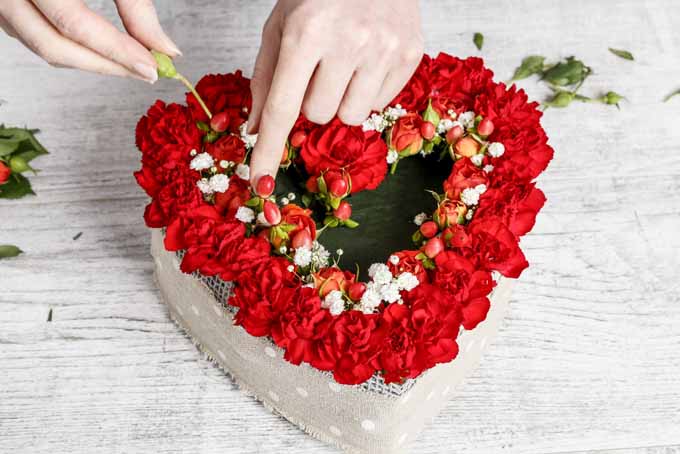
This lovely low-profile arrangement is called a pavé. It’s made with carnations, roses, mums, baby’s breath, and berries that have had their stems cut short to create the effect of a surface paved with flowers. It’s easy to make and perfect for a Valentine’s Day table for two. Read on to learn how to make your own!
Romantic Blooming Heart
Floral Materials
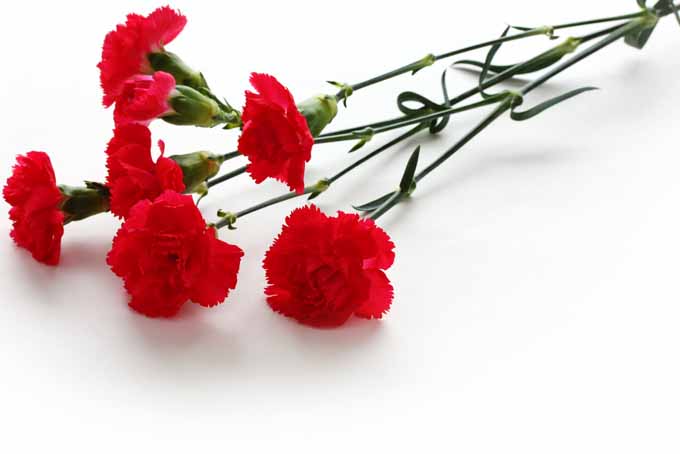
6 stems of red mini carnations, for approximately 36 blossoms
Mini carnations have multiple small flowers per stem, as opposed to full-size carnations with one large flower per stem.
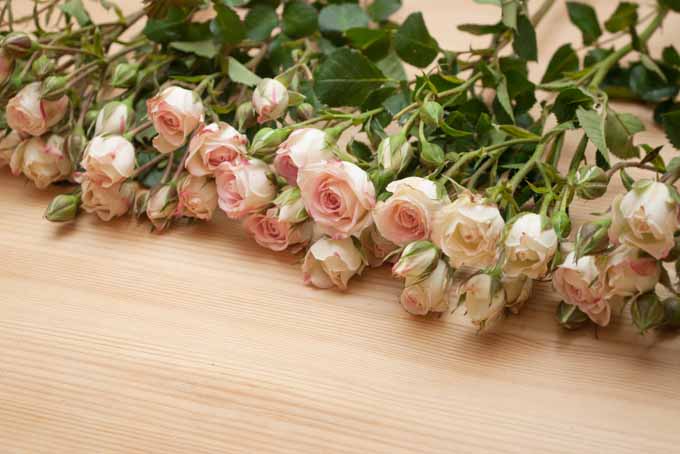
2 stems of pink spray roses, for approximately 12 blossoms
Spray roses, or miniature roses, have multiple small blossoms per stem – unlike full-size roses with one blossom per stem.
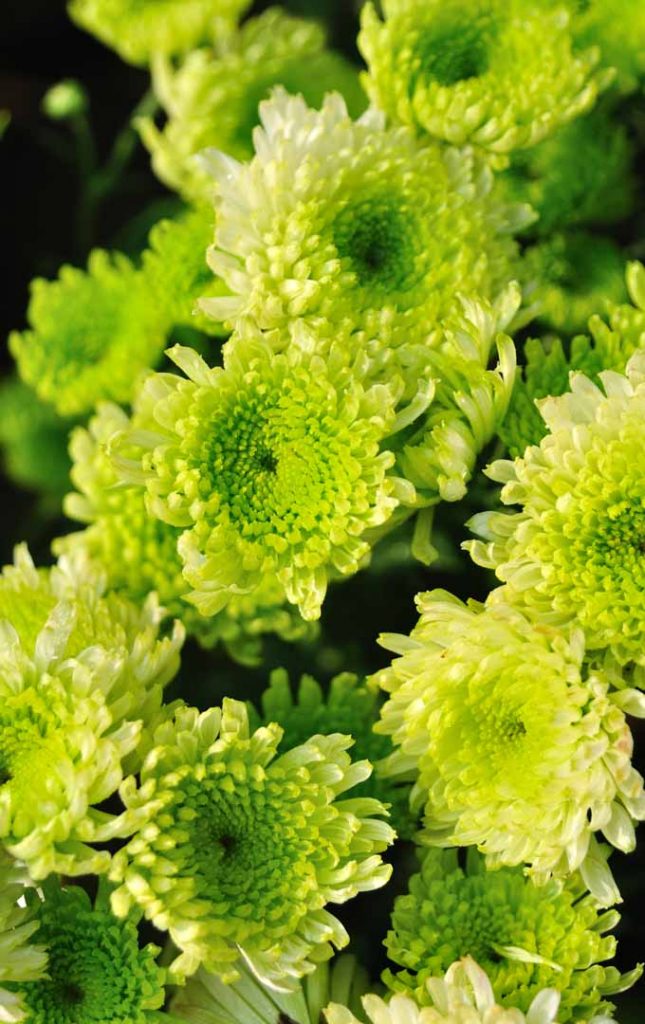
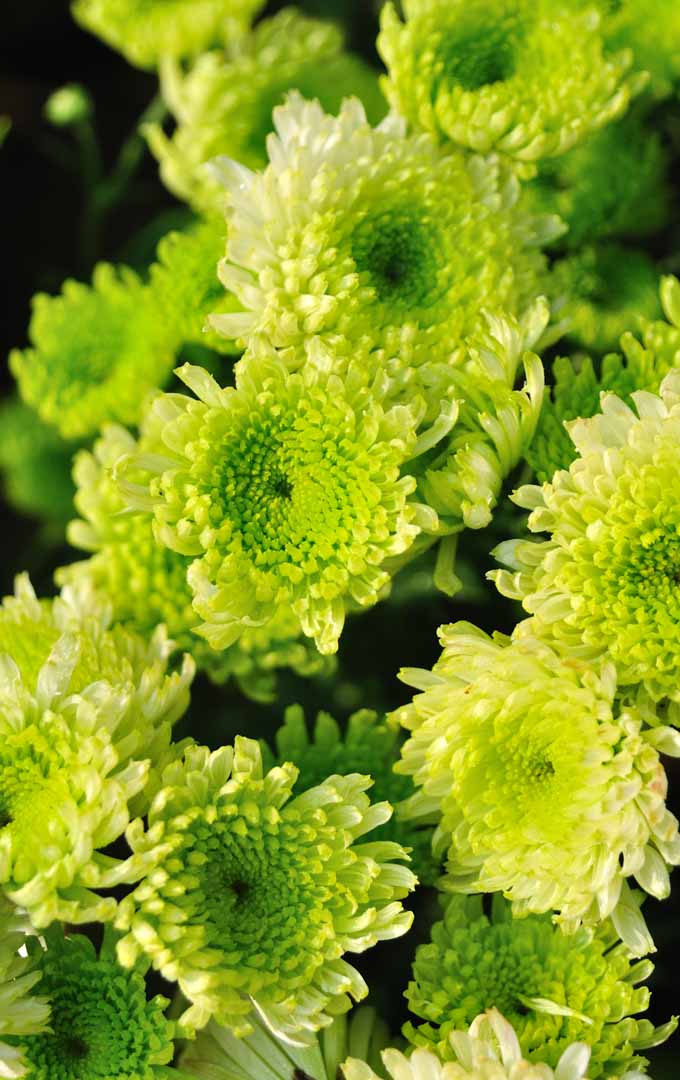
3 stems of green button mums, for approximately 18 blossoms
Mums come in an array of sizes and colors. These chartreuse chrysanthemums have multiple small, compact flowers per stem. They are also known as Kermit mums or pompons.
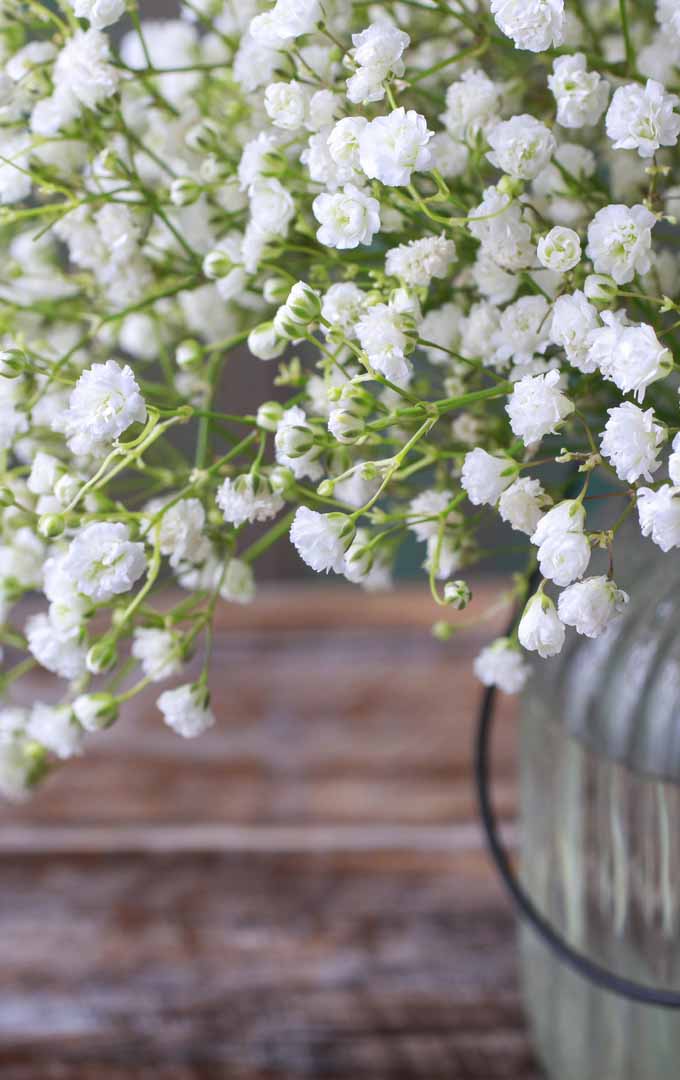
1 stem of baby’s breath, for an ample supply
This delicate multi-floral white flower is officially called gypsophilia, but is commonly known as baby’s breath, a traditional filler in bridal bouquets.
1 stem of red hypericum berries, for about 12 berries
Multiple berries grow on a single stem. Hypericum berries in a variety of colors, including green and pink.
Non-Floral Supplies
9-inch floral foam heart with plastic backing Small towel 30 x 2-inch burlap strip or ribbon 30 x 1.5-inch decorative ribbon Hot glue sticks and glue gun Garden shears or floral scissors
To Make Your Arrangement:
1. Assemble Materials
Set up your supplies on a waterproof surface near a sink.
2. Soak Floral Foam
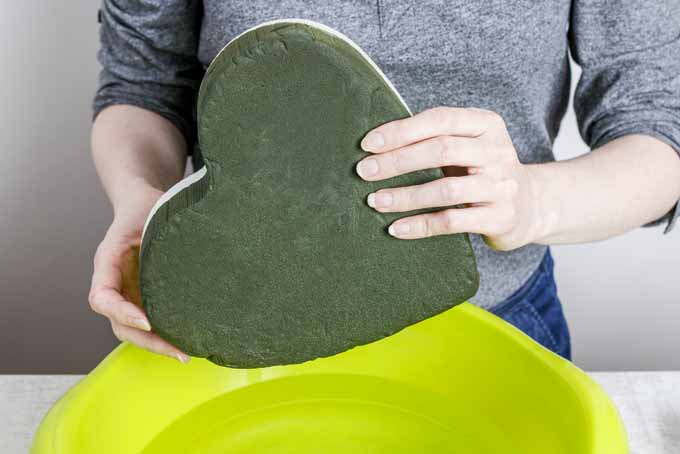
Fill the sink with four inches of water. Place foam plastic side up on top of the water. Do not forcibly submerge, but let the foam soak up water and sink under its own weight. In about a minute, it should be fully submerged and ready to use. Spread a towel over your work surface. Remove the soaked foam and place plastic side down on the towel. Dry the plastic side for the next step.
3. Apply First Trim Layer
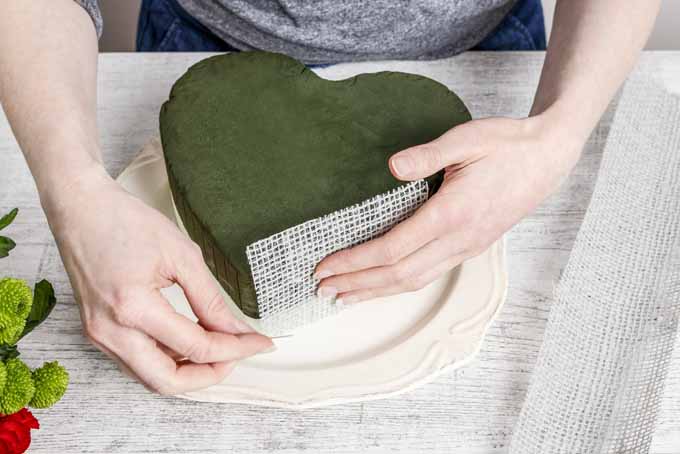
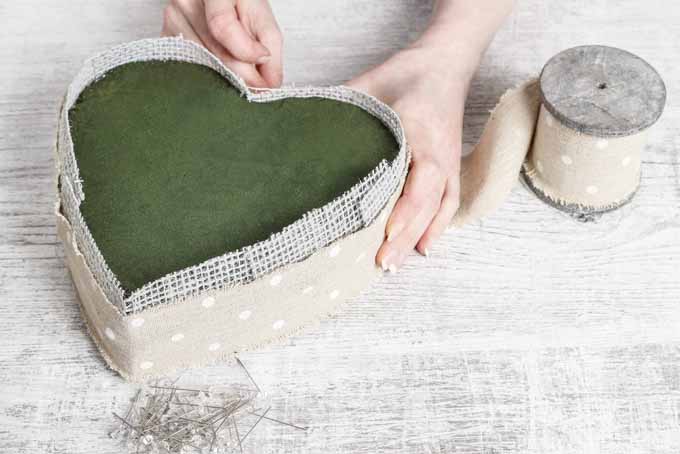
When the plastic is dry, apply burlap trim to the plastic with dabs of hot glue. Be careful not to burn your hands – that stuff is hot! The burlap will stand one-half inch above surface of foam.
4. Apply Finish Trim Layer
Use hot glue to apply decorative ribbon over the burlap layer for a smooth finish.
5. Cut Flowers
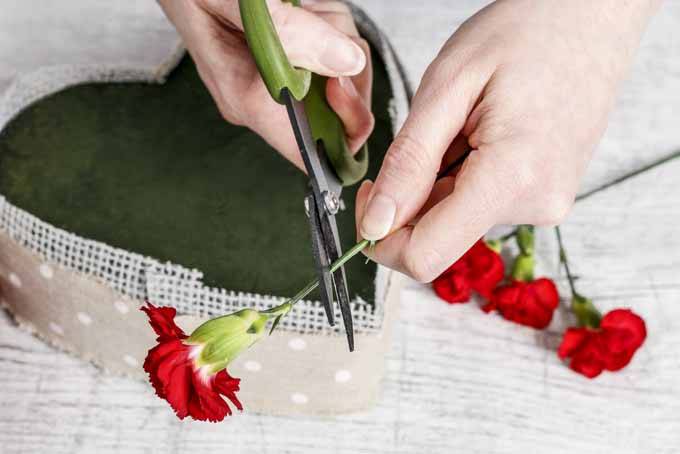
Cut stems as needed. Each should be two inches long, and stems may have one or more blossoms or berries on each.
6. Place Flowers
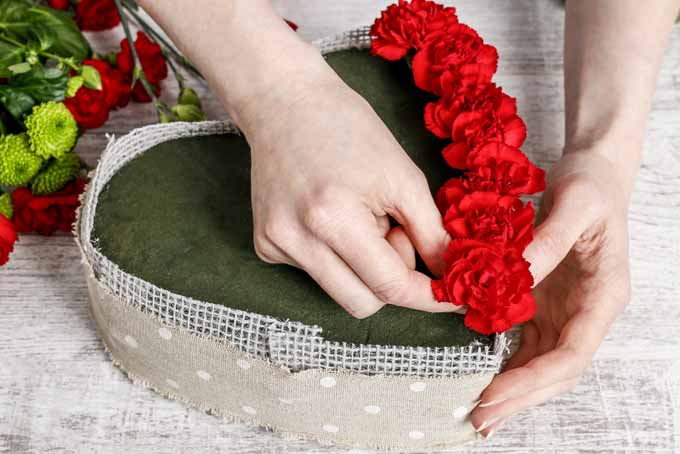
Begin at the outer edge and work toward the center. One by one, push stems gently into the foam to create your desired pattern. I like to create concentric heart-shapes with different types of flowers, but you could choose to do a variety of different things, like stripes or polka dots. Space them closely, with as little foam visible as possible.
To extend the life of your centerpiece, keep the foam wet. Water as needed by partially raising a sturdy flower and aiming the spout of a watering can into the floral foam.
Hearts and Flowers
Flowers speak a language of romance, and nothing says “I love you” like an arrangement of reds and pinks on a table set for you and your sweetheart.
Low profile floral displays encourage intimacy, leaving room to lean in for hand-holding and tender kisses in the flickering glow of candlelight… Sounds fantastic, right? Send the kids to Grandma’s for this one! How will flowers feature in your Valentine’s Day plans? Tell us your favorite traditions in the Comments section below. And read up on growing your own chrysanthemums here. © Ask the Experts, LLC. ALL RIGHTS RESERVED. See our TOS for more details. Uncredited photos: Shutterstock.
