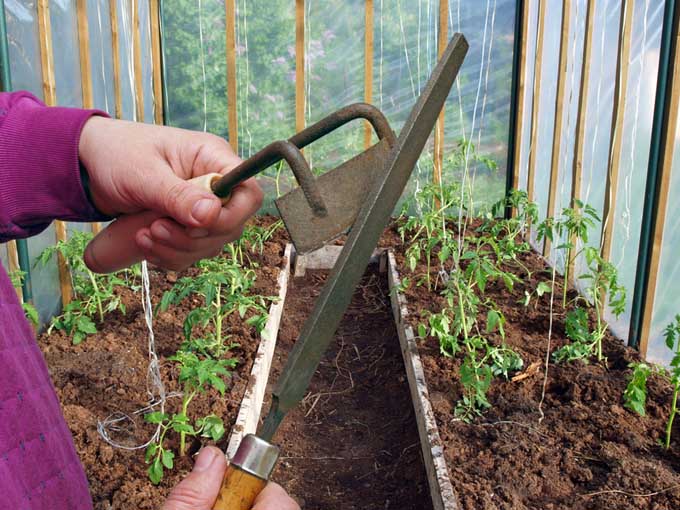
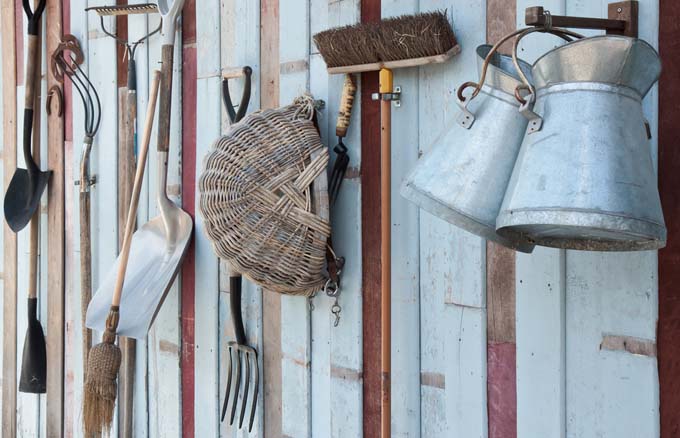
Letting your equipment fall into a degraded state is always a waste since you will simply have to purchase new if yours deteriorate to the point that the various devices can’t be brought back into shape. Before giving tips for maintaining your garden tools, we will provide a few important shopping hints. One of the first things to check on a new bit of kit is to see if the handle has been attached firmly. Try to twist or move the handle in the socket and see if there are any noticeable gaps. Examine the thickness of the steel parts and examine their texture. Also, look for a good brand name and find out where the implement was made. If you look at a gardening tool closely enough, you shouldn’t have any trouble determining whether it is of decent quality or not. Be aware that some tools made today look like someone merely bent a piece of tin around a stick. After purchasing your soil slicing equipment, such as hoes, spades, or trowels, it may be necessary to sharpen them up. You shouldn’t ever waste time trying to cut through tough roots or break hard soil with a dull hoe or spade since these are easy to sharpen yourself. The only thing you will need is a 12 inch mill file. To sharpen a hoe, first study the bevel of the edge on the blade. Then place the mill file at one end of the bevel and push it away from you, moving across the bevel toward the cutting edge. Be careful to hold the file against the bevel so that you follow the correct angle. Stop after a few strokes and look at the shiny area where the file has removed some of the metal. You will be able to tell when the edge has been thinned, and once you have the proper “feel,” you can continue sharpening the blade. To sharpen a spade, take the mill file and place it on the back of the blade, or the side of the spade that is facing you when you put your foot on it, then simply work it the same way you did with the hoe. A trowel is also sharpened the same way as a spade. A few strokes of the file toward the cutting edge will thin it enough so that your garden work will be much easier. Try not to leave your gardening implements outdoors for long periods of time since they will quickly succumb to the elements. Tools properly stored indoors will last a lifetime. Rain and moisture causes steel to rust and wood to rot, while harsh sunlight makes any type of wood dry out. These outdoor factors will quickly cause your tools to deteriorate. Store your kit in a shed or a garage by hanging them on a wall between nails or pegs with the blade or working part turned upward.
Stacking hoes and shovels against a wall or piling them in a corner is damaging because they will bang or rub together, nicking and scratching the blades and warping the handles. When storing implements for long periods of time, wooden handles should be rubbed with linseed oil. If the wood is already dried out or has an abundance of scratches or worn areas, you can use a mixture of 75% linseed oil and 25% turpentine for easier penetration. Using a rag to briskly rub the linseed oil into the wood also helps to work it in well. While the tool is being stored, the oil will dry and prevent any future damage from sun, moisture, perspiration, or wear and tear. To treat and maintain the blades or steel parts, simply save up some used motor oil and pour it into a large bucket of sand. Then plunge the steel part of your tool into the bucket and work it up and down. The abrasive action caused by the sand will remove any rust and also polish the steel, while the oil will penetrate and prevent rusting in the future. Occasionally you may need to replace a broken or damaged handle, but getting the handle separated from the steel may be a problem. To remove a handle that is stuck, simply place it in a bucket of water with the water level covering the wooden part that fits into the steel, then allow it to soak for approximately 24 hours. This will make the wood swell up. Later when you take out the tool and let it completely dry, the wood will shrink and you can remove the handle easily. To speed up the drying process, place the tool near a stove or heater. Before putting the new handle, rub the end with linseed oil before inserting it into the steel part. After installing it, if the handle is not already varnished, you can rub the entire length with more linseed oil. Then work the steel part into your oil-sand bucket for a quick polish and you’ll be ready to engage in some serious gardening once again. © Ask the Experts, LLC. ALL RIGHTS RESERVED. See our TOS for more details. Uncredited photos: Shutterstock.