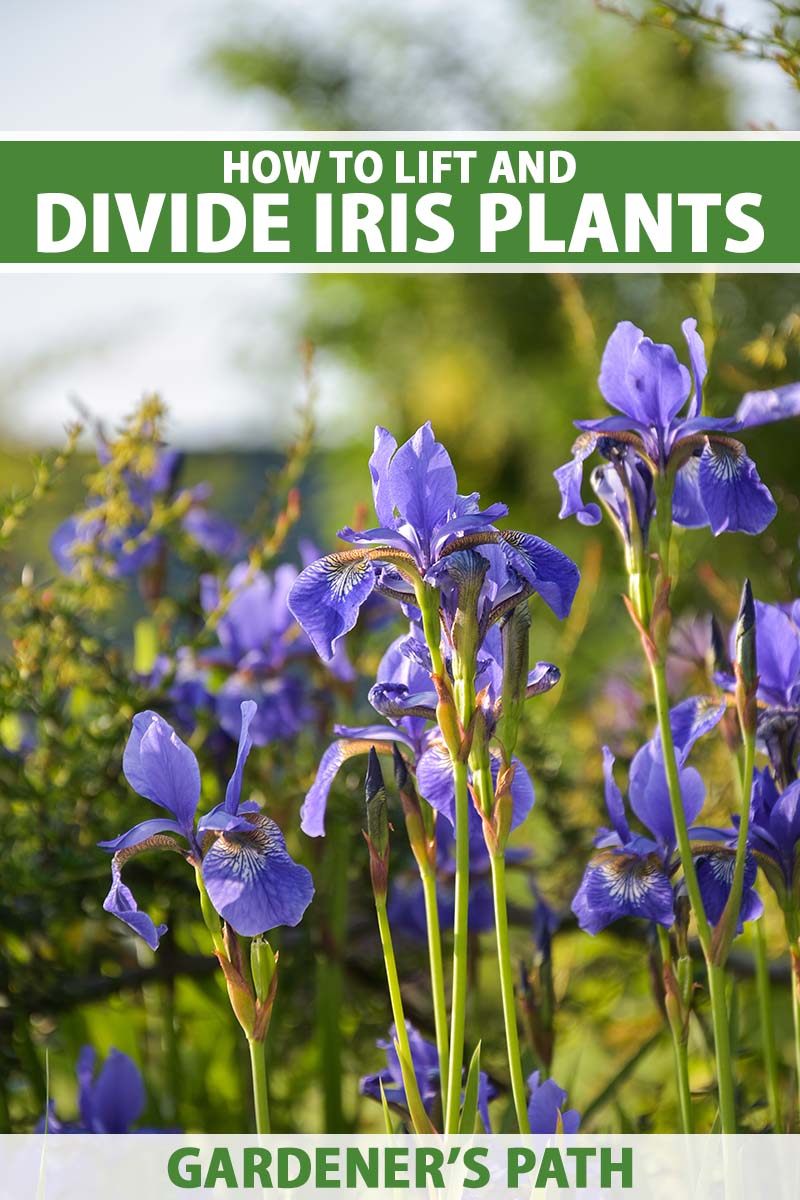
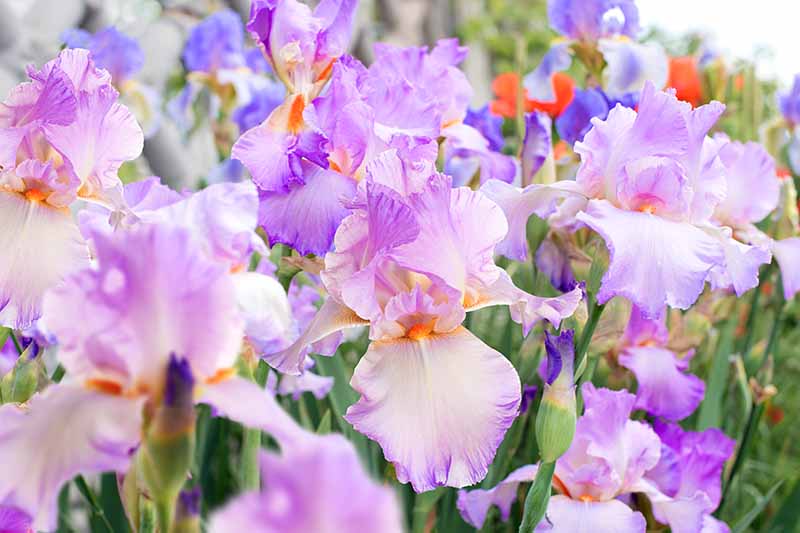
Once established, plants form large, attractive clumps as the fleshy rhizomes creep and spread. However, when the roots become overcrowded, the center of the clump can die out and flower production dwindles. To keep your iris stands strong and vibrant, you should dig and divide before they become overcrowded, typically every three to four years. We link to vendors to help you find relevant products. If you buy from one of our links, we may earn a commission. So, grab your tools, and let’s get started! Here’s how to divide and transplant your iris.
When to Divide
To prevent iris overcrowding and declining flower production, schedule root division for every three or four years. The best time to divide and transplant is after they’ve finished flowering, when plants go dormant in summer. To lift and divide, wait six to eight weeks after flowering, or plan to do it from midsummer until early fall. Cut back any spent flower stalks as close to the leaves as possible. Before dividing, allow the top two to three inches of soil to dry out. This makes removal easier because the rhizomes and roots are very close to the surface – they don’t require soaking to first loosen them.
Lift the Clumps
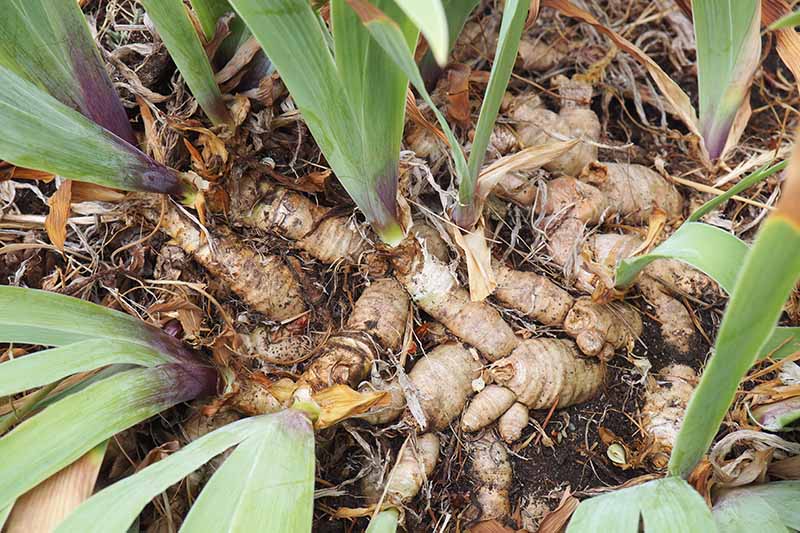
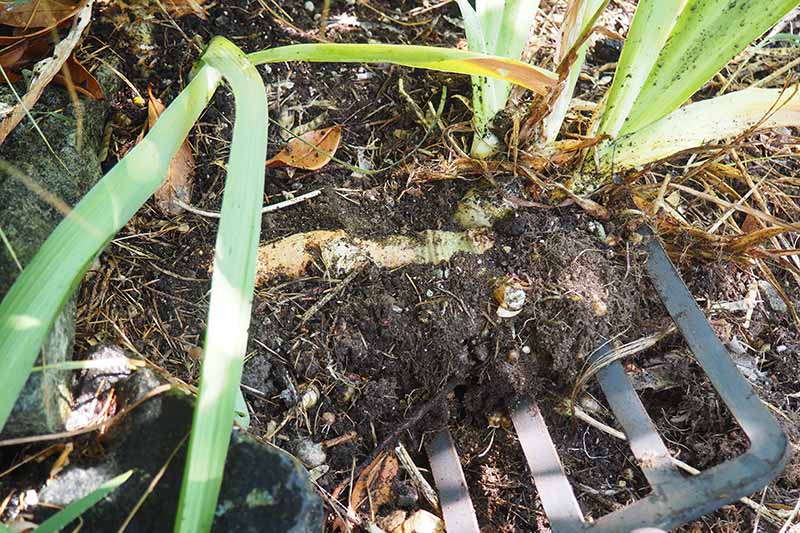
Start by using a garden fork or spade to loosen and lift clumps. Insert the fork fully into the soil along the dripline, or three to four inches outside of the visible rhizomes. Loosen the soil all the way around. Lift out the entire mass if possible. If the clump can’t be lifted in one piece, use a clean, sharp spade or garden knife to cut the clumps into smaller, manageable sizes and then lift.
Trim, Clean, and Inspect
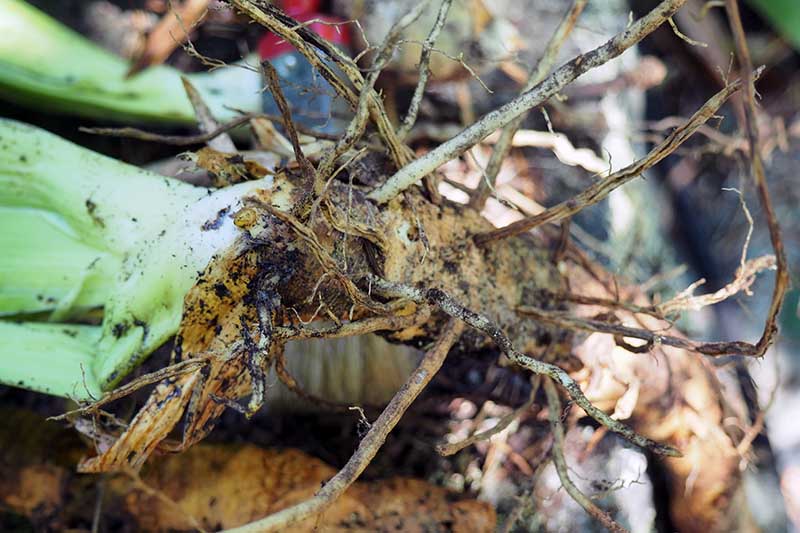
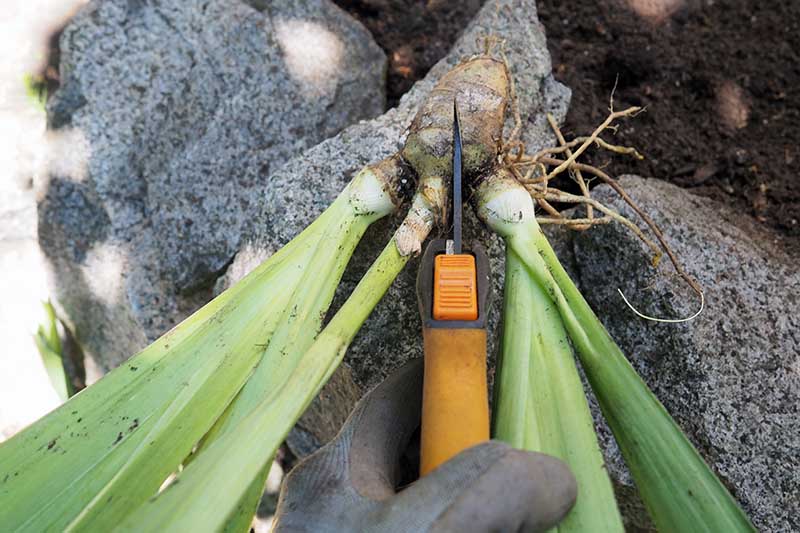
With a soft bristle brush, remove as much dirt as possible from the rhizomes and roots, taking care to leave the roots intact. Cleaning makes it easier to see where to divide and to inspect for possible pests. Trim and discard any large pieces that don’t have an attached leaf fan, including the center of clumps. Also discard the older ends of rhizomes that no longer have active root growth – this is the end furthest from the leaf fan. Inspect the remaining rhizomes carefully. Discard any that are dry, powdery, soft, smelly, or that display signs of borers. Borers are insects that target the upper side of rhizomes of tall bearded varieties, boring small holes the size of a pencil lead. Leaf fans can also appear to be waterlogged if infested.
Trim the Fans
Before replanting, trim the leaf fans back to a height of six to 10 inches. This allows plants to focus their energy into establishing healthy roots and away from supporting a full display of foliage. Also, a full fan can catch more wind, shifting rhizomes before the roots are established – trimming the fan helps to prevent wind rock.
Divide the Rhizomes
To produce flowers, each section of rhizome must have an attached leaf fan. Using a clean garden knife or scissors, cut rhizomes into pieces about three to four inches long with at least one intact fan. Do not remove the roots. To prevent bacterial infection, dust the cut ends with a powdered fungicide such as garden sulfur.
Replant
Irises do best in a full sun location with rich, well-draining soil and a slightly acidic to neutral pH of 6.8 to 7.0. Here are the planting steps:
Loosen the soil with a garden fork to a depth of 12 to 16 inches.
If needed, mix in a shovelful or two of landscape sand or pea gravel to improve drainage.
Mix two to four inches of compost or well-rotted manure into the top six inches of soil.
Create planting holes a few inches longer than the rhizomes, and about four inches deep.
Mix in some bone meal to assist with healthy root development.
Pile up some soil into a ridge down the center of the planting hole about four inches high, leaving a trench on each side.
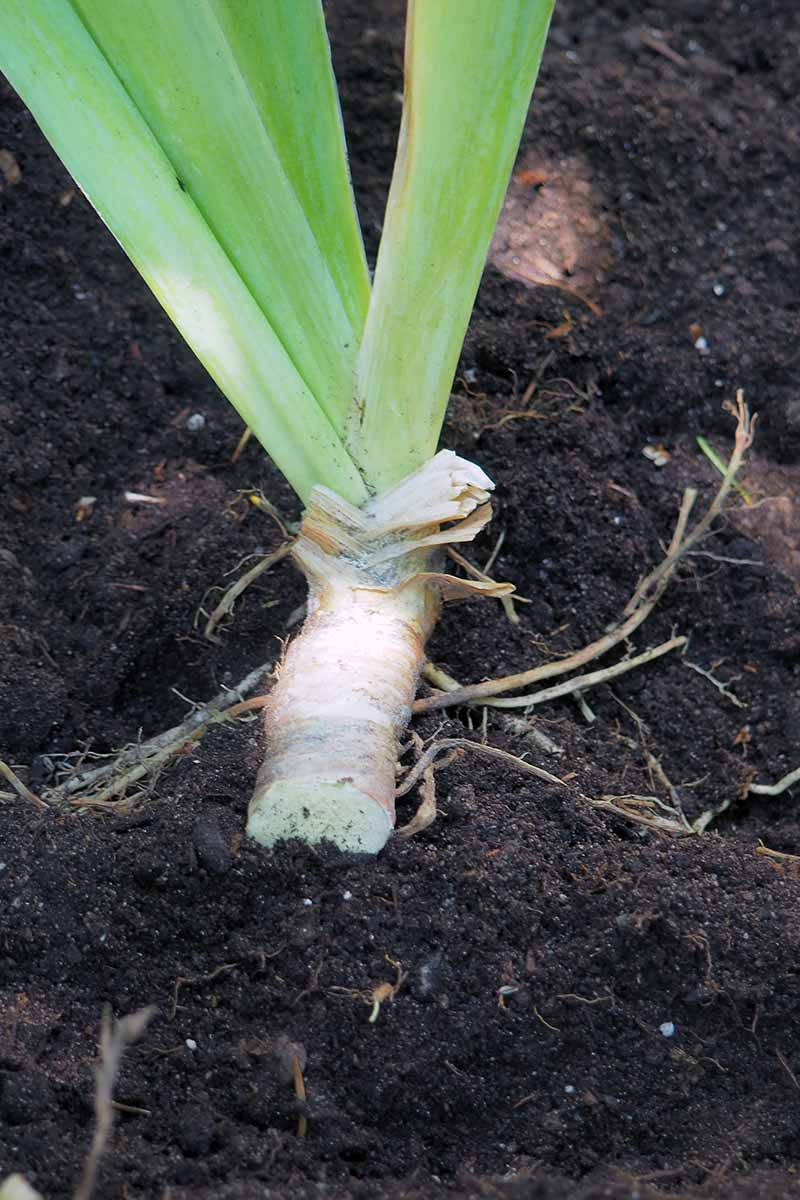
Nestle the rhizome on top of the ridge, laying the roots down the sides and into the trenches.
Gently backfill the hole, covering the roots and the lower two-thirds of the rhizomes. Leave the top of the rhizome uncovered and exposed to the sun and air.
Firm the soil in place and water gently but deeply.
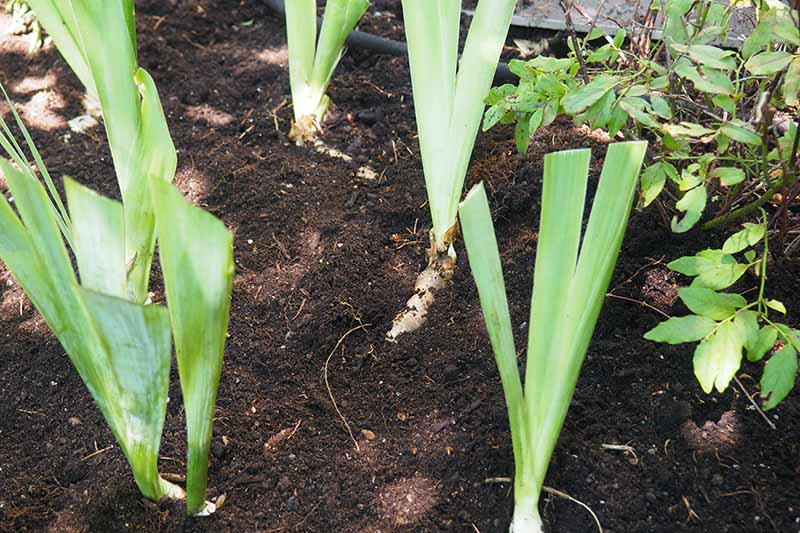
Plant rhizomes singly, or in groups of three or five, spacing them about three to five inches apart for dwarf and miniature varieties, and four to six inches apart for tall ones. Situate the leaf fans to the outside and space groups 12 to 24 inches apart – less distance for dwarf varieties, and more for tall bearded ones.
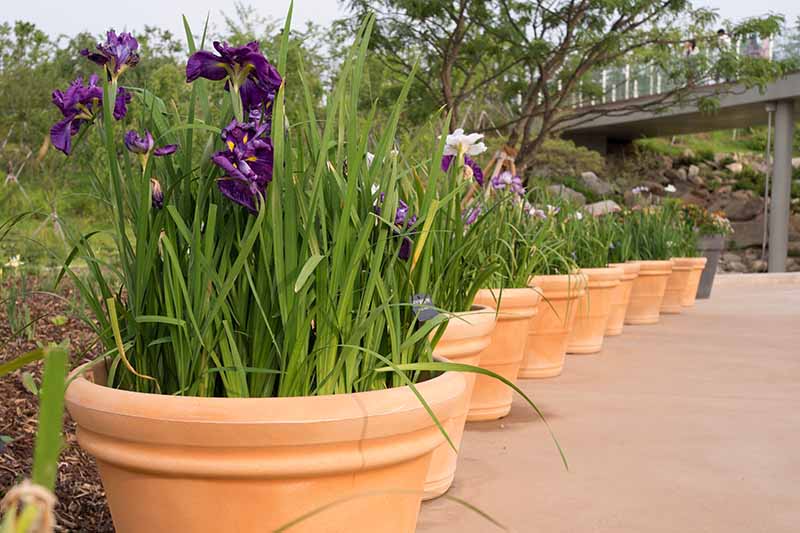
Choose Containers Wisely
Dwarf and miniature varieties are a good choice for containers as well. Ensure containers have drainage holes and add a layer of material such as broken pottery or pebbles to the bottom of pots to assist with draining the soil. Fill containers with a light humus-rich soil and plant as outlined above, keeping the rhizome tops exposed to the sun. Water lightly to settle in place. Water regularly when the top two inches of soil are dry. Provide containers with winter protection in a frost-free location, or add a deep four- to six-inch layer of leaf mold or straw mulch to protect the rhizomes. After dividing your rhizomes, replant and transplant freely – there’s always plenty of rootstock. Pot up the surplus into small containers for family, friends, neighbors, or your local plant exchange. They make an appreciated gift or bartering chip! If you have any questions about how to divide and transplant irises, drop us a line in the comments below. And for more information about growing irises in your garden, check out these guides next:
How to Plant and Grow Irises33 of the Best Iris Cultivars for Your GardenTypes of Irises: A Guide to Iris Classification and Flowering SequenceTips for Growing Bulbous Iris in the Garden