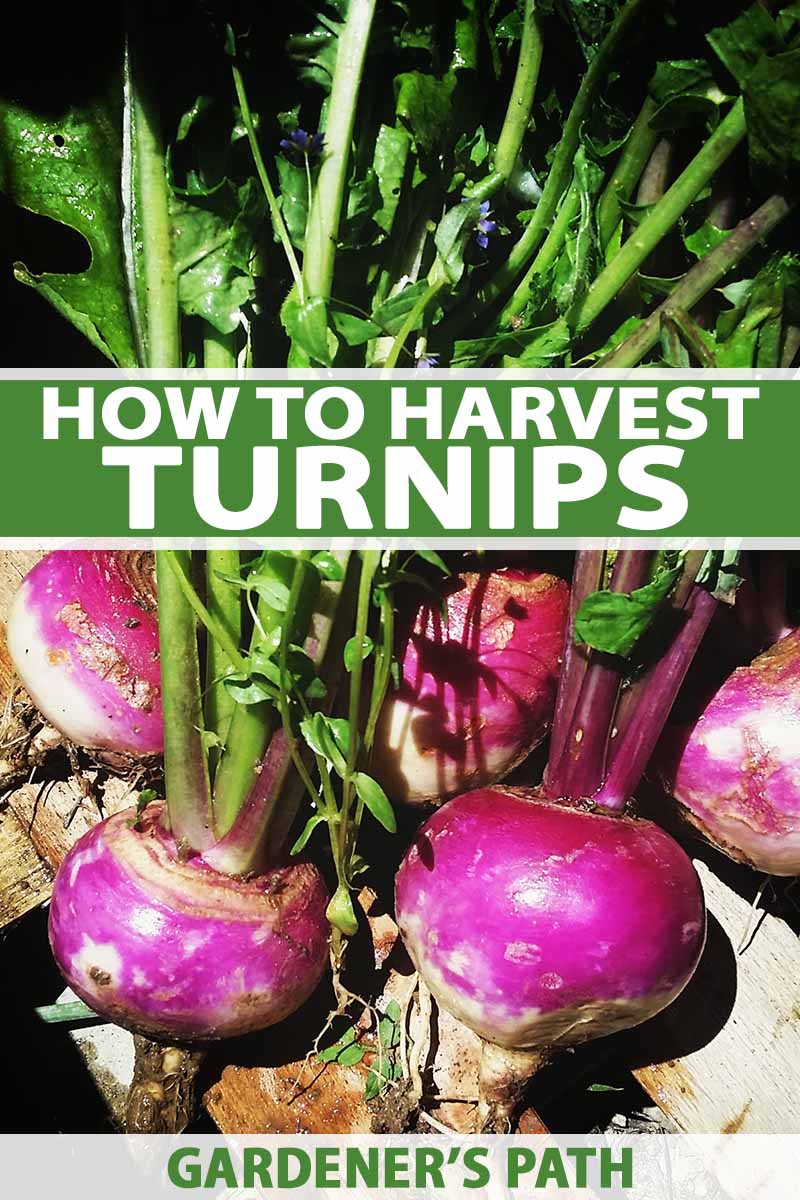
Now what? You may be wondering when you can harvest the roots. Can you harvest greens and roots from the same plants? And what do you do with the roots once you have pulled them out of the ground? We link to vendors to help you find relevant products. If you buy from one of our links, we may earn a commission.
When to Harvest
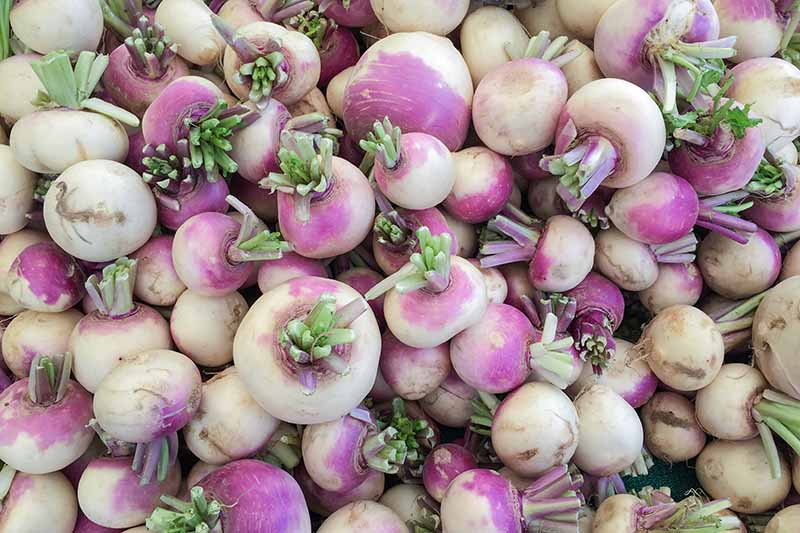
Though there are certain signs to look for to determine when to harvest turnip roots, the final call is partially dependent on your preference, and the cultivar you are growing.
Are you primarily interested in healthy greens? Do you prefer sweet and tender young roots, or are you partial to larger, more hearty bulbs? In general, turnips mature anywhere from 30-60 days after planting, depending on the variety and growing conditions. Quick-growing varieties can be harvested in 4-5 weeks, while longer-maturing varieties may take up to 8-10 weeks.
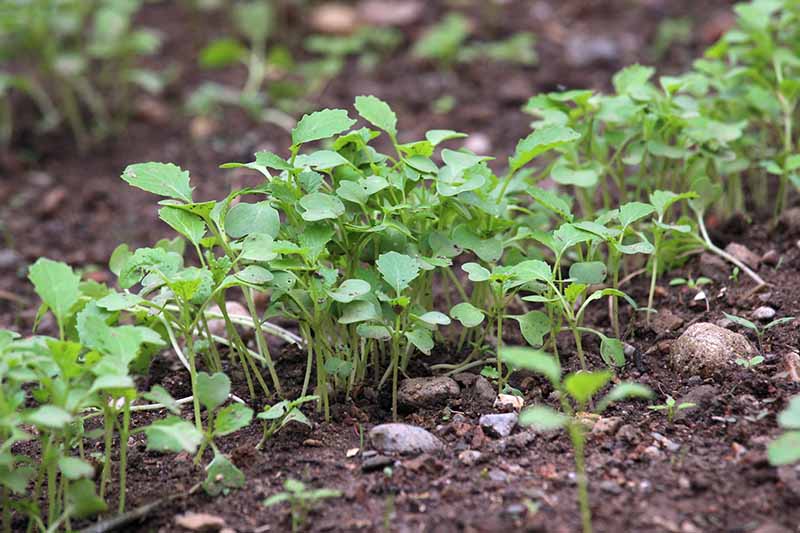
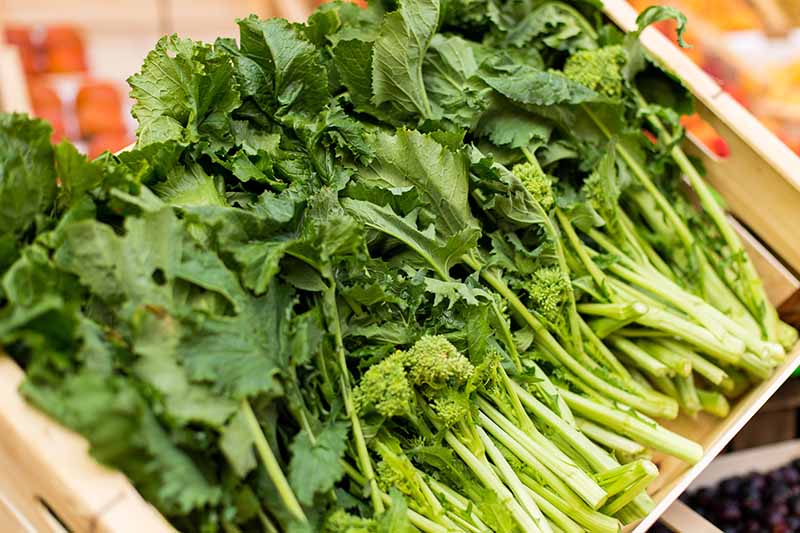
If you’re growing turnips primarily for their greens, you can begin harvesting when the leaves are young and tender, when they are about 4-5 inches tall. Don’t leave them for too long, or they’ll become tough and somewhat bitter. Depending on the variety and growing conditions, you may be able to get a repeated harvest of the greens from your crop.
When seedlings are a few inches tall, you can save the tiny greens from plants you pull when you are thinning, and eat them in salads.
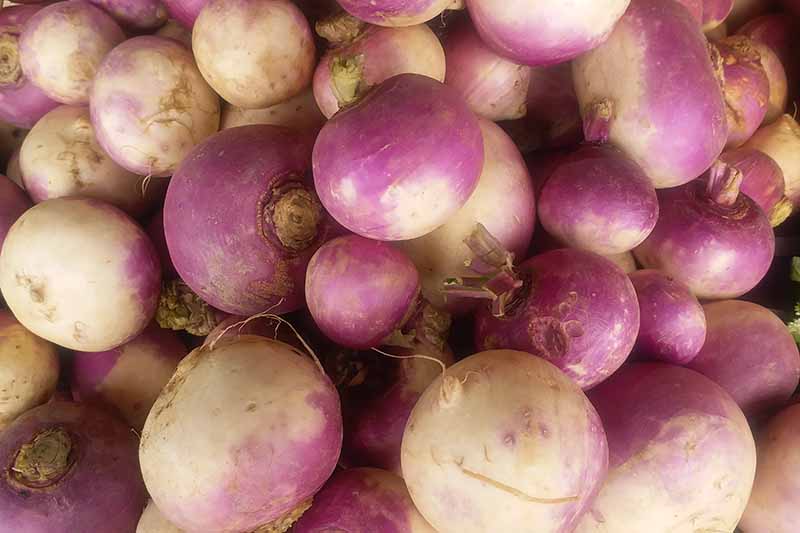
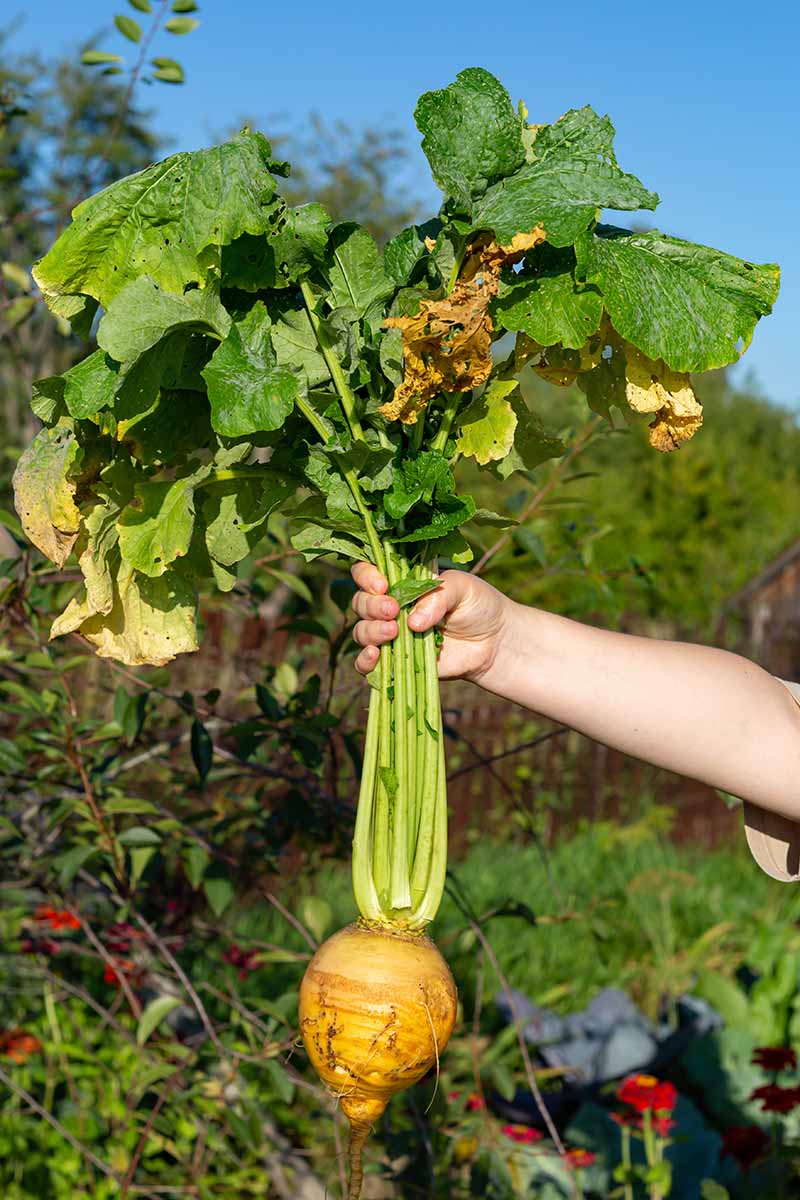
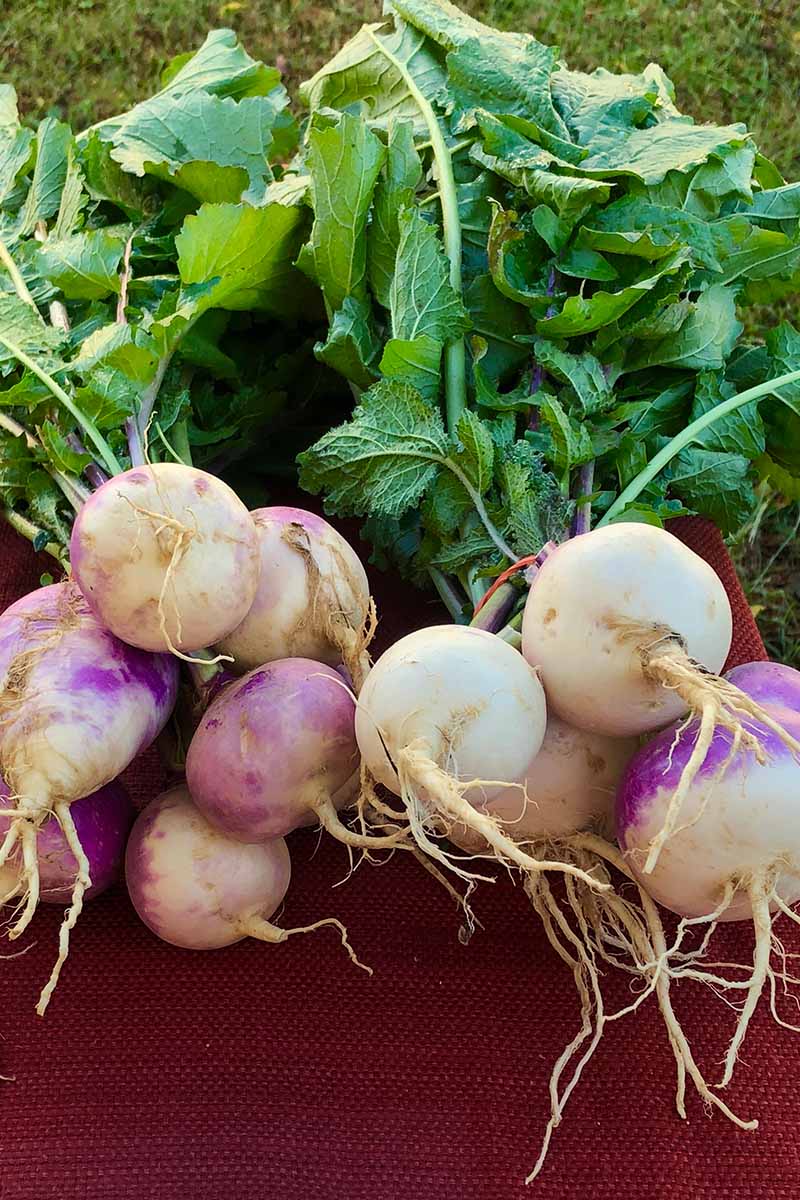
If you’re harvesting for both greens and roots, you have a couple of options: You can top off the leaves when they are about 12 inches tall and then harvest the roots later on, when they have grown to 2-5 inches in diameter. Remember to always leave some of the greens on the plant so that the root can continue growing. You can also pull the entire plant at once, when the crowns start to push through the soil and are about 2 inches in diameter.
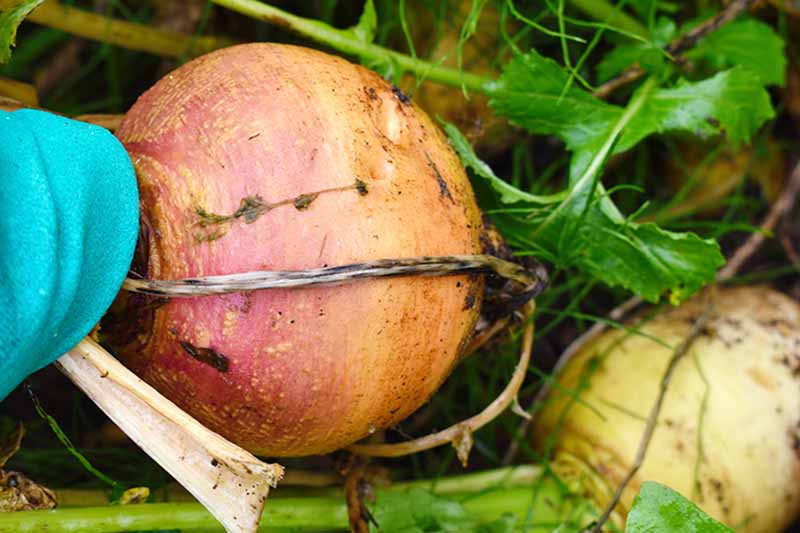
Leave the roots in the ground longer if you are growing a slower maturing variety or if you prefer large and hearty vegetables, but keep in mind that if you wait too long to harvest, the roots can become fibrous and woody in texture. When turnips are grown as a fall crop, pick them after a couple of light frosts, but before a hard freeze. Repeated hard freezing and thawing can cause the roots to crack and rot.
How to Harvest
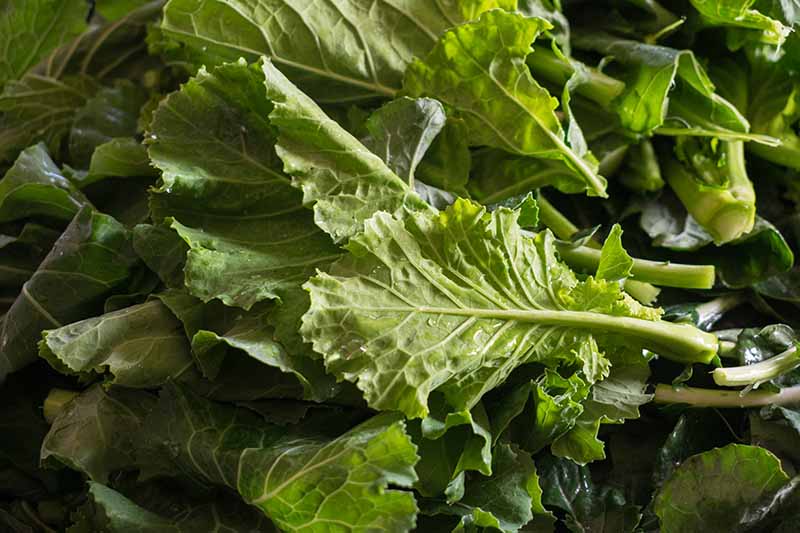
To harvest turnip greens, simply wait until the leaves have grown to an adequate height, anywhere from a few inches to a foot tall.
Cut them off, leaving 2-3 inches intact above the crown. If you are lucky, you may be able to get a second harvest from each plant. However, if you are growing for the greens and the roots, it is advisable to only cut the outer leaves on each plant, leaving the inner leaves intact. The leaves play an important role in plant photosynthesis, providing energy for the roots to grow and mature.
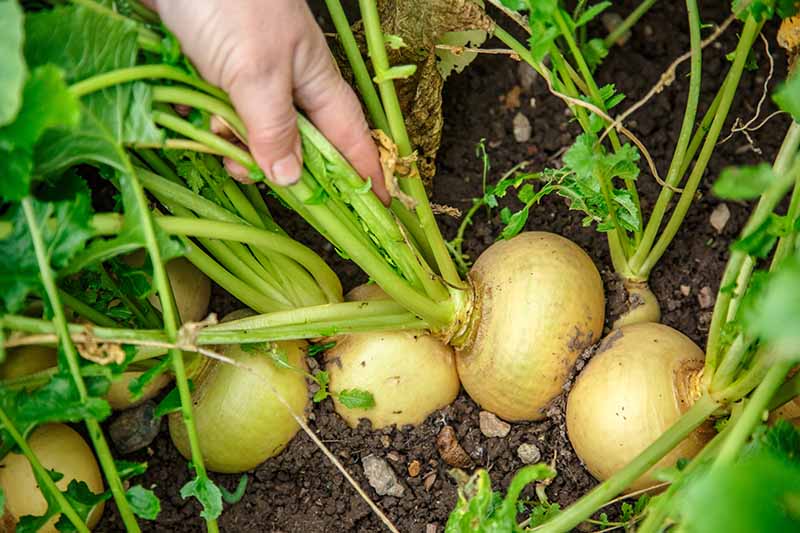
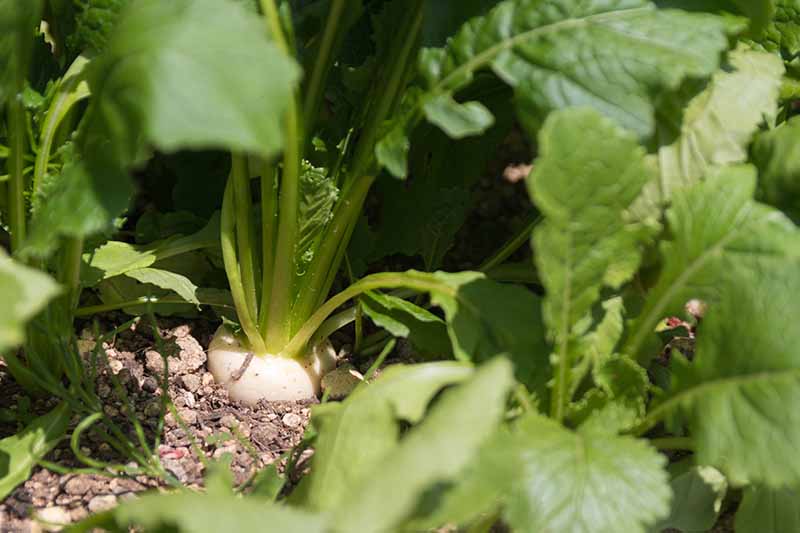
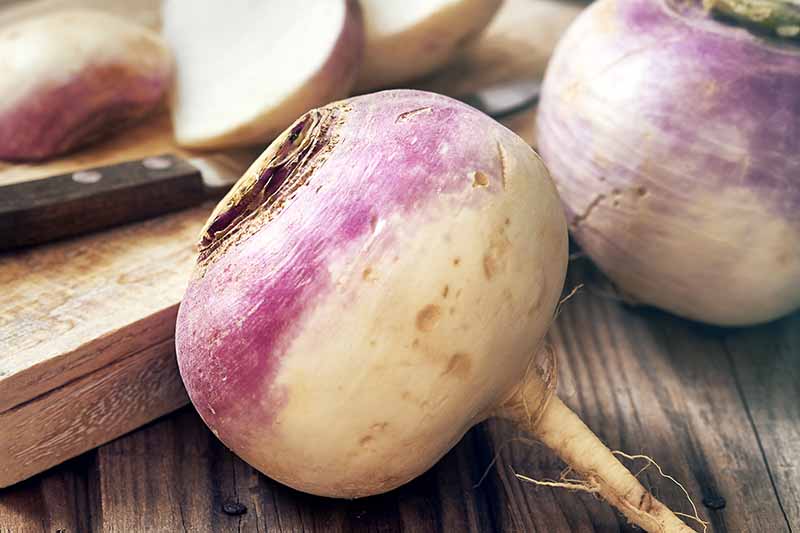
When you think it might be time to harvest your root vegetables, brush the soil away from the tops of the crowns to see whether they have reached a good size size – usually 2-5 inches in diameter. Check your seed packets for the expected size at maturity for the cultivars that you have planted. You can also just pull up one or two plants to check their size.
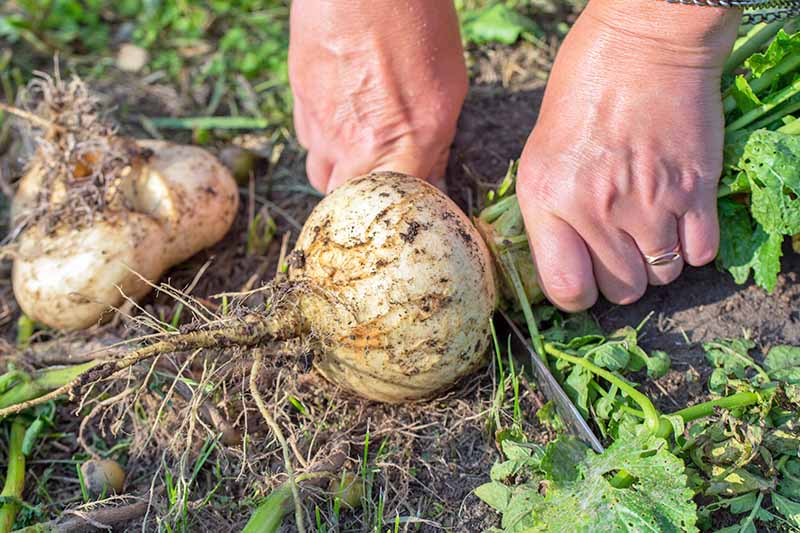
Try to harvest on a day when the soil is dry, to make it easier to pull up the roots. To remove, carefully loosen the soil around the roots using a garden fork, and then lift the whole plant gently from the ground. Be cautious when working with garden tools to avoid damaging the roots.
How to Store
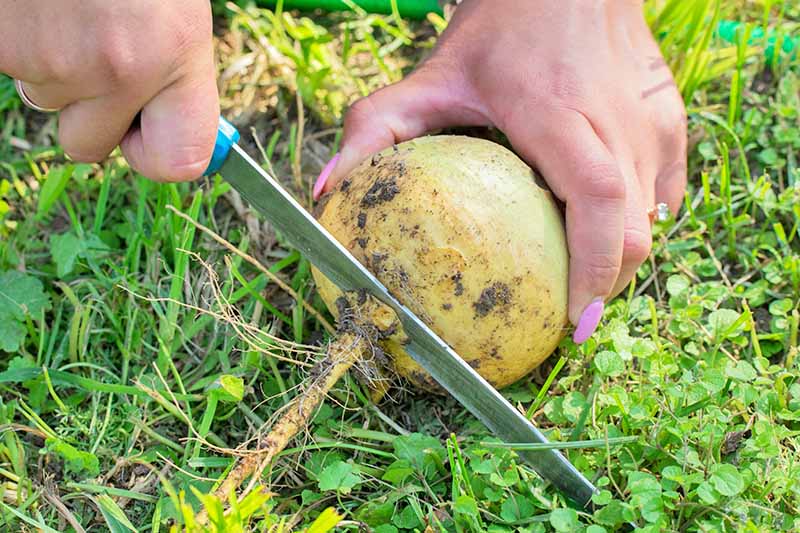
If you have harvested the entire plant, first twist or cut off the greens.
This will allow for easier storage of both roots and greens, and extend the shelf life of the roots.
Next, brush off any excess soil from the tubers, and cut off the root at the bottom.
Storing Turnip Greens
Kept in the refrigerator, turnip greens can be stored for 4-5 days. Wrap unwashed greens in a damp paper towel, and store in a perforated plastic bag in the coldest part of the fridge. Discard any greens that smell funky or develop mold.
Turnip greens can also be stored in the freezer for about a year. To freeze, remove woody stems and rinse off the leaves. Blanch for 2 minutes in boiling water and then dunk in ice water to cool quickly. Drain off excess moisture in a colander or salad spinner, or air dry on paper towels. Cut greens into smaller pieces if desired, and freeze in plastic zip-top bags or airtight containers, leaving about a 1/2 inch of headspace.
Storing Turnip Roots
Roots should be stored in a cool place, ideally between 32 and 35°F – which means the refrigerator is a perfect location for storage. You can also store them in a dry root cellar or garage. Layer roots in a box lined with straw, sand, or sawdust. They should keep for several months, as long as the storage location remains dry.
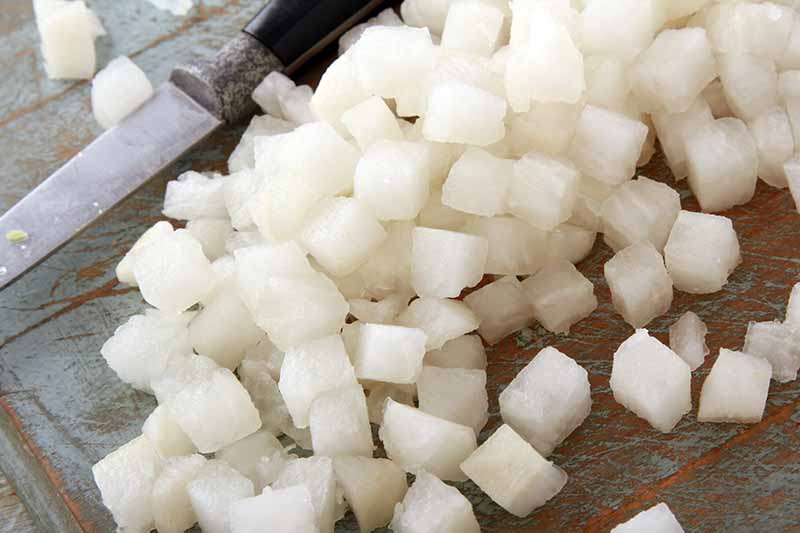
Roots can also be blanched and frozen. Just wash, peel, and cut roots prior to blanching. Pat dry with paper towels and freeze in plastic containers or freezer bags.
If you’ve got a bumper crop, you should consider dehydrating your turnip roots. If you don’t want to be bothered with blanching, then the easiest way to do this is to peel and thinly slice the roots, then dry in a dehydrator or oven at 125°F for 10-12 hours, or until they are dry but still slightly pliable. Store the dried “chips” in an airtight container until you want to use them. Turnips are hardy, and in climates where the ground does not freeze, they can be left in the soil until you are ready to use them. But be sure to finish harvesting before spring, as they will resume their second year of growth, and become tough and inedible. Similar to carrots, you’ll need a thick layer of straw or hay mulch to protect them from hard frosts, which will damage the roots. You can read more about overwintering in the ground here.
Recipes and Cooking Ideas
Turnips are very versatile vegetables, and they can be cooked and eaten in all sorts of creative ways!
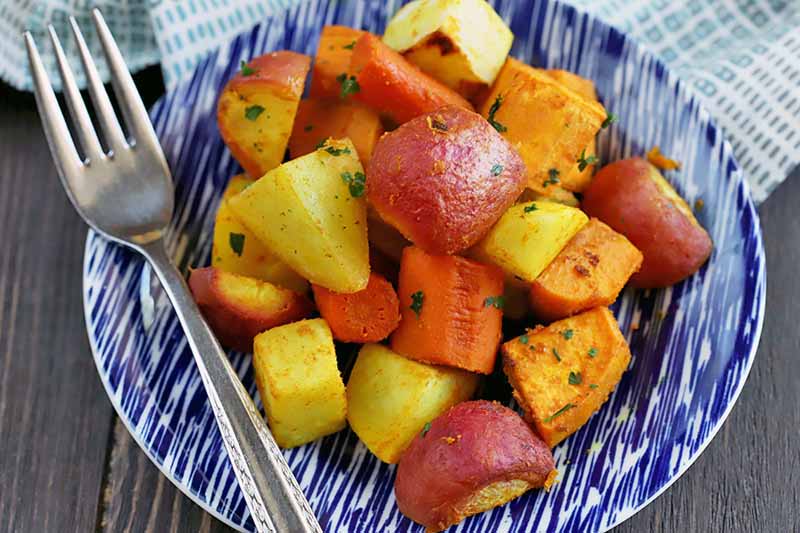
Enjoy the roots fried, baked, boiled, mashed, or even eaten raw in salads. Why not try them as part of a delicious roasted fall vegetable dish? You can find the recipe on our sister site, Foodal. If you have accidentally waited too long to harvest and find your roots to be on the woody side, you can try peeling and stewing them to make them more tender and palatable. Or consider adding them to a vegetable stock. What about making some root veggie chips, jazzed up with a hint of spice? Get the recipe on Foodal. Or you can make zesty quick-pickled turnips and beets that are perfect for adding to salads and sandwiches. Foodal also has a recipe for this. Greens can also be eaten raw or cooked.
The young, tender leaves are delicious in salads or cooked in whichever way you like to eat leafy greens. I particularly enjoy a simple saute with butter, a dash of lemon, and salt. Do you have a favorite way to cook and eat these delicious and versatile vegetables? Let us know in the comments below! For more information about growing veggies for a fall harvest you’ll need these guides::
How to Stop Turnips Bolting and Going to Seed What’s Eating my Turnips? How to Eradicate Turnip and Rutabaga Pests How to Identify and Treat Diseases of Turnips and Rutabagas
Photo by Meghan Yager © Ask the Experts, LLC. ALL RIGHTS RESERVED. See our TOS for more details. Uncredited photos: Shutterstock. Additional writing and editing by Clare Groom and Allison Sidhu.