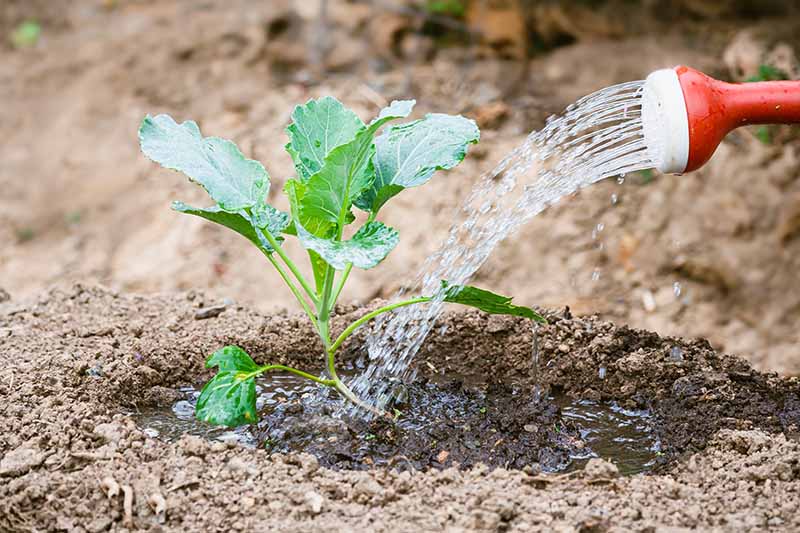
And while growing collard greens in your home garden is by no means a competitive event, you’ll benefit by taking the same approach at harvest time. We link to vendors to help you find relevant products. If you buy from one of our links, we may earn a commission. They’re not that tough to take care of, but they do require supplemental water and weeding, and can benefit from mulching and a side dressing of fertilizer about halfway through the growing season, too. You wouldn’t want to waste all that effort, ending up with bitter, tough greens after putting in months of work, would you? Instead, reap the rewards of your gardening efforts by finishing strong in the last days or weeks of the growing season. Make the extra effort to harvest at the right time and pick as much as you’ll eat or share ahead of warm weather, which can make the plants bolt and the leaves turn bitter. There’s a knack to picking collards at the point when they’ll taste their best, and in a way that will maximize the harvest. Happily, while the process is specific, it’s not overly involved. I’ll break down the steps here, starting from the time you choose a cultivar to grow, then taking you through the timing of picking baby leaves, and wrapping up with harvesting full-size leaves before the plants bolt. Here’s what I’ll cover:
Planting for Maximum Harvest
While they’re still tasty, collard greens you buy from the store pre-torn and a few days or weeks past harvest time will never compare to the superior flavor and texture you’ll enjoy with the homegrown variety. But this only holds true if you’re careful to pick the greens at their peak. Begin with that goal in mind by planting at the proper time. Collards are biennials that thrive in cool temperatures, and can survive all winter outdoors in USDA Hardiness Zones 8 to 10. In spring, you’ll want to plan to harvest before air temperatures exceed 85°F. That warmth encourages the plants to bolt – that is, to form buds and then flower, which renders the leaves bitter and makes them inedible. Most varieties take about 80 days from sowing to produce full-size leaves. Be sure to check your seed packet for specifics. Then establish how much time you have for collards to grow without bolting, starting with the typical time when summer weather arrives in your area, and counting back 80 days to see when you’ll need to sow. You can’t really plant collards until the soil has warmed to about 45°F, so here’s the thing: in most areas, you’ll need to start seeds inside. Sow your seeds indoors six to eight weeks ahead of the average last frost date in your area, and then transplant them out in mid-spring once the temperatures are mild enough. If you live in areas with long, hot summers, you may need to choose a bolt-resistant variety like ‘Champion.’ Learn more about ‘Champion’ and other cultivars in our guide. In certain areas, you may find that the math doesn’t add up. You may not have enough days available with temperatures in the 45 to 85°F range for collards to mature, even when you start seeds indoors. In that case, I heartily recommend growing them in containers you can bring indoors for the start or finish of the spring growing season, depending on whether you’re trying to avoid weather that’s too cool or too hot. Or, lean into a shorter growing season and plan to harvest your collards only at the baby leaf stage, which usually requires about 28 days of growth before you can pick. If springtime weather in your area won’t work at all, consider growing collards as microgreens, an indoor gardening project that you can tackle at any time of year. Learn more about growing microgreens of all sorts in our guide. In the fall, the calculations for the optimal harvest work in reverse. You’ll count back 80 days from the date of your average first hard freeze. While these brassicas can tolerate a few touches of frost, and some say that improves their flavor, they can’t hack sustained cold temperatures. In warm weather growing zones, you may still need to start the seeds indoors to be able to plant them after the scalding late-summer temperatures that collards can’t withstand, but ahead of hard freezes. In other areas, you may have enough “just right” temperature days to sow the seeds directly in the ground. Just keep in mind the plants will start to grow more slowly as the temperatures drop in autumn, so full-size leaves will probably take longer to be ready to pick than the days to maturity specified on the seed packet. Once you’ve gone to the trouble of prognosticating your growing window, be sure to note the details in your gardening journal or calendar, and tweak it as you learn what works in practice – not just theory. Collards are so nutritious and delicious that it’s worth all the extra record-keeping to grow a lavish supply in your home garden.
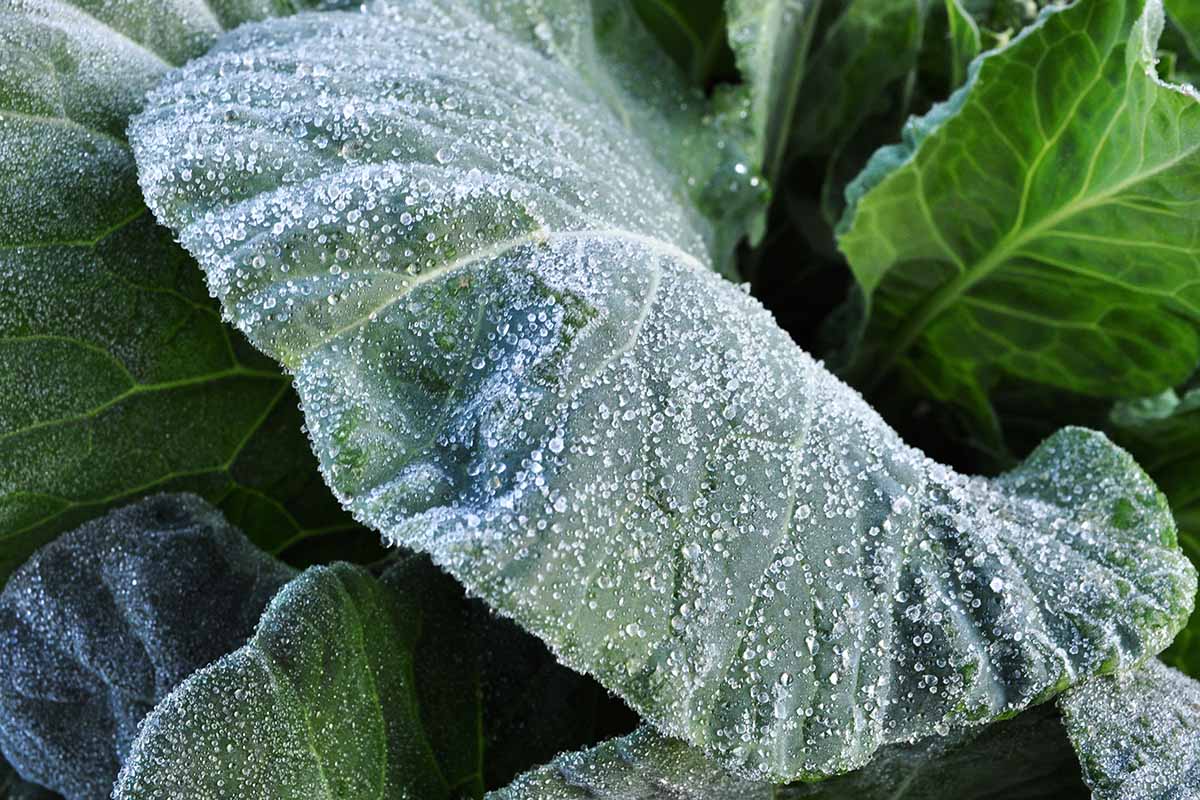
When Are Collards Ready to Pick?
If you’re easygoing, you can essentially pick collards as microgreens any time after they form their first sets of true leaves, which should take anywhere from 10 to 14 days. You can also harvest them once they’re a couple of inches tall, which is when they taste best fresh in salads, or at mid-size, the optimal choice for steaming to serve as a side dish. For the southern favorite of collards cooked with pork or simmered for hours in a vegetarian broth, you’ll want the full-size leaves. The number of days to maturity for your variety as its listed on the seed packet is usually a pretty good indicator of when to pick them. As mentioned earlier, be sure to allow a bit of extra time for slower growth during the chilly days of autumn. And any time when your crop is threatened by impending heat or a hard freeze, go ahead and pick all you can use or freeze right away. Once they bolt or the plants die from cold exposure, you can’t eat the leaves. It’s compost time for them.
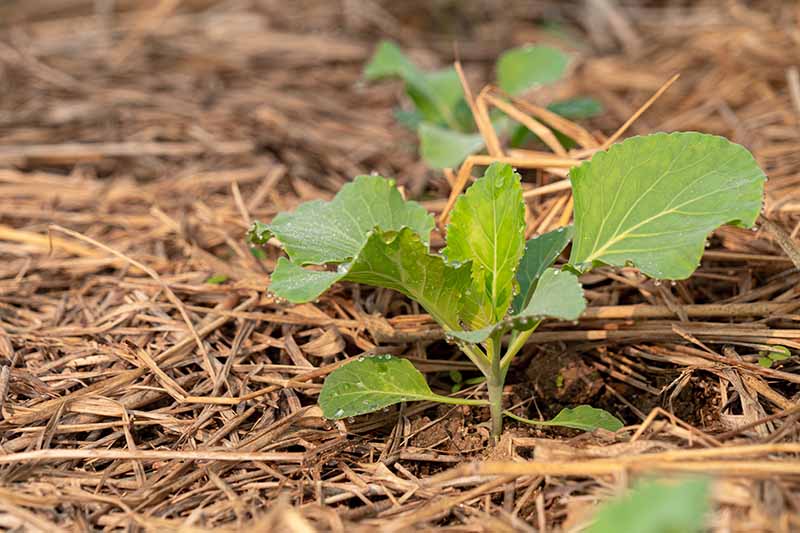
Harvest Microgreens and Baby Leaves
Now you’re picking! For quick gratification, you can thickly sow a layer of microgreens indoors, and pull them all up when they’re an inch or two tall. Then rinse, and eat. Yum! For baby leaves, snip the small plants at the soil line when they’re two to four inches tall, and enjoy. The roots you leave behind can nourish the soil for the next crop you plant. This only gets tricky if you plan to harvest baby leaves as you thin the crop for optimal spacing. Then you have to be extra careful not to leave behind any roots or other plant matter that may rot and encourage disease in the remaining plants. You’ll also need to be careful to only slice out the ones you want to pick while leaving the others behind. Since the seeds are so inexpensive, I usually recommend growing a baby leaf crop separate from the plants you’d like to grow to maturity, so you can avoid these potential issues.
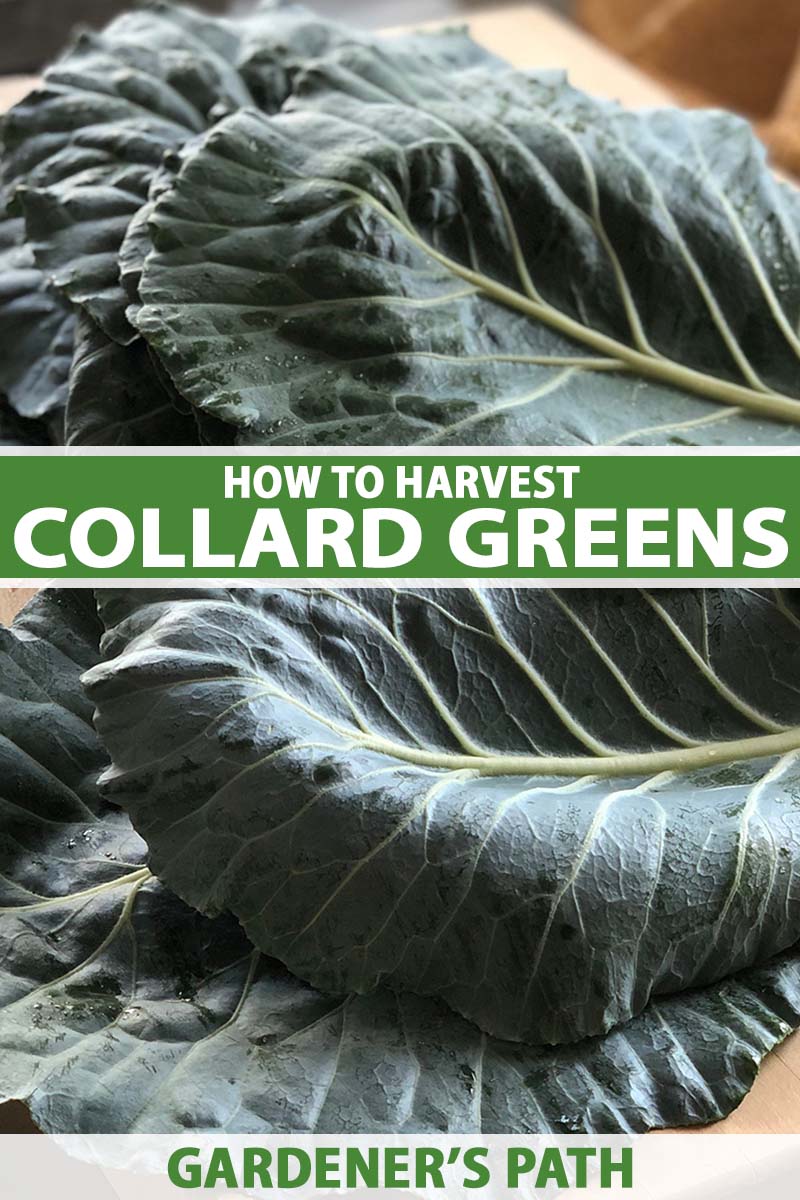
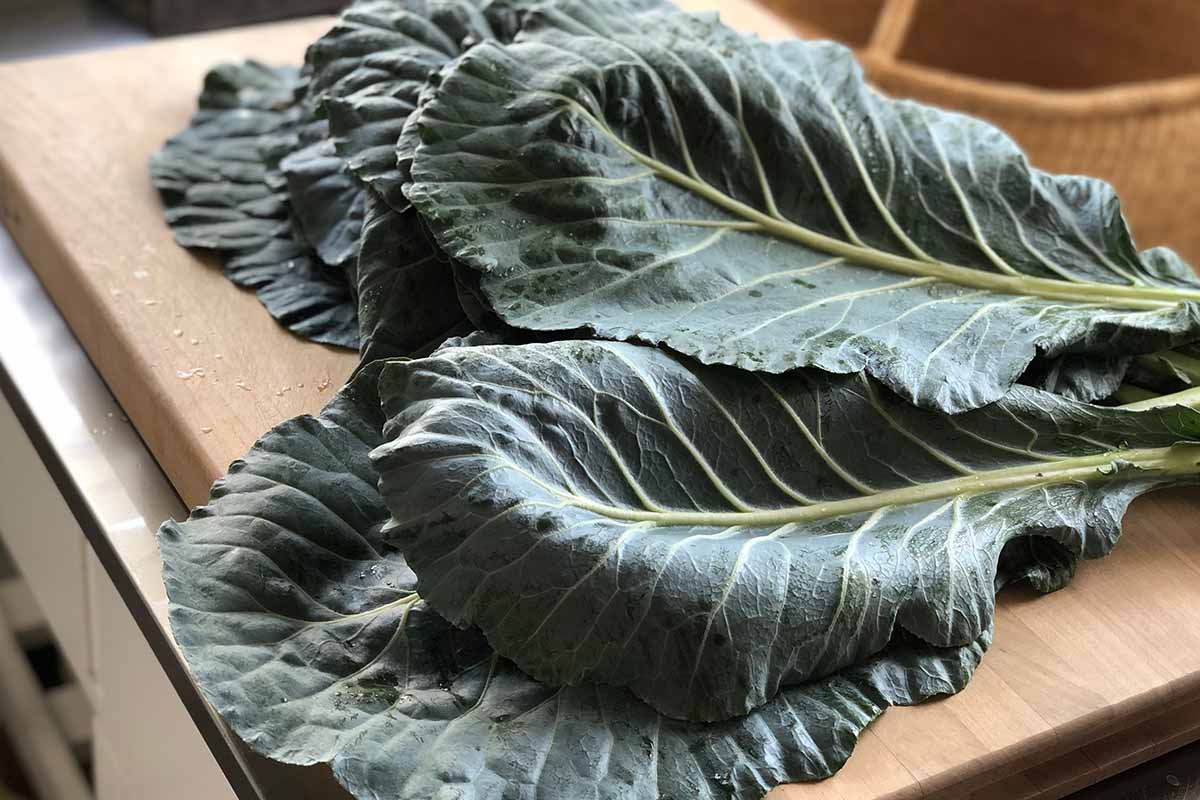
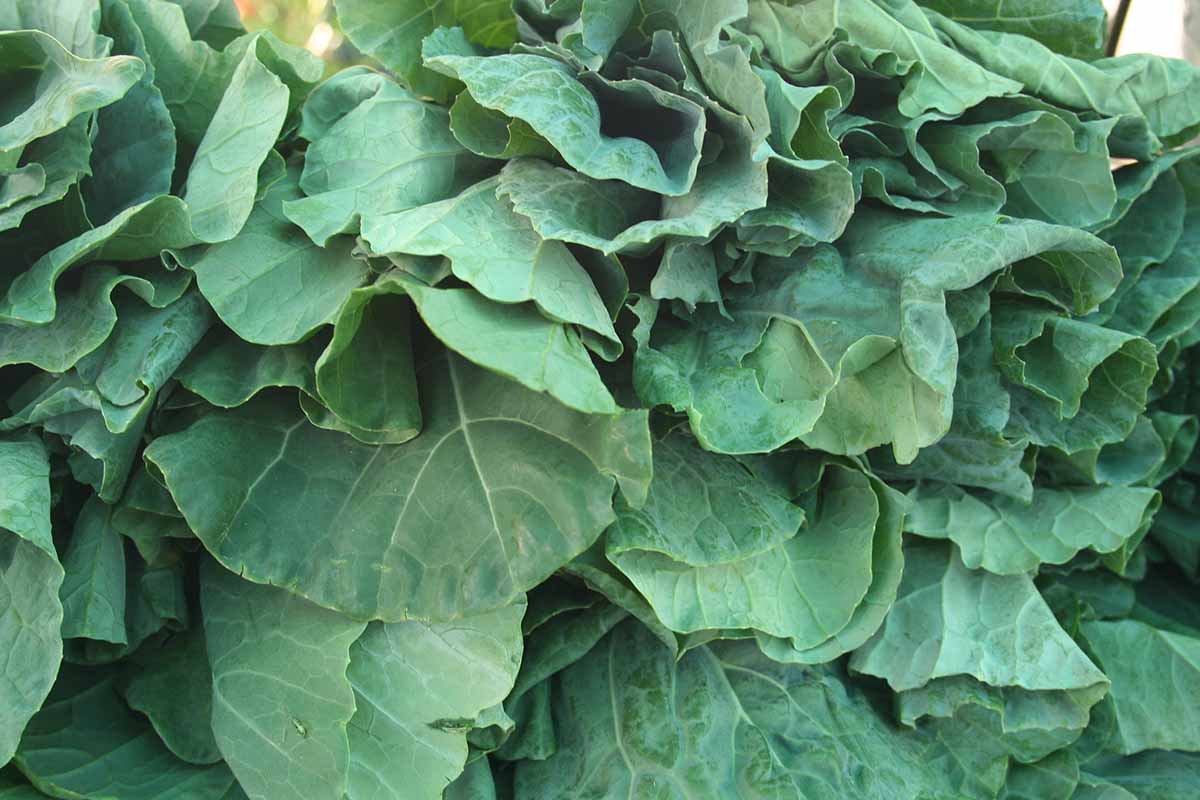
Pick Full-Size Greens
There are two ways to pick the big leaves. First, you can pick a couple of the outer leaves at a time, leaving the rest of the plant to keep growing. This is only a good idea if there is still time in the season for the other leaves to get bigger without facing harsh temperatures. Use scissors or a sharp kitchen knife (not a serrated one) to cut the leaves about an inch from where they jut out of the soil. If you’re going to sever the entire plant to cook all at once, cut it off above the crown if you have time for it to produce a few more leaves before the harvest window closes. Or if the growing season is ending soon, you can pull the whole plant up and cut the roots off after it’s out of the ground. If you go in this direction, you may need a trowel or a small spade to loosen the dirt first. And that’s it! Your next stop is the kitchen. While you’re pondering how to fix these tasty leafy greens, would you take a few minutes to add any of your own collard harvest tips or questions to the comments section below? And if you’re looking for a source of additional tips for growing and caring for this southern favorite, check out these collard guides next:
How to Grow Collard Greens, a Taste of Southern CuisineTips for Growing Collard Greens in WinterWhat Are the Health Benefits of Homegrown Collard Greens?