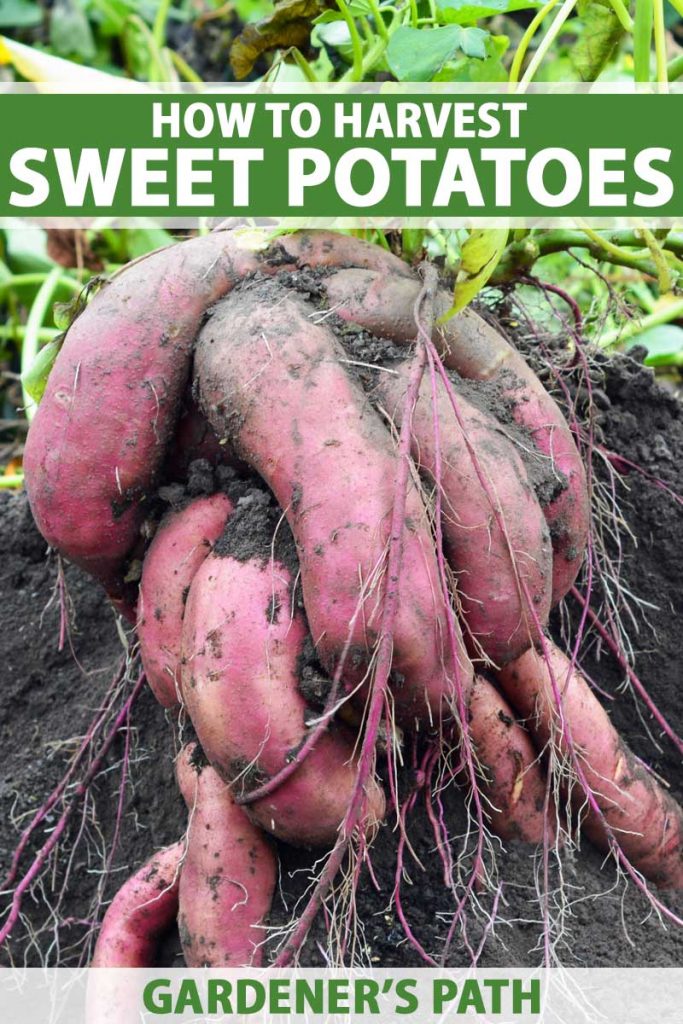
For the sweet potato is not related to regular potatoes. Not in any way, shape, or form. Not even third cousins twice removed. No matter. A vegetable by any other name would taste as sweet, and whatever its name, Ipomea batata is tasty, easy to grow, and easy to harvest, once you understand the particulars. We link to vendors to help you find relevant products. If you buy from one of our links, we may earn a commission. Let’s dig in!
When to Harvest
Most sweet potato varieties are ready to harvest after about 100 days of growth, though you’ll find a range of 90-120 days. You may also come across some newer varieties designed for the shorter growing season in the north. Some gardeners swear the best-tasting sweet potatoes are those that have experienced a single light frost. If this is your goal, be sure to time your planting and harvest just right, because these tropical plants won’t tolerate much chilly weather. In addition to checking the calendar, you can also look for yellowing leaves and vines, as this is an indication of readiness.
How to Harvest
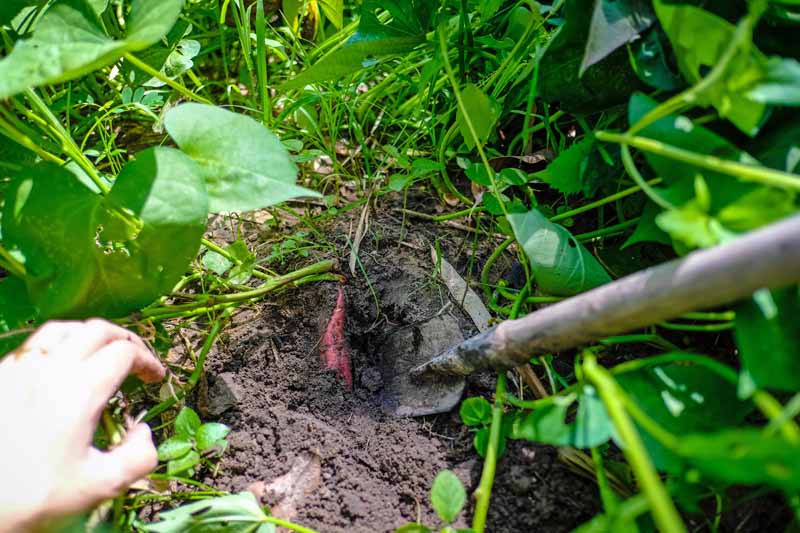
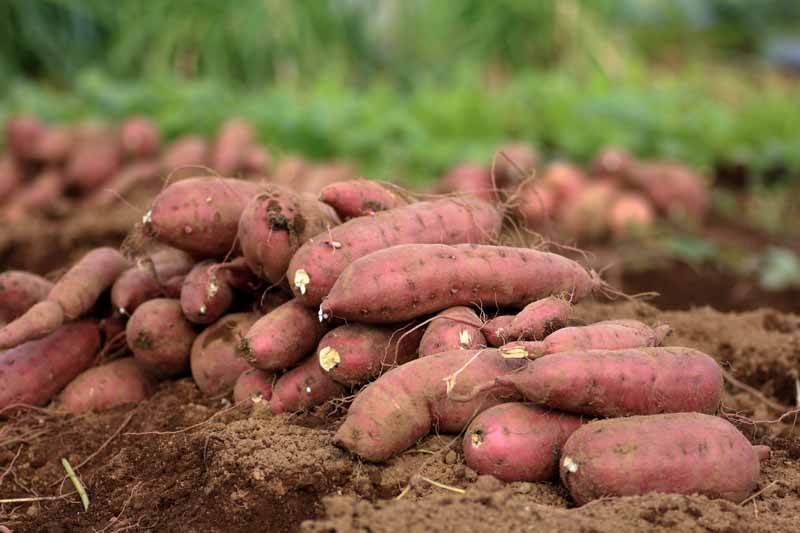
When you’ve decided the time is right, and it’s time for harvest, find a nice sharp spade and a spading fork (aka potato fork), if you have one. Since you can’t see what you’re digging up, you’ll want to be careful not to damage your precious tubers.
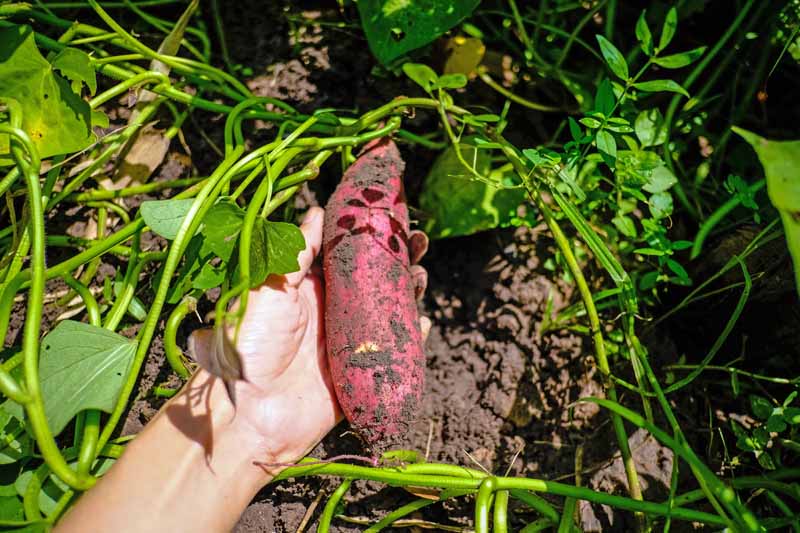
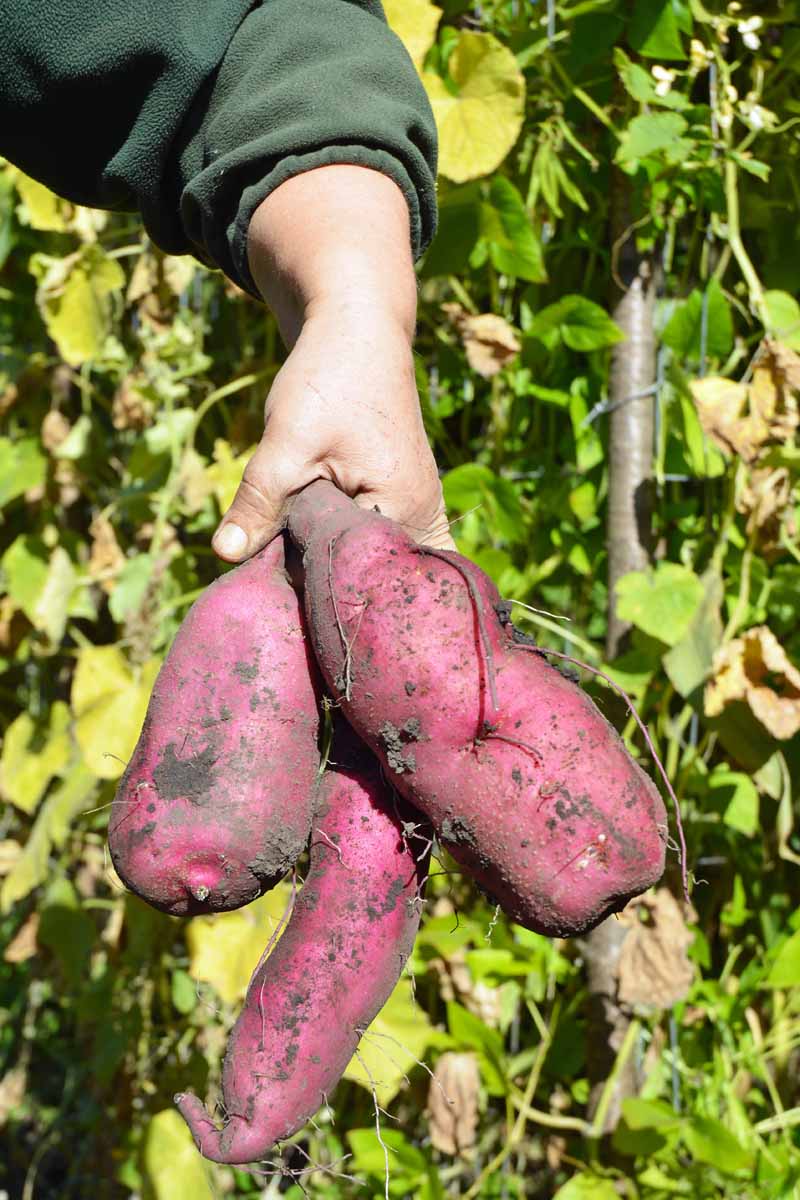
On a dry, overcast day, gently loosen the soil with a spade about 18 inches away from the center of your plants, and about 6 inches deep. It’s also best if the soil is dry so less dirt sticks to the tubers. Then, grasp at the crown of the plant (i.e. at the base of the vines) and pull it up. Or use a spading fork to gently lift the potatoes out of the loosened soil.
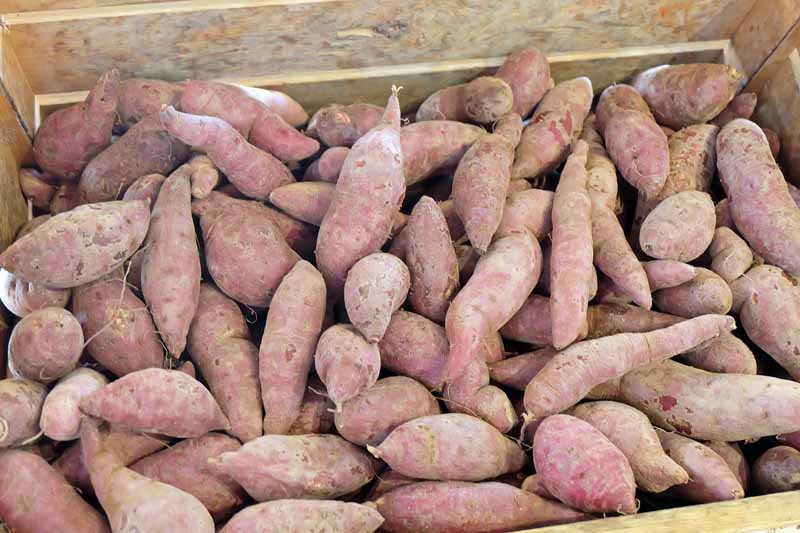
If you grew your sweeties in a container, simply dump the pot into a wheelbarrow. Let the sweet potatoes rest on the ground for a couple hours. Shake or brush off any loose soil, but do not wash the vegetables.
Curing the Tubers
“Curing” sweet potatoes allows a second “skin” to develop over cuts or scratches that may have occurred during the digging process, allowing for more successful, longer-term storage. Additionally, the curing process increases the moistness of the tuber, while also enhancing the vegetable’s aroma. The process also reduces starch content while increasing sugars. In other words, cure for more yumminess! To cure, store them in a single layer in a warm (80-90°F), humid (85-90%) place for about 14 days. Creating these conditions may be tricky if you don’t live in, say, Florida. Some gardeners punch holes in a plastic grocery bag, place a few tubers inside in a single layer, and place the bag in a sunny, warm window. Cover the bag with a towel for extra warmth at night or when it’s not sunny.
Proper Storage
The next step is to store your tubers until you’re ready to enjoy them. This involves moving them out of the sauna into a cooler environment. Ideal storage conditions include an ambient temperature of 55-60°F and relative humidity of 85-90%. Under these conditions, sweet potatoes remain viable for several months. A cellar, basement, or an outdoor storage house (when temperatures are cool) would be ideal.
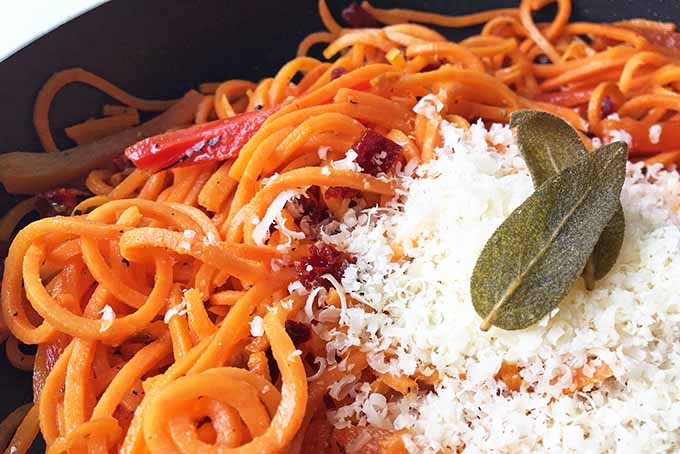
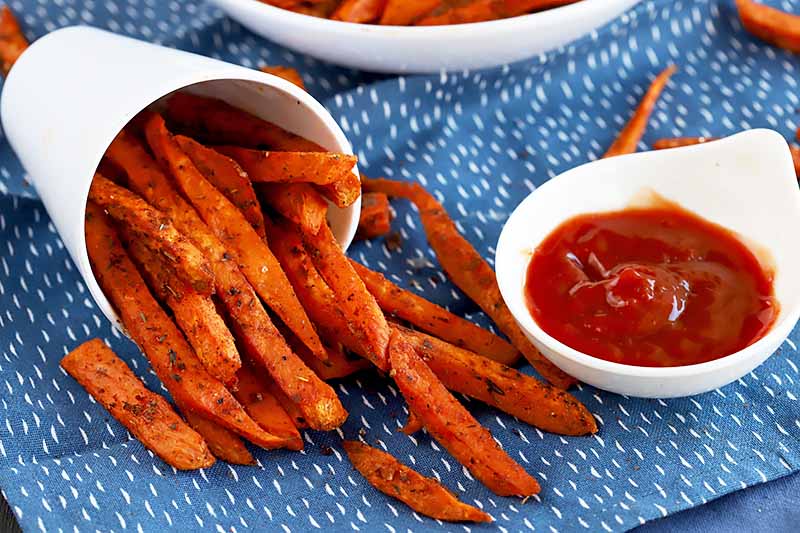
Some gardeners store their tubers in paper bags or wrap them individually in newspaper. You can simply set them on shelves, or place them in milk crates, which will allow plenty of airflow. Don’t refrigerate sweet potatoes for more than a few days, or they will begin to show signs of breaking down or rotting. Wherever you store the tubers, check them every couple of weeks to make sure that none have started to mildew. If you find an affected vegetable, remove it immediately to prevent spread. Other storage options include slicing them into fries, vacuum sealing them, and freezing them. You can also preserve your spuds by canning them. If you’re watching your carb intake but nevertheless craving pasta, consider cooking up some spiralized homegrown root veggie noodles with roasted red peppers and sun-dried tomatoes. Packed with flavor, this “pasta” dish starts with roasted sweet potatoes. Get the recipe now! If you’re wondering what to do with the cut fries you put in the freezer, how about Cajun oven-baked sweet potato fries? You’ll love the flavor-packed seasoning! Get the details on Foodal. For dessert, instead of the traditional pumpkin pie, how about baking up this sweet potato pie, infused with the same spices you love in the pumpkin version. Need more sweet potato recipes? Try one one of these!
All You Need Is a Thermometer
Harvesting these tasty root vegetables is simply a matter of carefully digging them up at the right time. Then, a little attention to temperature and humidity will provide you with deliciousness for months to come.
Do you grow these misnamed veggies? What are your harvest and storing secrets? Share in the comments section below! Photos by Amber Shidler © Ask the Experts, LLC. ALL RIGHTS RESERVED. See our TOS for more details. Uncredited photos: Shutterstock. Significantly revised and expanded from a version originally written by Amber Shidler.