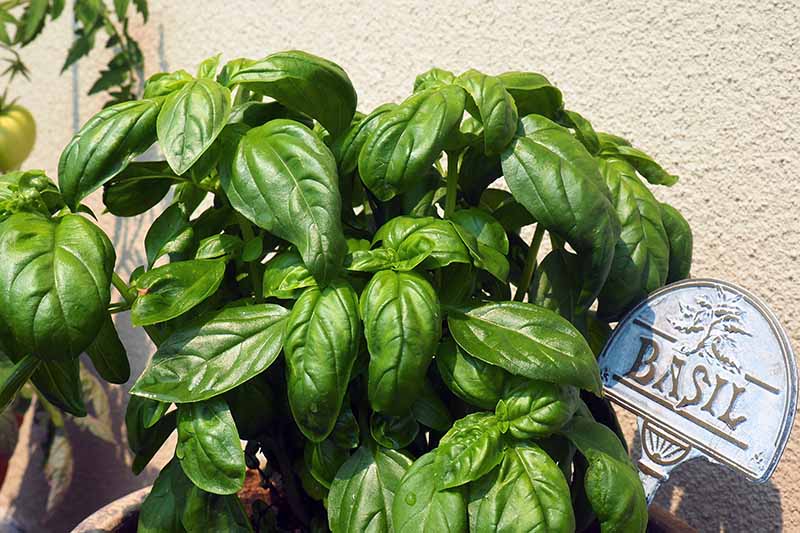
Gardeners love its fast growth in response to warm temperatures. But this frost-tender annual is short-lived and needs to be resown yearly. These vigorous plants flower and set seed freely. And once the growing season slows down, collecting seed from your favorite varieties is a smart way to ensure a repeat performance next year. We link to vendors to help you find relevant products. If you buy from one of our links, we may earn a commission. Just a few flowering basil plants can produce hundreds of seeds, which makes growing a steady supply of flavorful leaves easy and economical. You’ll always have your own curated supply to make successive plantings from spring through midsummer, and beyond! The collection process is the same for all varieties of basil. So whether you grow sweet ‘Genovese’ or pretty ‘Purple Thai,’ the easy steps described here apply across the board. Here’s what we’ll cover in this article:
Watch for Flowers First
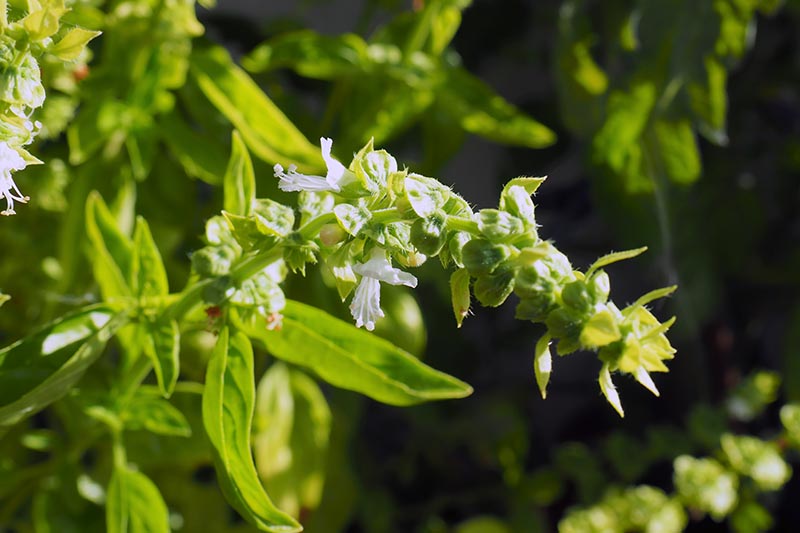
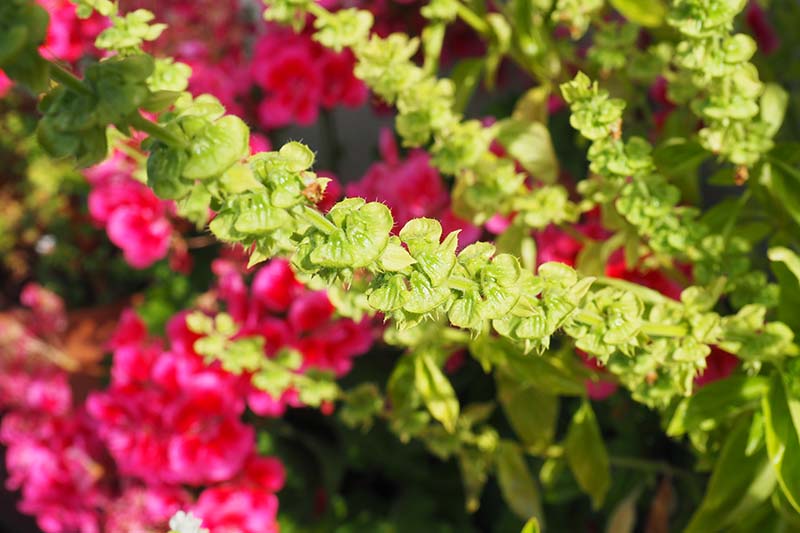
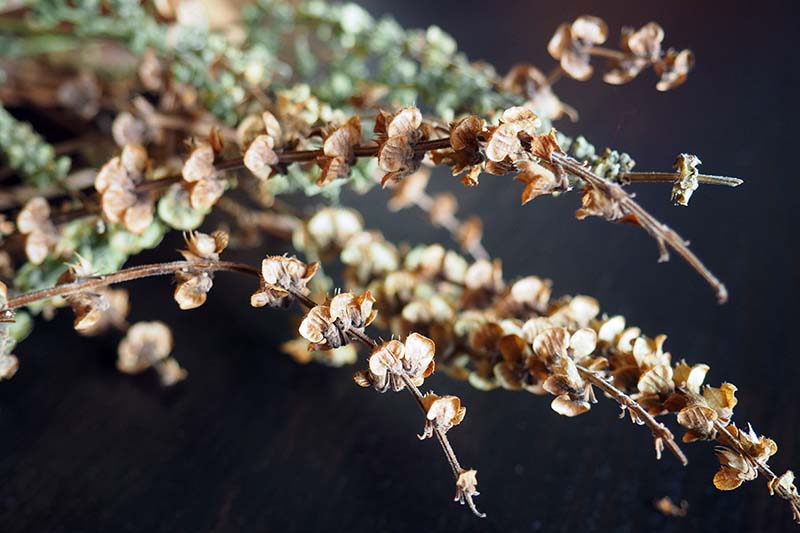
Basil is grown for its exquisitely fragrant and flavorful leaves, and pinching out emerging flower buds is always recommended to extend the season. However, if you want to collect seeds for planting next year, or perhaps for use in cooking, some of the plants must be allowed to flower. Only a few plants are required, as each one can produce several tall flower spires laden with pods containing hundreds of seeds! These serve to attract beneficial pollinators as well. It’s important that the pods have enough time to fully mature and ripen after flowering but before the first frost of the season arrives in order to produce viable seeds for planting next year’s crop. This process can take six to 12 weeks to complete, so flowers should be allowed to develop fully by mid-July to mid-August at the latest, depending on your region. Basil plants love the heat and sun, and when cool temperatures hit they can shut down quickly, resulting in the potential loss of any unripe pods that are still developing. At the start of July, or August in warmer regions, choose a few healthy basil plants and stop pinching out the central stems to allow flower buds to develop. Continue to water and fertilize your plants regularly, caring for them as you normally would. After flowering, pods will form at the base of the spent flowers. These contain the seeds, and they are ready to harvest when they begin to dry and change from green to tan or light brown in color. Take care to harvest before the pods open and disperse their contents throughout the garden or into your planters. Use clean scissors or a sharp knife to cut the stems at the base.
Process the Pods
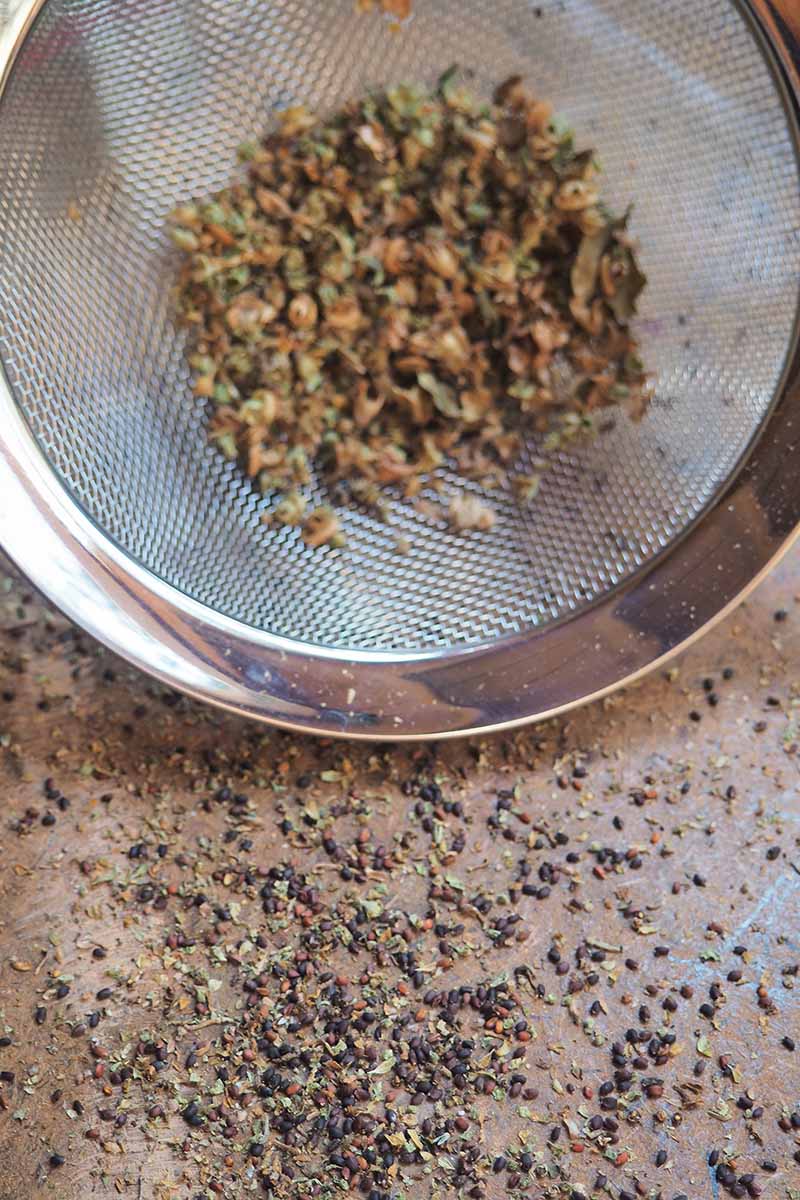
Allow the pods and stems to dry completely, for at least a few days. Place them in a warm, dry location out of direct sunlight. When they’re dry, the pods will be light brown and brittle to the touch. After drying, hold the stems over a large bowl, paper bag, or shallow tray and rub the pods between your fingers to gently release the mature black seeds. You can also place the stems into a paper bag and lightly crush the bag with a rolling pin. Use a gentle touch and apply just enough pressure to break the pod shells open without pulverizing what’s inside. Tip the crushed material into a mesh sieve held over a shallow tray. The seeds are tiny, and a typical metal kitchen sieve will allow them to pass through while blocking most of the chaff. A splatter screen also works well for this. Gently shake and swirl the sieve until only the chaff remains. Some fine particles will also go through the sieve. Use your fingertip or a small artist’s brush to separate and sweep away any debris. You can also blow lightly to disperse the chaff. Discard the excess plant material in the trash or the compost pile. After processing, it’s time for your dried harvest to go into storage.
Storage Tips
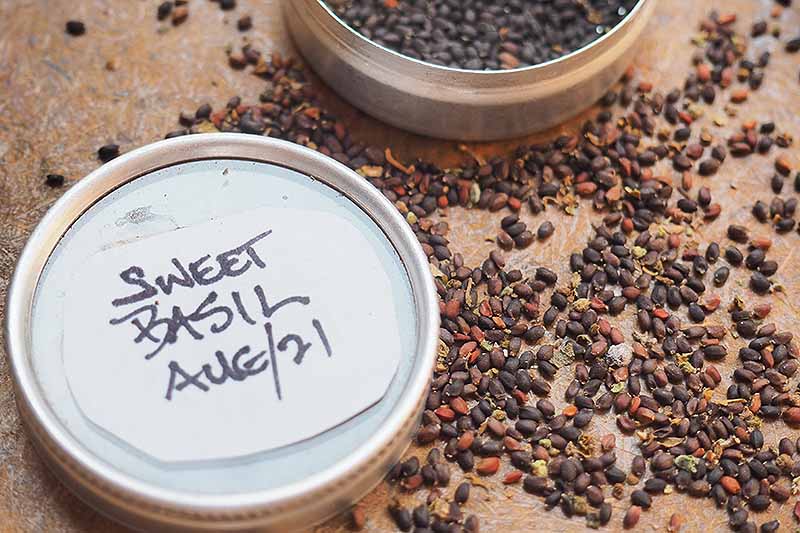
When stored properly, basil seed has a long shelf life, staying viable for up to five years. Select a container that seals well, such as a small envelope, or a glass or plastic jar with a tight-fitting lid. Ensure that everything is completely dry before storing, including the containers. Moisture can lead to the growth of mold or a failure to germinate. Label and date the containers, and rotate them each year so the oldest in your collection are used up first. Store the containers in a cool, dark, and dry spot away from any heat sources. The ideal temperature for storage is 40 to 50°F. Due to fluctuations in humidity, the refrigerator should be avoided for storage. Remember to give your selected plants plenty of time to flower and produce mature pods. Ensure that everything is completely dry before storing, and rotate your stock each year to use the oldest ones first. That’s all it takes to harvest and save homegrown basil seed – and start your own heritage collection! Do you folks have any tips or tricks for cleaning the chaff from small seeds like basil? Let us know in the comments below. And for more information about growing basil, be sure to read these articles next:
How to Grow Basil in Your Herb GardenHow to Propagate Basil13 Favorite Basil Varieties for the Garden
