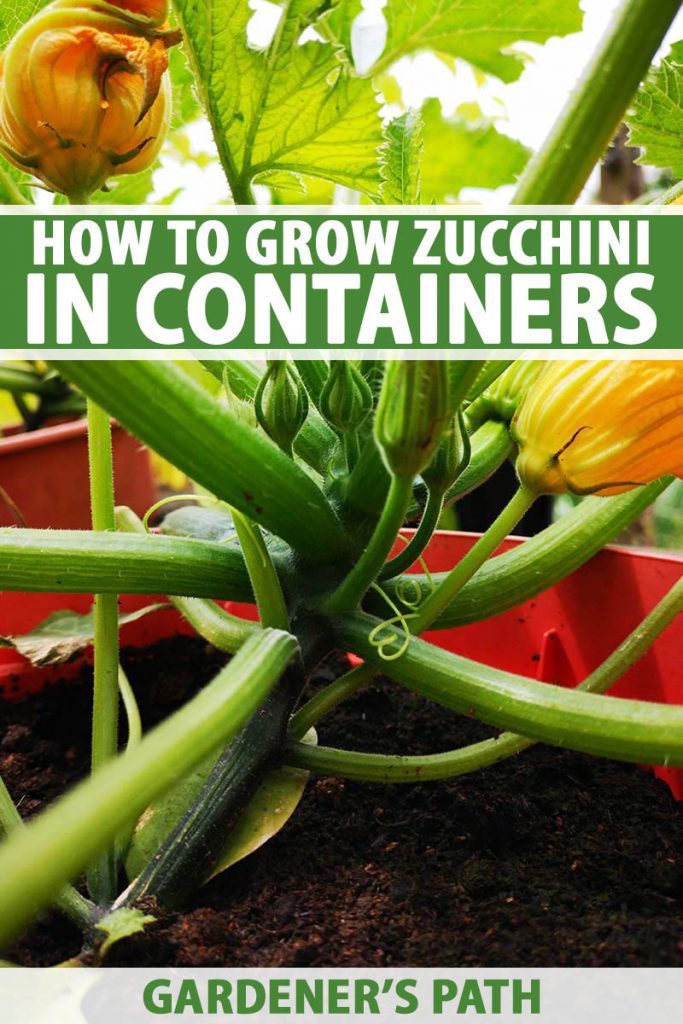
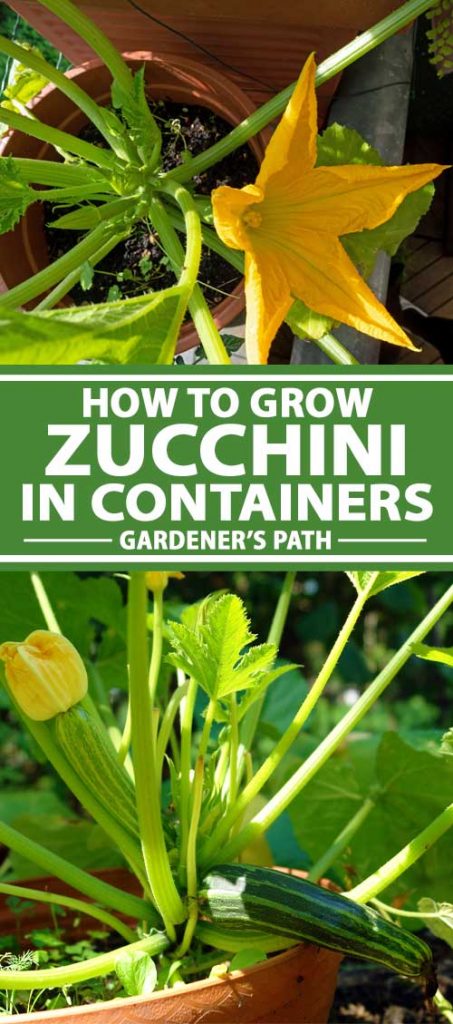
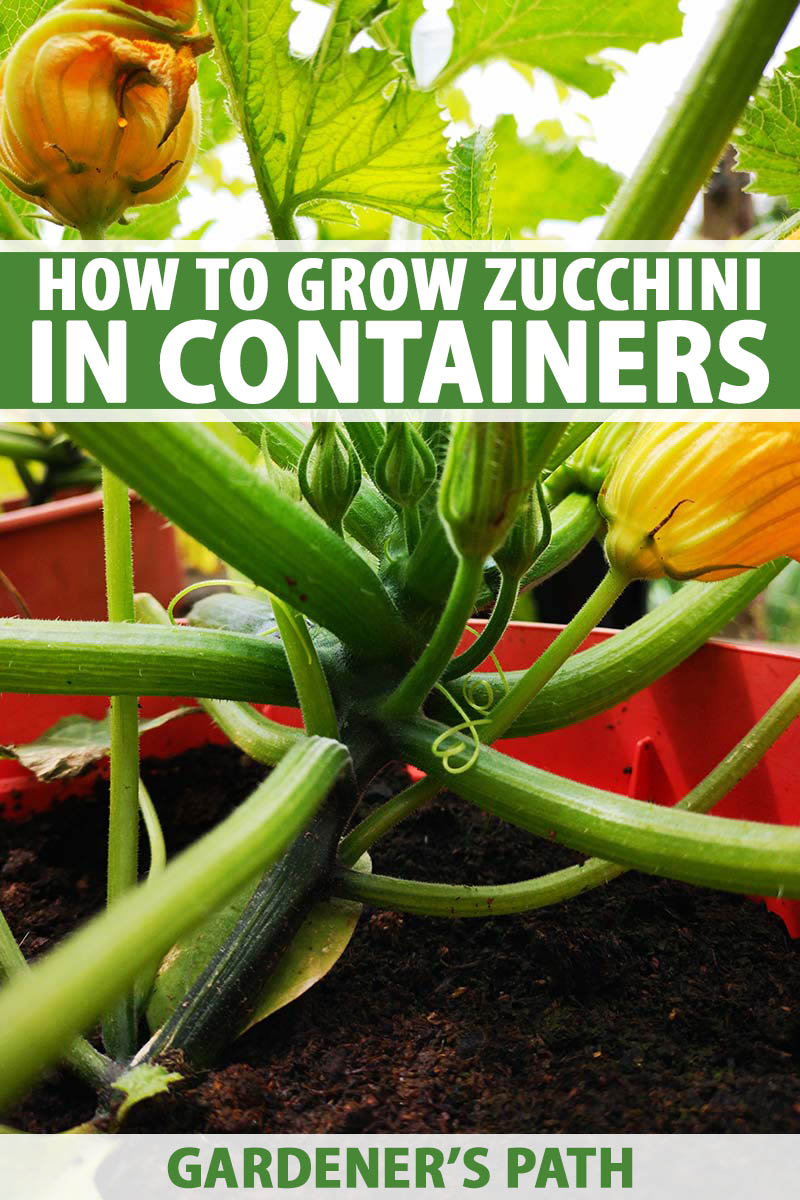
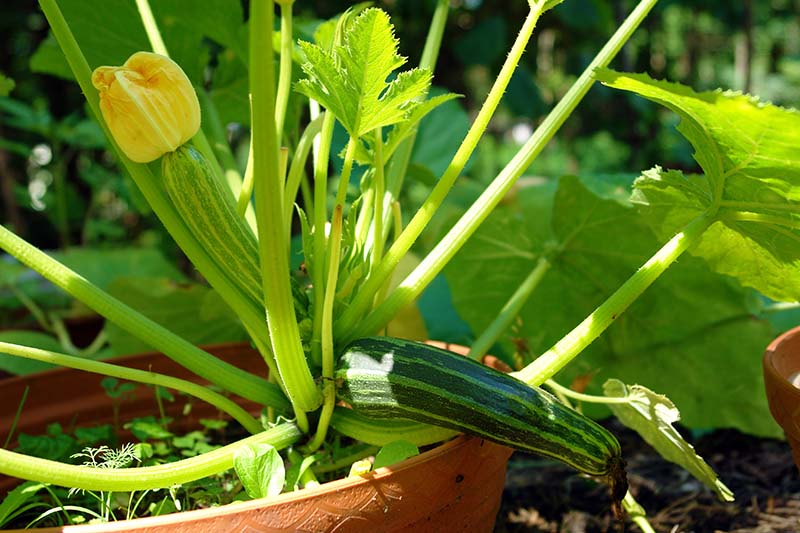
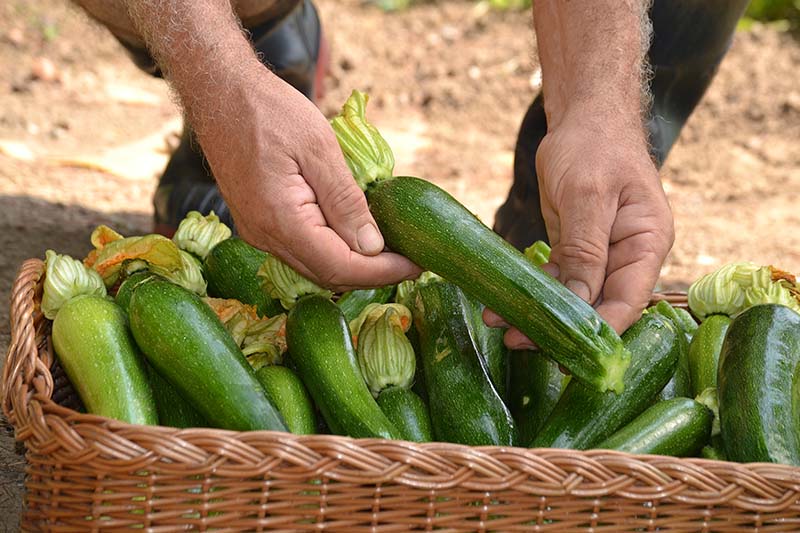
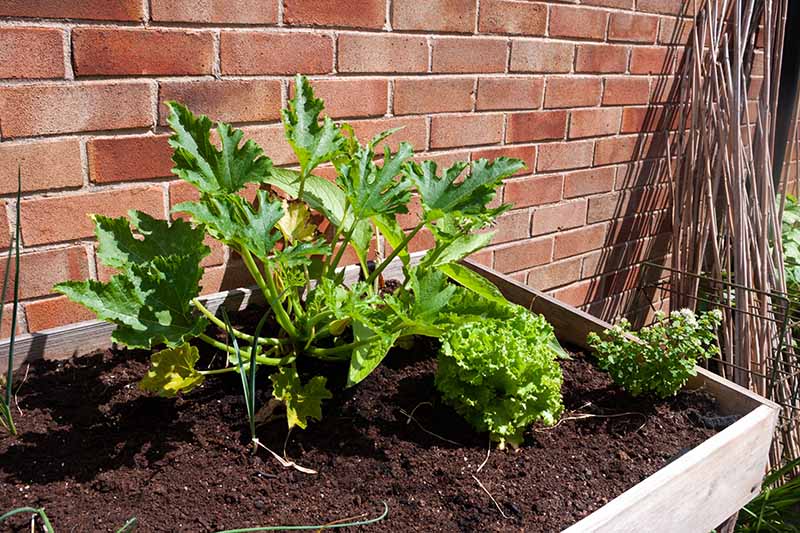
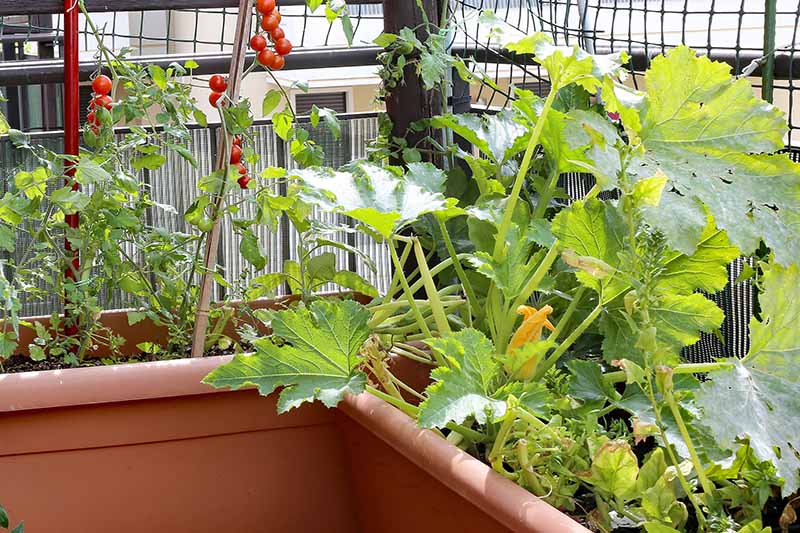
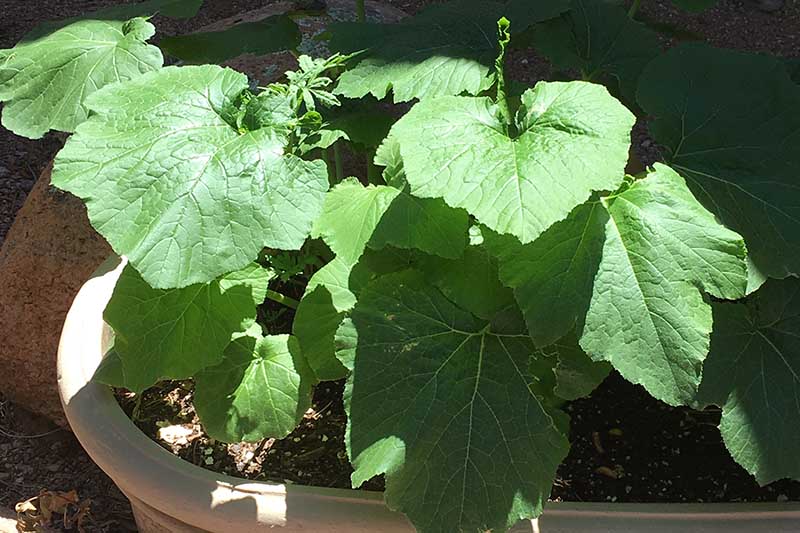
These delicious, nutritious hallmarks of summer grow perfectly well in a pot on the patio. This may come as a surprise, given how large zucchini vines can grow in the garden, but it’s true! We link to vendors to help you find relevant products. If you buy from one of our links, we may earn a commission. Vining varieties are the ones that spread out many feet along the ground in all directions. The fruits can form anywhere along the vine. Bush varieties grow from a central point, and tend to be more compact. Fruits usually form at the base of the plant, which makes harvesting them easy. As you can imagine, bush varieties are perfect for container growing. And this is wonderful, because it means you won’t have to go without – even if you’re gardening in a small space!
We’ll take you through the process, offering special tips for growing your zucchini in pots. Ready to learn more? Let’s dive in.
Why Grow Zucchini in a Container?
There’s a reason why zucchini are so popular in home gardens. Several reasons, actually. They’re easy to grow, they’re reliable producers, and a single plant can give you an abundant harvest over the course of the summer.
Around my neighborhood, people joke that you can’t leave your car windows rolled down during the summer, or someone will toss their excess harvest in to get rid of it. The flowers are delicious as well, and they’re much harder to get your hands on at a grocery store than the fruit. If you’re short on garden space, or particularly if you have no garden at all, you probably have to forgo some of the joys of gardening. But some plants do well growing in a container. Zucchini is one of those plants.
Given a large enough container, zucchini plants can produce an abundant harvest. I like to grow mine in containers even though I have space in my garden, simply because it makes having access to my plants and the eventual harvest easier. It also keeps my garden tidier. The plants are right outside my back door, rather than sprawling out across my yard, and taking over my veggie patch.
Choosing the Right Container
Zucchini plants have a large root system, so they need a big container. For a vining plant, select a pot that is at least 36 inches deep.
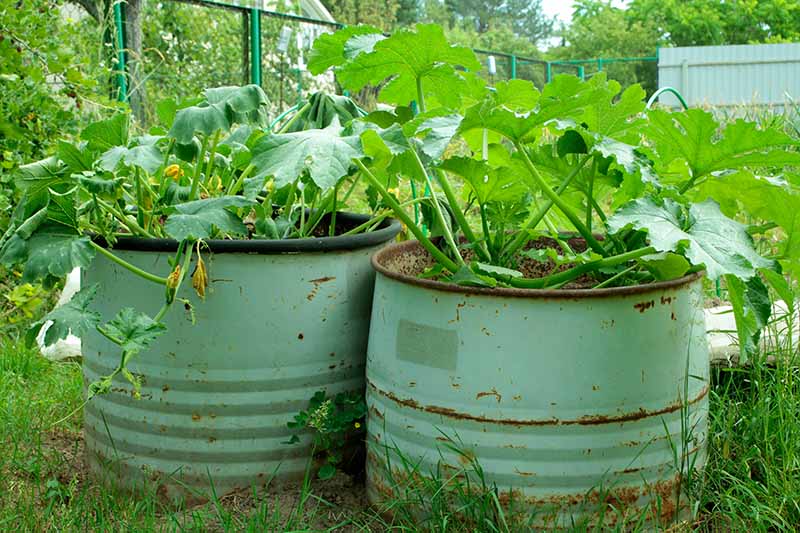
They also have long tap roots that can grow up to three feet long. The rest of the roots branch out from this central root structure. That said, not all zucchini cultivars will grow to be that large. If you choose a bush-type cultivar that is well-suited to growing in a pot, you can get away with selecting something as small as a 5-gallon container. A pot that’s about 16 inches wide and 16 inches deep is ideal for growing bush types. Containers made out of porous material tend to work better for container growing because they provide additional drainage – but they can dry out quickly. Terra cotta, cement, or unglazed ceramic are perfect materials to choose. You can use plastic, but the risk of waterlogging the roots of your plant is often higher, so you will need to be extra careful to provide adequate drainage. Make sure your container has drainage holes at the bottom.
Site Selection and Preparing Your Container
Always start with a clean container. You don’t want to spread any diseases to your newly-planted courgettes. If you’ve used the pot before, wipe it down with bleach and water diluted to a ratio of 1 part bleach to 30 parts water. Then, place it in the location where you plan to grow your plants.
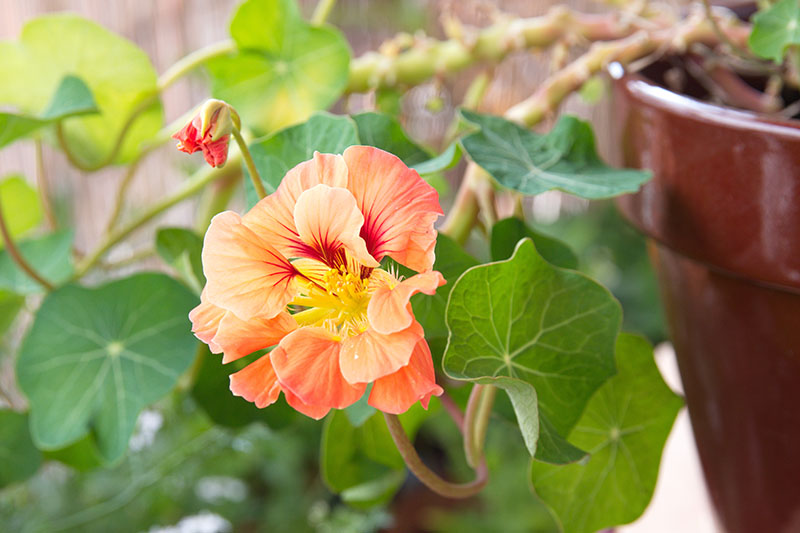
Zucchini plants need at least six hours of sunlight a day, so place the container in a full sun location. They also need lots of water, so make life easier on yourself and put it near a water source if you can. Bush types should be spaced two feet away from other plants or nearby walls. Vining plants require a trellis and 4 feet of space. This helps to promote good air circulation, which in turn helps to prevent disease. The exception to this rule is companion plants. You can put a nasturtium or parsley in the container with your zucchini plant. These companions help to deter pests, and both require a similar amount of water and sunlight.
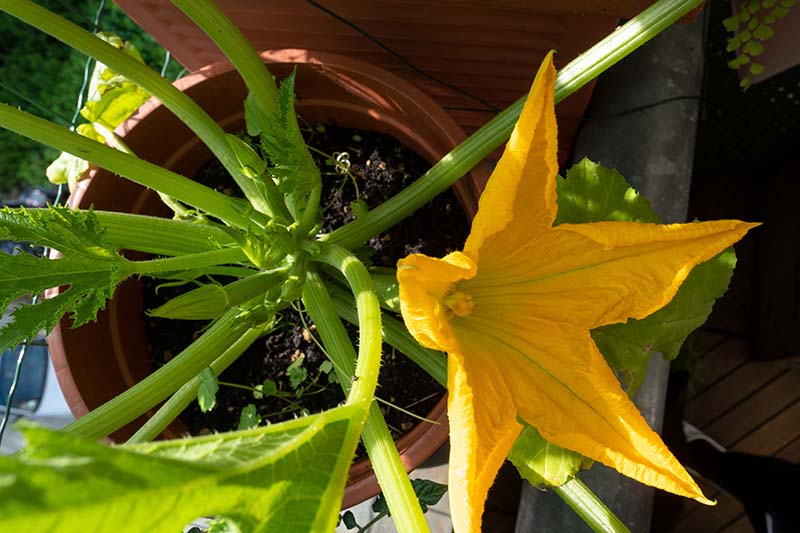
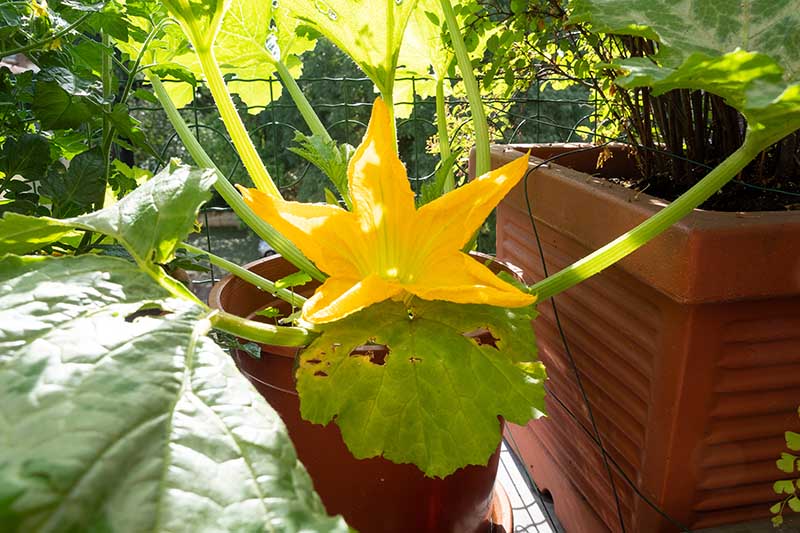
You can also plant nasturtium or parsley in their own containers nearby if you plan to keep them around for a few years. Otherwise, plan on pulling up the companions when you remove your zucchini plants at the end of the growing season, since you’ll disturb the root system. You also want your containers to be positioned near plants that attract bees and other pollinators like moths, butterflies, wasps, and ants, since zucchini needs to be pollinated in order to set fruit. Lilacs, mint, joe-pye weed, goldenrod, and bee balm are all reliable attractors. If you are tight on floor space, you can also encourage your plants to grow vertically. To do this, put a tomato cage over your seedling for bush types. For vining types, add a trellis to the container at planting time.
Line the bottom of the container with landscape fabric to prevent the soil from running out of the drainage holes. Then, fill the pot to an inch from the top with good quality potting soil. Container potting soil mixes have vermiculite, sand, and/or peat moss or coconut coir mixed in to help the soil drain well, and to retain some moisture without becoming waterlogged. Fertilizer should be added before you plant your seeds or add your plants to the pot as well. As you add the soil, stop when your container is one-third of the way filled, and mix in some 10-10-10 (NPK) granular slow-release fertilizer and a calcium amendment like calcium chloride or calcium sulfate.
Fill the container another third of the way, and do this again. Fill the rest of the way, and work more in. You should ultimately use about 1/2 tablespoon of fertilizer for each gallon of soil. Check package directions, as instructions may vary. Follow the manufacturer’s guidelines on the amount of calcium to add. Alternately, if you prefer a more organic approach, you can work in well-rotted compost so that the potting soil ultimately contains a ratio of one part compost to six parts soil. Normally, I wouldn’t suggest amending soil with calcium without doing a soil test first to see if your earth is deficient. But since container plants have limited access to nutrients, you want to give your plants everything they need to thrive.
How to Grow
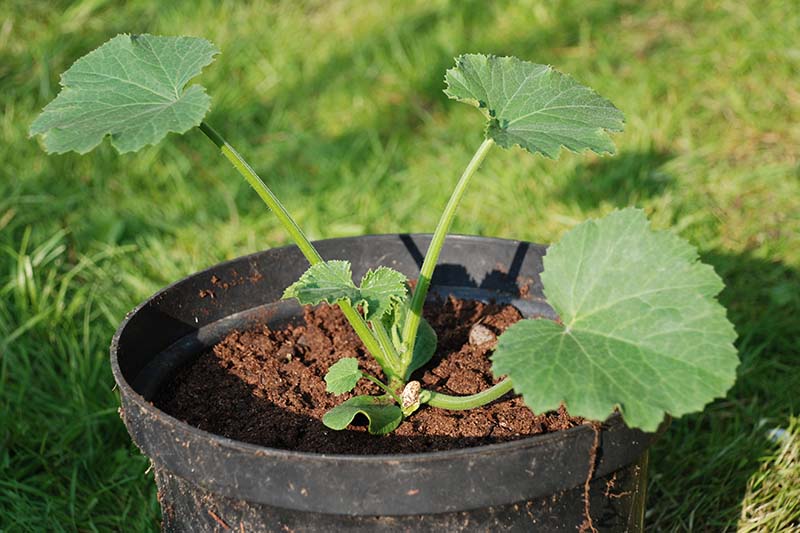
You can direct-sow into your container in mid-spring, or transplant seedlings after all danger of frost has passed in your area.
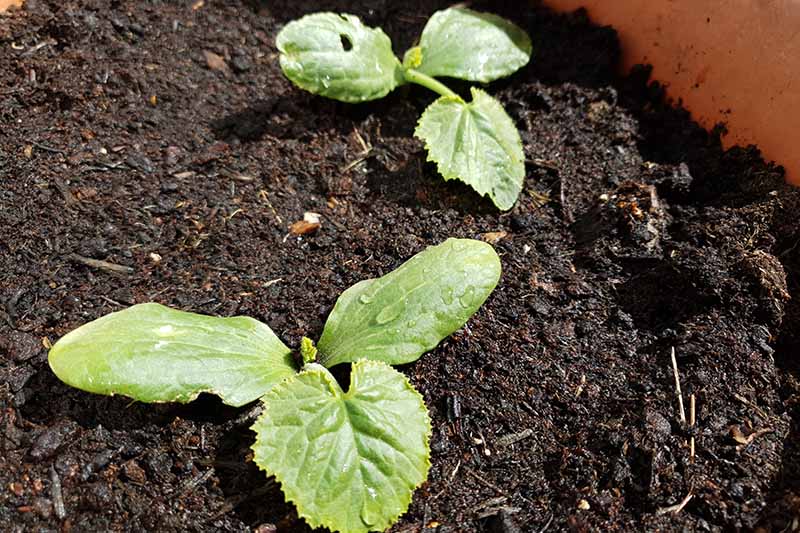
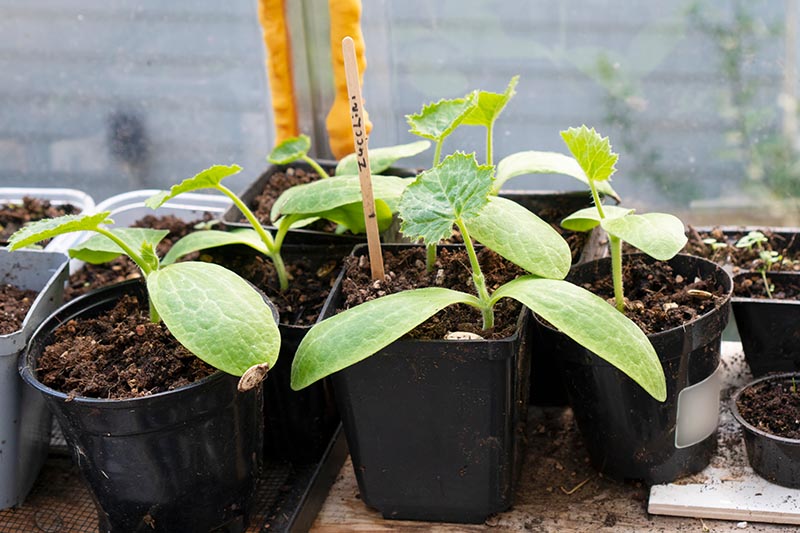
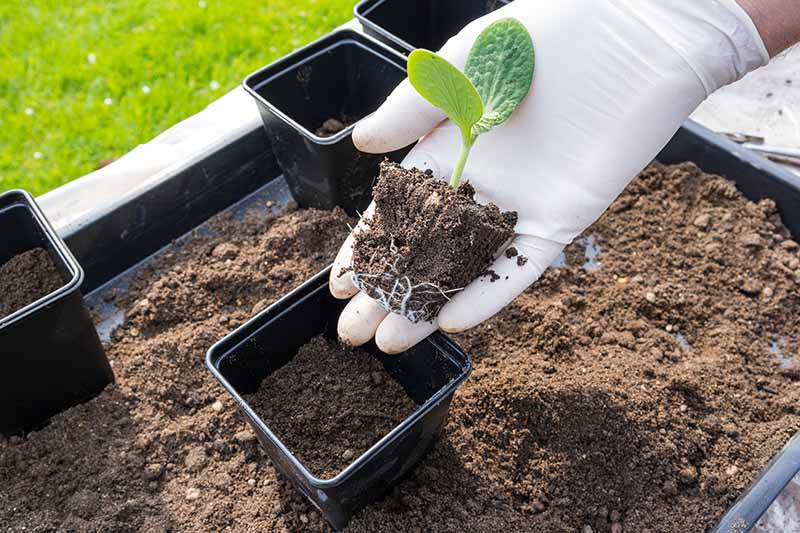
If you direct-seed, plant several seeds 4 inches away from the edge of the container at one inch deep and water them in. Check your pots regularly and ensure that the soil is kept constantly moist. Give the seeds a few weeks to grow until they’re about 4 inches tall, and then pluck out all the smaller seedlings, to thin them. Place a wire or plastic mesh container over the one remaining seedling, to protect it from birds. To plant nursery starts, dig a hole as deep and as wide as the container holding the seedling in the center of the pot. Gently tease the seedling out of the pot and set it in the hole. Fill in any space with potting soil, tamp down, and water in well.
If using, insert your trellis or cage near the seedling now, to prevent damage to the roots later on. You only want to keep one plant per container, unless your pot is larger than 20 inches wide. Crowded plants tend not to grow as well, and are more prone to disease. Gently tie the vine to the structure as it grows, using loose twine or a product intended for this purpose, like vinyl garden tie tape.
Container Care
Keep your plant well watered, but not waterlogged. During the heat of summer, I check my containers daily since potted plants dry out much more quickly than the ground. If you stick your finger into the soil and it’s dry about 2 inches down, it’s time to water.
You should also be sure to water at the base of plants rather than overhead, to avoid spreading fungal disease. I use drip irrigation so I don’t have to fuss so much. Once blossoms start to appear, it’s time to break out the fertilizer again. Apply 10-10-10 (NPK) fertilizer every two weeks, according to the manufacturer’s directions. Instead of granular fertilizer like you used initially, use a liquid fertilizer that you can apply with a watering can or sprayer to avoid disturbing the roots and blossoms of the plant. For a more organic option, you can use diluted fish emulsion and spray it on the foliage of the plant.
Harvest when your fruits reach about half of their mature size, which varies depending on the cultivar. This encourages your plant to keep growing and producing more fruit, and in my opinion, young zucchini tastes best. Left on the plant too long, fruit will start to develop hard skins and seeds, and it’s less palatable overall. While they’re growing, you might come across a few challenges with your plants. You can read more about those in our article on problems with growing zucchini.
Cultivars to Select
I’ll let you in a not-so-secret tip: Any type of courgette can be grown in a container, as long as it’s large enough, and with appropriate trellising as needed.
But bush types are more compact, and better suited to patio growing in containers. When you make your selection, look for any cultivar with “bush” or “patio” in the name, and you’re good to go. That said, here are some of the best varieties for growing in containers that I’ve found.
Astia
‘Astia’ is a French bush variety that was developed specifically for growing in containers. The glossy fruits grow at the base of the plant for easy harvest. The fruits are ready for plucking in about 48 days.
Buckingham Patio
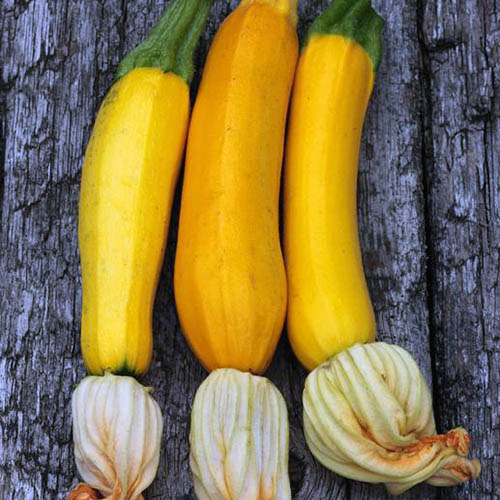
‘Buckingham Patio’ plants only reach about 12 inches tall, with a 4-foot spread. This cultivar produces beautiful golden yellow fruits – and lots of them. Matures in 40 days.
Bush Baby
‘Bush Baby’ grows to a compact 18-24 inches tall. This cultivar was bred specifically for container gardening and stays under 2 feet tall and 3 feet wide.
Dark Green
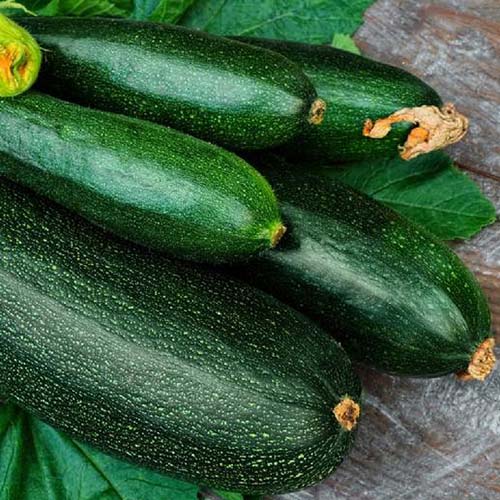
A classic variety ‘Dark Green’ produces 6- to 8-inch dark fruits with pale flesh on a compact bush.
‘Dark Green’ Ready to harvest in 45-55 days, this vigorous heirloom variety reaches a mature height of 24-36 inches tall. You can find seeds for ‘Dark Green’ in a variety of packet sizes available from Eden Brothers.
Golden
A prolific producer of bright yellow fruits, ‘Golden’ is a bush variety that tops out at 3 to 4 feet tall at maturity.
‘Golden’ Slender 6- to 8-inch fruits are harvest-ready in 50-55 days and will provide a regular supply through the summer. You can find seeds in a variety of packet sizes available at Eden Brothers. Read more about growing golden zucchini here.
Grey
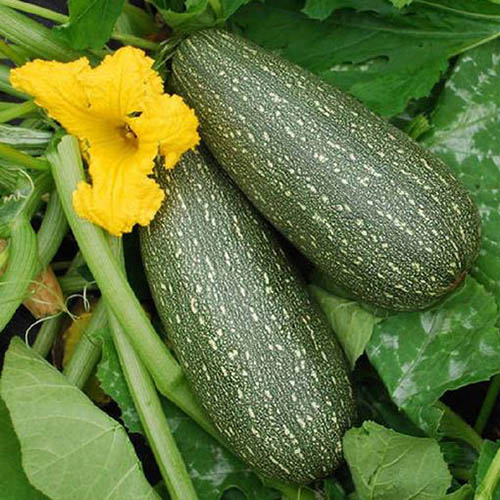
‘Grey,’ also called ‘Tender Grey’ is a heat-resistant bush variety that grows to a mature height of 24-36 inches. Six-inch fruits are medium-green with gray flecks and a bulbous end.
‘Grey’ A productive plant, with a long harvest period, ‘Grey’ zucchini matures in 42-45 days. You can find seeds in a variety of packet sizes from Eden Brothers.
Patio Star
‘Patio Star’ matures in just 40 days and has particularly pretty foliage. Even though it’s a small, bush-type variety, it grows tons of full-sized fruits.
Raven
‘Raven’ has dark green fruits that contain more antioxidants than other varieties. This type grows about two feet tall and wide, and the fruits are ready in 42 days.
Managing Pests and Disease
The biggest challenge to growing zucchini – in or out of containers – is dealing with pests and disease.
There are fewer pests that will typically attack container-grown zucchini, simply because it isn’t growing directly in the ground. Like the vine borer, for example. It overwinters in the soil, to emerge in June and July and attack your plants. Since you’re using fresh potting soil, these pests shouldn’t be a problem.
Pests
Zucchini are obviously delicious – not only to humans, but to bugs as well. However, while we enjoy the fruits, most pests attack the vines and leaves. Here are the insects you need to watch out for:
Cucumber Beetles
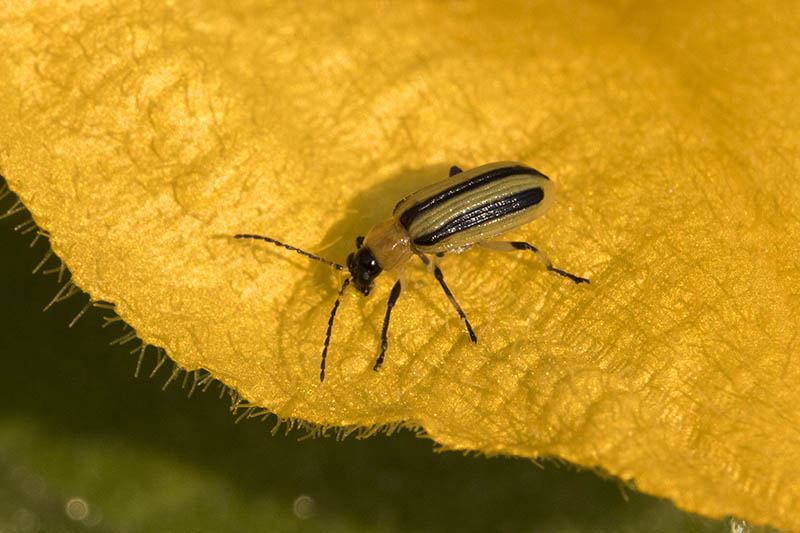
Cucumber beetles, Acalymma vittatum, love any plant in the summer squash family. These pests are yellow with black stripes, and they nibble holes in the leaves of plants. If you notice that yours have holes, keep an eye out for these beetles.
They’re most dangerous to seedlings, which may not be able to survive a sustained feeding session, but they can also spread disease. Use yellow sticky traps to catch them, or go out in your garden with gloves coated in petroleum jelly and wipe them off the leaves. You can also cover seedlings with floating row covers to keep these pests out.
Squash Bugs
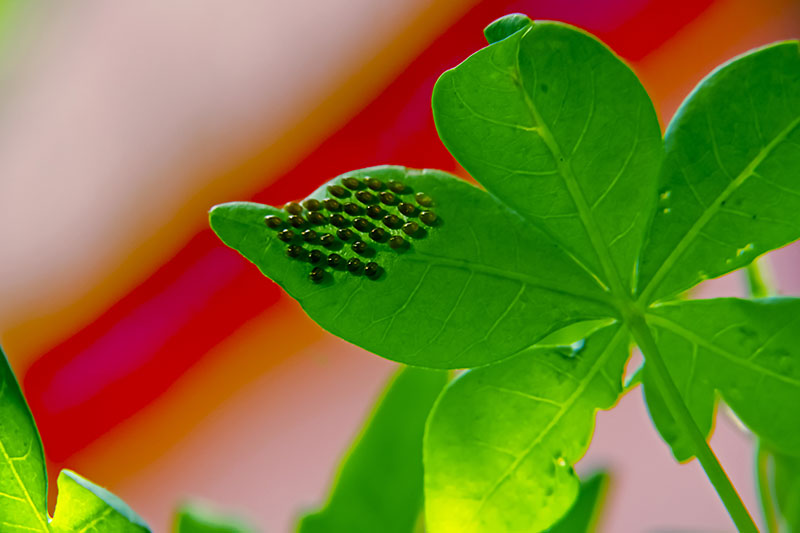
It won’t come as a surprise that squash bugs, Anasa tristis, love zucchini. It’s all in the name, at least in this case. They lay football-shaped eggs on the undersides of leaves in tidy little rows, and spotting these eggs is usually the first visible sign that you have an infestation.
The shield-shaped adults are voracious eaters, and they’ll make leaves turn brown or yellow as they chew their way through the plant. Check your plants daily for egg clusters starting in early June and through midsummer. If you spot them, either squash them or pull them off plant leaves with duct tape. Once they mature, you have a challenging task ahead of you. Trellising helps, since the bugs like to hide under debris at night. But your best option is to apply pesticides that contain carbaryl, permethrin, bifenthrin, or esfenvalerate. If you see adult squash bugs feeding in the fall, ignore them. They can’t do much damage at that point. Find tips on combating squash bugs here. If you need more assistance in determining what is attacking your plants, be sure to read our “How to Identify and Control Zucchini Plant Pests.” And then check out our supplemental guide, “How to Protect Zucchini Plants from Pests,” for more tips.
Disease
There are only a handful of diseases to watch out for, but remembering to check on your plant frequently is important in heading off any problems.
Bacterial Wilt
Bacterial wilt is caused by a type of bacteria, Erwinia tracheiphila, which is spread by cucumber beetles, so the first line of defense is to keep these pests away. You’ll first notice that your plants have begun to wilt, and later they may even die. Once your plants have it, there isn’t much you can do. Destroy your zucchini plants and don’t use them in your compost or you might face this problem again next year. You should also sterilize your pots and toss out the potting soil. Start with fresh soil the next year.
Blossom End Rot
Blossom end rot is caused by inconsistent watering and calcium deficiency. Also common in tomatoes, you’ll know you have it if your fruits develop dark, sunken cankers. Make sure your plants receive consistent and appropriate amounts of water while they’re growing. There is no cure for this disease, and adding calcium to the soil won’t fix it once it starts.
Powdery Mildew
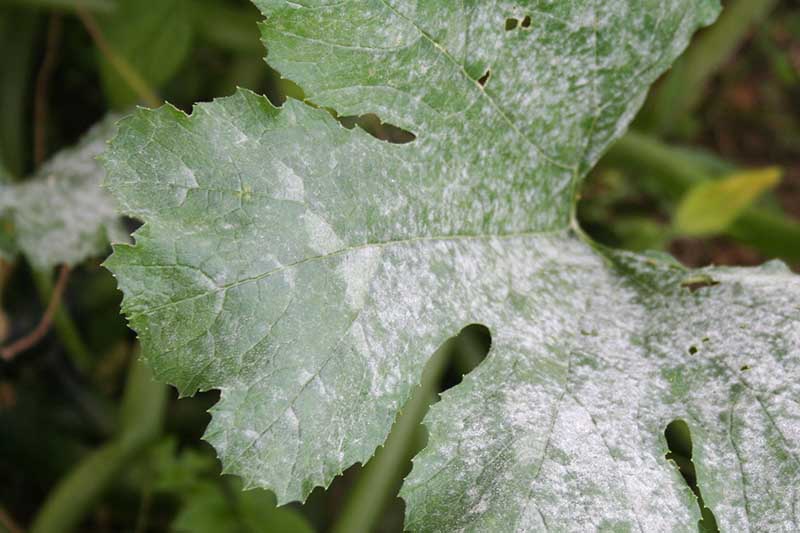
Powdery mildew is caused by a fungus that makes your plant leaves look like someone walked by and dusted them with flour. You’ll usually see this disease pop up in the late summer, during rainy periods when the weather is muggy and humid, since powdery mildew thrives in this weather.
Spray your plants twice a week with equal parts milk and water and a few drops of dish soap. You can also spray twice a week with neem oil, or use an organic fungicide containing potassium bicarbonate. Toss out the plant rather than composting it once the growing season is over, or you risk spreading this disease to your other plants. Still need help? Be sure to check out our guide: How to Identify and Control Common Zucchini Diseases.
Zucchini and Containers Are the Ideal Combo
Growing zucchini in containers isn’t much harder than growing them in the ground, and once you get the hang of it, you might find you never want to grow them the old-fashioned way again.
Let me know in the comments below if you run into any challenges that we didn’t cover here. There’s nothing I love more than sharing war stories and advice with my fellow gardeners. If you’re looking for some more vegetable container gardening ideas, we’ve got you covered with these guides:
How to Grow Broccoli in Containers Tips for Growing Garlic in Containers How to Grow Rhubarb in Containers
© Ask the Experts, LLC. ALL RIGHTS RESERVED. See our TOS for more details. Product photos via Eden Brothers. Uncredited photos: Shutterstock. With additional writing and editing by Clare Groom and Allison Sidhu.
