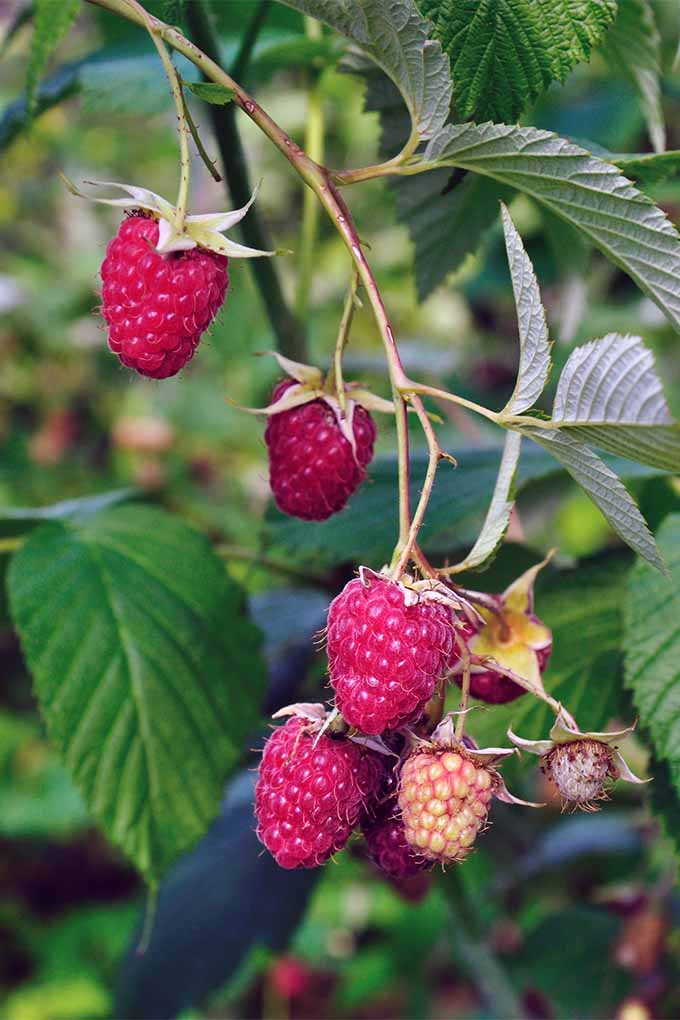
A few years ago, I bought two everbearing ‘Red Heritage’ plants and planted them in the spring. By fall, I had my first modest harvest. And in just the second season, I harvested a couple of handfuls of fruit every day from July through October – all from two plants. Now, I love watching new growth spring up from my small raspberry patch each year. And I mean small. With less than a quarter of an acre to work with, I plant sparingly. We link to vendors to help you find relevant products. If you buy from one of our links, we may earn a commission. And nothing is sweeter than seeing my toddler take a break from swinging to find the biggest, reddest berries to munch on!
So what do you need to know if you want the best harvest? Pruning and trellising should be your main areas of focus, and we’ll cover both. With very little overall effort, you can expect to get a good harvest from the same group of plants for 15 years or more, which is amazing! Read on to learn more about growing raspberries – because who doesn’t want to enjoy homegrown and freshly picked fruit on a hot summer day?
Choosing Your Plants
There are a ton of raspberry varieties available, so you’ll want to do your research beforehand. Varieties range in flavor, growth habit, fruit color, and cold hardiness. So know your growing zone and don’t rush your decision. I chose everbearing ‘Red Heritage’ because they don’t need much support, and stay relatively manageable. They are also delicious. Chances are you’ll have these plants in your yard for years to come, so make sure you choose the ones you want.
Terminology and Plant Types
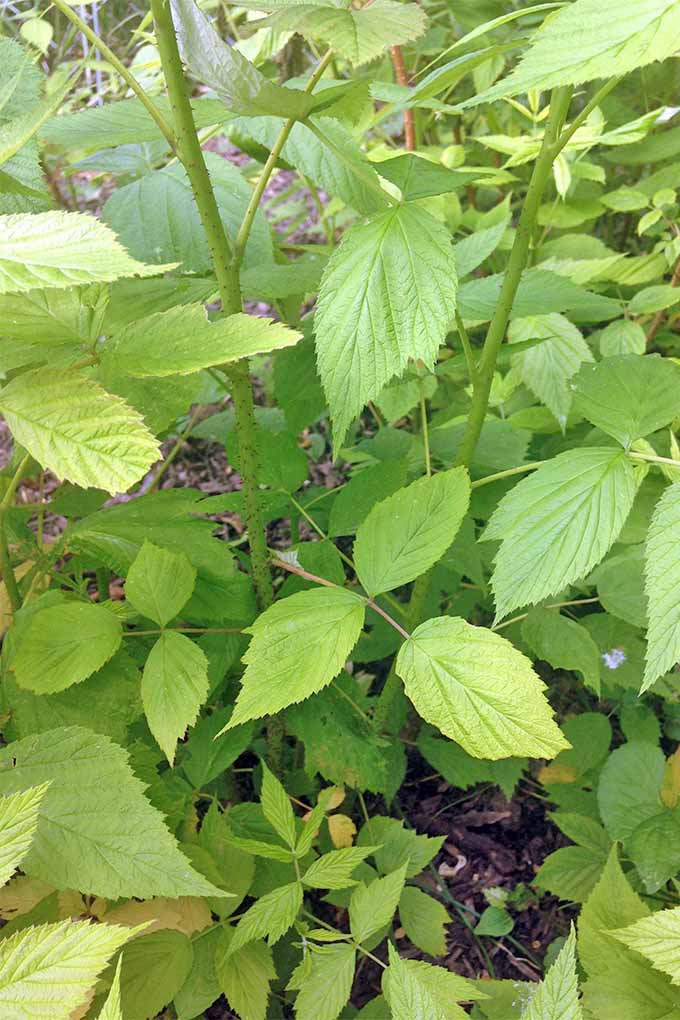
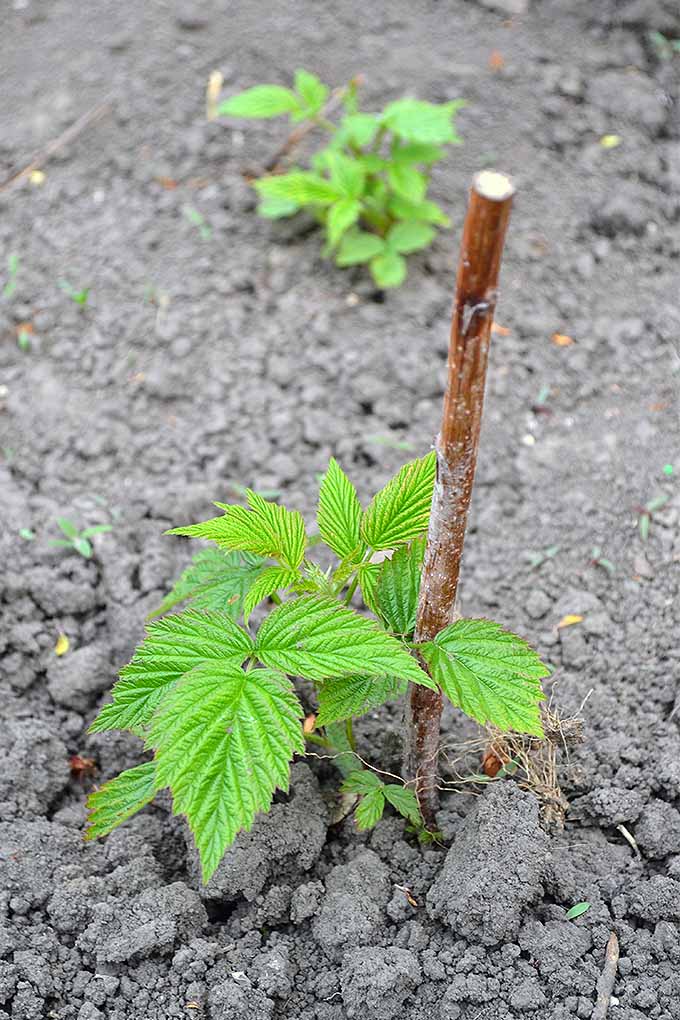
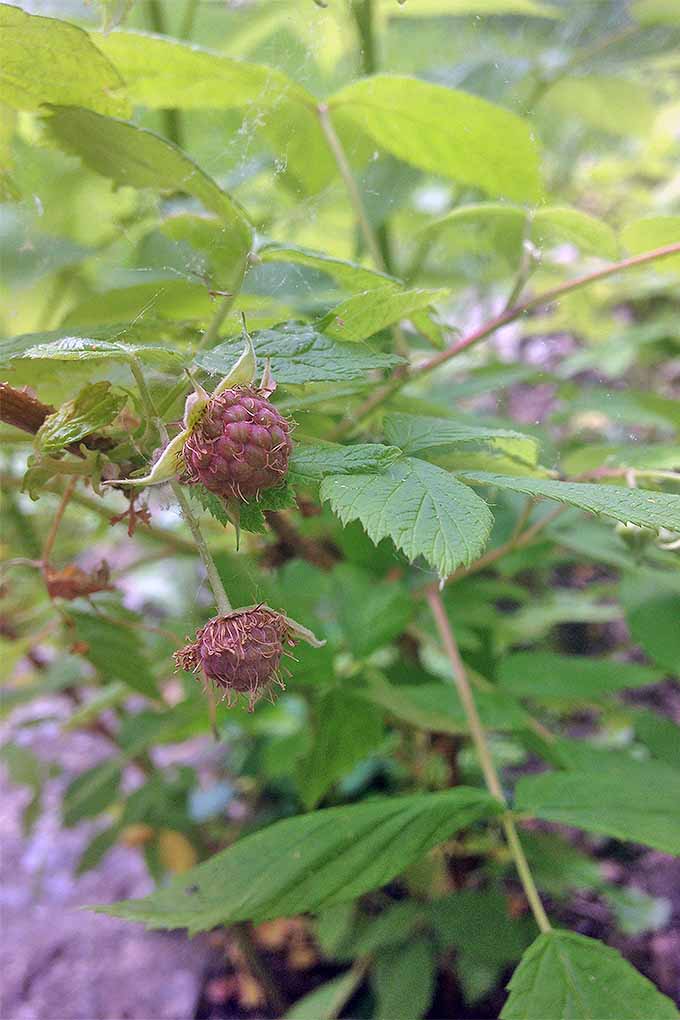
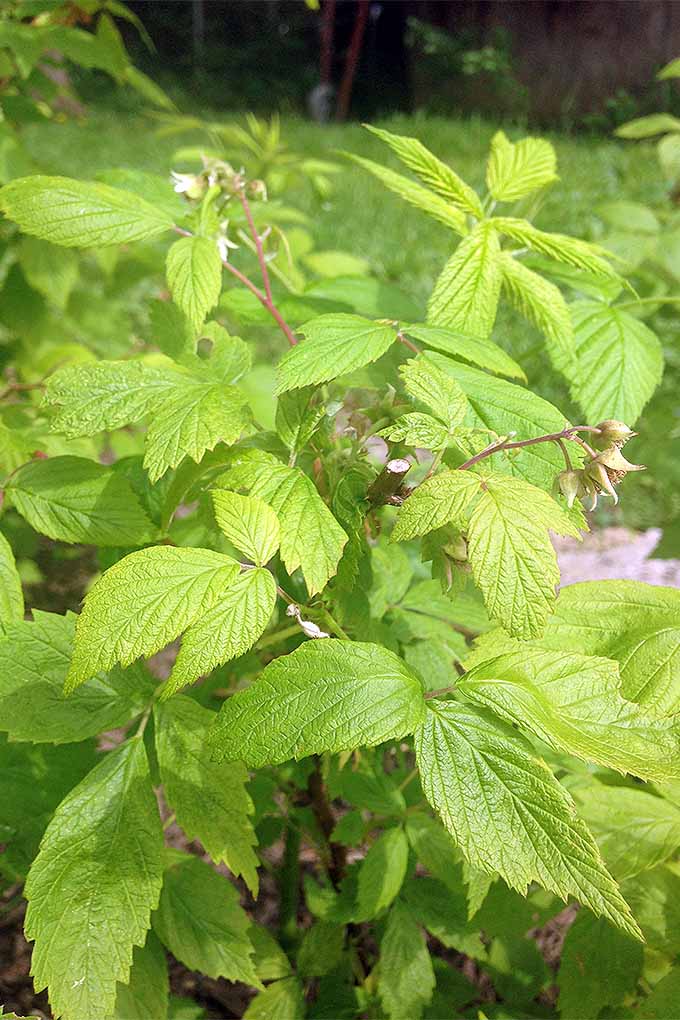
Raspberry varieties fall under one of two types – everbearing or summer bearing. Before I describe these in more detail, it’s helpful to understand some basic terms. First, canes refer to the stems that grow from the base, or crown, of the plant. Primocanes are first year canes that spring up from the ground every year. They are fast growing, young green shoots. Floricanes are second year canes. They typically turn brown and develop a woody appearance. Instead of putting all of their energy into producing leaves like primocanes, floricanes produce flowers and then fruit. See our primocane vs. floricane guide for more info. So now, more about the two types:
Everbearing
These types fruit on floricanes, the second year canes, in the summer between June and July. But they also fruit on primocanes, or first year canes, in the fall. So you get two harvests!
Summer Bearing
Summer bearing varieties fruit on primocanes only, usually around July. Once a cane bears fruit completely on either type, it will die off, at which point you can cut it back to the ground.
Plant Care
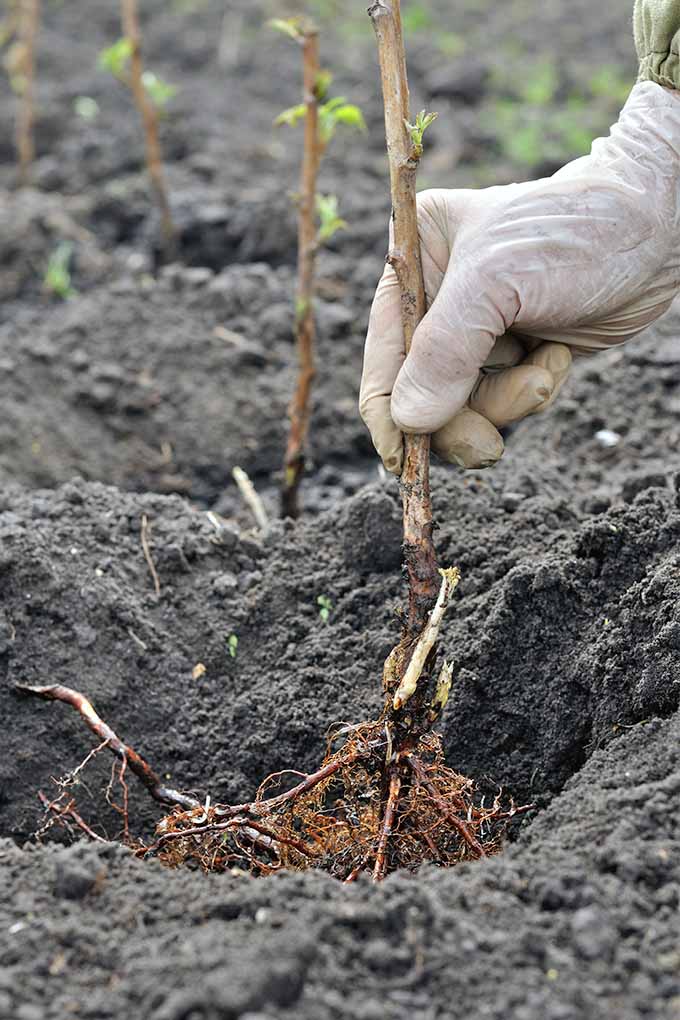
Wild raspberries grow throughout the United States. So it’s no surprise that cultivated varieties are pretty adaptable, and most are hardy in zones 2 through 7. Most raspberries are sold as dormant canes. In their second year, canes reach a minimum of four feet, with a number of varieties growing much taller. Choose the right location and prep it well before planting. Hopefully your plants will be around for decades, so choose wisely! Pick a spot in full sun to partial sun. If you live in an area with really hot summers, part sun may be a better bet. You can get plants in the ground as soon as the soil is workable.
Getting a soil test is always a good idea before planting. Raspberries prefer fertile, well draining soil with a pH between 5.5 and 6.5. A soil test will give you a starting point for amending the soil. Well draining soil is crucial, as raspberries are susceptible to root rot and will not tolerate wet feet. Amend soil with rich, organic compost to improve drainage and nutrient composition, especially if you’re dealing with heavy clay. Adding a layer of organic compost in the late fall is a great boost for the coming spring.
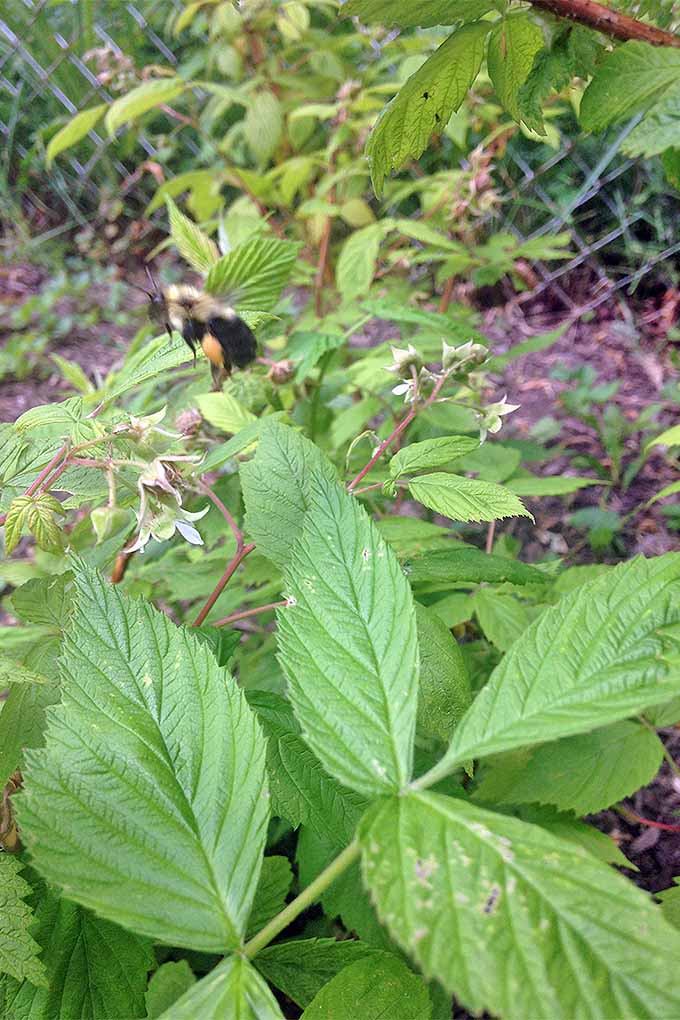
Once established, a balanced fertilizer tailored towards fruiting shrubs with an N-P-K ratio of 10-10-10 can be used. The best time to apply fertilizer is in the early spring, when primocanes start emerging, and again in late spring to early summer. Raised beds are a good option as well, since you can control soil material and ensure better drainage. Otherwise, mound the soil 4 to 6 inches high to create a hill. Doing this will raise the canes a bit, and further improve drainage. Space plants a minimum of 24 inches apart in a row. And keep in mind that it’s best to keep rows less than 24 inches wide. This means removing all canes that venture out past a certain point. It’s a lot to keep in mind, I know! But your raspberries will be way easier to harvest and prune than they would be if left to their own devices, and they will be a lot less susceptible to disease as well. You’ll want to dig up any suckers that grow outside of the row. The good news is that you can replant the suckers in a new spot, and grow even more raspberries! Keep different varieties in separate locations or rows. If you mix everbearers and summer bearers, you’ll have a hard time pruning once they fill in. Raspberries are technically self-pollinating, but bees and other pollinators play a really important role in improving pollination and overall fruit production. Water plants well until they are established, and also during drought. As a general rule, plants should get about one inch of water every week. If you don’t have one already, pick up a rain gauge. This device makes it easy to know when your garden needs supplemental watering.
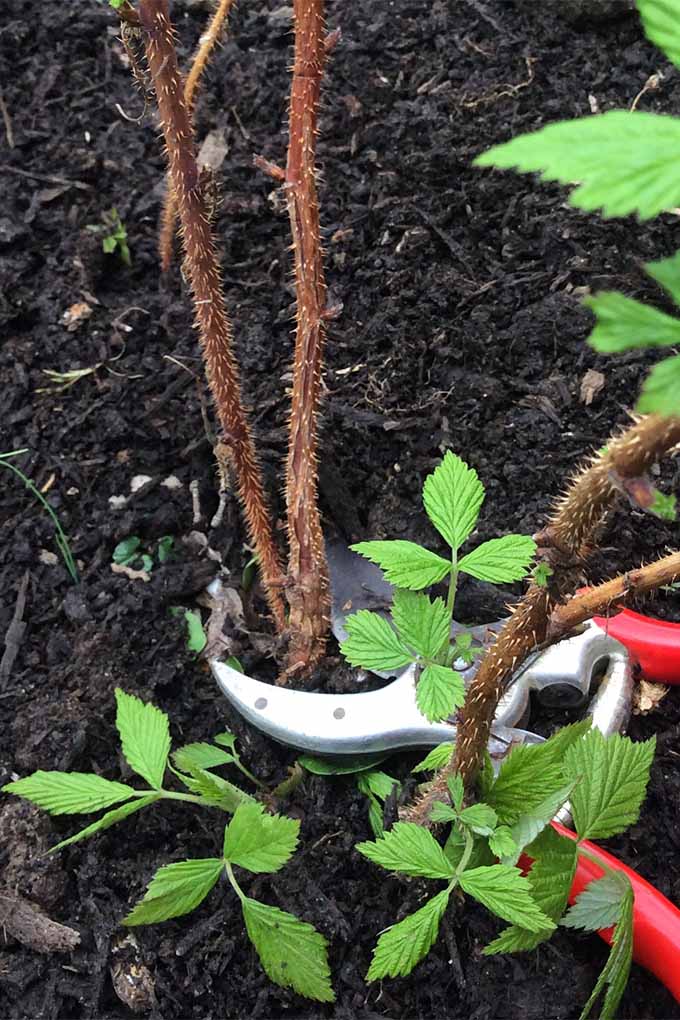
Pruning
In the fall, once plants bear fruit and leaves begin to die back, cut all floricanes to ground level. Don’t forget your gloves! Raspberries can bite – just a little, though. They aren’t nearly as painful to prune as roses, which are their cousins. Still, you’ll want some gloves. But proper pruning isn’t just about removing spent canes in the fall. There’s a little bit more to think about. In the spring, when new growth emerges, you’ll want to check for any diseased, small, or weak canes. All of these should be removed. If canes grow to be too tall to manage, you may choose to prune them back to a good height, around 5 to 6 feet. Make a nice clean cut just above a set of leaves. And always be sure to use clean pruners, to prevent the spread of disease. Here’s my general rule of thumb: do not cut back more than a quarter of the cane. If you do, you’ll significantly reduce the amount of fruit that you get to harvest and enjoy – and nobody wants that! Thinning your patch will actually improve your harvest, by giving the strongest canes more energy to produce larger fruit. Wait until spring to thin plants. This way, you can tell which canes made it through the winter and which ones didn’t. As a guide, leave the six strongest canes for every foot of row. If you choose not to thin out your patch, you’ll end up with a higher yield of smaller fruit. Keep in mind: If you have everbearing plants and you’re trying to encourage two harvests, you should be careful not to cut back floricanes too soon. Instead, the tips of floricanes on everbearing raspberries where fruit formed in the fall can be cut back to where green growth appears the following spring. You can expect everbearing varieties to produce a summer crop on the bottom half of the floricane. Everbearers flower and produce fruit on primocanes until frost hits – then they go dormant and pick up where they left off the following spring. So, if you live in an area with a mild climate, you may not get much of a summer harvest from everbearers. If this is the case, you can prune an everbearing variety the same way you would summer bearing types – after it’s done fruiting in the fall, just cut it back to the ground.
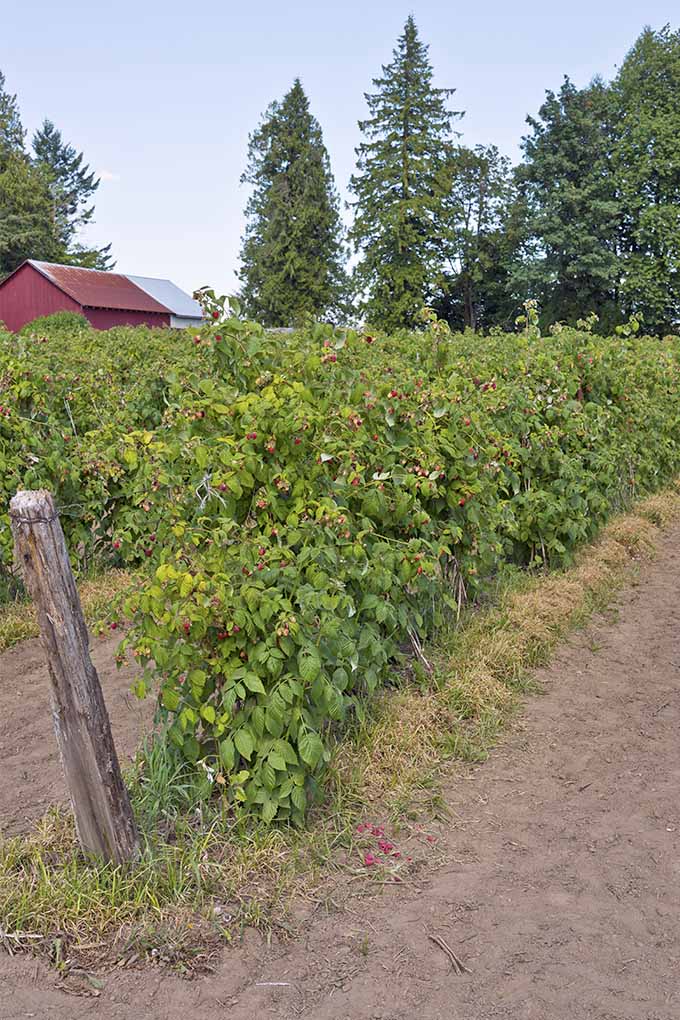
Trellising
Some varieties, mostly of the everbearing type, are short and sturdy. These don’t really require much trellising. Others varieties, mostly summer bearers, have long, weak canes that require support. Trellises can take a number of forms, but the most common is to install posts at different spots along a raspberry row, with wire strung from post to post to support the plants. Canes grow and rest on the wire lines. Some gardeners like to tie the canes to the wire, to make harvesting easier. Trellises are a great way to help protect canes from aggressive winds, too, which are likely to cause some damage otherwise. No matter what type of trellis you build, there are a few basic things that you will need to do and keep in mind:
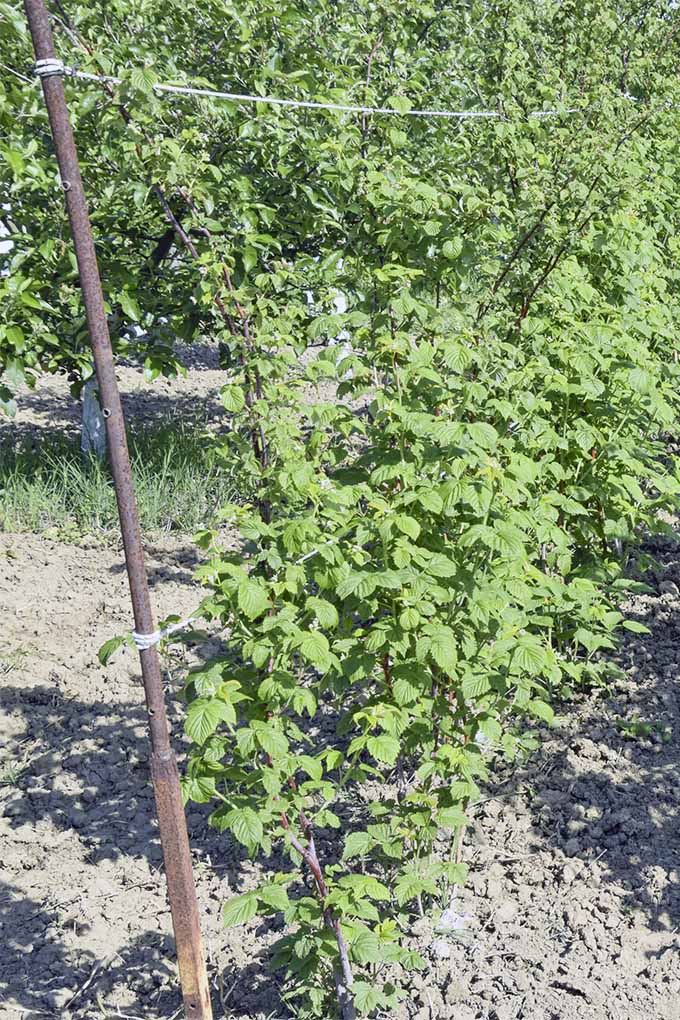
1. Provide Structural Support
First, make sure your trellis is sturdy. Once plants are established, canes will put quite a bit of weight on the lines. Fence posts, or supports of your choice, should be set into the ground a couple of feet deep, and braced.
The lines stretching from post to post should be pulled as tight as possible. And, depending on how long your row is, make sure you place posts close enough together to prevent any sagging in the middle of the row.
2. Consider Height
You’ll also want to know how tall the variety you’re growing will be at maturity.
You can prune canes back if they’re too tall, but remember, trimming off more than a quarter of the growth can really cut into your harvest. It’s important to keep all of this in mind when designing your trellis.
3. Do Your Research
There are a number of methods for tying and training your raspberries. For instance, instead of cutting back taller varieties, you can choose to carefully bend the tips of the canes into an arc, and tie them to trellis wires.
Or, average height varieties that reach between 4 and 6 feet typically do well when you tie the top of each individual cane to the wire. Doing this creates a v-shaped growth habit down the entire row of berries. If you will be doubling up your wires, keep them about two feet apart, with raspberries planted in between the wires. Tying and trellising makes harvesting that much easier, so it’s worth digging into a bit, to see which method works best for the variety you choose.
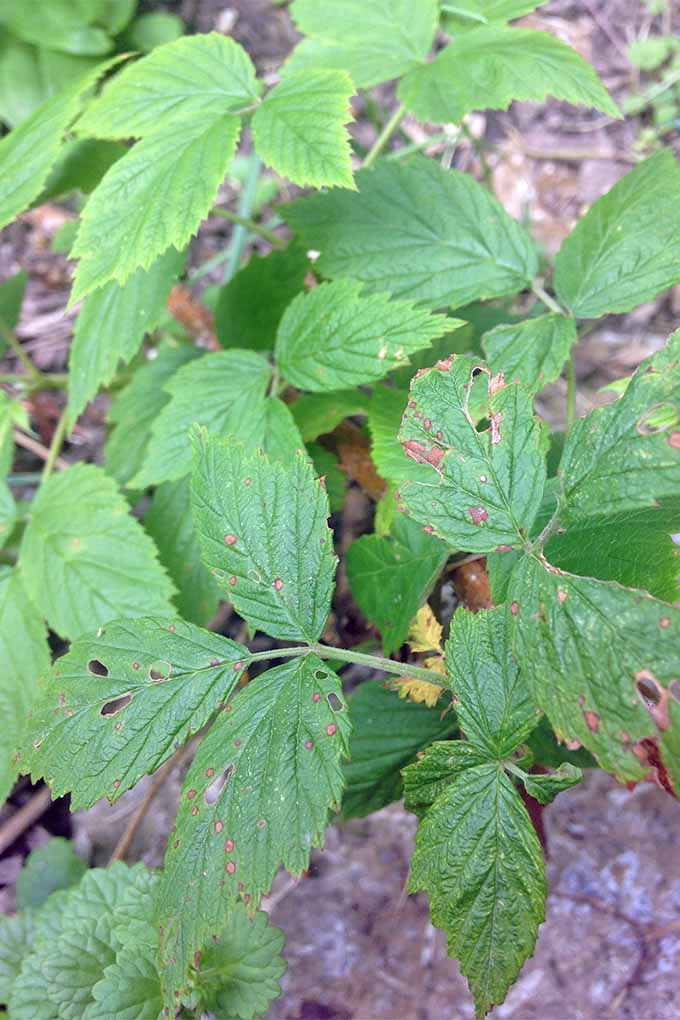
Not Without Their Problems: Pests and Diseases
While I definitely consider raspberries easy to grow, they aren’t without their drawbacks, the most obvious of which is that they can have a number of pest and disease issues. But, many issues in the garden, once taken care of, don’t affect the overall harvest in years to come. Anthracnose, spur blight, and cane blight are all diseases to keep an eye out for. In late summer to early fall, look for any spots or canker-like growths on canes. I talked about thinning plants out earlier, and one major benefit of this is increased airflow and reduced disease occurrence. Fortunately, these fungal diseases don’t affect the roots. And primocanes have to be infected by floricanes for these diseases to persist. Water is the number one way fungal spores travel, so use drip irrigation and avoid splashing water when possible. Also, water early in the day so leaves can dry out before the coolness of night sets in. Thinning plants out further improves air circulation, and reduces the moist conditions that allow many diseases to flourish. Cut any floricanes that are finished flowering back to the ground immediately after harvest, especially if they show any signs of disease. Verticillium wilt, another fungal disease, may also threaten your harvest. And this one can actually kill the entire plant. Avoid growing your raspberries in an area where tomatoes, eggplant, peppers, or potatoes grew, since all of these are also susceptible to verticillium wilt. For any fungal diseases, keeping the area free of plant debris is helpful. This includes leaves, pruned cuttings, and uprooted weeds. The fewer warm, moist places fungal spores or mycelium have to overwinter or multiply, the better. Outside of worrying about diseases, birds, aphids, and Japanese beetles are a few pests you may notice. If necessary, use netting to keep birds away, and a steady blast from the hose to deal with aphids. Japanese beetles can be hand picked. Another pest that may plague you in the Americas and the Europe are two related species of raspberry fruitworms. Another thing to look out for is sunburned fruit. Evidence of this usually appears as a white spot, and it is just cosmetic. If sunny and hot weather occurs right as fruit is ripening, consider covering with shade cloth. Healthy plants can handle some damage, but choose disease resistant varieties from the start for even better success.
Harvest and Recipe Suggestions
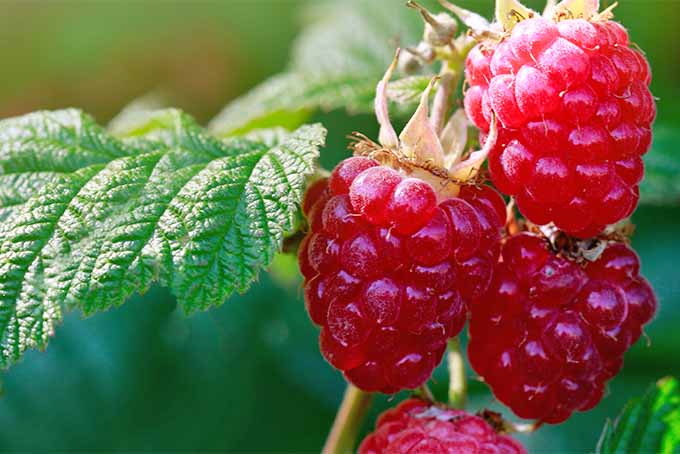
Harvesting raspberries is as simple as it sounds – when they look ripe, gently loosen them from the plant, and you’re ready to eat. The toughest part will be beating the birds to it. That white center that the berry is attached to is called the receptacle or torus, and each raspberry is actually made up of individual sections called drupelets, each of which contains a seed. Separate the berry from the receptacle, and it’s yours. If it doesn’t come off easily, it isn’t fully ripe, so you should wait to pick it. Berries won’t continue to ripen after you harvest them.
You’ll know when a berry is juicy and plump in comparison to the other hard, green or pinkish berries growing around it, and it will be easy to pick. Keep in mind that some varieties are more easily bruised than others, so you want to be gentle here. Picking in the early morning when the fruit is still cool can help to prevent bruising. No need to cut the stems with pruners, just use your fingers. Gloves can come in handy, and long sleeves as well, to prevent stains and scratches if you’re dealing with thorny types. Watch out for wasps and bees, since they love to sip the sweet juice from fresh, sun-ripened fruit as much as we do. And avoid berries with holes, mold, or other visible signs of damage.
Freshly picked berries should be eaten or processed right away, but they can be refrigerated if you’re not able to use them all up at once. Wait to wash them until you’re ready to use them, and again, be gentle. I like to rinse mine in a colander or fine mesh strainer. For more helpful info and tips, check out this guide from our sister site, Foodal. Want to whip up something tasty in your kitchen? Here are a few suggestions… For breakfast, bake up a batch of Gluten-Free Raspberry and White Chocolate Scones with this recipe from Erika’s Gluten Free Kitchen. Or get out the butter and slather it on a few of these Raspberry Lemon Millet Muffins, from Jordan at The Fitchen. This Summer Berry Salad with Raspberry Vinaigrette from Marie at Just Plain Living would make a lovely light lunch, with homegrown greens, blackberries, and strawberries. For dessert, try this Magnificent Mixed Berry Pie with Butter Almond Crust from Vintage Kitty. Or, feature the bounty of seasonal stone fruit alongside your homegrown berries with Nicoletta’s recipe for Gluten-Free Peach and Raspberry Cobbler, which you can find over at Sugar Love Spices.
What’s Stopping You?
Afraid you don’t have enough of a green thumb to venture into growing fruit? Well, as far as I’m concerned, raspberries are easier to grow than most annual vegetables. Don’t think you have enough room? Try replacing some shrubs on the side of your house with raspberries.
When you harvest your first sweet fruit, you won’t miss your boxwoods – I promise. Even just two or three shrubs will provide a worthwhile harvest for a small family. There’s so much more to say about growing raspberries, but now you know the basics. Keep digging and figure out the exact varieties you want to try. Then, let us know how it goes in the comments below! And be sure to get in touch if you have any questions. Ready for another project? Check out these other growing guides:
The Ultimate Guide to Growing Strawberries At Home The Ultimate Fall Berry Planting Guide How to Grow Elderberries
Photos by Amber Shidler © Ask the Experts, LLC. ALL RIGHTS RESERVED. See our TOS for more details. Uncredited photos: Shutterstock. With additional writing and editing by Allison Sidhu.