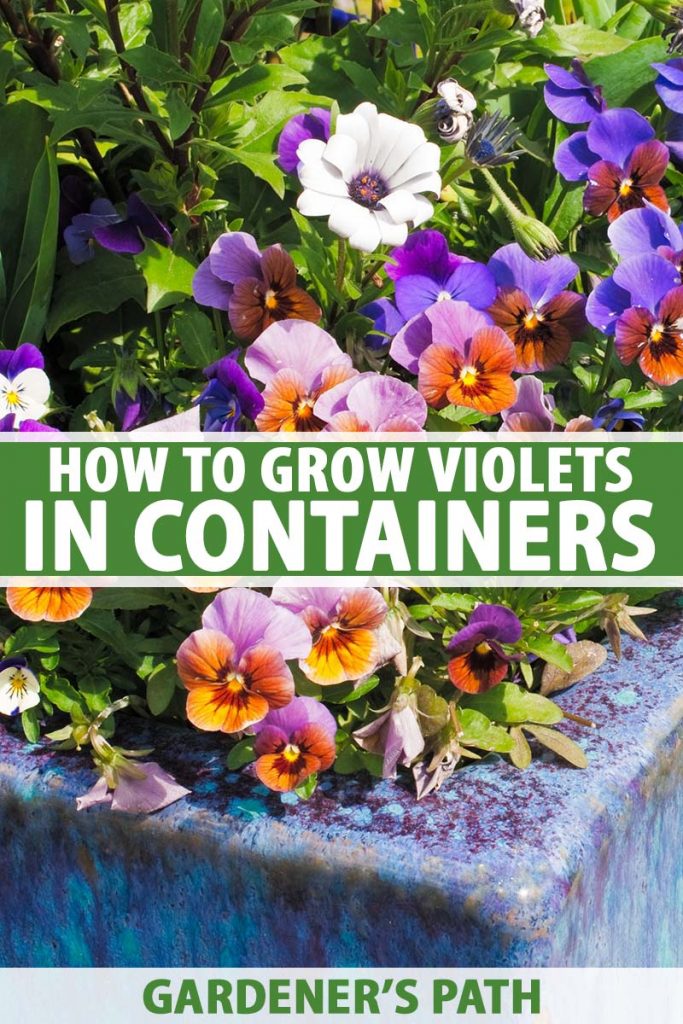
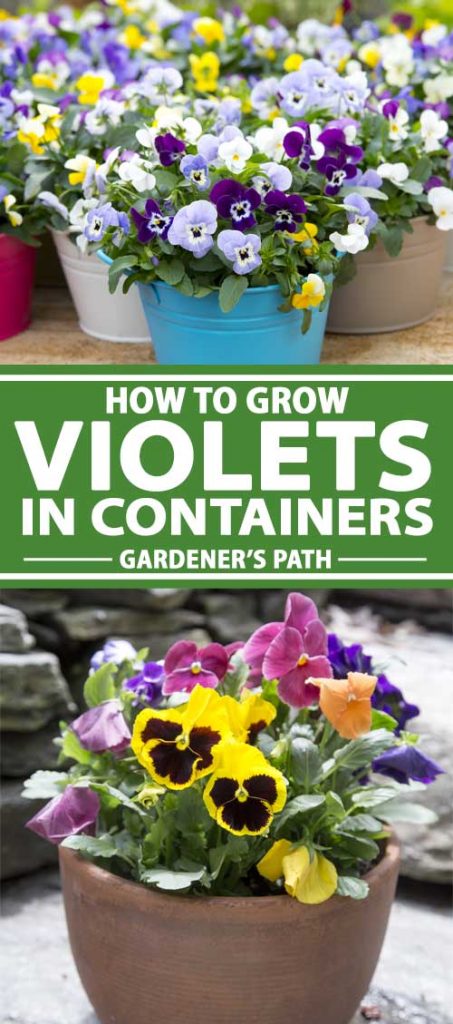
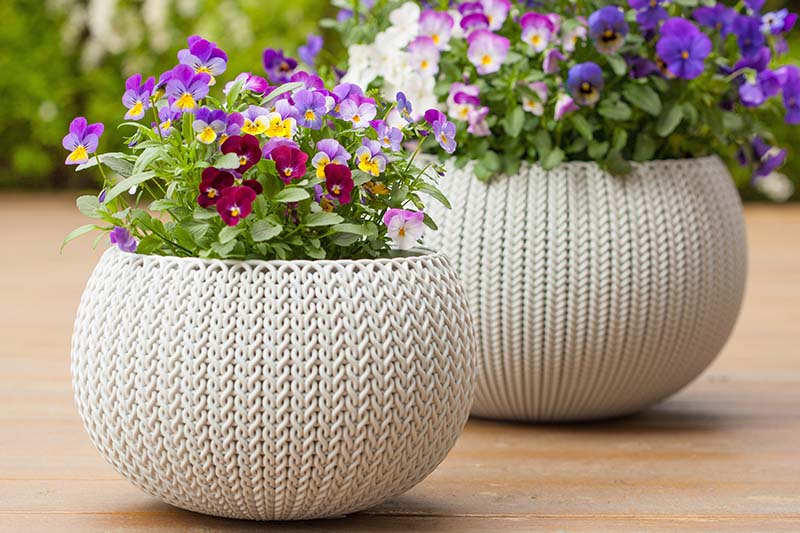
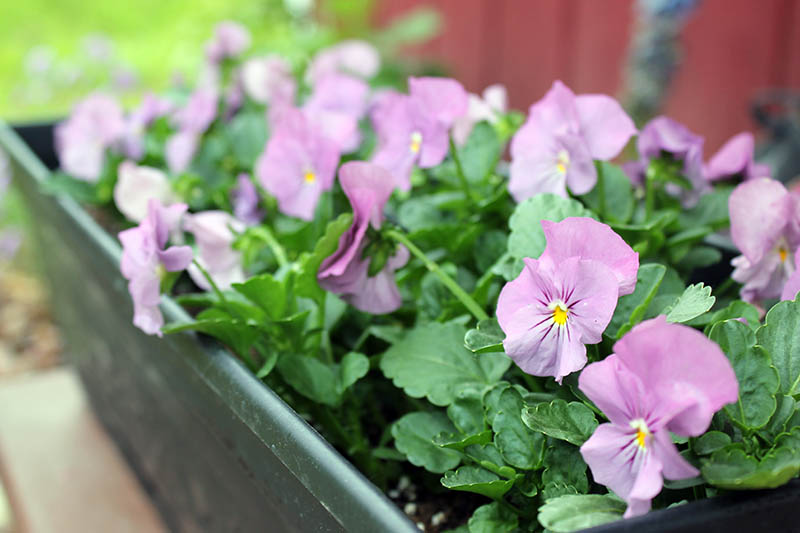
While I have yet to add window boxes to my house, I love all the ways you can adorn your home with flowers. Growing violets in containers next to your front porch steps is one such way to please the eye of anyone walking by. We link to vendors to help you find relevant products. If you buy from one of our links, we may earn a commission. Even better, the containers keep the delicate blooms up off the ground. If you have kids and dogs running around the yard all the time like I do, this is a huge plus.
It’s easy to grow violets in containers from seed. In this article, I’ll show you how! Here’s what I’ll cover:
A Bit About Violets
In the Viola genus, there are three main groups of flowers: violets, violas, and pansies. For an explantation of the differences between the three – and a huge list of all the cultivars and varieties you can plant – check out our article where we discuss the different violet varieties.
All three are part of the Violaceae family, and are showstoppers in their own right. Violets are usually wildflowers, pansies are mostly cultivated varieties, and violas can be both. And they’re all a mix of annuals and perennials, so make sure you check before planting.
Why Grow in a Container?
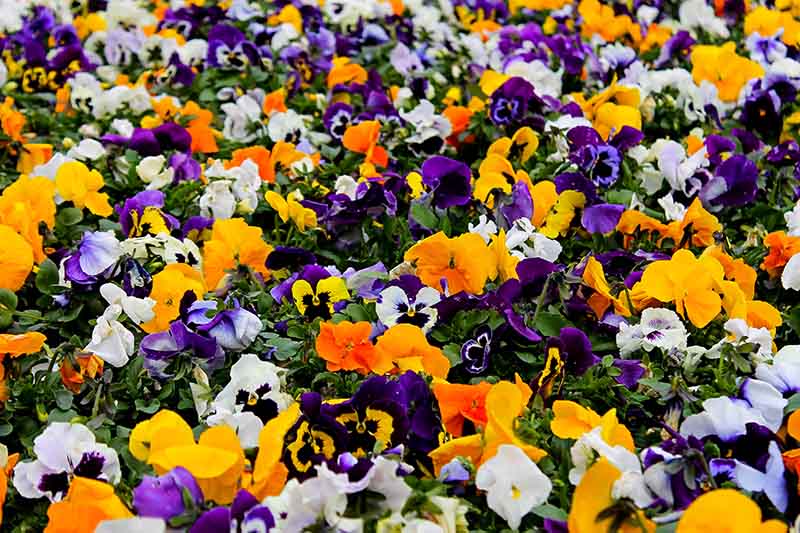
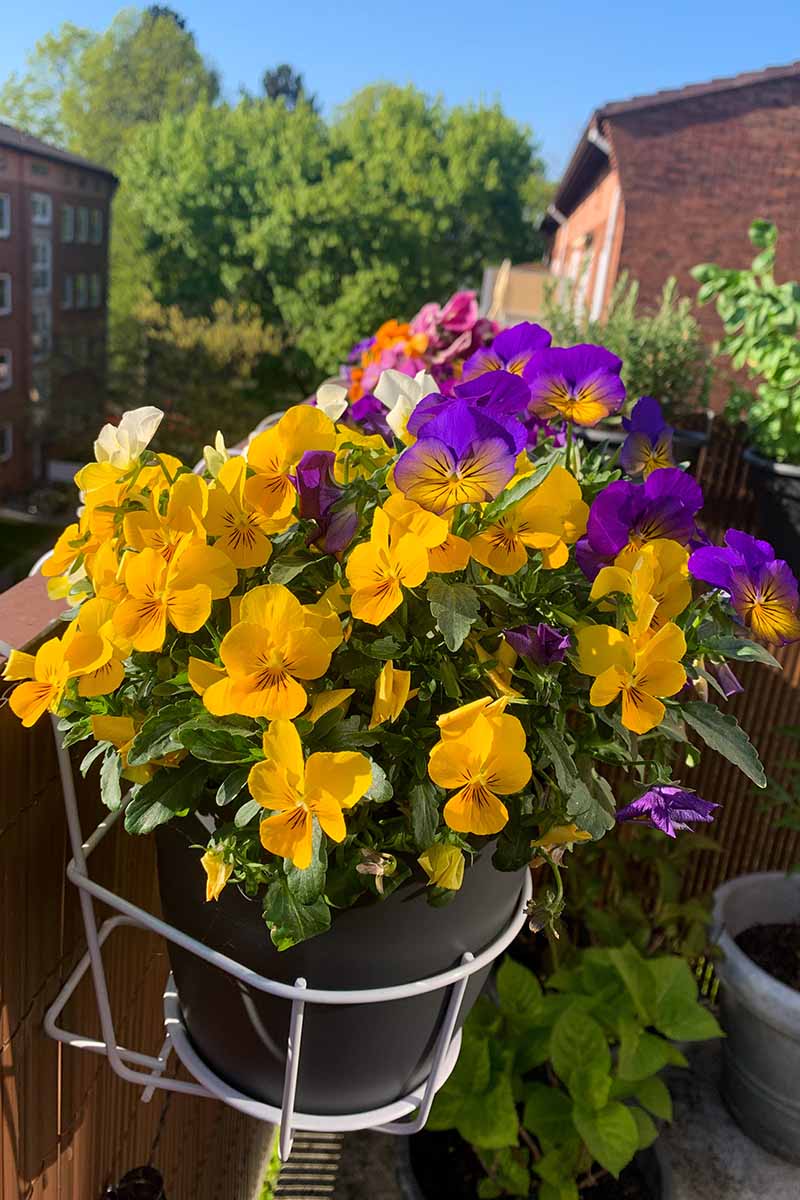
Really, it’s all about preference. You can fill a flower bed with pansies and violas for a beautiful show of colors, from purple to orange to white and beyond. But growing them in a container allows you to move them around as needed and place them in areas all around your house. And without worrying that they’ll get trampled.
Growing the flowers in pots also allows you to lengthen the growing season a little, since you can bring them indoors if it starts getting too cold or hot. In addition, violas often need to be moved to a shady location when summertime temperatures rise above 70°F. They don’t appreciate a hot sun beaming down on them for more than four or five hours a day. Planting violets in containers allows you to cater to the pretty flowers’ needs without too much headache.
Choosing the Right Container
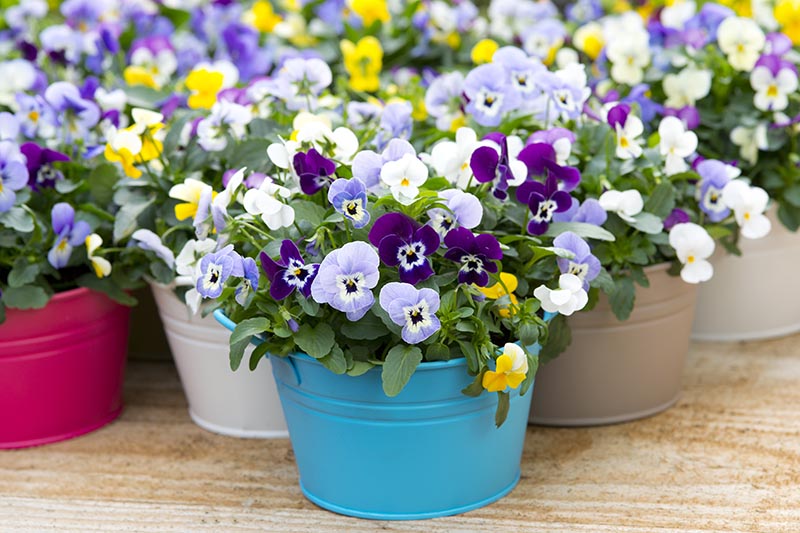
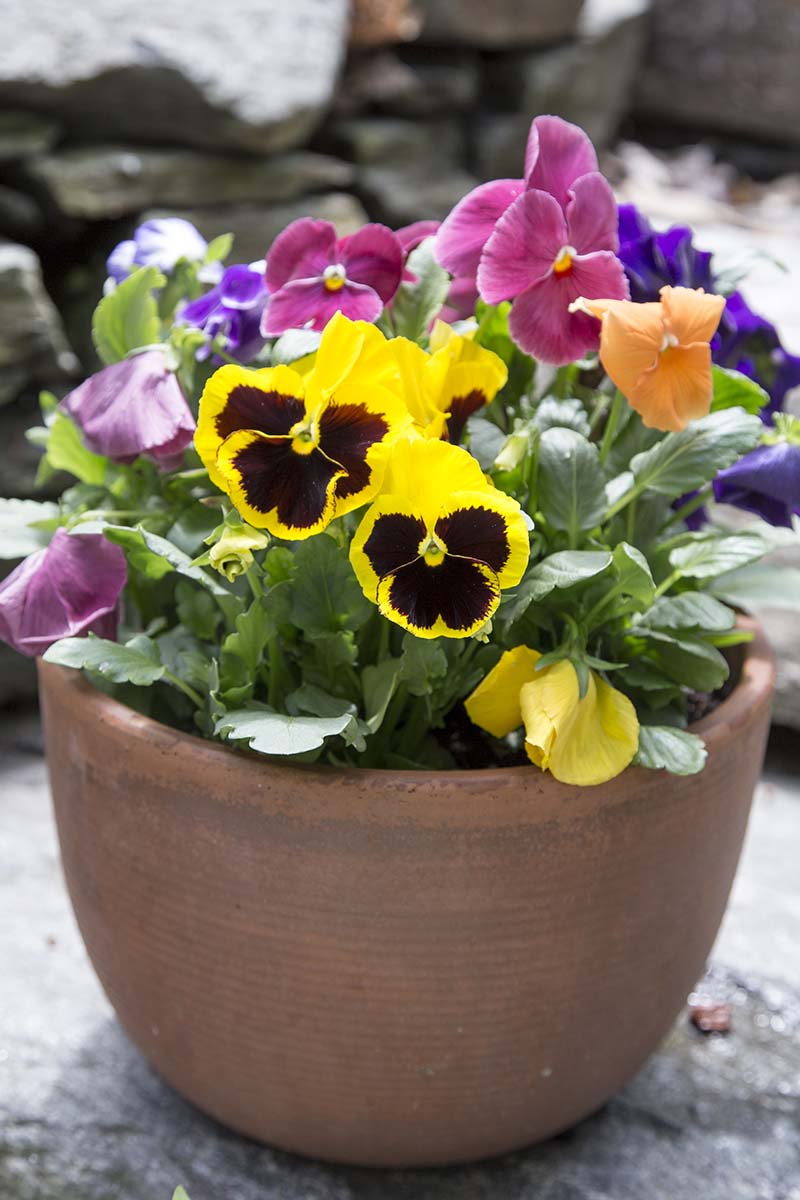
A container of just about any size is suitable for your violas, so long as it’s a minimum of four inches deep.
The flowers like to have some elbow room, so planting one for every six to eight inches of container space is a good rule of thumb. One is planted by itself in a four-inch by four-inch pot.
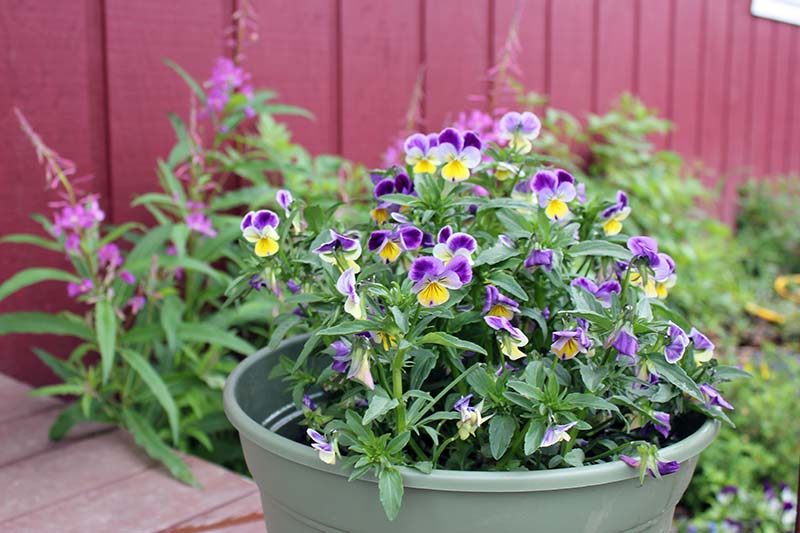
‘Lilac Ice’ This spring, I’m growing ‘Lilac Ice,’ a V. cornuta cultivar that you can find at True Leaf Market. The other five are in a 24-inch window box, that’s four inches deep. I should only have transplanted four of my seedlings into it, but at the last minute my three-year-old plunked an extra seedling into the container and I couldn’t bring myself to remove it. Who am I to quench his budding love for gardening? Still, the recommendation stands: if you plant your violets every six to eight inches, they’ll enjoy plenty of space to mound and bloom.
Violas like cooler temperatures of between 40 and 70°F, so if you live in a warm climate, using a light-colored container is a smart idea. That way, the material won’t absorb the heat of the sun and cause the roots to overheat.
You can use anything from clay to plastic. Just make sure that the pot you choose has drainage holes. And if you are using a deeper pot, fill the bottom inch of your container with gravel or pebbles to allow the moisture to drain away from the roots.
Preparing Your Container
Violets thrive in an organically-rich, well-draining soil. To achieve this, fill your pots with either:
Potting mix amended with a balanced 10-10-10 NPK fertilizer, according to package instructions. Garden soil amended with compost or well-rotted manure.
If you’re using garden soil, it’s prudent to check the pH level of the soil as violets prefer a slightly acidic pH of between 5.4-5.8.
How to Grow
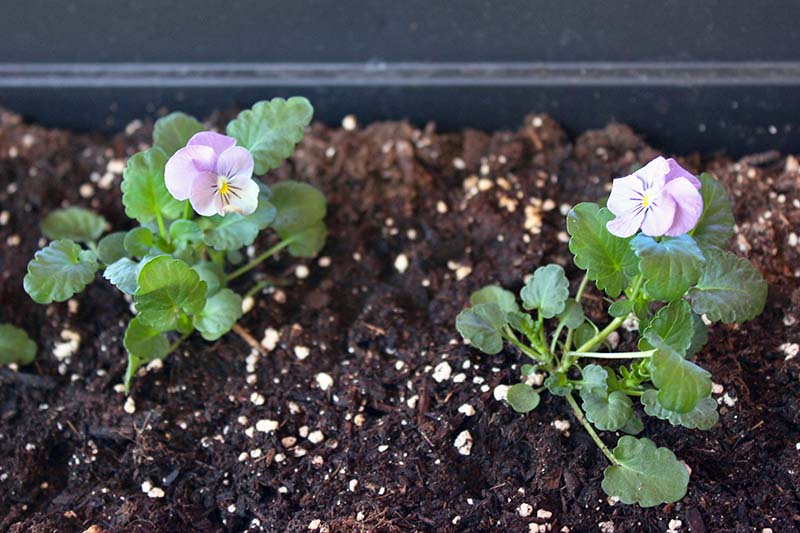
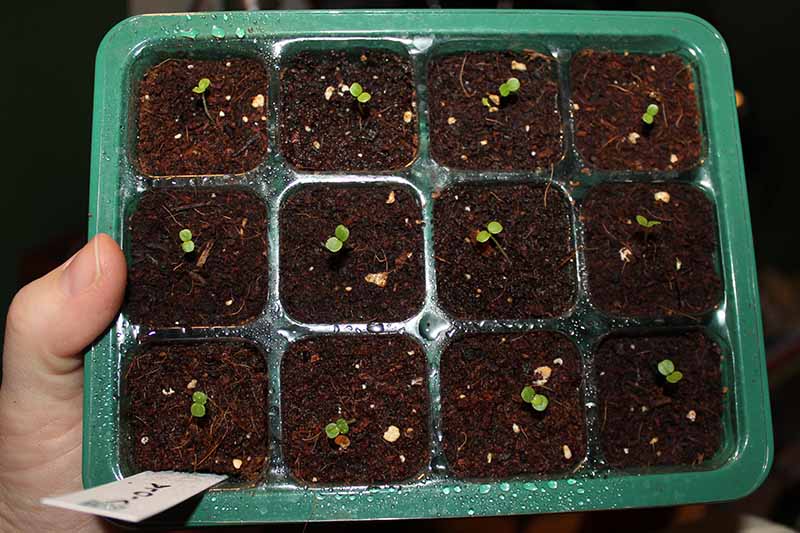
Most violets thrive in USDA Hardiness Zones 3-9, but always check the seed packet to be sure of the variety you are planting. These blooms love cool temperatures, so in cooler regions, sow seeds indoors eight to twelve weeks before your average last frost date. You can either sow them in seedling trays, as I did, or directly into their permanent pots. By the time early spring arrives, they’ll look something like this: It won’t be long before buds begin to form, and blooms will open just as the world is turning green and fragrant with the scents of spring. For those of you living in warmer climates, you can also direct sow violet seeds outdoors in containers in late fall, or as soon as temperatures consistently drop below 70°F. You’ll enjoy blooms well into the winter and early spring. Some violets will grace you with their perennial presence year after year, while others (mostly pansies) die after one year. Ready to learn how to sow these beauties? Let’s get started.
Propagating Seeds
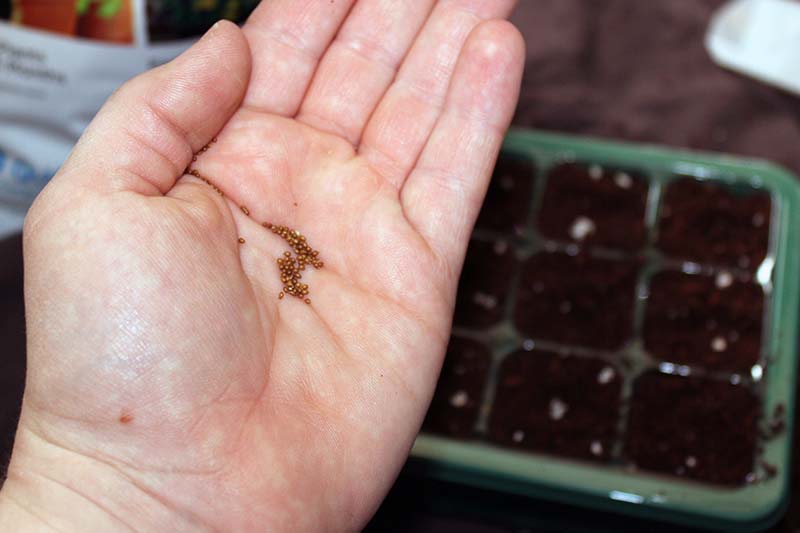
Violet seeds are tiny, delicate things. Mine came in a tissue paper packet inside a larger, resealable plastic baggie. I decided to sow my seeds in seed trays, but you can also direct-sow your seeds into the container you’re planning to use if it’s small enough to be indoors. Then I gently tamped the soil back down over the seeds, as they don’t need light to germinate. I watered them gently with a spray bottle so as not to displace them. Since the seeds are so small, you’ll only need to create a 1/2-inch divot in the potting mix. I dropped two seeds into each hole.
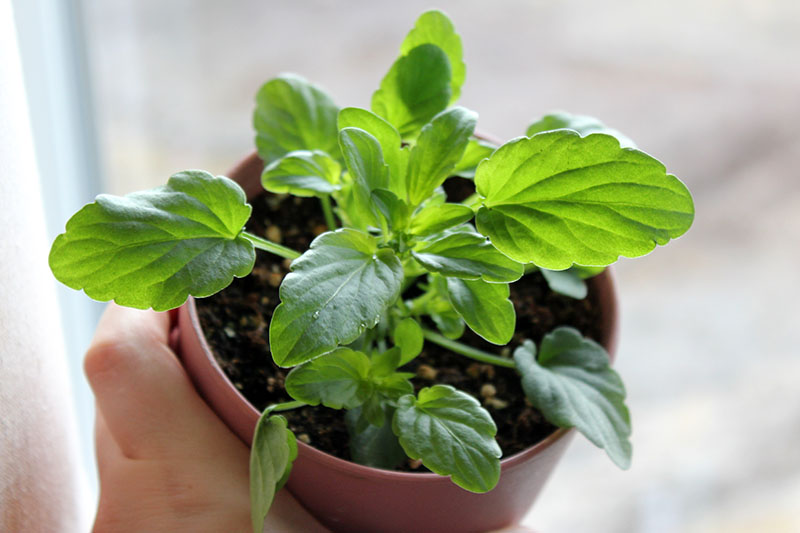
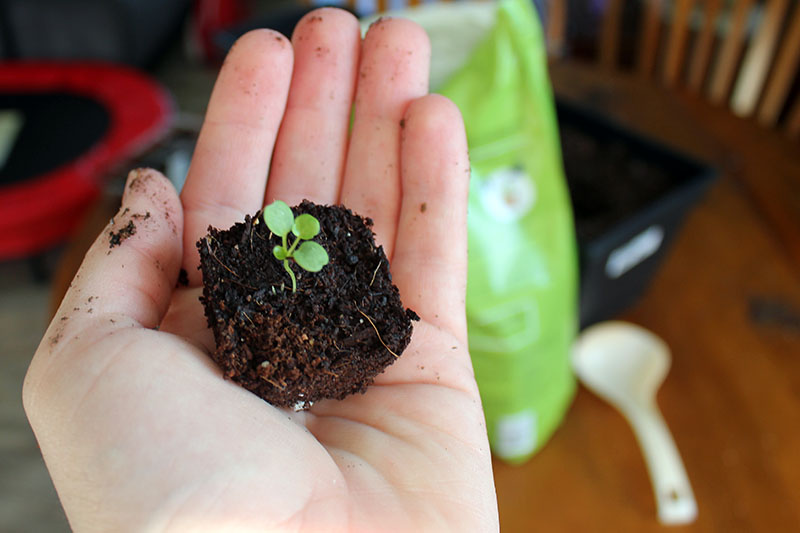
Organic Potting Mix from Burpee After covering them with the humidity-retaining lids that come with the seed trays I use, I watched and waited. A week later, the seeds had germinated. I thinned them with sharp scissors so that I was left with only one tiny seedling in each cell. About a week after that, the first set of true leaves emerged. A couple days later – with my preschooler’s help – I transplanted the seedlings to their permanent residence: the window box. Then, I set them in the window with its warm, sunny light. One thing I absolutely love about Alaska (well, I love just about everything about living here) is that from March onwards, our days get extra long. By summertime, as most people know, the sun never completely sets. Which is perfect for gardeners. If you’d like, you can wait to transplant until the seedlings have two or three sets of true leaves. Remember to plant them six to eight inches apart and to prepare your container as described above. Blooms will fill your containers with color and your heart with joy. Most varieties produce flowers within three months and will continue to bloom for twelve weeks in favorable conditions.
Start hardening the seedlings off once temperatures are reliably above 40°F outdoors by placing the containers in a sheltered location for four hours a day, and then five hours, and so on until they’re outside full-time.
Container Care
These flowers are extra easy to care for once they’re happily tucked into their permanent containers. All you need to do is make sure they get an inch of water every week. Check the soil moisture by poking your finger about two inches into the dirt, making sure not to disturb the root system. If it feels moist, there’s no need to water. If it looks dry, give them some water.
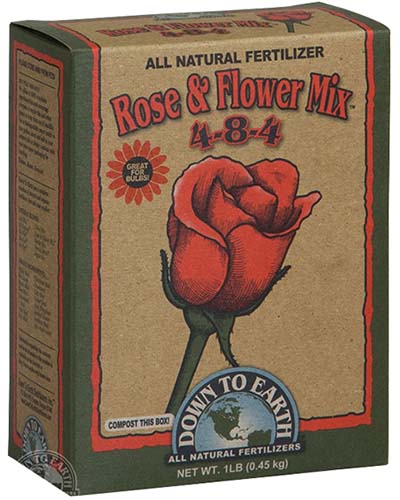
After a rainstorm, leave off watering for about a week so as not to bog the violets down in too much moisture. To keep the plants cool and moist, add an inch of organic mulch to the pot, making sure to leave the area around the stems clear so that they don’t rot. Violas need six to eight hours of sun – or grow light attention – every day. If you’re growing them indoors with a grow light, keep the light about two to three inches away from the plant, adjusting as it grows. Those of you in warmer climates can move your containers to dappled shade to keep the flowers happy in hot weather. Another thing that keeps your flowers fresh in midsummer is to deadhead them whenever you see fading blooms. This can help keep them producing well into the fall. If the soil pH is too high – above 6.2 – violas can show signs of black root rot, a fungal disease caused by Thielaviopsis basicola, where the foliage turns yellow and stops growing. Make sure you plant in slightly acidic soil to avoid this issue, and apply fungicide to affected plants. All Natural Rose and Flower Mix Fertilizer And don’t forget the fertilizer! Fertilize with a flower fertilizer high in phosphorus, like this one from Arbico Organics, every three to four weeks to keep the flowers happy.
Growing Tips
Sow seeds 8-12 weeks before your average last frost date for a spring planting or in late summer for a fall planting. Provide 1 inch of water weekly, adjusted according to rainfall. Fertilize with a high-phosphorus flower fertilizer every 3-4 weeks. Add a layer of organic mulch to help keep the roots cool and moist in hot locations.
Cultivars to Select
Just about any viola variety works well in a container, but here are two fun mixes to plant in a pot for a pop of color.
Swiss Giant Mixture
These 3- to 4-inch annual pansies will shine in a front-porch pot or window box. The dark blotches in the center of the petals provide a contrast for the lighter edges.
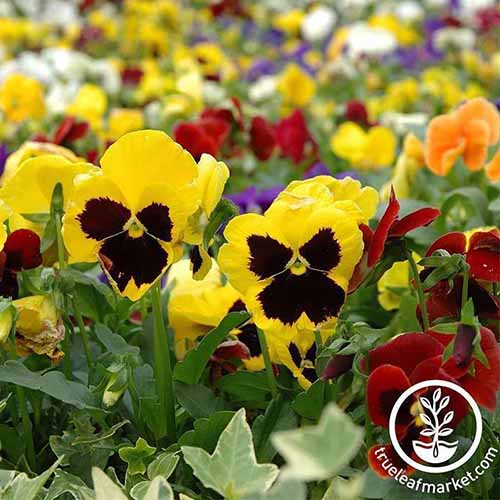
‘Swiss Giant’ Mix’ This ‘Swiss Giant’ (V. x wittrockiana) mix comes in yellow, pink, red, purple, blue, and white. You can find a 1/4 ounce package containing 9,900 seeds available at True Leaf Market. Imagine how many gorgeous annual blooms you can fill your containers with! Plus, these pansies are hardy to Zones 4-10, so gardeners almost everywhere can enjoy their color this spring and summer, and even into the fall and winter for those in balmy climes.
Pansy Mix
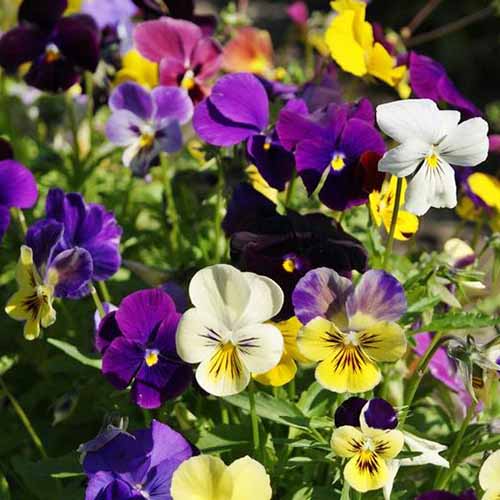
For a fun mix of compact, prolific blooms in purple, violet, lavender, and yellow try the beautiful Pansy Mix, V. cornuta.
Pansy Mix Slightly smaller blooms than the ‘Swiss Giant’ series but no less stunning, containers full of these flowers would look lovely against a tan, gray, yellow, or white house. You can fill your pot with bountiful blooms with seeds in a variety of packet sizes available at Eden Brothers.
Managing Pests and Disease
While violets tend to stay pretty healthy, they can fall prey to a few different pests and disease. If mulch gets too close to the stem, they can develop crown rot, characterized by white fungus growing at the base of the plant. You’ll need to yank infected plants so that the rot doesn’t spread, as it will kill the plant. Does the foliage suddenly have yellow or purple blotches? You might be dealing with downy mildew. A white powdery substance on the foliage signals the presence of powdery mildew. Apply a fungicide and avoid watering violas from above and leaving them out for too long in damp weather. This is easy to do, since you’re growing them in containers.
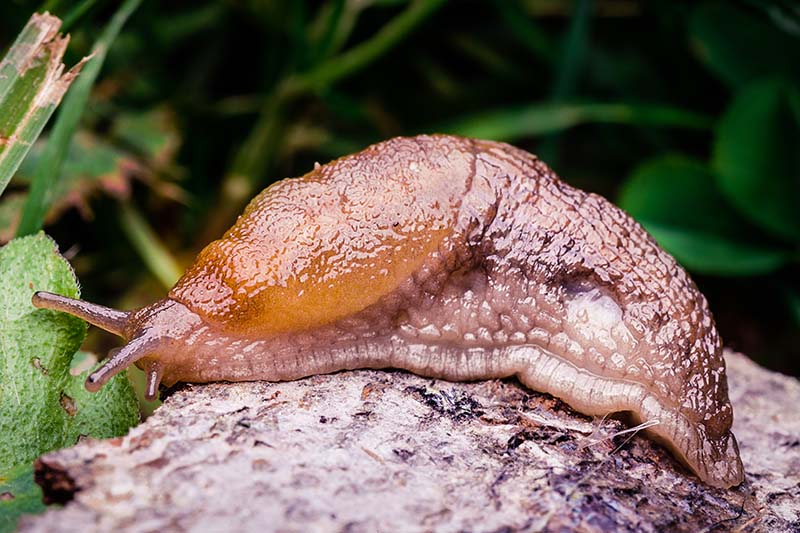
As for pests, aphids, spider mites, and slugs and snails can all munch on your flowers and foliage. If slugs and snails are making their way into your pots, sprinkle diatomaceous earth around your plants to keep the slimy mollusks away.
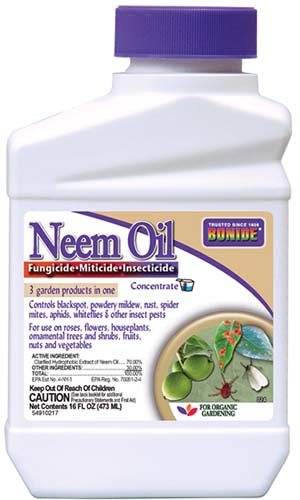
Neem Oil Insecticide Alternatively, applying neem oil, like this one, also from Arbico Organics, can help keep the pests away once you spot them chowing down on your violets. Spray the flowers once a week to once every two weeks for best results.
Let Violets Welcome the Spring
A container or two of these early spring bloomers in your front walkway can be a sweet reminder of hope and new life to anyone who drives or walks by. One day, I will build window boxes on my house so that it can look like those gorgeous Austrian homes in the mountains. But for now, containers will do.
Have you tried growing violets in containers? Let us know in the comments below, and feel free to share a photo! And if you are looking for more information about growing a container garden, check out these guides next:
Keep Your Containers Looking Great With These 6 Simple Tricks Design and Construct Gorgeous Spring Planters for Porches and Patios Plants, Containers, Pots, and Planters: What Material is Best?
Photos by Laura Melchor © Ask the Experts, LLC. ALL RIGHTS RESERVED. See our TOS for more details. Product photos via Arbico Organics, Burpee, Eden Brothers, and True Leaf Market. Uncredited photos: Shutterstock.