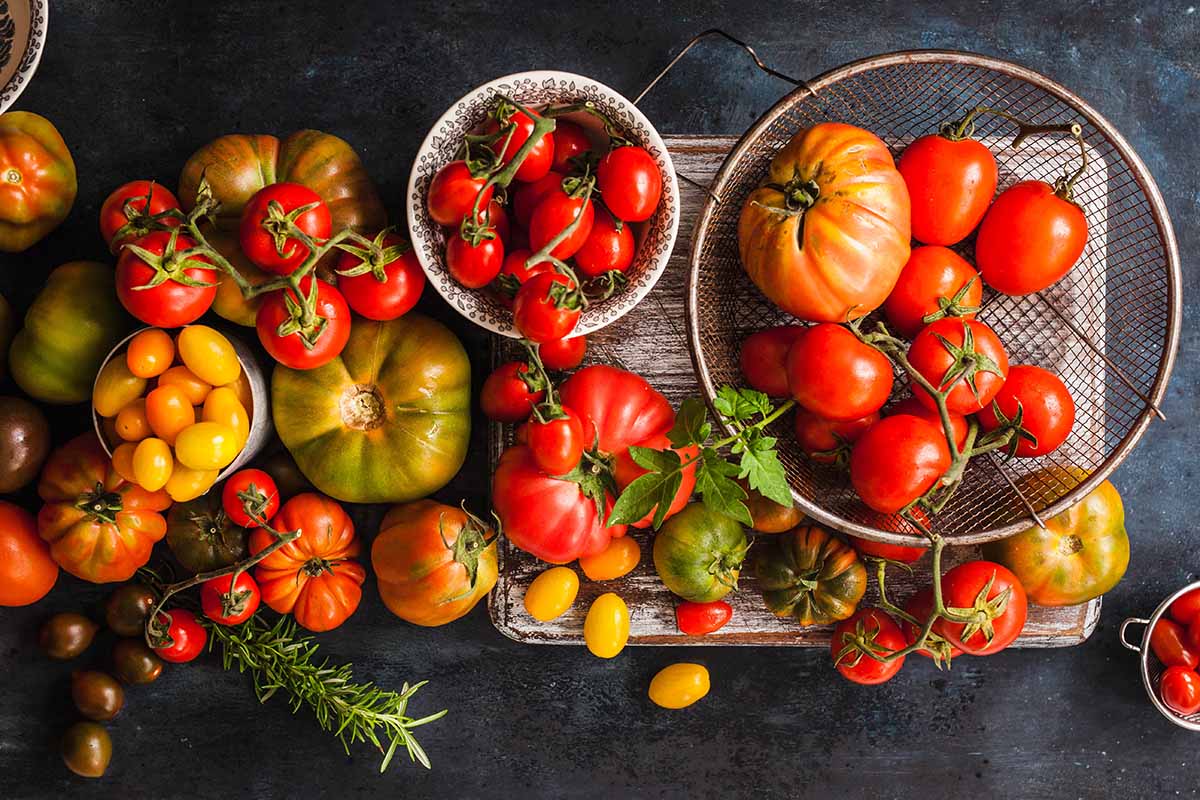
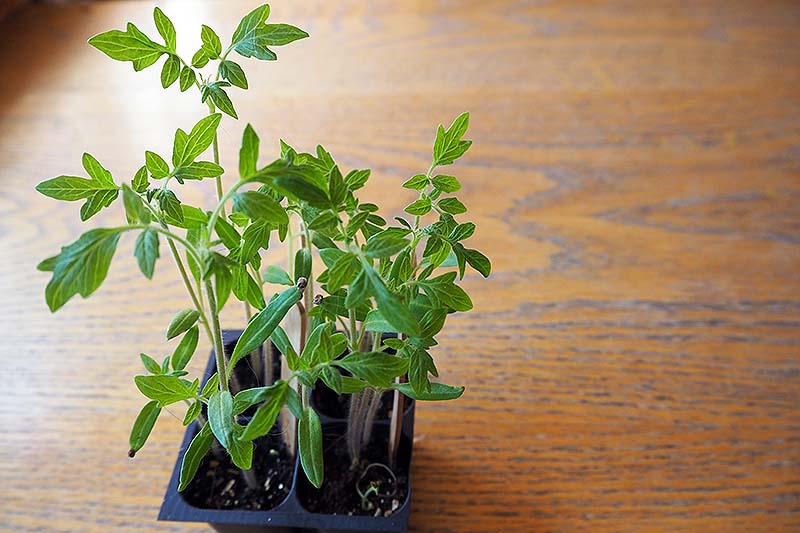
So you might wonder, what are the advantages of starting these veggies from seed? The first reason that comes to mind is that starting your own tomatoes from seed at home is a good way to save money, leaving room in your gardening budget for other things. You can typically buy a packet of about 20 seeds for the price of one seedling. We link to vendors to help you find relevant products. If you buy from one of our links, we may earn a commission. So, whether you’re looking for a juicy, jumbo, sweet slicer or a tiny, tart cherry, there’s an incredible array of colors, shapes, ripening styles, culinary uses, and flavors to choose from when you start your tomatoes from seed. Best of all, growing tomato starts really isn’t that hard! And if you follow just a handful of smart steps that I’ve outlined below, you’ll keep your starts happy and healthy – providing a bumper crop of succulent homegrown tomatoes that are practically guaranteed to taste far better than anything you could buy from your local supermarket. Below you’ll find a step by step tutorial for growing these warm weather veggies from seed. But first, I’ll let you know what kind of essential (and optional) supplies you’ll need for this gardening project. Here’s an overview of what I’ll cover:
Gather Your Supplies
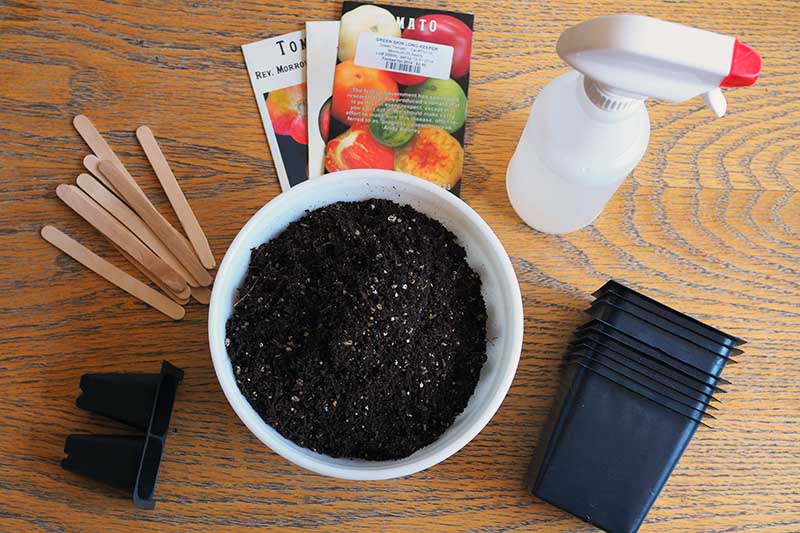
Before you dive in, first things first. In preparation for growing your own tomatoes at home from seed, you’ll need to gather some supplies. Some of these are necessities, such as the seeds, starting mix or soil, containers, and a spray bottle. Supplies like plant markers, a widger, and a germination station are highly recommended, but there are many options for you to choose from for these, including some DIY possibilities. There are also a couple of items on this supply list – grow lights and heat mats – that may be luxury bonus items, or may be required, depending on your setup. Alright, let’s go over the list of what you’ll need, why you need it, and where you can source these items. Ready?
Tomato Seeds
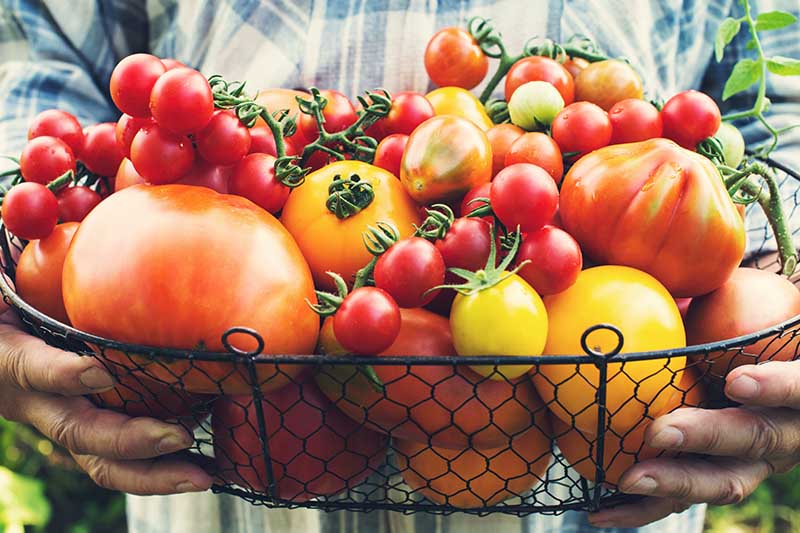
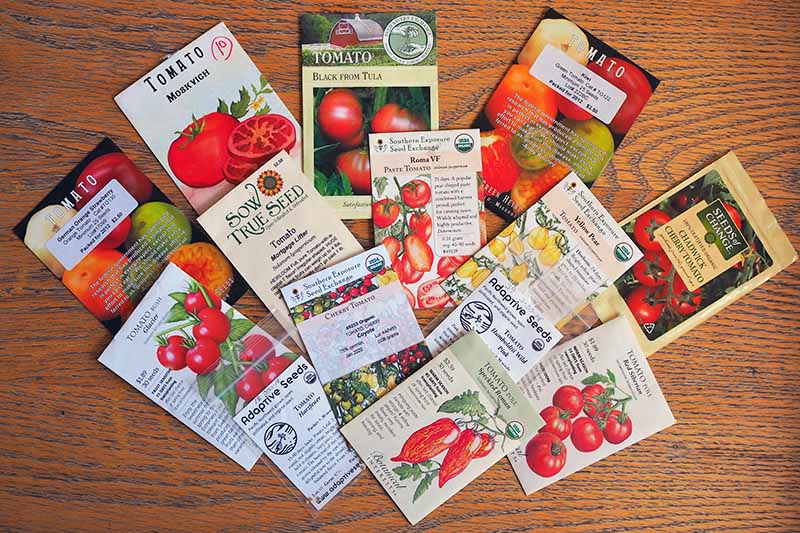
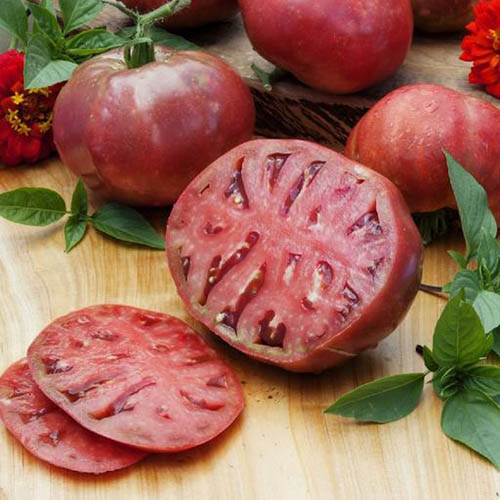
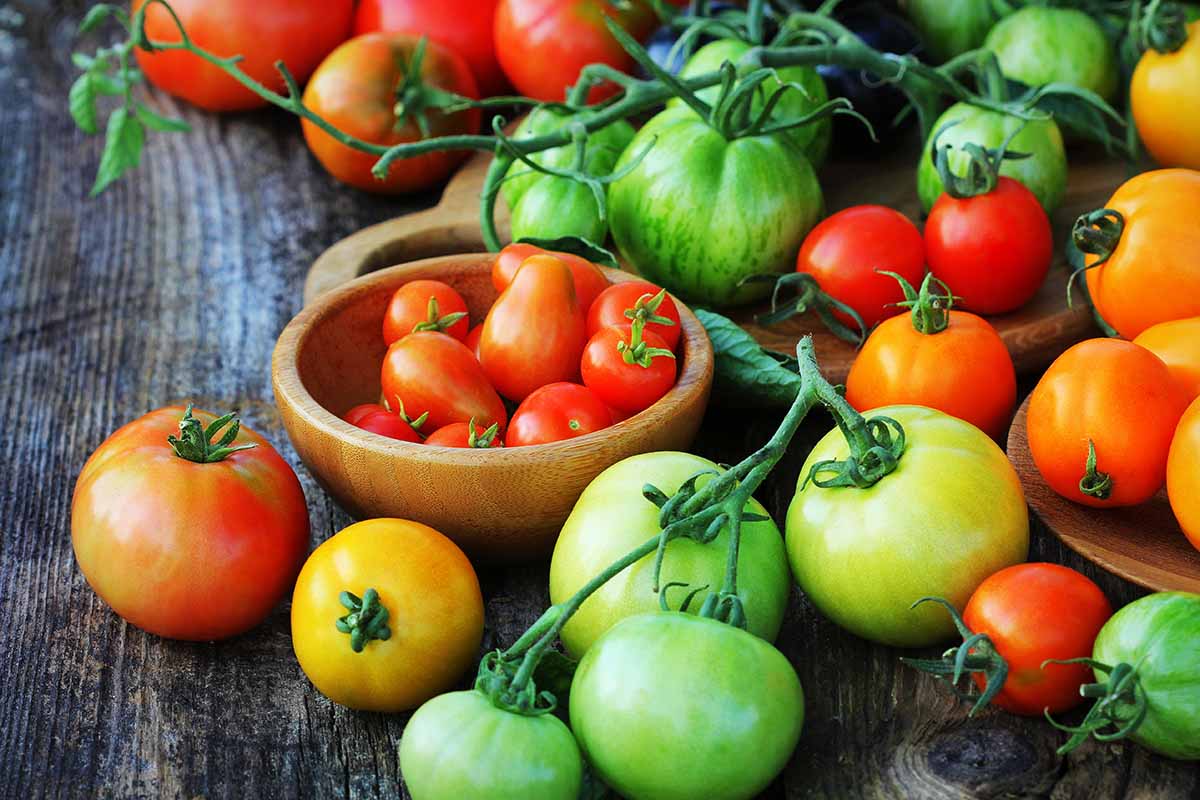
If you’re growing tomatoes from seed at home, you’ll probably want to take advantage of your increased options and grow some varieties that you wouldn’t be able to buy as transplants at your local nursery. Seed catalogs contain a huge selection of varieties including short season, long season, determinate and indeterminate, cherry, grape, plum, cocktail, beefsteak, paste, heirloom, open-pollinated, hybrid, potato leaf, red, green, yellow, orange, indigo, purple, black, white, and even striped tomatoes. Whew! Get my point? There are a lot of options out there! If you could use some help sorting through the multitudinous options, we’ve got you covered. Feel free to consult our articles for helpful recommendations detailing the advantages of some of the best heirloom cultivars, our favorite hybrid varieties, and the types best suited to canning. But if you’re not in the mood for decision-making (I know how it is, we all have our moments) and want just one single recommendation, I’ve got one for you. I suggest one of my favorite heirloom cultivars, the gorgeous ‘Cherokee Purple.’ This is a beefsteak style tomato with pretty, purplish-red skin that stays green around the stem. If you were to only plant one tomato seed and it doesn’t germinate, you’ll be disappointed and wonder what it was you did wrong, while it could just be that the individual seed was not viable. I confess – when I cut one of these up, I become mesmerized by its colors. ‘Cherokee Purple’ The flavor of this heirloom is sweet and somewhat smoky, ready to add brightness and an intriguing depth to your summer meals. If ‘Cherokee Purple’ tempts both your taste buds and your love of gardening, you can find packs of certified organic seeds available at Eden Brothers. And if you’re wondering how many plants to grow, I recommend starting at least six of each variety – the number of cells in a typical starter tray. With seeds, we’re all about maximizing our options! Some varieties have a lower germination rate – and seed sellers don’t always print these germination rates on seed packets, so you won’t always know what to expect in terms of germination. Planting a few extras will help you make up for any losses, particularly with types known for having lower rates of successful germination. And by the way, if you have some old packs of tomato seeds sitting around and are wondering if they’re still usable, check the date on the packet. If stored correctly, in a dry, dark, and cool location, they will remain viable for five years after harvest.
Starting Mix
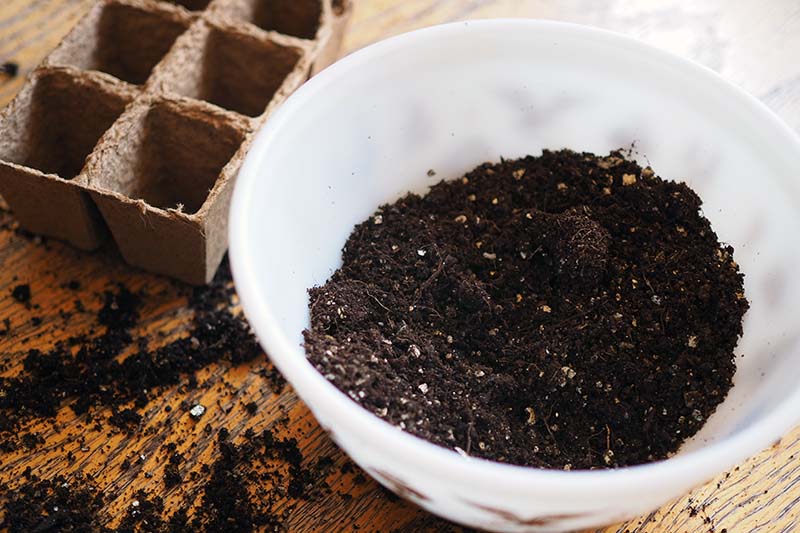
To sow your seeds, you can use either potting soil or a soilless starting mix – just check your packet to make sure your soil or starting mix is sterile. Regular garden soil that has not been sterilized can compromise the health of your young tomato plants, potentially introducing harmful pathogens, such as those that cause damping off. If this condition occurs, you’ll notice the stems of your starts browning just above the soil line. The stems will shrivel, and the young plants will collapse and die. You can read more about protecting your baby tomatoes from damping off in this article, just remember that starting out with sterile potting media is your first line of defense. (And the next is to make sure you do not overwater – but I’ll get to that shortly.)
Starter Trays
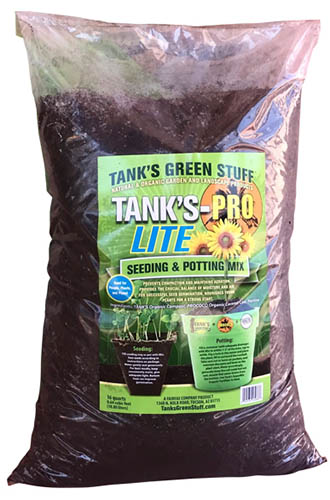
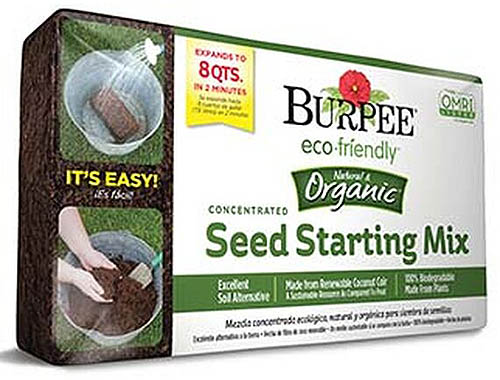
You have many different options when it comes to what type of containers to use as starter trays. I like to use a soilless potting mix myself – but I always look for those that incorporate the more environmentally sound coconut coir instead of peat moss. Tank’s Pro-Lite Seeding & Potting Mix 16 Quart Bag Coconut Coir Seed Starting Mix – Makes 8 Quarts You can also find an organic coconut coir seed starting mix in a convenient, space saving block from Burpee. You just need to add water and the block will expand to eight quarts, ready for use. According to an article published by the University of Maryland Extension Home and Garden Information Center, most starting mixes contain enough fertilizer to feed the tomatoes up until time you transplant them into the garden, so you shouldn’t need to apply additional fertilizer. You can purchase plastic or biodegradable trays that are specifically intended for growing starts. Or you can repurpose egg cartons, toilet paper rolls, paper or plastic cups, or nearly any other shallow container that will hold your potting mix. Whatever type of container you use to start your seedlings, make sure it provides good drainage – if your tomatoes’ roots stay too wet, they will be more susceptible to diseases such as “damping off.” Also make sure the containers are not too big. For tomatoes, it’s best to start with a smaller container and transplant to a larger container when you need to, as the excess soil might stay too wet.
DIY Seed Trays
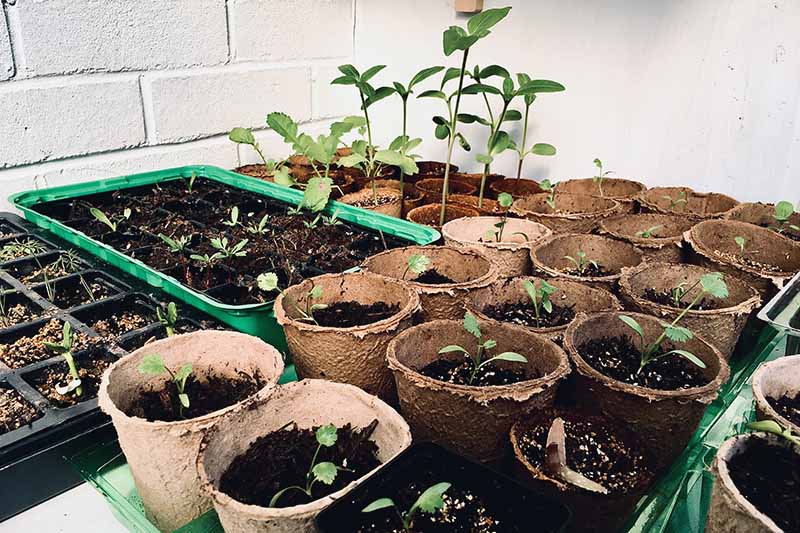
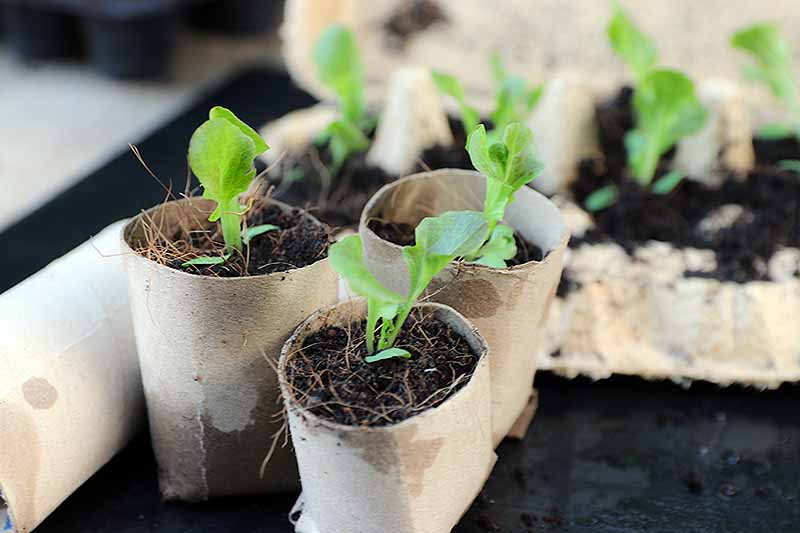
I tried the DIY egg carton and toilet paper roll methods years ago, and while this creative reuse scores points for the environment, these aren’t my favorite starter tray alternatives. Cardboard egg cartons may work for smaller starts, but tomatoes will outgrow their shallow cells very quickly. And the year I tried using toilet paper rolls as seed cups, they started falling apart well before the tomatoes were ready to transplant. I can’t really give a hearty recommendation to either of these options. You can get creative and find other containers to start your tomato seeds in, but if you want to hedge your bets, your best option may be to purchase seed trays intended for this purpose.
Plastic Seed Trays
Biodegradable Seed Trays
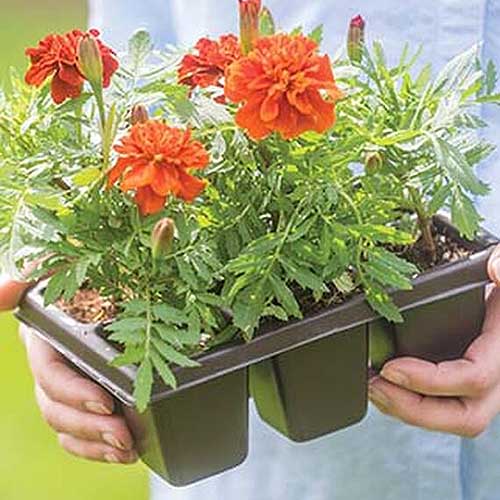
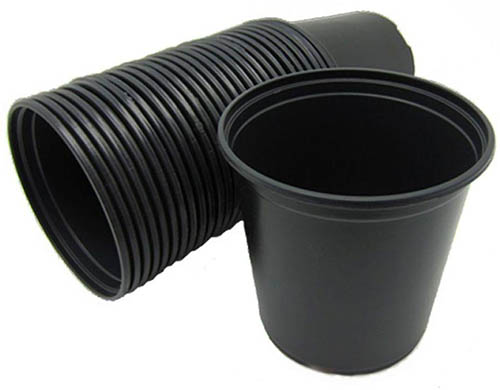
If you live in a temperate climate, choosing biodegradable seed trays and pots is a wonderful way to go, since you can plant these directly into the ground or into the next size nursery pot without disturbing your plant’s delicate roots. In my arid climate, biodegradable trays and pots simply don’t biodegrade – and, yes, I found this out the hard way. Now I stick with plastic trays, which have the bonus of preventing my starts from drying out too quickly between waterings. 6 Cell Seed Starter Trays in Packs of 10 If plastic seems like the best option for you too, these six-celled trays are an excellent gardening supply for growing starts. Each cell is 1.5 inches square by 2 3/4 inches deep – a good size for your newborn plants. You can find them in packs of 10 trays at Burpee.
Reusing Plastic Seed Trays
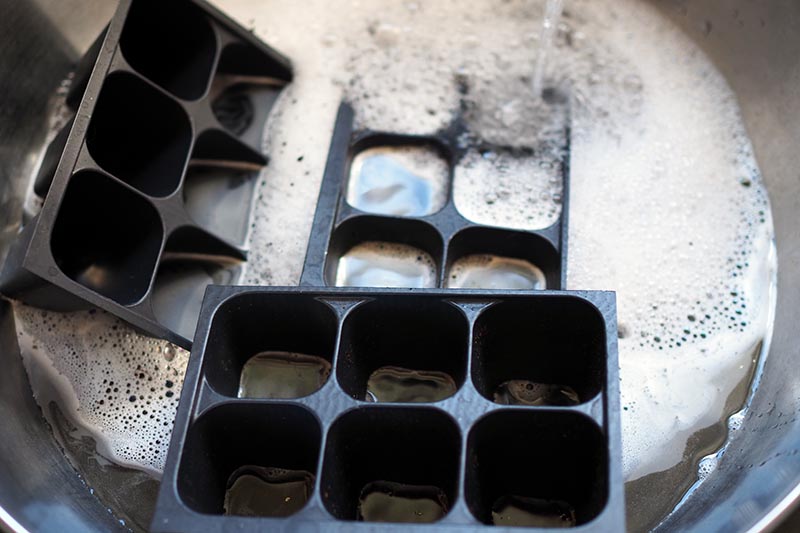
If you’re wondering if you can reuse plastic seed trays and pots, the answer is yes. Just make sure to thoroughly wash them out with hot, soapy water, rinse thoroughly, and then disinfect them. I recommend a hydrogen peroxide based disinfectant over chlorine-based household bleach, since chlorine bleach can be problematic. ZeroTol HC fungicide is a good alternative to chlorine bleach. It contains hydrogen peroxide so it is safe to use on pots, tools, and other surfaces, and it will kill pathogens that cause plant diseases – including those responsible for damping off – when used as directed. ZeroTol HC You can find ZeroTol HC concentrate available for purchase in one-gallon containers at Arbico Organics. Always use as directed.
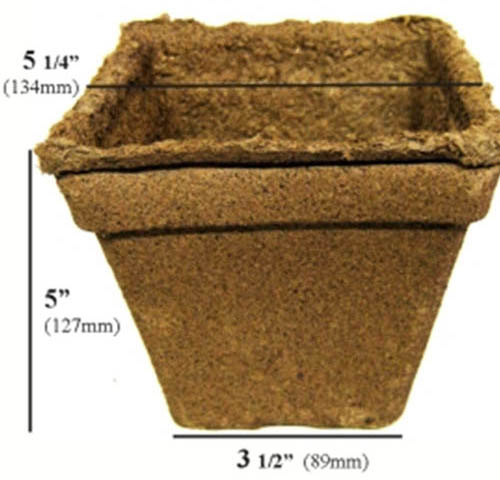
Nursery Pots
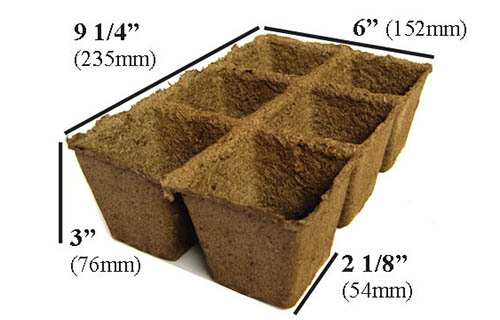
Tomatoes can grow quickly, so having larger-sized nursery pots on hand for repotting is also a good idea. CowPots™ are made from composted cow manure sourced from a Vermont dairy farm – and not only do they have a light environmental footprint since they reuse waste material, once you plant them, they will nourish your plants as they break down. CowPots™ #3 Six Cell Flat You can find six-celled CowPots™ trays in packs of various quantities at Arbico Organics. Each cell in the tray is approximately three inches square by three inches deep. There are a few options you can choose from to create a humid, warm environment for your tomatoes – and your choices range from the extremely low budget to the serious long-term gardening investment. And just like the biodegradable seed trays mentioned above, CowPots™ are also available in larger sizes for repotting. CowPots™ #5 Square You can find square CowPots™ sized at 5.25 by 3.5 by 5 inches in packs of 60 or 192 pots at Arbico Organics. Or perhaps plastic pots are more suitable for your needs? Pack of 20 Round Nursery Pots You can find packs of 10 or 20 plastic nursery pots, measuring 7 inches wide by 6 3/4 inches deep, at Home Depot.
Germination Station
For germination, tomatoes require heat and high humidity – conditions that create a greenhouse effect. In other words, they need a warm and humid germination station.
Plastic Wrap
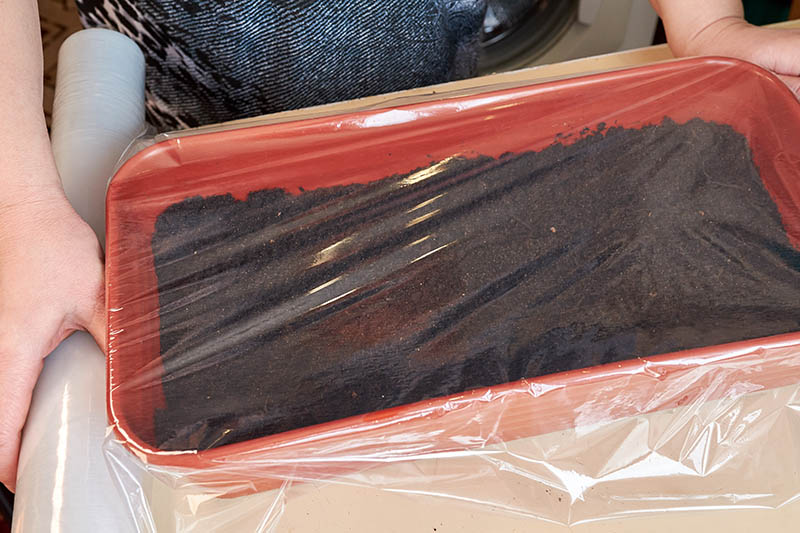
If you want to keep your spending low for this project, you can create greenhouse conditions by covering your seed trays with plastic wrap. If you decide to go this route, make sure to leave a little extra room between the soil surface and the tops of your seed trays, so your baby tomatoes don’t immediately bump their heads on the plastic as soon as they sprout. And remember to remove the plastic wrap soon after your sprouts poke their heads up above the soil, to ensure air circulation and reduce the risk of damping off. My young tomatoes get plenty of warmth and humidity this way – and they are protected from my curious cats. 12-cell Growing Tray with Plastic Humidity Dome These germination stations come with a flat for holding your seed trays, and a plastic dome to retain heat and humidity. You can find a 12-cell growing tray with a drip tray and clear humidity dome from True Leaf Market.
Terrarium
I grow my starts in a terrarium – a mini greenhouse – placed next to a sunny and warm south-facing window. While I have a couple of repurposed reptile terrariums that I use, my favorite terrarium is a more decorative model. It has more ventilation and doesn’t stay quite as humid as the reptile terrariums, but I have had no problem germinating and growing tomato starts in it.
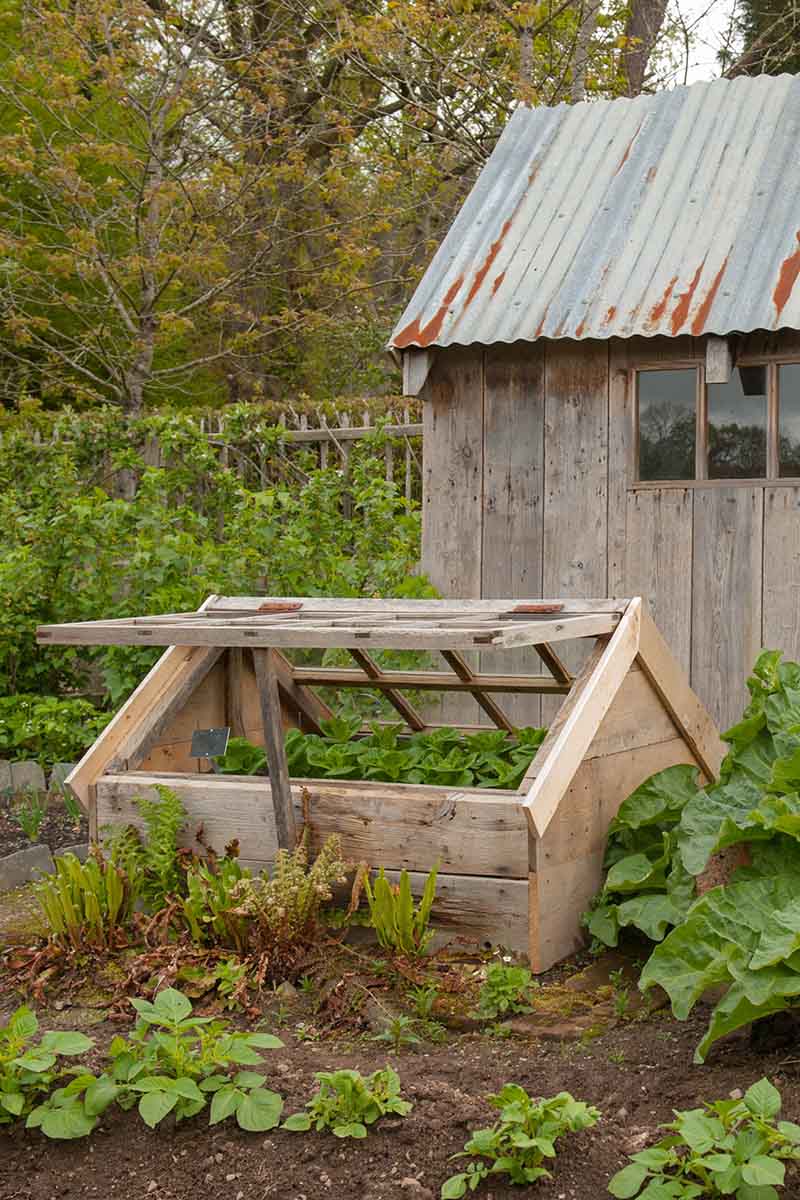
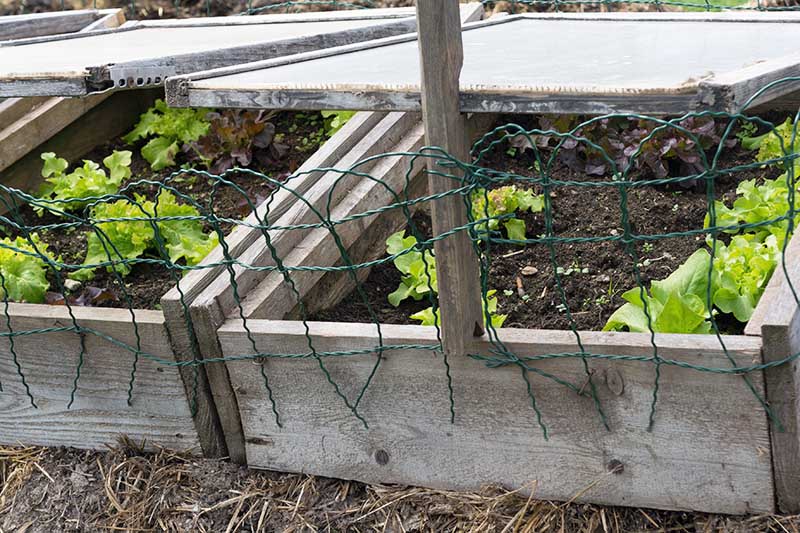
Cold Frame
You don’t have to start your tomatoes indoors – you could start them in a cold frame instead, if your temperatures are right. This setup works particularly well if you receive a lot of warming sunshine in the spring, but not so well if your spring weather is gloomy and rainy, or too cold. A cold frame will work if you can keep the interior conditions between 50 and 95°F, with the best temperature range for germination being between 65 and 85°F. Set up your cold frame facing full south where it will get direct sunlight, providing your young starts with both light and heat.
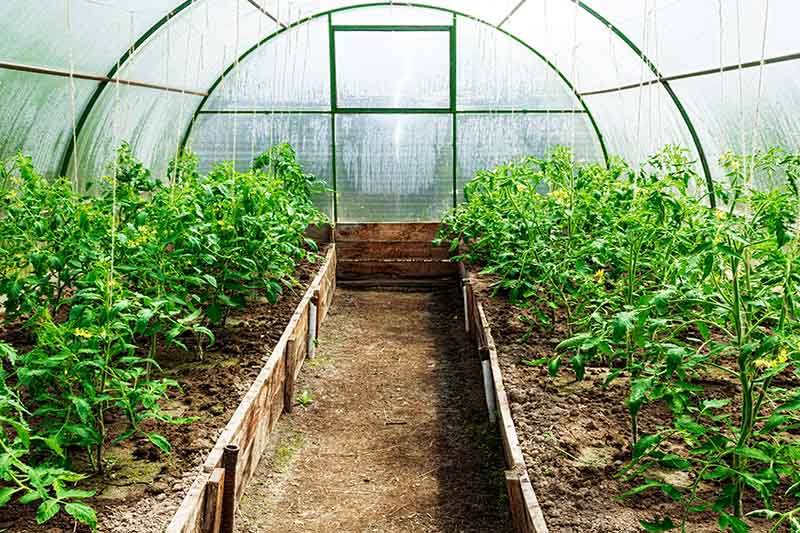
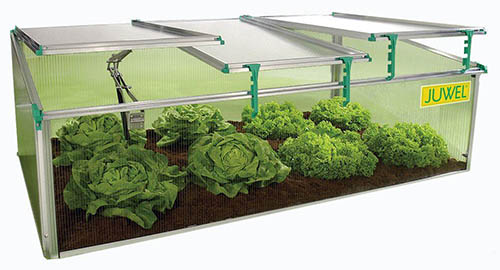
Greenhouse
If you want the best setup of all for growing your own tomatoes from seed, a greenhouse is the ultimate choice – and will give you the space to start an endless selection of cultivars of your favorite summer veggies. Cold frames may come with built-in ventilation, or you can prop them open to ventilate and prevent interior temperatures from getting too hot during the heat of the day. Juwel 59″ Vented Cold Frame If a cold frame seems like the best option for you, you may want to try this 59-inch vented polycarbonate model from Juwel. It’s available from Home Depot. If you’re lucky enough to already have a greenhouse as part of your gardening setup, growing your starts in your greenhouse is definitely the way to go, since you can use it to provide the light, heat, and humidity they need. Just make sure you avoid the most common greenhouse mistakes – read our helpful article on this subject to learn more. If the idea of setting up a greenhouse has your green thumb twitching, you might consider making a DIY greenhouse out of pallet racking.
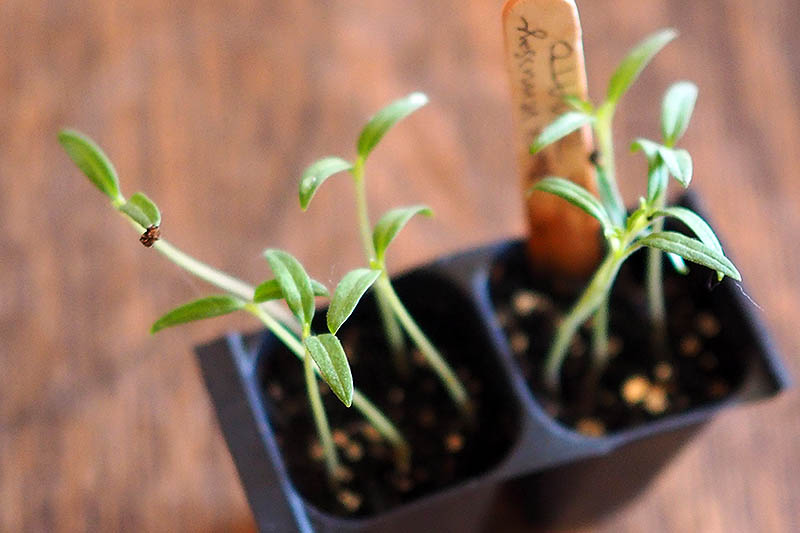
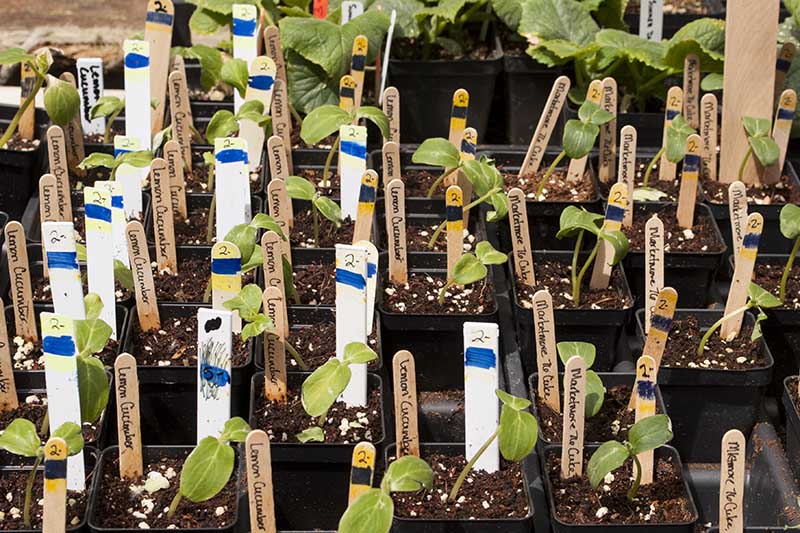
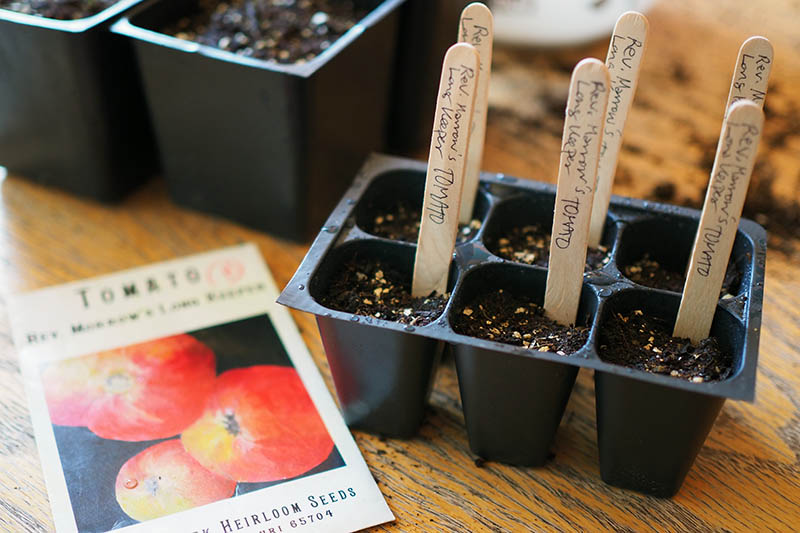
Plant Markers
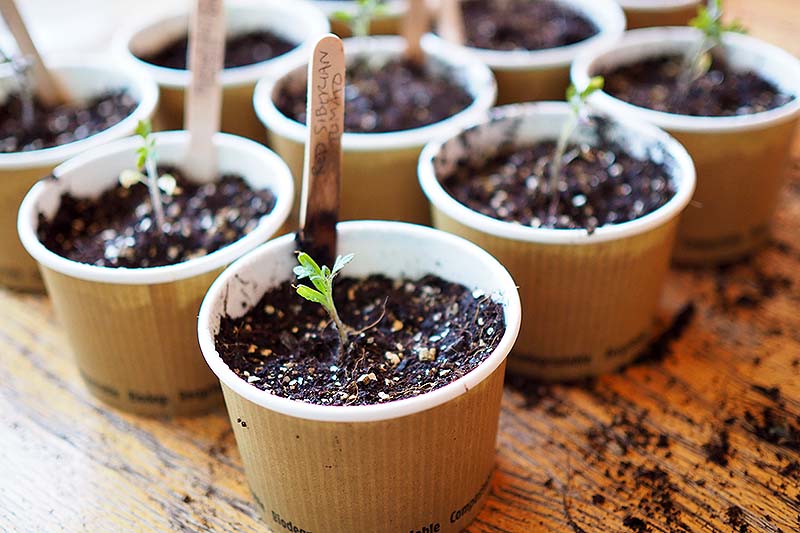
Plant markers are a must have if, like me, you plan to start your own personal mini nursery each spring, growing several different varieties of tomatoes as well as many other types of vegetables and herbs. Without markers to label them all, how will you keep track of your starts? If you are only starting one variety of tomato and no other types of veggies, you can probably get by without plant markers. And if you are using something like egg cartons or paper cups to grow in, you could just write the name of your plant and the date directly on the container. However, using plant markers gives you a clear visual sign of what variety you are growing and the date seeds were sown (excellent items to note in your gardening journal, as well).
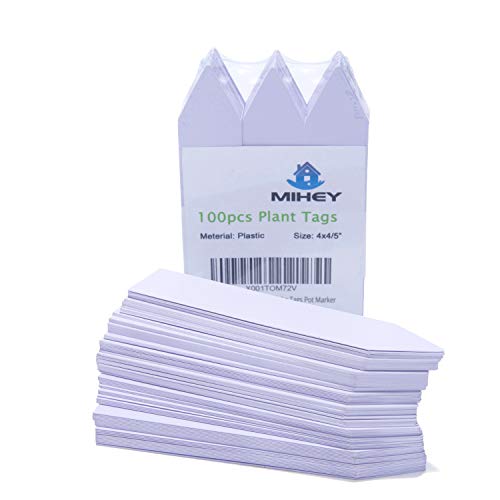
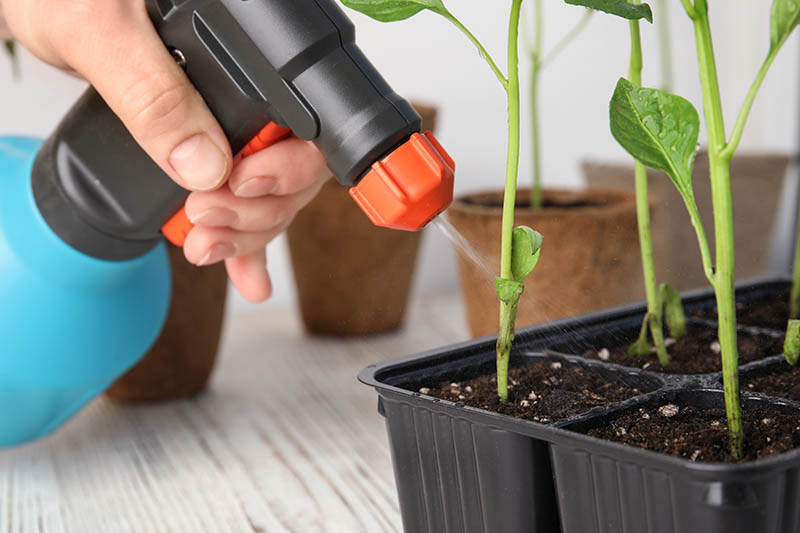
Spray Bottle
While you can water your seedlings with a small watering can, jar, teapot, cup, or whatever else is handy, using a spray bottle will give you much greater control over how much irrigation you are providing, and help to prevent overwatering. While the wooden ones are biodegradable, the plastic ones have more reuse potential since they don’t break down as quickly, and you can wash off the writing. Pack of 100 4″ Plant Markers In fact, correct watering is such an important aspect of growing tomatoes from seed that I consider a spray bottle to be just as important to have on hand as a good quality starting medium. There are a couple of reasons why watering in this manner is preferred. According to Barbara Larson, Unit Educator at the University of Illinois Extension, the first is that overly wet potting mix can promote fungal disease. Waterlogged soil may also remain too cool after watering, preventing seed germination and slowing root growth. You can use a plain plastic spray bottle, or a glass one. If you plan to repurpose an empty household spray bottle, only select one to upcycle that has never contained harsh chemicals, since chemical residues can damage your starts.
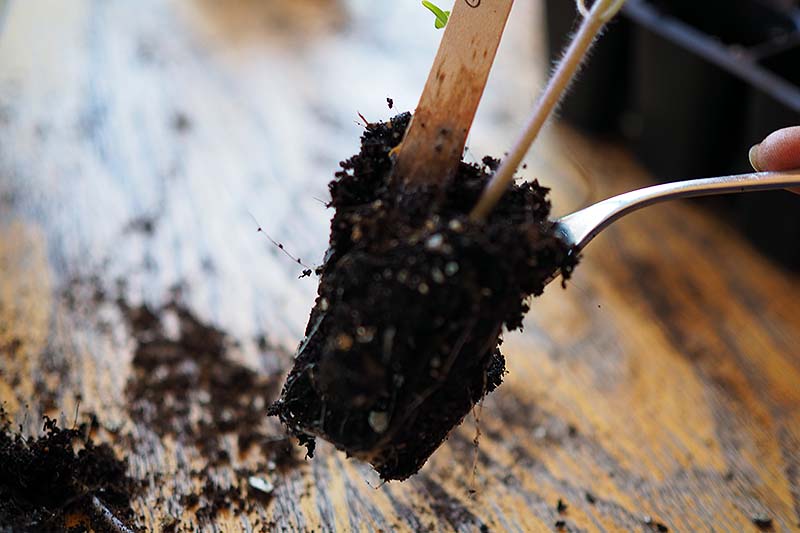
Widger
When removing your young tomatoes from their trays to transplant, you will need some way to lift them out without pulling them by the stems. A widger is one such tool you can use to perform this task without injuring your baby plants. Haws Plant Mister You can find this decorative mister in solid copper or brass available from Terrain. To use this tool, you stick the widger into the soil and under the roots of the seedling to lift it out of its tray – without damaging its roots. As a DIY alternative, you could also use a small spoon, a popsicle stick, or a wooden plant marker to leverage your plant out of its growing cell.
Grow Lights
I grow my seedlings next to a couple of very sunny, south-facing windows. These provide plenty of sunlight and warmth for my plants as they grow and mature. But not all climates or home situations will allow you to take advantage of free light and heat from the sun. So, if you are facing such challenges, you might want to consider using grow lights. Grow lights have an additional advantage, even if you do have a nice sunny window: Since they are placed just a few inches above the growing plants, plants will grow stockier and bushier compared to their growth next to a window. Grow lights also encourage plants to grow straight up towards the overhead light source instead of leaning. Plants grown next to a window often reach sideways towards the sun – a problem that can be remedied by rotating your plants regularly. But they do tend to grow leggier even with regular rotation, as they reach toward the light. To learn more about grow lights, have a look at our article on some of the best models available and how to use them.
Heat Mat
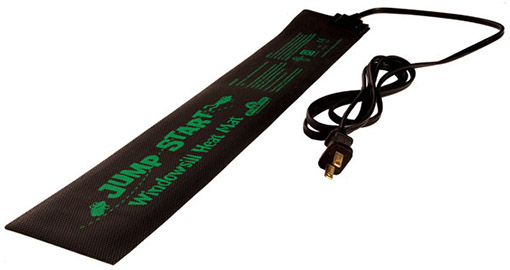
A heat mat can help to keep the soil at the right temperature for germination. Having one of these is particularly useful to gardeners in cold or rainy climates, where you can’t rely on the sun to keep your young plants at the right temperature.
6 Steps to Growing Tomato from Seed
Now that you have all your supplies gathered up, you’re almost ready to start your tomatoes. That would be 65 to 85°F for germination. According to Barbara Lawson at the University of Illinois Extension, lowering the temperature after the first set of true leaves appear helps to promote shorter and stockier growth with stronger stems. Jump Start Windowsill Heat Mat If it sounds like you could use a heat mat to help regulate the temperature in your growing operation, the Jump Start Windowsill Heat Mat will warm your plants’ roots 10 to 20°F higher than the ambient room temperature. There’s just one more important step to take care of before you get your hands dirty: Getting the timing right.
1. Know When to Sow
It’s important to know when to start your tomato seeds, in order to plant them out at the best time and get the best harvest. The best time to transplant these summer veggies is a couple of weeks after your average last frost date. Planting a couple of weeks after this date helps to provide a little wiggle room in case a freak late frost decides to sweep through your area. First, determine the average last frost date for your area. If you don’t already know it, you can look it up at the Old Farmer’s Almanac. Just type in your zip code and the tool will calculate your average last frost date and display it on the screen. Easy! Most seed packets recommend starting tomato seeds four to six weeks before your last frost date, but they assume you will set out your transplants close to this date. We’re going to be a bit more cautious than that. If you get started just four weeks before your last frost, then your starts should be ready for transplanting two weeks after your last frost. Make sense? So, take your last frost date and count back four weeks. This is when you should begin your tomato seed starting project. Learn more about when’s the best time to sow vegetable seeds indoors and outdoors in this helpful guide.
2. Prepare Trays and Sow Seeds
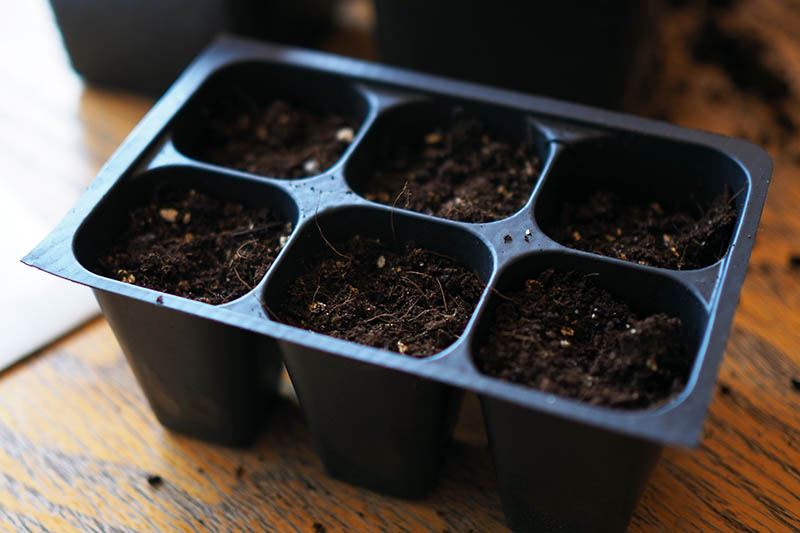
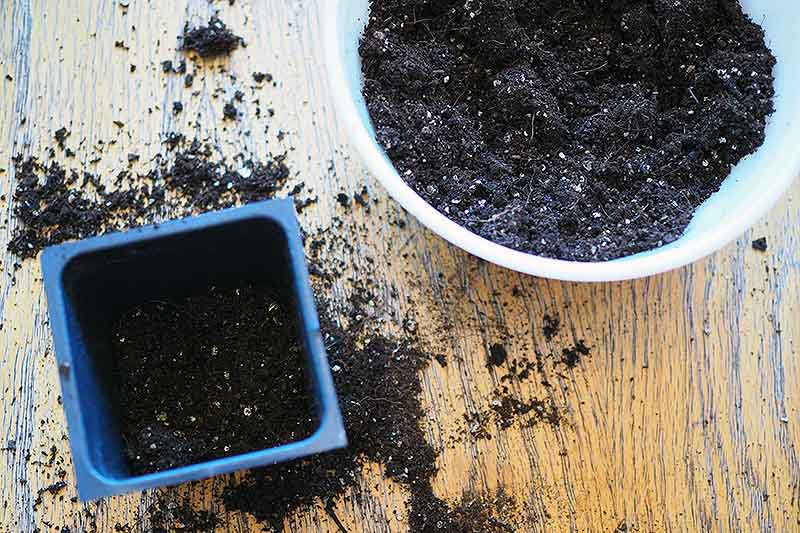
Now you’re finally ready to get started, so let’s go. Place some starting mix in your seed trays. Fill each cell loosely, then gently tap the tray to remove any air pockets. You want the soil to fill in the cells without becoming compacted. Loose soil will allow your plants’ roots to spread out nicely, but compacted soil will not. Gently smooth the surface of the soil to make it level. Leave three quarters of an inch of head space at the top of the cells, above the soil line.
Sow Seeds
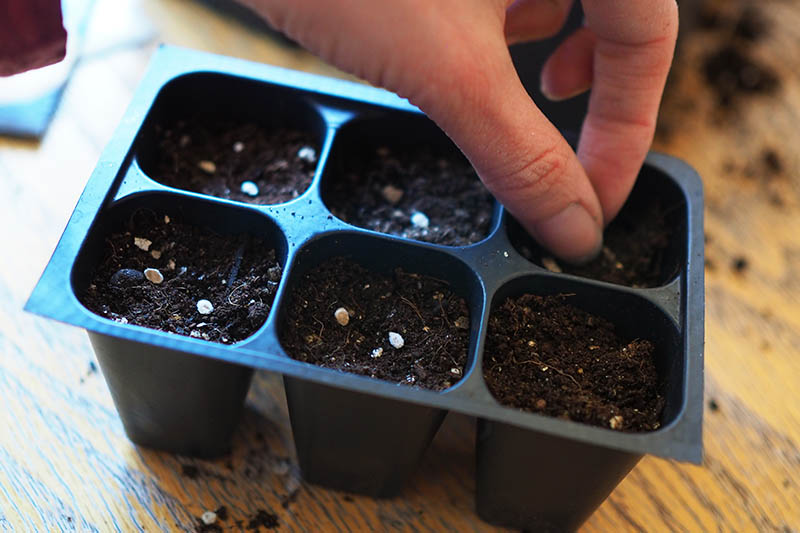
Shake out some seeds from your seed packet into your hand. To make up for any that may not germinate, plan to sow two to three seeds per cell. Place one seed on the surface of the soil, and repeat with the others, spacing them out an equal distance from each other. Grab a pinch of sterile planting medium and sprinkle it over the seeds – cover them with about a quarter of an inch of starting mix. Now, gently pat the surface of the soil to smooth it.
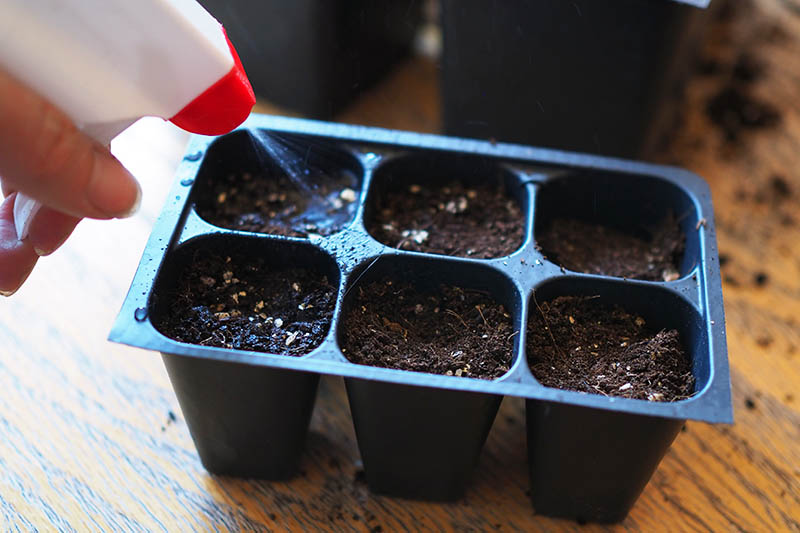
Water Gently
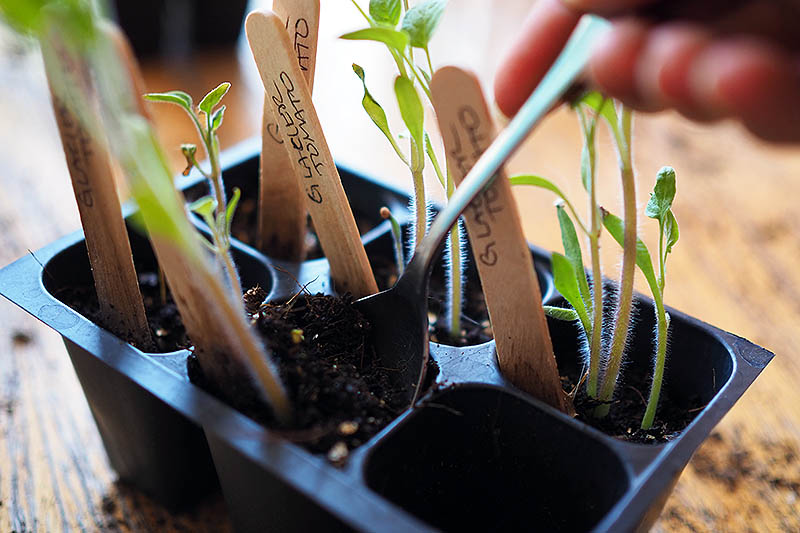
Water your seeds in with your spray bottle, spraying until the soil is moist, but not waterlogged. For me, this means about four or five squirts. When your plants get larger, after repotting, you will want to water more thoroughly, with a small watering can or teapot. Write the name of your variety and the date seeds were sown on as many seed markers as you need, and stick them in the tray along the edge of the cell, away from where you placed your seeds.
3. Move to the Germination Station
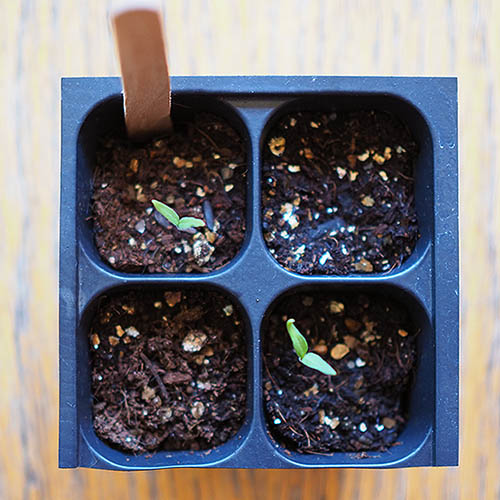
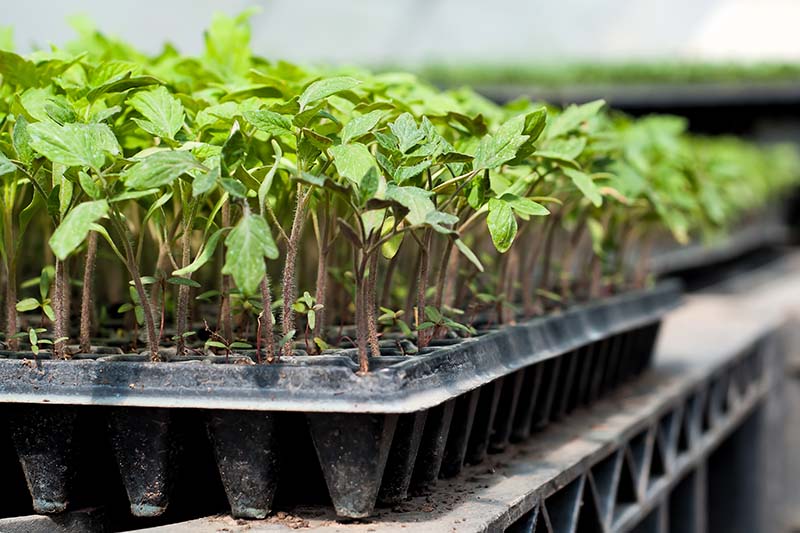
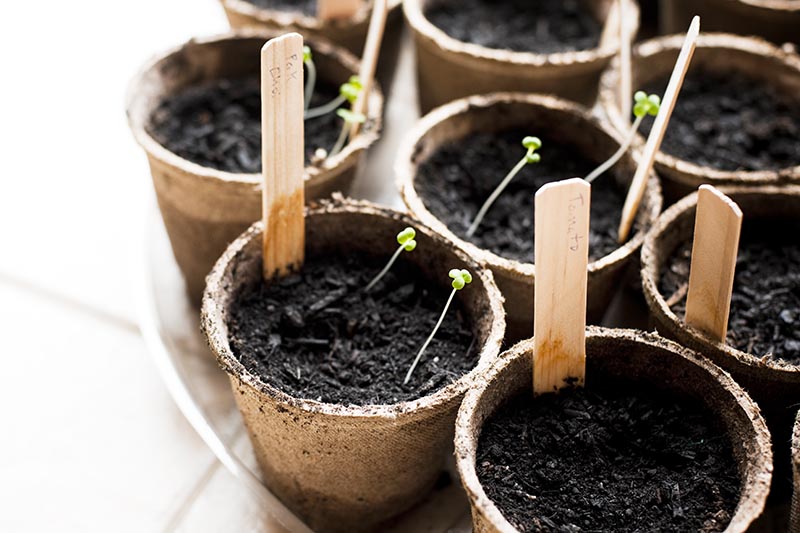
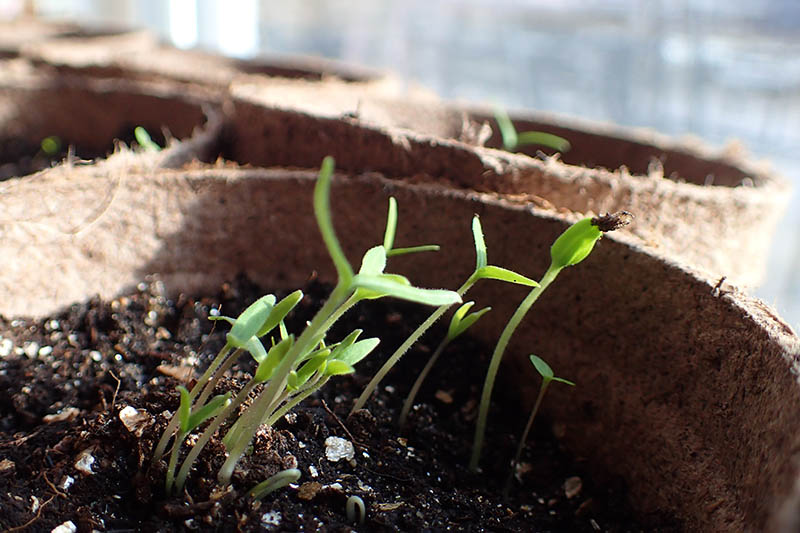
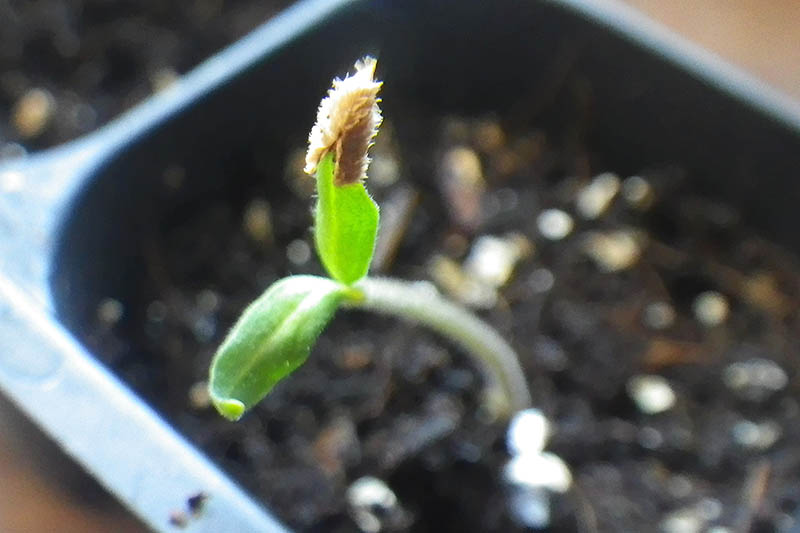
Place your seed trays in their warm and humid growing location – your “germination station” – whether this is your greenhouse, cold frame, terrarium, grow dome, or just under some plastic wrap. If your seed tray is placed next to a warm window, you may not need a heat mat. But if you do need extra heat to maintain the soil in your trays at the recommended 65 to 85°F, place a heat mat underneath them. You won’t need to expose your trays to light until the tomatoes sprout. Though some types of seeds require light for germination, tomatoes do not. Check your trays once or twice a day, and water with your spray bottle when the surface of the soil is dry. Within a week or two, germination will take place. Tiny seedlings will rise out of the soil, perhaps holding the seed cases they just emerged from aloft on one of their seed leaves, or cotyledons. If you used plastic wrap over your seed trays, remove it now.
Provide Light
Make sure you are ready to provide light to your newly emerged tomatoes – whether it’s sunlight from a bright, southern window or artificial light from a grow light. If you are using a grow light, place it two to three inches above your starts. When using a window for light, your plants will lean towards the window. To correct for this and get your plants to straighten out, rotate your seed trays every few days. If your “germination station” is a greenhouse, cold frame, terrarium, or domed tray, you can leave your plants there to grow.
4. Daily Care of Your Seedlings
You will need to care for your young tomatoes every day.
Water once or twice a day with your spray bottle when the surface of the soil is dry.When starts are bigger and require more water, switch to a small watering can or teapot.Ventilate your germination station so it doesn’t get too hot. Interior temperatures over 95°F will stunt growth.
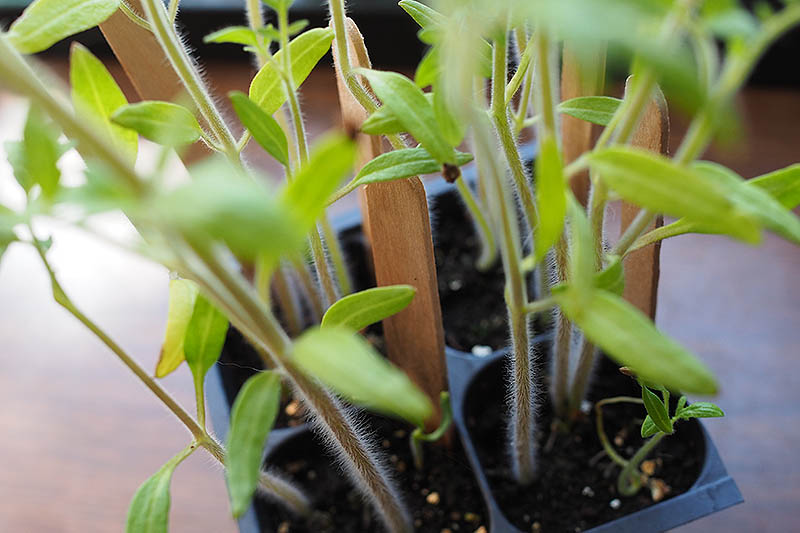
Optionally, you can expose your young tomatoes to the breeze of a gentle fan, or gently brush your hands over their leaves a few times a day. The purpose of this is to simulate wind and help strengthen their stems.
Thin Your Starts
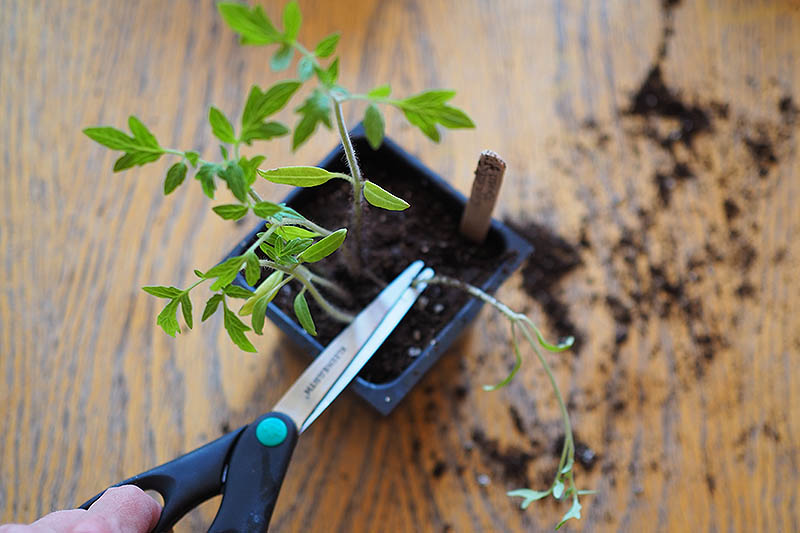
If the majority of your seeds germinate and you end up with two or three plants growing in each cell of your tray, you may need to thin them. If your seedlings are getting big and their roots are getting tangled, it’s best to sacrifice some of them and keep only the strongest plant in each cell. If you will be repotting your seedlings in the next step, you can thin them at the same time. The safest way to do this to avoid disrupting the roots of your remaining plant is to use a small pair of scissors to snip the stems of the rejects, just above the soil line. Continue snipping until you have just one strong tomato seedling remaining in each cell. If seedlings are not overly crowded when you’re ready to repot or transplant into the garden, and all of them look strong and healthy, you should be able to gently remove each of them from the soil for repotting without culling any.
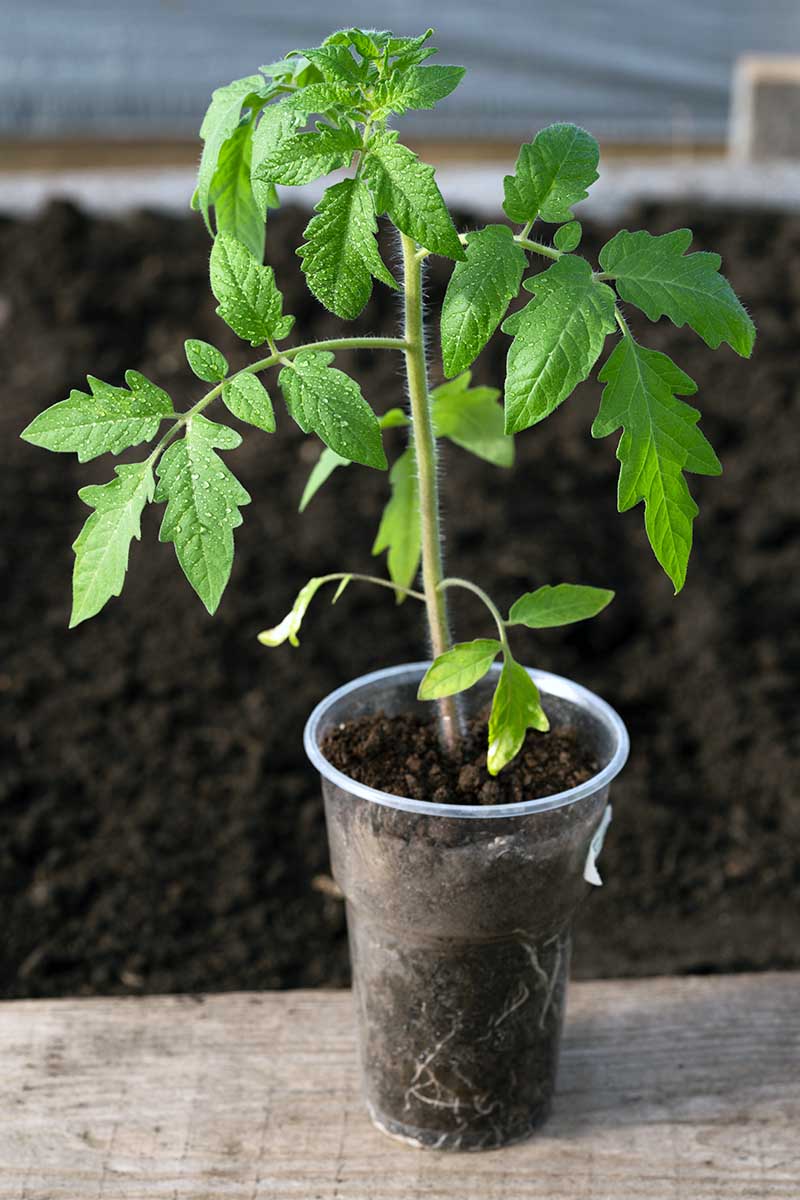
5. Repot and Harden Off
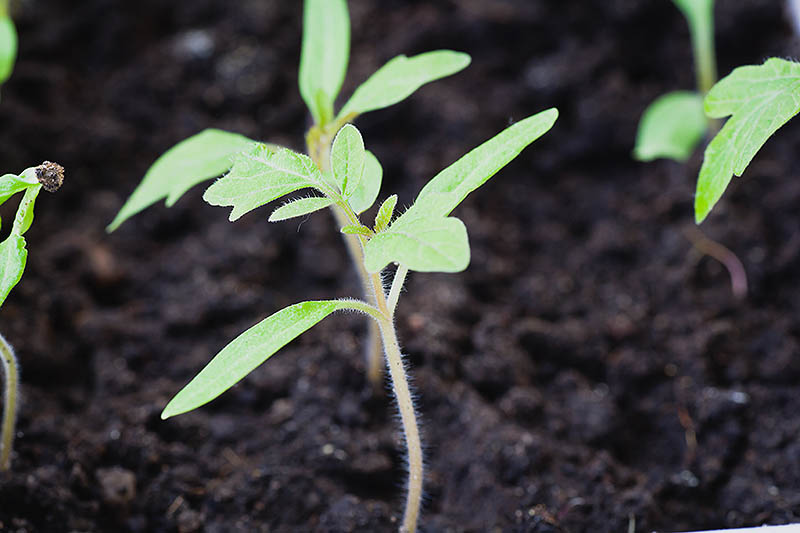
Once your baby tomatoes have at least two or three sets of true leaves, they can be transplanted into larger sized nursery pots – unless you are ready to transplant them directly into the garden or their summer containers. Repotting will give your tomatoes more room for root growth. Prepare your nursery pot. Fill it halfway with potting mix. Tap the pot to let the soil settle, but not so much that it becomes compacted.
Repotting from Biodegradable Seed Trays
If you started with a biodegradable tray, use a pair of scissors to cut the cells apart so you have separate pots to plant. Trim down the rim of each cell so it is level with the soil. Place a biodegradable tray cell directly into the larger sized pot, being careful not to tear it. Add potting mix so it’s level with the soil of the transplant. Repeat with the rest of your seedlings.
Repotting from Non-Biodegradable Seed Trays
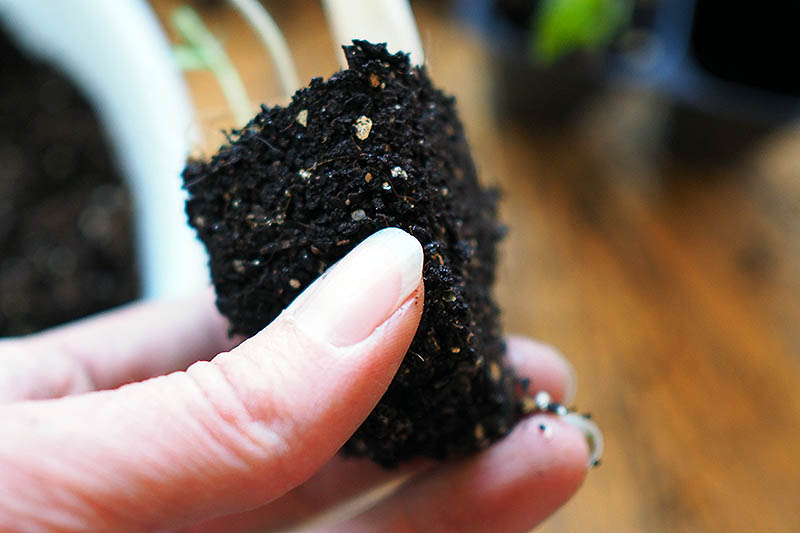
Gently remove tomato seedlings from the tray one at a time with a small spoon or widger. Place the spoon as far down into the cell as possible to avoid damaging the roots. Pull up with the spoon – your tomato should be freed from its first container! Hold the soil instead of holding the seedling by its stem, which is susceptible to disease if it’s accidentally bruised or damaged.
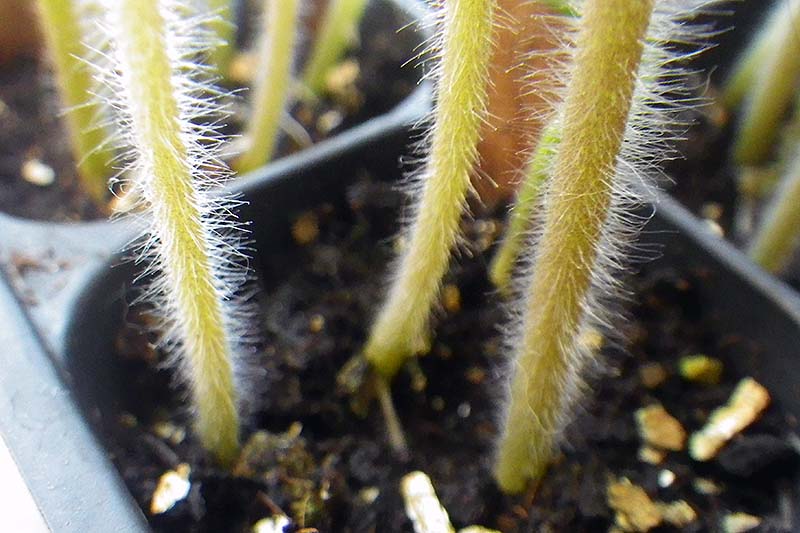
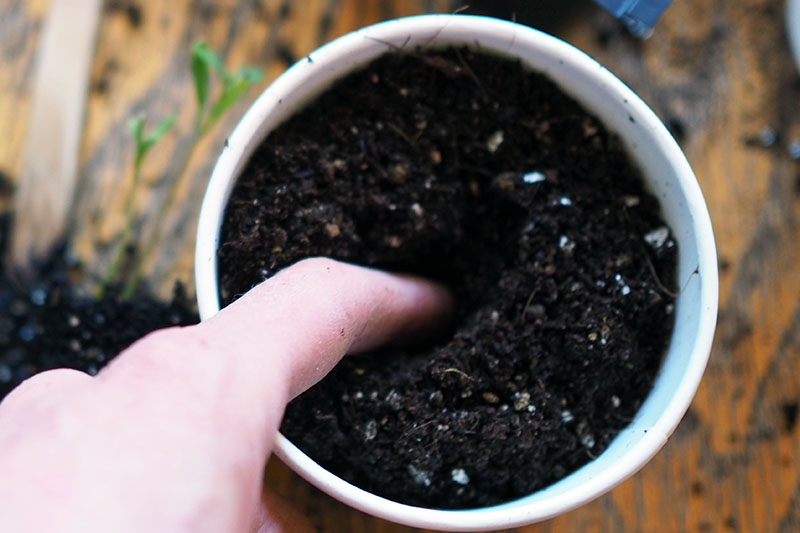
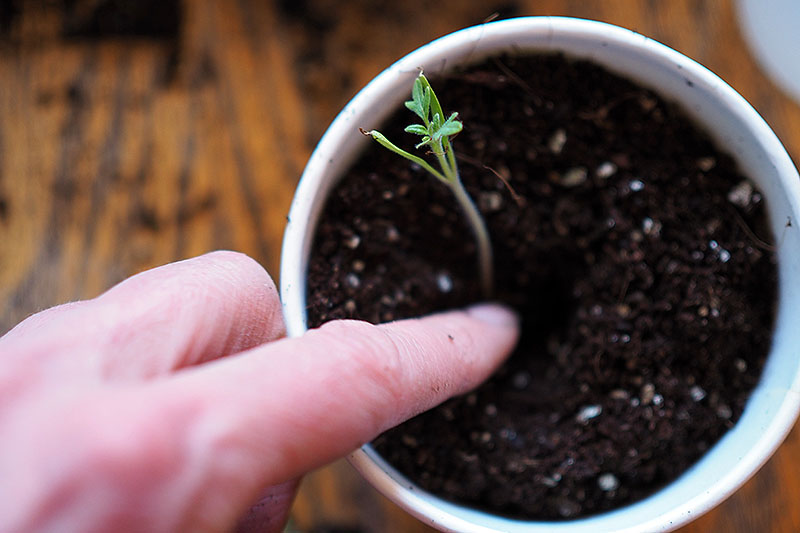
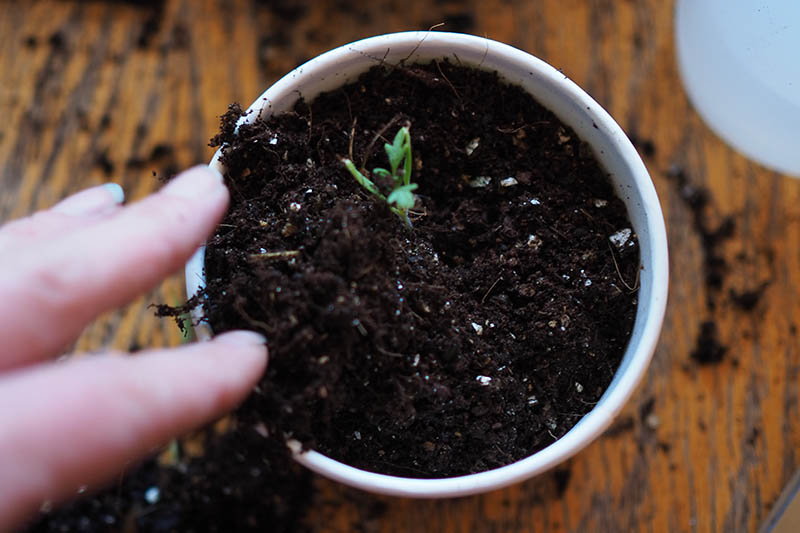
Bury Your Stem
Now you’re ready to place your tomatoes into their new pots. Tomatoes are one of the few plants that do well when their stems are buried deeply in the soil. This can introduce rot in other plants, but if you sink part of a tomato’s stem in the soil or bury it, the hairs on the stem will turn into adventitious roots. Remove any lower leaves from the bottom two-thirds of the stem, and make sure the tomato still has at least two sets of leaves above the soil. And leave enough stem free so that there are at least a few inches between the soil and the leaves. Add more soil until there is only a half an inch or so of head space at the top of the nursery pot, tap the pot gently to settle the soil, then water with your spray bottle or watering can. If the root ball is still small and stringy, fill your nursery pot with soil and tap to settle the soil, until there is an inch or so of room left at the top. Poke a hole into the middle of the soil with your finger. Place the young tomato into the hole, sinking it down as deeply as possible without bending the stem. Add soil, filling the hole and the nursery pot. Gently tap the pot on your work surface to settle the soil, until there’s about half an inch of room at the top of the pot. Water your repotted tomato and return it to its germination station, place it next to a sunny southern window, or place it under your grow lights, keeping the light 2-3 inches away from the top of the plant. As you approach your transplant date, continue with your daily care.
Harden Off
Your next step will be to give your tomatoes a transition period to adjust from their protected life in your home, greenhouse, or cold frame to their new location out in the elements. Providing this transition period is called “hardening off.” Tender transplants are vulnerable to outdoor weather conditions. Providing them with a gradual transition to the outdoors will help them become stronger and more resilient. As Lois Miklas, Master Gardener Coordinator at Penn State Extension points out, a whole host of changes occur in young plants during this period: leaf surfaces thicken and strengthen, they become less prone to freezing, more food is stored in plant tissues, roots grow more quickly, and stem and leaf growth slows. These changes make plants more resilient and able to withstand temperature changes, less frequent watering, and breakage from wind gusts. During the hardening off period, gradually introduce your plants to the outdoors during the day for a few hours at a time, slowly increasing the amount of time they spend outside and the amount of direct sunlight and wind exposure they receive. Here are some tips for hardening off your plants:
Give your plants a 7- to 14-day transition period.Start the hardening off process in a shaded, sheltered location.Gradually increase sun exposure and time outside.Protect plants from wind for the first week.Water plants less frequently during the hardening off period, but do not let them dry out or wilt.Only begin hardening off when outdoor daytime temperatures are above 50°F.Don’t fertilize right before or during this period.
Hardening off your young plants may seem like a lot of work. But it’s work that will pay off with bountiful harvests of fresh, delicious summer tomatoes from vigorous plants.
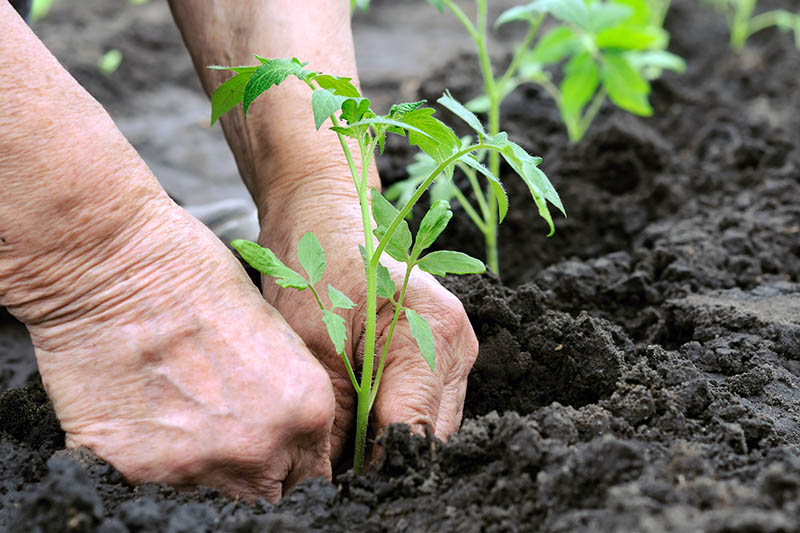
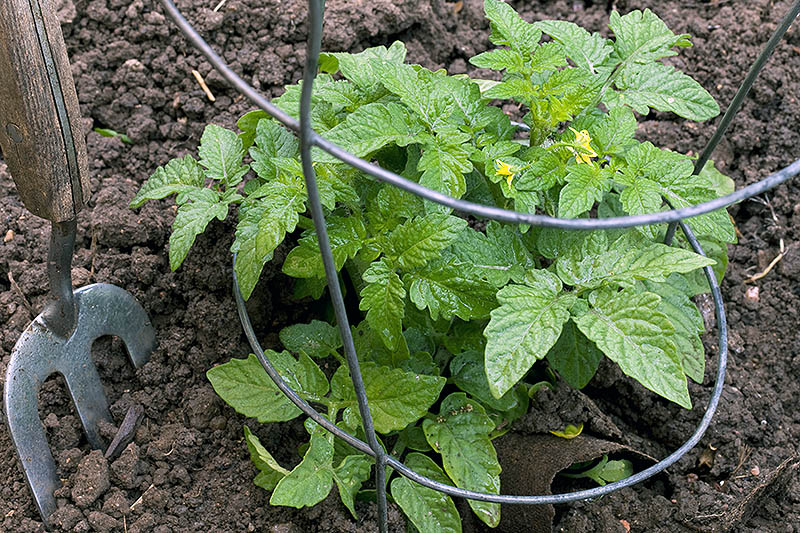
6. Transplant to the Garden
When is it time to transplant your tomatoes to your garden or pots and containers? After hardening them off, and preferably two weeks after your last frost date. Tomatoes need soil temperatures of 60°F or higher for growth, so if your soil isn’t that warm yet, hold off on transplanting them until it is. You can check your soil temperature with a soil thermometer. Keep in mind that this is not the same thing as the ambient air temperature. When you’re ready to transplant, water your plants well before their big transition into outdoor soil. Dig a hole a little larger than the pot from which you are transplanting, and add some worm castings or compost to the soil. If you used a biodegradable pot, don’t remove the transplant – the pot will go into the ground. Just make sure the rim of the biodegradable pot isn’t sticking up above the ground. Trim it before planting it so the top is level with the potting mix, the same way you did with your biodegradable seed starting trays. If your tomato is in a plastic pot, squeeze the sides of the pot to loosen it, and tilt the plant sideways to slide it out. Try to avoid pulling the plant out by the stem, and only handle the soil if you can. Plant your tomatoes at least as deep as their seed leaves. Planting more deeply is preferable, and will help your plants develop a strong root system. If your plants are leggy – which they hopefully won’t be if you followed all of the above instructions, but sometimes it happens – you can lay them sideways in a trench in the soil rather than a hole, with just the top several inches of stem and a couple of sets of leaves remaining above ground. Go ahead and stake your plants now, so you won’t disturb their roots later. Keep your newly relocated plants well-watered for the first couple of weeks after transplanting. For further guidance on transplanting your tomatoes into the garden, see our complete guide to growing these summer veggies. Have you started tomatoes from seed before? Do you have any other tips for success to share? If so, I’d love to hear them, so tell me your thoughts in the comments. Or if you have previously been unsuccessful at growing tomatoes from seed, perhaps this article helped you troubleshoot what went wrong. Let me know! Looking for more tomato growing and harvesting information? Be sure to check out some of our other guides next:
15 of the Best Canning Tomatoes You Should GrowThe Ultimate Way to Support Tomato Plants: Florida WeaveHow to Grow and Care for Tomatoes in Your GardenHow to Make Tomatoes Turn Red When They Refuse to Ripen on the Vine