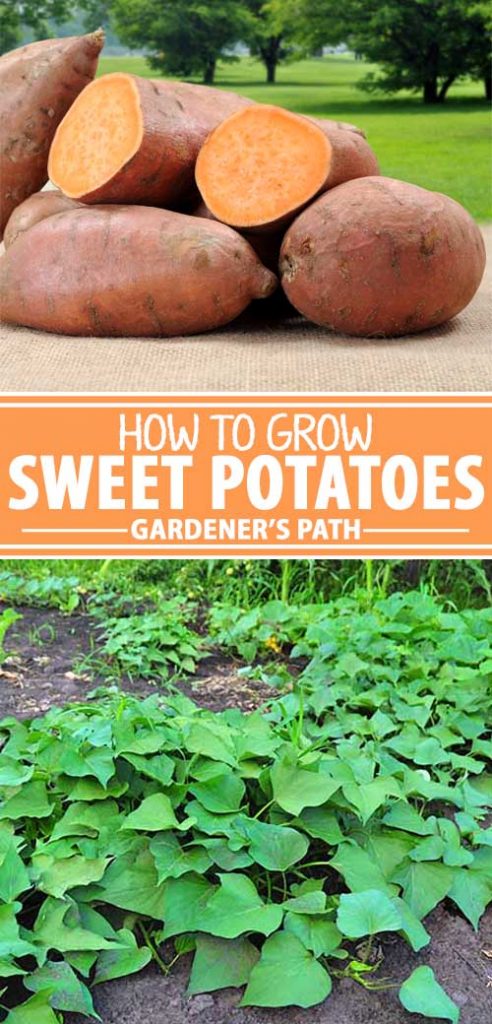
In a clean eating household these root tubers are like dessert, even without the added brown sugar. And if we go more than a few days without including them in a meal, we notice. So, if you’re looking for a garden crop that’s nutritious and indulgent, sweet potatoes are the answer. At breakfast, lunch, and dinner, this easily stored warm-season edible is delicious and versatile. And although it requires a good amount of space in the garden, it’s a relatively easy crop to grow. We link to vendors to help you find relevant products. If you buy from one of our links, we may earn a commission. Come September, I had more than 30 medium-sized root tubers. I will definitely be growing these delicious beauties again this year.
To get even better results, keep reading. I’ve dug into the details about what it takes to grow this amazing root crop for the best harvest possible. Here’s what’s in store:
What They Aren’t
It’s important to realize that sweet potatoes (Ipomea batatas) aren’t related to regular potatoes (Solanum tuberosum) or yams (Dioscorea sp). They are a tropical plant, hardy only in zones 9 through 11, and are actually a relative of the morning glory. Ornamental varieties are sold nationwide for their attractive, colorful leaves. The edible part of the plant is an enlarged storage organ that forms on the root, referred to as a root tuber. Irish potatoes, on the other hand, are stem tubers. This is why methods for growing sweet potatoes and Irish potatoes are very different. For Irish potatoes, you encourage the stems to develop through a method such as hilling. But with sweet potatoes, it’s all about encouraging root growth.
Getting Started
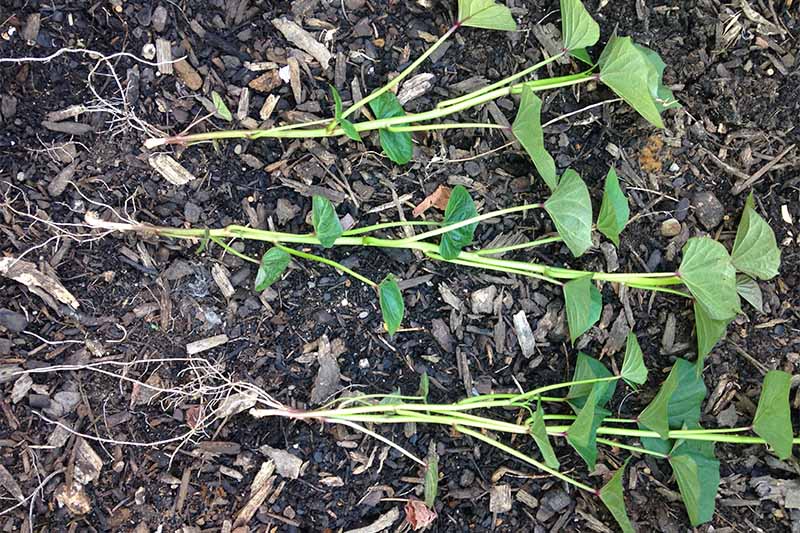
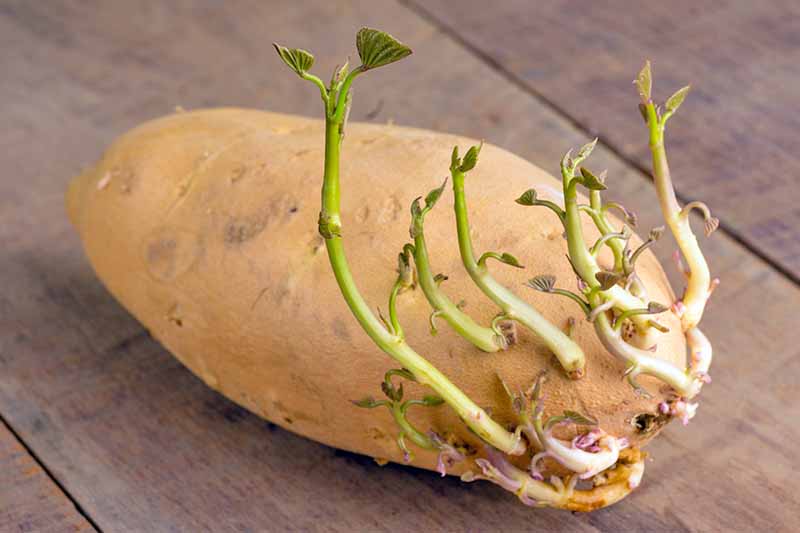
Sweet potatoes rarely flower outside of their native range so they are generally propagated from slips, or new growth that sprouts from the ends of the root tubers. If this is your first attempt, it’s best to order slips from a nursery or trusted purveyor, since they are less likely to carry diseases.
In subsequent years, you can use your own parent plants to start new slips. To avoid diseases, think about purchasing new slips every three years or so.
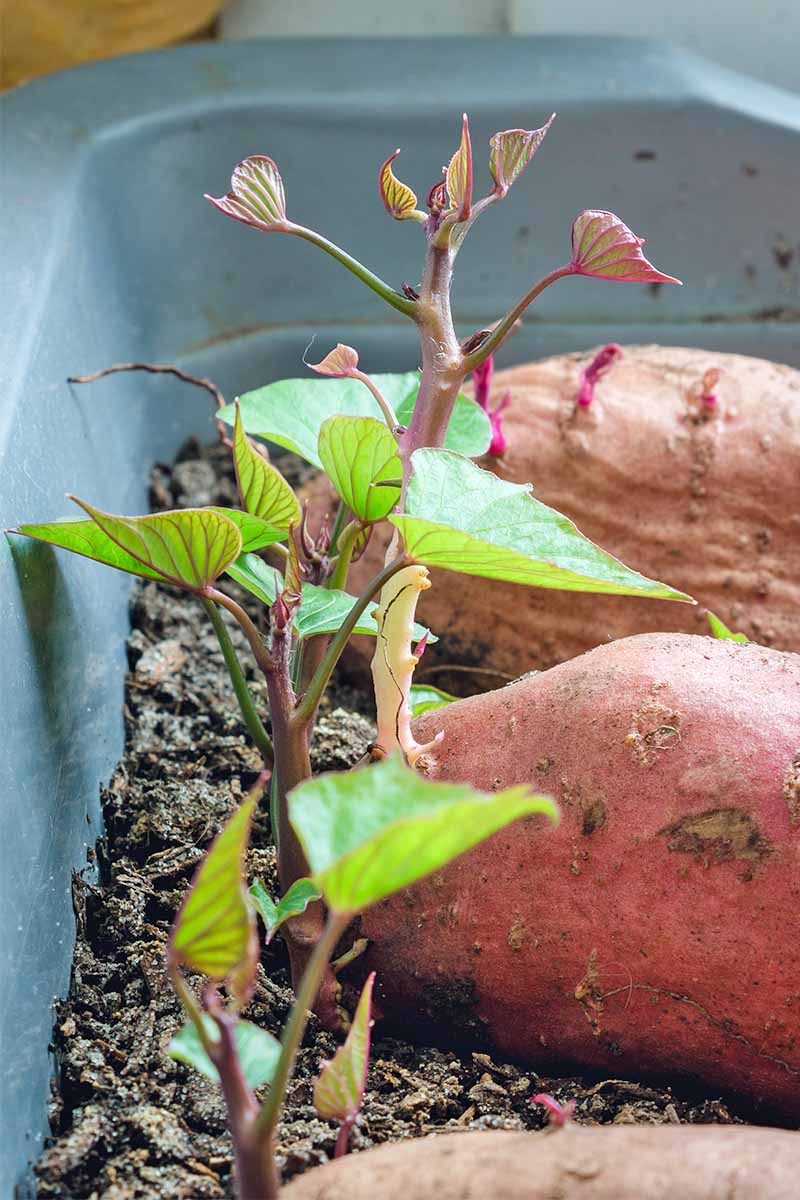
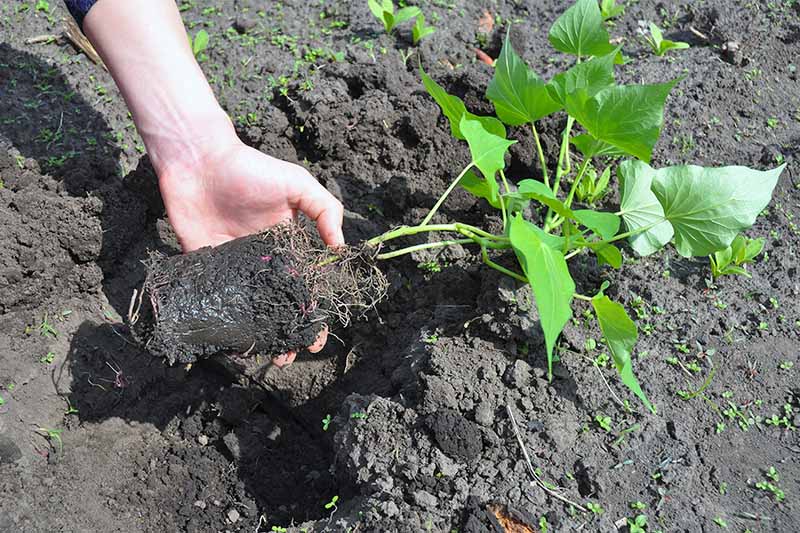
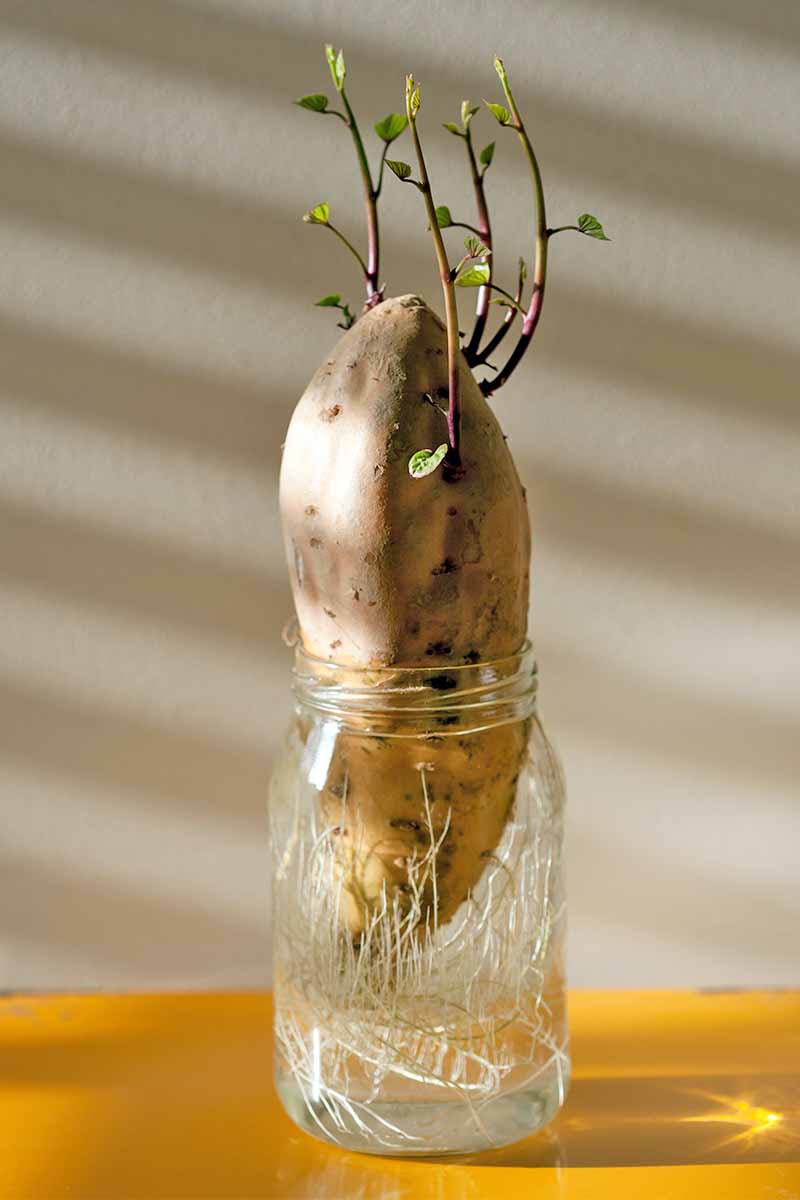
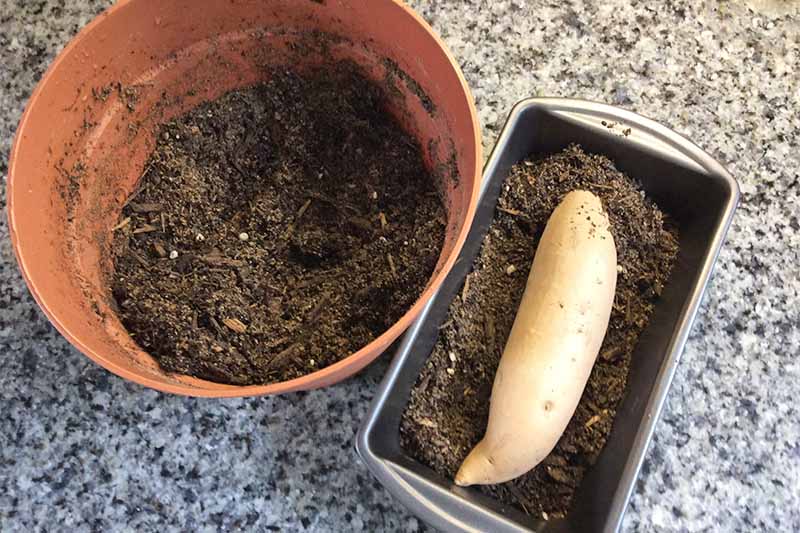
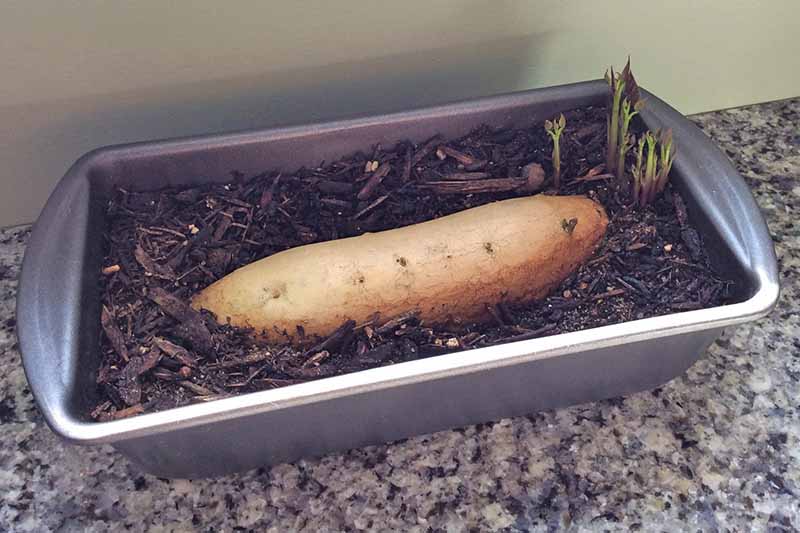
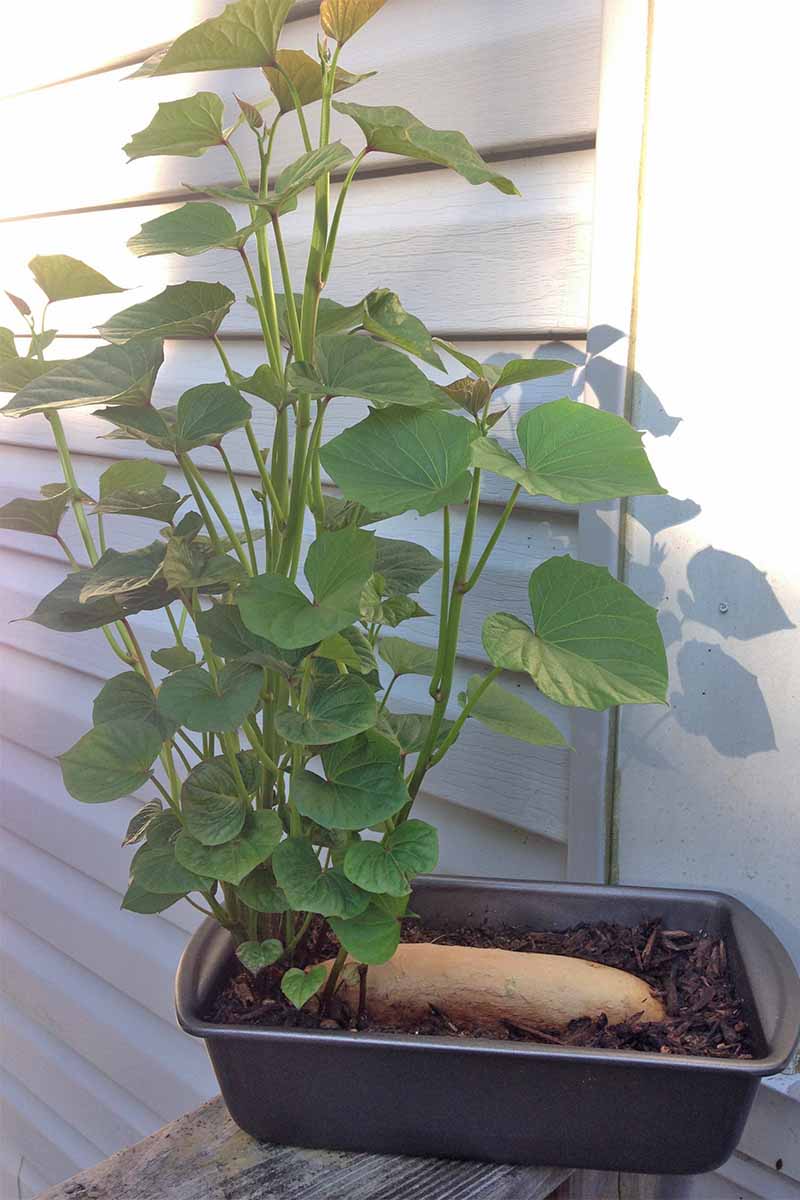
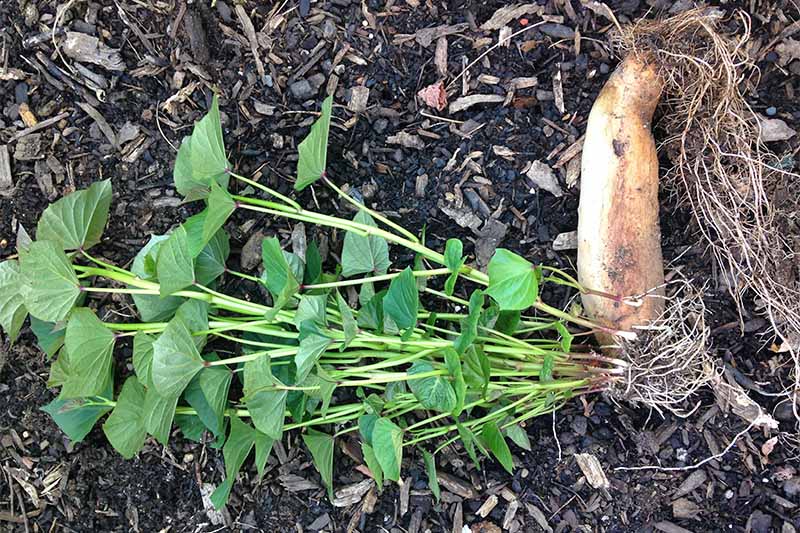
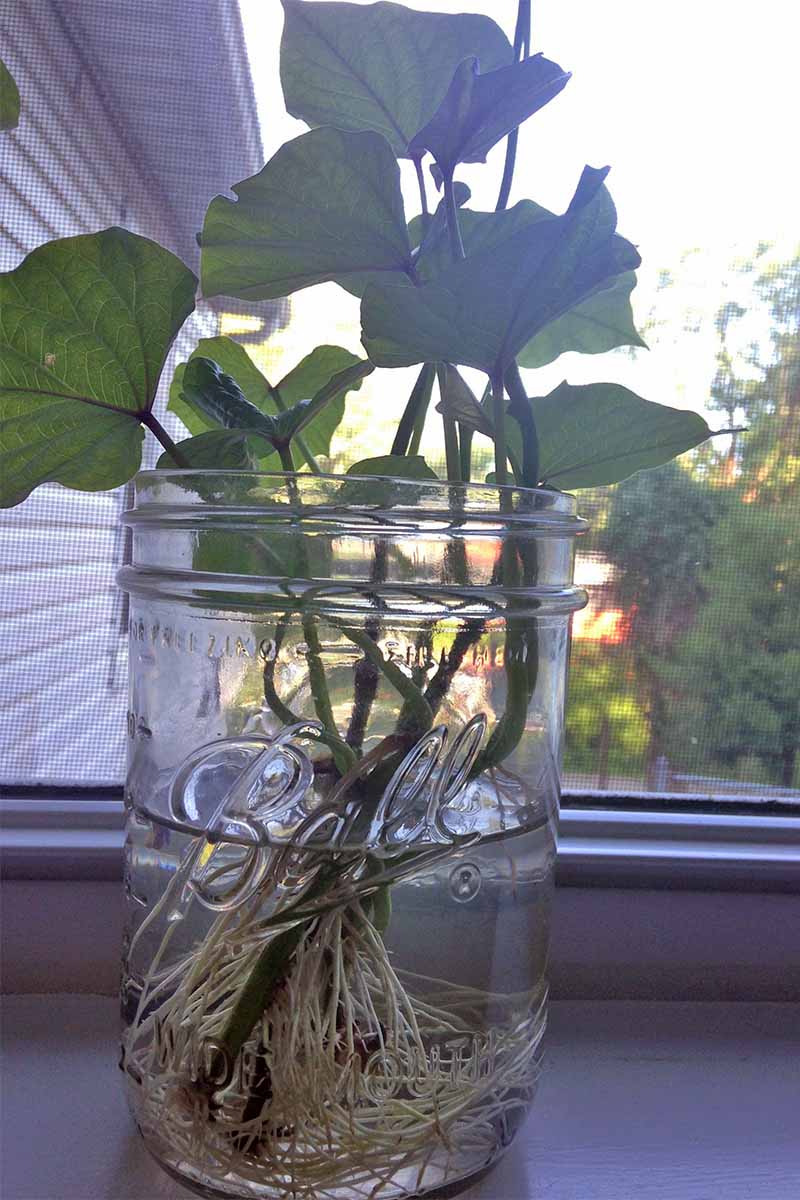
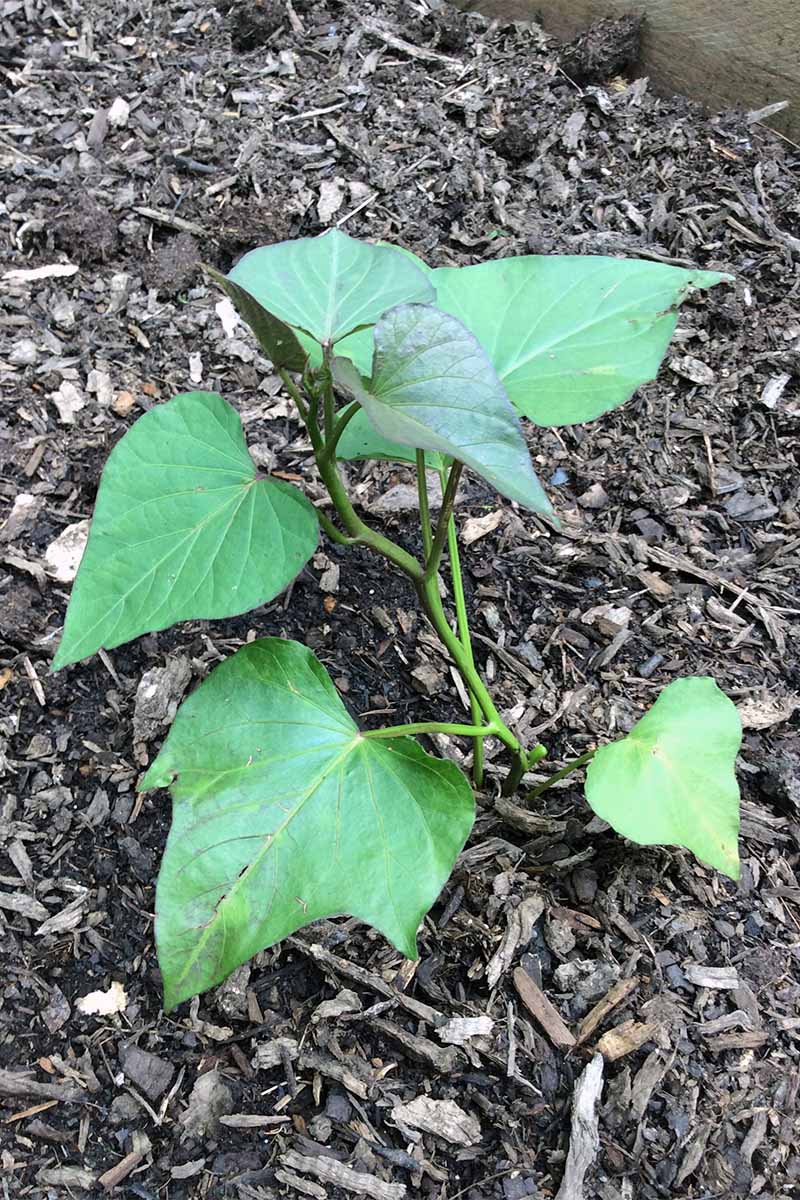
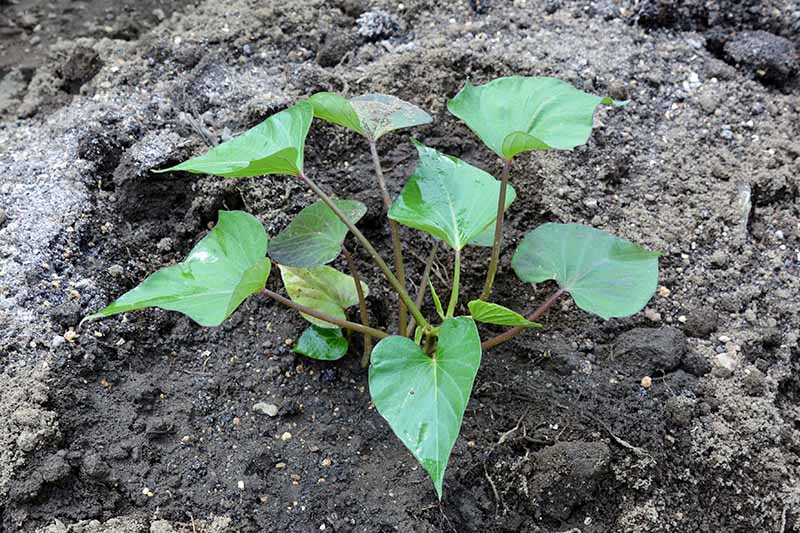
There are a ton of tutorials out there on starting slips, but I’ll just share one option with you: In early spring, move a healthy parent potato to a warm place. Soak the entire tuber in warm water overnight about a month before your area’s last frost date. Then, find a container large enough to fit the number of potatoes you want to use. I stuck a single potato in a loaf pan and it was the perfect size. Feel free to get creative with your container. You can use whatever is handy that’s the right size. A deep seed tray is fitting if you’re trying to sprout more than one. Fill the container just an inch or two with a mixture of potting soil and sand. Place the sweet potato into the container horizontally and cover it with soil. It’s okay if it peeks through the soil a bit. Keep the soil moist and warm, and wait for slips to form. This will likely take a few weeks, and you can expect to get at least 6 per tuber. Once the newly formed slips are at least 4 inches long, carefully break them off. One of the benefits of sprouting sweet potatoes in soil rather than water is that slips tend to have pretty well formed roots from the start. If you don’t find this to be the case, however, you can root them in water. Fill a glass with just a couple of inches of clean and, ideally, chlorine free water. The bottom inch or two of the slip’s stem should be submerged, while the leaves stick out of the top. Within a week, they will develop roots and be ready to plant out in the garden, given that all chance of frost has passed and the soil temperature is around 70°F. You’ll want to get them out in the garden as soon as possible because, depending on the variety, plants will require 90 to 120 days to mature. Without a long growing season, chances are you’ll be disappointed with your harvest. If you’re desperate for more time at the end of the season, try using floating row covers.
Ideal Growing Conditions
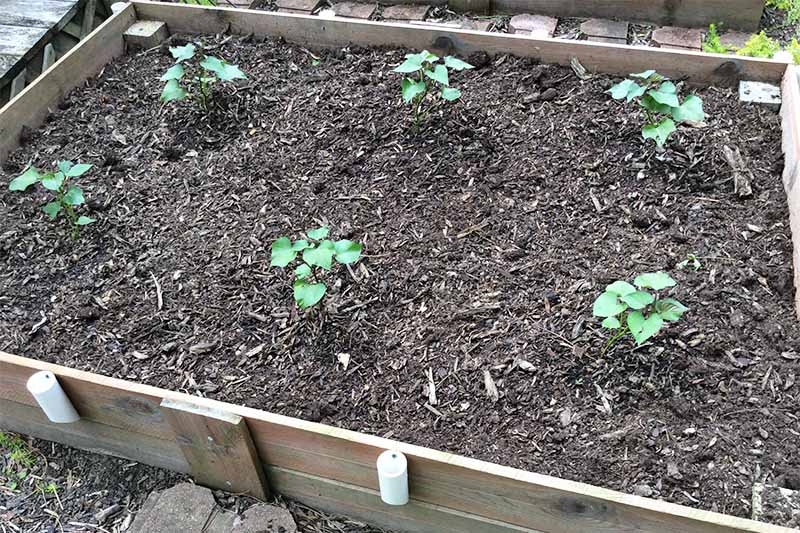
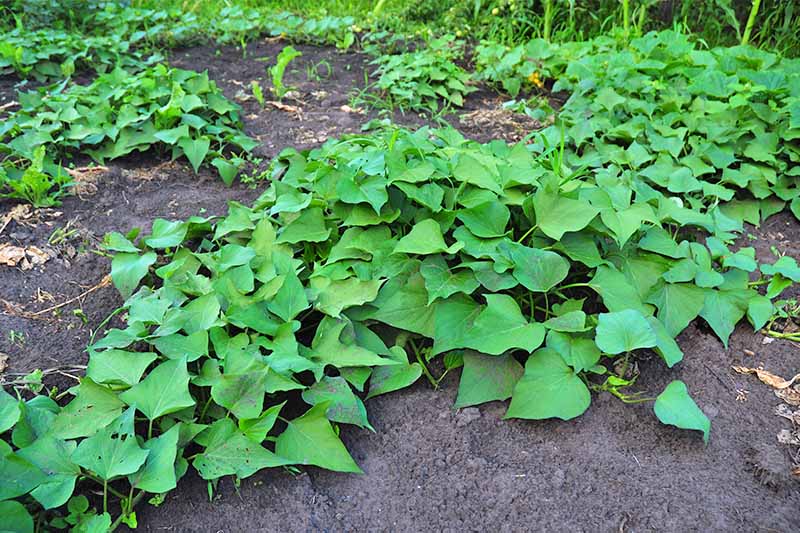
Sweet potatoes are pretty tough. The one thing they won’t tolerate, however, is cool weather. Even the slightest frost will take them out. But they handle heat and drought really well. Still, the better the growing conditions, the better the harvest. Being a root crop, soil health makes a big difference. Slightly acidic soil with a pH between 6.0 and 6.5 is ideal. Sandy loam that’s well draining but nutrient dense will make this sun-loving tropical vine happiest. Raised beds are a great option too, since they warm up quickly and are typically filled with a loamy soil mixture. Loose soil will allow roots to grow freely. Add fresh organic compost a week or two before planting, for added nutrients and organic matter. If you prefer chemical fertilizers and don’t want to have your soil tested, stick with an N-P-K (nitrogen, phosphorus, potassium) ratio of 5-10-10. Keep in mind that too much nitrogen will result in vigorous vines, but a small harvest. Space plants at least 24 inches apart to give vines adequate room to sprawl. Keep them well watered until they become established. Apply a layer of organic mulch, such as pine bark or grass clippings, which will help to retain soil moisture and temperature, as well as reduce weeds. Once vines start taking off, you can assume they’re established. Containers work well, too, but don’t try to cram a small area with too many slips. If you do, you’ll dramatically decrease the number of tubers that develop per plant. Instead, plants with enough room to grow produce a much larger harvest.
In the absence of rain, water regularly. Even though plants will tolerate drought, your harvest will be larger if they aren’t subject to water-related stress. If allowed to wilt, root development will likely suffer. About three weeks or so before harvesting, stop watering. Overwatering at the end of the season can cause tubers to split. Once vines fill in, weeds will have a harder time becoming established. Avoid cutting vines back if possible.
If space is an issue, consider growing a more compact bush variety. If you live in an area that has mild summers, try laying heavy-weight garden fabric over the soil to increase temperature. Raised beds warm up faster and are especially appropriate if cooler temperatures are common. You can also consider laying black plastic over the area in spring to get soil temperatures up.
Pests and Diseases to Know About
Underground pests might be the worst of them all because you often don’t know they’re a problem until harvest time. What a disappointment when you go to harvest, only to find your crop has already been a meal for underground dwellers. If growing plants in an area that was recently growing grass, wireworms (the larvae of click beetles) and root-knot nematodes might already be present. Both of these critters like to munch on the tubers. Keep an eye out for any vines that are stunted or yellowing. It may be worth digging a bit to do some investigating if you suspect underground pests. Crop rotation, cover crops, and planting in raised beds where soil material is more controlled can help to prevent infestation by soil-dwelling pests.
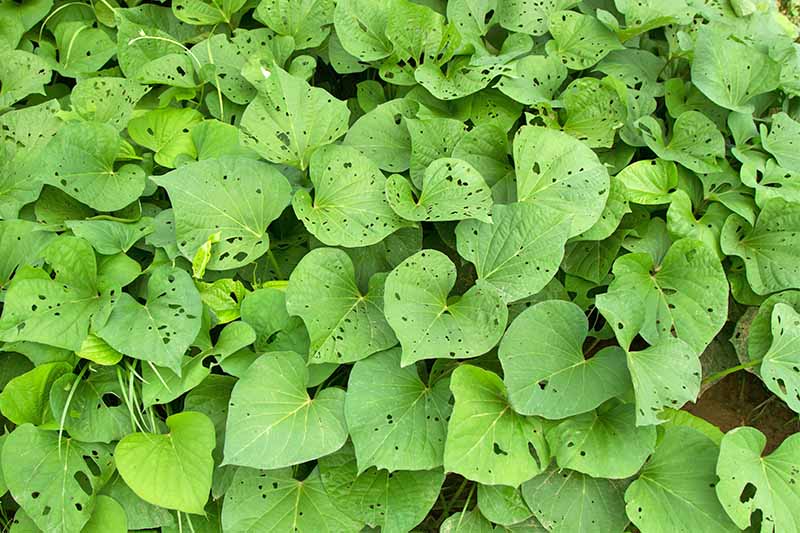
Tiny holes in the leaves may be the work of flea beetles. If vines are healthy and vigorous, they should be able to handle some damage. Sweet potato scurf is a somewhat common disease, resulting in black spots on the skin of tubers. Although it might be unsightly, it doesn’t really affect the quality of the crop. Remove the affected skin and eat them just the same. Choose disease resistant varieties and healthy slips from the start, and provide adequate growing conditions, and you likely won’t experience any disease issues at all.
Minimal Effort, Large Reward
Overall, sweet potatoes are a forgiving crop to grow. And, even if you only get a small harvest your first season, you can save one or two tubers as parent plants for next season. In this way, you’ll need to spend very little money while honing your sweet potato growing skills. Learn more about harvesting and storing your sweet potatoes here.
This long-season, heat-loving tropical is beautiful and low maintenance. And the delicious, easy to store root tubers are a satisfying reward for minimal effort. Have you grown sweet potatoes before? Fill us in on your secrets to a guaranteed harvest below! Photos by Amber Shidler © Ask the Experts, LLC. ALL RIGHTS RESERVED. See our TOS for more details. Uncredited photos: Shutterstock. With additional writing and editing by Allison Sidhu.
