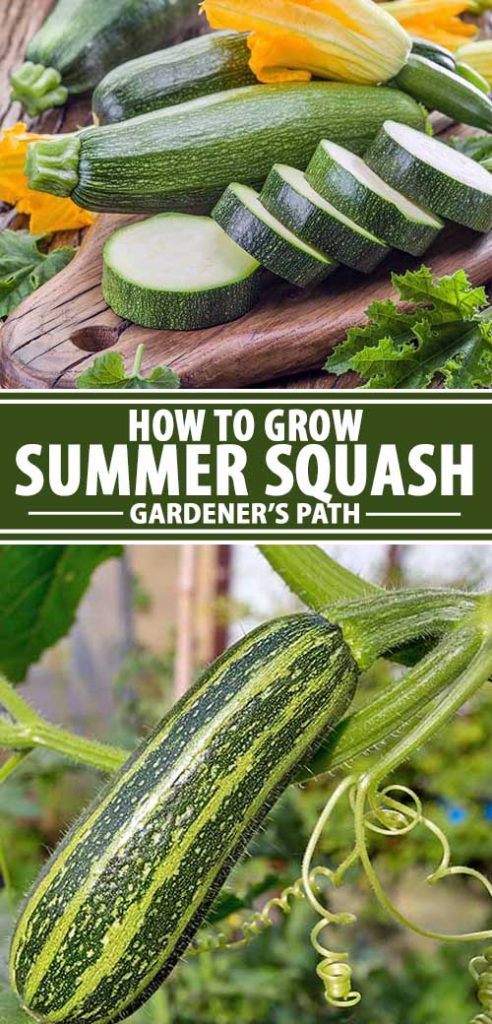
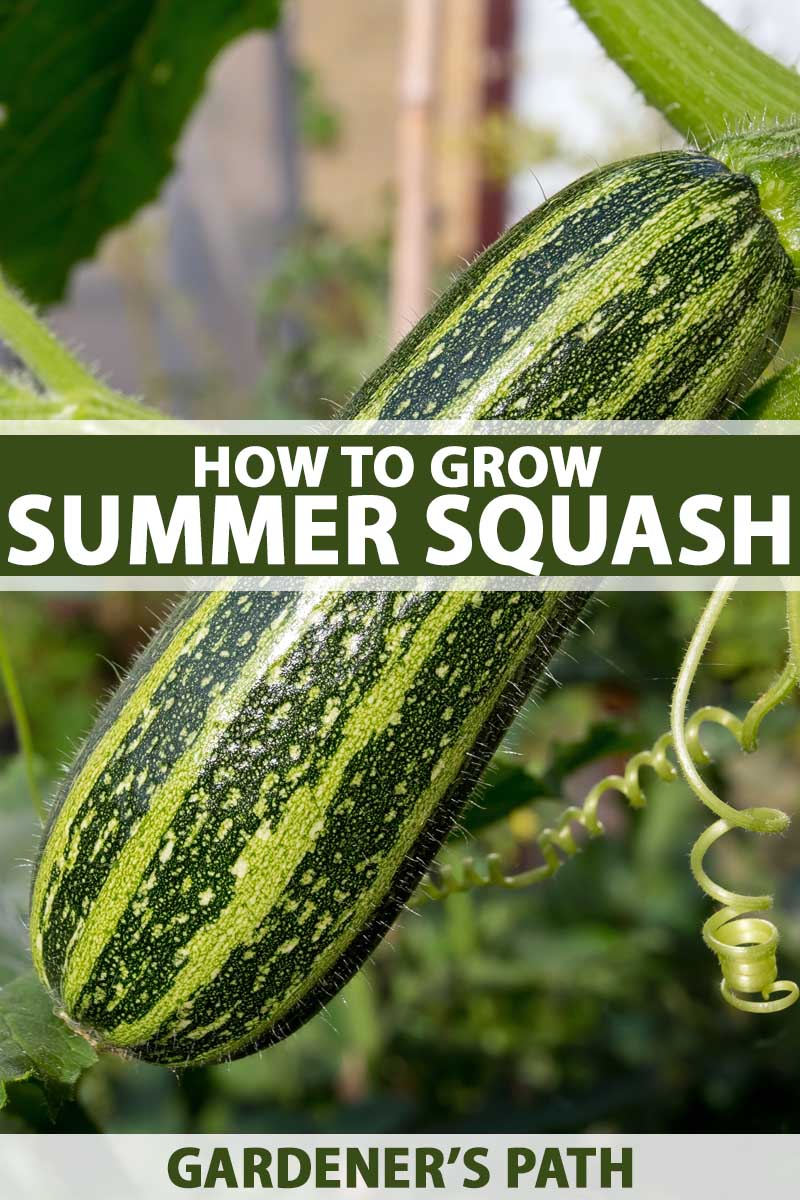
Just one of the many members of the summer squash family, zucchini is a fair representation of the qualities we love about these fruits. Thin skins, versatile flavors, tender flesh, and bold colors are just a few of the reasons why gardeners across the United States are in love with every kind of summer squash. We link to vendors to help you find relevant products. If you buy from one of our links, we may earn a commission. Whatever your level of experience, this guide is for you. Here’s what’s to come: Read on to find out how easy it is to grow most any variety, and learn about new kinds of squash you may want to try out this year!
How Many Is Enough?
Since summer squash can be so prolific, it can be hard to know just how many seeds to buy and plant. And why should I? With so many types to experiment with, I usually recommend at least a few of these well-loved types for planting:
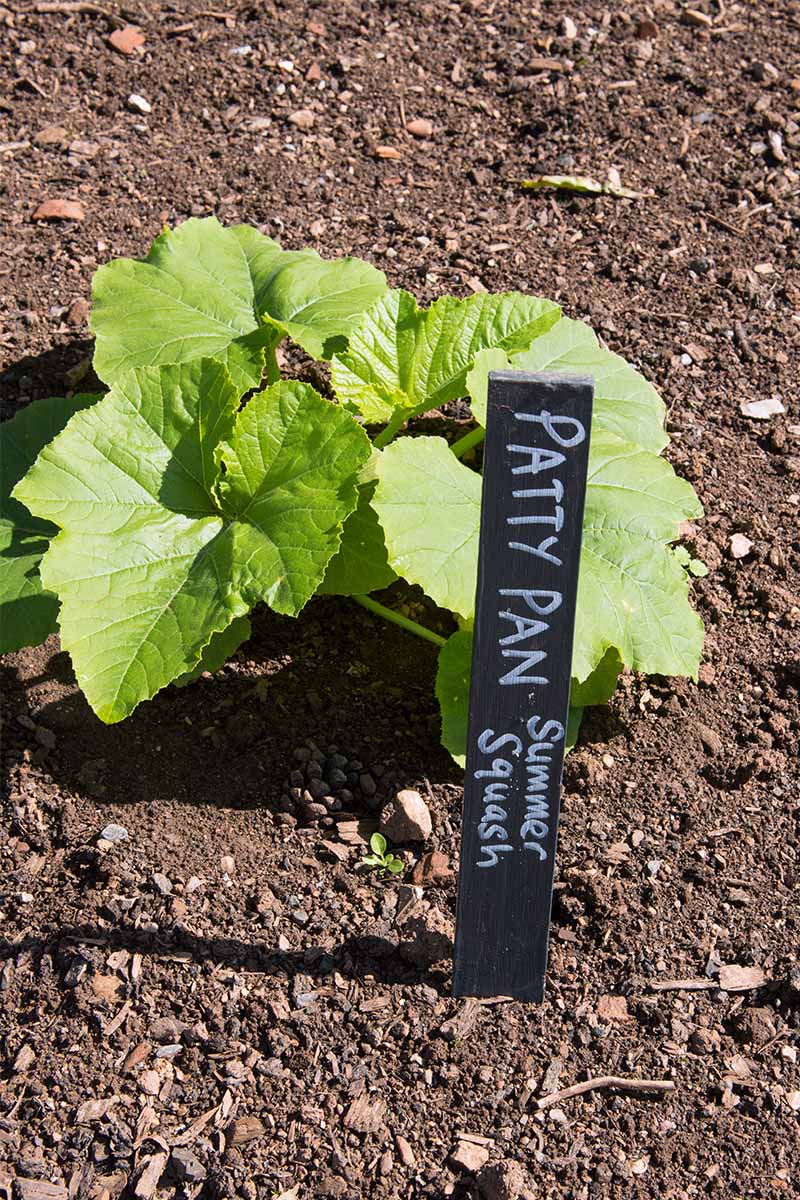
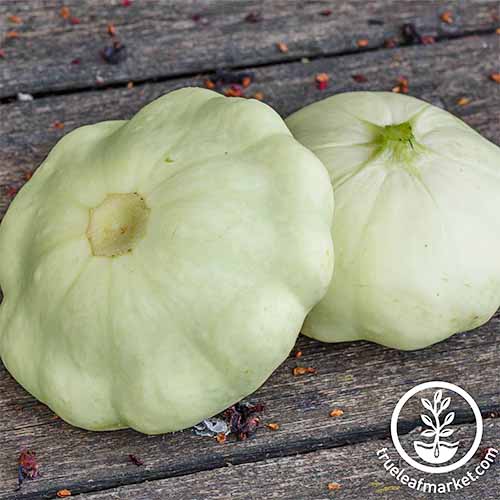
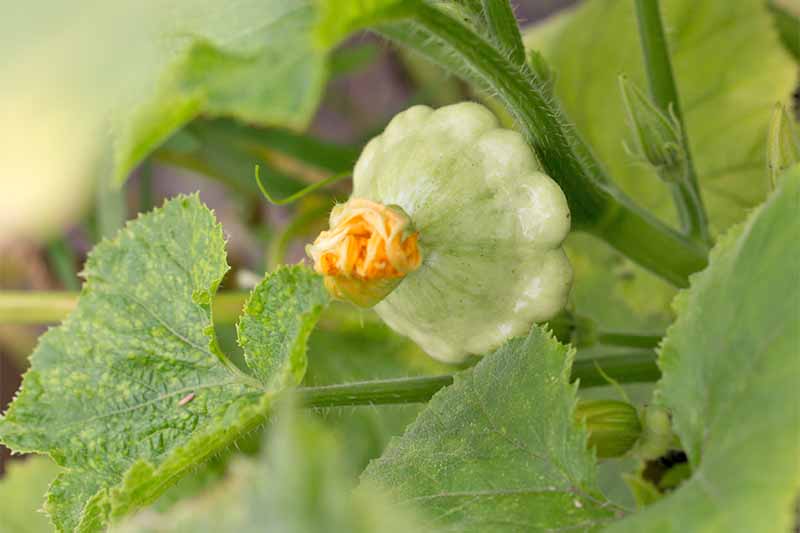
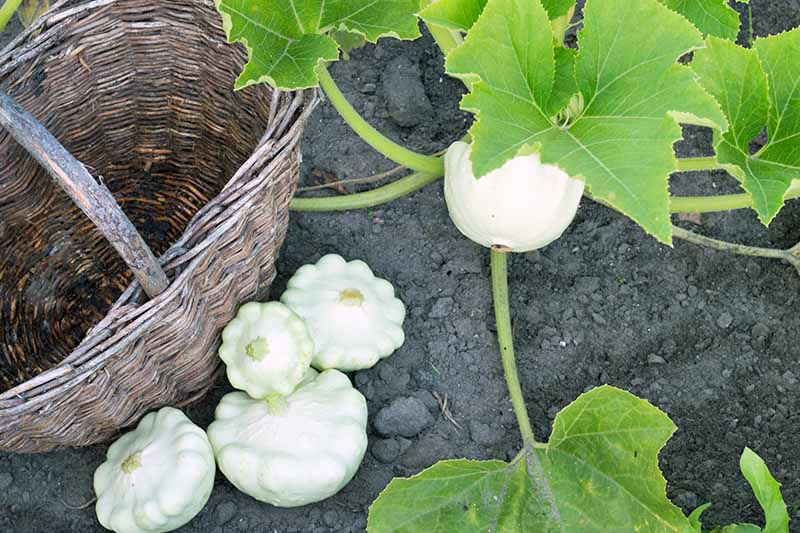
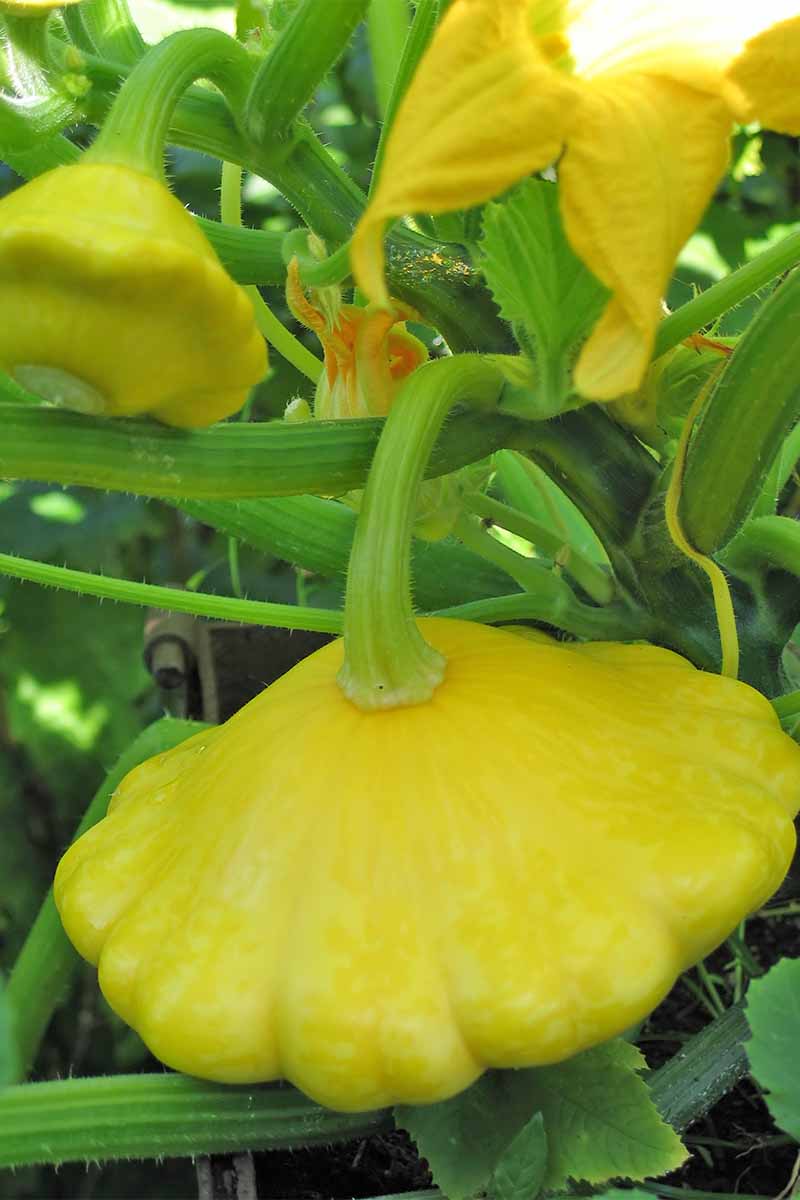
Patty Pan
Also known as “scalloped squash,” these small, spaceship-shaped fruits are best enjoyed when they’re no larger than 5 inches across.
They come in a variety of shades, from creamy white to a bright yellow. Tasty in stews, my favorite way to prepare them is roasted alongside root vegetables!
‘Early White Bush Scallop’ Seeds Try out the most popular variety grown in the South – ‘Early White Bush Scallop’ seeds are available from True Leaf Market.
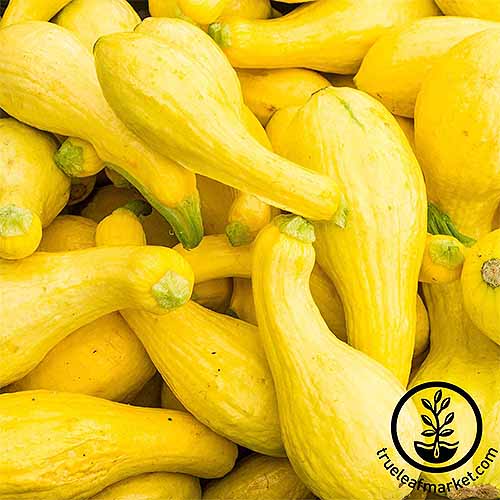
Yellow Crookneck
This bright yellow squash with a curved neck stores well in the fridge after harvesting and has a tender, edible skin. It’s the variety that most commonly comes to mind for most cooks when someone says “summer squash” and they don’t mean zucchini. Picking prior to 6 inches in length yields the most delicate flavor that picks up your favorite spices easily. And stir frying in a blend of olive oil and fresh garlic makes a tasty side dish for any occasion.
Organic ‘Crookneck’ Summer Squash Seeds Find conventional and organic seeds available for purchase at True Leaf Market.
Zucchini
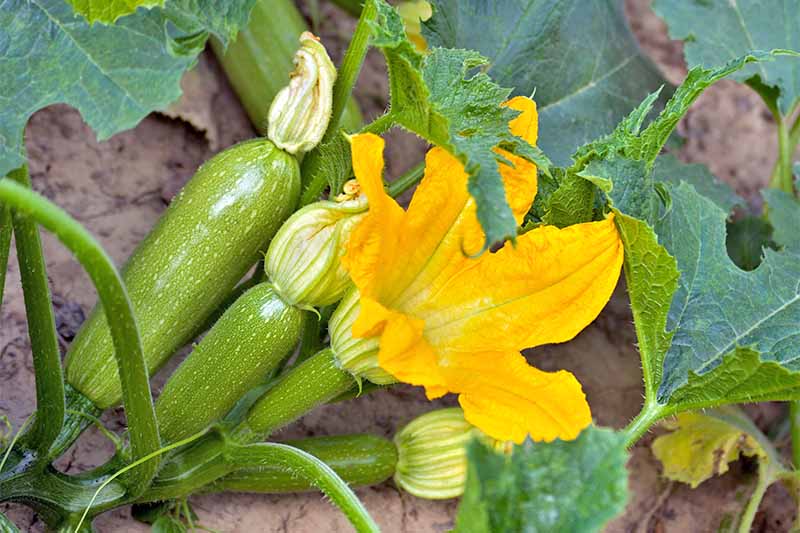
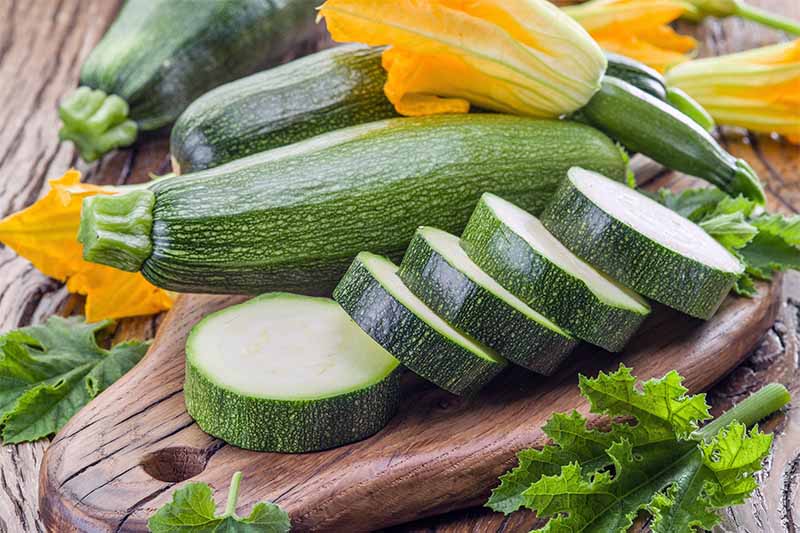
The common, green-skinned squash can be cooked when tender, usually sliced as an ingredient in a sauté or spiralized as a noodle substitute.
To prepare larger, more woody specimens, remove the skins and use the flesh to make delicious breads and soups. Also known as courgettes, there are currently over a dozen well-known zucchini varieties. My own top picks include these full sun types:
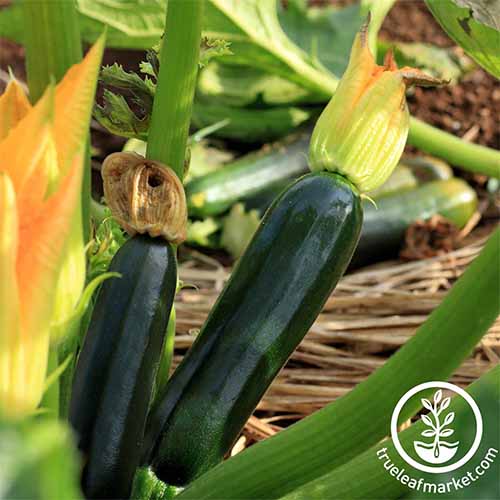
Black Beauty
This zucchini requires 62 days to harvest and has a very beautiful dark green outer skin and an elegant, elongated shape.
‘Black Beauty’ Zucchini Seeds, available from True Leaf Market
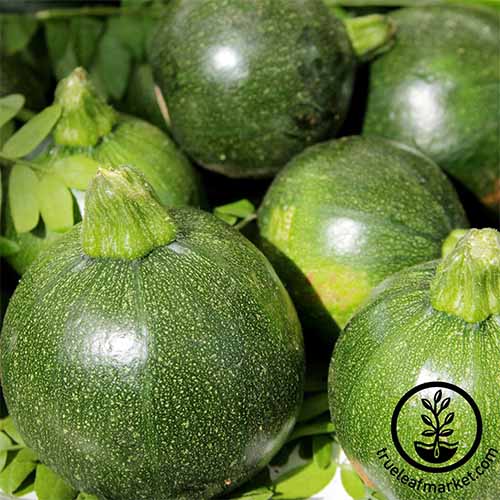
Eight-Ball
Characterized by a small, round fruit that resembles a billiards ball. The plants grow to about 3 feet wide at their largest, and can be harvested in 5 weeks!
Hybrid Eight-Ball Zucchini Seeds, available from True Leaf Market
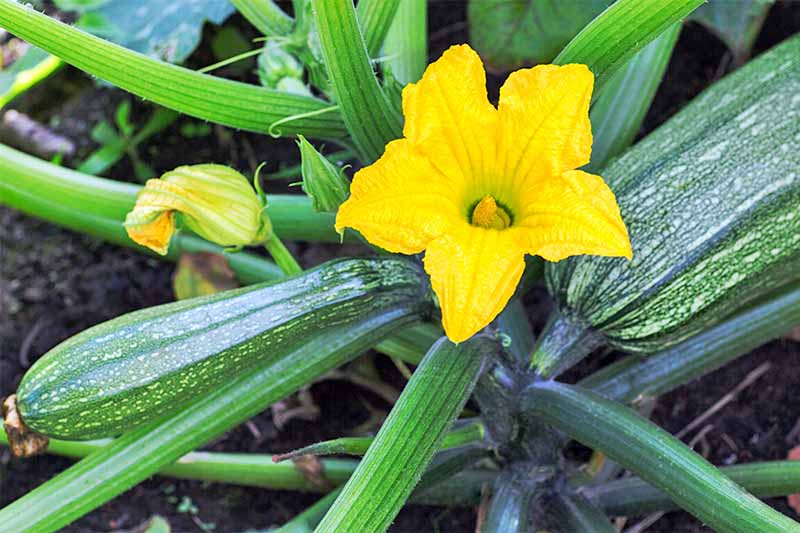
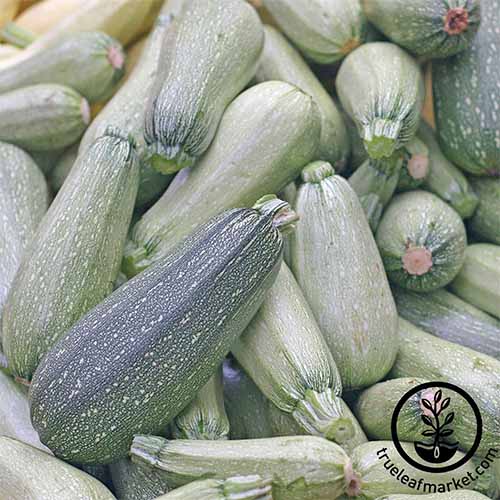
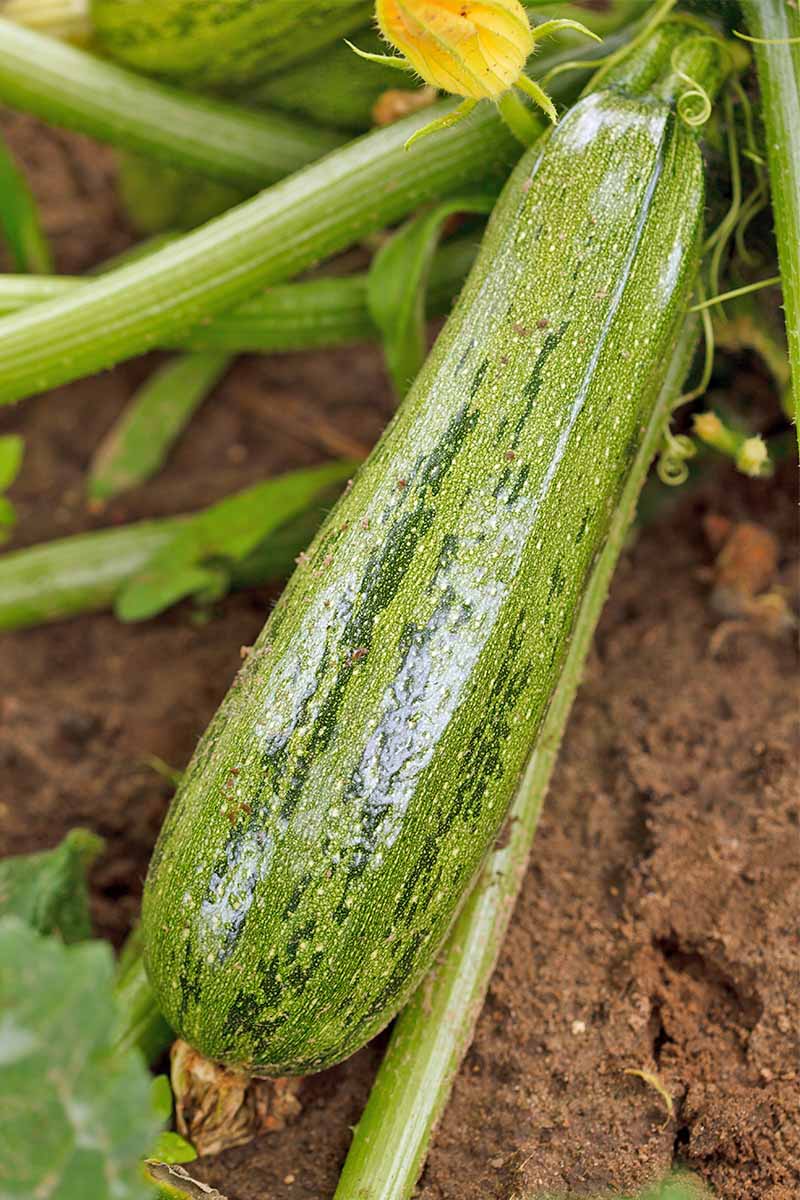
Grey
Speckled and stout, the fruit is best picked when it’s under 8 inches long. This semi-bush cultivar is heat-resistant and can be harvested in about 45 days.
‘Grey’ Zucchini Seeds, available from True Leaf Market Read more about growing zucchini here. There are many other summer squashes worth mentioning. These include:
Calabash Cousa Fortune Loofah Parador Sunburst Zephyr
While each has a taste that’s truly unique, I like to experiment by mixing and matching a variety of summer squashes in the garden, and combining them in my favorite recipes.
I was always taught that one plant can feed an average family of four. If you want variety, however, you will likely have to raise more plants than you need. But you’ll have plenty for sharing! Remember that summer squashes are gourds, just like winter squash cultivars. The difference is in when you harvest them.
Both are structurally the same, but winter squash tastes best when allowed to mature to the point of having a hardened skin and large seeds. Unlike summer squash, these grow sweeter as they age and have starchier flesh. Summer squash, on the other hand, reaches maturity when it still has a softer peel, small seeds, and a texture that’s more crispy than starchy. If you enjoy young and tender squash, plant a few extras to make sure you have enough young fruits for a full recipe, especially in the early weeks. The beauty of these plants is that everyone seems to enjoy them. I have never had a problem giving away the excess!
Planting in the Perfect Place
Whether you direct sow or start your seeds indoors, a suitable garden plot will ensure a more abundant harvest. While I remember being told that summer squash thrives in a sweet soil (i.e. alkaline), many extension agencies have recommended a pH of between 6 and 6.5. Squash are forgiving, however, and have done well in less than ideal acidity for generations.
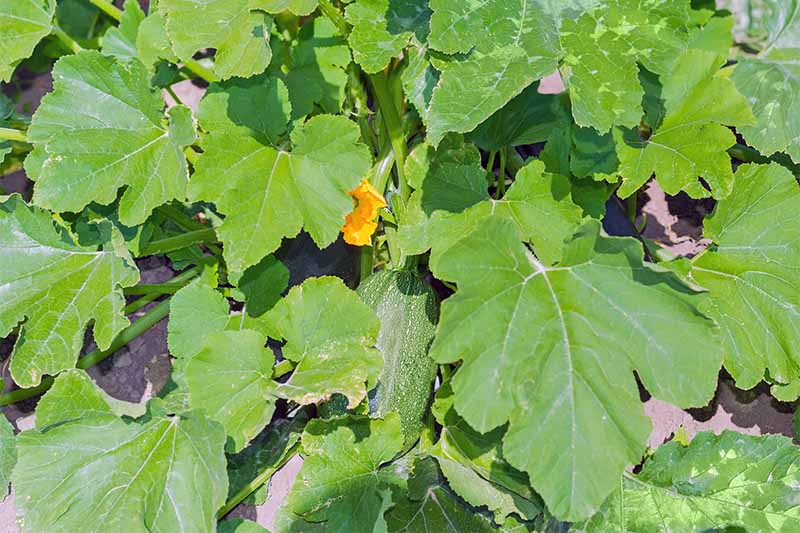
The most important factor to keep in mind: You will need to know whether your squash is a bush type or vine type before you plant out your plot. As vine types can spread out further than bush types, extra room will be required. Bush types are preferred for raised bed systems. Well-drained soil that is prepared with a bit of compost yields the best results.
Starting Your Seeds
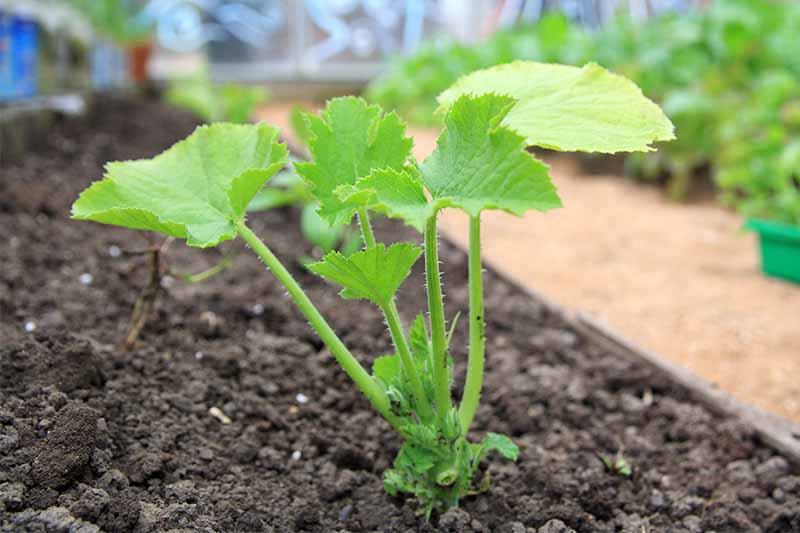
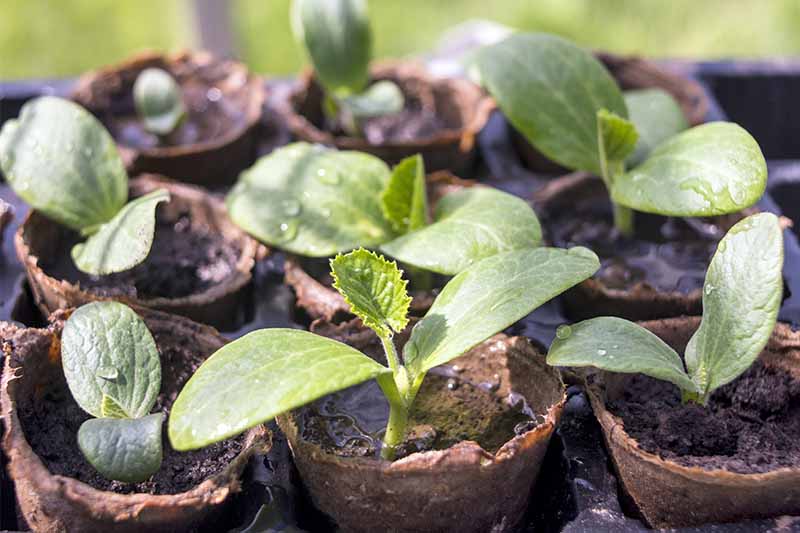
If you’ve used our recommended methods for seed starting, you’ll already have a plant that is ready to go into the ground.
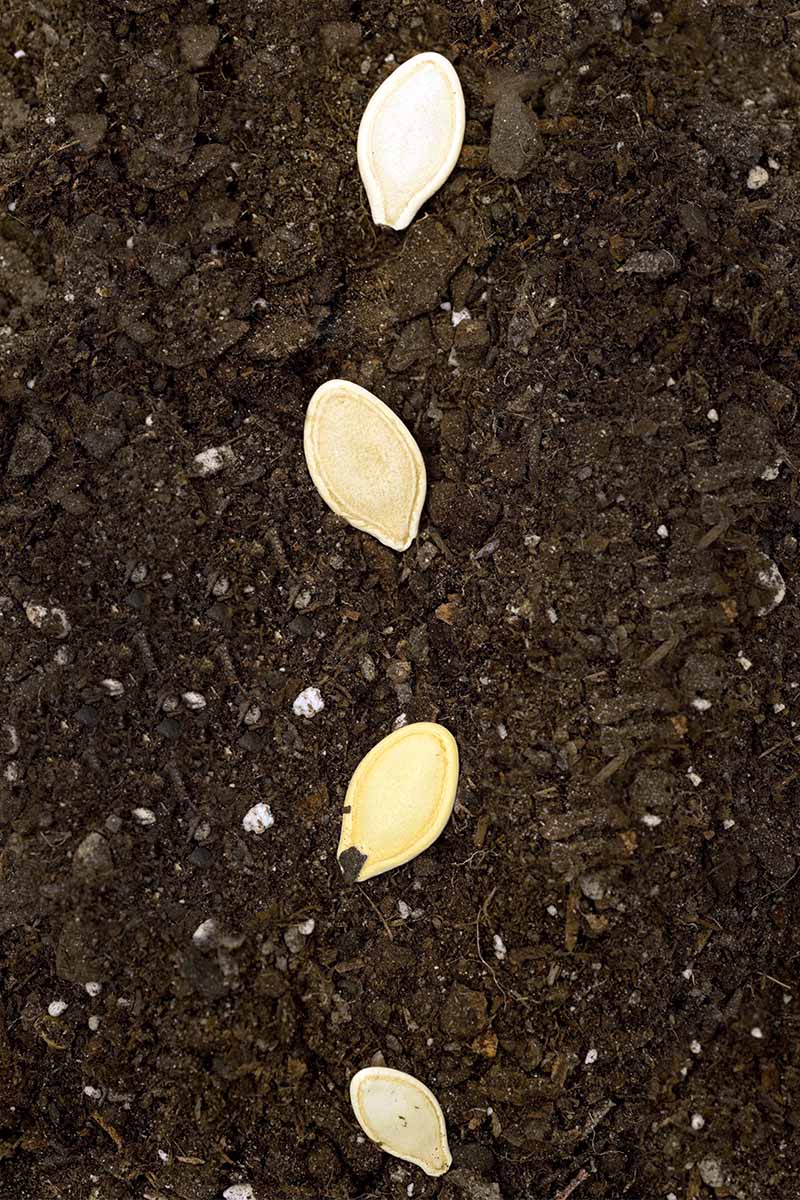
Summer squash seedlings should be started inside about 3-4 weeks before you plan to transplant them. Peat pots with potting mix work just fine. One seed per pot should be pushed about ½ inch below the surface of the soil. It takes around 8 days for seeds to germinate, and once the soil temperature outside has reached 70°F or more, you can directly transplant them – regardless of their size. No hardening off is needed, as the soil temperature should be very close to indoor temps at this point.
Whether you direct sow or transplant, however, make sure the change of frost has safely passed in your growing zone, and the soil temp is at 65-70°F or higher. Some have successfully gotten away with a bit colder temperature by using black plastic mulch or row covers. Bush and vining types will have slightly different planting directions.
For Bushes:
Sow seeds ½-inch deep in closely spaced hills or rows. Allow no more than 2-3 feet between plants. Double plant seeds to ensure at least one per site germinates.
For Vines:
Plant seeds 2 inches apart, and leave 3 feet of space between rows. Thin seedlings to 12 inches apart, allowing plenty of room for the vines to spread out.
Care Throughout the Summer
Squash needs heat, water, and sunlight to thrive. There are also some additional considerations to remember when looking for optimal yields:
Irrigation
Squash loves water, and since it will start getting very warm during their peak season, it’s important to watch for “wilt.” As the leaves become droopy during the day, it is a sign that they need watering – even if the soil seems moist. Water for the first time in the morning, before the heat of the day has set in, and again in the afternoon if necessary. It’s still helpful to avoid watering at night to avoid mold and root rot, but during particularly hot times this may become a necessity to keep your plants alive, depending on your schedule. Fortunately, mold isn’t as likely in extreme drought conditions!
Light and Heat
Since these plants should be grown in an area of full sun, I make sure to water in the early morning at the base of plants, so that the leaves don’t get wet.
If you do have to water in the heat of the day, use a soaker hose. Hot sun paired with wet leaves can stress the plants, and cause leaf burn.
Fertilizer
Many gardeners have had good luck with a complete fertilizer mix applied at 50% strength. Some like to use fish emulsion as well, although I find that soil that has been mixed well with compost usually has the right mixture of nutrients for a good harvest.
Crop Rotation
It is very important that you never plant summer squash in the same area you did the year before. Crop rotation is key not only for replenishing nutrients in the soil, but also for diminishing the risk of certain infestations and ailments. You will also want to avoid a soil plot that recently housed melons or cucumber. Since they share some of the same diseases and pests, this helps reduce risk to your plants.
Pests and Diseases
Even with these precautions in mind, there are some additional common problems that squash growers may encounter.
Mold
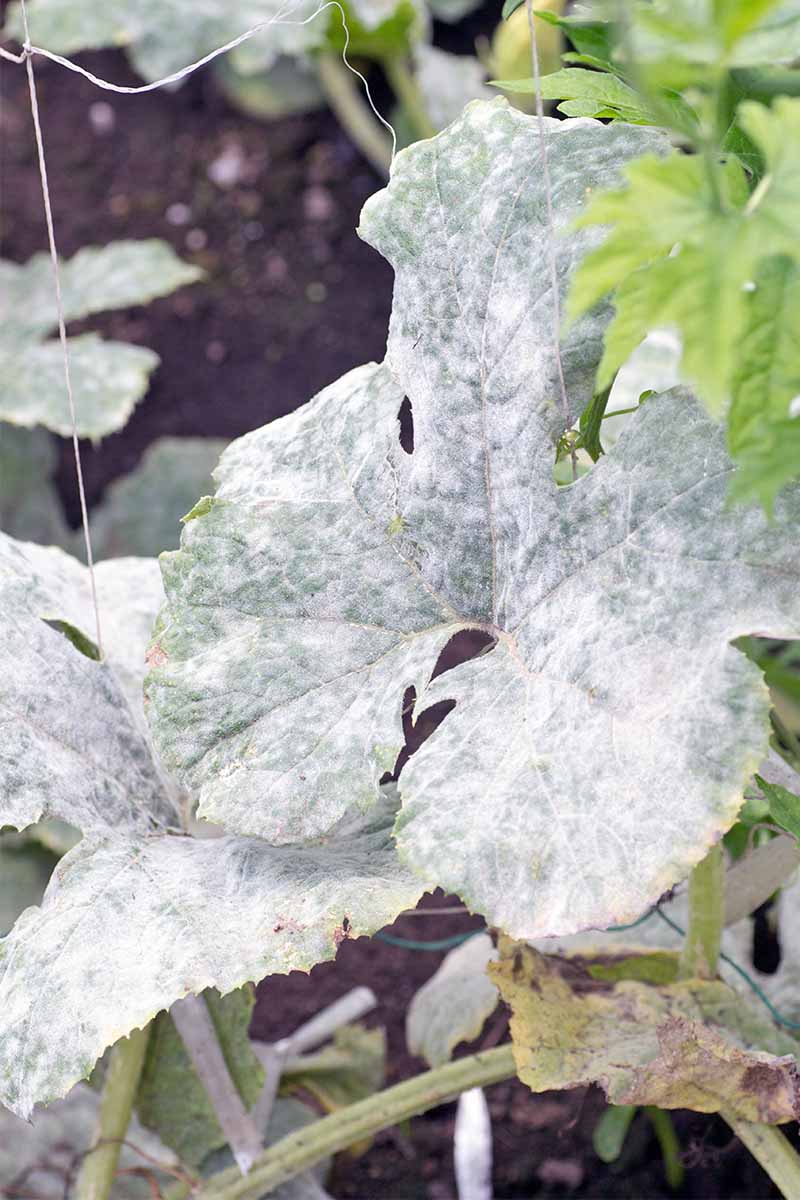
When plants are overwatered and too close together, they can develop a whitish, powdery mold. This indicates that air is not able to circulate around the plants and their leaves.
You can remedy this by reducing the time spent watering them each day, moving to a ground watering system (such as soaker hoses), or removing any plants that are touching others.
Squash Vine Borers
These nasty bugs get inside the plant and cause the stems and vines to wilt and break off. Check your plants daily for any signs of yellowing vines or shoots. Break off the affected pieces before they spread, and dispose of the waste far away from your garden.
Blossom End Rot
If you see a slimy or dark colored end on your fruit, you may have this problem. It is a symptom of a lack of calcium in your soil, and can be remedied by applying the appropriate amount of lime. Refrain from over-fertilization with nitrogen or potash, which can aggravate the problem. The Clemson University Agriculture Extension Department also recommends mulching with 2-3 inches of plant materials, such as lawn clippings, pine straw, or dried leaves. This practice can help to keep the soil moist, which encourages calcium absorption. Regular watering during dry periods is also beneficial.
Harvest Tips
Summer squash features its best characteristics when it’s picked early. This means that each variety will likely have an “optimal” maturity for the most tender fruits. Check the back of your seed packets for this date range when you plant, and mark your calendar. Another rule of thumb: Most breeds will be tasty at no more than 4-5 inches in total length. Slice the fruit off at the place where it naturally releases from the vine. Do not pull or twist.
Avoid separating the stem from the fruit, as this creates an opportunity for bacteria to enter the fruit, losing its ability to store well as a result. Avoid harvesting until right before you’re ready to prepare it, as summer squash loses its moisture very quickly after being picked. Do not wash until ready to eat. You can store your harvest in the fridge for a day or two in a perforated plastic bag, if you need to.
Uses for Older Squash
If you are new to growing this type of vegetable and unsure of how long you can allow a squash to grow before it passes its prime, you can always do a fingernail test. Here’s how: Push your thumbnail gently against the skin of the fruit. If it darkens or dents even slightly, you have a tender fruit and can pick it at any time. If the skin resists too much, or not at all, your fruit is now over-ripe and may need to be skinned or have the seeds removed before cooking.
It is important to note that there really is no such thing as an overly mature squash. While it won’t be as versatile and will require extra preparation to enjoy, you can still use the flesh of most any mature squash in baking. Here are some other ideas for using older summer squash:
Make a container from them by scooping out the insides. Use them to serve fruits or crudités at parties. Peel the skins to be used as garnish on plates. Skin and seed, then use the flesh as a substitute for eggplant in any recipe. Zucchini bread is a popular treat, but don’t limit yourself to only using zucchini. Any summer squash will do!
Eating the Flowers
Summer squash blossoms are edible, just like their winter blossom counterparts.
Here are a few things to keep in mind:
Be wise when removing flowers, and only take a couple per plant. They are still needed to produce more fruits, after all! Noon is a good time to head out to the garden and snip them off with scissors. Rinse carefully and remove moisture by laying them on a paper towel to dry, or using a salad spinner. Use them in your favorite edible blossom recipes, or enjoy them simply sautéed, or breaded and fried.
Other Recipe Ideas
Summer squash recipes are so colorful, light, and perfect for entertaining. And there are so many delicious ways to use this garden delight in your cooking.
First, try Vegan Stuffed Zucchini with Millet, Tomatoes, and Olives. The gluten-free millet grain is the star of this dish, mixed with flavorful fresh ingredients and nestled inside a zucchini. It’s beautiful enough to serve to guests. Get the recipe now on our sister site, Foodal. When dinner time rolls around, who doesn’t love pasta? Rigatoni with Sweet Corn and Zucchini is the answer when both are in season. Coconut milk and a simple seasoning of sea salt and black pepper bring out the sweet flavor pairing of corn and zucchini in this comforting dish. Get the recipe now on The Fitchen. Sometimes, the most delicious pairings are also the simplest! This roasted recipe from The Gingered Whisk features garlic, rosemary, and a light drizzle of olive oil, and results in a heavenly side dish to feed a crowd. Finally, what kind of zucchini fan would I be if I failed to mention the sweetest way to enjoy it? I love this zucchini bread recipe from Foodal, which includes the option to add nuts or chocolate chips (or both!)
So Many Options to Grow and Enjoy
Now that you’ve had a chance to explore the many possibilities for growing summertime favorite in your garden, it’s time to decide which one (or two, or three) you’ll try planting first.
I have always done well with the common zucchini and yellow crookneck, plus one additional cultivar as an “experiment” each year. We enjoy discovering the unique qualities of each and coming up with new ways to enjoy them. Which type is your favorite? Will you try something new this year? Tell us in the comments below! And if love squash, be sure to check out all of our guides or start with a few of these:
Problems with Growing Zucchini: Troubleshooting 11 Potential Issues The Complete Guide to Growing Winter Squash How to Identify and Control Common Zucchini Diseases
Product photos via True Leaf Market. Uncredited photos: Shutterstock. With additional writing and editing by Allison Sidhu.
