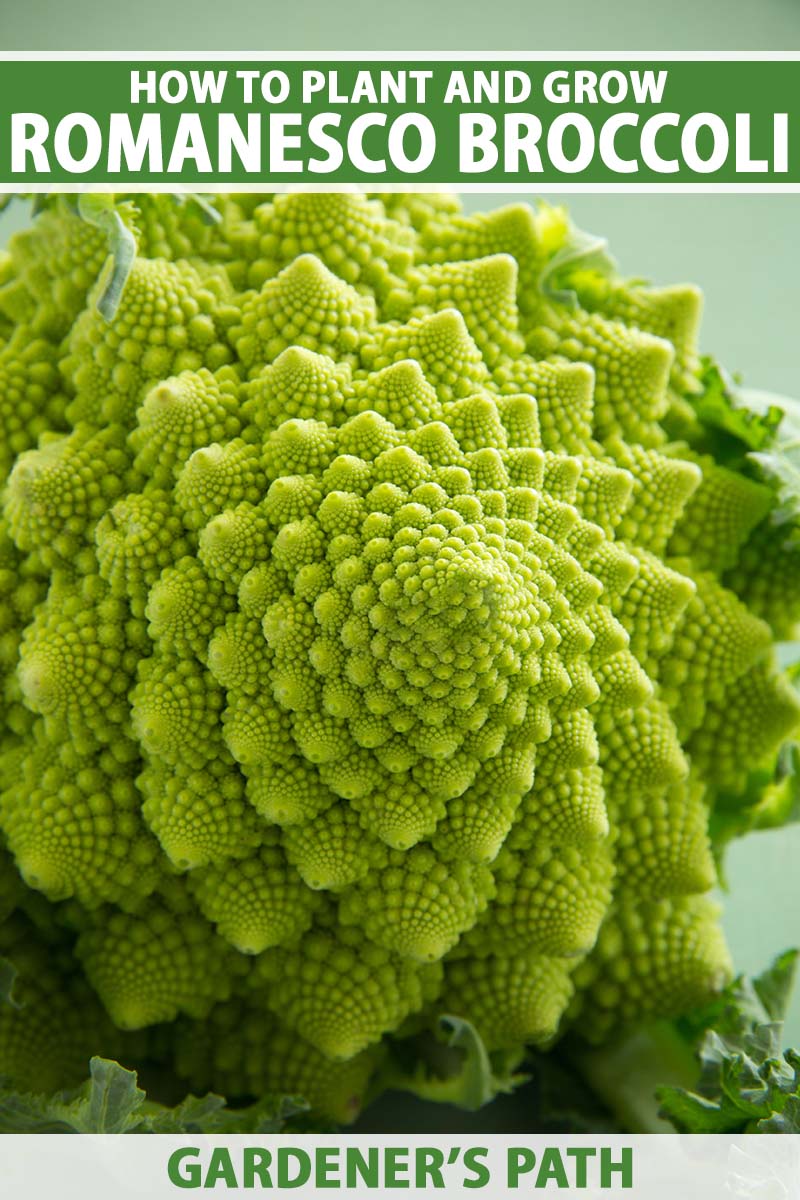
It’s always tucked next to the broccoli and cauliflower at the grocery store, and every time my young son and I walk by it, we can’t help but stop and stare at its intricate swirls and whorls. We link to vendors to help you find relevant products. If you buy from one of our links, we may earn a commission. But what is Romanesco broccoli exactly? Is it even broccoli? Does it grow in the wild? Is it difficult to grow at home? You’re about to find out. Here’s what we’ll reveal:
What Is Romanesco Broccoli?
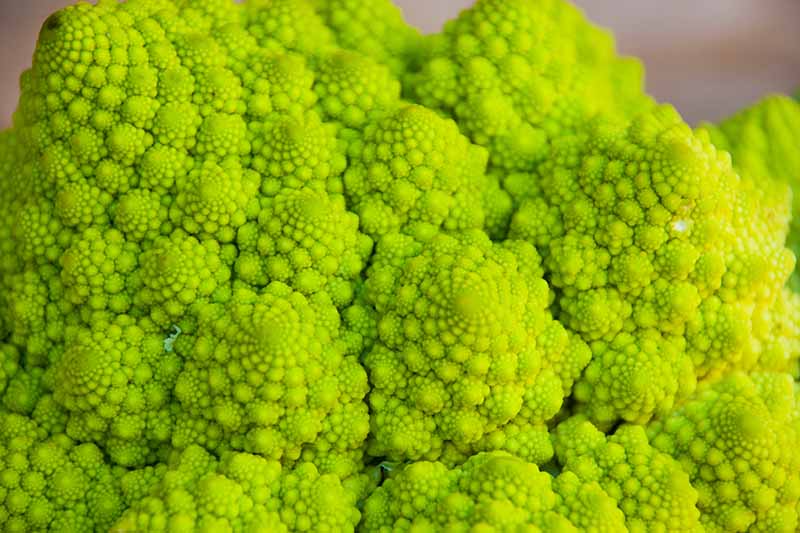
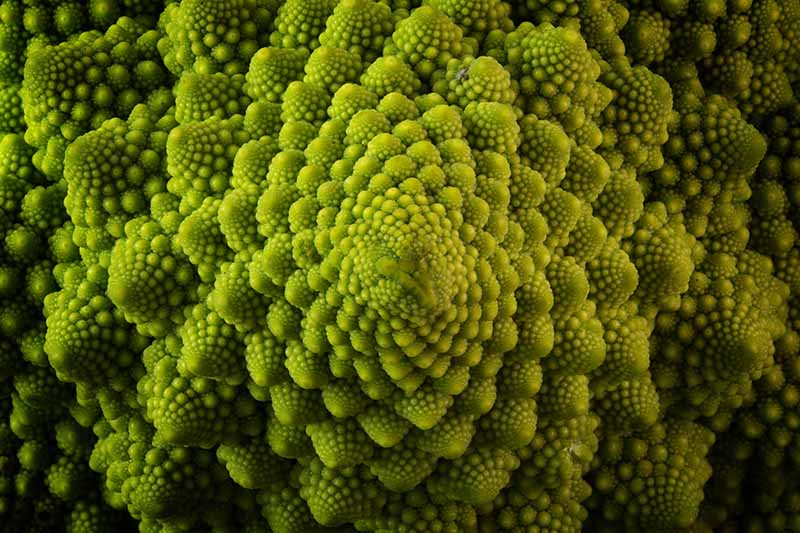
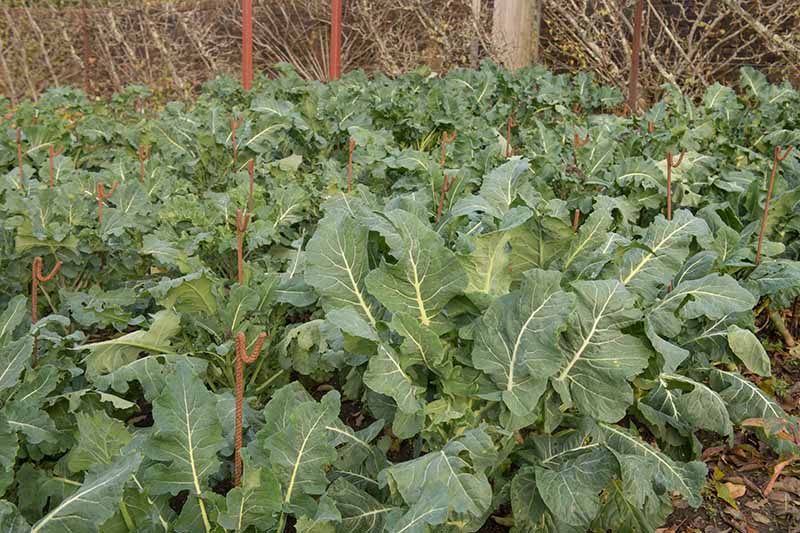
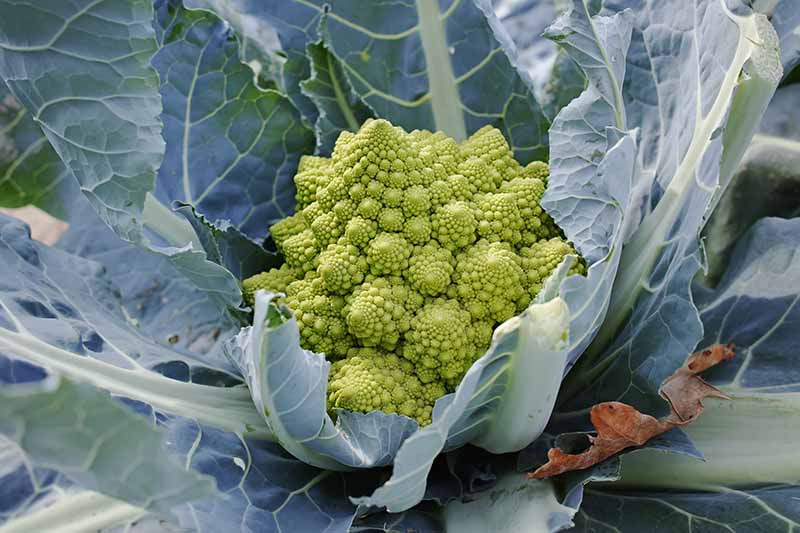
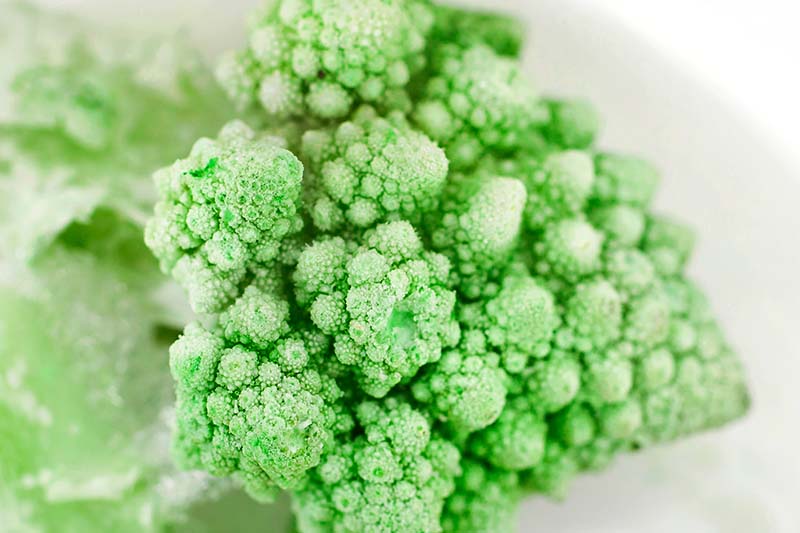
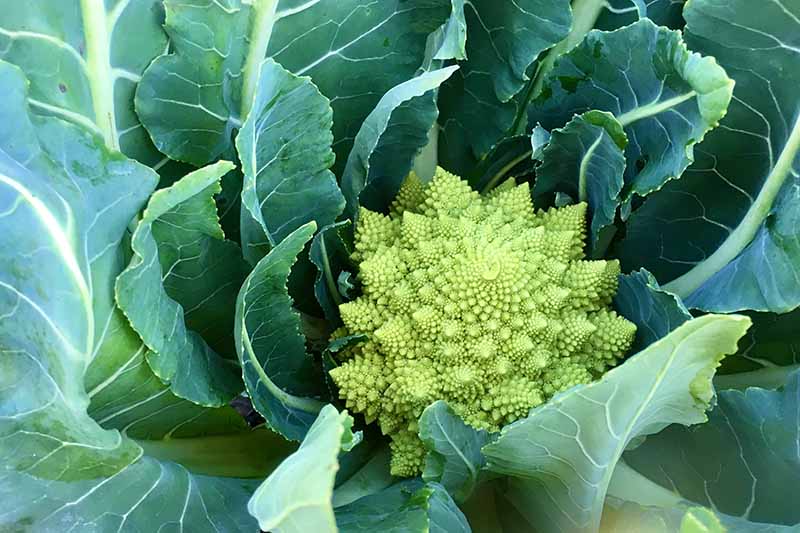
Let’s just get this out of the way first: Romanesco broccoli isn’t actually a variety of broccoli at all. Some people call it “Roman cauliflower,” but is it cauliflower, my friends? Nope. It’s not cauliflower either, it’s not broccoli, and it’s not cabbage, and because of this, some people simply call it “Romanesco.” Basically, this plant is a Brassica variety that was first cultivated via selective breeding sometime in or before the 15th century in Rome, Italy. Hence the name, “Romanesco.” It’s most closely related to other members of the Botrytis Group: cauliflower, and a cross between cauliflower and broccoli called “broccoflower.” Some gardeners in the United States also refer to Romanesco as “broccoflower,” so this common name is shared among two similar plants. In Italy, it’s known as cavolo broccolo Romanesco. That’s got a certain rhythm to it that I can’t help but love, and in English translates to “Romanesco broccoli cabbage.” In Germany, it’s called “pyramiden blumenkohl,” or pyramid cauliflower. Sometime in the 20th century, Romanesco made its way from Europe to the United States, and has been wowing farmers market shoppers and gardeners ever since. Geometry lovers will appreciate that Romanesco grows and develops according to a logarithmic Fibonacci sequence, forming nearly perfect fractal spirals. But why does this lime green brassica grow in such a wild yet precise shape? In the weekly science and technology publication New Scientist, journalist Krista Charles reports on a study conducted by François Parcy at the French National Centre for Scientific Research, which concluded that “Cauliflowers, including Romanesco, gain their shape because they start off as flower buds that fail to become flowers. These buds become shoots that make new flowers which also fail – and the process is repeated again and again in a sort of chain reaction.” In light of this information, Romanesco is closer to cauliflower than to broccoli botanically; which is why it’s placed in the Botrytis Group with cauliflower. The main difference between cauliflower and Romanesco broccoli is that “each individual failed flower is visible in the final Romanesco… because Romanesco shoots produce more buds at an accelerating rate [than cauliflower buds] which lifts the growing tip away from the centre of the growing cauliflower, creating the familiar array of conical shapes that characterise the Romanesco,” says Charles. Pretty fascinating stuff, right? All parts of Romanesco are edible, from the leaves to the stem as well as its fractaled curd. The plant grows 24 to 36 inches high with a spread of 16 to 18 inches. Mature heads can measure three to five inches in diameter and weigh up to five pounds! Romanesco is a cool-season crop that matures in just 75 to 100 days from germination. It’s suited to Zones 3 through 10, but if you live in Zones 8 through 10, it’ll grow best as a fall crop with a winter harvest. It’s also marvelously nutritious, offering plenty of dietary fiber, vitamins A, B, and C, calcium, iron, and zinc.
Propagation
The best ways to propagate this funky plant are via seed or by transplanting starts purchased at a nursery. We’ll cover both methods below.
From Seed
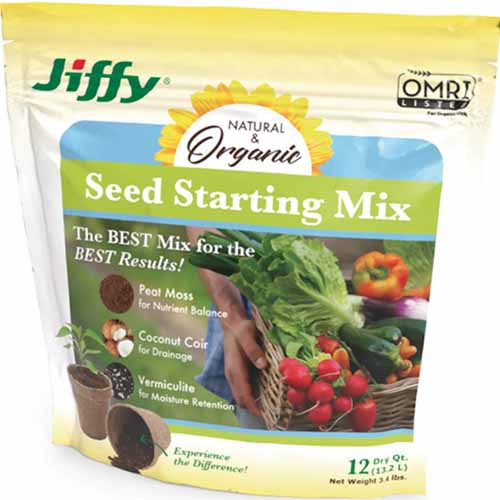
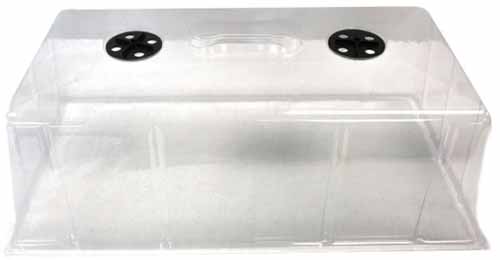
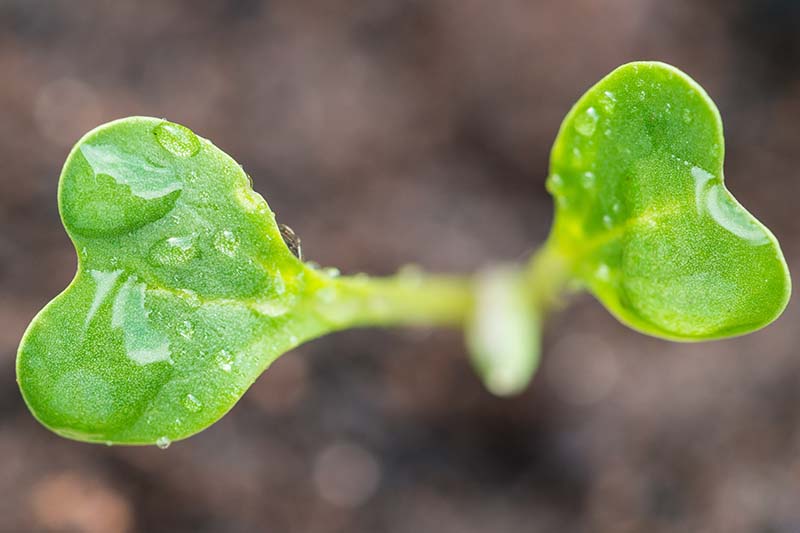
Since Romanesco enjoys cool weather, it’s a good idea to start seeds indoors six to eight weeks before your area’s average last frost date. This way, it’ll be a young, robust plant by the time you transplant it into the garden, and will do most of its growing in the cooler part of the spring and early summer. Conversely, if you live in a warmer growing zone, starting Romanesco broccoli indoors during late summer can protect seedlings from the heat, and prepare them for a late fall or early winter transplant to the garden. You may also want to consider placing a heat mat beneath the seed tray, and setting it to 70°F. The seeds will germinate in temperatures as low as 45 to 50°F, but the optimal range is between 65 and 80°F. Jiffy Seed Starting Mix In each cell, create an indentation that’s a quarter of an inch deep. Drop two seeds into each hole and cover lightly with seed-starting mix. Spray with water from a spritz bottle to avoid moving the seeds out of place. Place a humidity dome over the seed trays – like one of these from Viagrow, available from the Home Depot. Viagrow Humidity Dome This will help to hold the moisture in and encourage germination, which should occur within 10 to 21 days. Keep the soil moist until it does! As soon as those green cotyledons poke through the soil, remove the humidity dome. Move the seed tray to a sunny windowsill that receives at least eight to 10 hours of sunlight a day. Or put them under a grow light for 12 to 14 hours a day. Continue watering the seedlings a couple times a week after they germinate. Check the mix by poking your finger about half an inch down. If it feels dry that far down, it’s time to water. When the seedlings have two sets of true leaves and are between four and six inches tall, thin out the weaker, smaller seedling from each cell if both germinated. Now you’re ready to harden the plants off by putting them outside for increasing amounts of time each day for a week, at which point they’ll be ready to stay outdoors full time.
From Starts/Transplanting
Did you pick up Romanesco broccoli starts at a nursery? Or are your indoor-grown seedlings hardened off and ready to transplant out to the garden? Here’s how to transplant young plants. First, find a spot in your garden that receives at least six to eight hours of sun every day. Romanesco thrives in soil with a pH between 6.0 and 7.5, so consider conducting a soil test in your chosen location before planting. This also helps you figure out if your soil has the appropriate nutrients. Cole crops feed heavily on nitrogen, potassium, and phosphorus, writes Paul Sachs for McGill University’s Ecological Agriculture Projects, as well as on trace nutrients found in rich organic matter. The darker you can get your soil to look, the better, says Sachs. He points out that “The dark color of soil [rich in] organic matter helps warm the soil faster in the spring by absorbing the sun’s heat and, surprisingly, keeps it cooler in the summer.” That’s just what you want for your brassicas! Amend the soil with well-rotted compost or manure to help achieve that rich, dark quality. Dig a hole that’s as deep and wide as the container out of which you’ll be transplanting your seedling. Carefully remove the root ball from the container and set it in the waiting hole. Backfill with soil and water thoroughly. If you’re transplanting more than one seedling, leave at least 16 to 18 inches of space between each plant. They may look tiny now, but boy, will they ever grow large!
How to Grow
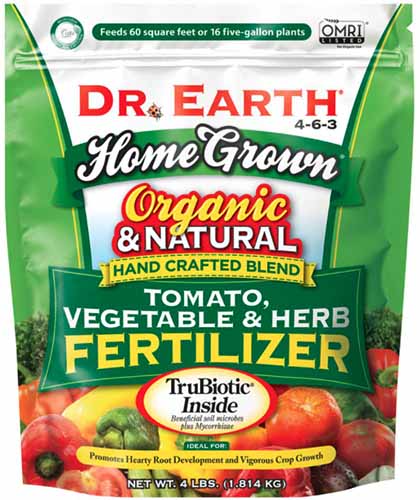
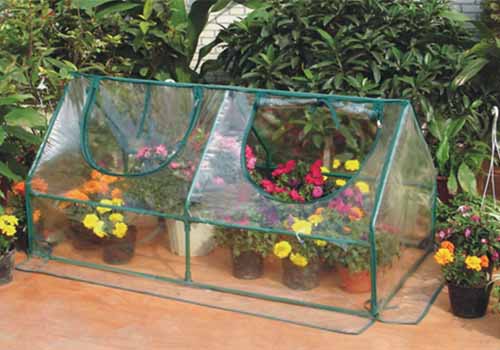
You’ll want to give the soil about one inch of water each week if the rain doesn’t do all the watering for you. Setting a rain gauge in your garden can help you determine how much water Mother Earth provides. Check for moisture every few days by poking your finger about an inch down into the soil. If it feels moist, hold off on watering for another day or two. If it feels dry, you know what to do! Head out into the garden every few days to check for weeds, especially when your Romanesco broccoli plants are young. Fast-growing weeds can block shade and nutrients from your fledgling plants, so pull them right away! Or, you can use my favorite vegetable fertilizer of all time: Dr. Earth’s 4-6-3 (NPK) tomato, vegetable, and herb fertilizer, available from the Home Depot. Dr. Earth Tomato, Vegetable, and Herb Fertilizer Make sure you work it into the top two to three inches of soil, which is deep enough for the fertilizer to “make contact with soil particles,” says Paul Sachs, but not deep enough to disturb the Romanesco’s shallow root system. Once they grow to a substantial size, you won’t have to worry quite as much. Hardly anything can grow under the shade of a massive brassica. Apply a three- to four-inch layer of organic mulch to help keep the soil moist and cool during hot weather, or warm during cold weather. I use bark or cedar chips in my garden. And trust me: you want to keep your Romanesco at as even of a temperature as you can. Any significant dip or rise can keep the plants from forming heads. According to Linda Naeve, an expert at the Iowa State University Department of Horticulture, “Cauliflower must be grown at a continuous, steady rate through its entire life, from seedling to harvest. Anything which slows or stops its growth, such as insects, lack of water, or excessive heat or cold, may prevent development of the head.” Cauliflower and Romanesco are both in the Botrytis Group, meaning what goes for cauliflower goes for our artsy protagonist as well. These plants grow best in daytime temperatures around 70°F, and nighttime temperatures no lower than 40°F. Allelochemicals can be beneficial, as is the case with certain rice varieties that show “unusual success at poisoning some of their most pesky competitors, such as a weed called barnyard grass,” says Raloff. Or, if it’s cold outside, cover the plants and their delicate forming heads with a greenhouse cloche, like this one from the Home Depot. Greenhouse Cloche Like other members of the brassica family, Romanesco broccoli emits allelochemicals, which are basically nature’s own herbicides, or “plants’ chemical defenses against other plants,” writes Janet Raloff, an agriculture and environment expert at Science News. But when it comes to other veggies in the garden, and other brassicas in particular, Romanesco’s protective allelochemicals can negatively affect growth, often by inhibiting photosynthesis. This can result in the eventual death of plants growing nearby. This is especially true if parts of the allelopathic plant are crushed, explains Raloff, whether by “a feeding insect or a plow’s blade,” and then drop into the soil, where they release those powerful allelochemicals. Keep the soil clear of broken or fallen leaves and debris to limit the impact of the allelochemicals on future plantings.
Growing Tips
Water one inch per week, checking the top inch of soil every few days to make sure it doesn’t dry out.Fertilize with a vegetable-specific fertilizer when plants are eight to 10 inches tall.Weed regularly, especially while plants are small.Protect from excessively hot or cold weather.
Cultivars to Select
Here are the three main Romanesco cultivars for you to choose from:
Gitano
For a dark green head of curds, and a plant that’s resistant to mildew and tolerant of colder weather, try planting ‘Gitano.’ This cultivar grows 18 inches tall and spreads about 24 inches. ‘Gitano’ matures in 100 to 110 days, is hardy in Zones 3 through 10, and forms heads that weigh about two and a half to three pounds each.
Managing Pests and Disease
If you’re at all acquainted with the pests and diseases that may plague broccoli and cauliflower, then you’ve met the ones that can bother Romanesco already. This variety matures in just 90 days, making it an excellent choice for those of us who live in areas with short growing seasons. Like other Romanescos, it’s suited to Zones 3 through 10. ‘Natalino’
Veronica
This popular cultivar can grow heads that range from five to seven inches in diameter. Best of all, it matures in just 75 to 80 days! Hardy in Zones 3 through 10, ‘Veronica’ has that classic apple-green color and grows 24 to 30 inches tall, with a spread of 12 to 18 inches. ‘Veronica’ You can find seeds for this kid-friendly veggie available for purchase from Eden Brothers. Though they aren’t labeled as such, I believe ‘Veronica’ is what you’ll get if you plant these. I love going out into my garden every single day and checking out the new growth, but if you’re short on time, at least get out there every two or three days. Take a close and careful look at your plants. Do you see any holes in the leaves? Any discoloration in the foliage or forming heads? Check out this list of common brassica pests to determine which might be the culprit:
AphidsCabbage LoopersCabbage MothsCabbage WormsDiamondback MothsFlea BeetlesSlugs and Snails
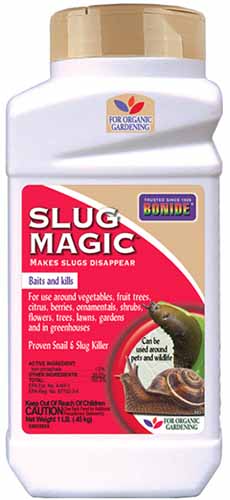
Aphids are easy enough to get rid of with a strong spray from the hose, and an application of neem oil spray. If your lawn is full of dandelions, leave them there! In a guide to beneficial insects for the University of Wisconsin Extension, Susan Mahr says plants in the aster family, Asteraceae – like dandelions, sunflowers, and yarrow – and in the carrot family, Umbelliferae, attract beneficial insects like green lacewings, ladybugs, and parasitic wasps. Our guide to cauliflower pests will give you more information. Bonide Slug Magic For slugs and snails, I love to use pet-safe Slug Magic granules from Bonide, available from Arbico Organics. If you have deer or moose in your area, you may want to cover your plants with chicken wire, or spray them with a repellent like Liquid Fence, a foul-smelling spray that keeps cervids and rabbits away. Liquid Fence This product is harmless to plants and animals, and you can purchase it at the Home Depot. When it comes to diseases, the single most important thing to do is take excellent care of your brassicas. Keep them appropriately watered and fed, and they’ll have the vigorous health and necessary resources available to fight off diseases. Sometimes it rains for days on end, opening the door for fungal infections despite your good care. Or maybe you go on vacation for a week and the person who was supposed to care for your plants does a subpar job. Diseases may develop for reasons that are out of your control! Here are the top maladies to watch out for:
Alternaria Leaf SpotBlack LegBlack RotCauliflower Mosaic VirusClub RootDowny MildewFusarium Yellows
Our guide to identifying and preventing cauliflower diseases can help you to stay on top of any issues.
Harvesting
When your Romanesco broccoli has a tight head that’s three to five inches in diameter, and around 75 to 100 days have passed since germination, it’s time to harvest. If you wait too long to harvest, all those pretty, pointy curds will begin to separate. The head won’t look as lovely, but it’s still tasty at this point. Just pick it quick, before the aphids crawl into the cracks between the curds. To harvest, take a sharp kitchen knife out to the garden and carefully cut the stem about two inches down from the head.
Storage
Avoid washing your Romanesco until you’re prepared to eat it. To store, place it in a zip-top bag and keep it in the crisper drawer of your fridge for up to four days. Rinse it clean just before eating or preparing. If you want to freeze your spiraled curds, you can do that too. You’ll need to blanch them first to help them maintain their nutrients, crunch, and flavor. Blanching is easy. First, bring a large pot of water to boil. While you’re waiting for the water to start rolling, fill a large bowl with one part water and one part ice. Chop the curds into whatever size you want them, and then add them to the boiling water for two minutes. When the timer goes off, remove the curds and place them in the ice bath immediately to stop the cooking process. You don’t want them to turn to mush! Once all the pieces feel cold to the touch, lay them on a paper towel and pat them dry. Remove as much of the water as you can, and then spread them in a single layer on a cookie sheet. Place the cookie sheet in the freezer for an hour. Transfer the frozen Romanesco bits into zip-top bags, label them with their best by date – 12 months away from the date of processing – and stick them in the freezer.
Recipes and Cooking Ideas
Aside from eating it raw, one of my favorite ways to enjoy Romanesco is as a tangy, delicious side dish by subbing it in for cauliflower in this lemon roasted version from our sister site, Foodal. Sometimes I mix it in with purple, orange, and white cauliflower florets as well, for a visually stunning dish. I also love substituting Romanesco for broccolini in this recipe for grilled tomato and broccolini salad with balsamic vinaigrette, also from Foodal. You can also combine Romanesco with broccoli in this recipe for an asparagus broccoli salad that’s a perfect side dish to serve alongside a winter soup or at a summer barbecue. You can find this one on Foodal as well. Have you ever grown Romanesco broccoli before? We’d love to hear your thoughts in the comments section below! And before you go, remember to check out these articles on growing cole crops next:
How to Grow Broccoli Rabe13 of the Best Cauliflower Varieties for the Home Veggie Garden11 Reasons Why Your Cauliflower May Not Form Heads
