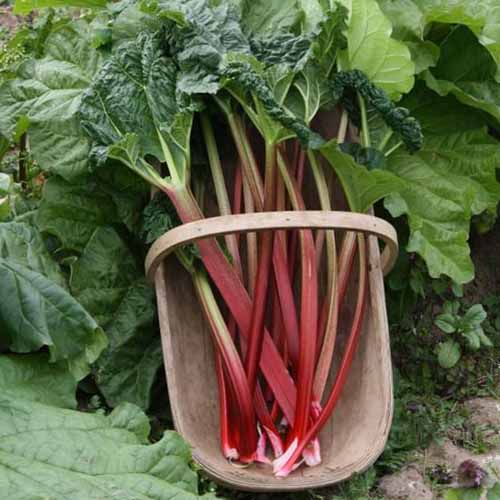
When my garden-savvy grandma was visiting me two summers ago, she advised me to buy a division of rhubarb from a local nursery after I raved to her about my newfound, Alaska-fueled passion for pie plant – but I procrastinated. I figured there would always be rhubarb (Rheum rhabarbarum) available somewhere in my new home state. But alas, finding a division or crown in the heart of wintertime was a doomed endeavor. So instead, I bought a packet of seeds along with a nifty seed-starting tray set. We link to vendors to help you find relevant products. If you buy from one of our links, we may earn a commission. Good things come to those who wait, am I right? And although rhubarb grown from seeds you’ve collected from an existing plant may not look exactly like Mama Rhu, it will taste so similar you’ll hardly notice the difference. And guess what? Growing this cool-weather crop from seed as an annual is the ideal way to propagate it for those of you who live in USDA Hardiness Zones 8 and up.
That’s right. This stellar plant can be grown as a perennial in Zones 2b-7, and in Zones 8 and up, it makes a tasty annual. See our guide to growing rhubarb in the garden to learn more. Here’s what we’ll cover:
A Bit of Background
Along with knobby-kneed plants like sorrel and buckwheat, rhubarb is a member of the Polygonaceae family. In Latin, “Polygonum” means “many knees,” a reference to the thick-noded leaf and flower stems.
Used primarily as a medicine before the 18th century, the plant was rare and considered valuable in China, the Middle East, and Europe. Sometime in the 1700s, it became more popular as an edible vegetable in the UK, arriving in the United States in seed form by the 1730s. Early American botanist John Bartram grew the plant from the seed. According to Joel Fry, curator at the historical site Bartram’s Garden in Philadelphia, he even wrote, “[Rhubarb] make excellent tarts before most other Fruits fitt for that purpose are ripe.”
This goes to show that some things never change. (Thank goodness!) Coincidentally, the price of sugar in the US dropped in the 18th century, allowing common folk to add buckets of it to their rhubarb harvest for a sweet, tart pie filling. The plant has enjoyed popularity ever since – especially in northern states, where it thrives in the cool climates.
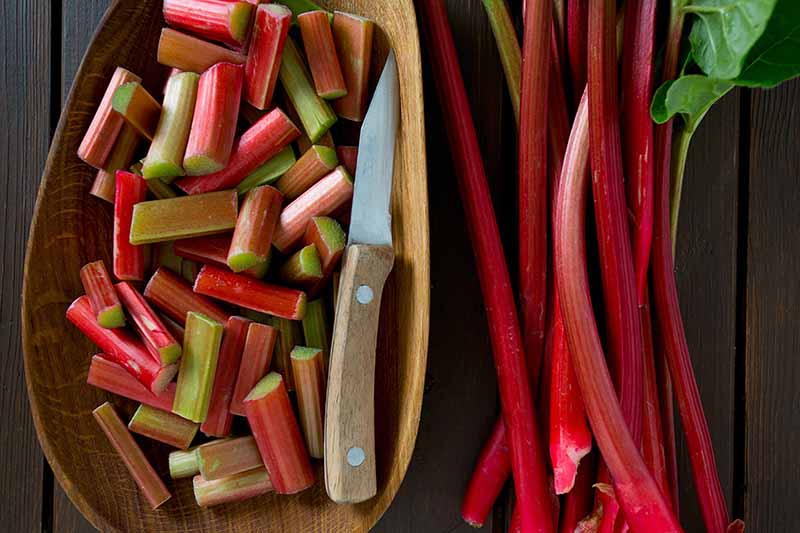
Far from being featured only in pie, the stalks often make their way into cakes, chutneys, cocktails, crisps, crumbles, ice creams, jams, salsas, souffles, and even wine. Find inspiration for what to do with your harvest on our sister site, Foodal.
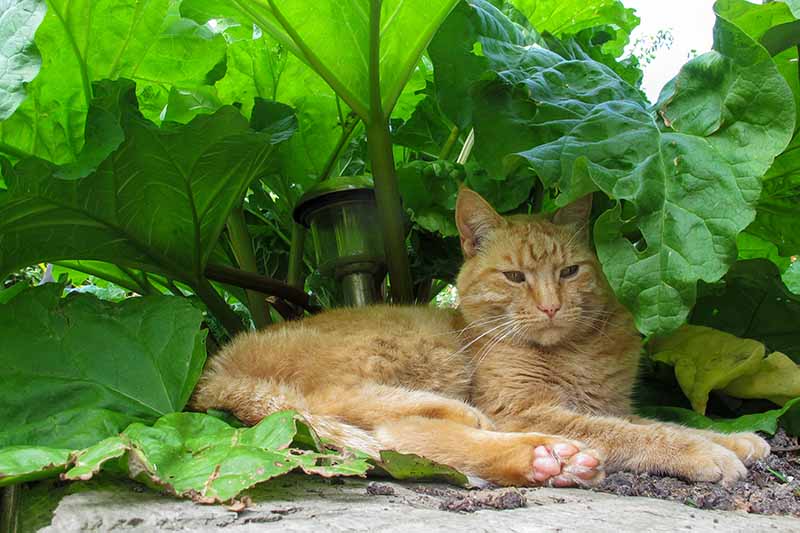
One important thing to remember? The leaves are toxic if consumed in large amounts, and can cause gastrointestinal distress in smaller portions. So just avoid them altogether, and keep them away from kids and pets, and you’ll be good.
Sourcing Seeds
Now that you’ve undoubtedly been convinced that you should grow your own rhubarb, it’s time to find out where you can get some seeds. If a gardening friend of yours has huge old plants that she allows to flower once in a while, this would be a fun place to source your seeds.
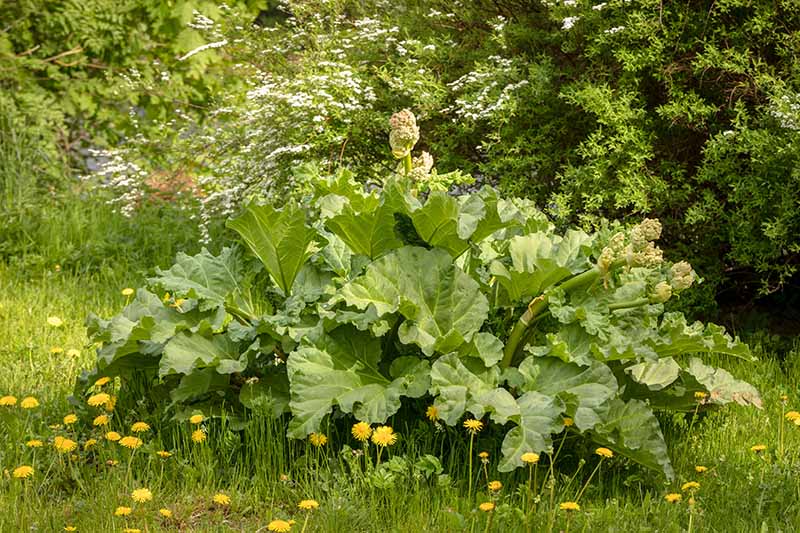
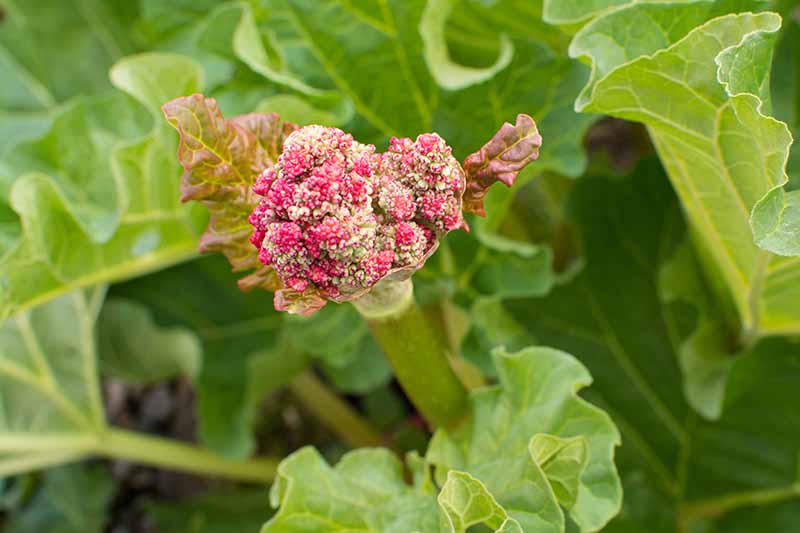
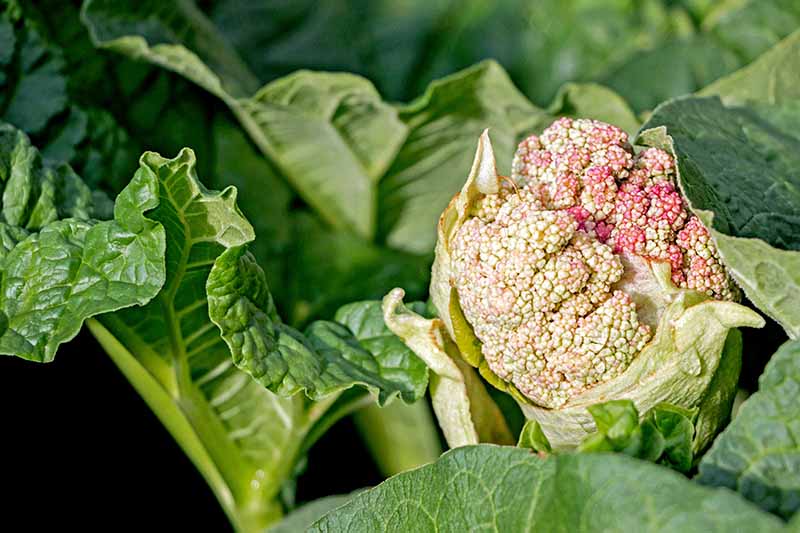
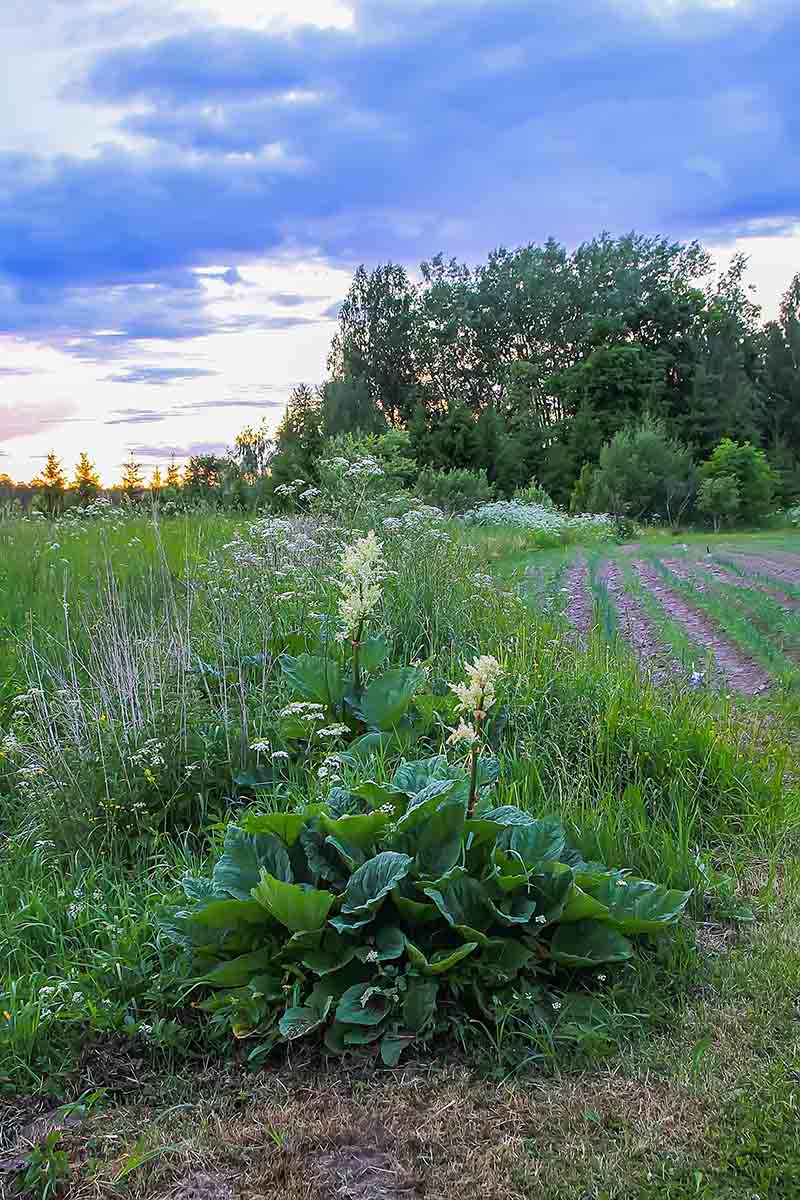
The same goes for if you already have a plant of your own that you propagated from a division or crown. Maybe it’s time to try something new. Test your mettle at seed-growing, like old John Bartram did in the 1730s. Once you make the decision to let one of your plants bolt – which won’t affect the flavor or longevity of the plant, but may reduce the number of stalks available to harvest – keep an eye out for a seed head.
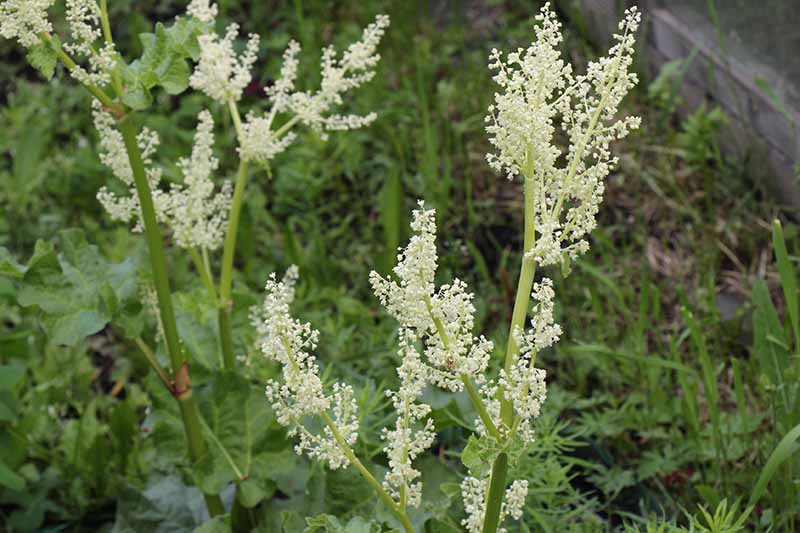
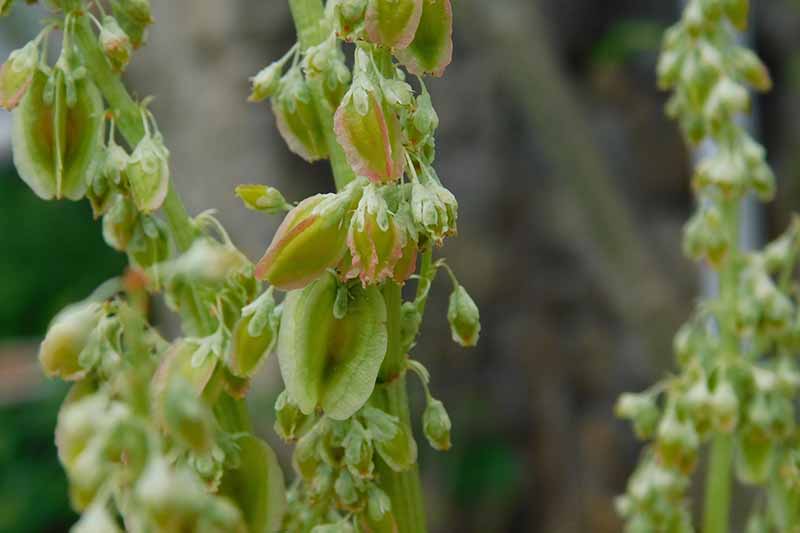
Let it grow tall and strong. Let white flowers form. Let the flowers turn into green seed pods, and then let those pods dry out to a brown, husk-like shell. There’s a lot of letting involved in this process. I think it’s rather beautiful.
Once the pods are dry and brown, clip the stalks and gently tug the pods off. Store them in a brown paper bag, and place them in a dark drawer until you’re ready to plant.
‘Victoria’ You can purchase seed packets, like this heirloom variety, ‘Victoria,’ available from Eden Brothers.
How to Propagate
I’m going to divide this section into two parts for you. The first will address growing seeds as perennials in Zones 2b through 7. The second will spill everything you need to know about planting them as annuals in Zones 8 and above. Let’s get started!
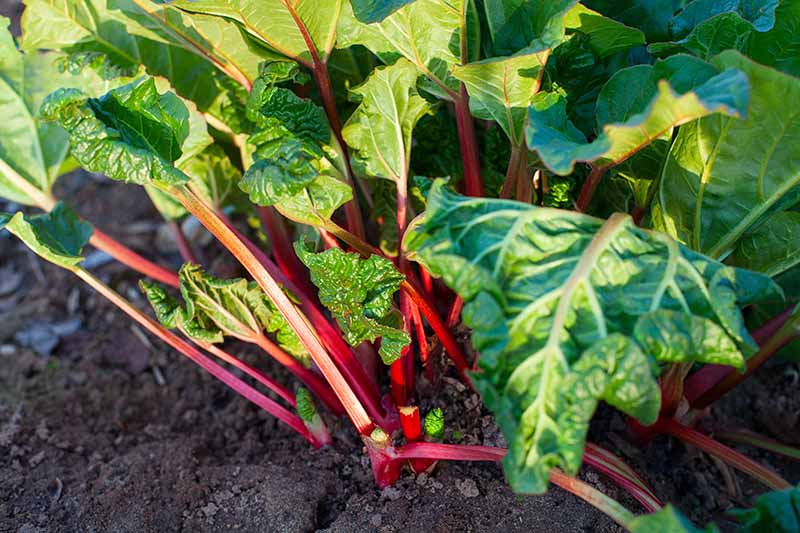
Growing Rhubarb as a Perennial
One of the best things about rhubarb is that it is a tenacious and long-lived plant, when grown outdoors in cooler zones. While some sources will tell you that the plant produces harvestable stalks for at least five to 10 years, the truth is that it can keep giving you tart-sweet pie filling for much longer than that. Sometimes, it can even outlive us, thriving for over 100 years.
This only happens in growing zones that rhubarb loves, though – so if you live in 2a through 7, you’re in luck. You can grow the plant as a long-lived perennial, like I did. Alaska is a fantastic place to grow pie plant, so I started my own seeds in January. This was partly because I planned to grow my plants indoors for five to six months before transplanting them outside, giving them plenty of time to grow big and strong. You can do the same, or you can sow seeds indoors about two months before your area’s average last frost date. First, get your materials ready. Here’s what you’ll need:
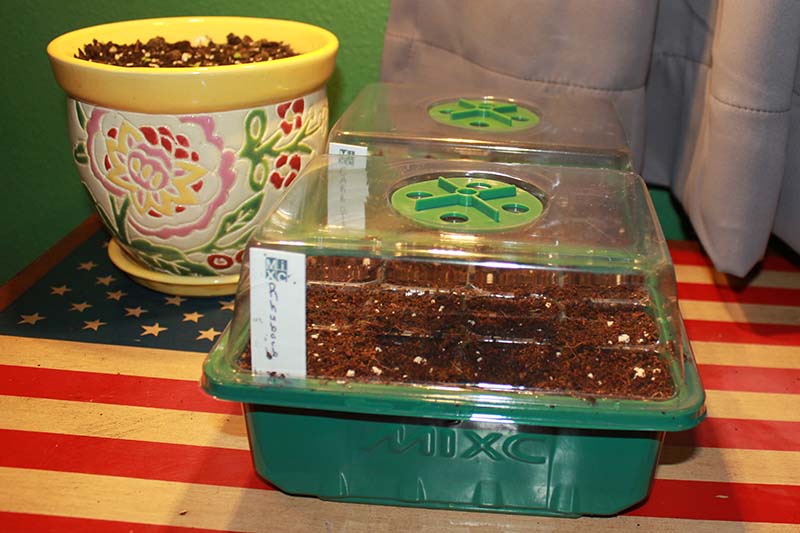
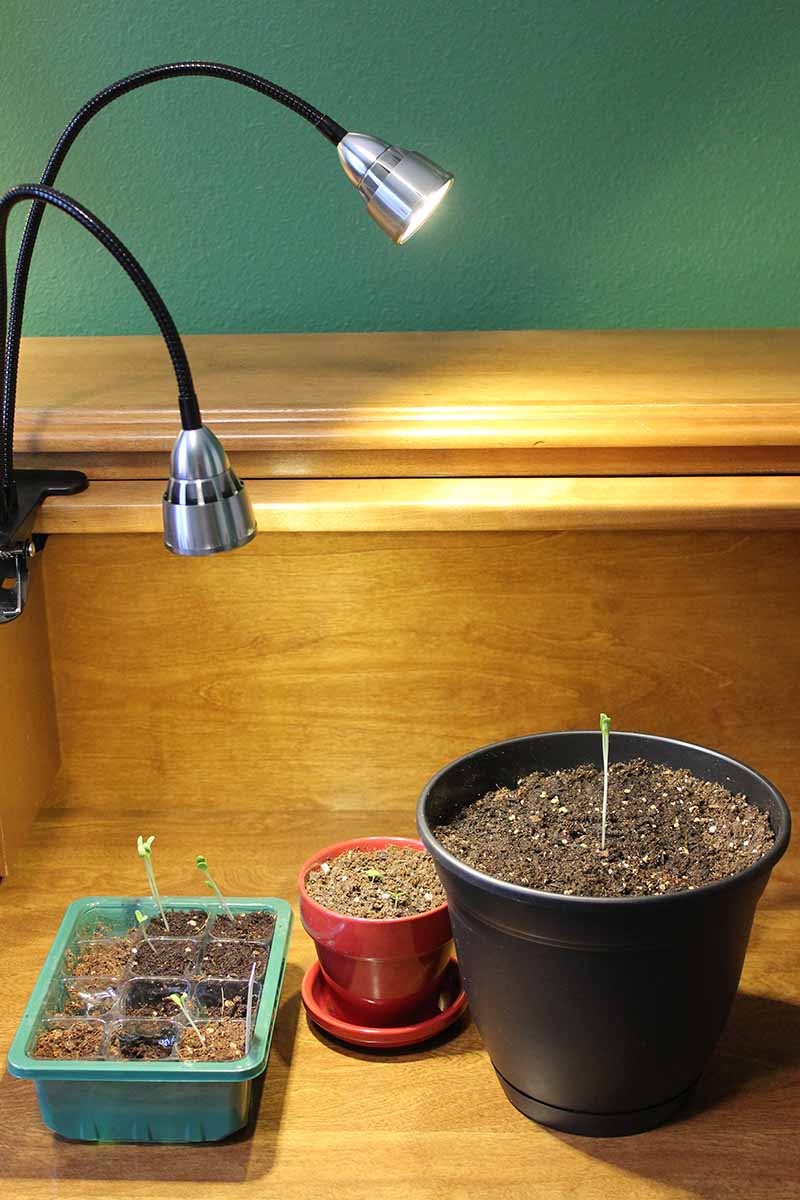
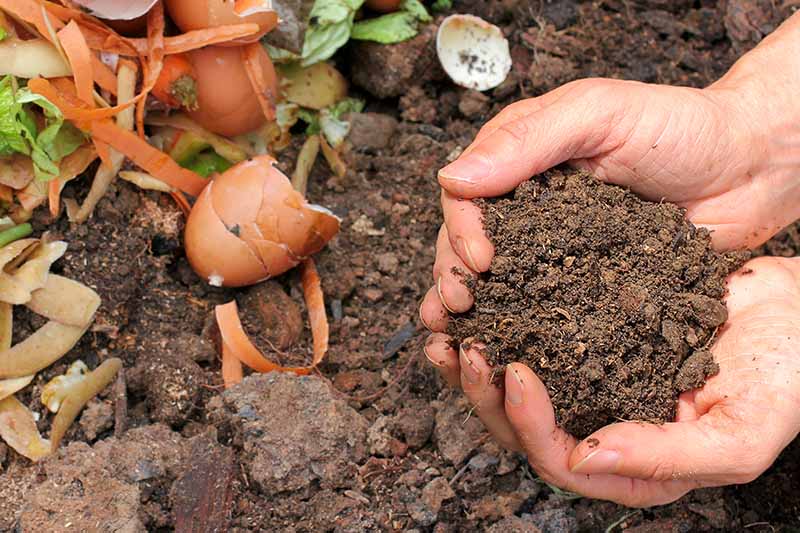
Potting mix, or garden soil amended with compost Indoor seed starting trays or peat pots. You can also sow directly into larger pots, if you prefer. A small container filled with a little warm water for soaking the seeds Seeds, of course!
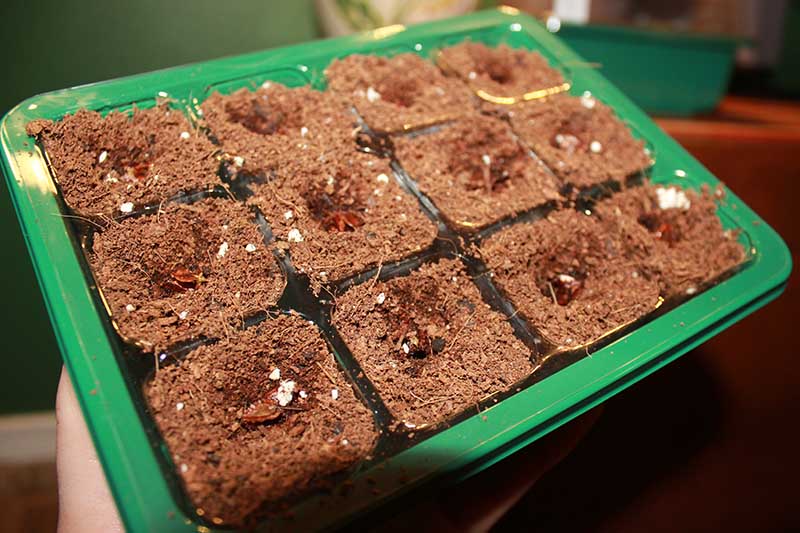
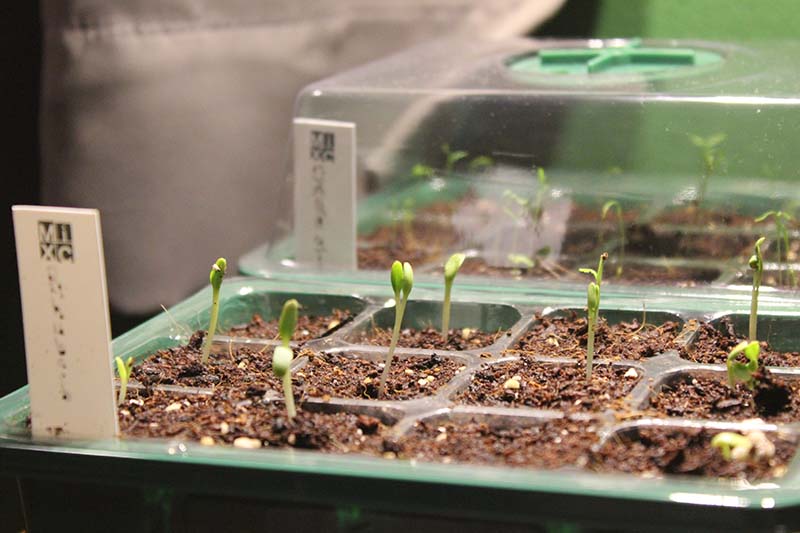
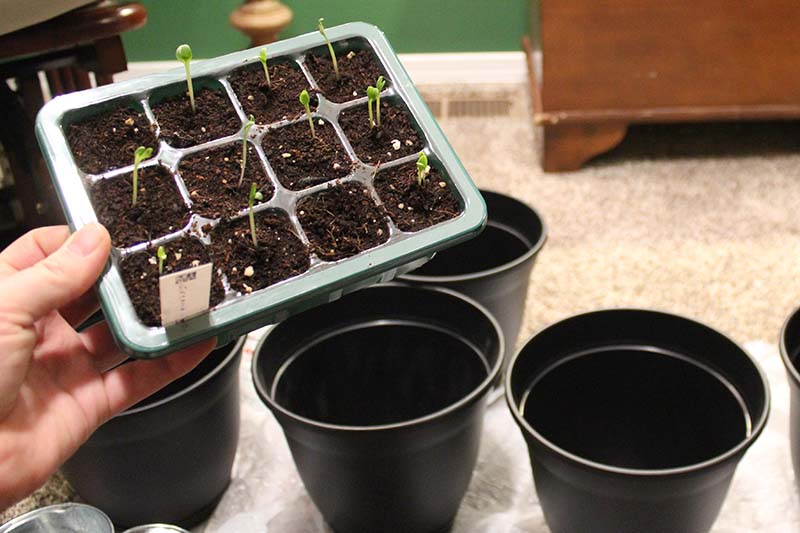
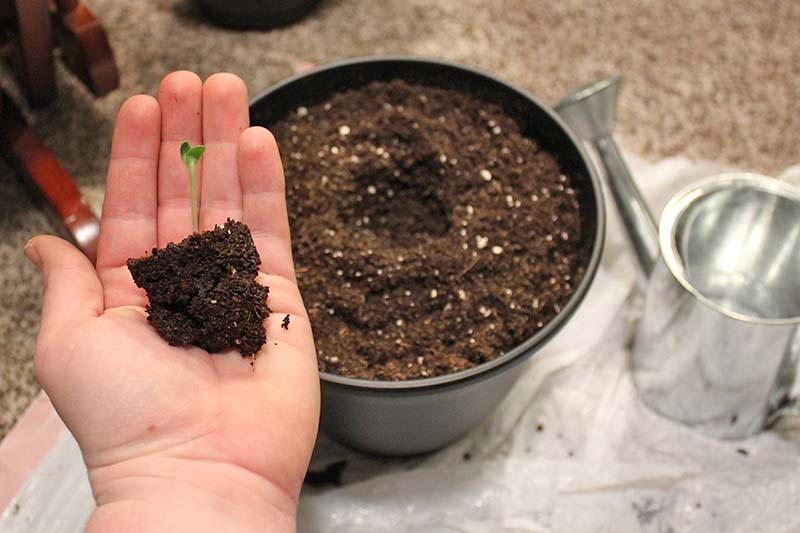
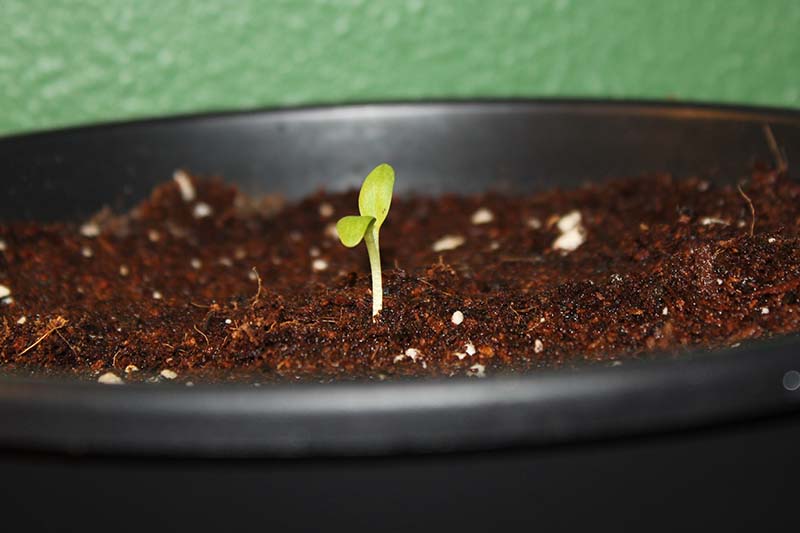
You can get them in six or 12-cell sizes, and they’re small, making them perfect for sowing seeds in apartments and other small spaces. Seed Starting Kit They’re basically mini greenhouses, complete with drip trays, roofs, and humidity knobs. About an hour or two before you plan to sow, soak the seeds in warm water. This will help the papery skins open, resulting in quicker germination. Then fill each cell or peat pot with soil and make a divot the size of your finger down to the first knuckle, or about one inch deep. Drop one seed in each cell, or two if you’re worried about germination rates. For me personally, ten of the twelve seeds germinated… and then I didn’t know what to do with ten thriving seedlings! I ended up transplanting six and keeping four in the trays for a week or so (which ended up being a good idea – keep reading to find out why!). Here’s what happened with my seeds. After sowing, I closed all the vents in the greenhouse enclosure to ensure the seeds would benefit from the maximum humidity provided. Then, I set them under a grow light. Do the same with yours, or put them in a window that receives at least six hours of sunlight per day. Seven days later, a couple of green shoots began to unfurl. Germination can take anywhere from seven days to two weeks with rhubarb, so don’t fret if yours don’t come up as quickly. By the eighth day, all but two of the seeds had germinated. Some even had two sprouts growing from one seed case! Another week went by and the seedlings were starting to need more room, so I decided to transplant most of them to eight-inch-wide, seven-inch-deep containers. Rhubarb sends roots down quickly and you don’t want your plants to get root bound, so plan to transplant yours one to two weeks after germination. Seedlings will be about an inch tall and may still only have the two cotyledons, or “starter leaves,” growing from the stems at this point. Or they may have one set of true leaves, but mine did not when I moved them. They should probably only stay in the seed trays for four weeks maximum. But that might be pushing it. My seed starting trays were just 1.5 inches deep. If you start your seeds in bigger trays, you can probably keep the seedlings in there longer. For example, in 3-inch-deep trays, seedlings could likely thrive for three weeks before they need to be transplanted. If you’re going to keep growing your seedlings in a container, you can transplant them into an eight or ten-inch wide pot, that’s at least seven inches deep, to continue growing for three to five more months – and then move them to a 20-inch wide and deep container at the beginning of summer. Or you can transplant seedlings directly to a larger pot. You can also transplant them outside into the garden after two months of indoor growth at the earliest, or ideally, after three to five months of growth, and after the last frost. To prep your containers, fill them with organic potting mix and a couple tablespoons of 10-10-10 (NPK) fertilizer if you’re planting in an eight-inch wide, seven-inch deep pot, or up to 1/4 cup for a 20-inch wide and deep container. Since the seed tray cells I planted in are 1.5 inches deep, I dug a hole that was 1.5 inches deep in each pot. Popping the seedlings out of the trays was a little tricky as the root balls were quite soft and mushy. But I got the hang of it after a few tries, and none of the plants perished during this process. After tucking the soil back in around your seedlings, water each of them thoroughly, until the soil around them is moist at least one inch down. You can check this with your finger. You’ll want to give them enough water so that the soil stays moist but not waterlogged. This caused my little sprouts to shoot up toward the light, straining for more. Grow Light for Starting Seeds Here’s where I made a mistake, though: I put the grow light too far away from my seedlings. Ideally, the leaves would send all the energy they receive from the light back down into forming strong roots. Instead, mine became extremely leggy. After doing some research, I realized that for optimal growth, lights should be situated two to five inches from seedlings. Oops! I added soil to my plants, covering part of the stem on each so they wouldn’t grow weak from their dizzying heights, and moved the grow light closer. This undeniably helped the seedlings grow more leaves instead of simply shooting straight up. So now, onto why I’m glad I saved a few seedlings in the tray for four weeks rather than transplanting them: I have a three-year-old son, and he likes to come say hello to all the plants in my home office. He’ll even hold his hands back and say, “Don’t touch!” as I’ve told him not to several times (after he touched and immediately killed one of my basil seedlings, for example). Sometimes, that is. One evening, I walked into my office to see a suspiciously smushed and partially decapitated seedling. It appeared that my son had been unable to resist exploring the plant with his itty-bitty fingers, and the sight made me laugh. Luckily, I had a few plants still growing away in their little seed starting cells, so I removed the ruined seedling from its pot and replaced it. If you have tons of seedlings that have sprouted and not enough space to transplant them and let them grow to maturity, let a few of the stronger ones keep growing in the seed trays until you know for sure that no sudden ailments or injuries will compromise your newly potted plants. Be sure to transplant those by four weeks of growth at the latest – after five weeks, the ones that remained in my seed starting tray flopped over and died, even with watering. The one seedling I ended up transplanting later on from seed tray to pot is still a lot smaller than the thriving seedlings I transplanted two weeks after germination. But it seems to be doing okay overall. As the rhubarb grows, you’ll notice more leaves developing from the stems. And at that point, your plant is on its way!
Transplanting Outdoors
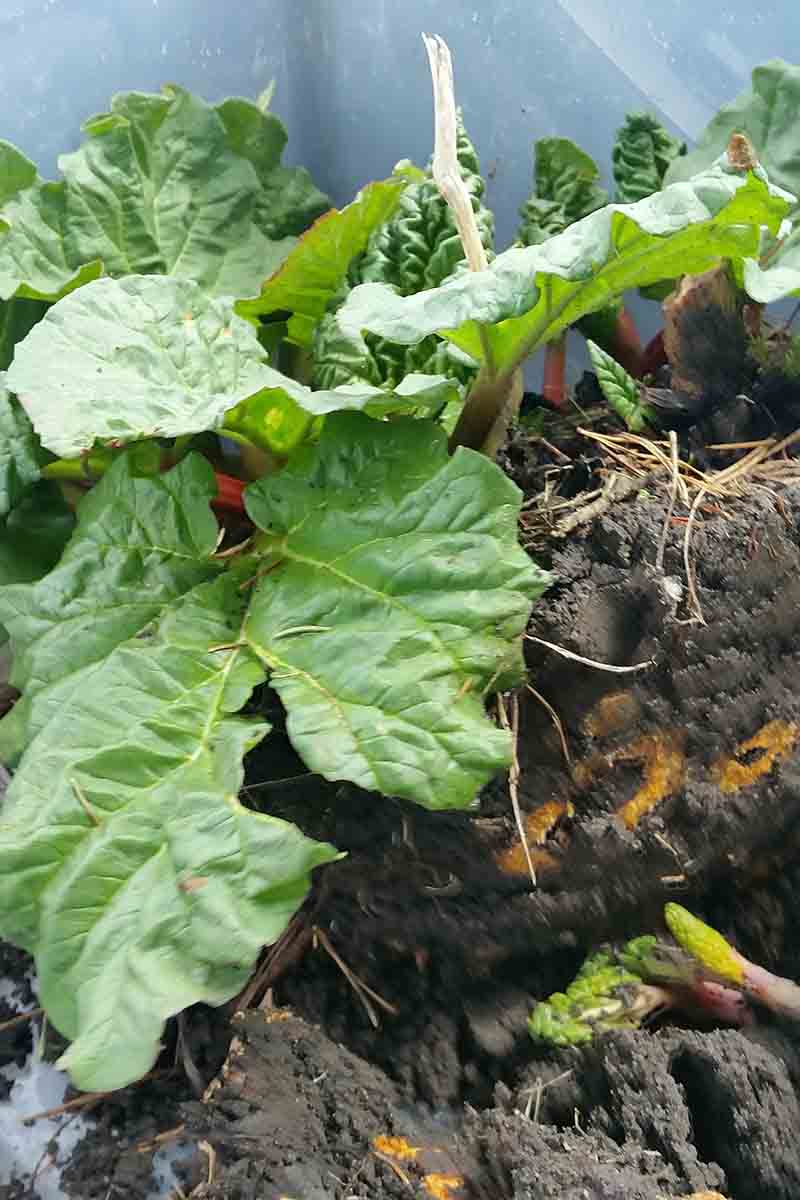
You can transplant seedlings outdoors two months since germination, or preferably three, after the risk of frost has passed. You are looking for outdoor daytime temperatures of at least 45°F and no more than 75°F, and nighttime lows above 32°F. The bigger and stronger your seedlings are, the more likely they are to survive and thrive post-transplant. You can even continue to grow your baby plants indoors in 7 or 8-inch pots for up to a year before transplanting them outside, if this is what it takes in your area to help them to thrive.
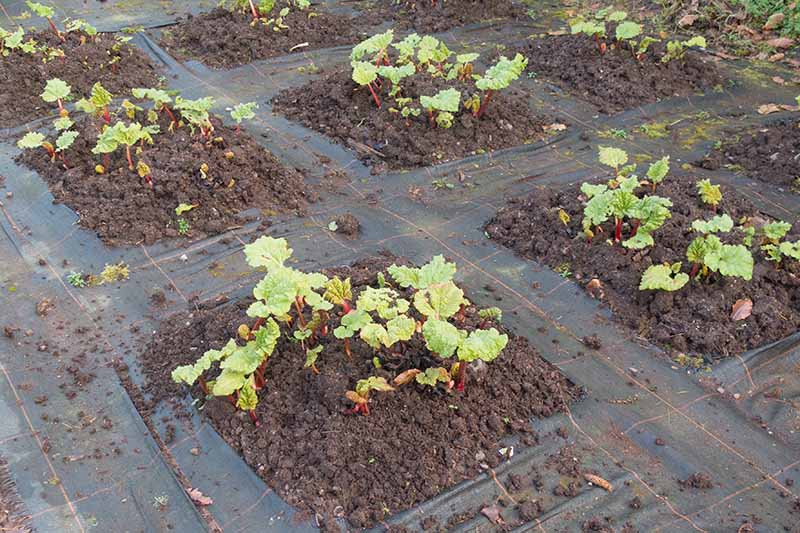
Plants should have around four small stalks each and true leaves when they are ready to transplant, and they will be about three to seven inches tall with a spread of about six to 12 inches. When it’s time to transplant your seedlings into the garden, make sure your selected planting area receives at least six hours of sunlight per day – do not choose an area that is regularly tromped through by kids, pets, or wildlife. In your garden or raised bed, the soil should be loose and well-draining, with a pH of 5.5-7.5. A half-and-half mixture of compost or rotted manure with topsoil works well, or try pre-packaged planting soil sprinkled with 1/4 cup of granular fertilizer per every two square feet. The next step is to harden off your seedlings. They’ll be used to cozy indoor temperatures at this point. To avoid shock, start setting the pots outdoors for one to two hours a day. Increase the time they spend out there during the week until they are spending most of the day outdoors. Now it’s time to transplant! First, water the container to keep the soil from falling apart. While the water soaks in, dig a hole the length and depth of your plant pot in your desired planting location. With a hand trowel or garden knife, loosen the soil from the edge of the container (or take it out of the seed starting tray, if you were able to leave it in that long). Tip the container so that the plant slides out, and fit it neatly into its new home. Tuck the dirt back in around the plant, being careful to cover the entire root system, and voila! You’re done. All you need to do is water the plant thoroughly and then watch your rhubarb grow.
You’ll be able to harvest your rhubarb in about two years from the time the seeds first germinated, when stalks are 12-18 inches long.
Can You Direct Sow?
Some of you might be wondering if you can direct sow rhubarb seeds in your garden. Yes, you can! Wait until the soil temperature has warmed to at least 50°F – likely in late spring or early summer, depending on your growing zone. Prep the soil as described above, compost, well rotted manure, or fertilizer mixed into the soil.
In rows three inches apart, plant pre-soaked seeds two inches apart and about half an inch deep. Keep them moist but not waterlogged, and note that you may not have to water as often as you would if you started the seeds indoors, since containers tend to dry out faster than the ground. Now, you… wait. If the conditions are not quite right, the seeds may take longer to germinate than under the more controlled conditions indoors.
Growing Rhubarb as an Annual
To grow pie plant from seed as an annual in Zones 8 and above, purchase your packet of seeds and get ready to direct sow outdoors in late August to early October when the soil is still warm, but the heat of the summer has subsided. Alternatively you can sow them indoors, by the end of July at the latest according to the directions outlined above. If your windowsills get really hot, use a grow light instead, in a room with temperatures consistently below 75°F that doesn’t have extra-hot sun spilling through the windows. Planting rhubarb seeds in starter trays indoors is recommended during the summer, because the soil will be too hot outdoors at this time of year in Zones 8 and above.
As soon as the weather cools down a bit and temps are no longer reaching above 85°F during the day – preferably closer to 75°F – and your seedlings are three to six inches tall and with three to four true leaves each, it’s time to transplant them outdoors. If you start your seeds in late July, you can plan to transplant your seedlings in September or October. If the weather is still warm and there’s lots of sun, one idea that may be of use to you is to create makeshift filtered shade with juniper or cottonwood branches. Simply stick the branch near the little plants and make sure they provide shade for part of each day. Or you can use a shade cloth or floating row covers. You can remove the shade protection once the weather cools down in the winter. Let your plants grow all winter and into the spring. By late spring – I’m talking April and May – they’ll have several tender stalks. Normally, you wouldn’t harvest these if you were growing perennials. But since the plants will wither and die as soon as the summer heat hits in warmer zones, go ahead and harvest every juicy petiole. If you want to make this a regular thing, start the process again, come July.
There’s Nothing Seedy About Sowing Rhubarb
So there you have it, everything you need to know about how to grow rhubarb from seed. It’s actually the preferred method for growing the plant as an annual, because bare roots and even crowns are prone to root rot in warm southern climes. No matter where you grow your seeds, and no matter how long you wait until harvest, every bite of that delicious pie will be worth it.
Have you ever grown rhubarb from seed? Did it taste even sweeter because you watched it grow from the very beginning of its life?
Grow Tomatoes from Seed in 6 Easy Steps How to Propagate Basil How to Start Annuals Indoors from Seed
Photos by Laura Melchor © Ask the Experts, LLC. ALL RIGHTS RESERVED. See our TOS for more details. Originally published on March 3, 2020. [lastupdated]. Product photos via Eden Brothers, Juhefa, and MIXC. Uncredited photos: Shutterstock. With additional writing and editing by Clare Groom and Allison Sidhu.