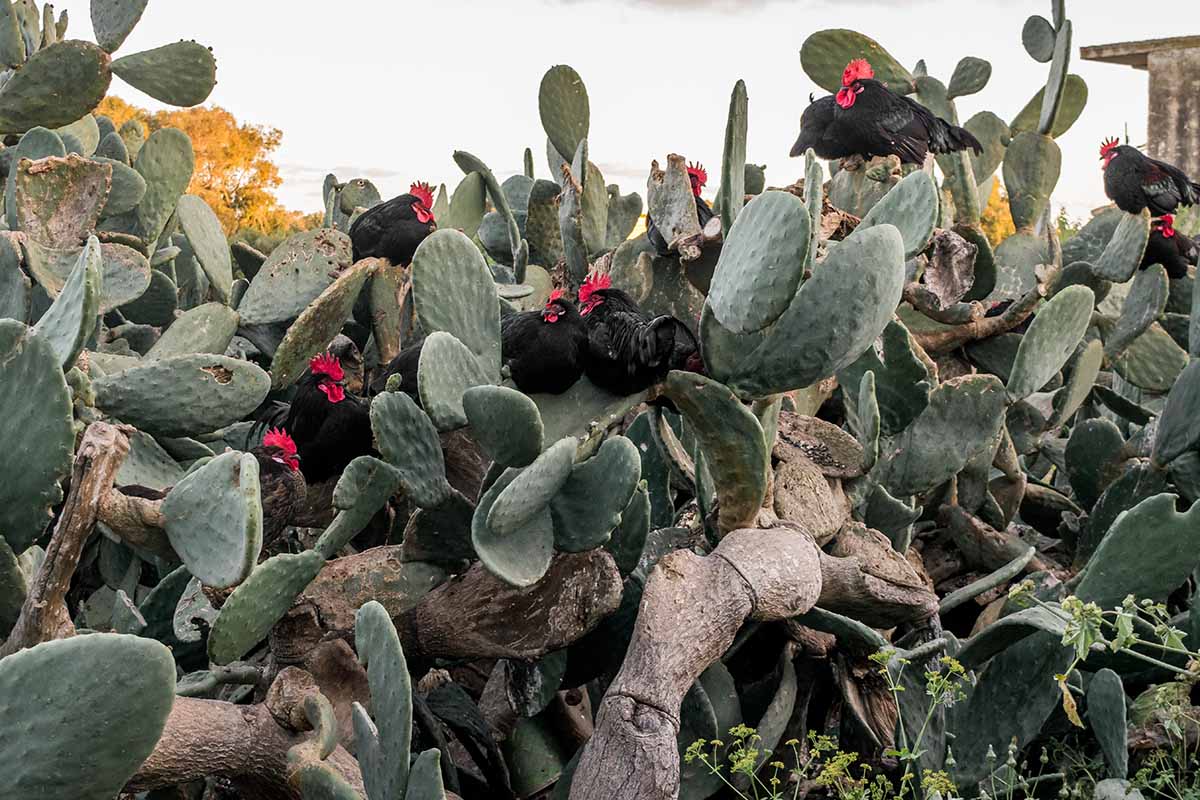
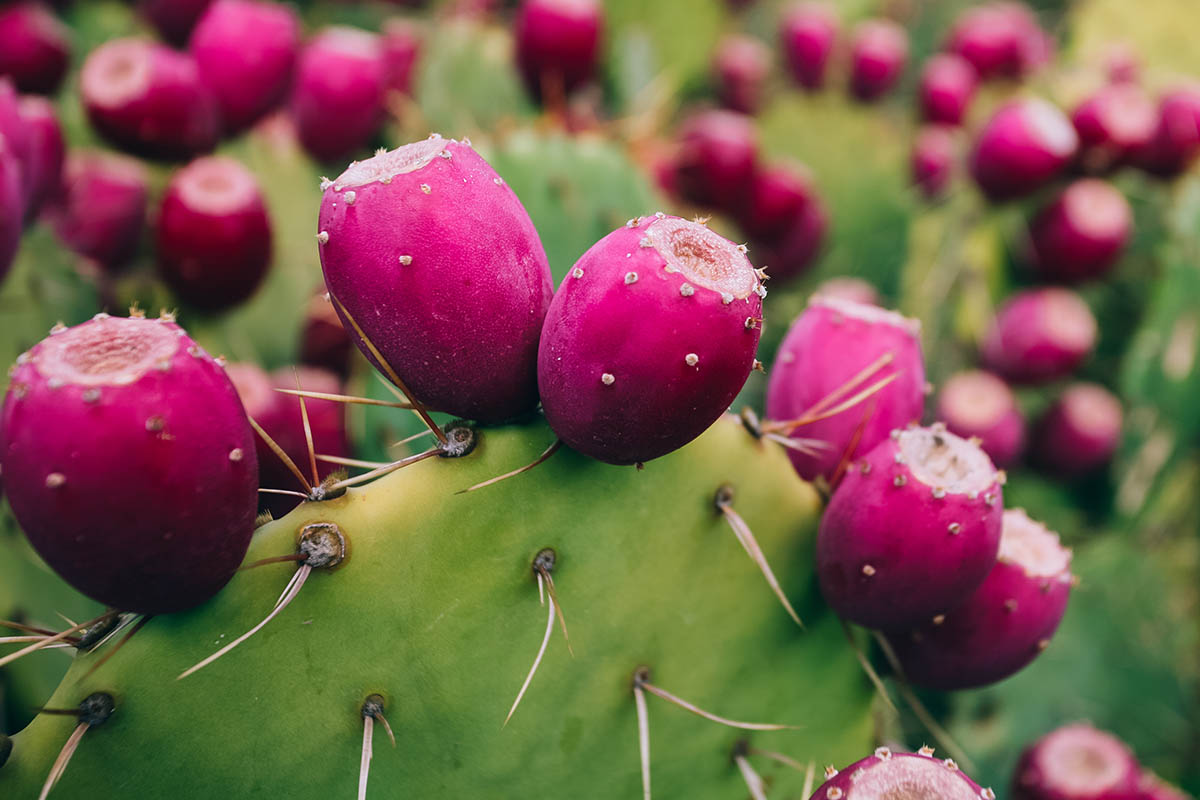
The prickly pear, however, certainly earns this moniker as a cactus with pads covered in sharp spines. But don’t let that dissuade you from adding this worthwhile specimen to your landscape, whether you plan to plant it in the ground or pot it. We link to vendors to help you find relevant products. If you buy from one of our links, we may earn a commission. Let’s take an in-depth look at how to plant, grow, and care for the prickly pear cactus. Here’s what we’ll discuss: Cacti and succulents seem to enjoy a moment of popularity every few years, garnering interest because of their shapes, colors, and easy caretaking. Some species, however, have endured as popular choices for the landscape for decades – or in some cases, much longer. It’s on this list that we find plants in the Opuntia genus, and if you read on, you may be surprised to learn just why that is.
What Is Prickly Pear?
The Opuntia genus is a collection of about 150 species, commonly referred to as prickly pears or pricklypears. Other common names for various members of this genus include Barbary fig, nopal cactus, paddle cactus, Indian fig, devil’s tongue, and cactus pear. This genus of evergreen, flowering, herbaceous perennials is one of the largest in the Cactaceae family, and the most widespread group of cacti in the world.
Native Regions
Prickly pears are endemic to the Americas, just as most other true cacti species are. There are more than 90 species found in the United States alone. Some of these are best suited for growing in USDA Hardiness Zones 8 to 10, but there are some that can withstand cold conditions down to Zone 4, and warmer weather in 11. The eastern prickly pear, or O. humifusa, is found in the wilderness throughout much of North America, with a range covering the Eastern Seaboard to the mountainous Midwest, and parts of the southwestern deserts. This species easily survives in cooler climates. Other species, such as O. macrorhiza or the western prickly pear, are found through the Great Plains region of the country, in prairies and parts of the Rocky Mountains, spanning as far west as Idaho. Because of their beauty and multiple uses, they’ve been spread by humans to other regions the world over. In places like Australia and South Africa, for example, they’ve enjoyed the hot, arid climate in certain areas so much that they’ve been declared invasive pests. In the wild, they’re usually found in areas where the substrate is poor by conventional standards, and typically comprised of sand or sandy soil. In fact, growing in nutritive soil can lead to spongy, unhealthy plants that can barely hold themselves upright.
Hardiness
Describing the plants in this genus as hardy is an understatement – they’re all able to withstand exposure to brutally harsh, hot sun and high temperatures, and many overwinter outdoors without suffering as well. The hardiest of these tolerate snow, power through temperatures sometimes well below freezing, and still show up in the spring, budding and growing as usual. This is because Opuntia species adjust their water intake and retention as they approach dormancy, as do other varieties of cacti. When temperatures begin to drop, they automatically reduce the amount of water they take up and store. With less water inside the pads, the likelihood of hard freezing decreases significantly, which can lessen the risk of damage from exposure to chilly temperatures. Adaptability has its positives and negatives, however, as it can lead to invasive tendencies if specimens are left to spread at will. Fortunately, they’re also right at home in containers and planters, which can help to curb unbridled spread.
Form and Structure
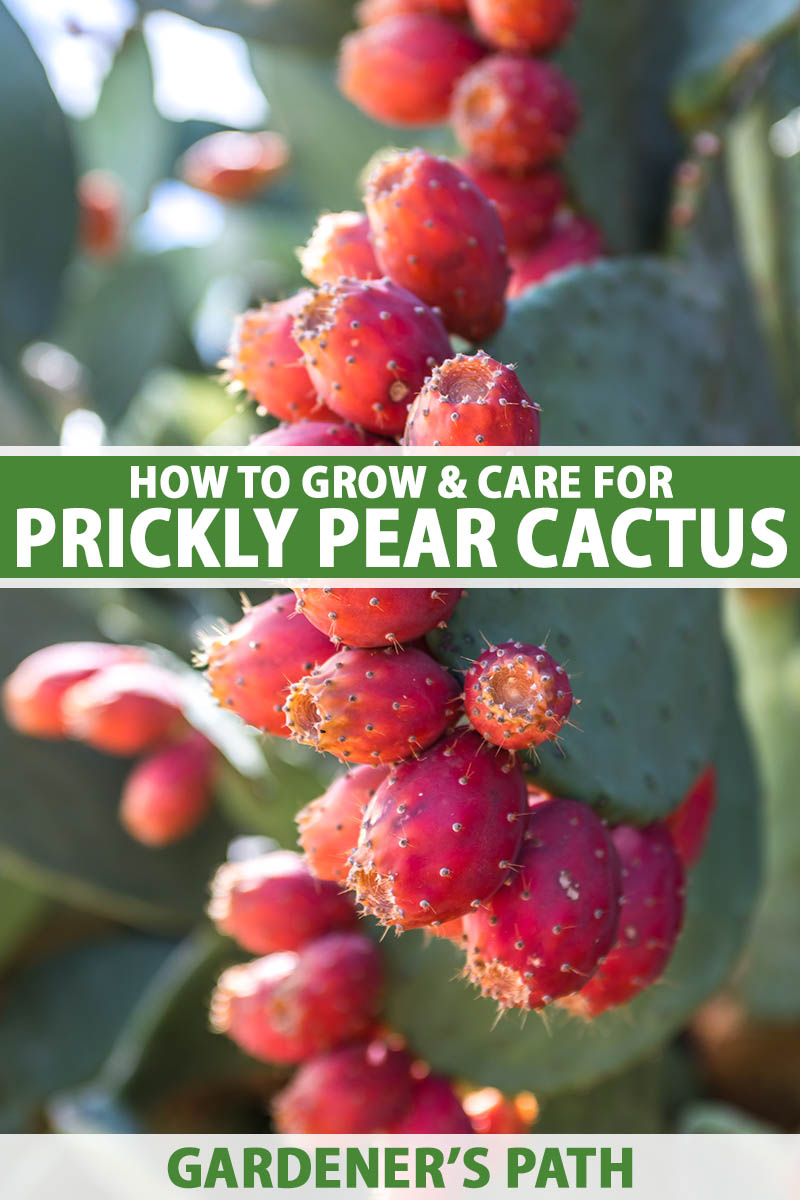
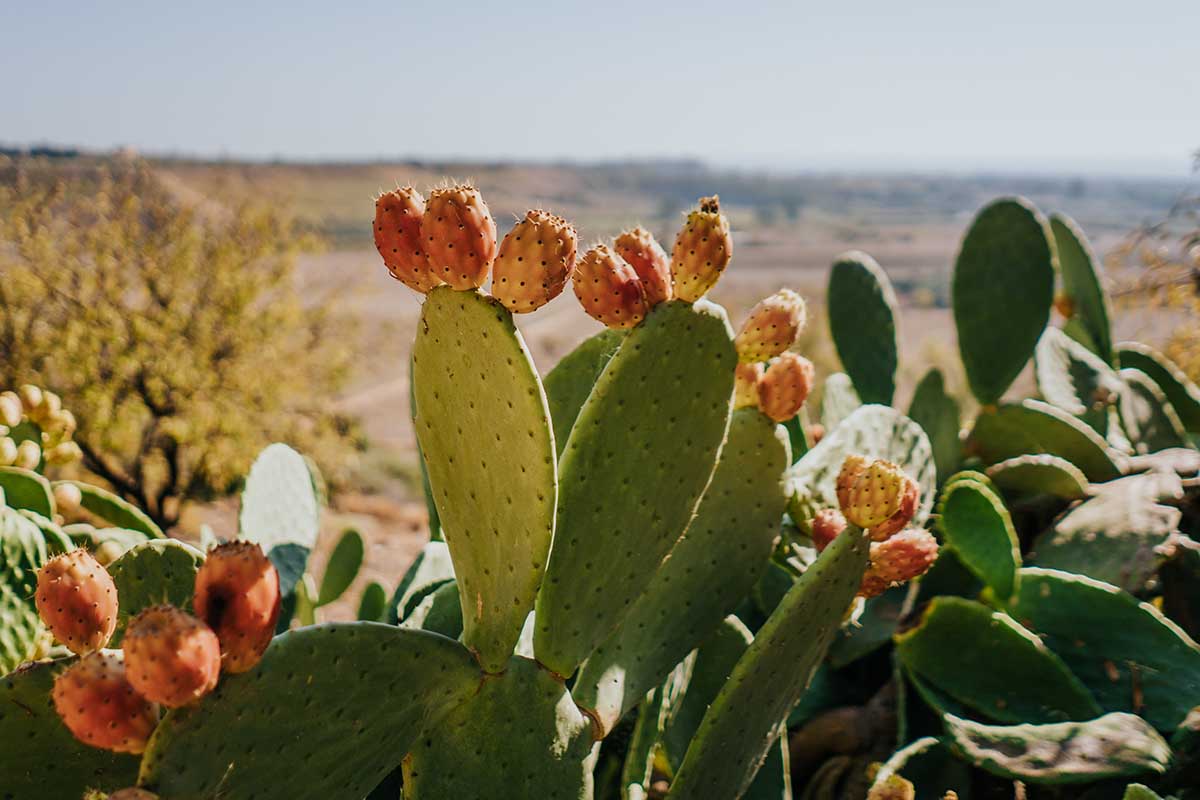
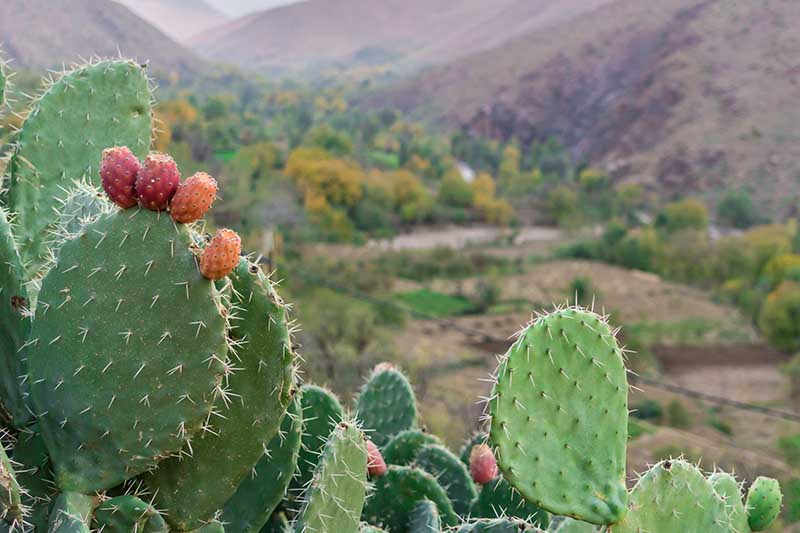
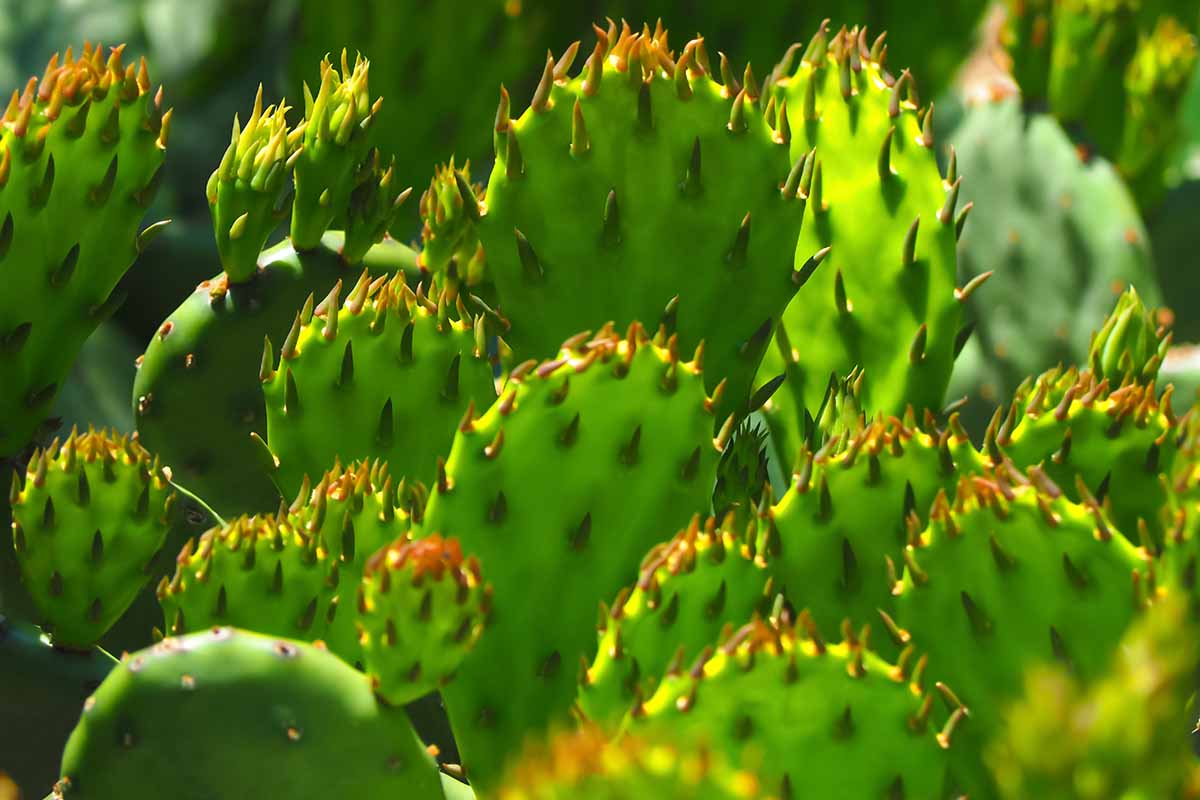
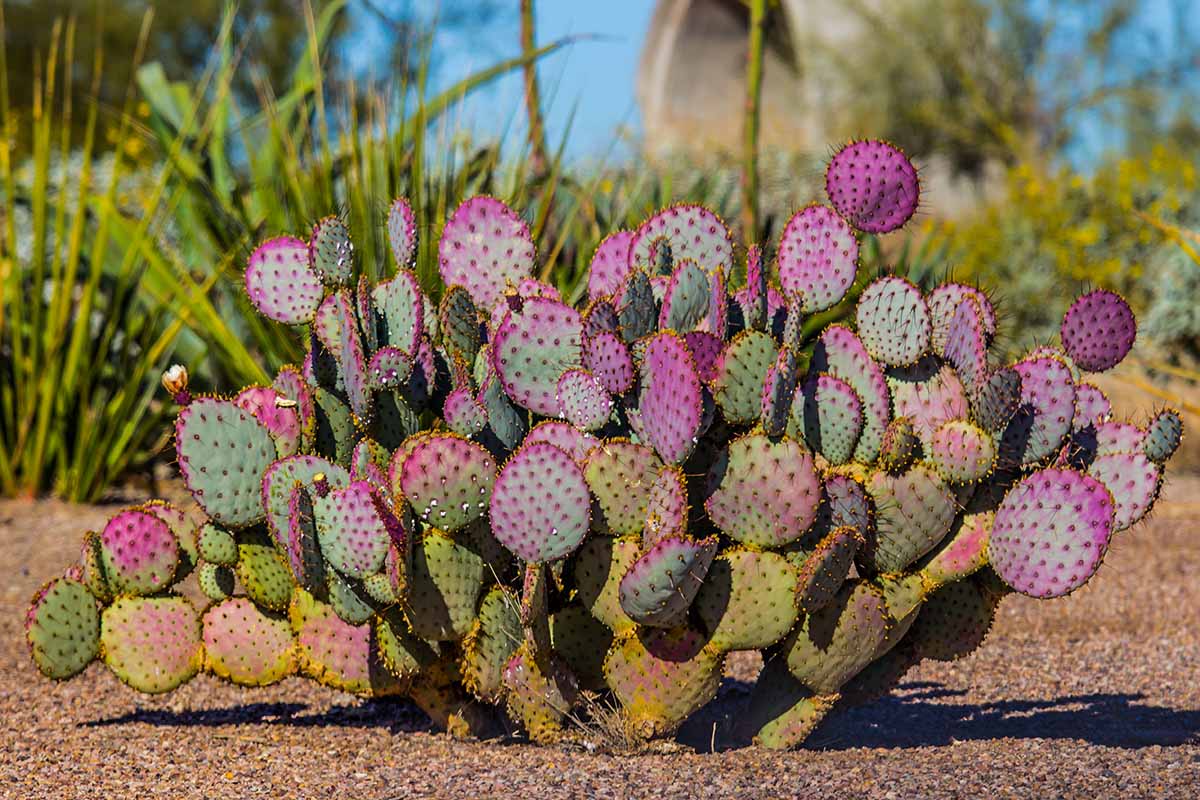
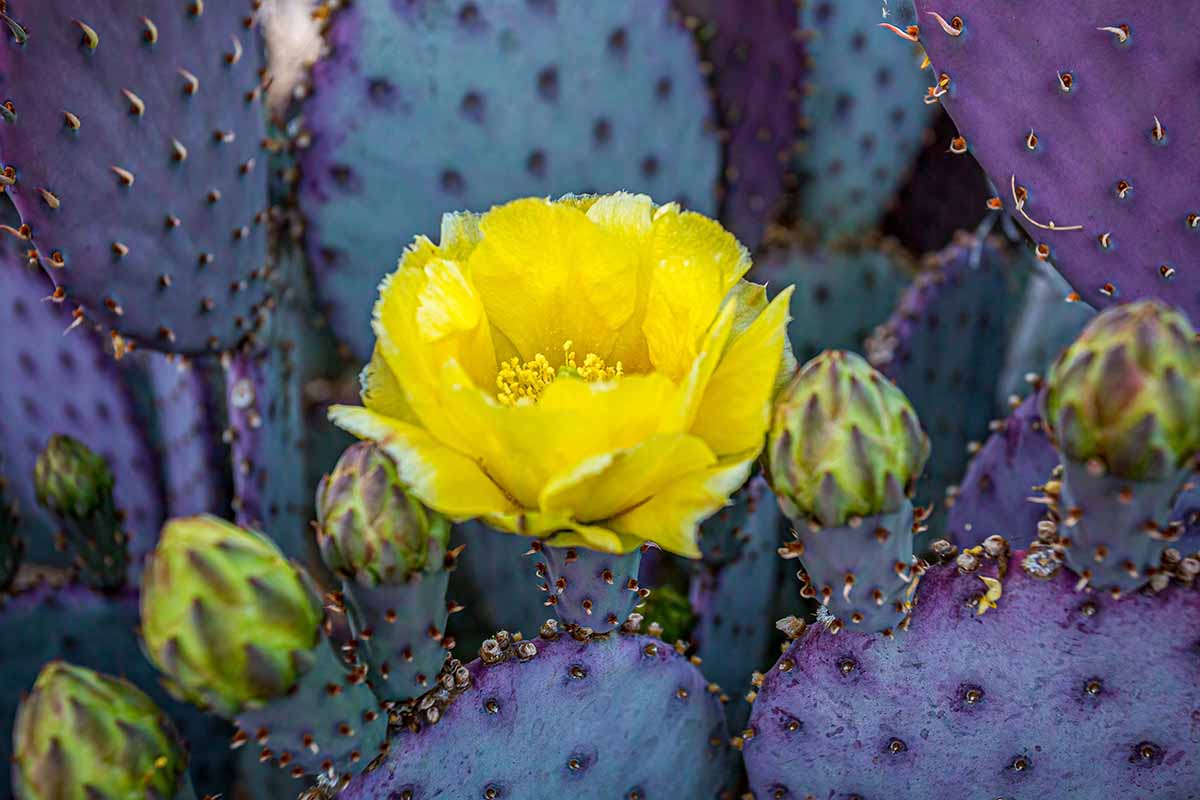
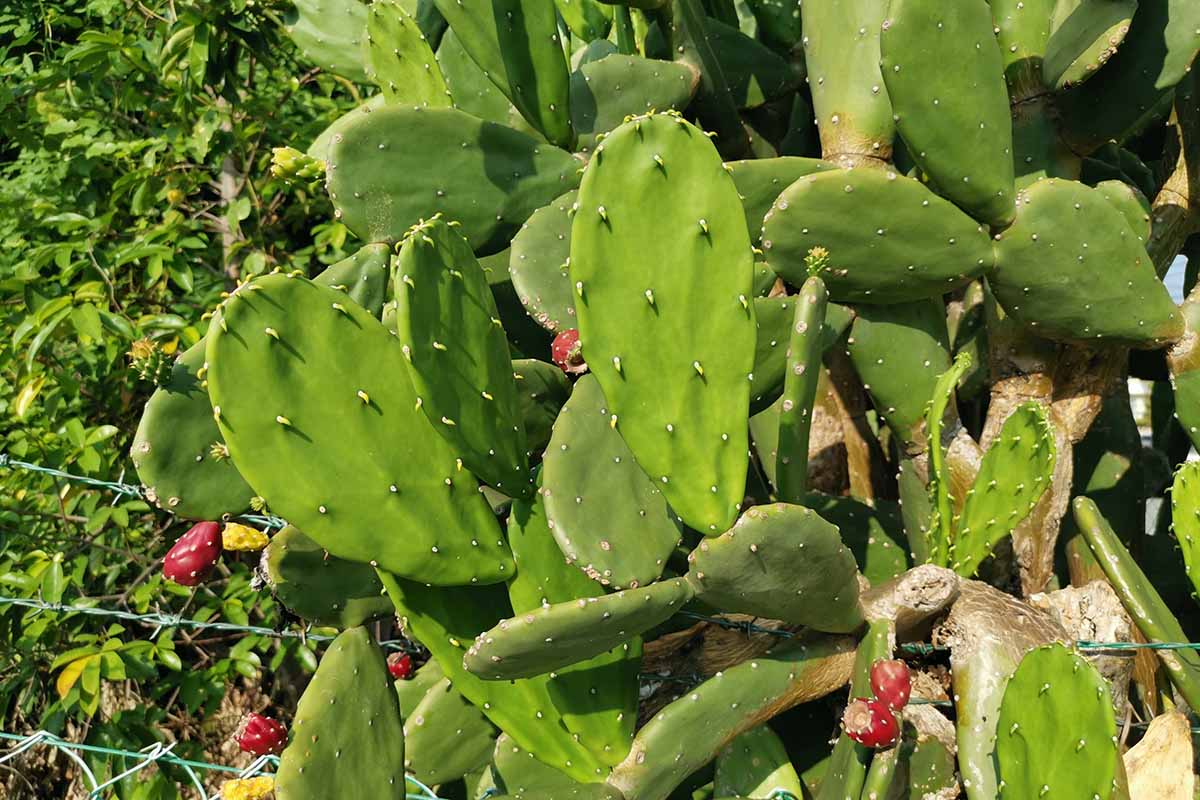
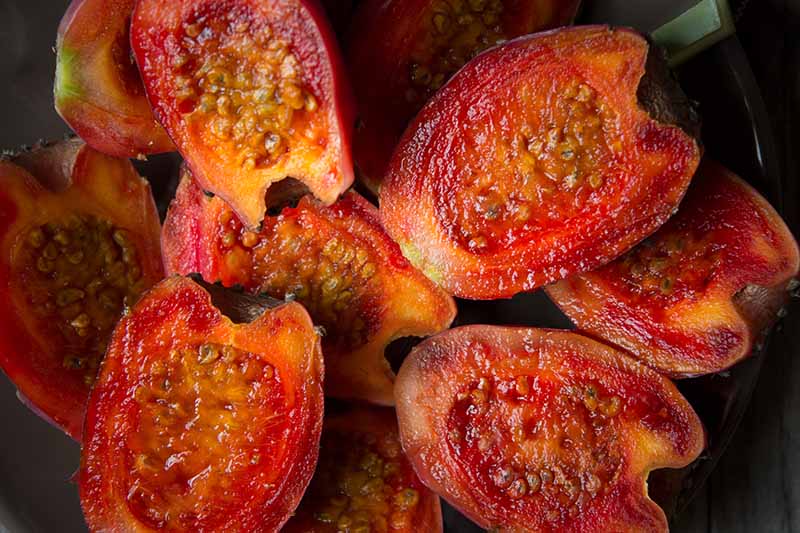
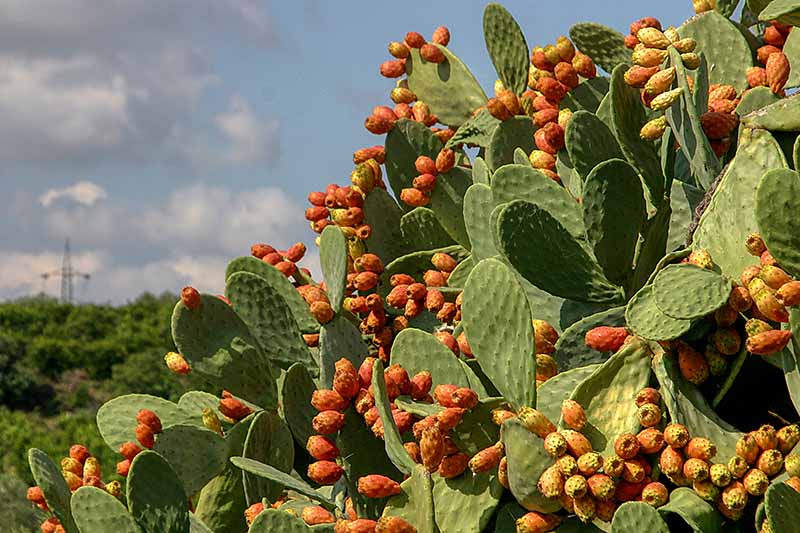
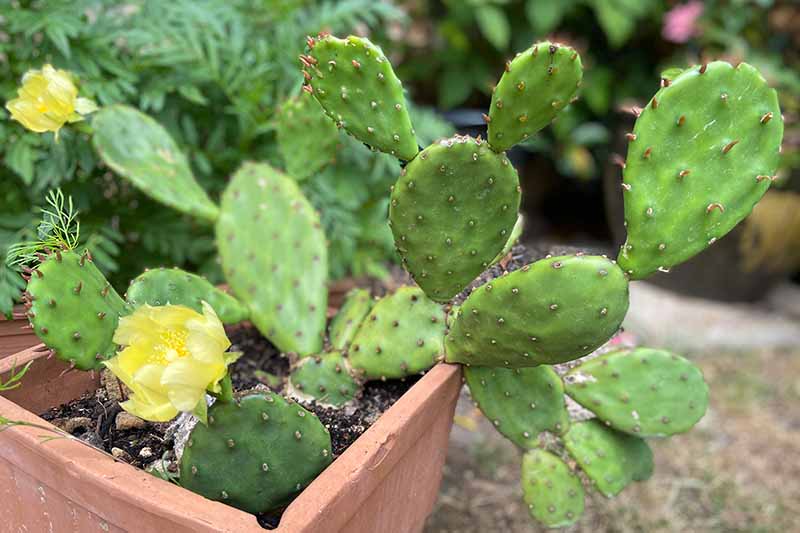
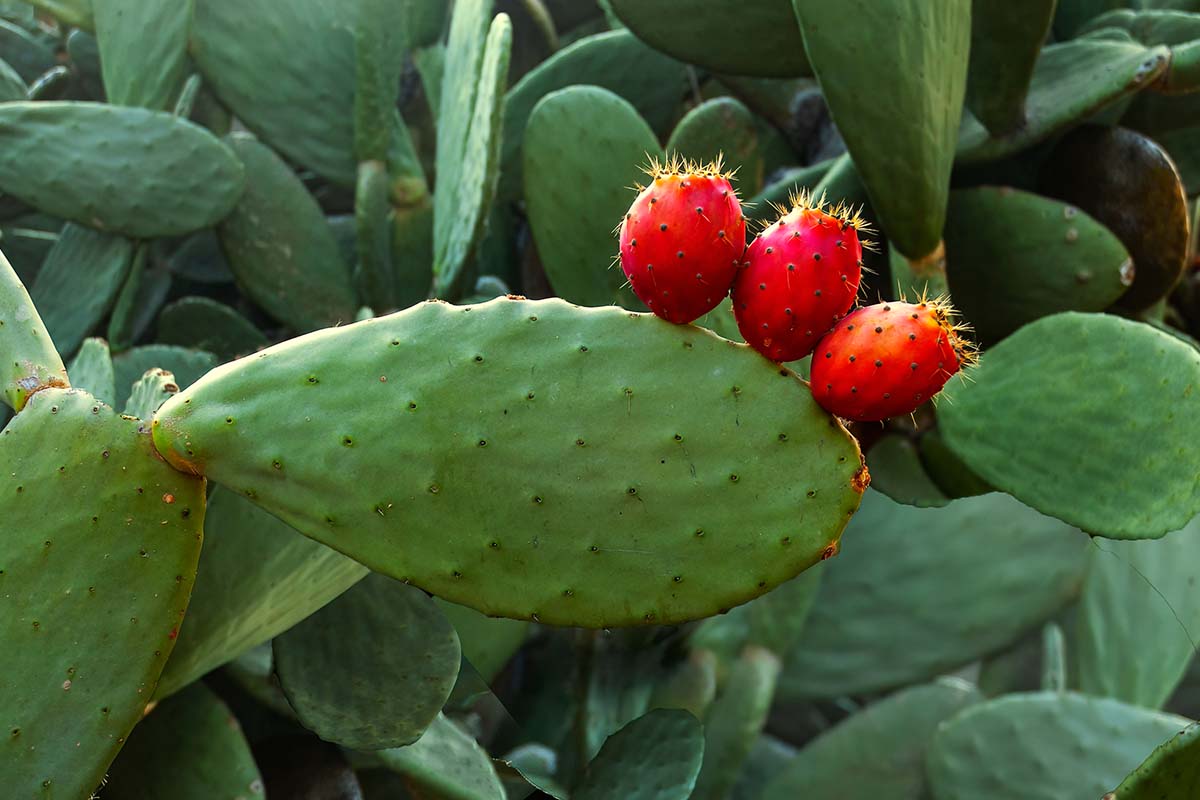
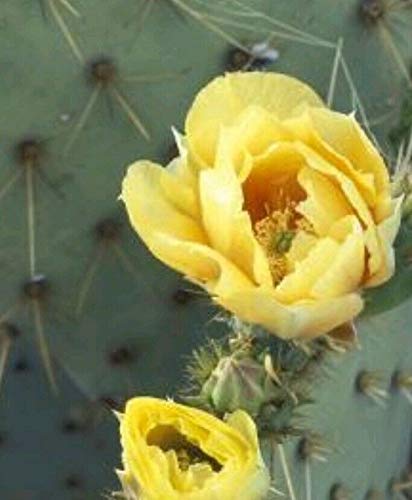
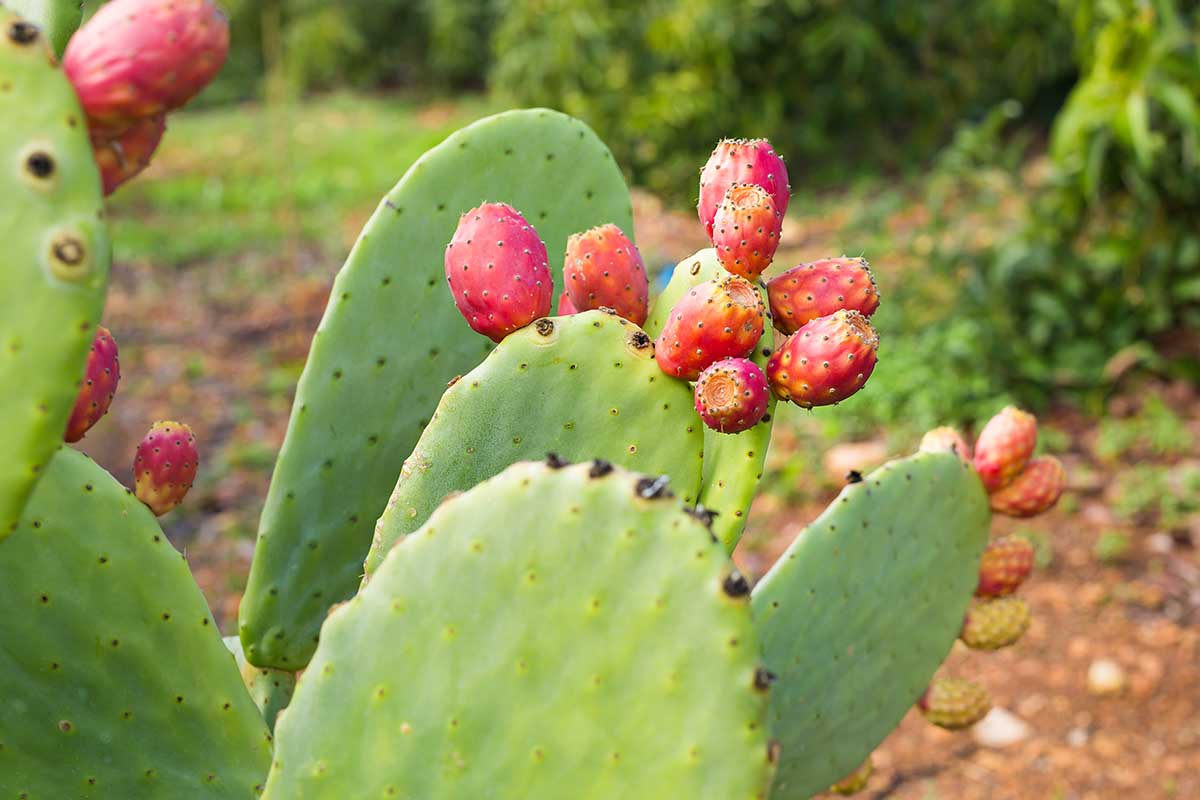
In addition to these adaptations, these cacti produce a waxy coating on their thick exterior skin, protecting it from external hazards. Prickly pears are comprised of flat pads or nopals, known in Spanish as nopales or nopalea. These are adapted stems, also called cladodes, which take the place of leaves for the purpose of photosynthesis. Note, however, that small leaves are present for a short time on immature paddles, or nopalitos, which later harden to form the spines. Pad coloration ranges from pale green to blue-green, red tinted, or even purple in some instances. In most species, the pads are covered in sharp spines that can sometimes reach a length of three inches. As if the sharp, stiff spines weren’t enough protection, most species also have glochids, or shorter bunches of barbed bristles. These not only puncture the skin but can become painfully lodged underneath it if handled. While the spines are designed to offer a warning poke to encourage you to move along, the glochids serve as a lingering reminder of your invasion of their personal space. Needless to say – approach both with caution! There are both natural and hybrid spineless or thornless versions available, such as O. cacanapa ‘Ellisiana,’ but it’s important to note that these typically still have glochids. Some can also produce spines in extreme drought conditions. Nopals are often oblong, as in the eastern prickly pear, or rounded in shape, such as in O. santarita, or the Santa Rita prickly pear. Healthy specimens produce sprouts along the upper margin, which then grow to form new pads, leading to their distinctive “stacked” appearance. Most types that are best suited for cultivation maintain a compact size of about one to three feet in height, and slightly wider in spread. Specimens that are native to the southwestern United States and Mexico are known to grow much larger, including O. alta and O. engelmannii, which can reach 10 to 15 feet in height. The fruits – whose shape inspired the “pear” portion of their common name – grow from pollinated flowers that bud along the pad margins and are also covered in spines, hence the “prickly” moniker. Blooms range in color from bright yellow to pink, orange, or even fuchsia. The fruits can be just as colorful, with the most common being deep pinkish-red when fully ripe.
Propagation in the Wild
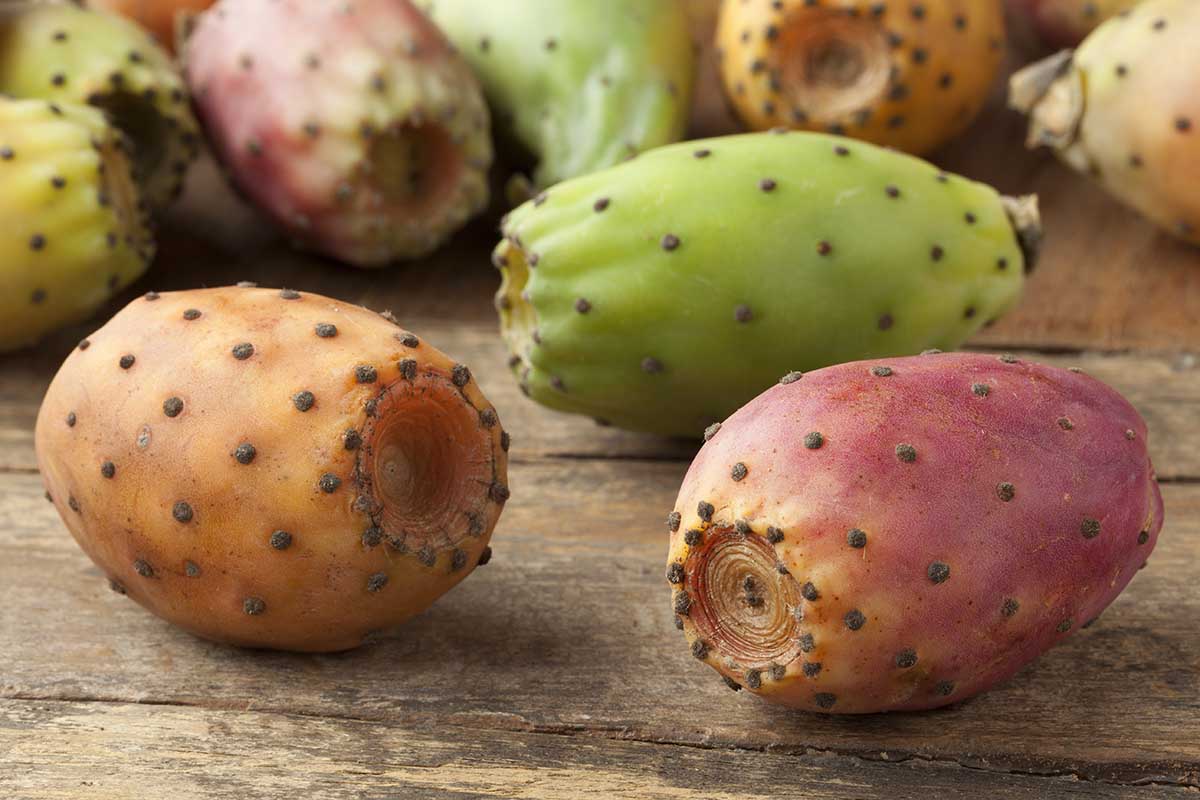
Propagation from seed is common in the wild, as the fruits, known in Spanish as tunas (pronounced just like the name of the fish), can sometimes contain dozens of seeds. Adventitious roots form when the pads contact soil, and pieces that break off will root in place readily as well. Wild specimens notoriously cross-pollinate, leading not only to hybrid wild varieties, but to great difficulty in identifying parent species. We’ll cover propagating these plants at home in a later section of this article, so keep reading! Perhaps these species are so beloved not only because they make truly stunning additions to the landscape, but because the pads and fruits of many are edible – though of course, you do have to handle them with care! Ready for a short history lesson? Let’s talk a bit about the impact this genus has had in its native region.
Cultivation and History
There are a fair few flags throughout the world that depict plants or flowers, and you can be sure that these depictions signify an earned place of honor in the regional culture. The Mexican national flag features the coat of arms for the country. Symbols incorporated into this design include an eagle perched upon a prickly pear cactus, clutching a snake in its beak and talons. This design was adopted in 1821 and represents the war for independence raged by Mexicans against Spain. The depiction is also symbolic of the Aztec people, who were believed to have witnessed and been inspired by this motif while searching for a place to build their first city. Indigenous peoples of both North and Central America historically made use of the entire plant for a variety of purposes. These practices continue into the modern day as tribal knowledge has been passed down through generations. The pads have served as medicine, used as a sort of living bandage for wound care, and easing symptoms of other maladies such as diabetes and mumps. They’ve fed many tribes with delicious boiled, roasted, or baked nopales. Fruits may be processed and made into jelly, candy, beverages, and sauces. In the sweltering, dead heat of summer in the southwestern United States, the fruits, or tunas, were considered a critical food source for the indigenous peoples of the region as there were few other fresh fruits available. Some tribes used the pads as livestock feed, a practice which continues to this day. The spines are typically burned off and the paddles are served as a nutritious, hydrating meal to cows and goats. Unfortunately, goats in particular tend to overeat this treat while grazing. Overconsumption can lead to problems such as weight loss and bowel impaction from ingesting the seeds of the fruit, or ulcers and lesions of the mouth may occur thanks to the spines. Large pads were sometimes processed for use as canteens, and the sharp spines were used as needles. Some varieties that are not suitable for consumption were used for these purposes as well. Paleo-archaeological sites such as cave dwellings, where evidence of Opuntia have been found, mark how significant these cacti were to the survival of the indigenous people in these areas. For many years, cochineal scale – one of the primary pests that affects this genus – were farmed and used as a dye source by Aztec and Mayan peoples. When the females are smashed, they produce a deep red fluid. Farmers used small woven devices attached to the pads to trap the females. Today, O. ficus-indica is the most common variety in commercial cultivation, chosen because of its prolific fruit production and delicious, sweet flavor. What a privilege it is to include this important specimen in your landscape or garden. There are a couple of ways to do that, and we’ll cover those next.
Propagation
Two methods of propagation are possible for plants in the Opuntia genus – by seed, or by vegetative cloning. Both are simple, although starting from seed can produce varied results. Vegetative cloning, or rooting cladode cuttings, produces exact copies of the parent. It’s also a much quicker process, as seed-grown plants can take three to four years to mature enough to bloom.
From Seed
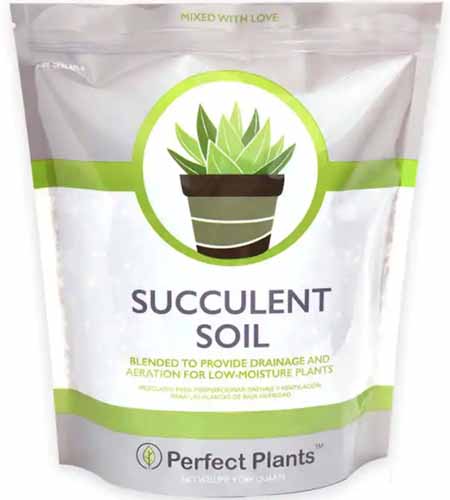
If you’re collecting seed from summer fruits, remove them from the interior pulp and be sure to rinse them well. Allow them to dry completely and place them in an airtight container in a room-temperature location until the following spring. Place the seeds about one to two inches apart or sow them individually in seed-starting cells, and press them about an eighth of an inch into the soil. Cover them lightly with sand and leave them in a location out of direct sunlight, but near a source of light. Fill pots or a cell tray with drainage holes with cactus potting mix, such as this Perfect Plants Organic Succulent Potting Mix, available from Home Depot. Perfect Plants Organic Succulent Potting Mix You can also make your own mix using one part each of sand, perlite, and coconut coir, if you prefer. Fill the cells to the brim and moisten them well. Allow excess liquid to drain off. Wrap the container with plastic to retain moisture but leave a corner open for ventilation. A humidity dome can also be used, but be sure to prop up one side to vent out trapped heat and excess moisture. Keep the seeds at a consistent 75 to 80°F and feel the soil every few days to check the moisture level. Offer a gentle mist of water if it feels completely dry but avoid leaving the seeds on very wet soil. It can take anywhere from a couple of weeks to over six months for germination to occur, so be patient. Once they sprout, they’ll grow rather slowly, and it can be more than a year before they’re ready to transplant or repot. Seeds can also be direct-sown outdoors at the growing site in early spring, after all risk of frost has passed. Choose a location with good drainage, full sun, and sandy soil. Press the seeds into the soil spaced 24 to 36 inches apart and an eighth of an inch deep, and cover them lightly with sand. Keep an eye on the moisture level and be sure to offer a light mist about once per week in the absence of rain, or as needed. Even outdoors, it can take a few weeks to several months for seeds to germinate.
From Pad Cuttings
As I mentioned, vegetative cloning is the easiest propagation method that produces much faster, with more reliable results than starting from seed. Choose a mature paddle that is at least six months old, healthy, and completely formed. Before handling, pull on some thick gloves and wear long sleeves to avoid accidental contact with the spines. You’ll want to use tongs to hold it and a long, sharp knife to make the cut. Make sure both are clean. Even if you’re working with a spineless variety, remember that these may still have glochids. Cut the pad off at the base, where it is attached. From this point, you can find complete propagation directions in our guide to propagating cacti. (coming soon!)
Transplanting
Whether you’ve started from seed or cuttings, or you plan to relocate self-propagated rooted offshoots, you’ll eventually need to move your new specimens to their permanent home. Juvenile spines are typically much softer, but the glochids can still lodge in the skin. It’s best to use tongs for handling plants and wear thick gloves and long sleeves to avoid irritation or injury. Grasp the pad at the base of the plant with your tongs and carefully turn it out of the container it’s growing in. Or, if you’re moving one from an in-ground location, use a spade to dig it up carefully. Don’t worry if spines break off during this process – they will grow back. Choose a location with full sunlight, good drainage, and adequate space for the roots to spread horizontally. Dig a hole as deep and as wide as the root system and place the specimen in its new spot, backfilling with sand or porous soil that provides good drainage. Water to settle and continue to water weekly for two to four weeks, gradually tapering off to once or twice per month to encourage the roots to spread in search of water.
How to Grow
Cacti are known for their minimal maintenance requirements. If you choose an ideal location, you may never have to do more than offer some water during the driest times of year. The ideal location can vary a bit, depending upon which species or cultivar you’ve selected. Most need full sun and sandy substrate with good drainage. Some, such as O. humifusa, will tolerate slightly loamy soil. In the absence of rain for more than two to three weeks, you can provide about one inch of water – just avoid saturating the soil, and make sure excess water drains off. Overwatering can cause swelling in the pads and lead to breakage and cracking, or root rot. Unlike many landscaping specimens, there is no worry about the roots causing ground upheaval or damage to surrounding structures, so prickly pears can be placed near your house or sidewalk without worry. Note, however, that they can also be unsafe to include in your yard if you have children or pets who may catch a painful jab from accidental contact or curious exploration. Prickly pears are nontoxic to people and animals, although they do contain oxalates, which can cause illness if too much is consumed. Be sure to keep an eye out for unwanted spreading as well. While they’re generally slow-growing, they also root upon contact with the ground and can branch out further than you might have intended without supervision. If you plan to harvest pads or fruits from your specimen, avoid treating the plant with any chemicals that you wouldn’t want to ingest. Even washing won’t remove chemicals that have been absorbed. It’s also important to be patient as it can take three to four years for a plant to produce blooms, so avoid cutting off nopals until after the first bloom, and don’t remove more than about one third of the new growth.
Container Planting
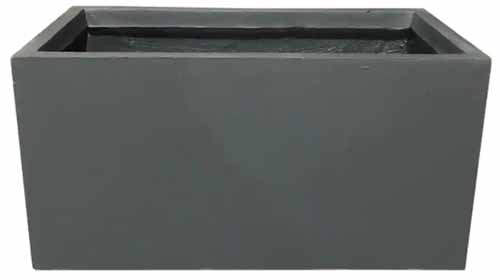
It’s super easy to grow a prickly pear in a container. I recommend it if you’re concerned about seasonal temperature changes, accidental spreading, or the safety of your munchkins or furry friends. Fill the planter with cactus mix or one part each of coconut coir, sand, and perlite, and make a hole as deep and wide as the existing root system. Because of this, it’s best to choose a container that is wide at the base for support and balance. One such as this square concrete planter, available from Home Depot, is a great choice. Square Concrete Planter Since it won’t need to accommodate a deep root system, it can be fairly shallow – it’s more important to allow for horizontal root spreading. Terra cotta, concrete, or other porous materials are preferred, to prevent overwatering, and make sure that your choice of pot has adequate drainage holes in the bottom. Add your cactus with the base positioned at the soil level – it’s important not to bury it as this can cause rotting. Backfill around the roots, and water in to settle. Place the container in a location with full sun and protect it from strong winds that may blow it over. You’ll need to monitor the moisture level closely as pots tend to dry out faster than soil in the ground. Typically, you’ll need to provide about one inch of water once or twice per month for a large planter, in the absence of rain.
Fertilizing
Growing Tips
Choose a species suitable for growing in your region or plan to grow in a container for easy cold protection.Use sandy substrate and avoid rich soil as too many nutrients can lead to soft plants with poor structure.Be sure to choose a location in your yard or garden where danger from accidental contact with spines and glochids is minimal.Supervise pets and kids around spine-covered Opuntias and avoid handling nopals or fruits with your bare hands.
Pruning and Maintenance
In most cases, you’ll only need to trim off parts that may have spread beyond the size and shape you prefer. However, it can sometimes be necessary to remove damaged or diseased parts, or areas that have been affected by pest infestation. Succulent and Cactus Plant Food Liquid food can also be used, but it should be diluted to 50 percent strength before application. Don’t apply fertilizer in the fall or winter when these cacti are dormant. Whether you’re pruning for size, shape, or to remove damage, trim off whole pads at the juncture where they meet. Don’t hack them in half as they’ll eventually die off. Avoid removing more than about 30 percent of the total paddles as excessive pruning can lead to shock. Any pruned material that falls to the ground should be carefully gathered up and discarded in the trash. If you don’t intend to harvest the ripe fruits, you can trim the spent blooms off as they wilt to prevent the fruit from forming. Again, watch out for the spines! Fruits can be left to ripen and fall off on their own, which you can collect and discard or give to someone who would like to use them, so they don’t go to waste. It’s best to gather them at any rate, since rotting fruit can invite pests and diseases.
Cold Weather and Dormancy
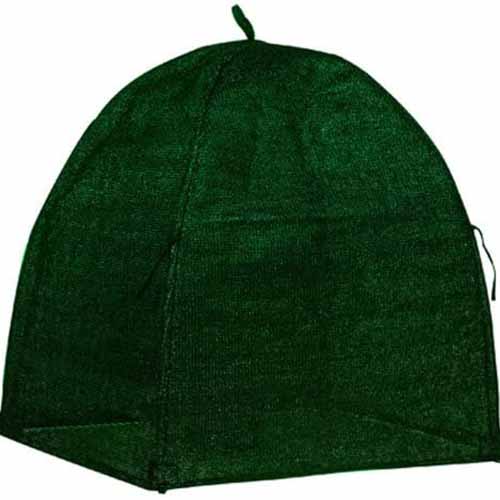
In regions that experience harsh winter weather, it’s common to see most species shrivel a bit as the temperature drops. This is normal, as they protect themselves from freezing by reducing water uptake. Reduce the amount of water offered at this time to allow dormancy to progress naturally. If you live in a place where winter temperatures drop well below freezing, some species will need cold protection. The same is true in areas that don’t normally experience cold temperatures, but may experience unexpected lows. Early in the season, cover in-ground plantings with material that allows for sun penetration. Burlap is often recommended, but this type of large-woven fabric can create a mess of entanglement for a spiny specimen. Winter Shrub Cover One such as this will prevent cave-ins from heavy snow, and it can be staked to keep it from becoming a tumbleweed on a blustery day. It also works in a pinch for those unanticipated cold snaps. If you haven’t chosen a species cold-hardy enough to withstand your seasonal lows – such as O. fragilis, a dwarf type that is known to survive temperatures as low as -35ﹾF – you may need to consider planting in a container so you can move it to shelter as needed. If temperatures begin to plummet, move it indoors or into a garage or shed where it will still get light. Make sure you choose a cool location where the plant can stay until spring. Water only when the soil feels very dry at about one inch below the surface and prepare to move it back outside gradually, giving it a few hours of outdoor exposure at a time until it’s acclimated.
Species to Select
There are many cultivars and hybrids available on the market today, but for our purposes, we’re going to focus on growing native species. Note that not all species are edible – and some are technically edible but you’d never want to eat them. The brittle prickly pear (O. fragilis) for example, is extremely spiny with fruits that are almost flavorless and contain very little pulp. Here are just a few of the best choices for home-growing:
Herbivores
Many animals will steer clear of a spiny foe such as the prickly pear. Deer, who are known to nosh on almost anything, rarely browse them unless they’re the only vegetation available. Growing in a tall, tree-like form without pruning, this is a true statement piece. It fares well throughout USDA Hardiness Zones 4 to 10 and produces gorgeous yellow-orange blooms and red tunas. O. ficus-indica
Humifusa
One of the most widely available, hardiest against the cold, and easiest to grow, O. humifusa, or the eastern prickly pear, can be found in more than 30 states throughout the US. It’s also one of the best choices for a garden or landscape as it reaches about two feet in height with a three-foot spread, making it compact enough to add beauty without imposing on use of the yard. Blossoms of bright yellow are produced in the spring, giving way to deep red tunas in the summer. O. humifusa
Santarita
The architectural structure and up to six-foot height will catch your eye, but the first thing you’ll notice is the astounding color – O. santarita, or the Santa Rita prickly pear, has nopals of stunning purple in the fall and winter! Another difference between this type and others is that most have oblong cladodes, while this one often displays a more rounded shape. In the spring and summer, the cladodes are a soft blue-green with creamy yellow blossoms that produce deep red-purple fruits. O. santarita Santa Rita is best suited for Zones 7 to 11, but can withstand seasonal lows of about 15°F. Residents of California can purchase plants in five-gallon pots from Plants Express.
Managing Pests and Disease
Fortunately, this is one family of cacti that doesn’t suffer from many afflictions. There are only a few issues to be on the lookout for, and most can be dealt with quickly. However, in regions where they’re native, there are some creatures that have learned that those prickles protect delicious, juicy flesh, and will risk a nibble.
Ground Squirrels and Rodents
In desert regions especially, rodents such as squirrels, gophers, and rats often make use of the high water content inside these cacti. Times of extreme drought call for extreme measures, and they can be found nibbling at the pads and fruits for hydration. It can be very challenging to combat destruction from small animals, so if you live in an area where they’re known to roam, it might be best to choose a species that can be potted and moved for safe keeping.
Tortoises
I don’t know many people who wouldn’t sacrifice a few pads to a native tortoise. With their numbers dwindling in the wild, I’d wager that most of us would intentionally include more food sources for them before we’d try to deprive them of food. If it’s important to you to protect yours from our slow-moving friends, you may want to build a wall 18 to 24 inches in height around the bed to keep them out – but you could also stick a couple of nopals in the ground outside of the barrier to produce some sacrificial sources of nourishment.
Insects
Just as most animals will avoid these cacti, so do insects. There are only a couple that can infest the plants to the extent that they cause significant damage, but most aren’t widespread. One type, however, can show up almost anywhere.
Cochineal Scale
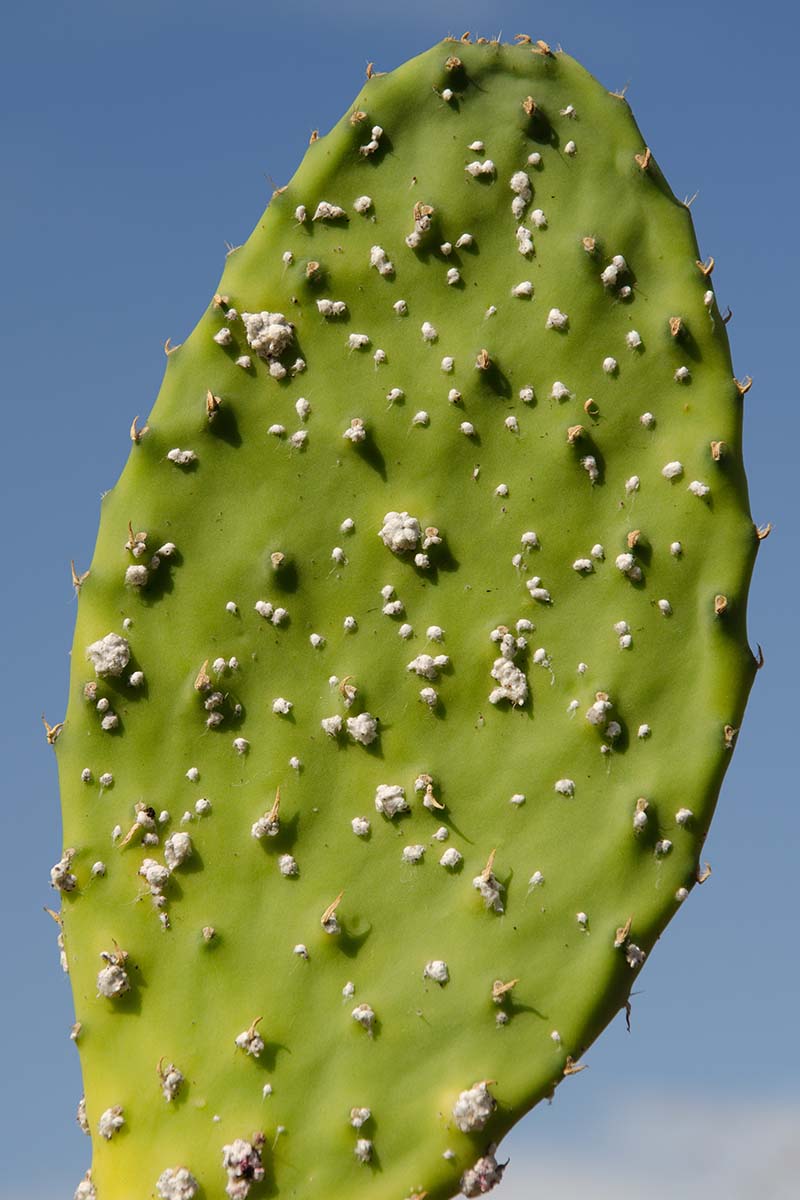
Scale insects are common pests. Many are known to infest gardens indiscriminately, but one type – cochineal scale, or Dactylopius species – specifically colonize cacti, including Opuntia. Just as with any other type of scale, they attach themselves at the mouth, sucking the sap until stunting, deformation, discoloration, and potential die-off may occur. There are some distinct differences about these species in comparison to other types of scale though. This type of scale can be even tougher to rid from your cacti because the males are winged, meaning they’re far more mobile than males of other varieties. This leads to increased reproductive activity, and in a short time, this pest can overtake a large portion of the plant. Females are only one-sixteenth to one-quarter of an inch long max, and bright red. They can be difficult to spot, however, because they produce a cottony wax that coats their bodies entirely. Juvenile insects, or crawlers, are pink. In regions that do not experience temperatures below freezing, you might spot these pests year-round. They’re only found in the southwestern United States and through parts of Central America, so some regions are in the clear. At first sight, smash all of the adults you can see and spray every surface and crevice of the cactus with insecticidal soap. Be sure to avoid spines and glochids and wear heavy gloves if you’re going in for the kill. If you are growing a very spiny variety, you can use a long cotton swab saturated in rubbing alcohol to dot on the individual insects, or use a spray bottle to cover a larger area of infestation. After you’ve smashed or sprayed away all that you can see, a firm blast of water from the hose can help to clear any remnants away. Be sure to pay close attention for further signs of infestation as eggs can persist even after treatment – you may need to reapply the insecticidal soap.
Disease
One main disease is most common in prickly pears, and while it is not typically deadly, you’ll definitely want to take steps to control the spread.
Phyllosticta Pad Spot
Fungi belonging to the Phyllosticta genus are known to infect Opuntias. This infection is characterized by dark spots forming and sinking into depressions in the paddles. These depressions spread, sometimes covering the entire surface of the affected specimen. Pits blacken and worsen if there is moisture present to keep the fungi active. Once the moisture evaporates, the fungi will enter dormancy and eventually, the spots will wither and fall off. That doesn’t mean the infection is cured, though, as the next rainstorm can start the process all over again. If you notice signs of Phyllosticta infection, cut off affected pads and burn them in a safe place, like an empty metal trash can, or dispose of them in the garbage if this is not permitted in your area. Treat the rest of the plant surface with a fungicide such as neem oil to prevent further spread.
Harvesting
If you plan to use pads for propagation, or harvest them or the fruits for consumption, be aware that this can be a tricky business. Look for young nopals that are more tender for eating, as the more mature ones contain more oxalates and have a tougher texture. Harvesting in the morning is preferred as this is when the acid content is lowest. Fruits should be harvested in the late summer or early fall, after they’ve ripened from green to full color. Find more tips on harvesting the fruits here. You’ll want to wear thick gloves that will protect you from being jabbed by the spines. Long tongs and a long, sharp knife are a must to avoid having to grab the nopals or fruits with your hands. Use pliers to remove the spines, and a lighter or other controllable flame to burn off glochids. Be sure to look closely and carefully so you don’t miss any. Learn more about harvesting prickly pear pads here. You can immediately process harvested produce for whatever purpose you have in mind, or store them for up to two weeks in a sealed plastic bag in the refrigerator.
Preserving
There are several ways to keep your harvest preserved for future use. Both the nopales and tunas will need to be processed and used within one to two weeks for best results, but they can also be prepared for long term storage. Nopales can be stored in the refrigerator in a sealed plastic bag. You can also freeze them after they’ve been cleaned of spines, but it’s best to dice them into smaller pieces and blanch them lightly for one to two minutes before storage. Fresh pads are more flavorful and firmer, but the frozen nopalitos can be thawed and used in soups and stews, or other types of meals where texture isn’t as important. The tunas should also be cleaned and peeled, and the pulp can be stored after straining and mashing, or fresh from the fruits. It can also be frozen in sealed plastic bags or containers for up to 12 months. Fruits can be processed for canning or dried and stored in an airtight container.
Recipes and Cooking Ideas
Processing the pads and fruits for consumption opens up a whole world of possibilities as well. Nopales are reminiscent in flavor to green beans, with a crunchy but somewhat slick feel, similar to cooked okra. It’s best to remove the spines and glochids, slice them up, and boil them for about ten minutes. Adding a pinch of baking soda in the seventh or eighth minute of boiling can remove some of the slick texture. Tunas should also be cleaned of prickles prior to use and then prepared as you’d like. Mash them through a strainer to remove the seeds, add a pinch of sugar, and serve them like applesauce. Press them or run them through a juicer and serve the juice – some types have a flavor similar to subtle watermelon. Dry the pulp for fruit leather, boil it down and make a sweet sauce for chicken, or add some sugar and drizzle it over ice cream! I could babble on endlessly, but I think you get the picture! For more information on southwestern cooking, including nopales and tunas, check out this article on our sister site, Foodal.
Best Uses
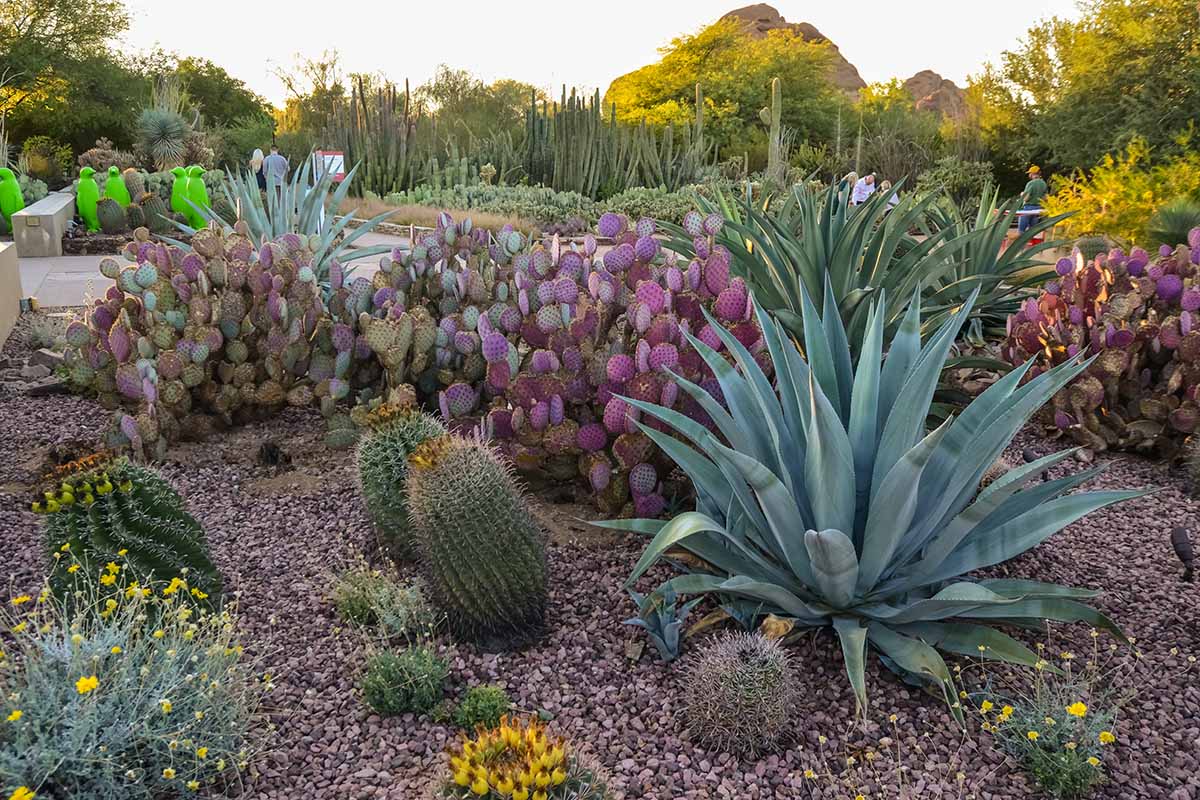
A xeriscape or rock garden is the perfect backdrop for the structured, focal interest of an Opuntia. Drought-tolerant species that make excellent neighbors in this type of garden include agave, echeveria, turpentine bush, aloe, kalanchoes – honestly, there are so many options! Imagine the dreamy color combination of purple-hued O. santarita paired against the golden turpentine bush, blue-green Agave americana, and red and orange kalanchoe. You could choose a thornless variety for safety’s sake or ease of harvesting if you intend to include the nopals and tunas in your diet, or one of the spiny species if you have some neighbors who need a reminder not to cross onto your property. No matter which you choose, you’ll be well equipped to care for it, and enjoy its beauty for up to 20 years. Do you plan to eat the pads and fruits? What’s your favorite way to use them? Let us know In the comments below! We’d also love to hear your questions, if you have any. And for more information on growing other cacti and succulents, check out these articles next:
How to Grow and Care for Old Man Cactus IndoorsHow to Grow and Care for Succulents11 Easy-Care Exotic Succulents to Grow at Home
