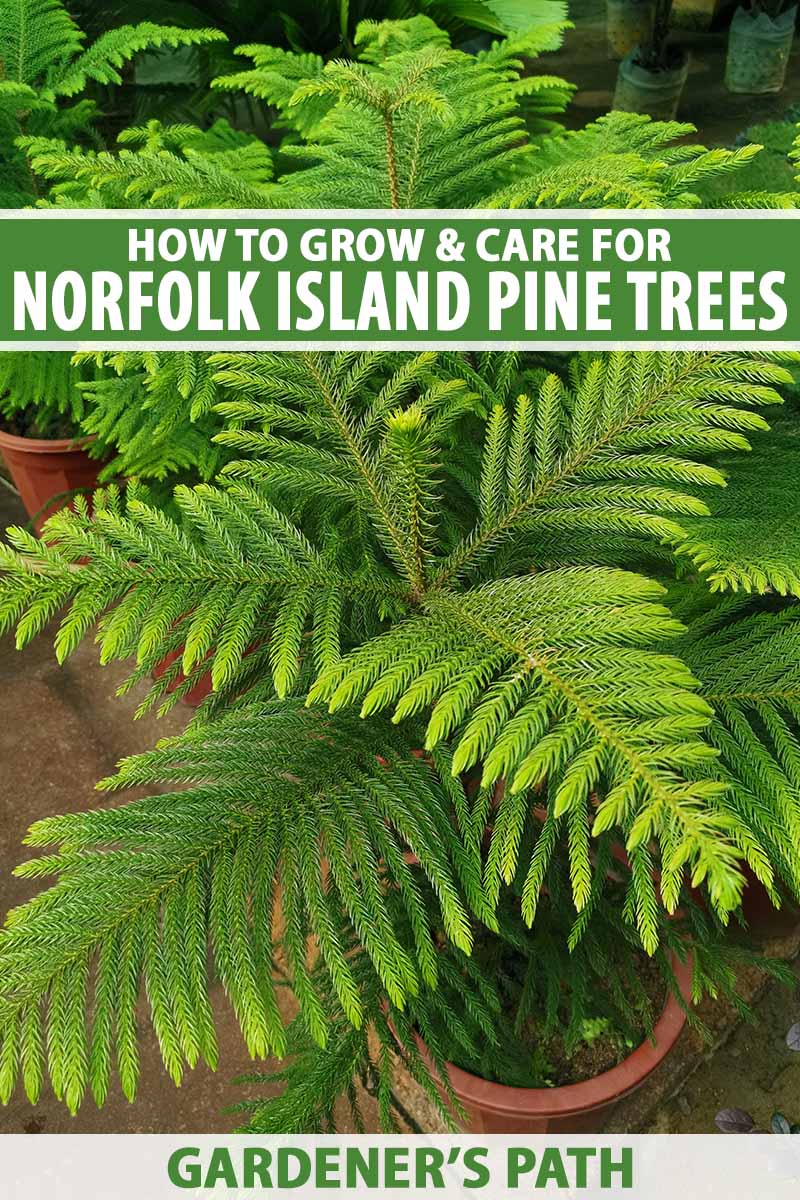
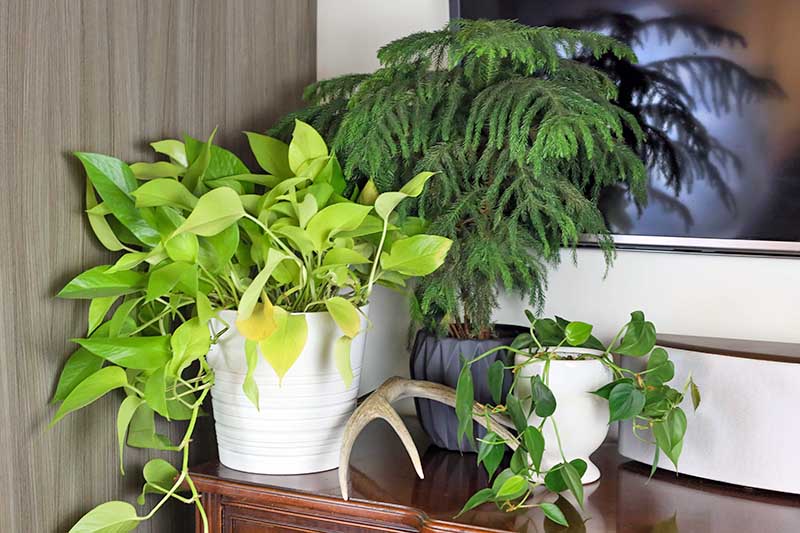
Norfolk Island pine is a living Christmas tree that you can keep as a houseplant and enjoy throughout the seasons, year after year. My husband and I have one of these trees among our houseplant collection. But this tree narrowly escaped becoming fodder for the compost pile! We link to vendors to help you find relevant products. If you buy from one of our links, we may earn a commission. I’m going to introduce you to the best care practices for these tropical conifers so you can keep yours green, healthy, and at a manageable size for more than just one holiday season. And by following these tips, your tree should never have a question mark next to its name on your “To Compost” list. Here’s what I’ll cover:
What Is Norfolk Island Pine?
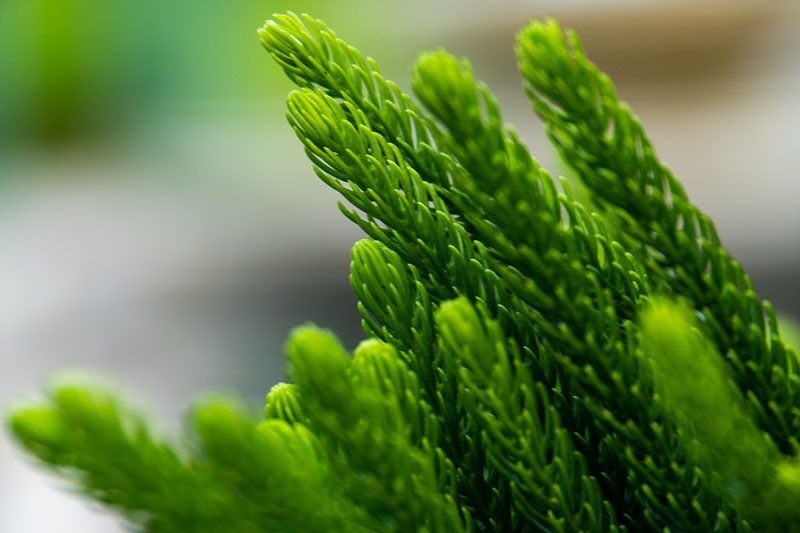
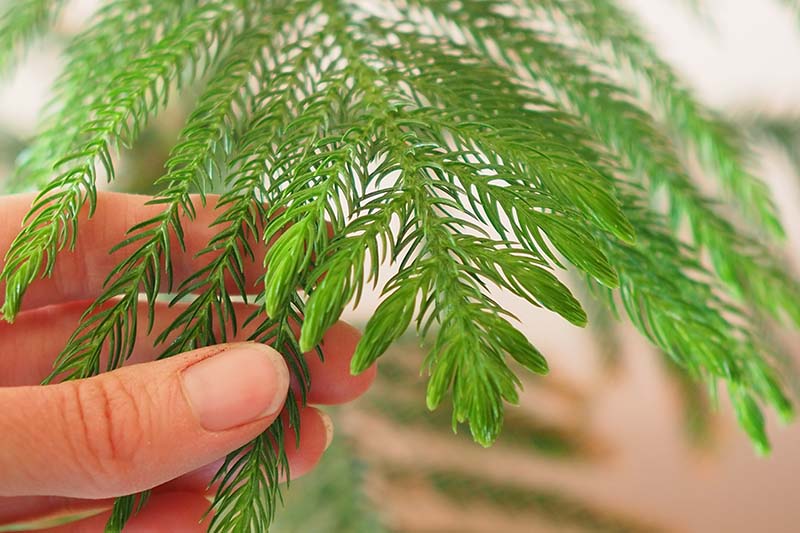
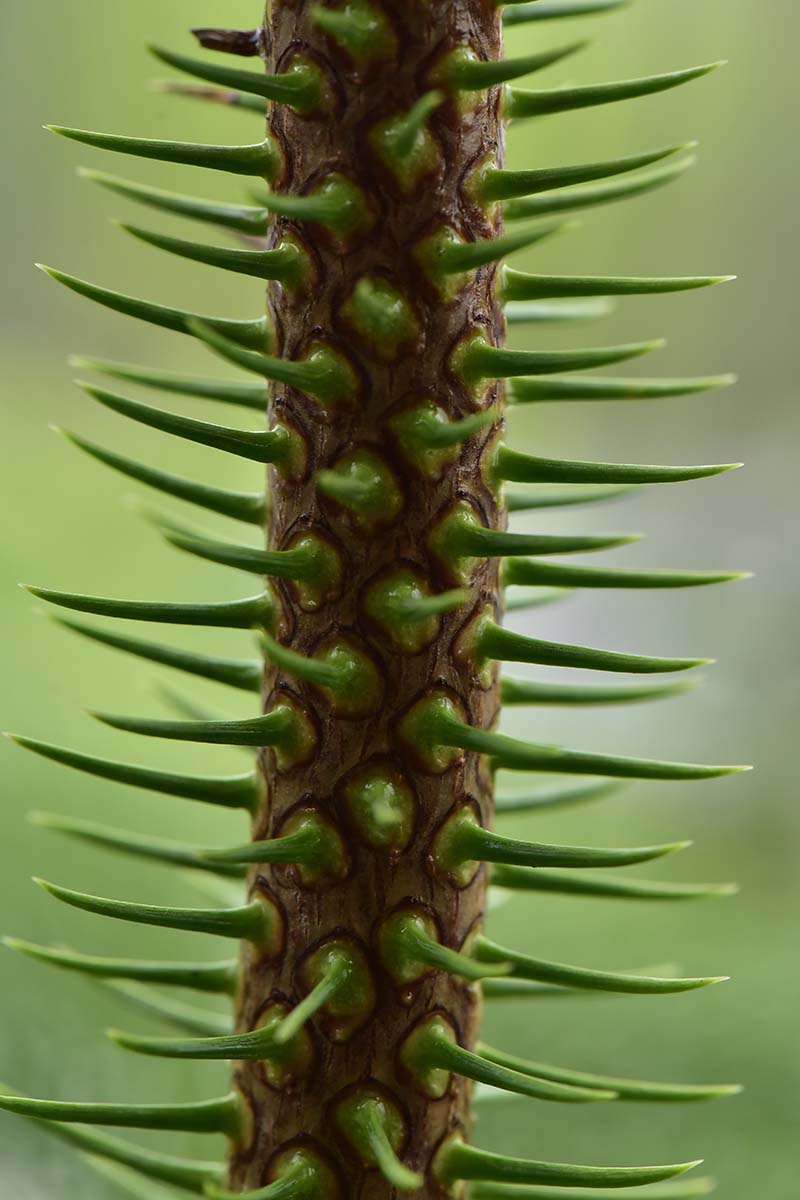
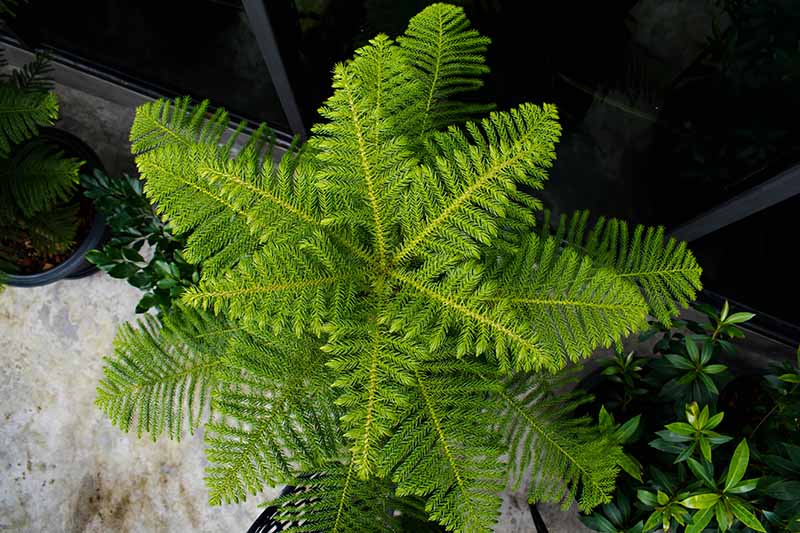
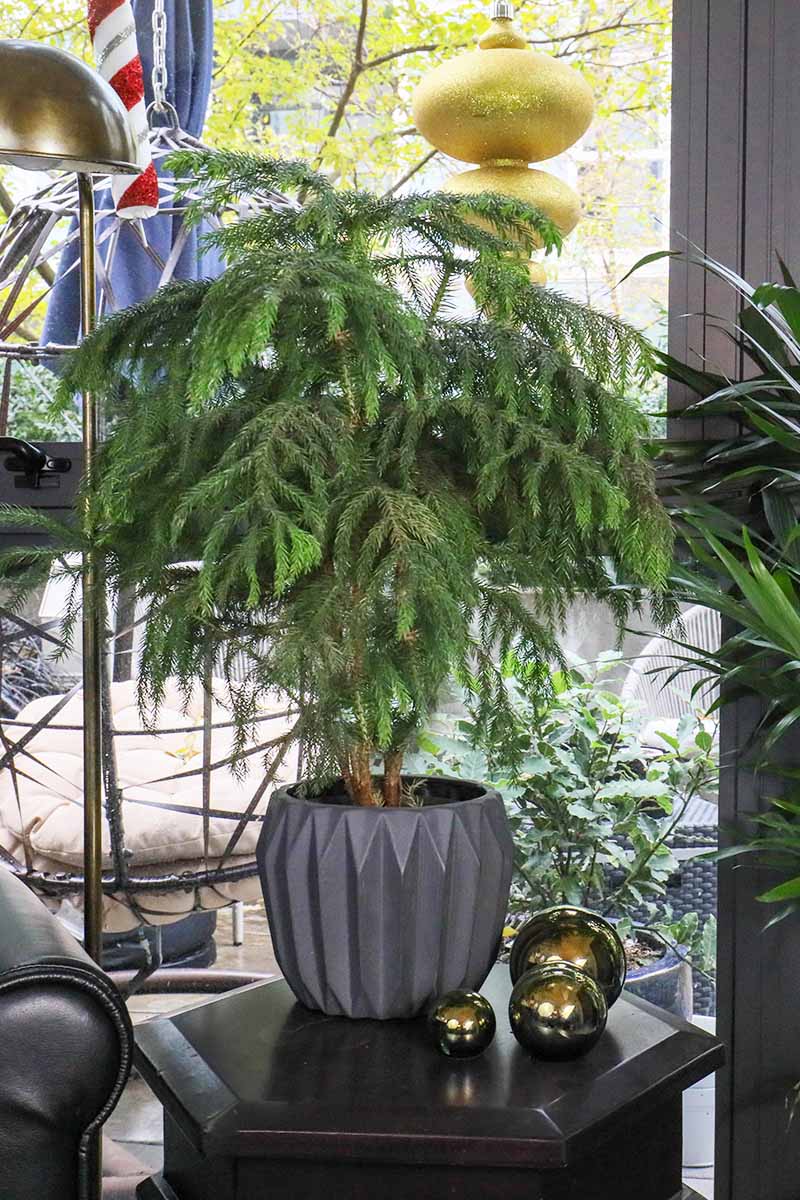
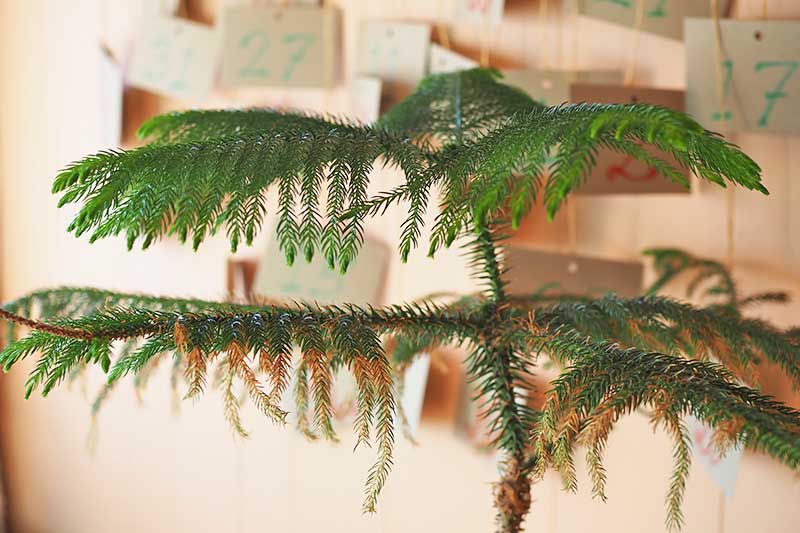
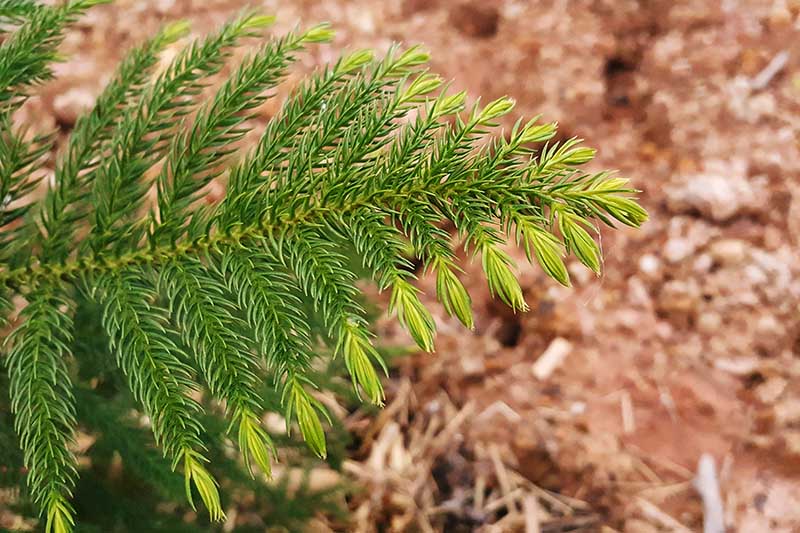
Araucaria heterophylla, or Norfolk Island pine, as it is more commonly known, is a coniferous tree that is enjoyed for its lovely evergreen foliage and symmetrical shape. This tree also goes by the names “house pine,” “star pine,” “triangle tree,” “Australian pine,” or “Polynesian pine.” Formerly, it was taxonomically classified as A. excelsa. The other common name you may be most familiar with, though, is “living Christmas tree.” It’s also often called simply “Norfolk pine.” This conifer has a symmetrical form with widely spaced layers of whorled branches held out horizontally from a straight trunk. The species name “heterophylla” means “different leaves” and gives a clue to one of the quirks of this tree. Its younger leaves look like needles, while its more mature leaves look more like scales. Both types of leaves can be found growing on the tree at the same time. Mature leaves are small, a fourth of an inch long, and scale-like. They can be lanceolate or triangular. Juvenile leaves, on the other hand, are half an inch long and may be mistaken for fir or spruce needles. Unlike some conifers whose needles are sharp and prickly, this plant’s foliage has a wonderfully soft and fine texture – except, that is, along the trunk. The needles that emerge from along the grayish-brown trunk of this tree are not to be trifled with, so watch your digits when relocating this conifer!
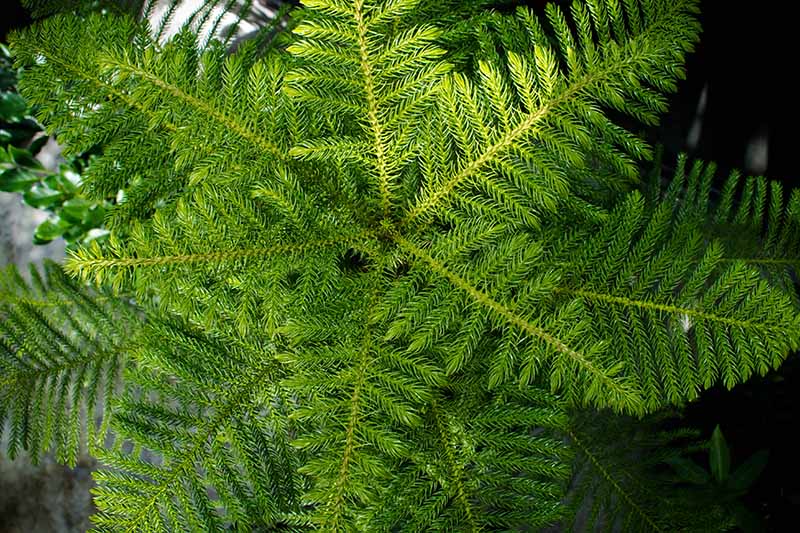
A new layer of branches emerges from the top of the tree each year. The branches radiate out symmetrically, giving this evergreen conifer a pyramid-like shape.
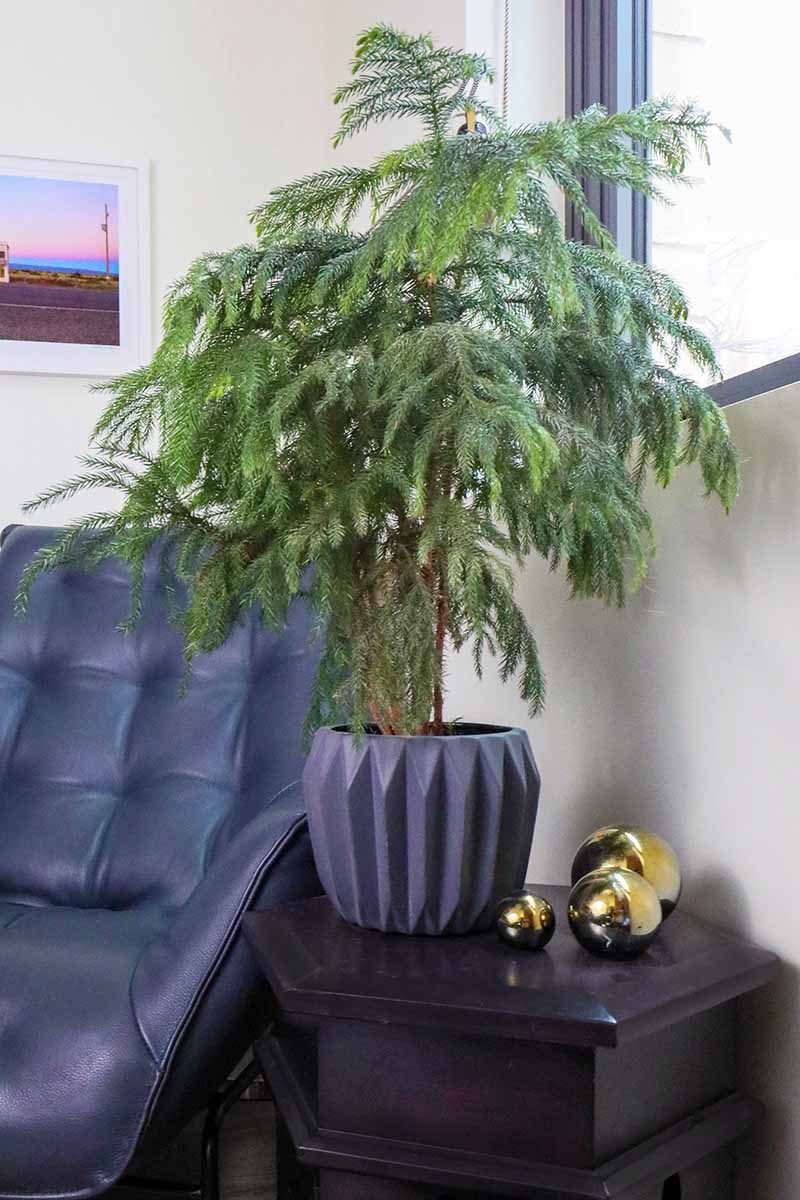
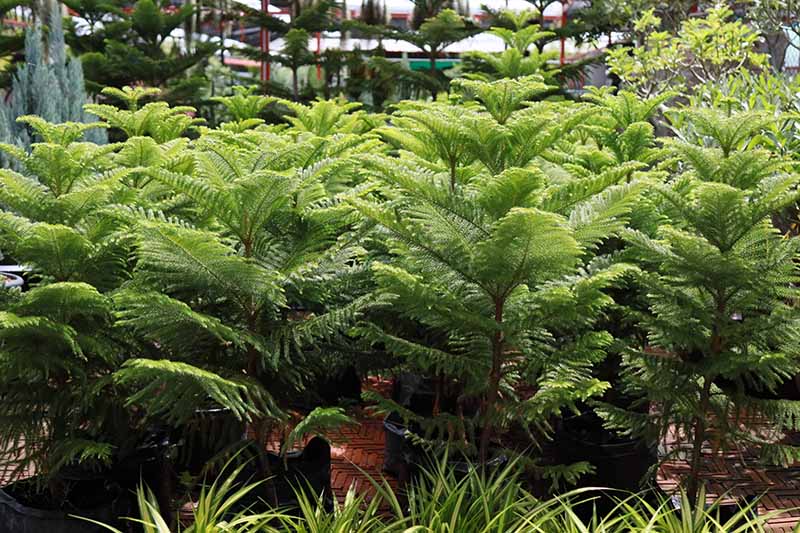
If yours doesn’t have that distinctive pyramidal shape, there’s a reason for this. Those sold in garden centers frequently contain more than one sapling per pot, giving them a bushier and less symmetrical appearance. When these trees grow outdoors, at about ten to fifteen years old, they start producing large cones that contain edible seeds similar to pine nuts. However, despite their appearance and their pinon-like seeds, these evergreen trees are not actually pines.
Cultivation and History
Norfolk Island pines are members of the Araucariaceae family, an ancient family of coniferous trees that were widespread throughout the globe when dinosaurs roamed the Earth. But the same events that caused the dinosaurs to go extinct also caused most of the species in this family to perish. However, forty-one known species in this family remain, most of them in the Southern Hemisphere. They are considered “relicts” or living fossils, since the majority of their relatives are extinct. Among these living fossils is the subject of our article. Another one of these living fossils is a tree you may be familiar with – the monkey puzzle tree, A. araucana, which is also an evergreen conifer. A native of the lower slopes of the Andes Mountains, the monkey puzzle tree is more cold-hardy than the subject of this article. While closely related to this South American conifer, A. heterophylla does not grow natively near the monkey puzzle tree. Like the majority of its living relatives, A. heterophylla originated in the South Pacific. In the case of this tree, it originated on a small island that gives it its name – Norfolk Island, a territory of Australia that is located between Australia, New Zealand, and New Caledonia. Norfolk Island became known to Europeans after Captain Cook voyaged to this area on his second South Pacific voyage, in 1774. He thought the trees’ perfectly straight trunks would be suitable to use as masts for ships, but this turned out not to be the case – despite their coastal origins, these trees are not as resilient to high winds as one might think. These days, this evergreen conifer is grown as an ornamental tree in subtropical regions, where it can potentially grow to be two hundred feet tall. In the US, it can be grown in the landscape in USDA Hardiness Zones 10-11, including Hawaii, and parts of California and Florida. The tallest one in the US was estimated to be 115 feet tall and approximately 115 years old in 2019. Along with its use as a landscaping feature, the wood from these trees is prized for woodturning, and is used in Hawaii and other locations where it grows for the creation of artisanal crafts. For those of us who don’t live in such tropical climates, Norfolk Island pine is grown indoors as a houseplant, where it usually maxes out at five to eight feet tall.
Propagation
If you want to give propagating this plant a try, you have a few different options – growing clones from cuttings, air layering, or growing new plants from seeds. I’m going to focus on the two most accessible methods and leave air layering out of this discussion for now – but perhaps it will show up in a future article. Let’s start with growing new plants from seeds.
From Seed
If you have ever bought one of these evergreen conifers, it was most likely grown from a seed – that is the primary method used to propagate these plants commercially. This makes them somewhat unique among houseplants. Many houseplants – such as prayer plants, African violets, snake plants, and orchids – are typically propagated vegetatively, through division or cuttings, making the resulting new plants clones of the parent plant. With living Christmas trees, however, each plant grown from a seed is a true individual with its own unique genetic makeup.
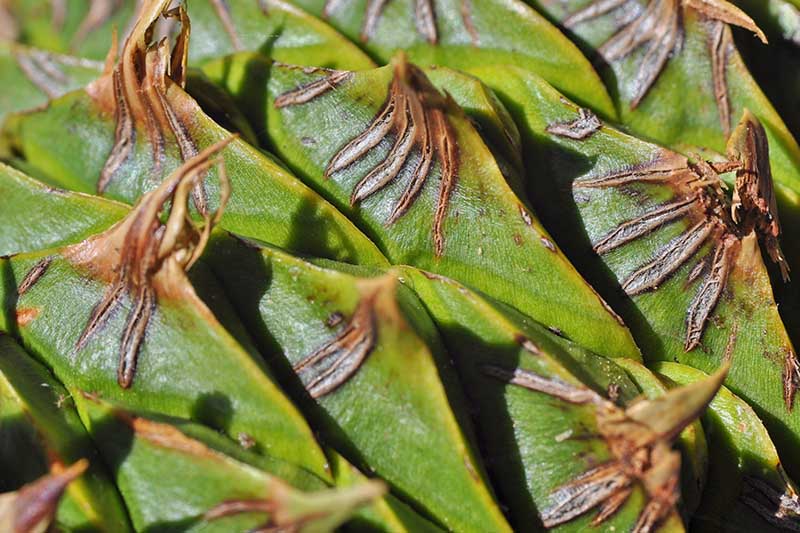
Now that I have finished waxing poetic about the scientific wonders of propagation by seed, shall we get on with the how-tos? First, you’ll need to get your hands on some Norfolk Island pine seeds. Or, if you have plans to grow these and pass them around as gifts, you may want to obtain an entire pinecone from one of these magnificent trees. One pinecone holds dozens of seed capsules, each of which contains a single seed. Use seeds that were harvested recently, since they quickly lose their viability – after just three months in storage, about half of the seeds will lose the ability to sprout.
You’ll also need some small nursery pots, some sterile potting soil or soilless growing medium, and a plant mister. If you’re reusing old nursery pots, make sure to sterilize them first. Fill the nursery pots with soil, leaving one inch of space below the rim at the top. If you are working with a cone, remove the seed capsules if they’re still attached. Place a seed capsule on the surface of the soil in each of your nursery pots, but don’t cover it with soil. This surface-sowing technique is recommended by R. T. Poole and colleagues at the University of Florida’s Institute of Food and Agricultural Sciences and the Central Florida Research and Education Center at Apopka. And you may want to take a trick from commercial growers of these plants – they often plant several saplings in one pot to give the plant a fuller, bushier appearance. After surface-sowing your seed capsules, spray the soil with a plant mister to keep the top inch of the soil moist but not soggy. If you live in a dry climate like I do, you may want to cover the pot with a humidity tent – a transparent plastic baggy held in place with a rubber band to help keep the humidity high. Or you could place your seedlings in a terrarium or greenhouse. Place the pots where the seeds will be exposed to plenty of bright light – they need light to germinate – and remain at a temperature of 70-80°F. You may need a heat mat to help maintain this temperature. Once the seeds have sprouted, you can remove them from their humidity tents. Keep your young saplings at a temperature between 60 and 90°F while they are getting established.
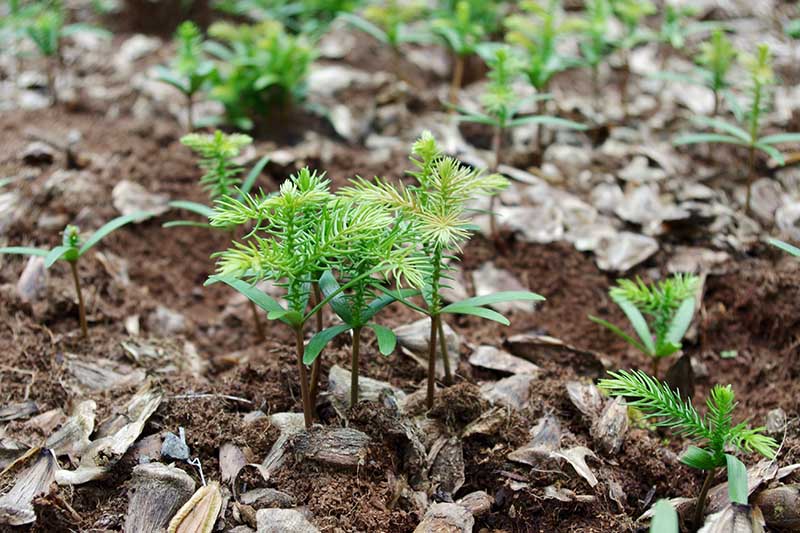
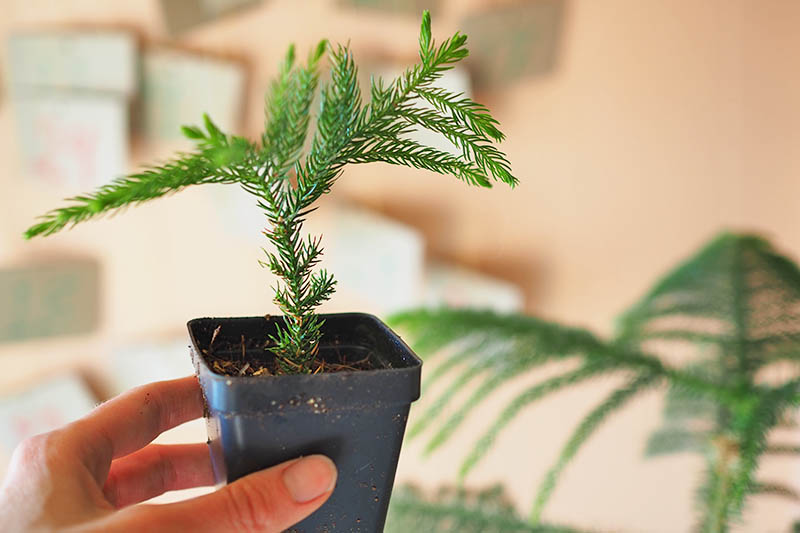
Jump Start Windowsill Heat Mat Your seeds should sprout in 10 to 21 days. As your saplings begin to grow, start to water normally, whenever the top of the soil dries out. Your saplings should be ready to pot about ten weeks after germination. It will take at least two years of growth before your sapling sizes up. As needed, you should be prepared to repot your living Christmas tree sapling..
From Cuttings
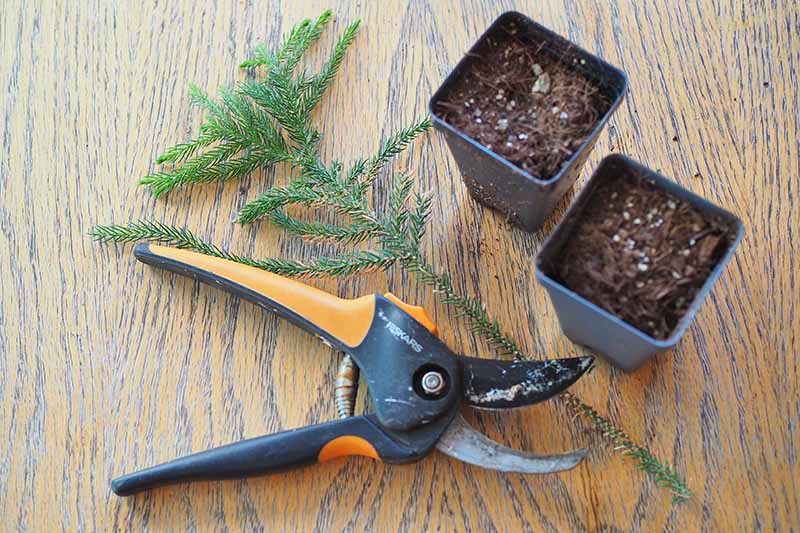
Another method of propagating this species is by rooting a cutting from the parent plant. However, this process is not as easy as propagation via seed. Here’s the problem: If you take your cutting from a branch, this cutting is not going to grow upward like a tree – it’s going to grow like a branch. So, if you want a new plant that will grow upright like a tree, you’ll have to take a cutting from the growing tip. The hitch here is that there’s only one growing tip per plant. If you cut the growing tip, it could potentially kill the plant, or at best, cause it to lose its symmetrical shape. However, there is one case in particular in which you may want to perform this operation anyway: if you have a living Christmas tree that has outgrown your home, but which you want to preserve for sentimental reasons. Essentially, you’re keeping a part of the old plant alive, if not the whole. Some gardeners report that cutting back the parent plant and letting it resprout has worked for them. But before you grab your pruners and start hacking away at your tree, let me warn you that rooting cuttings isn’t always successful. The cutting needs to be maintained in warm soil and at a high level of humidity. If you decide to give this a try, use a heat mat like I mentioned above. On the other hand, if you are the experimental type like I am and want to try rooting a cutting from a branch just for fun – go for it. This might be good practice to try first if you really want to try rooting a cutting from the growing tip later. In fact, can we all make a pact that nobody is going to try taking a cutting from the growing tip before practicing with a branch first? Okay, good. Now, let’s get to our practice session. Gather your supplies – you’ll need a pair of sharp, sterilized pruners, some sterilized growing medium, one small nursery pot per cutting, and a spray bottle. Fill your nursery pots with growing medium, leaving an inch of space at the top below the rim. With your pruners, take a four- to five-inch cutting from one of the branches – this is a good opportunity to shape up your tree if it has any branches that are longer than the others. Remove the needles from the bottom inch or two of the cutting. Cover your potted cutting with a transparent plastic bag and secure it with a rubber band to create a humidity tent. Alternatively, place your cuttings in a terrarium or greenhouse.
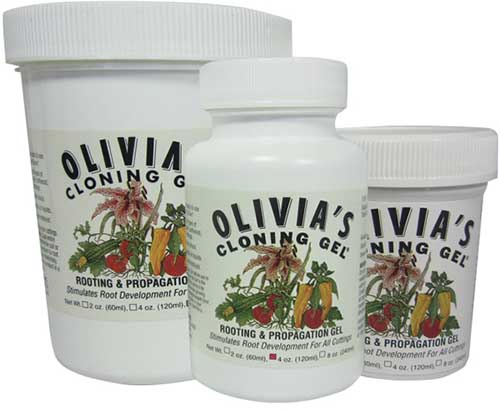
Olivia’s Cloning Gel Make a hole in the growing medium and insert the cutting, then use your spray bottle to wet the growing medium enough so that it is moist but not soggy. Check your cutting daily, and water with your mister when the soil surface dries. Watering with a mister is a good way to prevent the soil from becoming waterlogged. Growing one of these evergreen conifers from a cutting is a slow process, and you’ll need to exercise some patience while simultaneously remembering to check in on it every day. As such, this might not be the best experiment to do with kids or beginning gardeners who could use a boost in the form of quick results. Once the cutting is rooted, you will feel resistance if you attempt to – gently – tug it out of the potting soil. Rooted cuttings can be transplanted into containers and cared for as houseplants. Read our full guide to propagating Norfolk Island pines here.
How to Grow
These plants are fairly forgiving houseplants as far as care goes. However, to keep your plant looking its best, and to keep it in your home as long as possible, it’s wise to learn some of the best care routines for this tropical conifer.
Choosing a Plant
Some Norfolk Island pines are sprayed with green paint or glitter at the holidays – the time of year they are most widely available. If you want to keep your tree on as a long-term houseplant, make sure you purchase one that is in its natural state, sans paint or glitter, which can interfere with the plant’s ability to photosynthesize.
Here are a few other things to look for:
Inspect plants for signs of pests or disease before purchasing. Choose the size that will be best suited to your living space. Select plants without browning or yellowing foliage, or foliage that looks dry or wilted.
Next up, it’s all about giving your new acquisition everything it needs to thrive.
Light
When you bring your living Christmas tree home, choose a good spot for it to live. These trees will tolerate full sun to partial shade, but when grown indoors, they do best with plenty of bright, indirect light. If you can provide your tree with a few hours of direct morning sunlight, followed by bright, indirect light the rest of the day, it will be extremely happy. I have mine situated several feet from a bright south-facing window and also a few feet from a western window. It seems to be quite tolerant of this position – but during summer, when the light from these two windows is hottest, I use sheer curtains to cover both, making the light more diffused. If you want to keep your Norfolk Island pine situated in full sun, be sure to transition it gradually to such intense light. Wondering if you can home your plant in a low light situation? As mentioned above, this species will tolerate partial shade, but with less light they tend to become leggy. The more bright, indirect light you can give your plant, the more this will help to keep its needles a nice, bright green color. Too much direct sun, on the other hand, can result in foliar bleaching – and your tree’s needles can take on a yellow hue. And to keep your plant from becoming crooked, give it a quarter turn every week, so that it gets sun from all angles. If you don’t have a lot of bright light coming into your home, you may need a grow light to help your house pine get sufficient luminosity. To learn more, read our complete guide on the best grow lights for houseplants and seedlings.
Temperature
One of the mistakes that plant parents make with this houseplant is to think that since they are conifers, they must be just as cold-hardy as the firs and spruces that grow outdoors. Many a living Christmas tree has met its demise when left on a deck or patio after temperatures started to cool. So remember, these plants are native to tropical climes, and ideally you should keep them above 50°F. Exposure to temperatures below 35°F can kill them. When kept in average indoor conditions, these plants will do just fine – they prefer a range of 60 to 72°F during the day, and a slightly cooler temperature at night. Just make sure you avoid placing your living Christmas tree in a drafty location, such as near an exterior door or drafty window. If you give your Norfolk Island pine outdoor time in summer, be aware that this may make it grow faster. And remember to bring it back indoors when the mercury falls into the 50s.
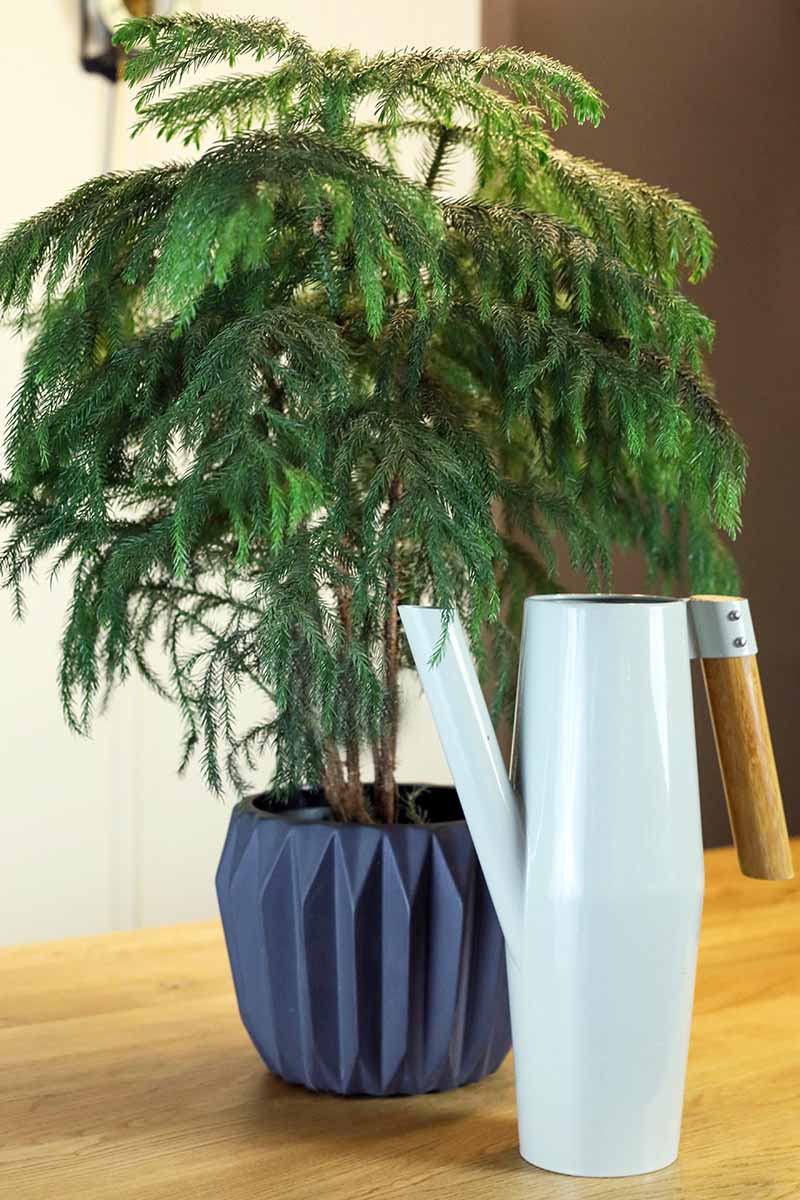
Water
While living Christmas trees prefer moist soil, they are quite drought tolerant, as my own Norfolk pine can attest to. After a stressful move one year, my plant was neglected and it was not watered for (I’m ashamed to say) at least two summer months, if not longer. Its needles started to turn brown – including those of its growing tip – and my husband and I both thought it was a goner. But before we relegated it to the compost pile, we decided to see if we could revive it. And amazingly, it rallied! It soon began putting out new, bright green foliage and looking quite happy and undaunted. But just because these plants do have some innate drought tolerance doesn’t mean you should abuse them – water them when the top inch of soil feels dry. If you are an overeager plant caretaker, who tends to overwater rather than underwater, go easy on your living Christmas tree. These plants do prefer moist soil, but not soggy soil. Keeping soil moist but not soggy depends not only on your watering technique, but also on the potting soil used. (I’ll get to that a little later.) When it’s time to water your living Christmas tree, pour water evenly over the soil until it begins to run out of the bottom of the pot. If your tree has a saucer under it, make sure to remove any water that runs into it. Like most other houseplants, Norfolk pine does not like to have wet feet. Younger plants will need more frequent watering than more mature trees. How often you’ll need to water will vary depending on the age of your tree, and it will also vary from household to household, depending on how warm your home is, how much light the tree is exposed to, and how humid your air is. So get to know your plant – stick your finger into the soil and when the top inch is dry, this is a good time to water. Try to get into a routine so that you can avoid abandoning your tree to neglect and inadvertently testing its resilience, like I did with mine. If you’re not sure if you’re watering enough, look out for browning on the tips of branches – this often means the plant is being underwatered. And once the days start to cool and winter arrives, your Norfolk pine should require water less frequently. Find more watering tips here.
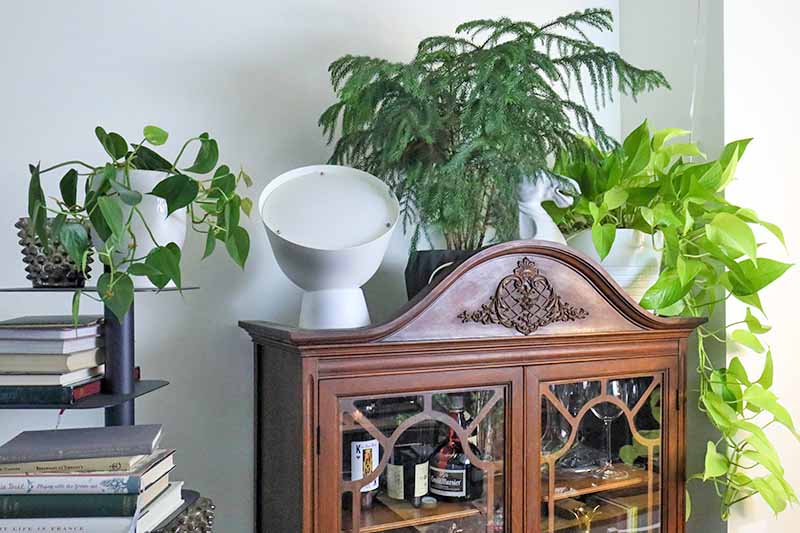
Humidity
As a tropical species, A. heterophylla appreciates a bit of extra humidity – usually more than is available in our homes when they are heated in the winter – preferably 50 percent or higher. If you have to deal with dry air, either in the winter or all year long like I do, there are several different ways you can increase humidity to keep your plant happy and healthy. If you have other houseplants, you can group it with some plant buddies. This technique will help raise the relative humidity around all of the plants. You might also consider setting up a humidifier nearby (which will also help your nasal passages, by the way, if your home is very dry). Another option is to place your plant on a tray full of pebbles. Fill the tray with water, but make sure the water isn’t higher than the pebbles to avoid letting the plant wick up too much water through the soil.
Fertilizer
While fertilizing houseplants is generally a good idea, to provide nutrients that they aren’t able to glean readily since their access to soil is fairly limited and often easily depleted, in the case of Norfolk Island pines, you may want to go easy on the amendments. Humidi-Grow 13.5” x 10.5” Humidity Tray You might also want to mist your plant daily with a spray bottle to help increase humidity. Just make sure to spray it in the morning, to reduce the chances of fungal or bacterial growth, which are more likely to be a problem when foliage is cool and wet at night. If you already live in a very humid climate, you’ll probably want to skip adding extra humidity to your living space. But if you have no clue as to what the level of humidity is in your home and want to monitor it to make sure you’re keeping your houseplants comfy, you can use a hygrometer, a tool used to measure relative humidity. Mini Hygrometer and Thermometer Here’s why: If you fertilize frequently, your tree will grow more quickly. Once it grows enough, it will eventually size out of being a houseplant – unless your home is equipped with extremely high ceilings. Fertilizing twice a year may be plenty to provide your plant with the nutrients it needs.
When you do opt to fertilize, you should do so only when the plant is actively growing, from approximately March through September. You can use a general-purpose houseplant fertilizer for this plant, which is not as sensitive as some other houseplants to the salts that can accumulate from fertilizing. Or you can take a more natural, organic approach, like I do, by using worm compost tea to fertilize your plant. You can make your own worm compost tea from your worm castings.
Growing Tips
Provide bright indirect light. Pot in well-draining soil. Keep soil moist but not soggy.
Pruning and Maintenance
One of the nice things about these plants is that they are truly low maintenance. However, it will be helpful to know a few tips for caring for your plant during the holidays, pruning, and repotting. TeaDrops Organic Houseplant Fertilizer You soak them in room temperature water, and then use the resulting “tea” to both water and fertilize your houseplants.
Holiday Care
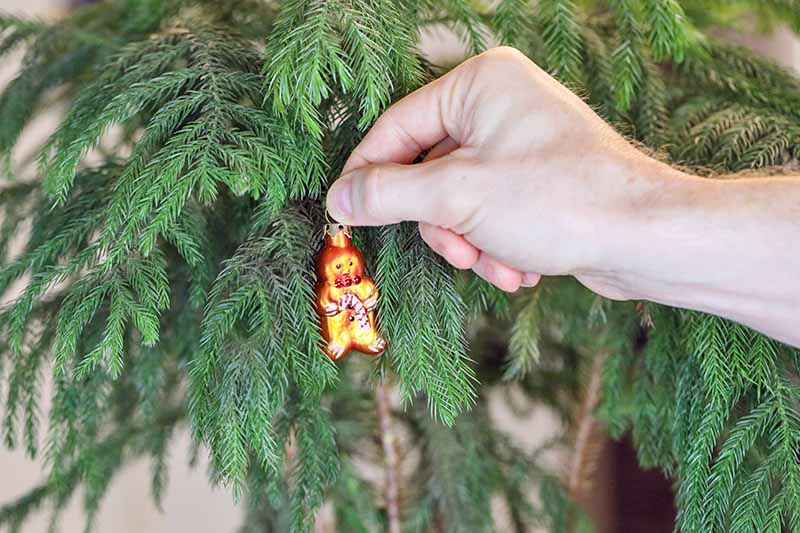
The average houseplant care guide probably doesn’t include tips on how best to decorate the plant. But since Norfolk Island pines can be used as stand-in Christmas trees, I thought it best to point out a couple of additional care items related to the holidays. The branches of these trees aren’t as sturdy as those of a Frasier fir, and won’t stand up well to a heavy load of decorations – so limit your tree trimming to Christmas ornaments that are lightweight. Bows, ribbons, and lightweight glass ornaments make good choices. And while your living Christmas tree might look charming nestled next to the fireplace as part of your holiday decor, this plant won’t appreciate the temperature extremes that can occur when a fire is roaring. Plus, when located on the outside wall of a home, chimneys can cause cold drafts. So make sure to place this tropical conifer away from fireplaces to avoid not just the heat, but also potential cold drafts.
Pruning
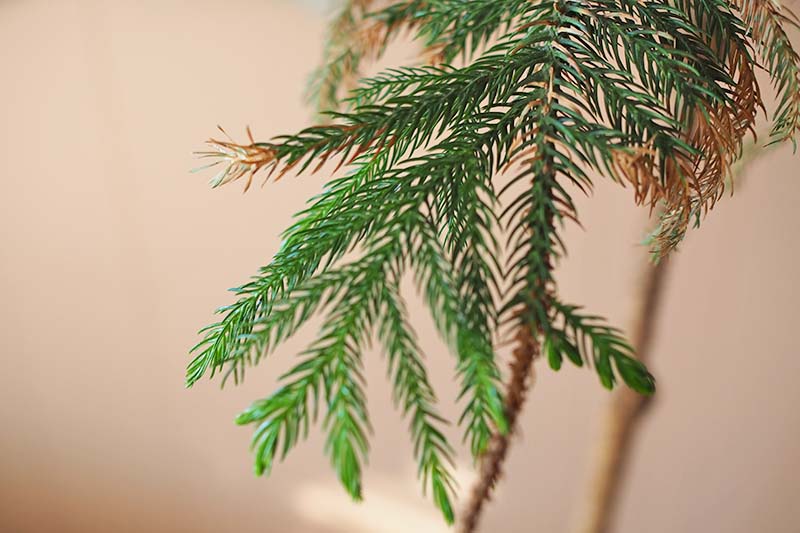
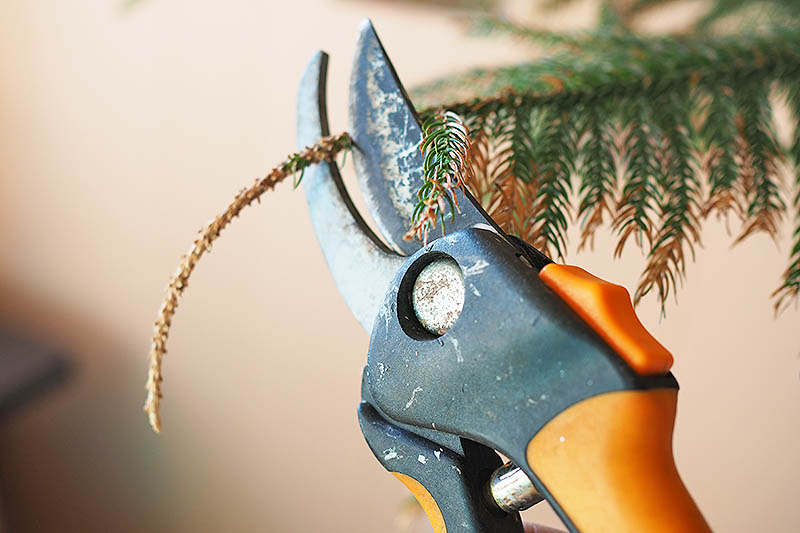
The lower branches of these houseplants will turn brown and die as these plants grow. This is a normal process – you can remove the lower dead branches with a pair of garden snips or pruners. Also, while you work on getting your watering agenda down, your tree might show its displeasure at receiving insufficient water by having a branch tip or two go brown. Feel free to snip these off as well. However, it’s best to avoid pruning green growth since this can, as one writer at the Royal Horticultural Society puts it, “spoil the shape of the tree.”
Repotting
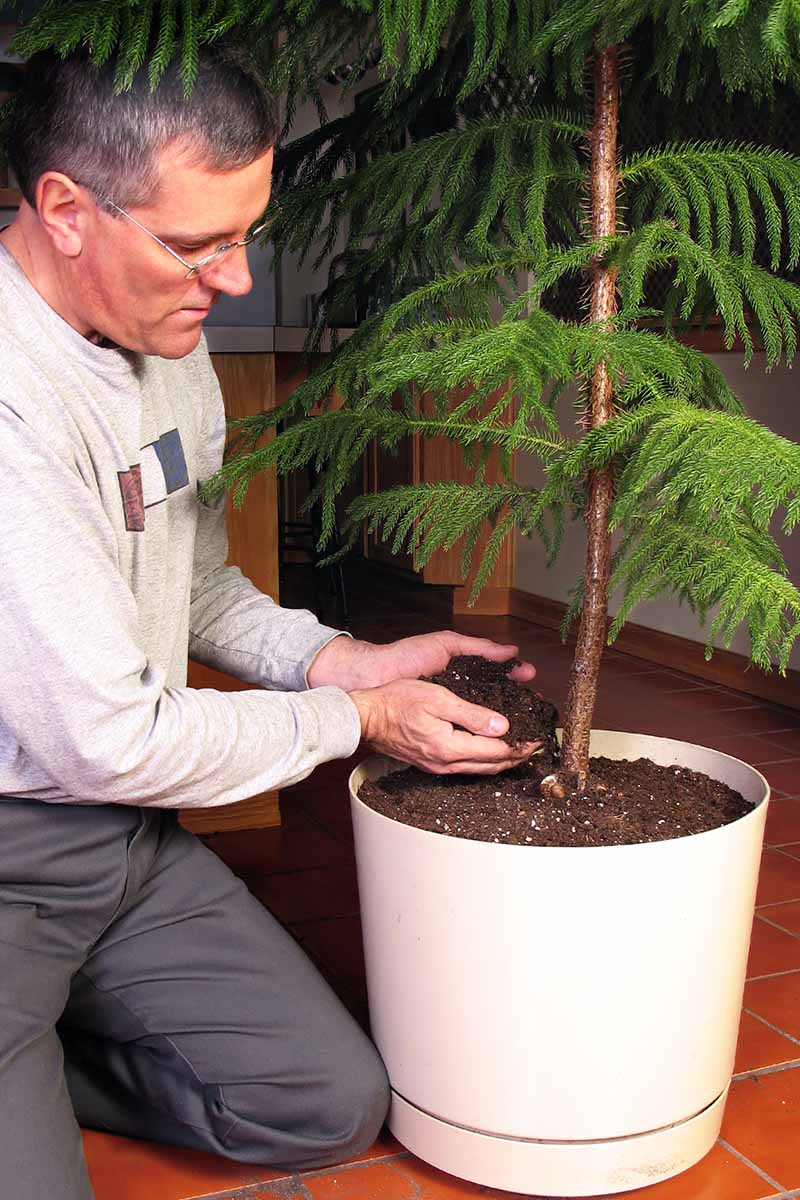
As with fertilizer, your choice to repot this plant – or not – will contribute to the speed with which it grows, and the size it ultimately attains. If you’re hoping for a huge tree to make an impact in a large space, repot your Norfolk Island pine every year or two, moving it up to the next sized pot. On the other hand, if you want to keep your living Christmas tree at a more diminutive size, don’t repot it into a larger container. Instead, you can replace the plant’s soil with a new soil mix to refresh it if you wish, but return it to the same sized pot.
No matter how often you repot, make sure the plant’s pot has drainage holes. Otherwise, its roots will become waterlogged and the plant can die from root rot. There is another case in which repotting may be beneficial to your plant – if your living Christmas tree has been overwatered in the past, repotting it in a fresh batch of potting soil and trimming any rotten roots off will be beneficial. This plant can grow in soil with a slightly acidic, neutral, or slightly alkaline pH. It grows natively in a sandy, chalky loam, and is tolerant of salty soils due to its coastal origins. When repotting, use a well-draining potting mix that has some sand in it – the sand will both help with drainage and provide stability, to prevent the trunk from leaning.
Managing Pests and Disease
Part of a living Christmas tree’s no-drama care routine is that it isn’t very susceptible to pests or disease. However, it’s good to be on the lookout for certain insects and pathogens – just in case.
Soil Mender 109 Potting Mix It’s available for purchase in a range of package sizes at Arbico Organics.
Where to Buy
These plants are available to purchase in a range of sizes, from table-top to floor sized. When purchasing one of these festive conifers, keep in mind that the more outdoor time and fertilizer you give them, and the more often you repot them, the faster they will grow – and choose your size accordingly.
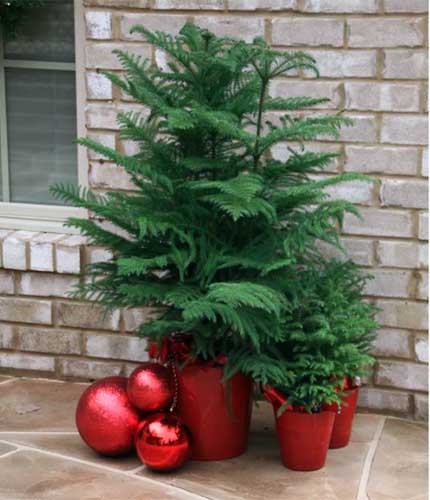
Small
Great for smaller spaces, young living Christmas trees can sit on a shelf or an entryway table, or brighten up your work-from-home desk. Costa Farms offers one that is just ten inches tall, and comes in a red pot cover with red snowflake decorations. You can purchase it via Home Depot.
Live 10” Norfolk Island Pine in Red Pot with Decorations And if one isn’t enough for your holiday decorating, you can also get a pack of eight of these tropical conifers in a twelve-inch size. Each mini Norfolk pine in this set comes with a red or gold pot cover, and matching ornaments and tree toppers.
8-Pack of Live 12” Norfolk Island Pines in Red and Gold Pot Covers You’ll find this eight-pack of twelve-inch living Christmas trees, also from Costa Farms, at Walmart.
Medium
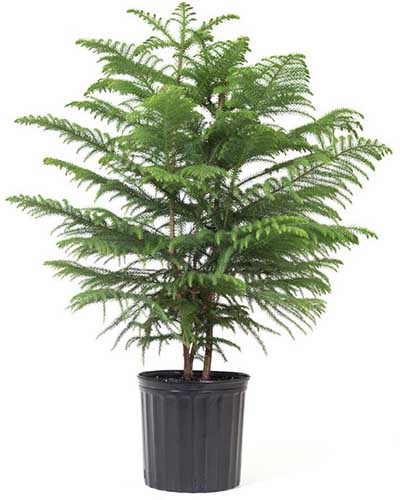
A medium-sized Norfolk Island pine will give you plenty of options. You could use it as the centerpiece on a dining table, or as the Christmas tree in your tiny home.
Live 24-30” Norfolk Island Pine in 9.25” Grower’s Pot United Nursery offers one that is between two and two and a half feet tall and comes in a 9.25-inch grower’s pot. You’ll find this medium-sized plant at Walmart.
Large
If you have an empty corner that could use a holiday-ready plant, a large Norfolk Island pine can stand on the floor and create a nice focal piece – or serve as a stand-in for a Christmas tree. Four-Foot-Tall Live Norfolk Island Pine in 10-inch Pot It comes in a red decorative ten-inch pot, with white snowflakes that are ready to adorn its limbs.
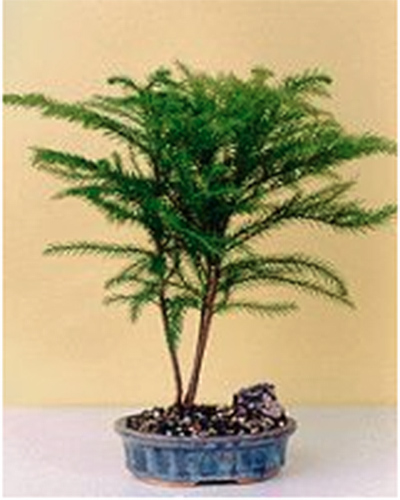
Bonsai
For something a bit different, why not try a bonsai Norfolk Island pine? This group of three trees in one small pot is 11 to 13 inches tall, and has been pruned by hand.
Bonsai Norfolk Island Pine You can find trees available from Bonsai Boy.
Insects
While insects may never be a problem for your plant, here are the most common ones to be aware of:
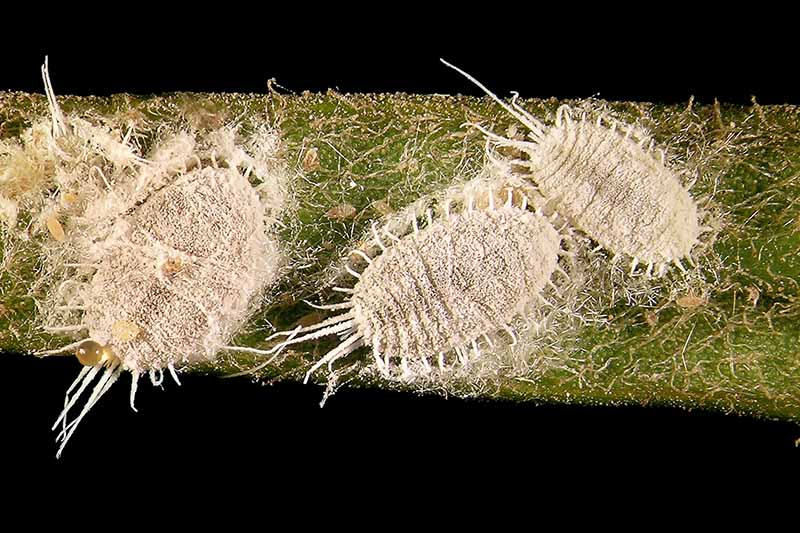
Mealybugs
Mealybugs are a frequent pest of houseplants and they can, on occasion, attack your Norfolk Island pine just like they can infest your succulents.
Easy to recognize, mealybugs appear with a telltale white, cottony appearance on your tree – particularly on its branches. When these pests are present, they will attach to your tree and suck nutrients from it, weakening it, causing the tree to become stunted, and eventually killing parts of it. You can control a small mealybug infestation by rubbing them away with a paper towel damped with rubbing alcohol.
Scale
Scale looks like raised brown spots on your plant – they don’t reveal themselves very easily as insects.
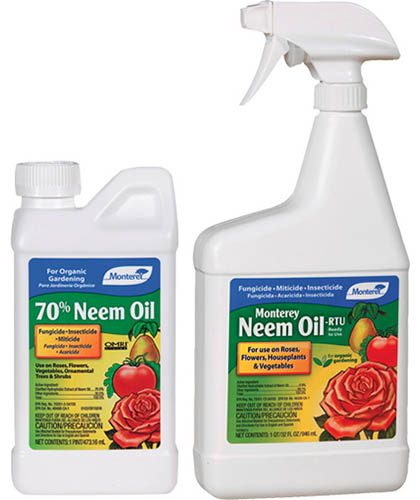
Monterey Neem Oil You can find Monterey neem oil available for purchase at Arbico Organics. Read more about fighting a mealybug infestation here. Like mealybugs, scale will suck nutrients from your houseplants, weakening them and eventually killing them. To treat scale on these plants, you can use the same technique as described for mealybugs – depending on the severity of the infestation, either use rubbing alcohol, or apply neem oil. Find more tips on combating scale insects here.
Spider Mites
Spider mites are also frequent houseplant pests, and they can attack Norfolk Island pines as well. Spider mites tend to be more of a problem in winter when the air is dry – giving you another good reason to monitor the relative humidity around your plants. You may notice dappled yellow spots on your tree’s foliage. With severe infestations, you’ll start to see webs surrounding the foliage. Spider mites also suck nutrients from your houseplants, weakening them, and potentially killing them. To treat a spider mite problem, first wipe them away with a damp paper towel. Then treat as needed with rubbing alcohol or neem oil. Learn more about controlling spider mites here.
Disease
With good care, you are unlikely to encounter disease in your living Christmas tree. If you notice any discoloration in your plant’s foliage, here are a few problems to look for:
Anthracnose
Anthracnose is a disease caused by a fungal pathogen, Colletotrichum derridis. When your living Christmas tree is infected with anthracnose, you’ll notice dead needles. On close inspection, you’ll see black areas on the needles, which is the fungus itself. Fungi thrive in damp conditions, so make sure to water your tree at the soil level – not overhead. And if you mist, do this in the morning so that water doesn’t collect on foliage over night when temperatures are cooler. Neem oil is an organic fungicide that can be used to treat anthracnose.
Root Rot
Some of the signs of root rot include stunting, wilting, and dying branches. If you have a Norfolk Island pine that is growing in soil that drains poorly, in a pot without drainage holes, or if you simply gave it a little too much love (i.e. water), root rot might be a problem. When your plant’s roots sit in waterlogged soil for too long, they can’t get oxygen and will start to die – which results in them not being able to transport water to the foliage. Ironically, this can cause the plant to perish from dehydration. In addition, bacteria and fungi can proliferate in this waterlogged environment, adding insult (and further infection) to injury. To treat root rot, correct whatever is going on: If the soil doesn’t drain well, replace the soil. If the pot has no drainage holes, switch out your pot. If replacing its soil looks like the best option, don’t move your plant up to a bigger pot size. While repotting, you can trim off any rotting roots from your plant – just remember to use sterilized pruners for this operation.
Sooty Mold
Have you had a pest problem on your Norfolk Island pine recently? Aphids, scale, and mealybugs secrete honeydew, which can give a foothold to sooty mold, another fungal issue. To treat sooty mold, often caused by several different species of fungi at once, you can apply neem oil, the same product you would apply to get rid of the little pests that caused it in the first place.
Best Uses
A young Norfolk Island pine that is one to two feet tall can be used to adorn a desk, tabletop, or mantel. A larger tree can be a good alternative to a cut Christmas tree – and you won’t have to put it on the curb when the holidays are over. And like many other evergreen conifers, this tropical plant can be turned into a bonsai. If you have cats or dogs, you can bring this tree into your house without worrying about it being a source of danger to your pets – according to the ASPCA’s Toxic and Non-Toxic Plants list, it is nontoxic. In the US, these can be grown outdoors in Hawaii, parts of California, and in southern Florida – but beware, these conifers do not withstand strong hurricane winds, cyclones, or other types of local weather patterns that may cause strong gusts. Just remember to give it lots of bright but indirect light, make sure its soil is well-draining, and keep it moist but not soggy. And don’t forget that you can help your plant decide just how fast it’s going to grow, depending on how frequently you fertilize it and how often you repot it.
While my own Norfolk Island pine looks a lot like a Charlie Brown Christmas tree, it’s a cherished member of my household’s plant collection, and I wouldn’t dream of getting rid of it just because it’s a little on the scraggly side. What about you? Do you have a beloved Norfolk pine in your home? What’s the story behind your tree? Let us know in the comments section below, and feel free to share a picture! If you love adding houseplants to your home at the holidays, here are a few more guides that might be helpful:
How to Grow and Care for Poinsettia Plants How to Grow and Care for Christmas Cactus How to Grow and Care for Amaryllis Flowers
Photos by Kristina Hicks-Hamblin and Kristine Lofgren © Ask the Experts, LLC. ALL RIGHTS RESERVED. See our TOS for more details. Product photos via Arbico Organics, Costa Farms, Goabroa, Humidi-Gro, Jump Start, Monterey, Olivia’s Cloning Gel, Soil Mender, TeaDrops, and United Nursery. Uncredited photos: Shutterstock.