With just a few tools, mushroom spawn plugs, and the proper growing medium, you will be on your way to witnessing something magical, right in your backyard. Maybe you love taking hikes and walks in the woods, but don’t want to spend your time searching and foraging for that perfect fungus to add to this evening’s dinner. Perhaps you love a particular type of mushroom, but can never find it at the co-op or your local farmer’s market. We link to vendors to help you find relevant products. If you buy from one of our links, we may earn a commission.
Mushrooms Are Everywhere!
Shiitake, oyster, turkey tail, reishi, lion’s mane, chanterelle, chicken of the woods…. There are millions of species of mushrooms actively growing in our world today. Some are edible and are known to have various health benefits, while others are wildly poisonous and can drop a five-ton elephant to its knees in ten seconds or less. Foraging for wild mushrooms can be a dangerous sport. It can also be super satisfying, and very worth your while. Here in New England, foraging for mushrooms is commonplace. Take a hike, look for mushrooms. Go for a walk, keep your eyes peeled for fungus growing in tall trees or at the base of the trunks. Find a perfect swimming hole, scan the perimeter for any edible fungus. There is food lurking everywhere; you just have to find it!
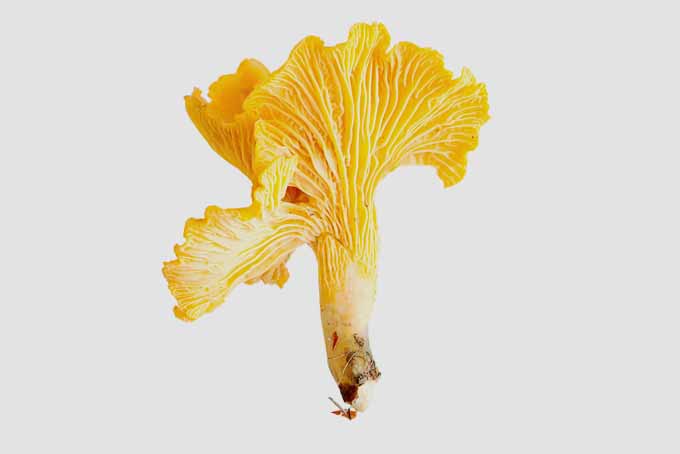
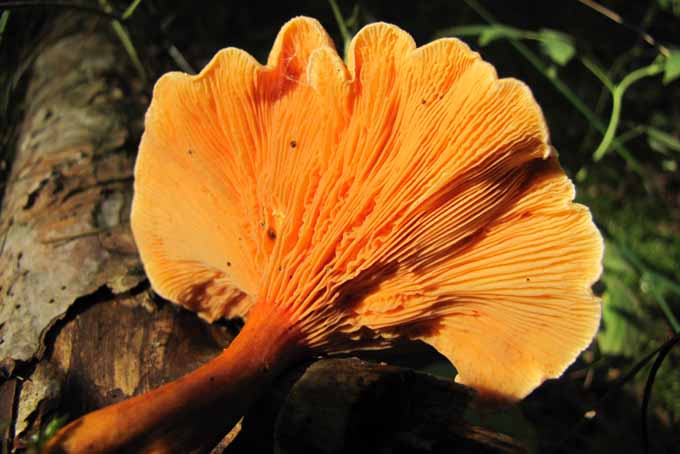
Whatever you do, you must carry your identification book with you and spend copious amounts of time examining each variety you find, to make sure it isn’t poisonous. Many species look like a particular type of edible mushroom but are extremely toxic and can cause nausea, seizures, hallucinations, and even death. For example, this is a chanterelle, which is a well-known and delicious mushroom used in cooking all over the world. In contrast, this is a false chanterelle, also known as Hygrophoropsis aurantiaca. You can see how easy it could be to confuse the two in the wild, and end up chopping and tossing the poisonous one into the pot for dinner! When I go hunting for mushrooms, I always take a friend with me who is much more well-versed at identification than I. This is for many obvious reasons, but mainly because it gives me a sense of peace and puts me at ease. For this reason, I also choose to grow my own mushrooms in the backyard in a small stand of evergreen trees just behind our house. This protects them from the harsh Vermont winters and the intensely sunny summers, and I can check in on them anytime. Also, the process is super fun and makes me feel like a real scientist. (And you can do it, too!)
Why Risk It? Grow at Home Instead!
So, you’ve decided to take the plunge and start a new world of fungiculture at home. Congratulations! Now, let’s get started. First, find a company that sells the species of mushroom you want to grow. Next, gather your tools and supplies. You don’t need much, but certain items are essential. You will need:
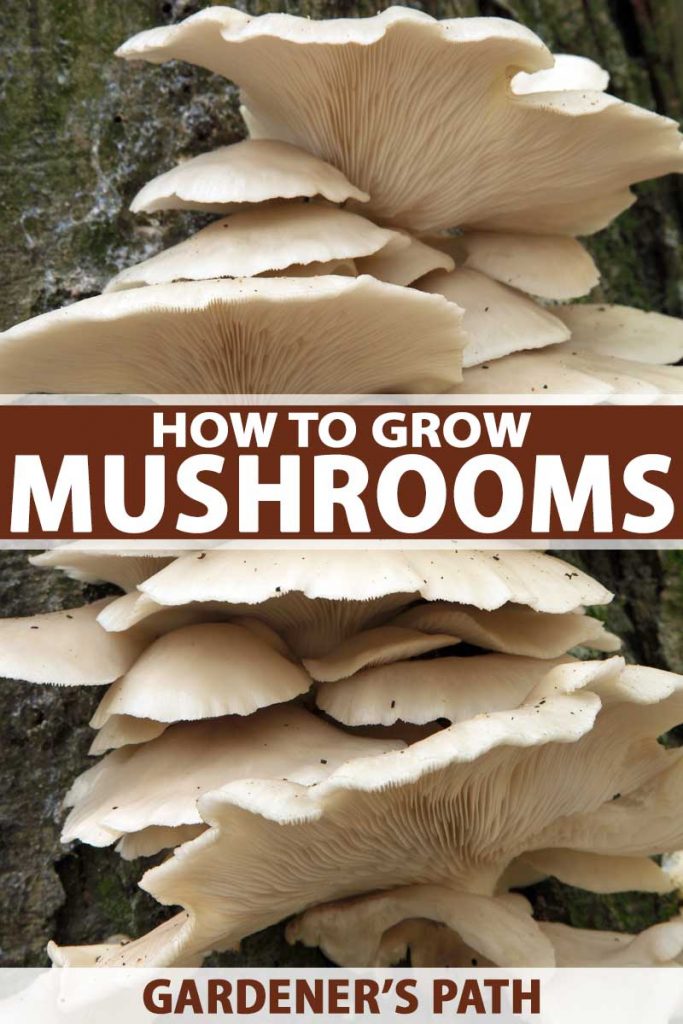
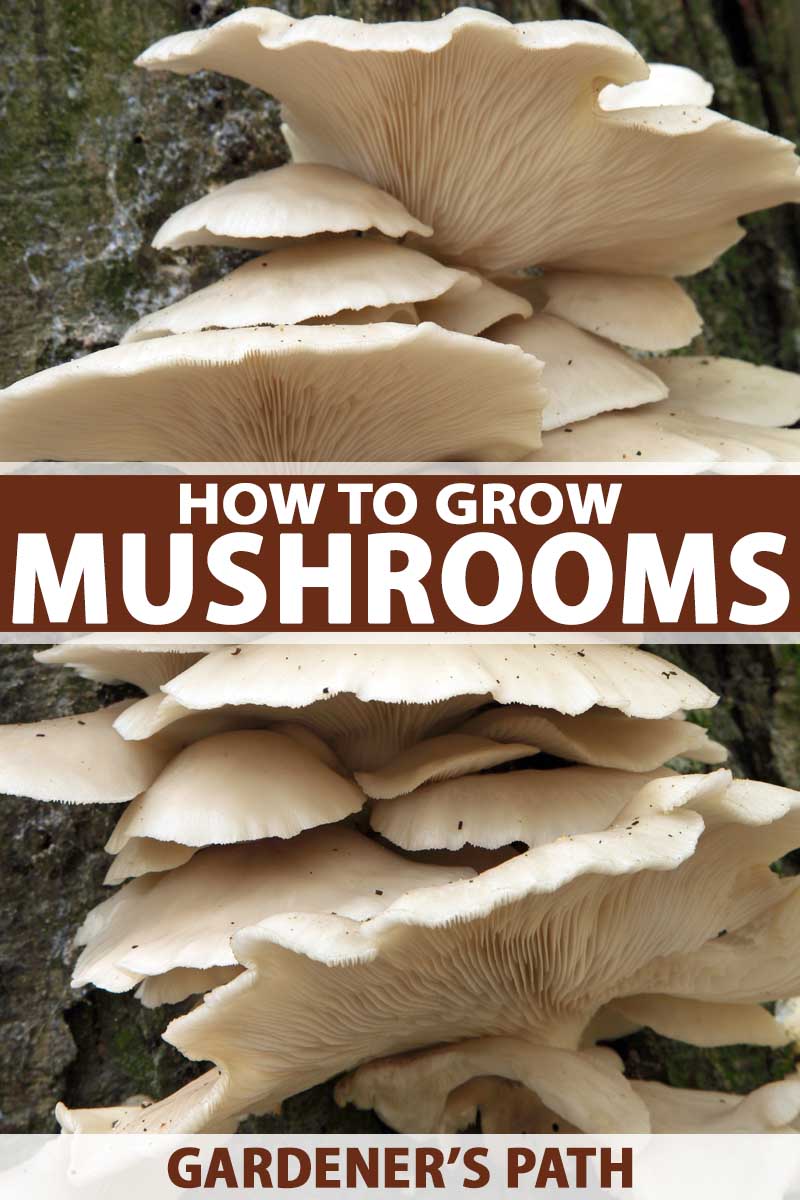
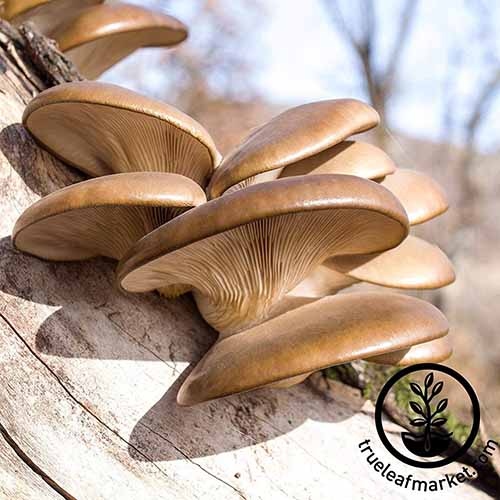
Phoenix Oyster Mushroom Plug Spawn If you’ve never grown mushrooms before, you might want to consider starting out with oysters. This type of mycelium is known to grow robustly, and is versatile enough to thrive in many different temperature ranges and climates. Shiitake mushrooms are another easy-to-grow option.
Mushroom plugs Freshly cut stump, or logs cut three to four feet in length Drill 5/16th steel drill bit Rubber mallet Soy wax Small foam paintbrush
Pretty easy so far, right? Keep reading to find out what to do next!
Mushroom Plugs and Wood: A Perfect Match
One important detail that you need to remember: in nature, certain mushrooms grow better on or in certain types of wood. Some fungi prefer hardwoods such as oak, maple, or elm. Some choose to grow on softwoods like spruce, fir, or pine. Select the type of mushrooms you want to grow and then research what kind of wood is a match. You can refer to the following chart for some common mushrooms, and their favorite growing mediums: It’s important to find the right fit to ensure proper growth and a great harvest. Another important thing to mention is that the recently cut logs must come from healthy trees and show no signs of deterioration. It is essential for the mushroom spawn to have a healthy tree to live in and colonize. If you cut your logs, be sure to let them sit for about two to three weeks to give the wood time to age. But don’t wait too long – you cannot use logs and stumps more than six months old because they probably already have lichen and fungus inhabiting them.
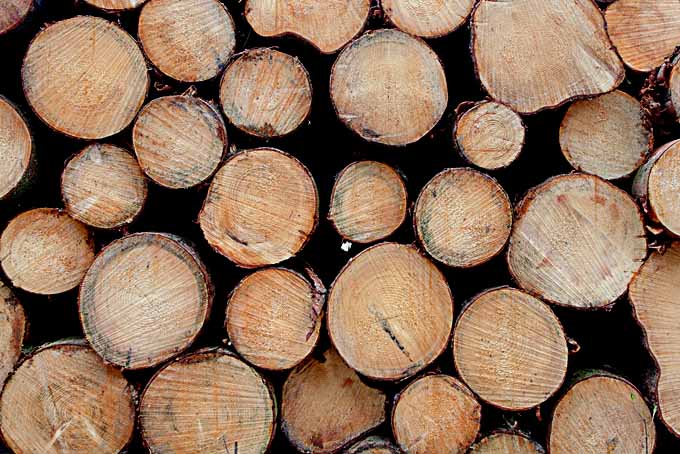
Notice the logs in this picture look fresh. They don’t have very much discoloration, lichen, or fungus growing on them. That’s key. You want your plugs to have an easy time settling in and setting up their living space. New logs make it very easy for them to do just that.
Let’s Do This!
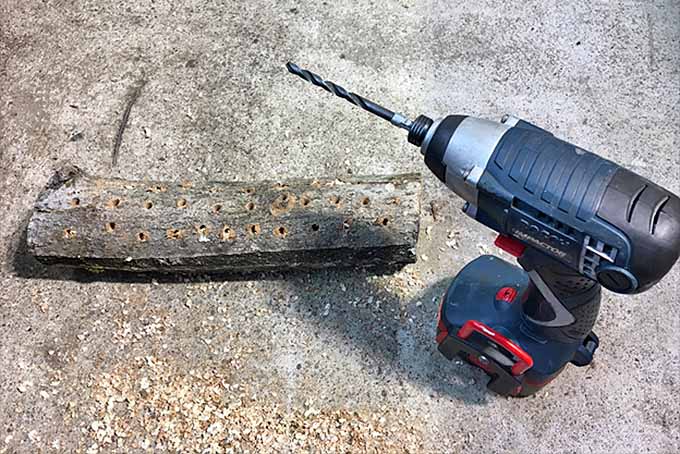
Time to drill your holes. If you have chosen a newly cut stump, use your drill and drill bit to drill holes all around the top and sides of the stump, pushing the drill about one and a quarter inches in, to create enough space for each plug to fit snugly. A stump will usually hold up to fifty plugs. If you are using logs, drill holes all along the length of the logs in rows, keeping each hole about an inch apart. Again, you can fit about fifty plugs in one three- to four-foot log.
Hammer Them In
Here’s the fun part. This process is known as inoculation. Grab your bag of mushroom spawn plugs and open them up. Sometimes they look fuzzy, which is the mycelium growing and colonizing the wooden dowels. These little guys are healthy and ready to start working on your logs, stumps, or whatever growing medium you choose for cultivation. Grab your mallet and a plug. Put the tip of the plug in one of the holes and gently tap it into place, making sure to get the entire plug in the log. The dowels are soft, so they might squish sometimes. As long as that plug spawn gets into the hole, it will work. Repeat until all of your plugs are inserted.
Seal the Deal
The next step is to cover the holes with wax, which helps to keep the mycelium safe, clean, and protected. Heat up a small amount of your soy wax, either in a double boiler on the stove or in the microwave. Using a small foam paintbrush, cover each hole with hot wax.
Stack It Up!
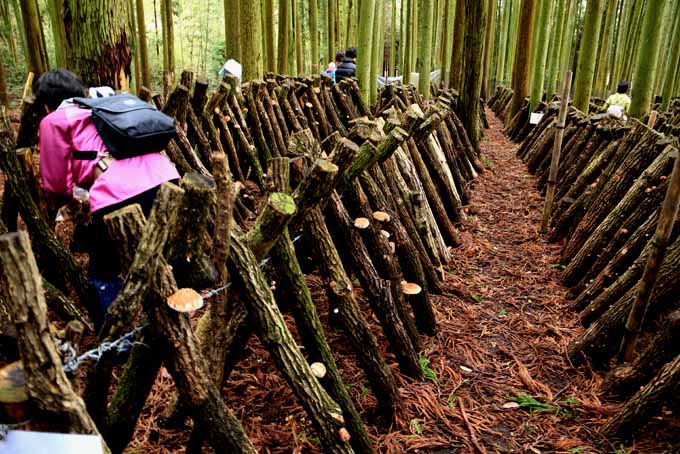
If you are using logs, you can stack them or prop them against something. They just need ventilation and ample opportunity to absorb moisture.
I stack mine like Lincoln Logs. The stack is about 3 feet tall and sturdy, so that it can withstand the elements. It’s important to place your logs in a spot that isn’t always sunny, so they won’t dry out too quickly.
Like I said before, I chose to place my wood stack under a stand of evergreen trees so they would be shaded and well ventilated, but still have the opportunity to get wet on occasion.
The Power of Water
During the beginning phase of this process, when the spawn is slowly colonizing its new home, moisture is crucial. You need to water your logs or stump for the first few weeks until you see that the wood is absorbing the moisture. After that, allowing the wood to seek its moisture is fine – unless you live in an arid climate. If you’re located somewhere hot with low humidity, keep watering every week!
In the hot New England summer, I water my logs once a week. You’ll know if they need to be watered by how dry they look, so plan accordingly. Treat it like a garden, and it will grow in kind.
How Long Will It Take?
Mushrooms generally grow very slowly. Cultivating mushrooms outdoors takes longer than growing them indoors, because you are replicating natural growing conditions for the spawn. Depending upon the type of mushroom you choose to grow, you could see evidence of growth in as little as six months – or as long as two years.
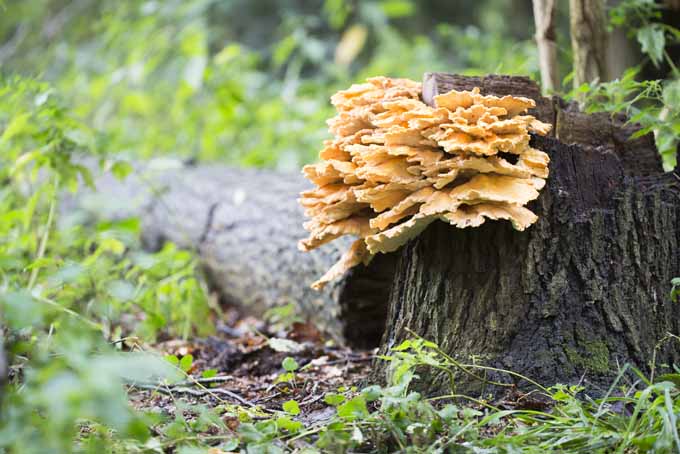
I opted to grow chicken of the woods because they are delicious, and I almost never find them when I am in the woods myself. After over a year, I am beginning to see actual growth!
It’s a slow process, but so worth it. Keep in mind that a mushroom colony can last for years when it’s healthy and thriving, ensuring a supply of delicious mushrooms whenever you want them, right in your backyard.
Mycelia Madness!
Once you have cultivated your first batch of mushrooms successfully, chances are you will want to grow more. Take the time to experiment with different species and different growing mediums. Growing in stumps and logs is just one way to do it.
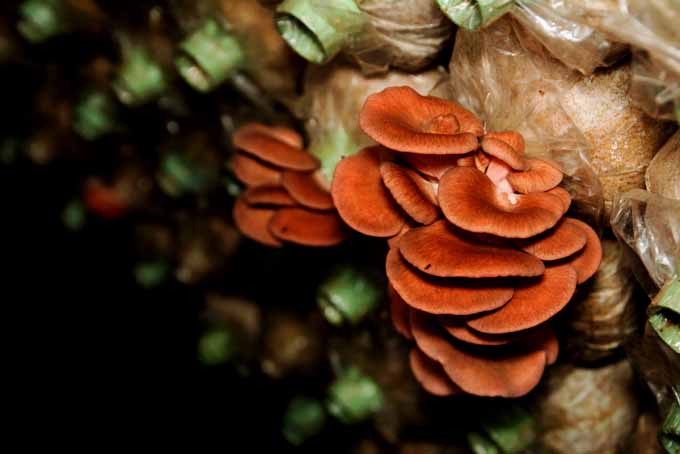
There are other mediums – such as hardwood chips or hardwood sawdust – that can also be a wonderful way to grow mushrooms. When placed in burlap bags or plastic bags with holes punched in them, the mushrooms will grow right through the bag! This method is often used for more commercial cultivation.
Homegrown Fungi on Demand
Even though foraging for edible mushrooms is like going on an adventure, the excitement that comes with cultivating and harvesting your delicious crop, which will continue to grow and thrive for years to come, gets pretty close. What type of mushrooms do you want to grow at home? If you’ve tried it before, what are your favorite methods, and what are some setbacks that you faced? Tell us your stories in the comments below. We’d love to hear them. Photos by Leslie M.G. and graphic by Gretchen Heber, © Ask the Experts, LLC. ALL RIGHTS RESERVED. See our TOS for more details. Product photos via Agarikon Press and Mushroom Mojo. Uncredited photos: Shutterstock.
