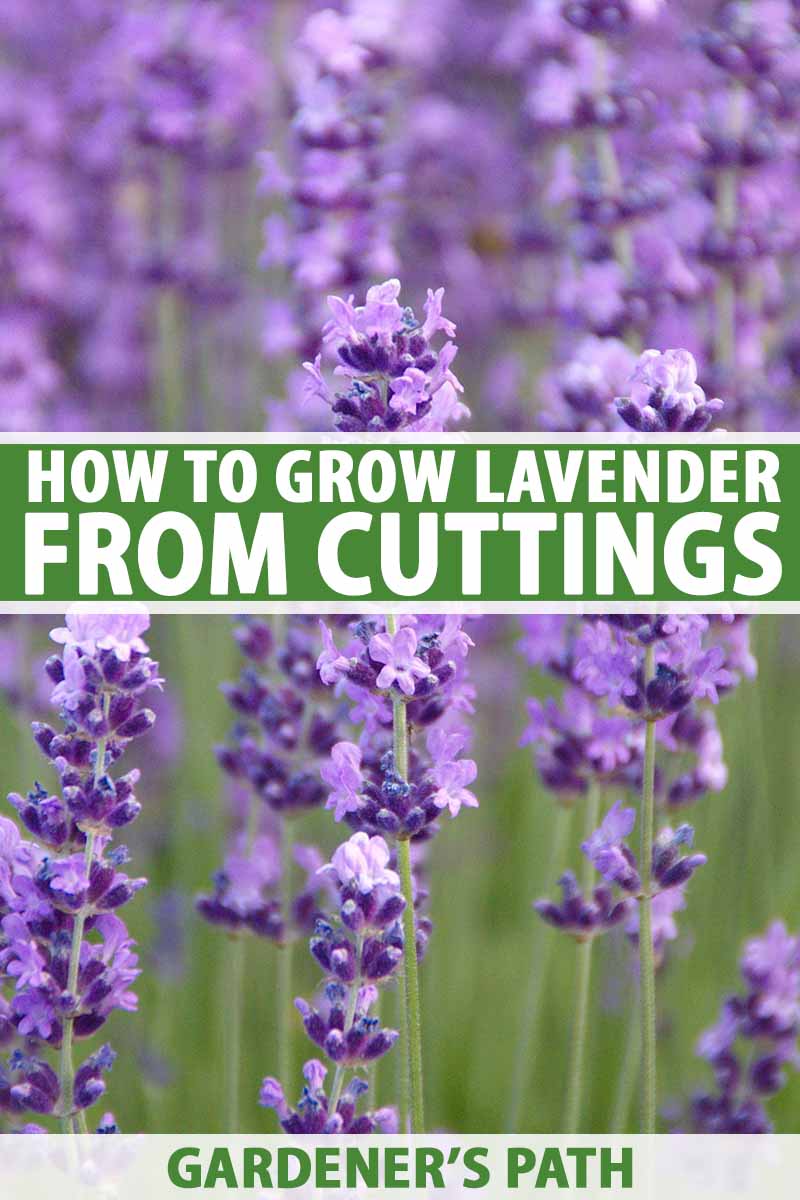
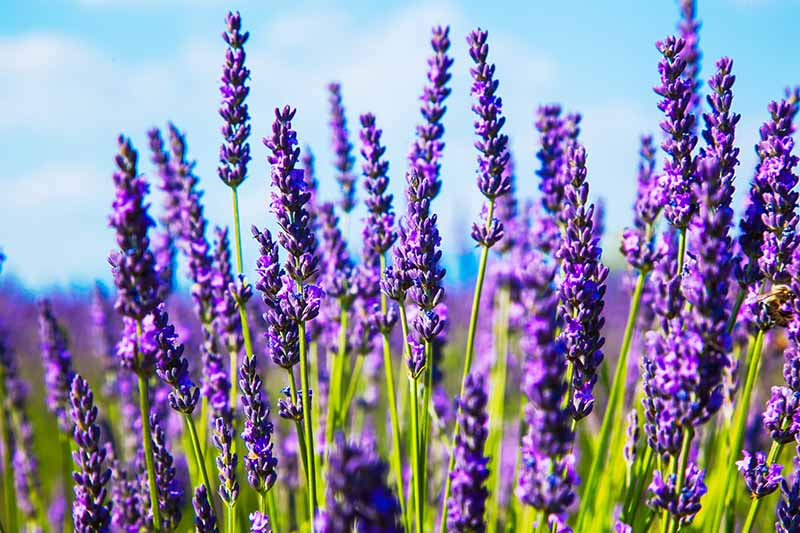
A fragrant favorite in flower beds and herb gardens, this striking perennial is versatile in many settings, from formal borders to naturalized wildflower gardens. The pretty flower heads are mostly available in shades of mauve to purple, but there are blue, pink, and white varieties as well. Lavender’s scent is beloved worldwide, with its aromatic essential oils widely used in aromatherapy as well as in the fragrance and toiletry industries. We link to vendors to help you find relevant products. If you buy from one of our links, we may earn a commission. Unfortunately, lavender seeds are painfully slow to germinate, and so purchasing seedlings is usually a more reliable way of adding these beauties to the garden. But the good news is, they’re wonderfully easy to propagate from cuttings! And in a few short weeks, you can have new plants ready for the garden. Plus, with stem cuttings, your new plants will always be true to their parents. Learn more about how to grow lavender in your garden with our full growing guide. Join us now as we cover all the info you need on how to grow lavender from cuttings.
A Lavender Primer
Lavender (Lavandula spp.) is a member of the Lamiaceae family, and close herbal relatives include basil, mint, rosemary, and sage. A long-lived herb, plants are semi-woody and grow to an average 2 to 3-feet tall at maturity. The four main types for the home gardener are English, French, Spanish, and Lavandin hybrids.
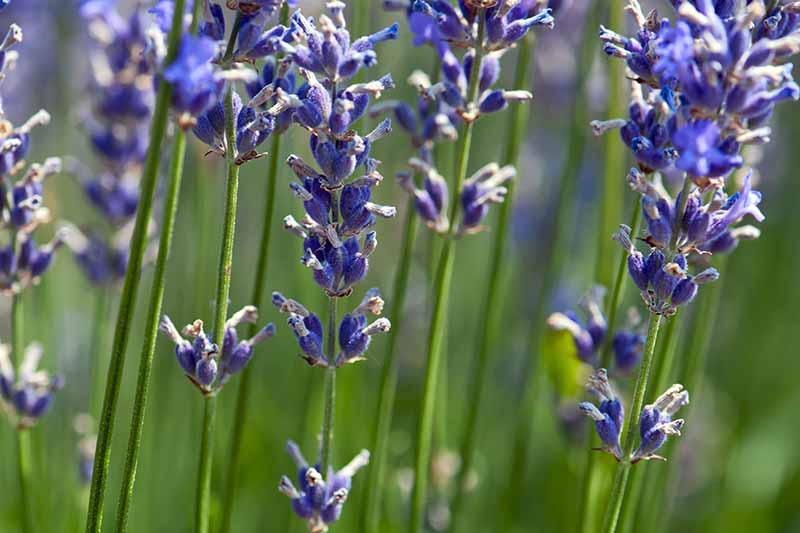
English (L. angustifolia)
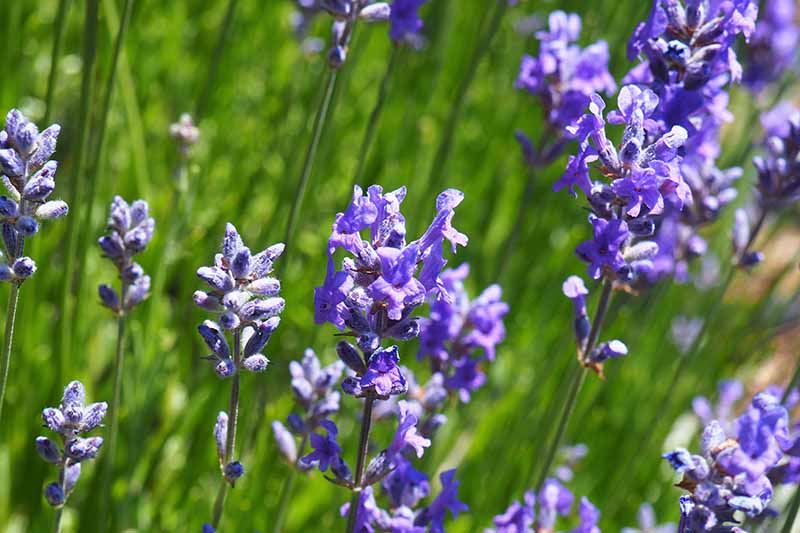
English varieties are probably the ones many of us are most familiar with. Blooming from late spring to midsummer, they flower in shades of mauve, pink, purple, and white. The aromatic oils of L. angustifolia are of a superior quality to all other Lavandula species, and this is the most commonly used variety for culinary purposes. Plants form attractive mounds with bluish-green leaves and are the hardiest of all types, suitable for growing in USDA Hardiness Zones 5-10.
French (L. dentata)
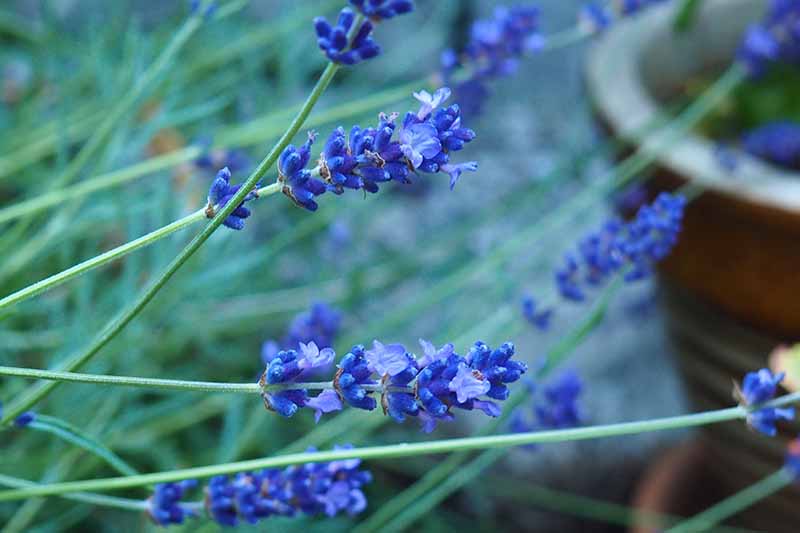
French varieties aren’t always as showy as their English or Spanish kin, but they produce a steady display of flowers from July to September. Flowers are pale blue, mauve, or white, with distinctive flag-like petals. The highly fragrant leaves have noticeable, serrated edges. French types fare better in hot and humid conditions than English varieties, but require protection from frost. They are hardy in Zones 8-10.
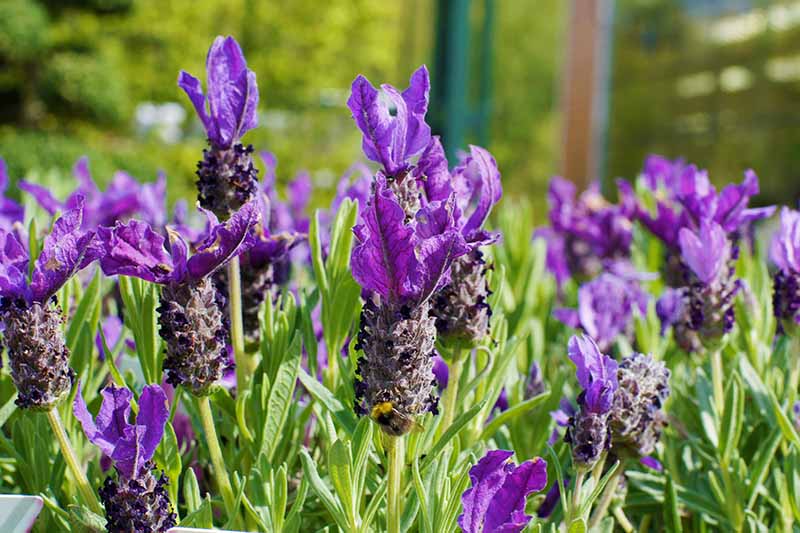
Spanish (L. stoechas)
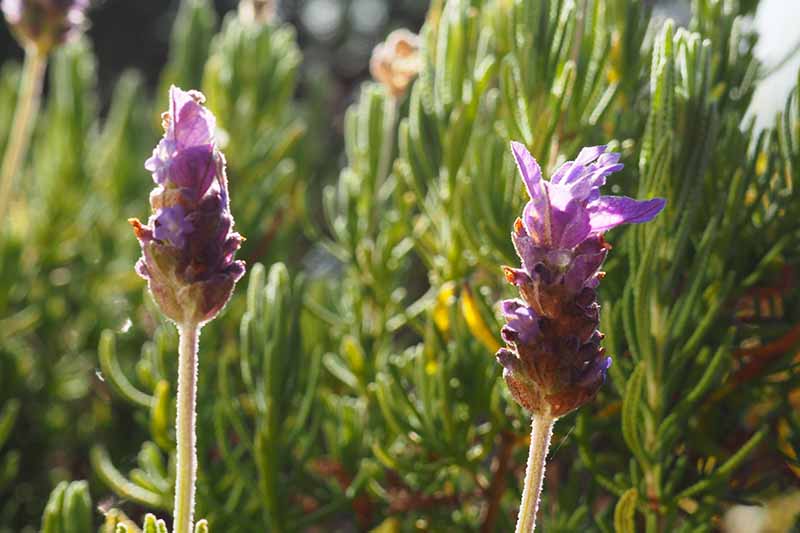
Spanish varieties are attractive ornamentals with beautiful silvery leaves and distinctive pineapple-shaped flower heads topped with bunny-ear petals.
Flowers bloom in hues of blue, mauve, and deep pink, and their fragrance has a noticeable eucalyptus tone. They bloom in late spring with a second flush in early summer – and even a third, late summer flush in areas with mild winters. Spanish varieties are the most tolerant of heat and humidity. But they are frost tender and hardy only in Zones 8-11.
Lavandins (L. x intermedia)
Lavandins are English hybrids, hardy and hard-working. A cross between L. angustifolia and L. latifolia, they have all the fragrance and toughness of English types but grow faster, form larger mounds, and have longer flower stems.
Cold-hardy, they are also resistant to fungal diseases in hot and humid climates. The large, gray-green leaves are highly fragrant, as are the long, tapered flower heads that bloom in shades of blue, mauve, purple, and white. Lavandins begin to flower in early summer just as the English types are finishing, nicely extending the season. They are hardy in Zones 5-10.
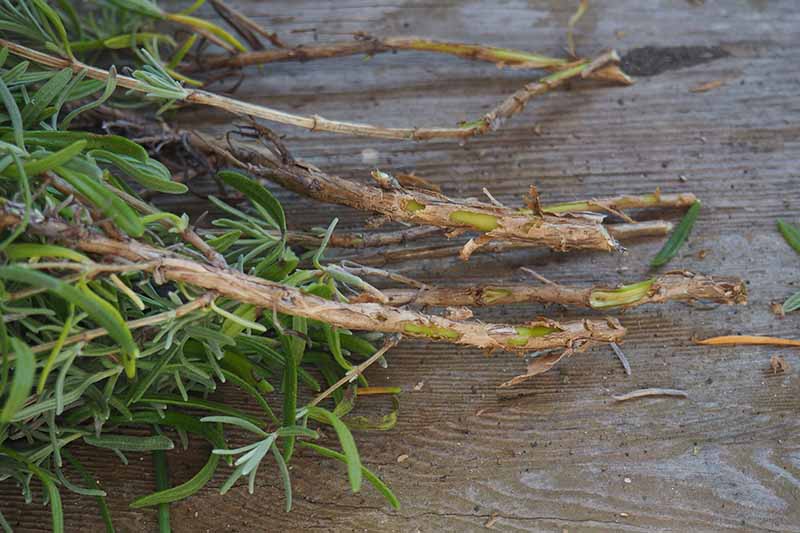
Softwood or Hardwood Stems
Plants can be started from either hardwood or softwood stems. Softwood cuttings are taken in spring from the soft tips of new growth. These will root quickly, usually within 2 to 4 weeks, but they aren’t as reliable as cuttings taken from hardwood. Hardwood is the mature wood from the previous season that has become semi-woody, with stems that are thick and less pliable. Hardwood is more resistant to bacterial infections and problems such as damping off. Hardwood stems can be clipped any time from spring to fall, and cuttings should be taken from healthy, straight stems. Always choose stems that show good color, vigorous growth, and have no buds or flowers – so that the cuttings concentrate energy into root formation. Using a sharp, clean knife or garden shears, snip stems measuring 4 to 8 inches long, cutting just below a leaf node. Strip all the leaves from the lower 2-3 inches and gently scrape off the outer skin in a few spots at the base of stems. To do this, lightly scrape the stem with your knife until a few slivers of green wood are revealed, about a 1/4 inch wide and 1/2 inch long. Dip the cut, bare stem ends into powdered rooting hormone, and set aside while you prepare the containers. For a variety of reasons, not all cuttings will root successfully every time. Always cut a few more than you require.
Pot Them Up
Add your favorite drainage material – such as broken pottery, coconut coir, or small pebbles – to a 6-inch pot, then fill it with a commercial potting medium or mix your own. All lavender plants require well-draining soil and benefit from the addition of grit. A blend of 1/3 vermiculite, perlite, or peat moss, 1/3 well-aged compost, and 1/3 coarse sand or very fine pebbles for grit. Insert the dipped, cut ends of the stems around the inside perimeter of the pot to a depth of approximately 3 inches. Add 3 or 4 stems to a 6-inch pot, then firm the soil around them so that the cuttings are steady and upright. Water gently, then cover with a plastic bag to make a mini greenhouse that will retain moisture and humidity. Secure the bag in place with garden twine or a large elastic band. A glass or plastic cloche placed over the container will also work. Set the pots in a warm, lightly shaded location that’s protected from afternoon sun – the greenhouse can quickly cause tender cuttings to cook in hot, direct sunlight. Or indoors, set the pots in a cool, south or west-facing window that gets at least 6 to 8 hours of bright, indirect light each day. After a couple of weeks, snip a 1-inch hole in the top of the bag to improve ventilation. Remove the plastic bag when the cuttings have formed roots, in approximately 4 to 6 weeks. Test roots by gently tugging on the stems – if roots have formed, you’ll feel some resistance. If no resistance is felt, check back in a couple of weeks. Allow roots to form for another few weeks before planting out or potting up. If the stems fail to root after 8 to 10 weeks, pull them up and discard them, and try again!
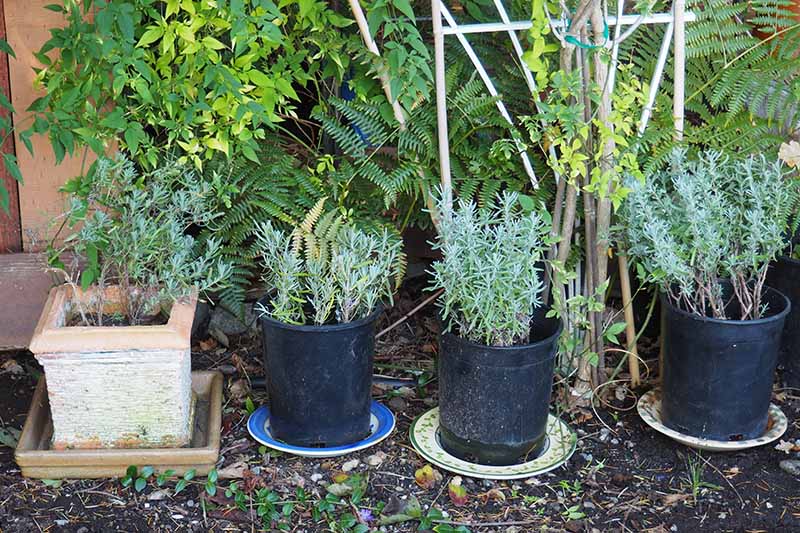
Winter Care
Fall cuttings can be left in their pots and kept in a sheltered location where they’ll be safe from freezing temperatures. Cold-tolerant English varieties can be left outdoors with 3 to 4 inches of straw mulch around them. Cold-tender French and Spanish varieties can be brought into an unheated garage or potting shed if needed. Or, once they’ve rooted, transplant them to individual containers as described above, using a soil rich in organic material with added sand or grit to ensure it drains freely. Reduce watering during the winter, but don’t let plants dry out. When temperatures start to warm up, move the pots into a sunny location until ready for planting.
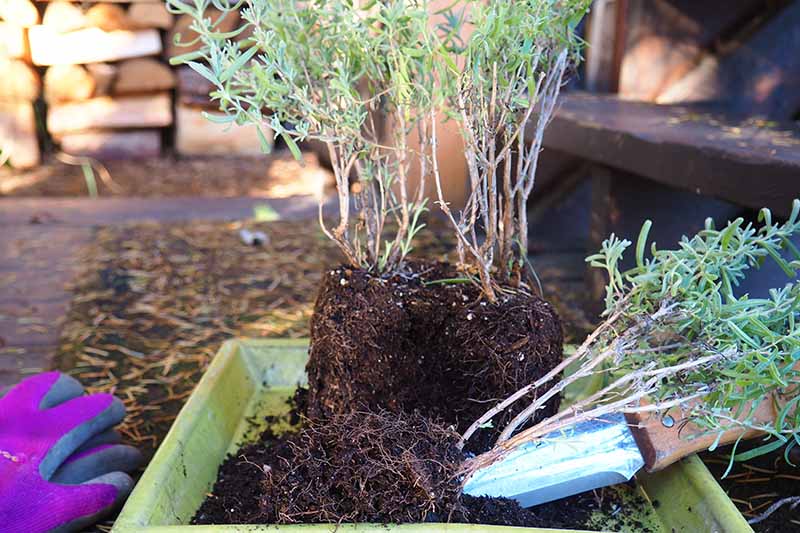
Plant Out in the Garden
Summer cuttings can be planted out into the garden until approximately six weeks before your first average frost date. This gives them a chance to establish a strong root system before cold temperatures take hold. For cuttings taken in fall, plant out in spring once warm temperatures arrive and all risk of frost has passed. Remove the root ball from the pot and gently separate the roots of individual plants. Lavender thrives in well-drained soil with a sandy or gravelly texture and a pH of 6.0-8.0. Other critical requirements include a full sun location and good air circulation. In regions with high humidity, root rot from fungal infections can be a problem. Choose pea gravel or crushed rocks as a mulch instead of moisture-retentive materials like straw or compost, which can trap too much moisture around the base of the plants. In all regions, keep mulches a couple of inches away from the stem base and crown.
Choose hardwood stems for a higher success rate, and provide protection against freezing for cuttings taken late in the season. And remember to start plenty – yearling lavender plants make great gifts, and can be a valued bartering chip at your local plant exchange! If you enjoyed this read, be sure to check out some of our other guides to growing herbs. Here are a few that might interest you:
Rosemary: How to Grow this Classic Garden Herb How to Grow and Use Lemon Balm How to Grow Bee Balm: Bring Out the Hummingbirds! How to Grow Horehound
Photos by Lorna Kring © Ask the Experts, LLC. ALL RIGHTS RESERVED. See our TOS for more details. Originally published on January 7, 2020. [lastupdated]. Uncredited photos: Shutterstock.