Most varieties available to the home gardener are hybrids of the Helleborus x orientalis species, aka Lenten rose, and are commonly referred to under the collective umbrella Helleborus x hybridus. You may find articles on cultivation, propagation, division, and seed collection here, if you have not already read them. We link to vendors to help you find relevant products. If you buy from one of our links, we may earn a commission.
Planting Seeds: Surprises Await
The seeds from hybrids do not produce “true.” This means that they do not produce clones of the parent plant from which they come.
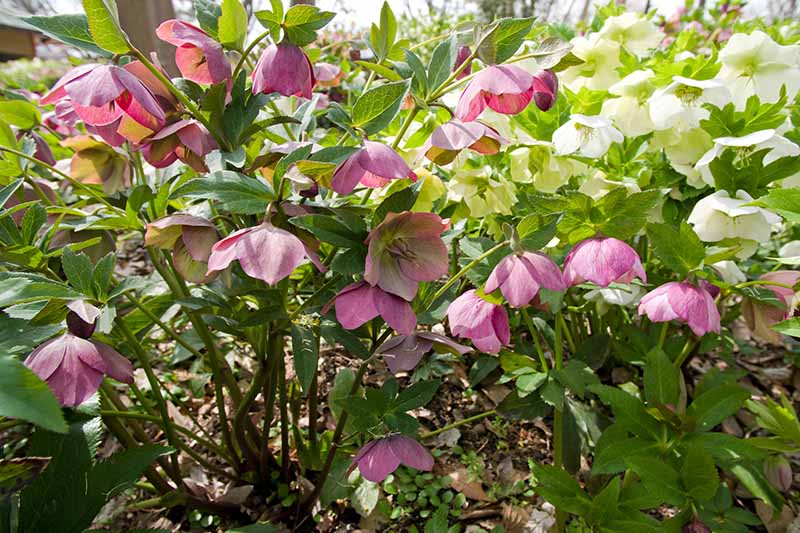
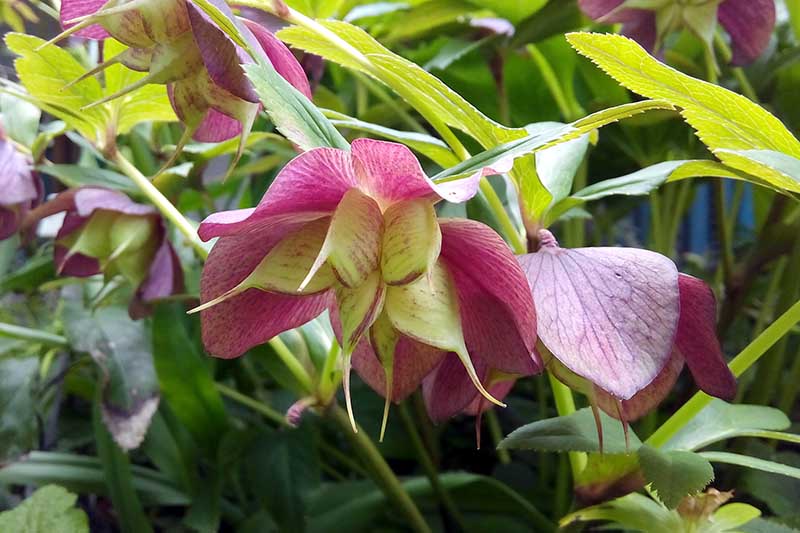
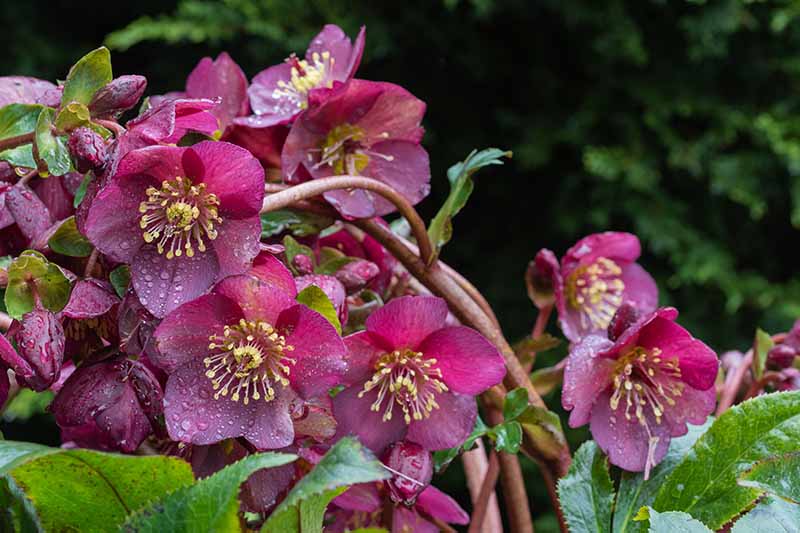
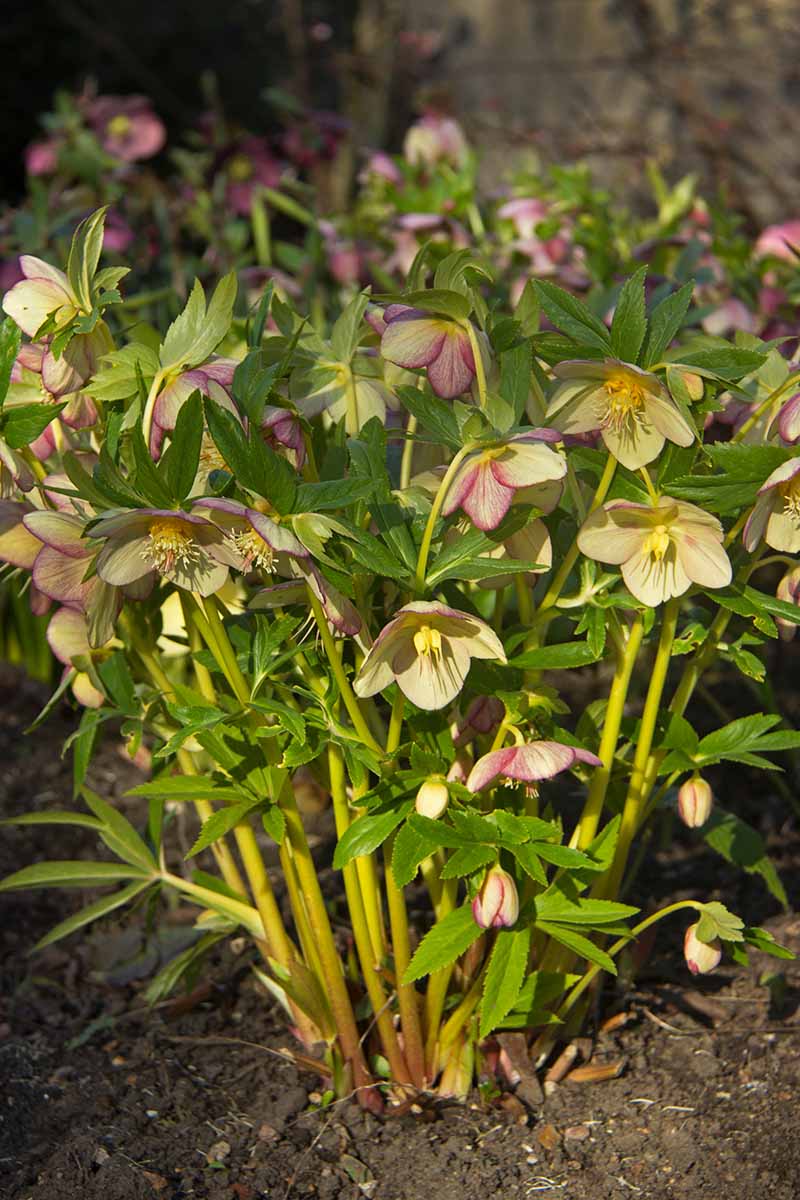
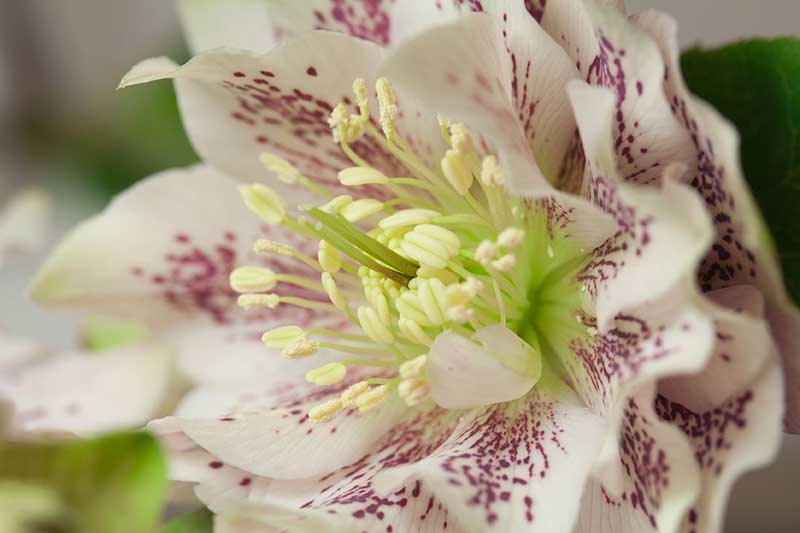
Instead, they produce plants with a variety of characteristics in one or more colors, ranging from white and cream to yellow and green, pink and purple, or even dark burgundy. In addition, they may be “singles,” with one row of colorful sepals surrounding a nectary, or “doubles,” with one or more rows of petals within the outer sepals. And finally, the petals may be ruffled, or have eye-catching markings such as contrasting speckling, streaking, veining, or a type of edging often referred to as “picotee.” For the home gardener to get an exact replica of a favorite plant, you’ll have to divide it, or grow harvested tissue in a lab, a feat beyond most of us.
However, if you’re not particular about color, and enjoy the excitement of wondering what will appear, I highly recommend starting out with purchased seeds, and then collecting the seeds from your own plants to grow your own hellebores wherever you like. Read on for seven tips for successful seed planting!
How to Grow Hellebores from Seed
Growing hellebores from seed is an easy and economical way to inject color into the late-winter garden. Here are seven tips for success.
1. Label Planting Sites
Unlike annual seeds that you sow in the spring for a summer bloom, hellebore seeds generally go into the ground at the end of summer, when other plants are fading and garden cleanup is underway.
Take the time to mark where you’ve sown seeds. Use an indelible pen to write “hellebore” on a plastic spoon or popsicle stick, and push it firmly into the ground. This way, even after the leaves fall and the snow flies, you’ll know not to disturb this nursery area.
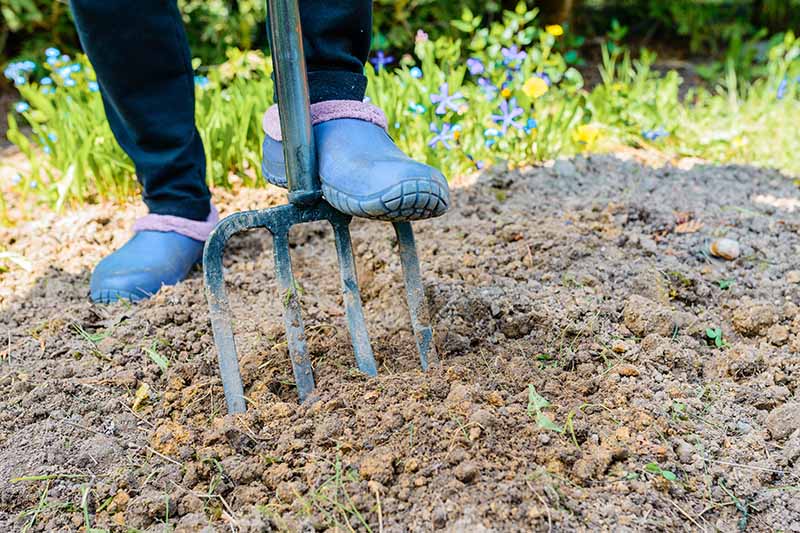
2. Work the Soil Deeply
Provide at least 18 inches of soil depth to accommodate the hellebore root system.
Use a garden fork to work the soil to a crumbly consistency. Add compost and/or sand as needed to achieve a loamy, organically-rich mixture. Soil that is loose and airy allows plenty of room for plants to spread their roots and nourish themselves. It is also less likely to become oversaturated, which can cause rotting.
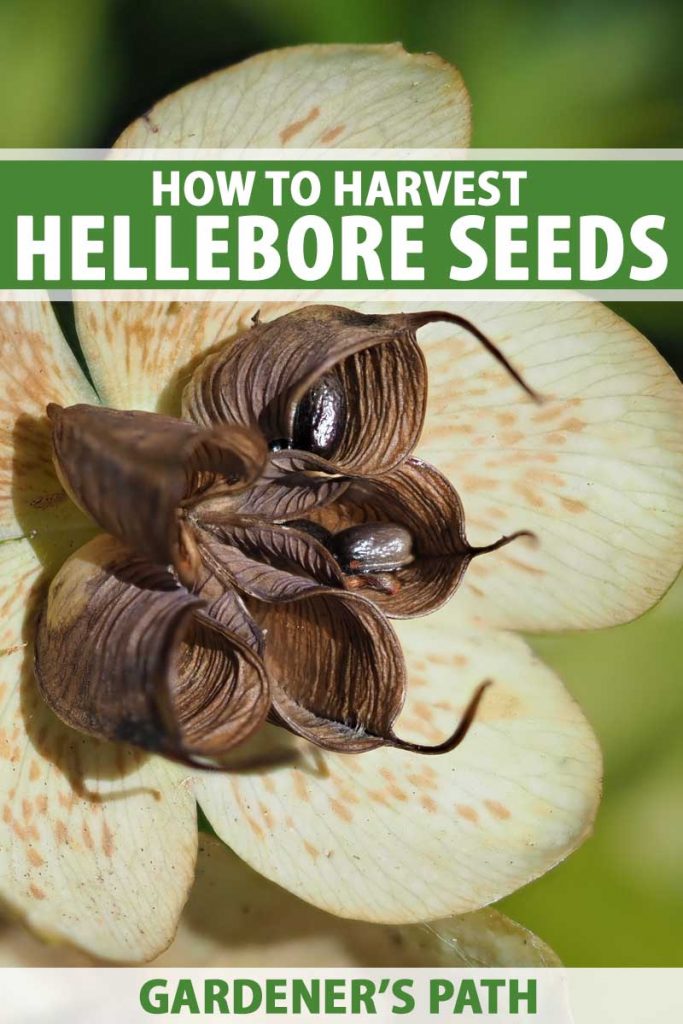
3. Sow Freshly Harvested Seeds
While there are infertile hybrids, most hellebores set seed that is ready for harvest in mid- to late summer. Uncollected, the seeds mature and fall, producing tiny seedlings and effectively expanding the plant’s presence in the garden. If you prefer to minimize self-sowing, collect the seeds to sow where you like. Unlike some seeds that remain viable for years, Lenten rose seeds generally don’t. For those types that do last for longer periods, germination can require several years to take place.
For best results, sow seeds as soon as possible after they’re harvested. If you don’t have your own plant(s) yet, purchase seeds of the most recent harvest from a reputable purveyor. For a real treat, take a look at these hellebore varieties, and choose your favorites. The best time for planting hellebore seeds and seedlings is from early spring to late summer. Direct sow in prepared garden beds. A few weeks in the warm ground followed by a cold chill are all that’s needed for germination in late winter. If seeds are obtained outside this timeframe, you may choose to start them indoors or in a greenhouse, to be transplanted outdoors in early spring. For seeds that are more than a year old, moist cold stratification – a process of mimicking the cold, wet days of winter – may foster germination.
4. Don’t Bury the Seeds
The general rule of thumb when sowing seeds is to measure their width, and plant them to a depth that is no greater than twice this measurement. Sowing too deeply may inhibit germination and increase susceptibility to rotting.
Here are three ways you can plant:
- Moisten the soil, sprinkle the seeds on top, and gently press them down to secure them.
- Sprinkle the seeds, cover them with the barest layer of soil, and gently moisten them.
- Sprinkle the seeds, cover them lightly with sand or fine gravel, and water lightly. The third method has the added advantage of inhibiting fungal growth and deterring foraging wildlife.
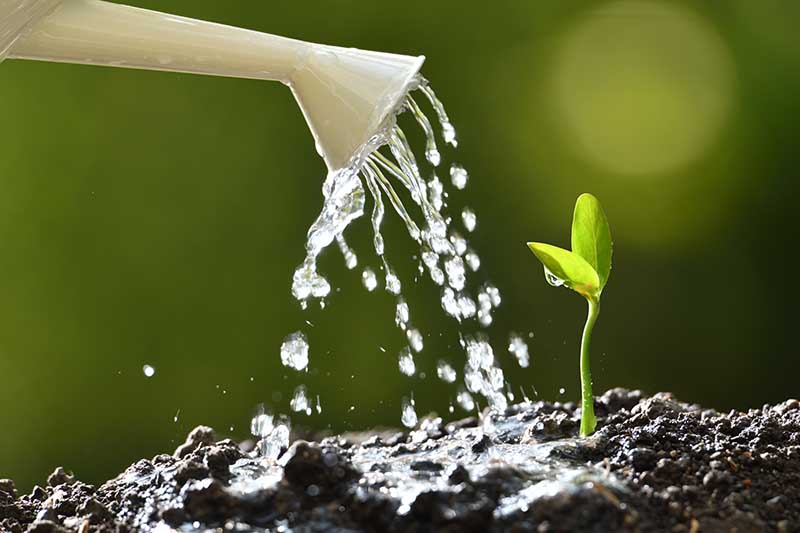
5. Manage Moisture Well
The moisture balance for hellebores is challenging to maintain. It needs to be consistent.
If conditions are too dry, germination and seedling growth may stop altogether. If the soil is too wet, plants may be eaten by slugs or succumb to damping off, a deadly fungal condition. Be sure to choose a location with loamy soil that drains well. As described above, mix in some sand if necessary, to ensure that the ground does not become soggy. Never let seeds and seedlings completely dry out.
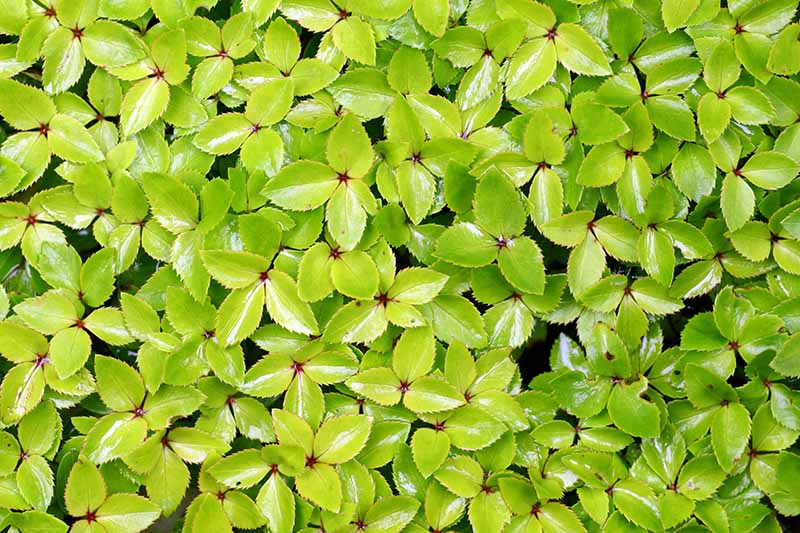
6. Provide Optimal Airflow
Hellebore seeds are approximately 3/16 of an inch long and 1/8-inch in diameter, seeds this tiny are generally sprinkled willy-nilly over the soil. This is fine at the outset. However, once seedlings have their first trio of true leaves, “show-no-mercy” thinning is in order.
To prevent unwanted moisture buildup, seedlings need at least 18 inches between them to grow into mature plants. Crowding is another culprit in the formation of fungal infections that can cause the much dreaded damping off.
7. Mulch With a Wide Berth
Mulching Lenten roses when they make their debut each year can be beneficial. Where even moisture is required, mulch can aid in its retention.
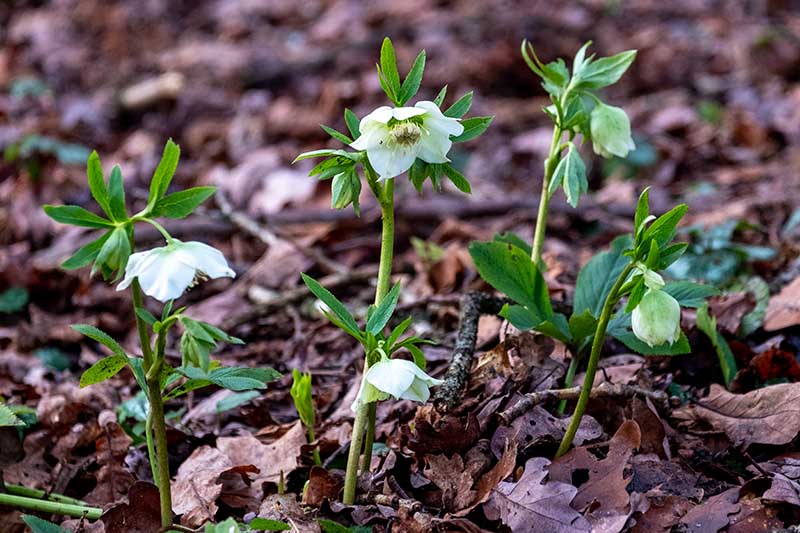
After seedlings have true leaves and have been thinned to at least 18 inches apart, apply a one-inch layer of mulch around, but not touching, the fledgling plants. Any of the finer mulches will do for such small scale placement, including coconut coir, or shredded leaves. This way, there’s little chance that wet mulch will rest against plant tissue, potentially damaging it and creating a breeding ground for fungus.
Start with a packet of seeds, and soon you’ll be harvesting your own to grow and share with friends. Just remember to label your sites, prepare your soil, use fresh seeds and barely cover them; manage moisture and airflow, and mulch with care. I love to see hellebores in the garden. They brighten up the tail end of a Northeastern winter with their sweet nodding heads, and whisper that spring will, indeed, come again. Get started today! Where will you plant your seeds? Between the snowdrops in the front garden, or in a drift by the road? Looking to learn more about growing hellebore flowers? Try these guides next:
How to Propagate Hellebores How to Identify and Treat Hellebore Diseases How to Identify and Control Hellebore Pests
© Ask the Experts, LLC. ALL RIGHTS RESERVED. See our TOS for more details. Originally published on February 12, 2020. [lastupdated]. Uncredited photos: Shutterstock.