Life in the Vermont mountains is beautiful. But living in a northern climate means there are many heat-loving plants that just don’t work well when they’re planted outside in my garden. Instead of giving up on all of my favorites, I decided to try the next best thing: bringing them indoors. We link to vendors to help you find relevant products. If you buy from one of our links, we may earn a commission.
Getting Started
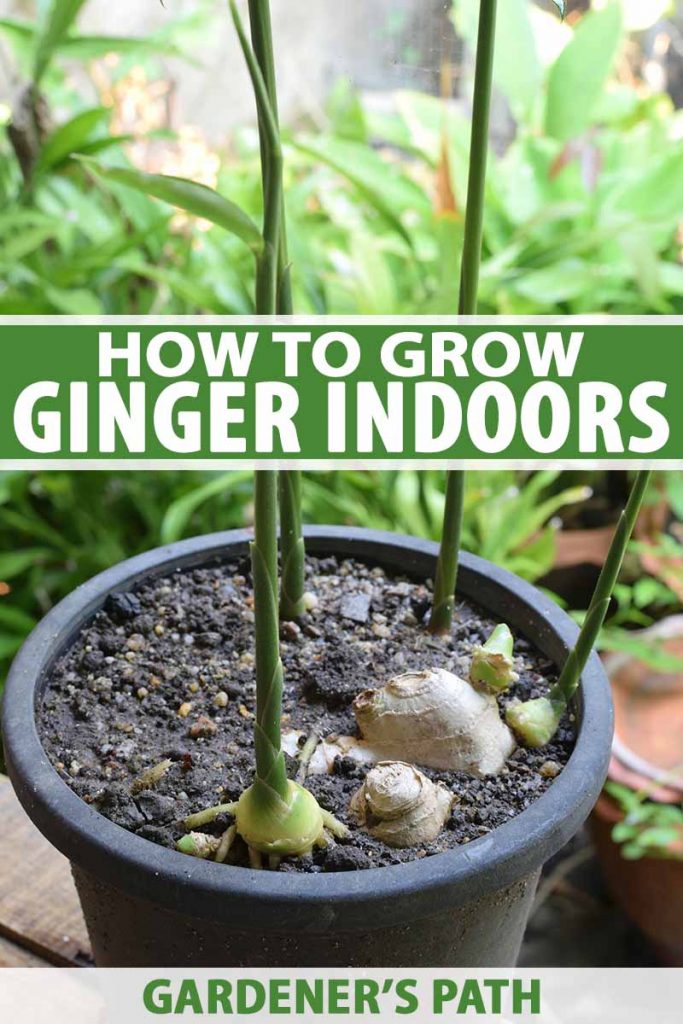
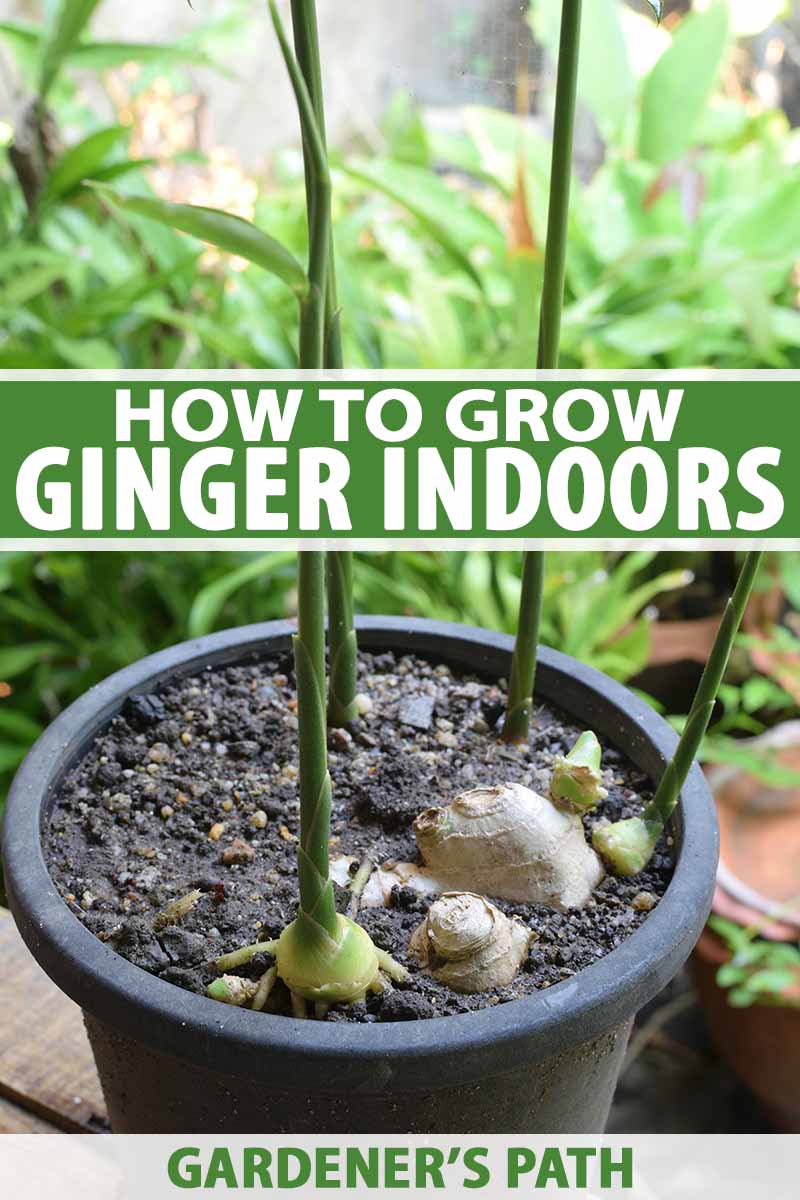
To get started, look for a large, wide planting container with good drainage holes, and a tray or saucer to set beneath it. Although it has shallow roots, this plant requires significant space to grow and spread.
A shallow pot is fine as long as it is at least 12 inches wide. It is also a good idea to find a container that is portable, as you may want to move it from place to place in your house, or outside when the warm weather returns. You’ll also need a few small stones to place in the tray or saucer that you’ll be the container on. This allows for good drainage and maintains humidity around the plant. That’s part of the beauty of growing your own ginger! You may have luck sourcing the roots from nurseries, garden centers, or seed companies. Plants are available from Burpee.
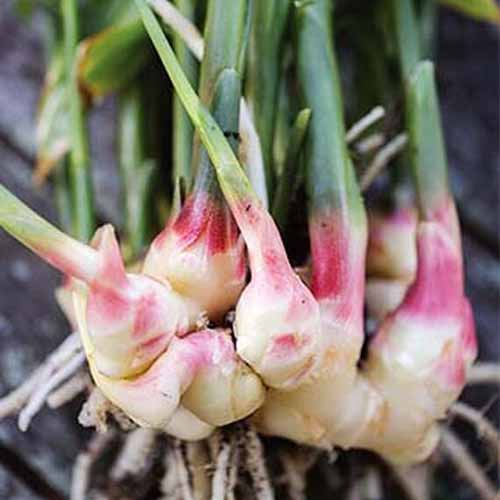
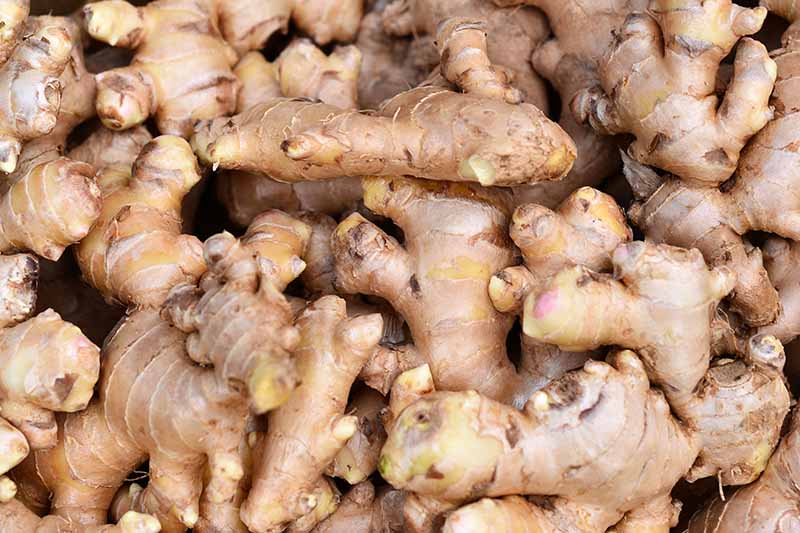
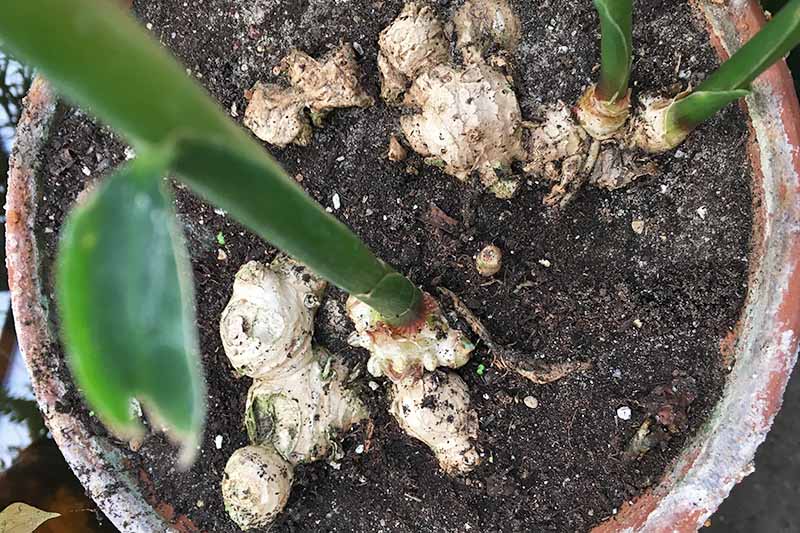
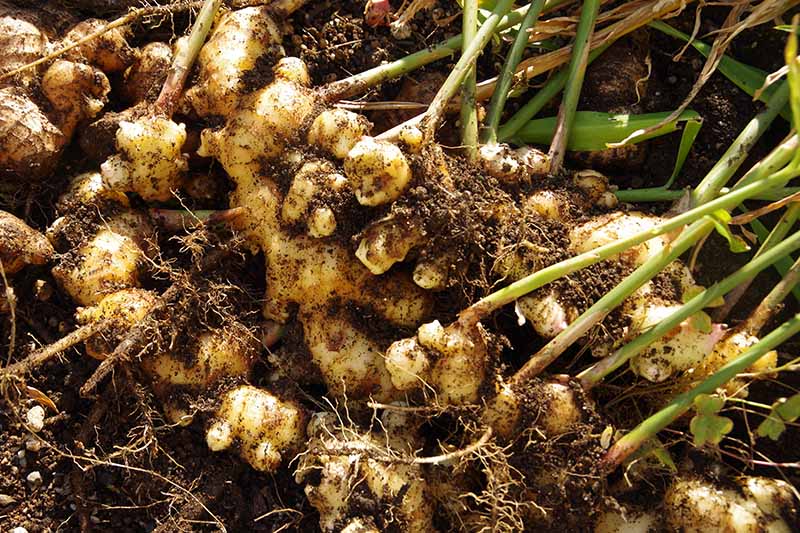
Zingiber Officionale Plants Look for roots with multiple budding eyes. These should look like little nodes sticking out from the skin, similar to the eyes of potatoes. If you have a friend with some ginger plants, ask them if they will cut off a few pieces of a rhizome for you. They will likely be happy to share. Once a supply is established, it will continue to grow and spread easily, and a few chunks of root won’t be missed.
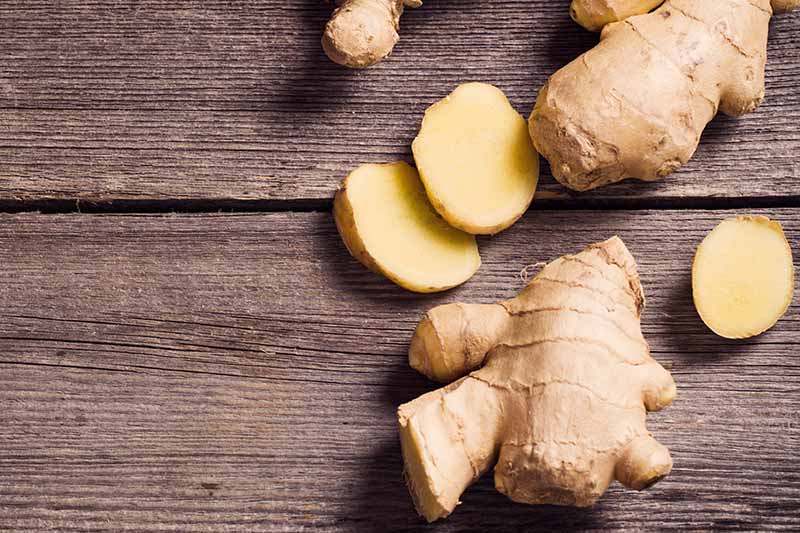
While not ideal, it is also possible to grow from roots purchased at the grocery store. The results will likely be variable and you may need to try it a few times with different roots to get a successful crop. If you do choose to use grocery store ginger, it is important to make sure that it is organic, as conventionally grown ginger is sometimes treated with an inhibitor to prevent sprouting. You’ll also need a well draining, nutrient rich potting soil. Alternatively, a coconut coir or peat moss soilless mix combined with organic compost or vermiculture would work well.
Planting
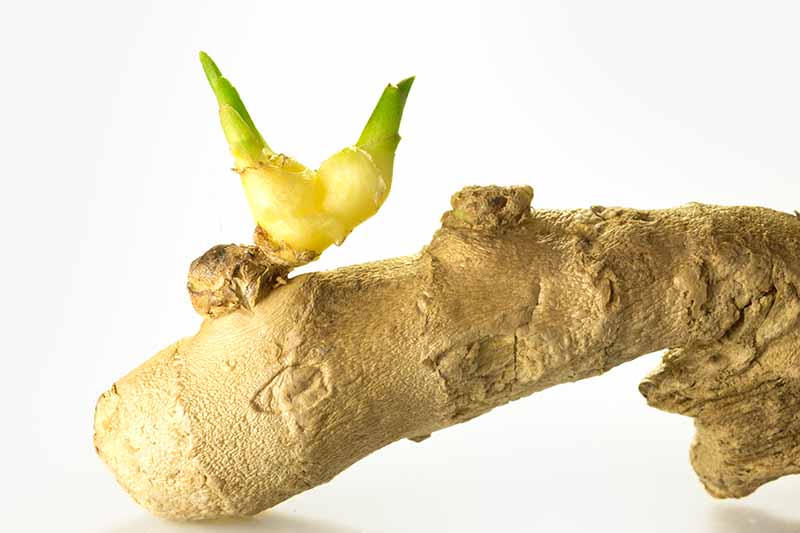
Once you have your materials, you are ready to get to planting! Start by soaking the roots in warm water overnight. In the morning, cut each root into sections, ensuring that there is at least one budding eye on each piece.
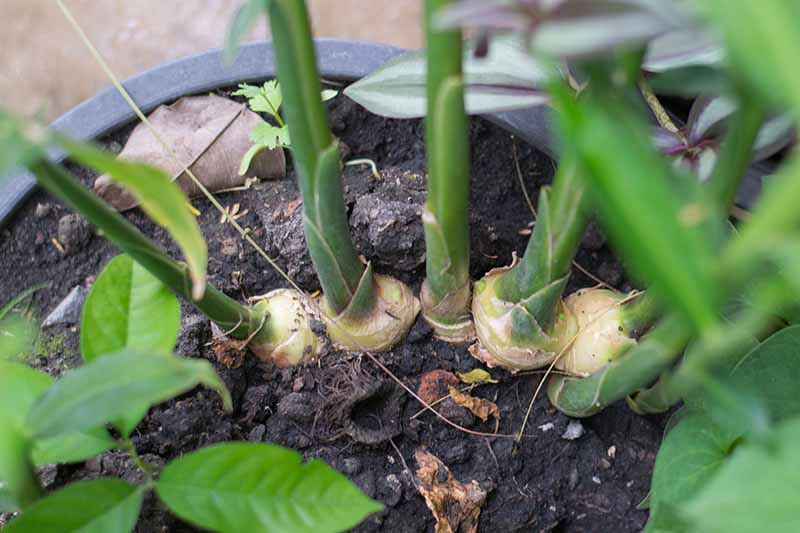
The size of each section will be dependent on the number of eyes on the root. These eyes will eventually sprout, so the more you are able to cut, the more plants you will have. Fill your container most of the way with the potting mix, and place the root sections on top of the soil about 5 inches apart with the buds pointing upwards. Cover lightly with about two more inches of potting mix, and water until the soil is moist to the touch but not wet.
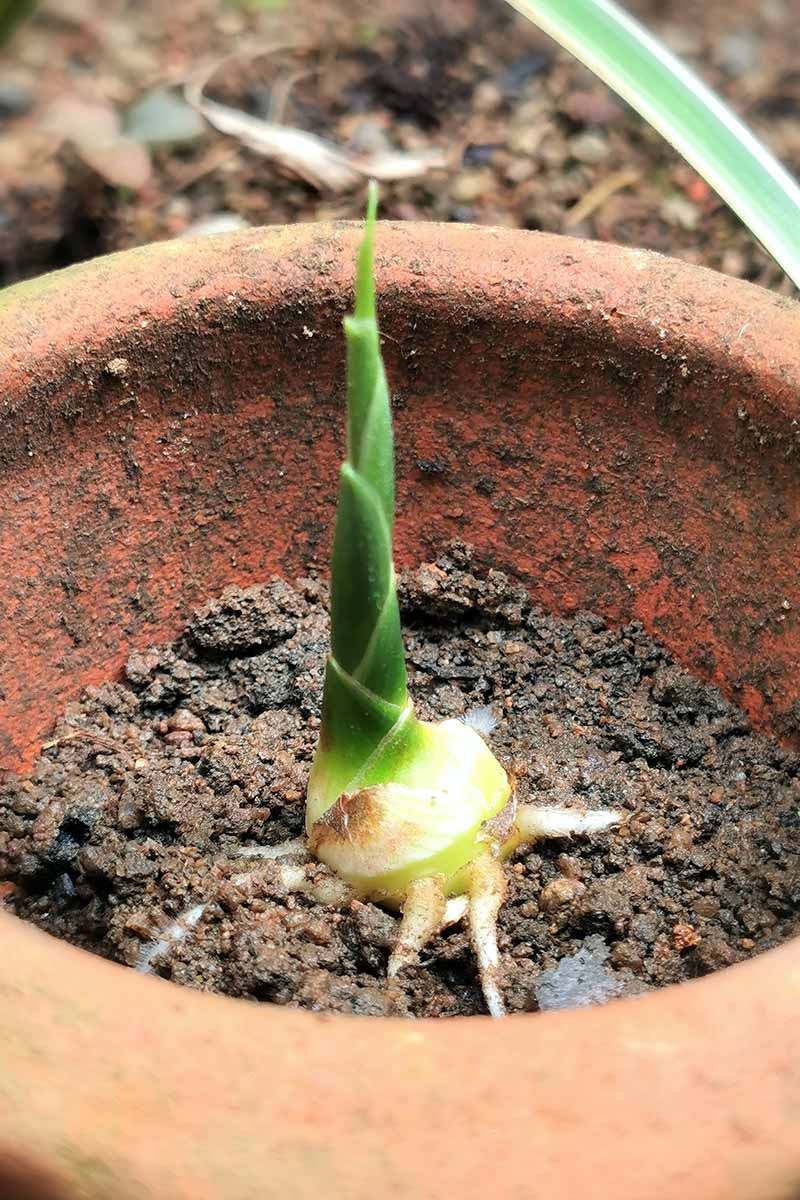
Place the container in a warm area that receives at least five hours of filtered, indirect sunlight per day. In its native climate, ginger grows in rainy, humid, and partly shaded conditions, so it does not require significant amounts of bright, direct sun. The next step is patience! This plant can be very slow to propagate. It may take from three to eight weeks for shoots to appear. Watch, wait, and keep the soil moist but not waterlogged.
As an alternative to planting in an open container, you may be able to speed up the sprouting process by creating a mini greenhouse to provide a consistently warm, humid environment. Either use a flat seed starting tray with a plastic dome, or find a plastic takeout container with a clear lid, and punch a few holes in the bottom for drainage and in the top so oxygen can get in. Fill with a couple of inches of potting soil, insert your cuttings, and add 1/2 inch more soil on top. Water well and replace the plastic lid. Keep warm and moist until you begin to see green shoots. At this point, you can transfer the sprouting buds to your larger container.
Caring for Your Plants
The key to growing ginger in containers is to mimic natural conditions as much as possible. This means it needs to be kept warm, moist, and well fed.
The ideal temperature for this plant is around 75°F. Find a spot in your house away from drafty doors and fireplaces where the plant will have some sun exposure, perhaps near a south facing well-insulated window. To maintain humidity, place your container on the tray you prepared with small stones and little water in the bottom. The water will continually evaporate, adding moisture to the air around the plant. The stones will keep the pot from sitting directly in water, which could lead to the soil becoming waterlogged and your plants rotting.
When watering, it is important to make sure make sure the soil is moist but draining well. Soil should be damp to the touch, but not soaking wet. Water by misting the surface of the soil with a spray bottle anytime it begins to feel dry to the touch. To keep this plant well fed and happy, top it off with fresh compost as more stems emerge and the foliage grows taller. During periods of heavy leaf production and growth, you can feed it monthly with a balanced all-purpose organic liquid fertilizer.
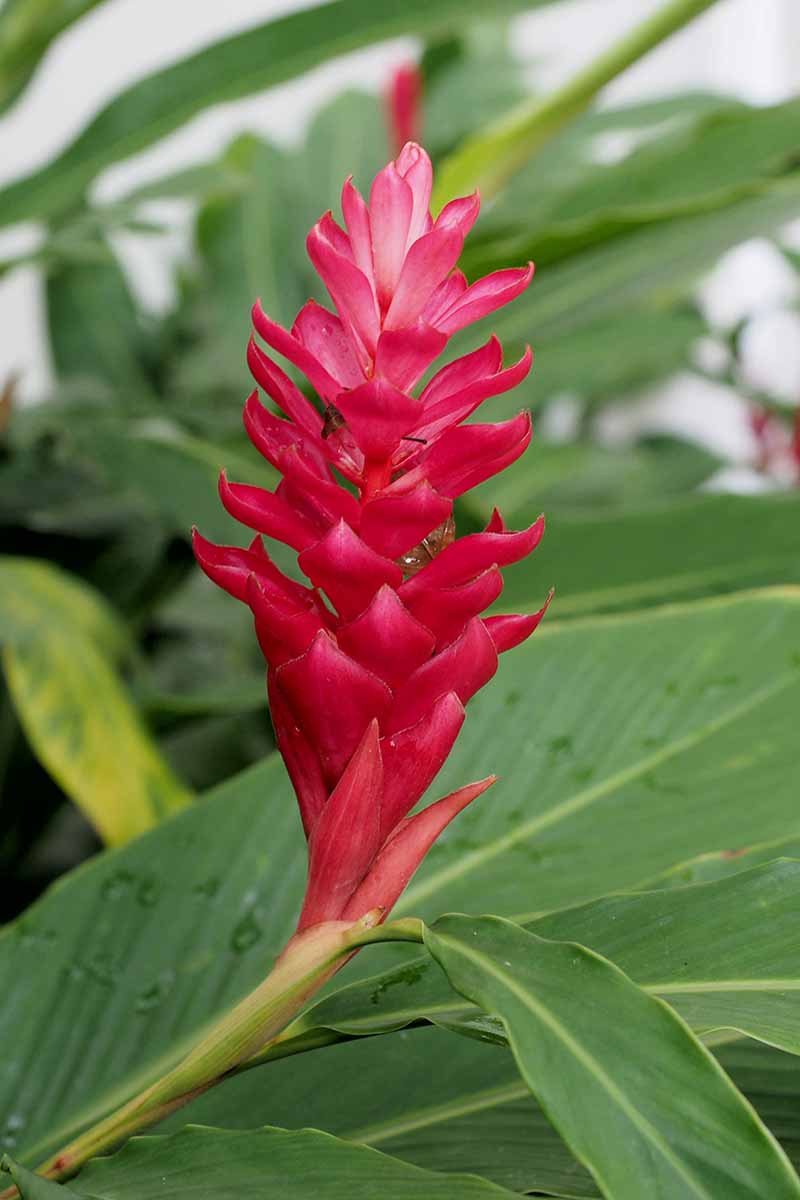
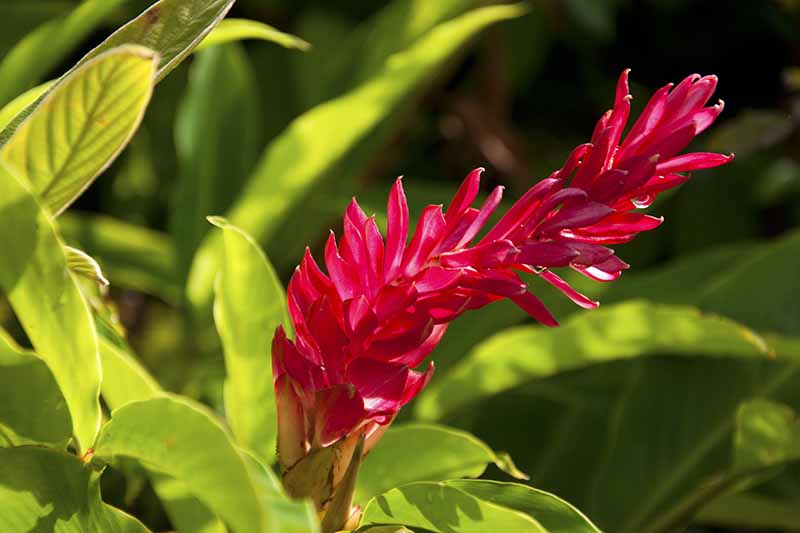
With any luck, your plant will grow to be two to three feet tall, with beautiful tropical foliage and maybe even a flower or two!
Harvesting
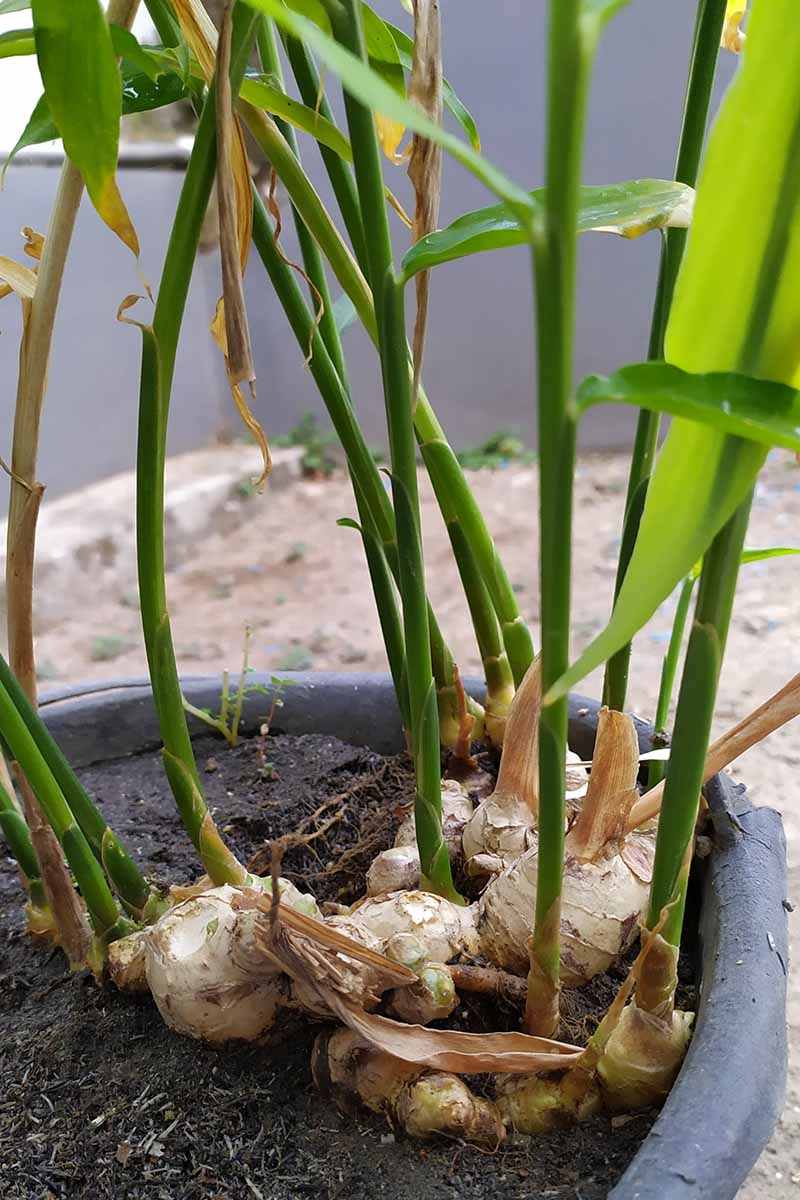
Though the rhizomes won’t be fully mature for eight months or so, you can begin to harvest small pieces of the young roots three to four months after growth begins.
To harvest small pieces as needed, remove some of the soil around the outer edges of the container and carefully feel around for the rhizomes. When you find one, take a sharp pair of scissors and cut what you need from the outer edge, then gently return the remainder of the root to the soil.
Try to leave at least a couple of inches of rhizome connected to the stalk to keep it alive, allowing the plant to continue to grow and produce new roots. Be sure to give the rhizomes a few weeks of recovery time before harvesting again from the same plant. As long as you continue to take good care of your plants, you should be able to continue to harvest in this manner indefinitely! If you are in need of a larger harvest, you can also pull up a full plant and harvest the entire root. The best time to do this is when the foliage starts to die down in the fall or winter. As long as you cut and save a couple of pieces of rhizome to replant, you will be able to start the process over again. If over time the foliage begins to fade and wither, just harvest the entire rhizome and replant a few pieces, adding some fresh compost to the mix when you do so to provide proper nutrients.
Growing Tips
If your house is cool when planting, you can try using a heat mat set to 70-75°F to warm the soil. Remove the mat as soon as sprouts appear.
When you first plant ginger, do not over water. The soil just needs to be kept lightly misted so it doesn’t dry out. Once the shoots break through the soil, you can begin to water more generously. It appreciates the moisture, just make sure the soil is draining well.
Plants can be moved outside in the summer to benefit from some sunshine and fresh air. Do this only when daytime temperatures consistently reach 70°F and nighttime temperatures do not drop below 50°F. Place the pot somewhere that receives some shade, like on a covered porch.
Cooking and Recipe Ideas
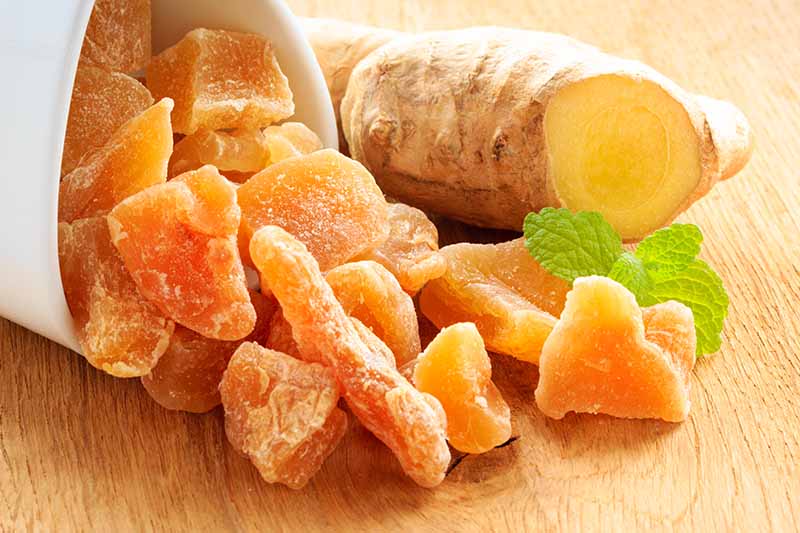
Ginger is deliciously warming, and can be prepared in a variety of creative ways. It can be dried, powdered, pickled, or even crystallized.
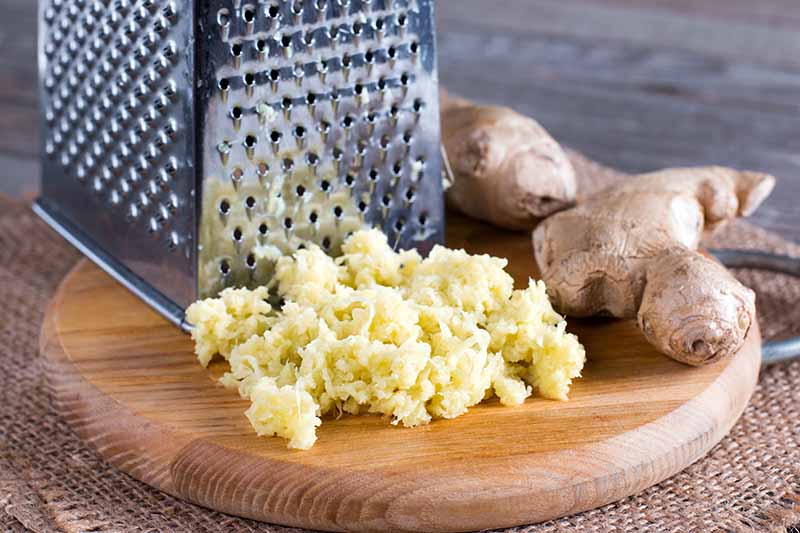
Personally, I am partial to fresh ginger, which is why having it growing right in my kitchen is so wonderfully appealing. I love grating the fresh root right into soups, stir fries, and salads. It is wonderful in ferments with carrots or cabbage as well.
For a powerful burst of tropical spice, try this recipe for an orange ginger sunshine smoothie from our sister site, Foodal. I can’t think of a better way to start the day than with a tall glass of fresh ginger, orange juice, and honey. If you are looking for more creative ways to prepare and use this spice, check out this helpful guide, also available on Foodal.
A Not-Quite-Tropical Paradise
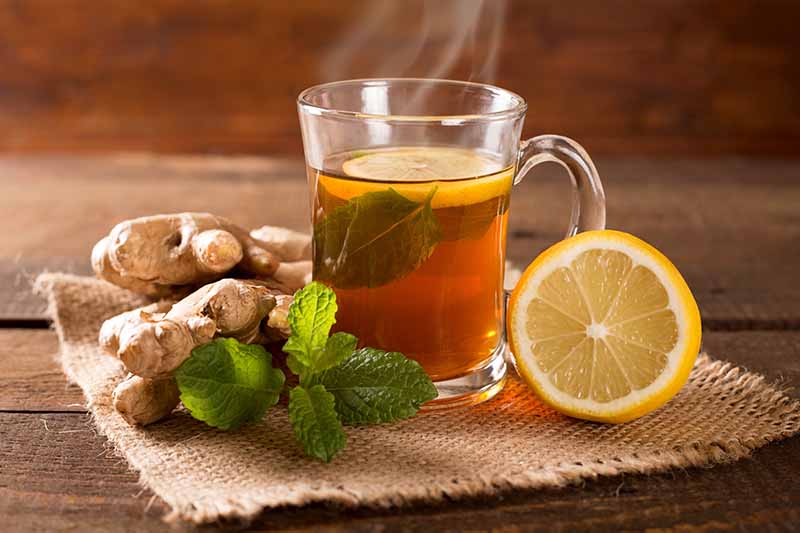
There is nothing I enjoy more during the winter than a steaming cup of fresh ginger tea.
And now that I’m growing it in containers, I can bring a splash of that tropical heat to my winter wonderland any time I want. Don’t take my word for it – give it a try yourself! Growing ginger indoors is easy, fruitful, and fun. Perhaps those cold winter nights may never have to be so dreary again. Have you ever tried growing it indoors in containers? We would love to hear your thoughts in the comments below! And don’t miss our full guide to growing ginger for more tips. Why not check out these guide for more inspiration:
Grow a Super Food in Your Own Backyard: Cultivating Tuberous Turmeric How to Grow Flavorful Cardamom in Your Home Garden Fancy Tropical Herbs for Your Garden
© Ask the Experts, LLC. ALL RIGHTS RESERVED. See our TOS for more details. Product photo via Burpee. Originally published on November 30, 2019. [lastupdated]. Uncredited photos: Shutterstock. Additional writing and editing by Clare Groom and Allison Sidhu.