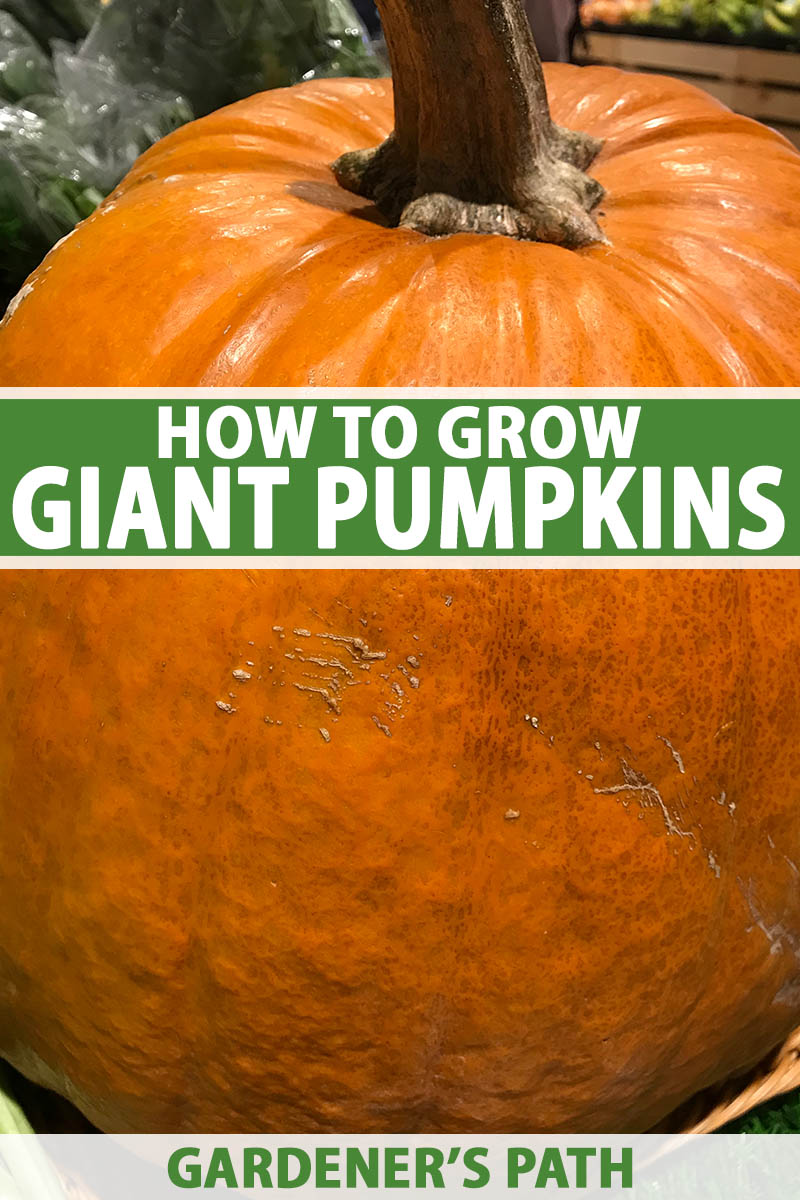
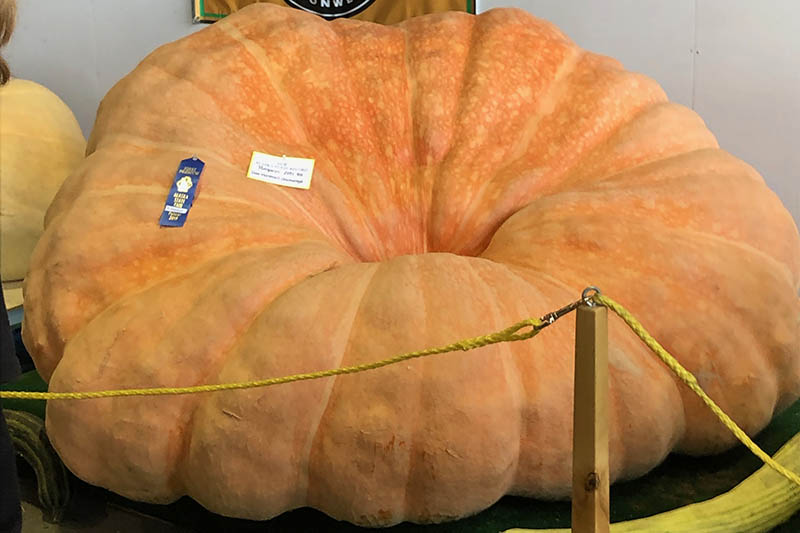
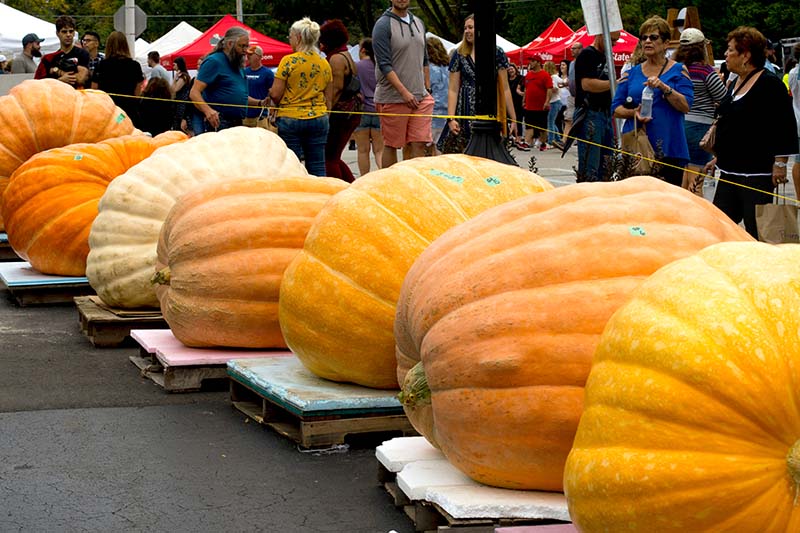
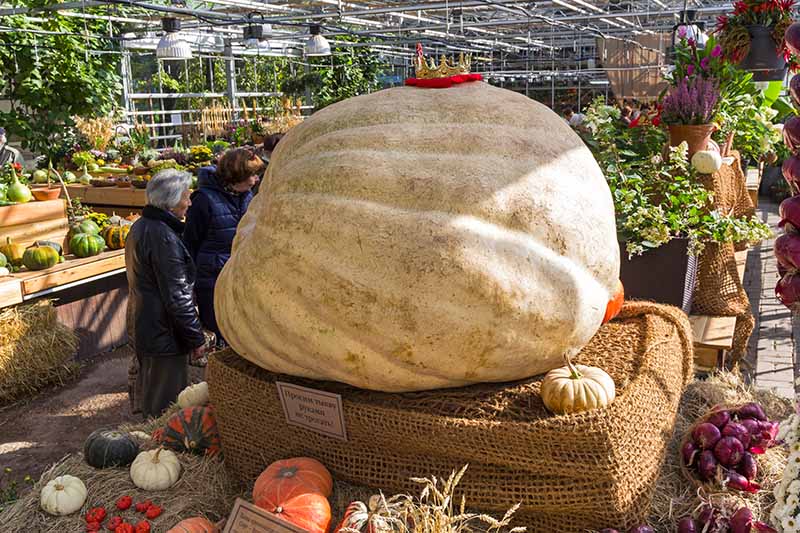
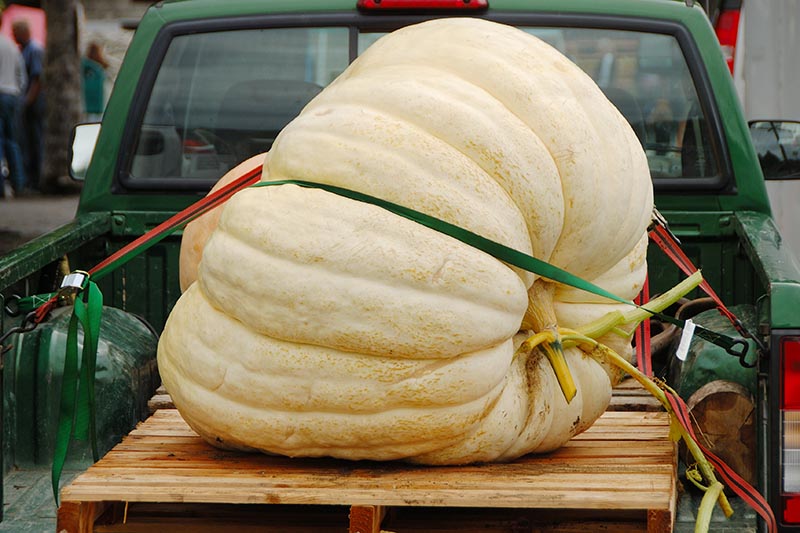
All it takes is a dedicated space, the right nutrients, and lots of sunshine. And if you’ve heard of gardeners feeding milk to their pumpkin in order to make it grow to enormous proportions – stay tuned to find out whether this method works or not. Be forewarned that the giant pumpkin growing industry is fiercely competitive, thanks in part to the potential a giant beast of a gourd has to rake in lots of cash. Case in point: a single seed produced by a giant pumpkin can sell for more than $1,000. We link to vendors to help you find relevant products. If you buy from one of our links, we may earn a commission. In 2020, the current world record-holder for the largest, heaviest pumpkin of all is Matthias Willemijns of Belgium, who in 2016 grew a 2,624.6-pound beast. In 2018, Steve Geddes of New Hampshire grew a 2,528-pound monstrosity that won him a prize of $6,000. His squash currently holds the United States record for the largest pumpkin ever grown in recorded American history. At the 2019 Alaska State Fair, I got to see a real giant pumpkin for the first time, and I must admit I was expecting something beautiful. Something like Cinderella’s magic pumpkin that turned into a carriage. The slumped, corpulent behemoth my son and I beheld that day was anything but pretty. But what it lacked in beauty it made up for in sheer wondrousness. I mean, how often does a person get to see a pumpkin big enough to live inside? That day at the fair, I imagined digging a hole in the massive gourd and turning it into a wonderful autumn-themed fort for my toddler son and me. We both could have fit inside it. Really. My current garden isn’t large enough to handle growing a record-breaker of a squash, but that doesn’t mean I haven’t developed an interest in the profession. Or should I call it a hobby? Maybe describing it as a sport would be more accurate. Because how in the world does one transport such a pumpkin from the field to the fairgrounds, anyway? I digress. If you want to grow a giant pumpkin, here’s how to do it.
Preparation Is Key
Don’t just rush out to the garden and try turning a regular-sized, already-growing pumpkin into a leviathan. You’ll need to do some preparation before you grow a big gourd.
First, and most important of all, you need the right type of seed. Unless you’re a super-serious grower ready to shell out dozens to hundreds of dollars for prime seeds, you can expect to grow a gourd of about 300 to 500 pounds with the commonly available cultivar ‘Dill’s Atlantic Giant,’ (Cucurbita maxima ‘Atlantic Giant’).
‘Dill’s Atlantic Giant’ You can find seeds in a variety of packet sizes available from Eden Brothers. Or, for a gourd that’s genetically primed to grow at least 600 to 1,000 pounds, try your hand at growing ‘Wallace’s Whoppers.’ Nova Scotia gardener Howard Dill gets all the credit for breeding ‘Atlantic Giant,’ with which he won the 1981 world record for heaviest pumpkin. Which, by the way, weighed a mere 493.5 pounds. It’s incredible to think of how much the giant gourd growing field has progressed in the last few decades.
It won’t be long now before the world record inches closer to the 3,000-pound mark. Despite his original gourd’s relatively small size, Dill is the grandfather of every giant pumpkin grown today: every jumbo-sized gourd grown in recent history is a cultivar or selectively bred version of the original ‘Atlantic Giant.’ When you’ve chosen your seeds, you need to prepare a dedicated spot in your garden for your gourd to grow. This full sun location should receive at least eight hours of daily sunlight. In the fall or early spring, clear a 10 foot by 10 foot section of your yard and till the soil down to 10 inches deep. Amend it with organically-rich garden soil from your local nursery if you need to. You will need a space that’s 10 feet in diameter – or 100 square feet – for a single plant, so if you want to try growing more than one of your seedlings into a giant, you’ll need to make a 20-foot bed. Remember that it’s not just the size of the fruit that you need to take into consideration: you also need to consider the vines, which will quickly take over every inch of space you give them.
You may want to conduct a soil test to ensure the pH is between 6.0 and 7.5, and amend to resolve any nutrient deficiencies. Add a six-inch layer of well-rotted manure or compost to the top of the entire bed and till it into the soil. Then, shape the entire bed into a mound, or hill, that’s about 18 inches high in the middle. This will help improve soil drainage. If you’re creating this bed in the fall, cover it with four inches of straw to keep it insulated and tidy during the wintertime. Your bed is now ready to support that massive pumpkin!
Sowing Seeds
If you live in USDA Hardiness Zones 2-5, you’ll want to sow ‘Atlantic Giant’ seeds indoors two to four weeks before your area’s average last frost date. Gardeners in Zones 6-9 can sow seeds directly into the mound at least two weeks after their area’s last frost date. Regardless of whether you’re sowing indoors or outdoors, soak seeds in warm water for 12 hours the night before. This will help them germinate more quickly – and in a race to grow as large a pumpkin as possible, time is of the essence. To direct sow, create a one-inch-deep hole and lay two seeds flat inside. Cover with soil, water thoroughly, and keep moist until germination. When at least two true leaves emerge, thin out the weaker seedling.
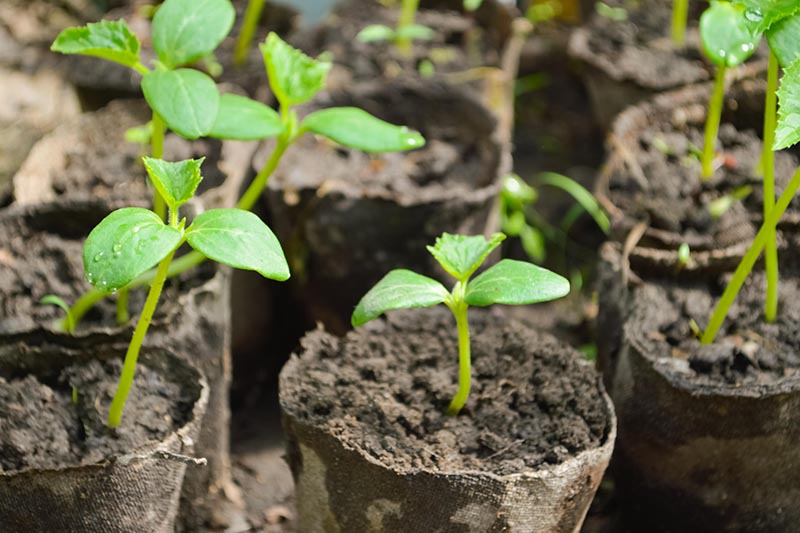
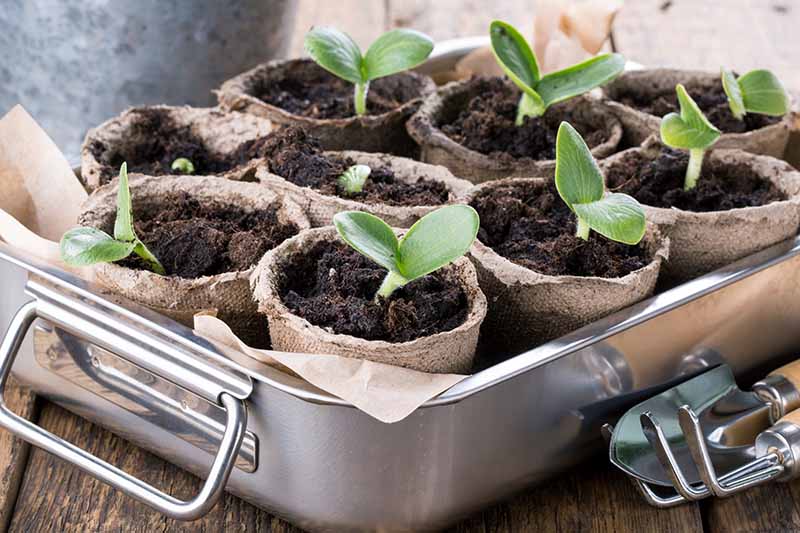
To start seeds indoors, fill four-inch biodegradable pots with seed-starting mix. It is important to use biodegradable pots, as they’ll prevent disturbance of the delicate taproot when you transplant. You need those roots to get off to a healthy start! Make a one-inch hole with your finger and lay the seed flat inside. Cover with the seed-starting mix and water with a spray bottle.
Keep the soil moist and warm, either by placing the tray in a warm windowsill or by using a heat mat. Seedlings should germinate within four to seven days. Provide at least eight hours of sunlight once germination occurs, either by keeping the pots in a warm, sunny windowsill or by using a grow light.
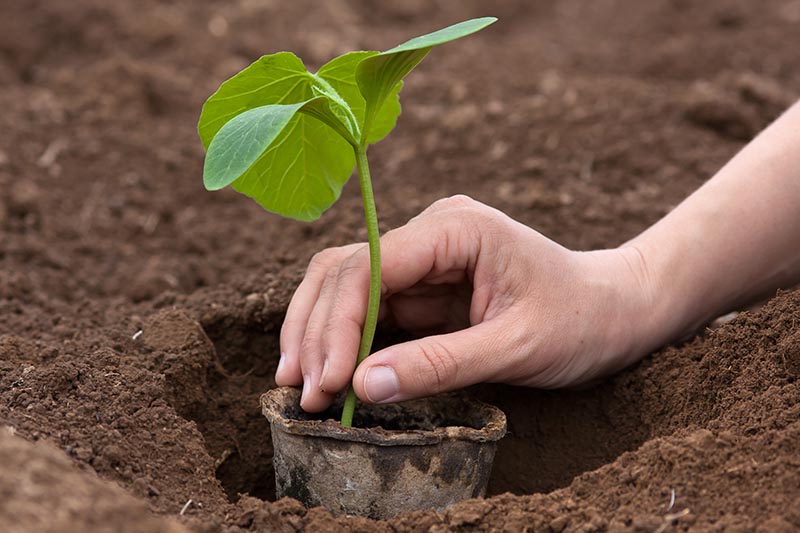
Transplanting the Seedling
If you have enough space to create a 20-foot bed, you can pick your two strongest seedlings when they have at least two to three true leaves. If you only have space for one, after all risk of frost has passed, pick your tallest, greenest, most robust-looking seedling to transplant.
In the center of your prepared mound, dig a hole the same size as the biodegradable pot. Place the entire pot inside and backfill with soil. Make sure to cover the entire pot. Water thoroughly. If you live in a region with fierce sunlight or high winds, you can erect a small floating row cover or shade cloth over your wee plant until it has become established. You can remove the protection after about 10 days.
Caring for Your Giant Cucurbit
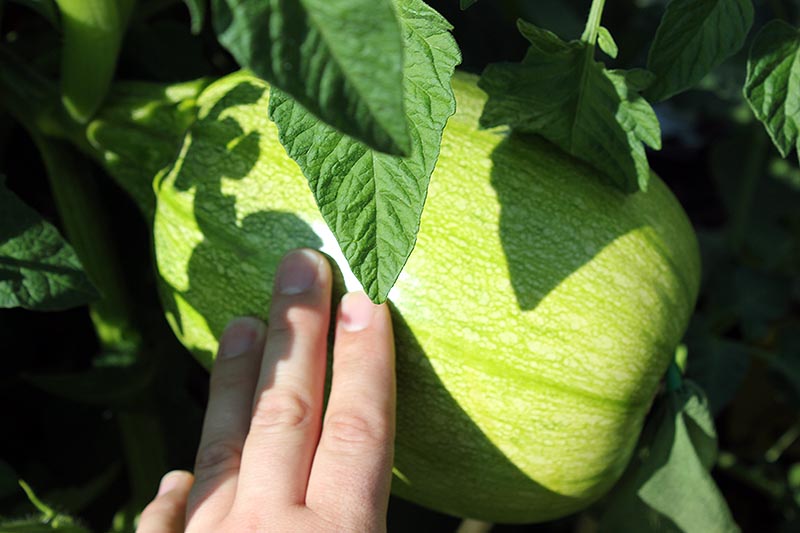
Most of the care required is covered in our guide to growing pumpkins, but I’ll go over the main considerations for giant pumpkins here. You’ll want to give this giant baby plenty of moisture – but not too much. Set a timer on your phone or make a note in your gardening journal to water your gourd every day if you live in a dry area, or every two to five days for those in wetter locales. Avoid applying water directly onto the foliage or the developing gourd as this can cause it to rot. You can check the moisture by sticking your finger into the soil next to the base of the plant’s main vine. If it feels moist about one inch down, hold off on watering until the next day.
You can apply a layer of mulch to the area around the plant, leaving a 10-inch space around the base of the main vine to prevent it from rotting. To make sure your gourd gets enough nutrients, you may also want to set a reminder to fertilize it every five to 10 days. Female flowers will have an ovary, which looks like a lump at the base of the blossom. Male flowers will lack this ovary.
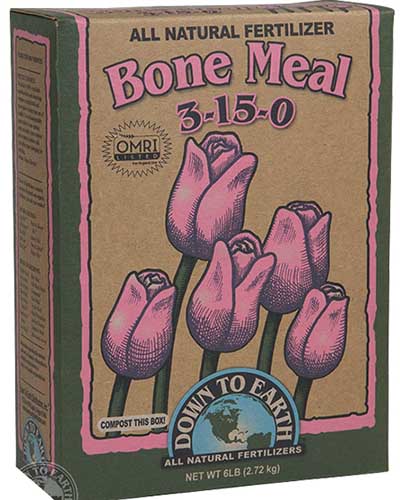
Down to Earth Citrus Mix Fertilizer But gourds, giant ones especially, still need phosphorus and potassium too, so focus on using something like this 6-3-3 NPK citrus mix from Arbico Organics. Don’t be fooled by the name: according to the experts at Arbico Organics, this mix is excellent for vining plants, including your giant gourd. About a week before flowers begin to appear, about 50 days after germination, it’s time to ramp up your phosphorus game. I love to add bone meal to the area around my pumpkin plants. In my experience, it undeniably helps the plant produce both male and female flowers. For more on that story, and to learn more, check out our guide to fertilizing pumpkins.
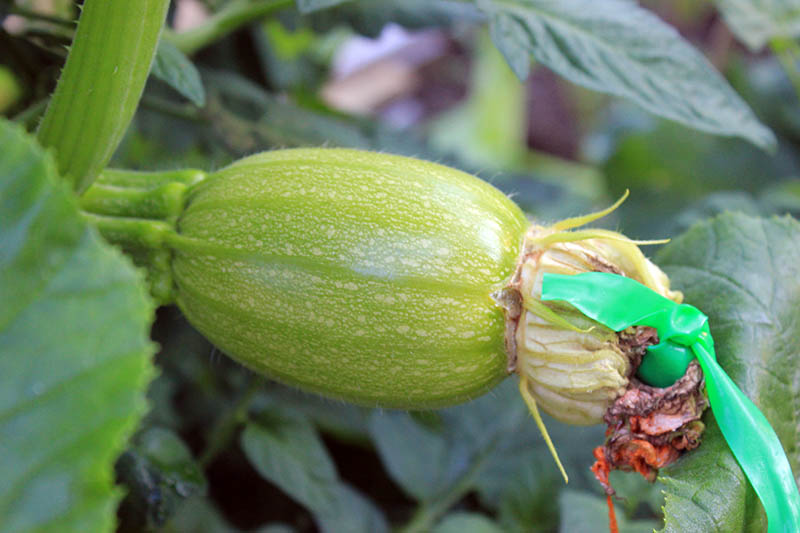
Down to Earth Bone Meal Fertilizer One of my favorite bone meal powders is this 3-15-0 NPK variety, also available from Arbico Organics. When you notice that both a male and a female flower are ready to bloom on your plant, it’s time to get into action mode. The day before they open, you’ll notice that the blooms are loose and orange colored petals are beginning to peek out. Early the following morning, dash out to the garden. The large, orange, smiling faces of your flowers should greet you. If there is more than one male flower on your plant, remove them both from the stem and rub all parts of each male stamen all over every single part of the female flower’s stigma. The more pollen you can get on that stigma, the better. Close the female flower and gently wrap some gardening twine around her so that bees or other bugs don’t come and disturb the pollen on the stigma. Within a few days, you’ll notice that the flower has died off, but the ovary is growing. And that’s when you know that your prize-worthy giant pumpkin has set fruit. Learn more about how to hand-pollinate pumpkin plants in this guide. Remove every single additional flower you see after your selected flower has been pollinated, no matter if it’s male or female. The vine needs to be fully focused on putting all its nutrients and energy resources into that one fruit. You’ll also want to trim any lateral vines once they reach a length of eight feet. Your pumpkin needs those leaves for energy, so don’t chop off all the vines the moment they start growing. Bury the cut ends of the vines in the soil. Check out this guide to learn how to trim your pumpkin vines.
Feeding Your Hungry Baby
You didn’t think I’d forgotten about the milk, did you? Or maybe you thought I forgot, and you felt that was probably a good thing because you’re skeptical of the entire idea of a pumpkin benefiting from milk. While scientific studies on milk-fed pumpkins are sparse, old farming lore says that giving your growing gourd a steady dose of 2 percent milk can make it grow larger than if you simply fed it with fertilizer.
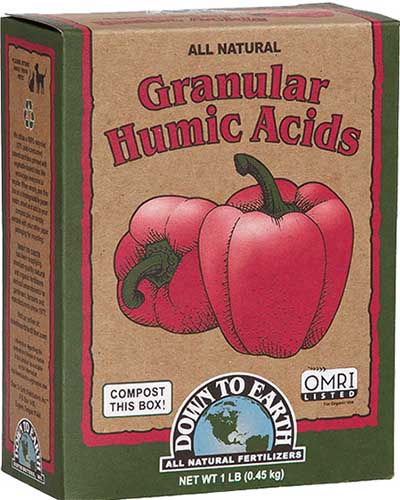
Part of the reasoning seems to be that milk provides a source of calcium, which is essential to growing a giant pumpkin. Calcium strengthens the pumpkin’s cell walls and helps to prevent the rind from developing deep cracks, which can cause the fruit to rot. So how do you do it? There are two ways to milk-feed a pumpkin. You can either water the plant with milk every day, instead of plain water, or… Well, you can perform surgery on the vine by slicing it with a knife, inserting a candle wick into the cut, and sticking the other end of the wick into a Mason jar full of milk. But let me tell you a secret: professional giant pumpkin growers do not water their gourds with milk, and they definitely don’t cut the vine and feed it milk with a jerry-rigged homespun capillary system involving a wick and a Mason jar. The vine is the umbilical cord of the fruit, and cutting it makes it susceptible to pests and disease. So don’t do it. Just don’t. Instead of adding milk to the vine, you can make sure your plant gets enough calcium by applying humic acids to your plant. Humic acids are derived from ancient and very decomposed organic materials, and they help your plant ingest micronutrients – including calcium – that are present in the soil. It’s astonishing how quickly gourds grow with proper nutrition.
Down to Earth Humic Acids You can find granular humic acids available at Arbico Organics. Apply to your gourd weekly, according to package instructions. And remember to keep feeding the gourd with fertilizer regularly. It’ll need steady doses of a high-potassium and high-phosphorus fertilizer every five to 10 days, or a mix of bone meal and kelp meal.
Maxicrop Soluble Seaweed Powder This is my favorite water-soluble kelp or seaweed meal, available from Arbico Organics. This ‘Howden’ of mine grew to this size in just a week after an application of bone meal and kelp meal: Those prize-winning, record-breaking giants can even gain 40-60 pounds in a single day!
Supporting the Pumpkin
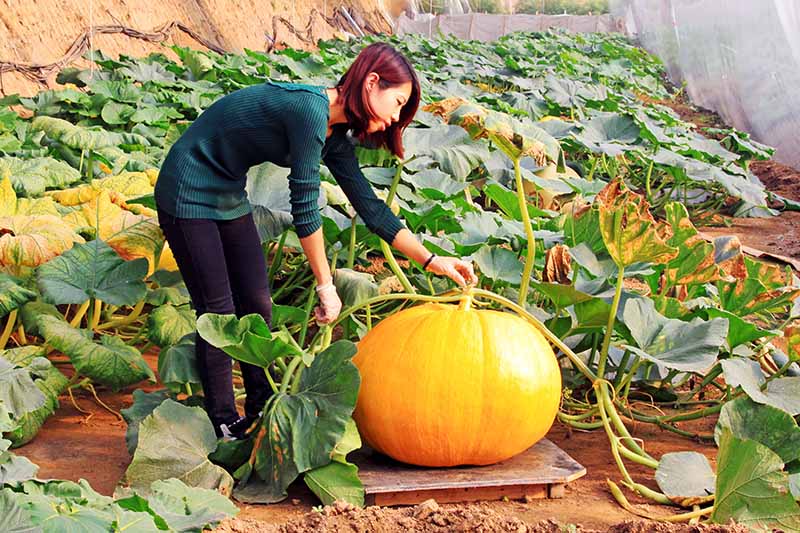
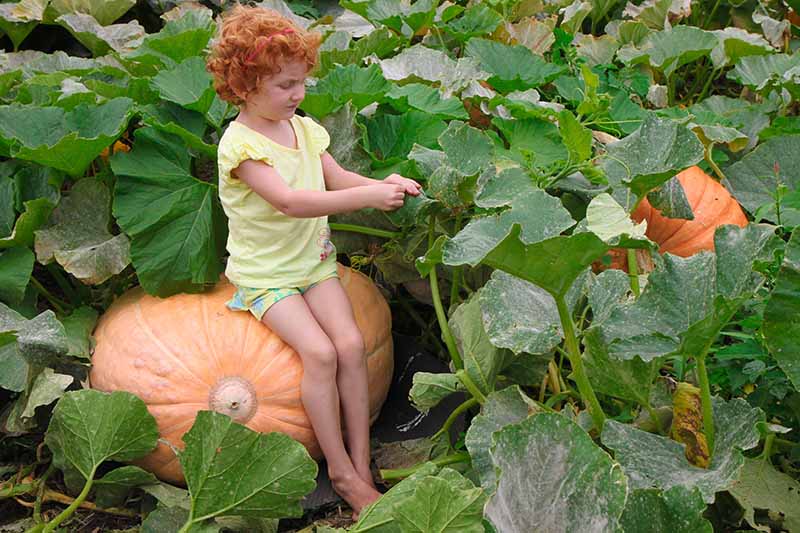
After your pumpkin grows to about 10-15 pounds, you’ll need to place a wooden pallet underneath it. This will keep air flowing around the gourd as it grows, and it’ll make the fruit easier to move when it weighs upwards of a hundred pounds.
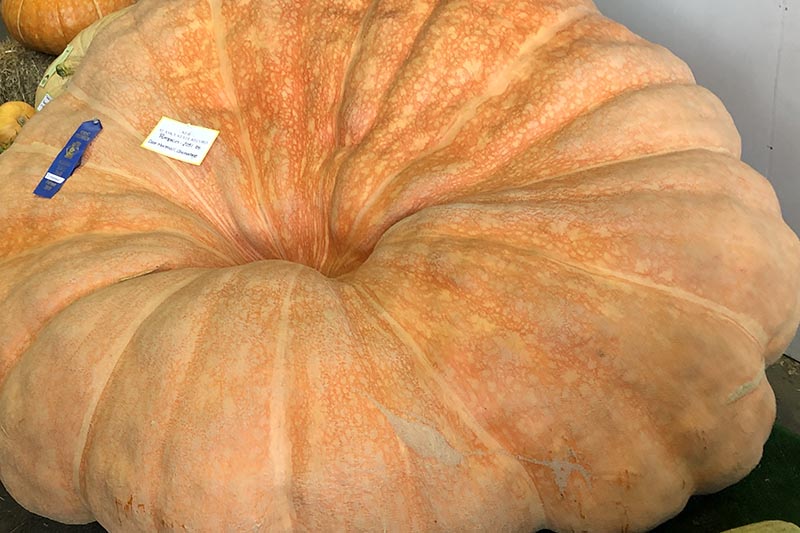
When the pumpkin reaches about 36 inches in diameter, it’s time to shade it with a shade cloth or row cover. Too much sun can cause the skin to split and crack, which can cause your hard-earned fruit to rot. After about 120-140 days, you’ll have a whopper on your hands. Just in time for your local fair! See if there’s a pumpkin growing competition you can enter your giant gourd into. Whether there’s prize money in it or not, you’re sure to make friends who adore the same wacky gardening passion you do.
Enormously Squashy Fun
It’s never a bad time to start planning your foray into the world of giant pumpkin growing. One day when I purchase my dream home with a slightly larger amount of land, maybe I’ll cordon off a section to grow a pumpkin to enter into the Alaska State Fair. Tell me, have you ever tried to grow a giant gourd? I’d love to hear your stories and see your photos in the comments below! And to learn more about growing pumpkins – big or small – in your garden, check out these guides next:
Best Companion Plants to Grow with Pumpkins How Do I Know When My Pumpkin Is Ripe? Picking and Harvest Tips 5 Reasons why Your Pumpkin Isn’t Producing Fruit Nutrition and Health Benefits of Pumpkin Seeds
Photos by Laura Melchor © Ask the Experts, LLC. ALL RIGHTS RESERVED. See our TOS for more details. Product photos via Arbico Organics and Eden Brothers. Uncredited photos: Shutterstock.