Back when I was a child, I had severe emetophobia. Fear of tossing my cookies, if you’ve never heard the term before. I read somewhere that garlic could help prevent the stomach flu, so when I was twelve years old, I pretty much became a walking garlic clove. We link to vendors to help you find relevant products. If you buy from one of our links, we may earn a commission. Finally, after a year of this obsession, I ate too much and it made me get sick. That brought a firm halt to my overeating of the bulb. But I still love the stuff, and love to include it in my cooking. Garlic is an essential ingredient in some of my favorite foods: fresh salsa, soups, Italian dishes, Indian cuisine (garlic naan, anyone?), and so much more.
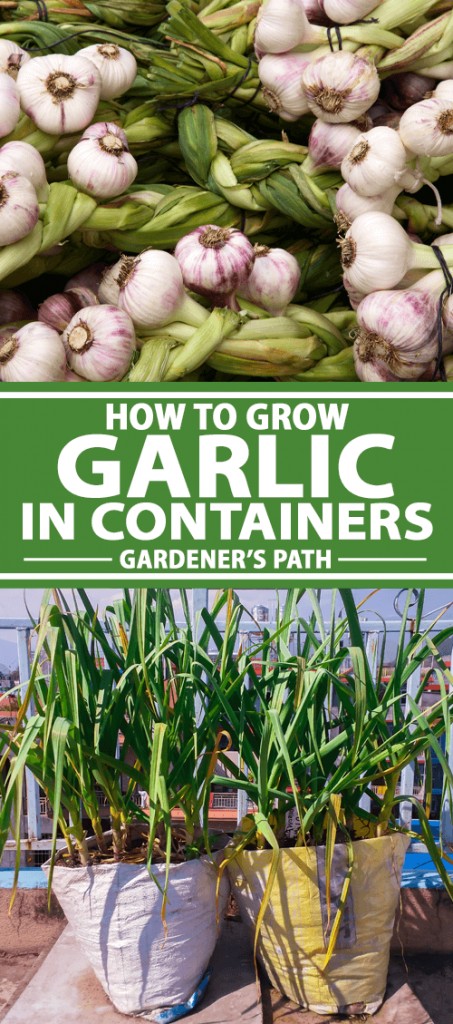
One winter at my home in Alaska, I finally decided to start some indoors in a container, starting with organic bulbs I bought at the store. We cover how to do this specific method of propagation in another article. But in this one, I’ll focus on teaching you everything you need to know to grow it in containers – whether indoors or out. Here’s what’s coming in this article:
All About Garlic
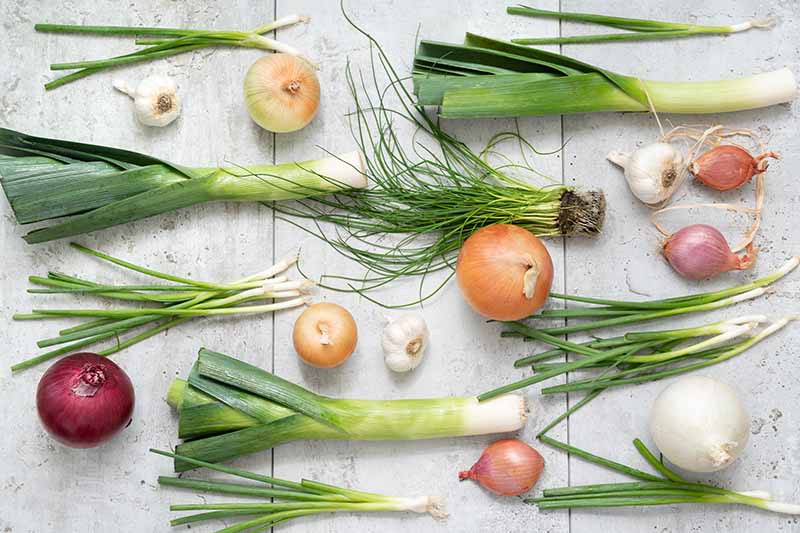
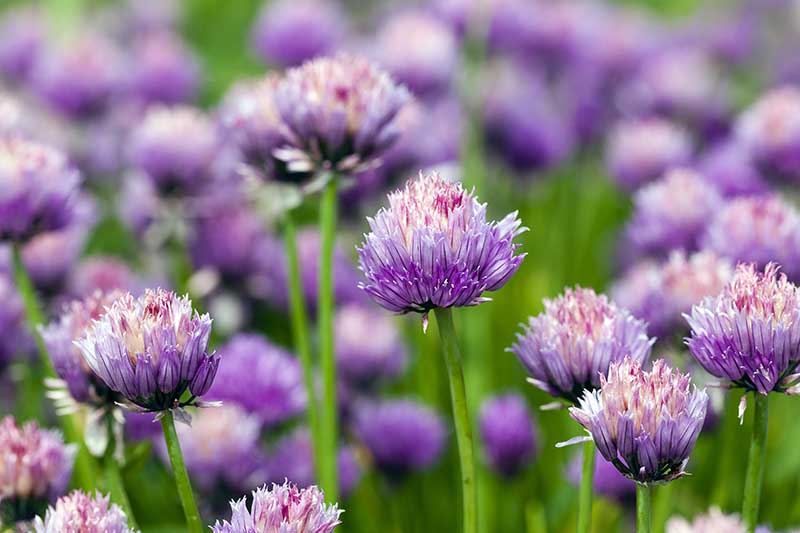
To get a detailed overview on the history of garlic, check out our article on how to grow it in your outdoor garden. We’ll just do a quick rundown here. Garlic is part of the Allium genus, a member of the Amaryllidaceae family. Other plants in this genus include onions, leeks, chives, scallions, and shallots.
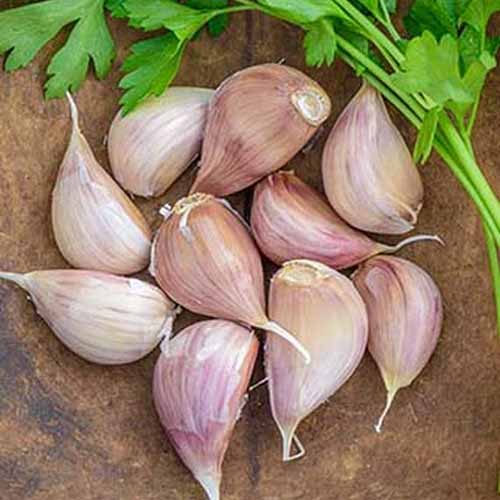
There are two main types that gardeners grow: A. sativum, or “softneck” garlic, which has a floppy stalk, or A. sativum var. ophioscorodon, the hardneck variety. Most of the time, what you see at the grocery store is A. sativum. It’s easy to grow and the mature bulbs have a long shelf life when cured, or dried. The hardneck variety, A. sativum var. ophioscorodon, grows a stiff stalk that remains upright and doesn’t flop over when it’s ready to harvest. This subspecies grows edible scapes – flower stems and blooms – as well as bulbs.
You won’t find garlic as we know it in the wild. It’s been cultivated for thousands of years and used as a medicinal plant in many regions of the world, helping people fight everything from toothaches to cardiovascular disease to high cholesterol. Here’s how to grow this tasty, aromatic addition to your cuisine at home in containers.
Why Choose Container Growing
You might be wondering why you should grow garlic in containers at all. Maybe you’re like me, and you simply like growing things in containers. You can easily move the pots around, grow garlic at any time of the year, and save space if you have a small home or garden.
The long growing season that this plant requires before it’s ready for harvest means there’s a lot of time for it to be attacked by various pests and disease when grown in the garden. It’s also easier to control the environment where your plant is growing – you can easily keep the soil loose and moist, being careful not to make it too wet. You can even move your container into or out of the sun or rain. Plus, you won’t have to worry about weeds, or wonder how to keep the ground from freezing and shifting the position of your bulbs during the winter. By keeping a close eye on your little crop, you’ll have a greater chance of enjoying your own fresh, homegrown A. sativum in your cooking.
Picking the Right Container
To start, you’ll need a container that’s at least eight to 10 inches deep. This will give the roots enough space to grow comfortably. Cloves must be planted four to six inches apart, so keep that in mind when you’re selecting your container.
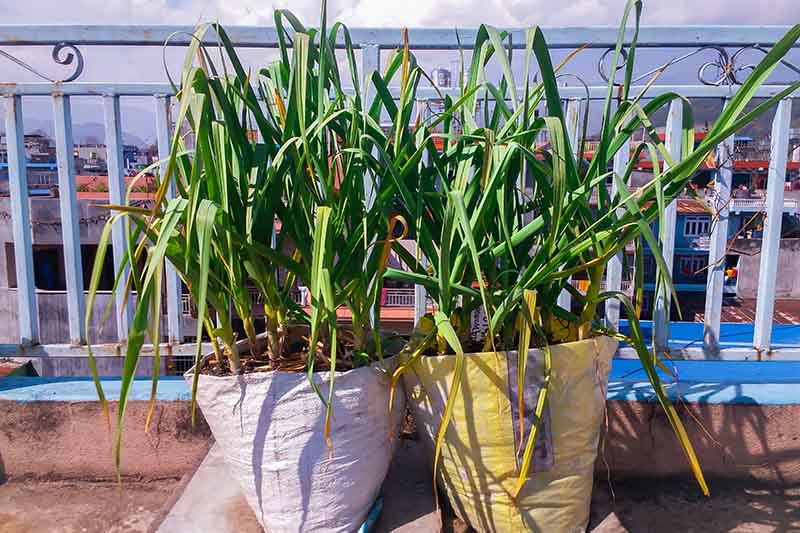
A 24-inch-long, eight-inch-deep container can hold about four to six plants, which will keep you well stocked for a while. Or, choose several deep but smaller containers, and plant just one or two cloves in each one.
This makes the most sense if you want to be able to move the containers around, or if you are growing in a smaller space. If you like the look and feel of a terra cotta planter, that will work well, although be aware that terra cotta tend to dry out more quickly than other materials. Or, choose a durable plastic pot for something lighter. If you live in a hot climate, choose a light-colored pot as black ones, when placed in the sun, can cause the soil to overheat. Either way, make sure the container has drainage holes, and add a little gravel to the bottom to allow water to drain away from the roots. See our guide to choosing containers for an overview of the different materials they are made from.
Preparing Your Container
Fill your container with either of these:
Loose potting soil amended with some 10-10-10 NPK fertilizer, according to the instructions on the package.
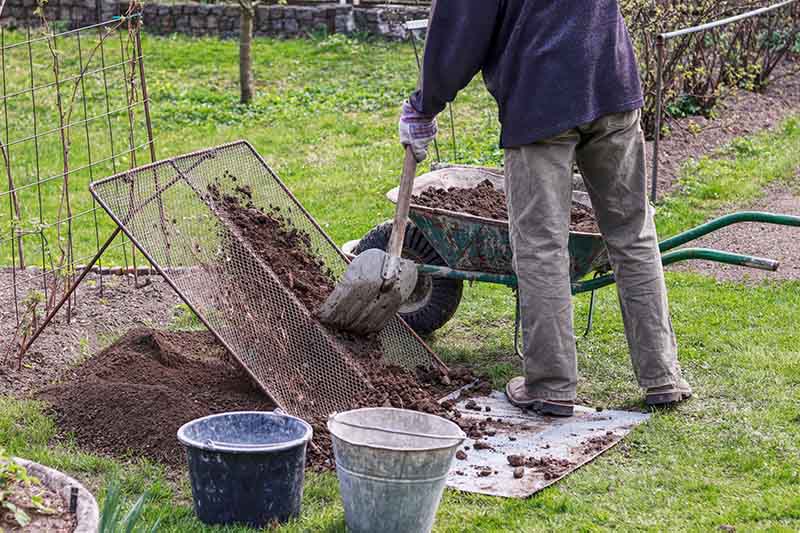
Garden soil, filtered with wire mesh or a sieve to remove clumps and pebbles, and amended 50-50 with well-rotted manure or compost.
A. sativum likes loose, well-draining, rich, and loamy soil with a pH between 6.0 and 7.5. Check your garden soil with a soil test to find out if it has the right pH for your cloves. And make sure you don’t use soil that’s recently been planted with other Alliums. This will help prevent pests and fungi that are attracted to Alliums from thriving near your newly planted cloves. Some of the fungi can live in the soil even after the previous Allium plants are long gone.
How to Grow
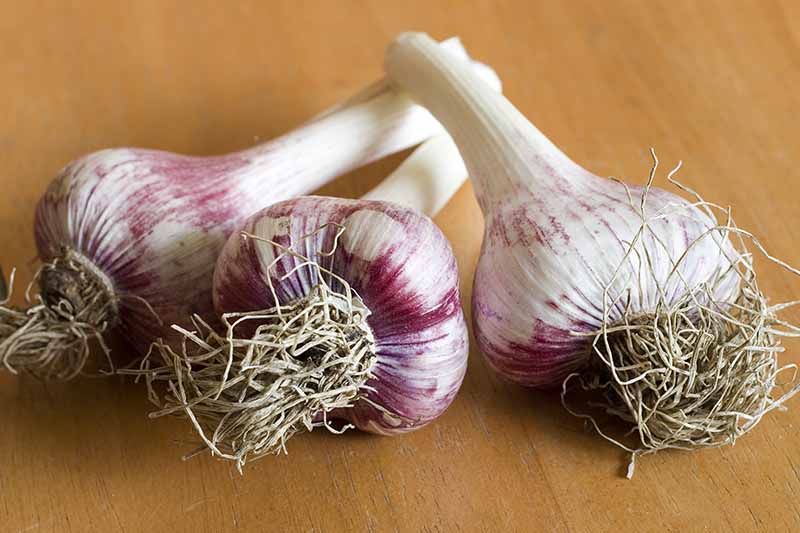
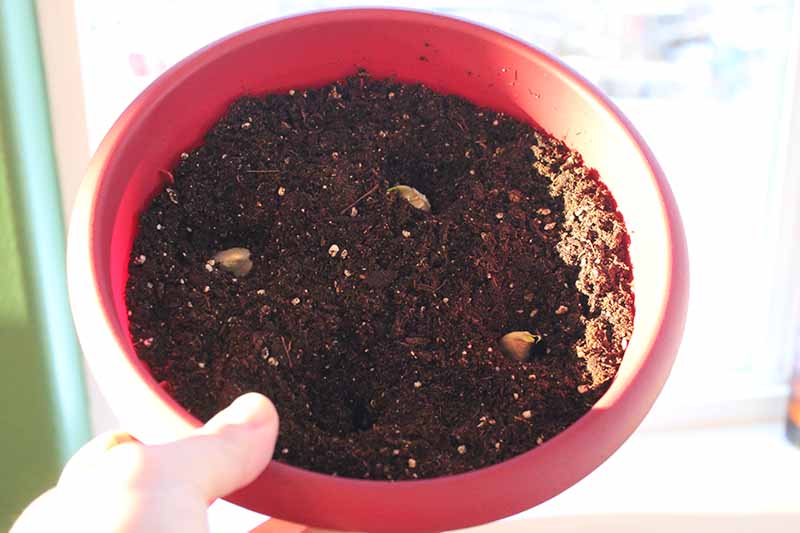
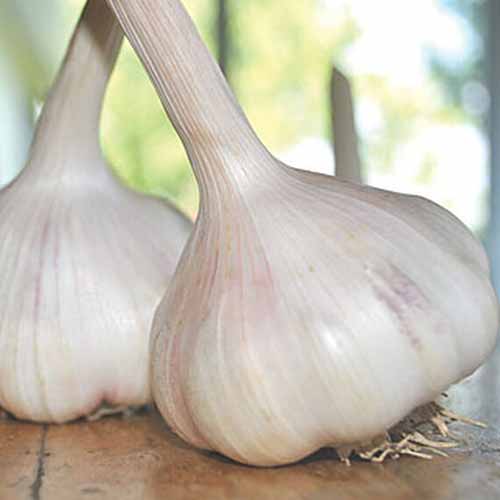
The most common way to propagate garlic is to plant cloves from an existing bulb. You can also start garlic from bulbils, the tiny micro-cloves that grow out of the scapes and flowers. You can grow these just as you would regular cloves, but you can expect them to take up to two years to mature, so you’ll need to be patient. You can get seed cloves – regular-sized ones, not bulbils – from a garden center or nursery. Some will even be prechilled, or “pre-vernalized,” allowing you to plant right away without having to worry about placing the bulbs in the refrigerator first. Or, you can do what I did: buy organic bulbs from the grocery store and propagate them at home. The reason you need organic bulbs in this case is that conventionally grown grocery store garlic is sometimes sprayed with a growth inhibitor to prevent it from sprouting. You want yours to sprout. So go organic! Keep in mind that you’ll usually only find softneck varieties at the grocery store. These thrive in USDA Hardiness Zones 8 and up.
Hardneck varieties boast more complex flavors than softneck varieties, and usually produce larger cloves – which means less peeling for you to do before cooking. They’re also ideal for gardeners in Zones 7 and below, because these varieties need at least six to eight weeks of cold exposure below 45°F before they will sprout. The best way to achieve this is to plant in the fall, and let the bulbs overwinter by placing your container outdoors.
If you don’t live in an area with temperatures that dip to 45°F or below during the winter, you can still plant hardneck varieties. But you’ll have to put the cloves in a paper bag and keep them in your refrigerator’s crisper drawer for eight to twelve weeks to cold stratify before planting. The best time to plant garlic in most regions is in September or October – just before winter comes around, at least two weeks before your first hard frost. But since you’re growing in containers, you can plant at any time, especially if you choose to purchase prechilled bulbs that are ready to go. Grocery store bulbs or those that have not been prechilled need to go into a cool basement or stay outside in cold temperatures for eight to twelve weeks before coming back into the sun and warmth for growing. While softneck varieties can benefit from some chill time, they will grow happily without it. You can plant them at any time and grow them indoors if it gets too hot outside (above 90°F) or too cold. I planted mine indoors during the month of February. I plan to put my container outdoors here in Alaska in the next week or so, as the weather is steadily rising toward 45°F, so that they can benefit from cool growing conditions. It’ll be ready for harvest in July. We’ll talk more about when to harvest in a moment. But first, let’s find out how to plant your cloves!
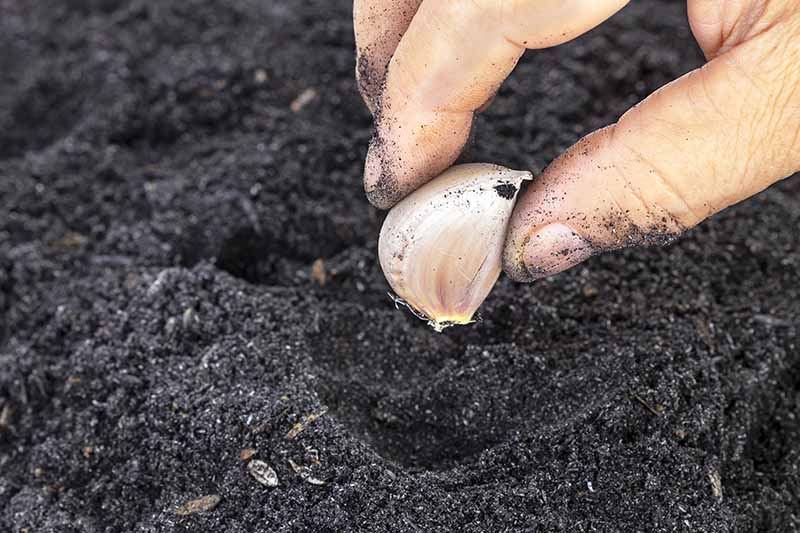
Planting Garlic Cloves
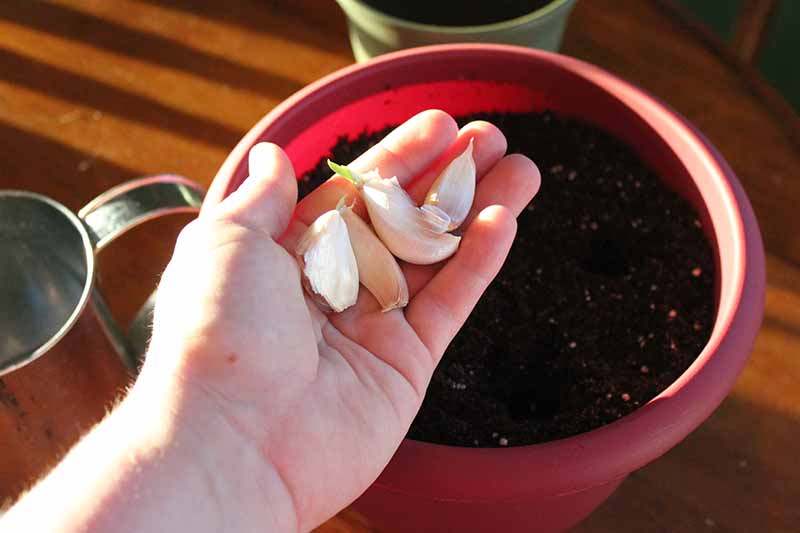
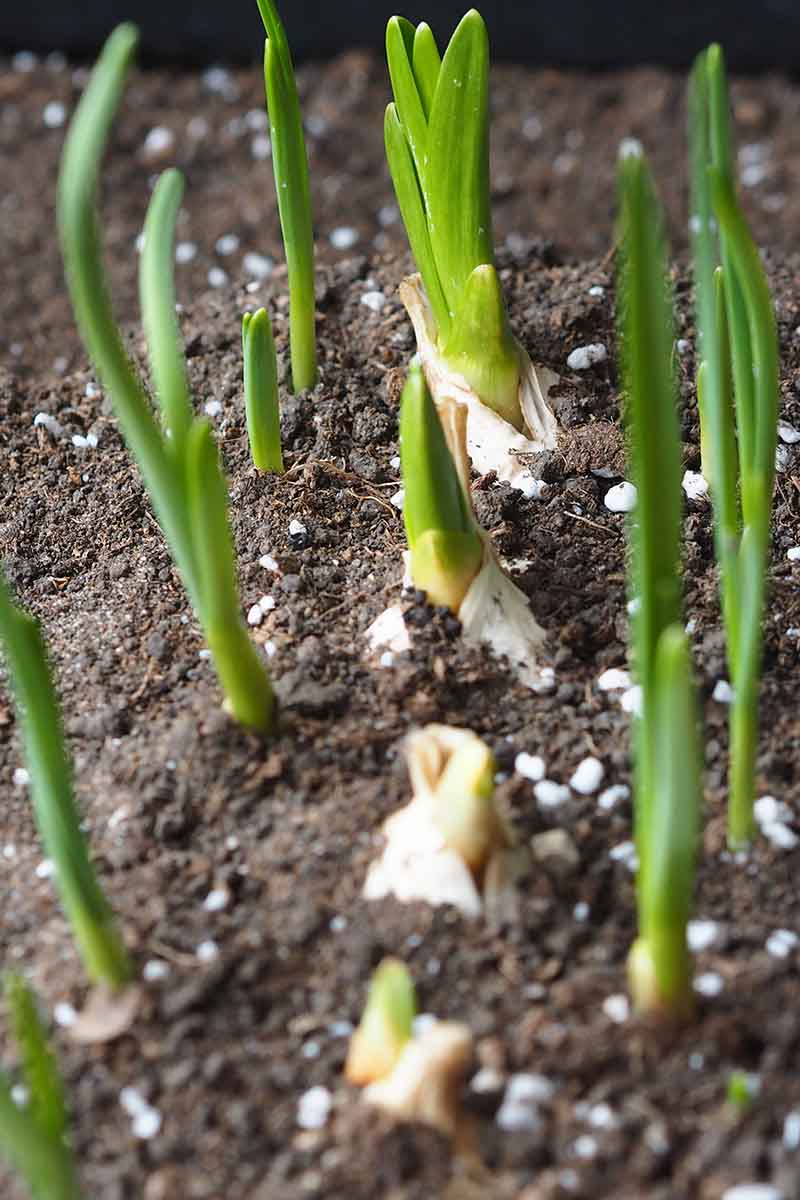
The first thing you need to make sure you do is leave the papery skin on the cloves when you break them apart from the bulb. The skin protects the cloves and helps keep infections away. I find peeling garlic to be a cumbersome task in any case, so it’s nice that you don’t have to do that before planting! Once your container is filled with your soil of choice, take your cloves and dig small holes just about the same depth as they are long, approximately 1-2 inches in depth each, spaced four inches apart.
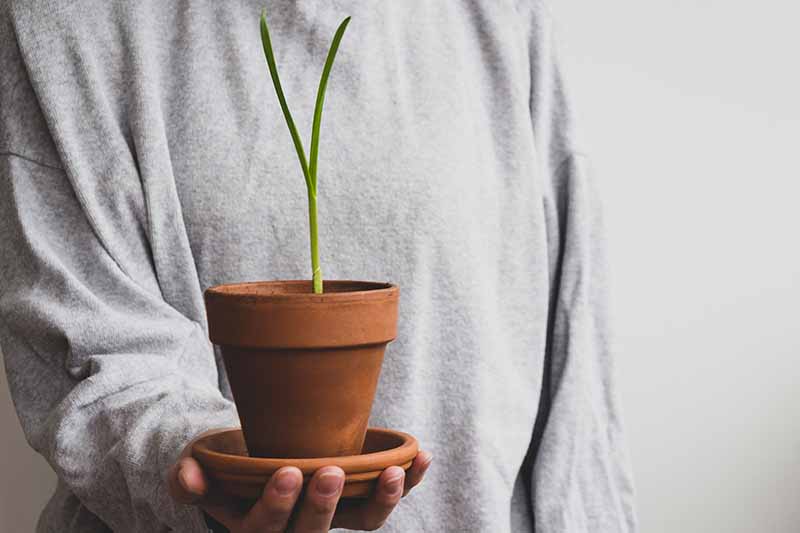
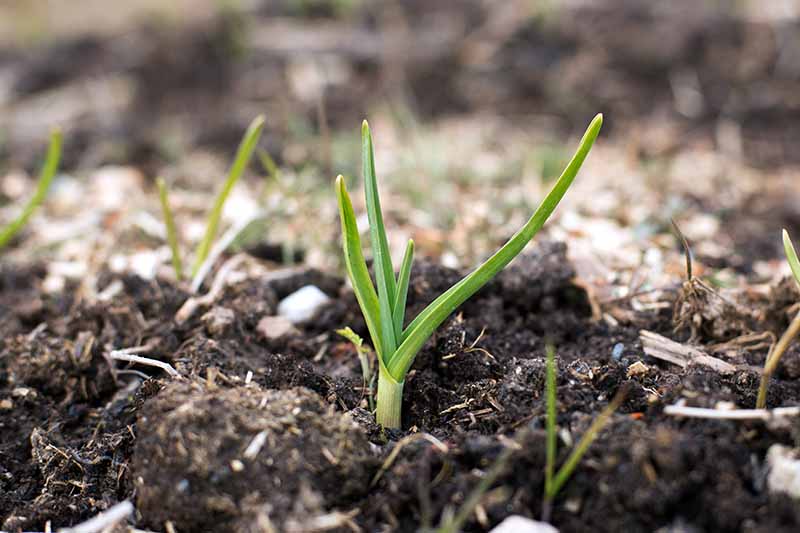
Place one clove inside each hole with the pointed side facing upwards. You may already see green sprouts shooting out of the clove, like I did when I planted mine. Roots will grow out of the bottom of the clove, so you don’t want to accidentally plant that side facing up. Cover loosely with soil and water thoroughly. For spring-planted softneck types, you can either grow the plants indoors, or place them outdoors in a sunny spot as long as the air temperature is consistently above 45°F. This is because softneck types planted in the spring have a much shorter growing season – usually around 90 days from planting to harvest, depending on the cultivar you choose. You’ll get smaller cloves, but you’ll get them sooner. For fall-planted softneck or hardneck varieties, put your container outdoors as soon you’ve planted it, in a sunny location. And keep in mind that garlic needs at least six to eight hours of sun daily.
In Zones 7 and above, softneck types will grow all through the winter and into the spring and summer, producing hearty, aromatic bulbs about 240 days after planting. Hardnecks will go dormant during the winter months, and then begin their growth in the spring. Both varieties require about six to nine months to reach maturity, depending on growing conditions and the particular cultivar you have selected.
Container Care
Garlic is easy to care for once it’s planted. Make sure the location where you’ve placed your containers consistently has enough sun, move them if necessary, and give them 1/2 to 1 inch of water every week. To check the moisture level, dig down in the soil next to your garlic, about two inches away from the plant and four inches down. If the soil is moist down there, you don’t need to water quite yet. But if it’s dry, go ahead and give it a deep watering. If it rains heavily, avoid watering your plants for at least a week – garlic hates wet feet, and this can cause them to rot.
Do you live in an area that gets waterlogged all the time? (I’m looking at you, Seattle!) This is where you’ll benefit from container growing: simply move your containers to a sheltered area or even indoors after a day or two of rain. Use a grow light in place of direct sunshine while they’re indoors if needed, and then pop them back outside once the rain stops. You can stop watering hardneck varieties after the first frost. While the water may not freeze inside your container, it’ll be cold enough to start the vernalization process, during which time the plant does not need water.
Go ahead and cover your plants with an inch of mulch, if you wish, to keep moisture locked in. You can resume watering in the spring, once your last frost is two weeks behind you. This is also a good time to mix in a granular 5-10-10 NPK fertilizer over the soil, according to package instructions. You may also want to add a bit more mulch, especially one with a lighter color (like straw) to reflect heat away from your plant as summer creeps in. Keeping the soil cool is an important factor in the success of your developing bulbs. The plant will start to form bulbs underground once the soil starts to warm up in the spring, but if the soil gets too hot, bulbs can stop growing before their time, leaving you with small or underdeveloped bulbs.
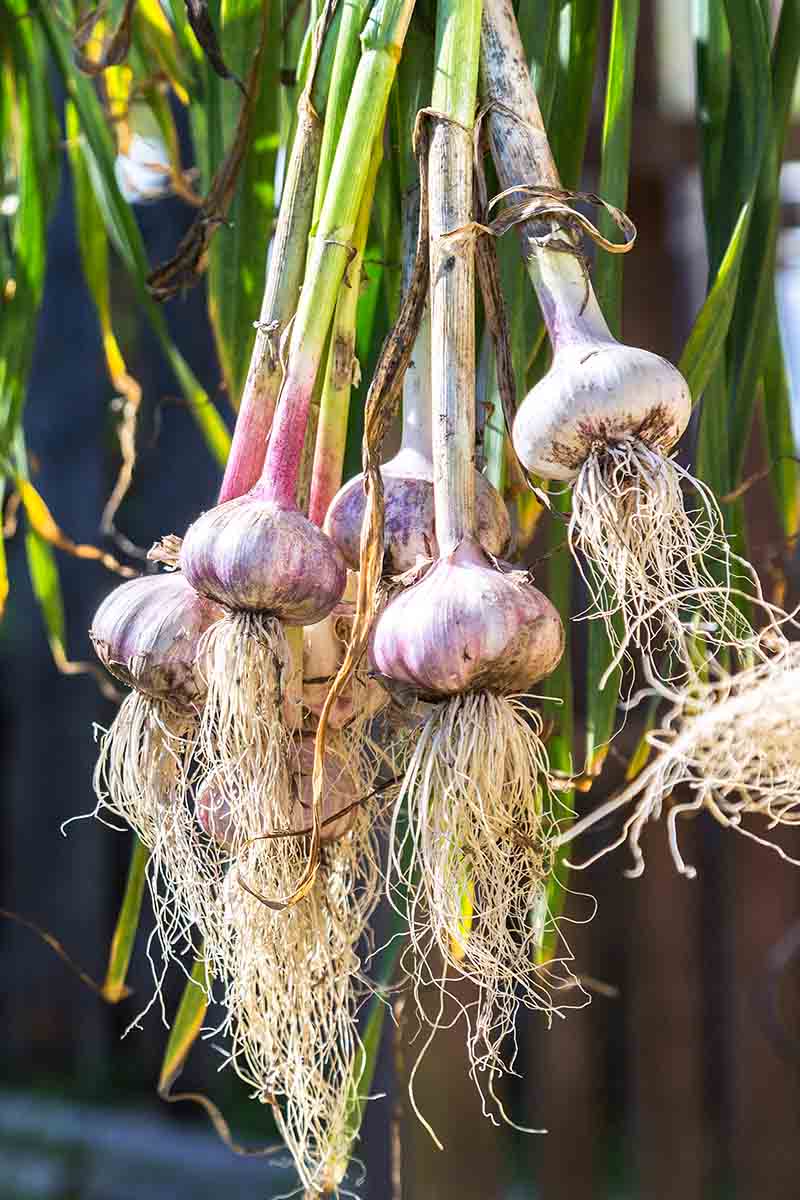
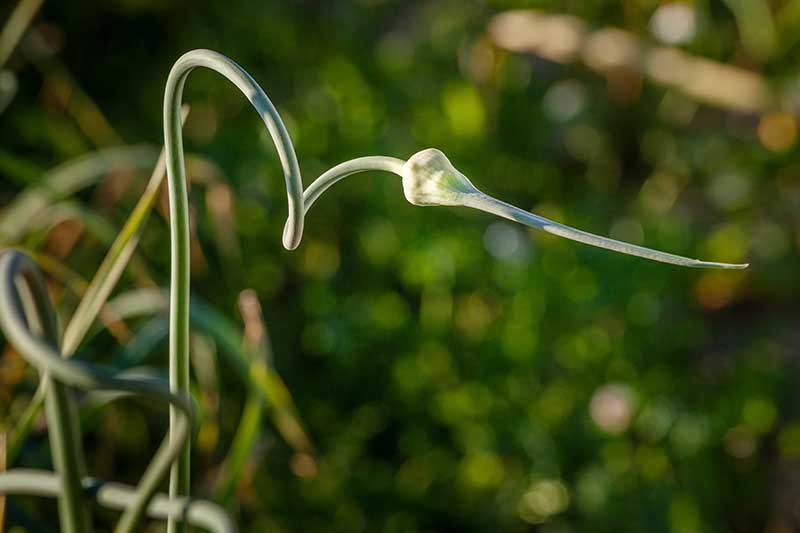
As spring blooms in your area, you’ll need to trim the long, curling scapes (flower stems) off your hardneck plants. This ensures that the plant directs its energy into bulb growth rather than flowering and setting seed.
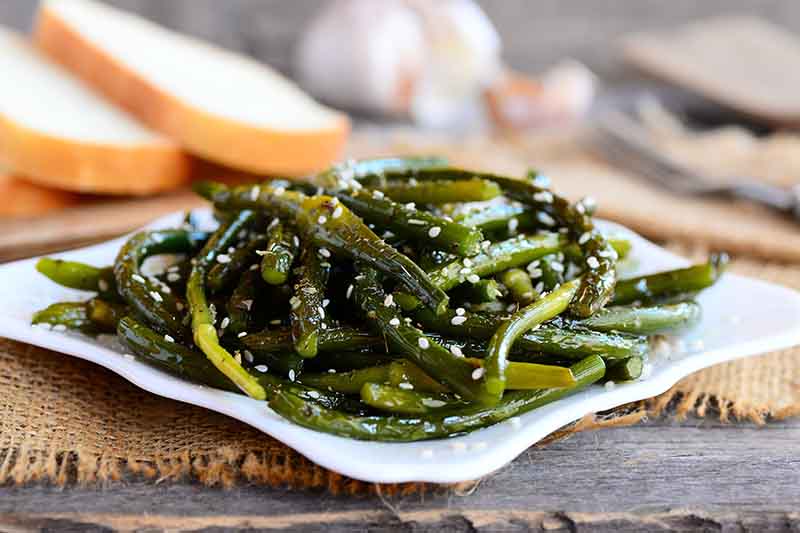
If you trim the scapes while they’re still tender, try roasting or sauteing them. They’re delicious!
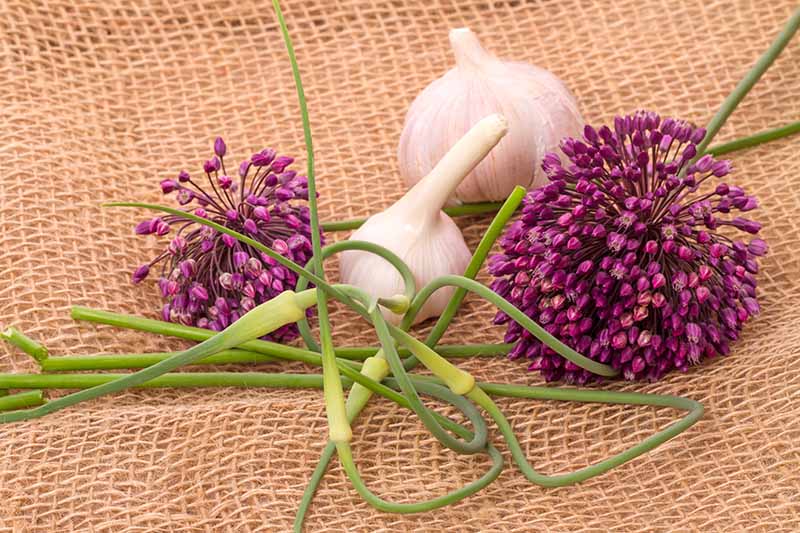
You can even try your hand at making a garlic scape pesto. Try this recipe from our sister site, Foodal. That’s what’s so beautiful about the stinking rose: it doesn’t just deliver bulbs, but hardneck varieties also give you scapes and even lovely flowers…
…and bulbils to plant, if you let one or two of your plants go to seed.
Growing Tips
Plant in the fall for best results, at least two weeks before your first frost Provide 1/2 to 1 inch of water weekly Fertilize in the spring with a 5-10-10 NPK fertilizer Mulch with straw or other light-colored organic material to keep the soil cool in summer and to retain moisture
Plus, this plant already does a decent job of deterring hungry critters with its pungent scent.
Hardneck
For full-bodied cloves that peel easily, try growing a hardneck variety. This is the one I’ve chosen:
Siberian
Ideal for those who live in northern climes, the extra-hardy ‘Siberian’ originated in Russia and Eastern Europe and is popular in Alaska. I’ll definitely be adding this cultivar to my container garden this fall. ‘Siberian’ produces spicy bulbs that turn mild and flavorful when cooked. And these plants, which grow up to 18 inches tall, are guaranteed to grow gorgeous and tasty scapes, as long as you provide the proper care!
‘Siberian’ Plant in the fall for a harvest the following summer, after about 240 days. Better yet, if you vernalize the bulb yourself in the refrigerator for eight to twelve weeks prior to planting, you should be able to harvest yours in about 90 days at any time of the year. You can buy a 1/2 pound of bulbs with 6-8 cloves each at Burpee.
Softneck
For a milder clove with an amazingly long storage capacity – I’m talking six to eight months – why not grow some softneck garlic?
California Early
This delicious, popular softneck bulb produces mild cloves that are enjoyed by garlic lovers around the world. With an excellent shelf life, this plant grows up to 24 inches tall. If you plant it in the spring or summer, you can harvest after 90 days whether you grow it indoors or out. Just be sure to bring your pots indoors if temperatures rise above 90°F.
‘California Early’ For winter planting, keep them indoors until the weather warms up to about 45°F, and then set the pot outside for some sunshine and warmth if you wish. For an outdoor fall planting, expect a harvest in about 240 days. You can get a set of four bulbs that are ready for planting from Burpee.
Managing Pests and Disease
Since you’re growing your garlic in containers, you won’t have to worry much about many pests or diseases coming up from existing soil or neighboring plants. If you do think your garlic is being attacked, we have a guide to identify the pest and mitigate the damage. Downy mildew can sometimes be a problem in humid environments, or if plants are growing too close together. This presents as white patches on the leaves.
Keep an eye out for basal rot as well, which starts with yellowing around the base of the plant, and progresses to the leaves dying back and going brown. There’s not much you can do if your plant reaches this stage besides removing the infected bulb and as much of the surrounding soil as possible to keep it from spreading. If all of the plants in a container are infected, toss plants and the dirt, and disinfect the pot. Add new soil to the pot and try again. The good news is that if you are using soil that hasn’t grown an Allium crop before, the chances of basal rot infecting your plant are reduced. This fungus can thrive in soil for years, which is why it’s so important to start with clean, fresh soil. Make sure your soil is well draining, and don’t overwater your plants or let outdoor plants become oversaturated with rain.
Harvesting
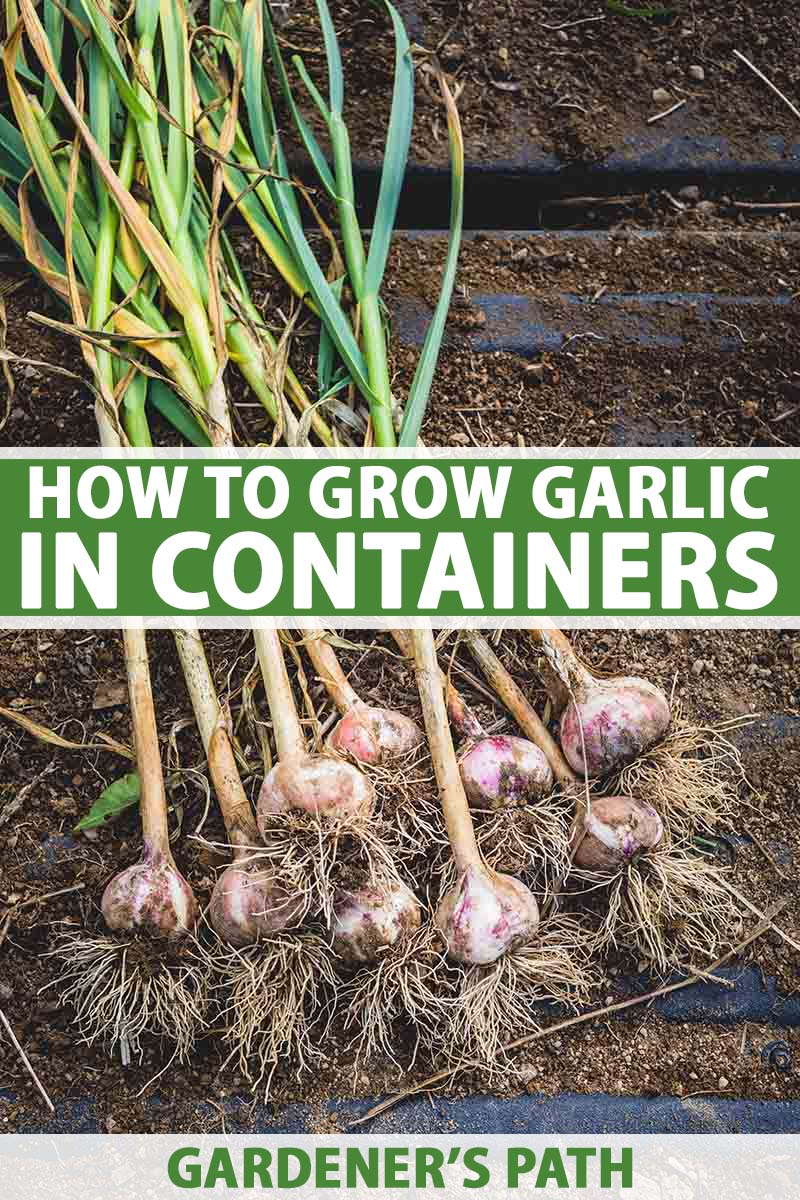
In the summer, likely around July or August, when the tops of your plants start to turn yellow, stop watering them. After about two weeks, about a third of the leaves should be yellow and floppy. Each plant may mature at a slightly different time, so don’t feel pressured to harvest them all at once. Wait until each shows the telltale signs of readiness – the yellowing of one-third of the leaves. This is the same whether you’re growing hardneck or softneck types. To harvest, gently dig down until your hand hits the bulb and gently remove it. Resist pulling the leaves, as this can cause the stem to snap, separating the bulb from the leaves – you need those leaves and stalks to remain intact for the next step: curing. Get more tips on harvesting your garlic here.
Curing Garlic
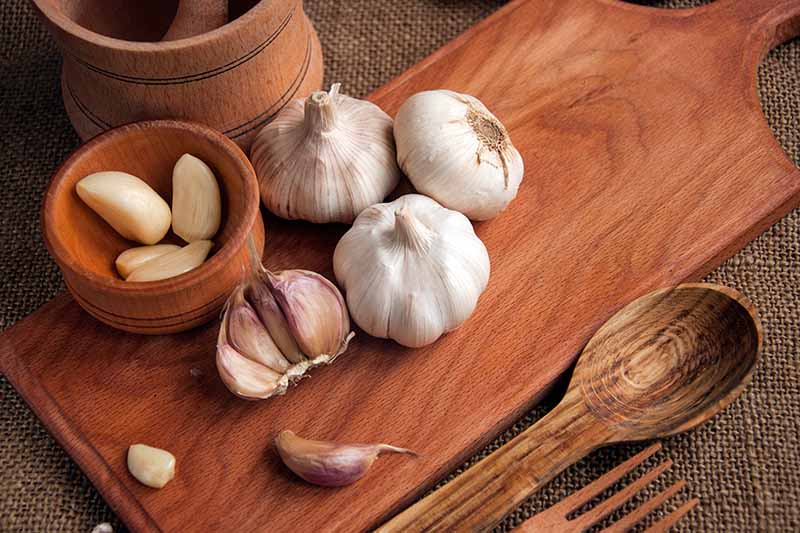
If you want to use your fresh harvest straight away, just wash off the dirt and peel it to reveal the plump cloves. Fresh garlic usually has a milder, more subtle flavor than bulbs that have been cured.
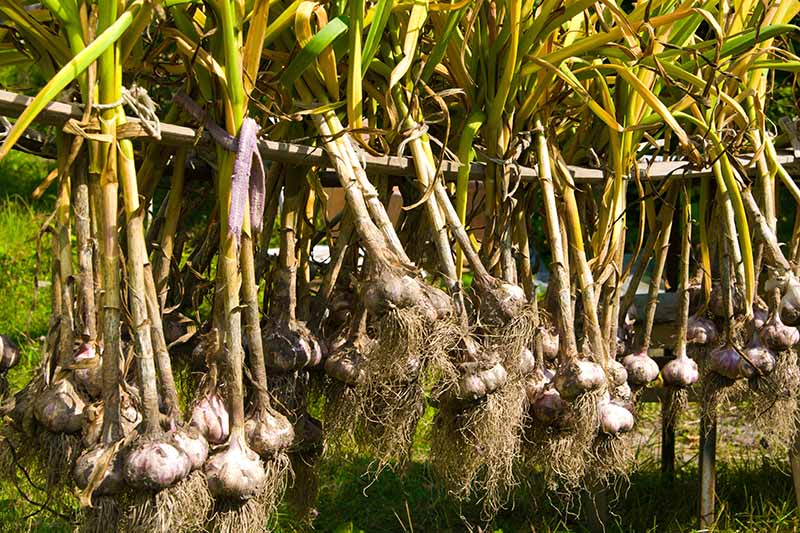
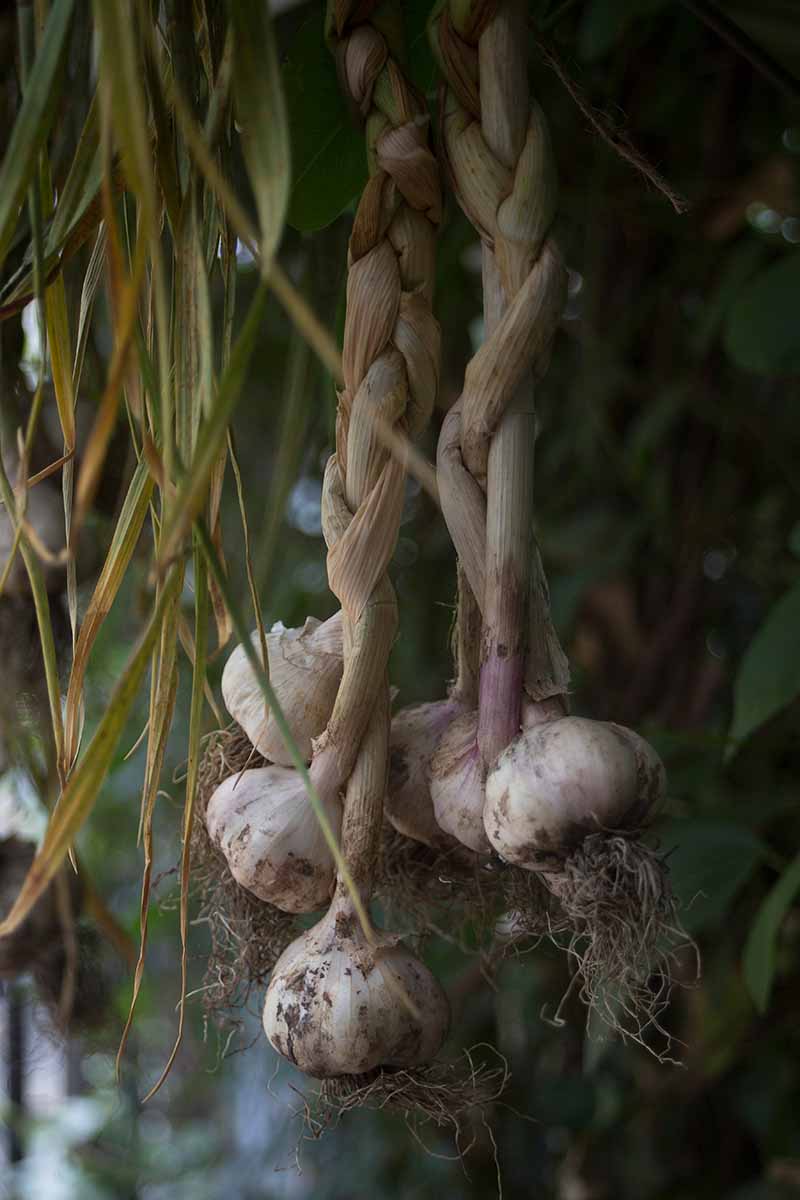
In order to store your container-grown garlic, you need to cure it, or dry it out completely. To do this, wait to wash your harvest. There’s no need to wash any of the dirt off the plant with water prior to storage. The point of curing is to allow all of the moisture to drain out of the leaves and stalk, and into the cloves themselves. Brushing some of the dirt off by hand or with a dry rag is fine, and picking on a dry day is recommended. But wait to wash your garlic with water until just before you’re ready to use it. This helps the cloves store for longer, and keeps them from falling prey to fungi, mold, and viruses while they patiently wait for you to eat them. To cure, hang the plants somewhere dry and shady, like a covered patio, or in an indoor room with good ventilation.
After about two to four weeks, the tops and the roots should look totally brown and dried out. This is when you can cut the stems and roots off and peel the outer wrapper off, revealing a beautiful, clean head inside. Read more about storing and curing garlic here.
Recipes and Cooking Ideas
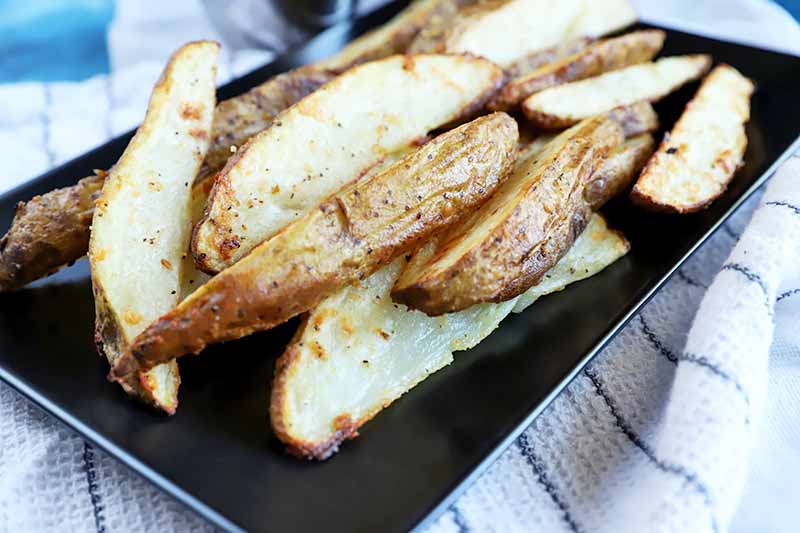
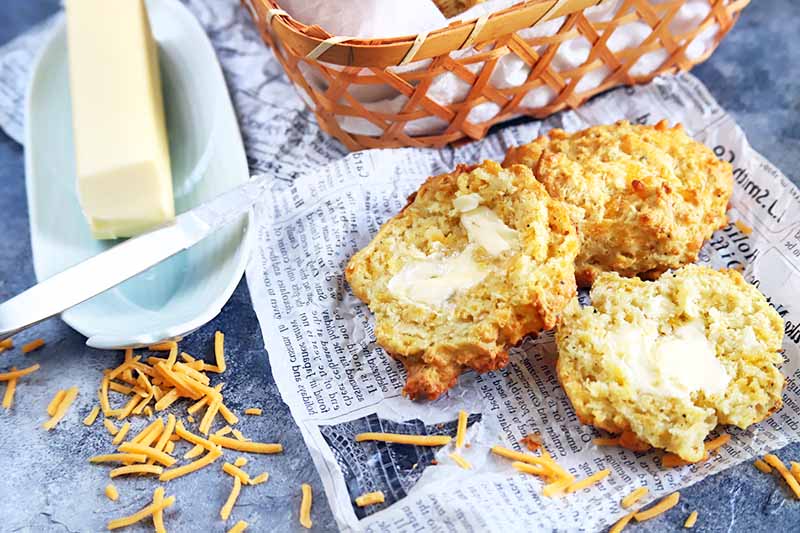
Garlic is one of gardening’s greatest gifts to humankind, and it will never taste better than when you grow it yourself in your container garden. There are so many things that you can do with your container-grown garlic. Here are a few of my favorite suggestions: Crush it and saute it with onions and celery for a flavorful soup base. Roast it and toss it into your sourdough when you’re baking bread. Or make garlic parmesan oven fries with this recipe from our sister site, Foodal. In the mood for biscuits? Try this quick and easy garlic-cheddar version, also from Foodal.
The Stinking Rose Has Never Smelled Lovelier
There’s a reason why this aromatic and well-loved bulb boasts the nickname “the stinking rose.” It’s stinky and lovely and layered, and makes practically any dish a thousand times tastier, in my opinion.
Plus, garlic might even help you to fight colds, lower your cholesterol, and settle your stomach. And when you grow your bulbs in a container, you can enjoy these sickness-fighting benefits at any time. Just don’t go overboard with that last one, like I did as a twelve-year-old! And don’t forget to check out these articles on growing your own produce in containers next:
How to Grow Chives in Containers How to Grow Rhubarb in Containers How to Grow Beets in Containers
Photos by Laura Melchor and Meghan Yager © Ask the Experts, LLC. ALL RIGHTS RESERVED. See our TOS for more details. Product photos via Burpee. Uncredited photos: Shutterstock. With additional writing and editing by Clare Groom and Allison Sidhu.