Because of its popularity, the daylily is available in a staggering array of colors and growing habits. They’re forgiving of most forms of maltreatment and thrive on minimal attention. Establishing and growing daylilies is an excellent starting project for the beginner, and finding a unique or quirky hybrid species is a feather in the hat for more experienced gardeners. We link to vendors to help you find relevant products. If you buy from one of our links, we may earn a commission. Here’s what’s ahead:
An Introduction
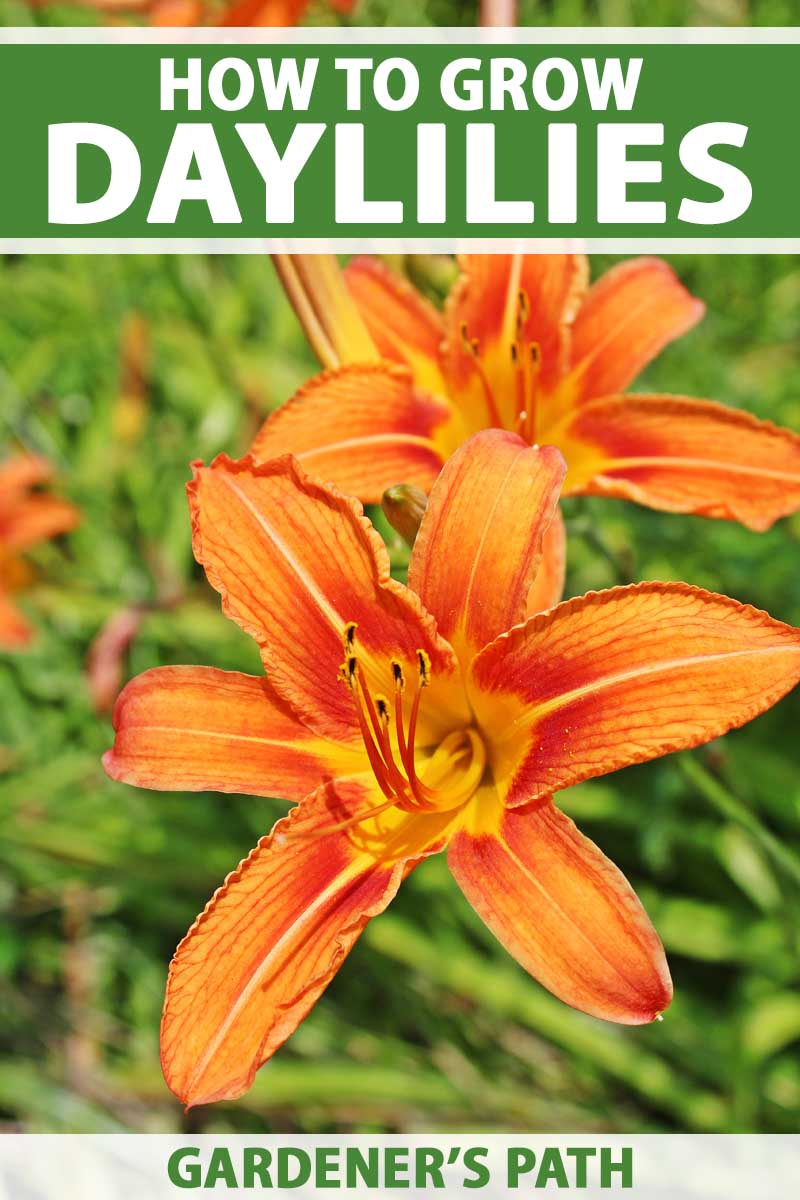
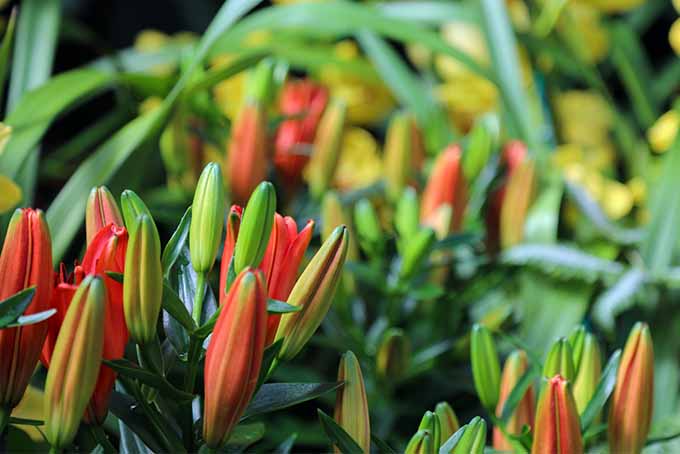
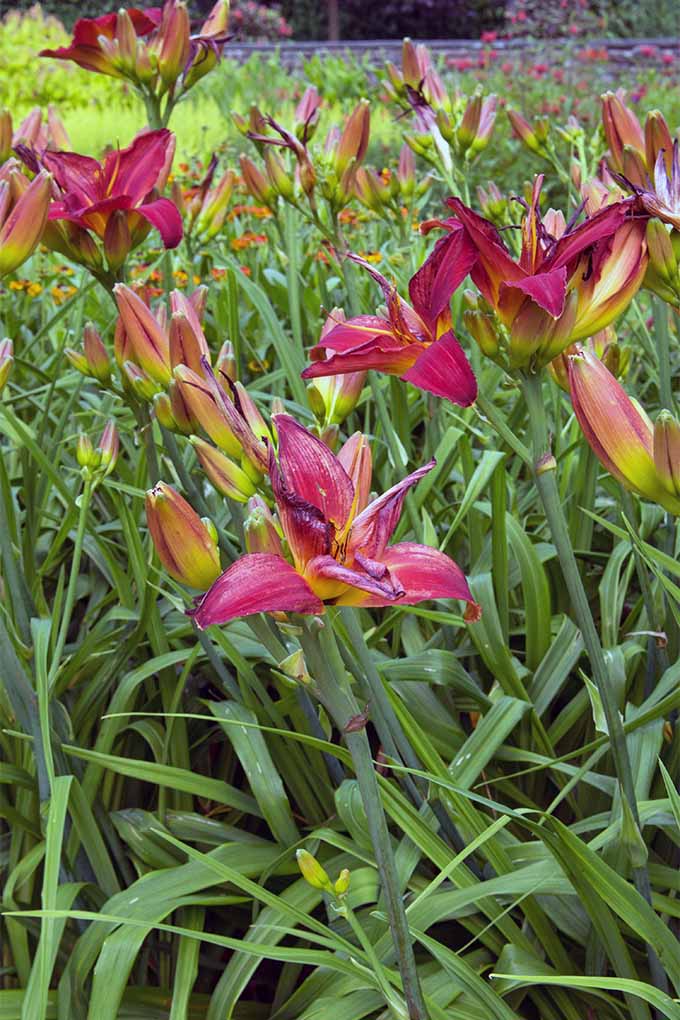
You’re probably familiar with Hemerocallis in one form or another. This latin name means “beautiful day” in Greek, and that’s about as fitting as it gets for botanical names. The brightly colored blooms are popular across most growing zones in the United States, and in many regions worldwide. Hemerocallis traces its origin to Asia and then to Europe, so this fantastic perennial is a world traveler. Most cultivars will prosper in growing zones 3-9, although a few outliers will be happy in climates as cold as zone 2, and as warm as zone 10. Daylilies tend to grow in large clumps, and they get their common name because each individual blossom will last for only a single day. Each clump of flowers can produce as many as two to four hundred blooms over the period of a month in the best conditions, so don’t let that “flower a day” limitation scare you off. These prolific periods of flowering are supported by the stalks, otherwise known as “scapes.” Each scape can produce as many as a dozen buds, so you’ll have plenty of flowers to show off in your garden.
Pow, there you go! Next time you see a daylily at the garden center you can say, “Check out the buds on that scape,” and impress everybody around you. Daylilies can grow in any light conditions, from full sun to full shade. But they’re at their best in full sun. When grown in full shade, the quantity of flowers buds produced is minimal, and nothing to write home about. Hemerocallis is at its best when it has uninterrupted morning sun with a reprieve from the afternoon sunshine. We’ll go into a little more depth about this below.
Establishing in Your Garden
Because they’re so forgiving, it’s easy to imagine daylilies can be plopped into any old place and they’ll thank you for it. The truth isn’t far from that generality, but some forethought and planning will only benefit your gardening pursuits. The timeliness of your Hemerocallis planting is potentially important. In northern, cooler climates, you could get away with planting the hardy daylily in any season except the depths of winter (and even then, who knows?). But in warmer, southern climates you’ll want to get your daylily planted in the spring or the fall. Your Hemerocallis can potentially reach heights between 1 and 6 feet, and will generally spread out to a width of 2 to 4 feet. If you’re planting multiple specimens, you’ll space them 1 to 4 feet apart, depending on your patience reserves; patient gardeners will find theirs filling out in 2-3 years and eating up that space, but folks who want to make an impression NOW will space their daylily plantings closer to 1 foot apart. Daylilies are at their best with about 8 hours of sunlight each day. They thrive in morning light where they receive shade from the hot late afternoon sun. These plants don’t require much fertilizer, so an annual addition of compost will be all the added nutrients you need.
Adding Hemerocallis to Your Garden
You can plant your daylily a bit deeper than most perennials. The crowns can be buried to a depth of about 1 inch below the soil line. Water your daylilies a few times a week for 2-4 weeks after planting, but after a month or so you’ll only need to water once a week, tops. After the first year of growth you’ll find that your daylily has become drought tolerant and only needs to be watered during the worst dry periods. When first adding Hemerocallis to your garden, you’re going to want to loosen that soil up a bit. Hardy as it is, the daylily benefits from a good bit of forethought and planning. Most garden centers will sell these in a pot size of 1 to 2 gallons, so you’re ideally going to till the soil of the planting area to a depth of 18 inches. Different cultivars will bloom at different periods of the summer, so staggering your planting with a variety of different types of Hemerocallis is the way to go if you want to have continued blooms throughout the growing season. If you plant a single cultivar, you can expect a grand and lovely, but short, period of flowering.
Soil Conditions and a Drink of Water
The only area where your daylily is particular is related to the quality of its soil. It wants to be placed into good-quality garden soil, that magical middle-ground of high fertility, good drainage, and generally moist conditions.
If your yard is like mine and does not foster daylily happiness naturally, you can amend your native soil with compost. If your soil is dense and heavy, the compost will help to break it up. On the other hand, if your soil is sandy and fast-draining, the addition of compost will help to increase the moisture retention of your garden.
Maintaining Your Plantings
Once it’s established, you can pretty much lace your fingers behind your head and relax. This perennial is capable and ready to take care of itself, but there are a few ways you can help it along:
Deadheading and Maximizing Your Flowers
Most daylilies will essentially deadhead themselves, so that’s one garden chore we can cross off the list.
Once a scape is out of bloom and has no future buds to produce, it’s wise to remove it from the plant. Similarly, when the daylily produces its seedheads, it’s best to prune these from the flower to aid future flower production. Read more about deadheading flowers here.
The Great Divide
You’ll divide your daylilies every 2 to 4 years, depending on how fast they’re spreading and growing out. You’ll notice when the clump is too big for its own comfort because the flower production suffers and the plant, as a whole, looks unhappy. Divide in late summer for the best results. You can chop in half, in quarters, or in tenths, depending on how large that Hemerocallis clump is. Spread those babies out to your neighbors for maximum impact (more on that later).
Cutting Back Dead Foliage
Ideally, you’re going to leave the foliage in place throughout the winter and into the spring. Once the weather warms up and the soil thaws, you’re going to want to flush cut any dead foliage from the daylily.
Leaving that foliage standing throughout the winter acts as an additional layer of mulch for your daylily, so think twice before flush cutting your entire garden in the fall.
Pests and Other Problems
I love how daylilies are a “set it and forget it” type of perennial. They require minimum fuss and are susceptible to only a few troubles. Brush up on your pesticide basics with our guide to safe chemical application in the garden.
The Bugs
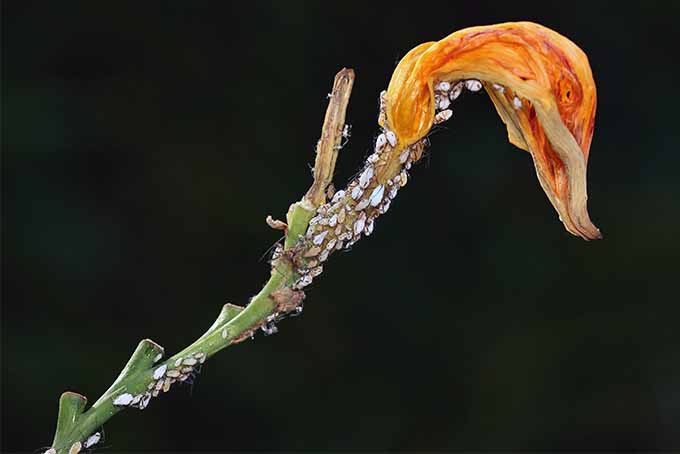
Aphids, slugs, spider mites, gall midges, and thrips are the most common potential sources of most of your insect problems. Slugs are notoriously troublesome, but Gardener’s Path has put together an all-you-need-to-know guide on handling these slimy troublemakers. The gall midge is a European pest that was discovered in British Columbia in the early 2000s. In the years since, it has spread throughout the Pacific Northwest. The gall midge overwinters inside of Hemerocallis buds, and destroys them from the inside out. Contact insecticides are ineffective, and the best way to remove the threat from your garden is to plant cultivars resistant to the gall midge. If you spot malformed buds on your Hemerocallis and live in the Pacific Northwest, Canada, or affected parts of Europe, you should remove the infected area of the plant and destroy it.
Infected buds will be inflated and distorted, and will not open properly. Daylilies that flower early are most likely to be affected by the gall midge. Thrips are a common garden problem, and don’t require any treatment if your plants are healthy. If an infestation is too big to ignore, spray with horticultural oil to eliminate the thrip problem. Spider mites cause trouble mostly during periods of hot, dry weather. Keep your daylilies well watered, and give them a little shower once a week or so during hot weather to help minimize spider mites. Aphids are a familiar sight for the gardener. A homemade insecticidal soap treatment is usually enough to take care of these pesky bugs.
Dang Deer!
If you live in deer country, there’s a good chance that Bambi is gonna be munching on your daylilies. Those flowers and foliage are like caviar to our ungulate friends. They both appear as yellow-orange streaks and flecks on the foliage of your plants. Symptoms appear during warm weather, and may initially be confused with chlorosis. The easiest way to determine what you’re looking at is to touch the affected areas with your finger, a glove, or a tissue. If a powdery, orange streak wipes off, then you’re dealing with rust. Bonide 811 Copper 4E Fungicide, 16 Oz. Another indicator to determine the difference between rust and streak is the gross-looking pustule that develops only with rust. Streak is a less serious affliction. The fungus can overwinter in the foliage, so removing your dead foliage and starting fresh each spring is the best way to prevent exposure. If your plants are affected by streak during the growing season, you should instead cut back the affected areas immediately and destroy the leaves. Rust is a more serious condition. It spreads very quickly between plants. Although many gardeners will recommend destroying any Hemerocallis infected with rust, there may be other options. Be sure to read our guide, Understanding, Treating, and Avoiding Rust on Daylilies, for more information. Always destroy any plant material that’s infected with a fungus or disease. Don’t compost it! Alternate your use of products like Scram, Milorganite, and Liquid Fence to deter deer from your garden.
The Perfect Neighborly Perennial
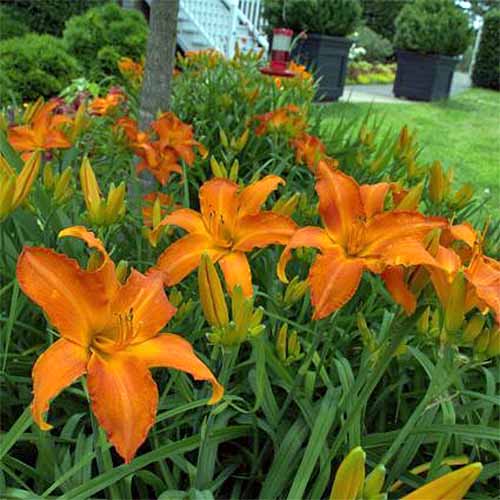
I enjoy the color and durability that Hemerocallis provides, but my favorite aspect of this perennial is how voraciously it grows into dividable clumps. The ‘Primal Scream’ Hemerocallis is a solid go-to choice for bountiful orange blooms. The flowers are large and the plant grows to a modest height of about three feet.
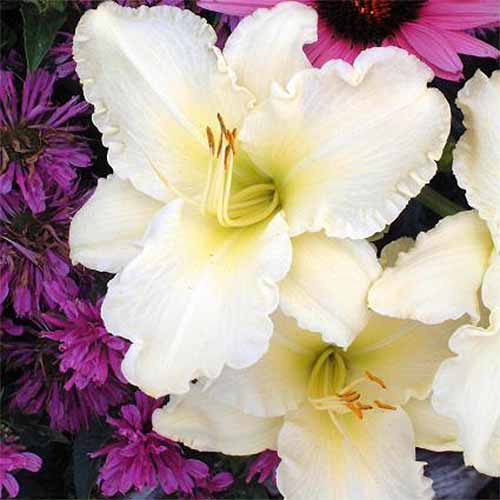
Hemerocallis ‘Primal Scream,’ available from Nature Hills Nursery It can grow in zones 3-9, so almost every gardener in the US can expect beautiful blooms in their garden from ‘Primal Scream.’ I like to pair orange flowers with something silvery like dusty miller, or maybe metallic-colored purple foliage like persian shield. I’ve always been a sucker for white and yellow flowers, and ‘White Gloves‘ provides a little bit of both. I’d call the flowers “creamy,” based on the ones I’ve seen in person.
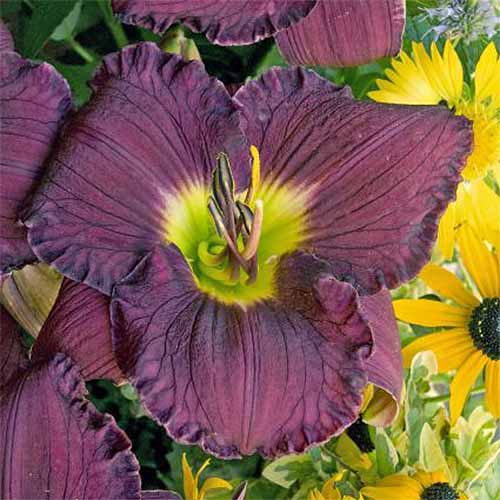
Hemerocallis ‘White Gloves,’ available from Nature Hills It’s a gorgeous flower with a good size (each bloom is about five inches wide), and it blooms early enough in the season to provide a nice transition from springtime pastels to the more bold and vibrant summer colors. ‘White Gloves’ will grow in zones 3-9, and it also reaches a modest height of just over two feet. Possessing a dark purple flower that draws you in, the ‘Nosferatu’ Hemerocallis possesses a color and a name perfect for gardeners with a bit of an edge. The robust plant will eagerly grow in almost any condition, and provide you with swaths of purple flowers throughout the mid-season.
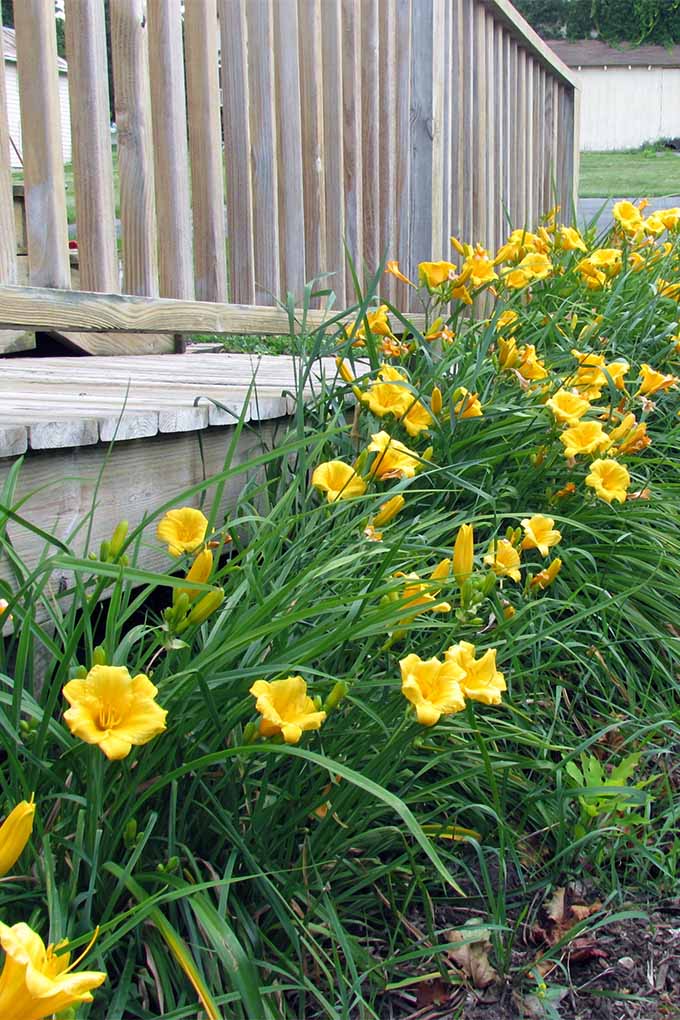
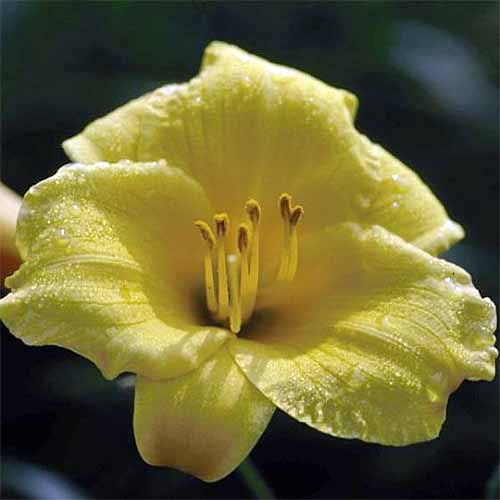
Hemerocallis ‘Nosferatu,’ available from Nature Hills Nursery The hue of this cultivar is spectacular, and relatively uncommon in the garden. It’s a must-see plant! No discussion of growing daylilies is complete without mentioning the ‘Stella d’Oro.’ One of the staples of any perennial garden, ‘Stella d’Oro’ will grow just about anywhere, and happily flowers throughout the entire summer. It is resistant to many diseases, and comes in at a modest one foot in height.
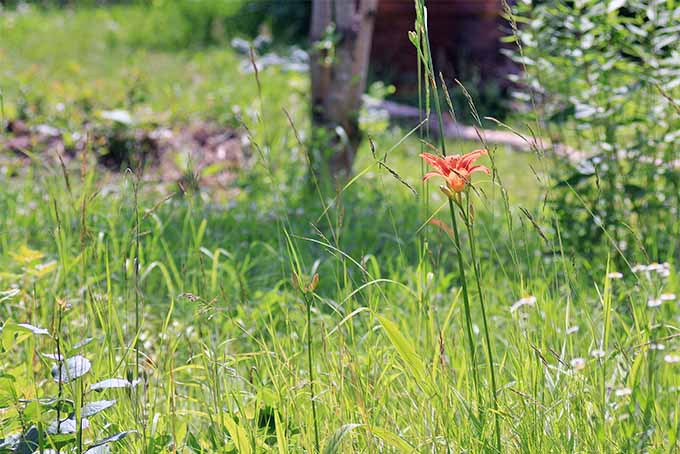
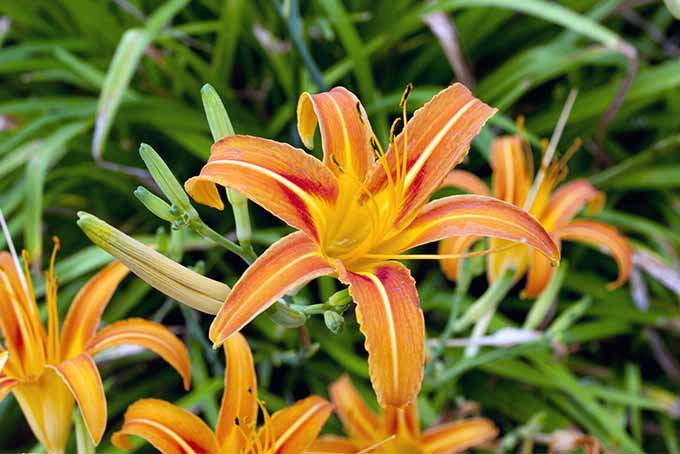
Hemerocallis ‘Stella d’Oro’ You can find these flowers in just about every garden center you come across, or they are available via Nature Hills Nursery. You’re probably familiar with the wild-growing orange daylily seen on the sides of roads and on the borders of pasture land. This is H. fulva, a tenacious plant given the unfortunate nicknames “ditch lily” and “gutter lily.” This member of the daylily family grows eagerly, and quickly spreads beyond its original planting area. These aren’t bad traits to have, if you have a large area you need filled up. However, if you’re working with a small and contained garden area, you’ll want to select a more modest cultivar. As we’ve mentioned, daylilies won’t flower if they’re left undivided for too long, and that’s why it is the perfect plant for your garden. Dividing is necessary for the health of the plant, but it’s also an excellent way to get to know your neighbors and share bits of your garden with each other. Most gardeners jump at the chance to score a few free plants, and when you’ve got clumps of daylilies to offer, you’ll find people jumping to grab a few of their own.
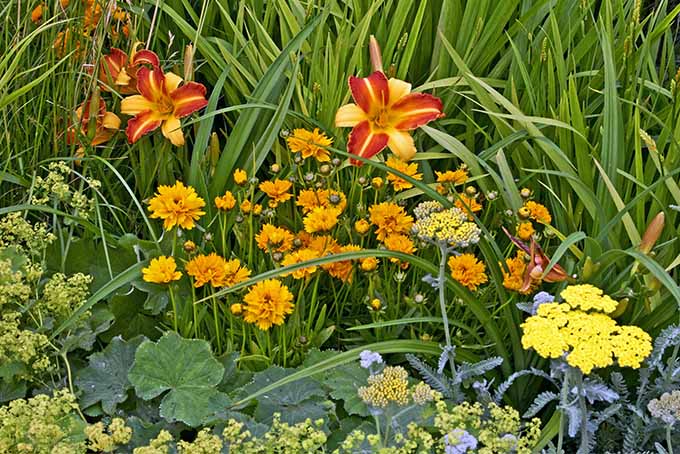
I always imagined gardens in my neighborhood as the patches of a quilt. As individuals, we can’t cover our entire neighborhood in a green blanket. But we can all contribute our own squares. When those squares are combined, we’re living in a greener place, and those individual efforts we take to beautify the landscape and protect our local ecosystems can make a bigger difference when we work together. That’s what makes daylilies the perfect neighborly perennial. You can put together a great perennial border by combining them with other perennials like black-eyed Susans, coreopsis, and echinacea. Do you have a recommended variety, or a question or bit of advice on handling this perennial? We’d love to see it in the comment section below. Drop us a line! And for more spring flower growing tips, check out some of our other guides:
How to Plant and Grow Lilies How to Grow Hardy Snowdrops (Galanthus) How to Grow Heavenly Hyacinths for Rich Spring Color
Product photos via Bonide, Nature Hills Nursery. Uncredited photos: Shutterstock.
