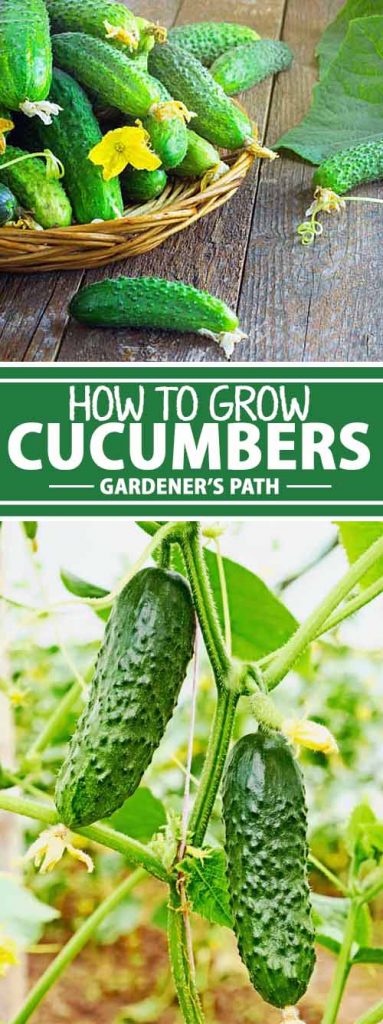
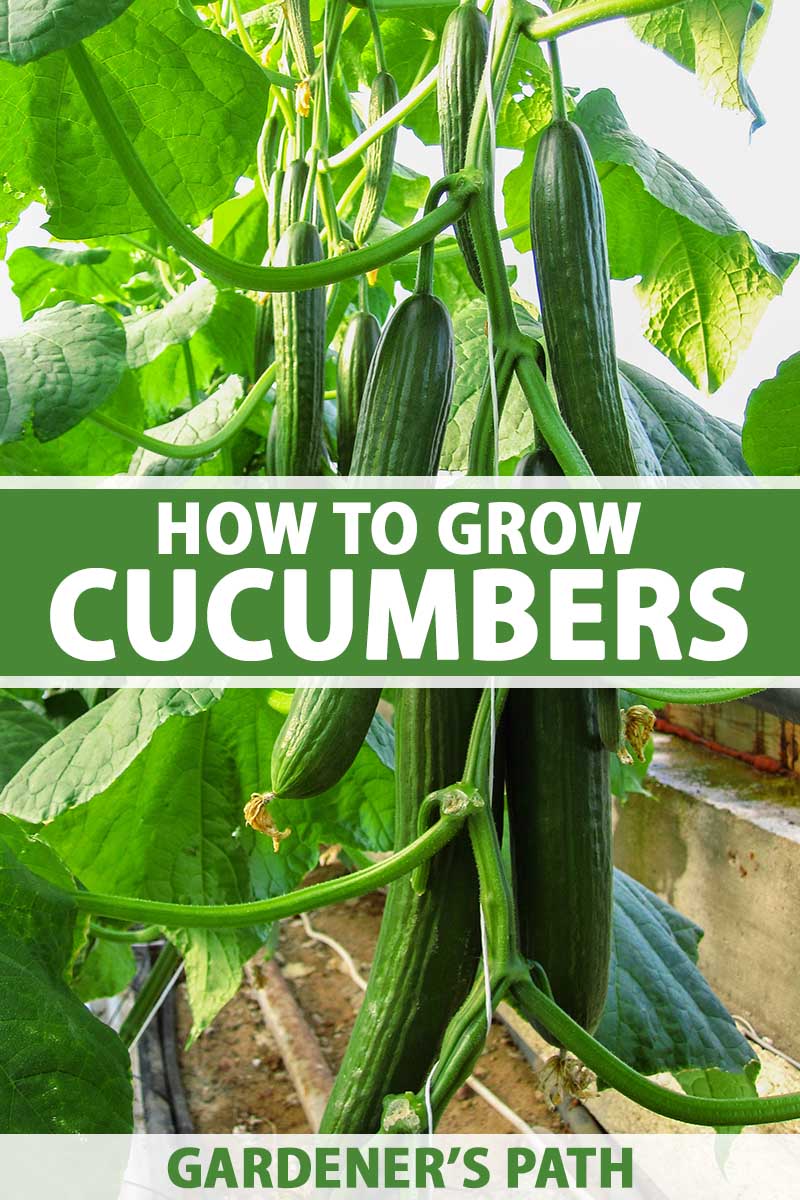
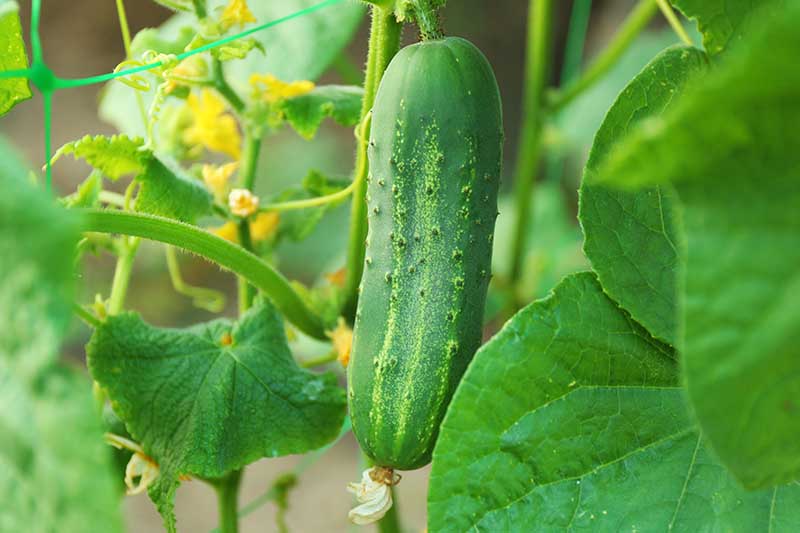
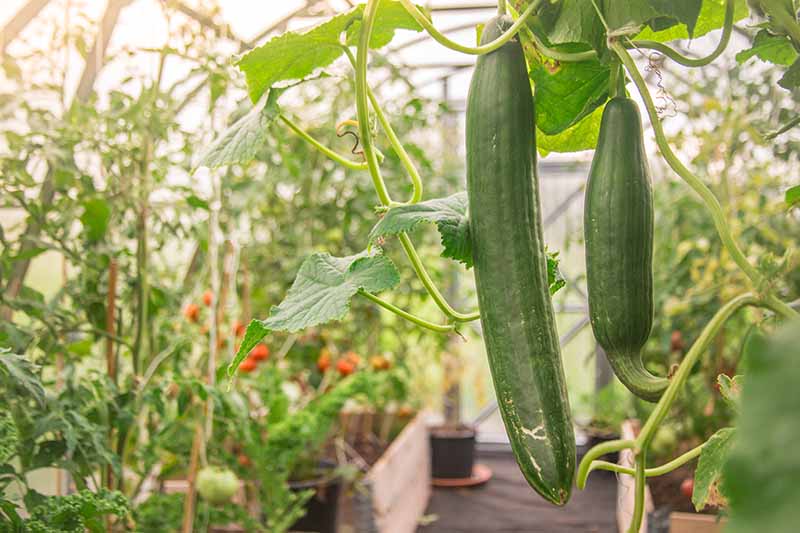
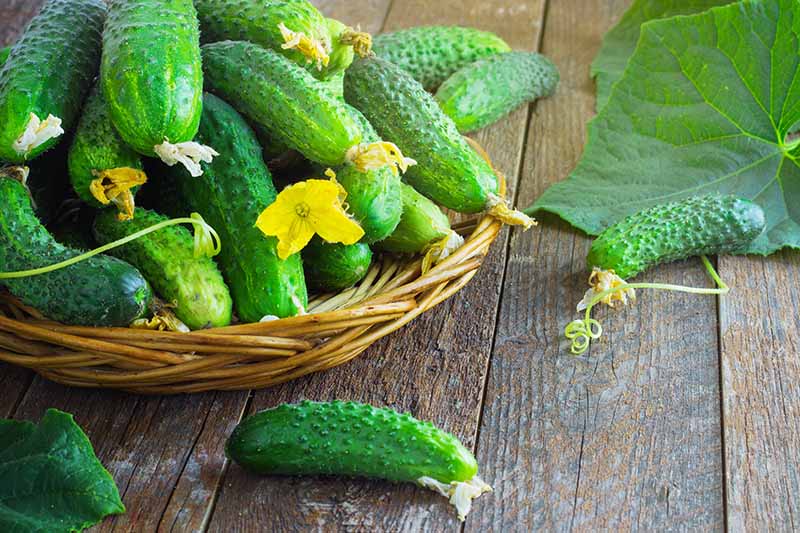
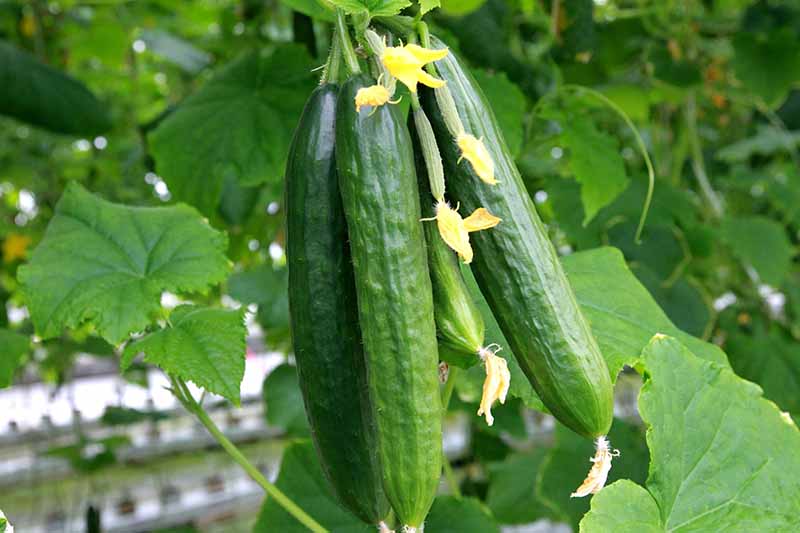
Pretty as a picture? Not some I’ve seen. Sleep like a baby? If you mean fitfully… Work like a dog? Sometimes, but my sweet Huggy is asleep on the porch more often than not. But cool as a cucumber? That’s always true. We link to vendors to help you find relevant products. If you buy from one of our links, we may earn a commission. A slice will soothe puffy eyes, and a cup or two chopped makes a refreshing chilled soup for summer meals. And if you plant one of these members of the Cucurbit family, Cucumis sativus, in your garden, they’ll grow quickly and produce bumper crops, enough for fresh eating, pickles, and lots of tasty recipes. In other words, cool, cool, and even more cool. Maybe you’ve tried growing this prolific vegetable before, and are looking for ways to simplify and improve. Or perhaps you’re a beginning gardener considering cucumbers for the first time. Either way, I’d like to share a bunch of tips and techniques I’ve mastered. It’s not that it’s that tough to grow cucumbers in your garden. But there are a few often-overlooked methods for keeping your plants at their healthiest, and maximizing both the yield and the quality of the fruits. I’m here to point the way. This is what I’ll cover:
Cultivation and History
A subtropical species, cucumbers originated in India. They thrive in warm temperatures and want lots of moisture. According to curators from the Division of Plant Sciences at the University of Missouri, cave excavations have indicated these crunchy vegetables have been cultivated for more than 3,000 years. ”Early cucumbers were probably very bitter because of compounds they contained called cucurbitacins,” experts at the University of Missouri explained. “Bitterness still is a problem with some cucumbers today, although great progress has been made by plant breeders to eliminate the bitter compounds.” They’re mentioned in the Bible, in Numbers 11:5, and were also cultivated by ancient Greeks and Romans. In the eighth and ninth centuries, Charlemagne was reputed to have grown these cucurbits in the royal gardens of Italy. Columbus brought the vines with him in his conquest of the New World, and Colonial gardens boasted numerous varieties a couple of centuries later. Another milestone for this crispy fruit came in 1876, when Heinz began manufacturing pickles for sale on a wide scale. Nowadays, the pickled version is popular in sandwiches and tartar sauce, on burgers, and on many a restaurant menu as a featured ingredient or standalone nibbler. And let’s not forget the breaded and deep-fried version said to be introduced first in Arkansas in 1963 at the Duchess Drive In, just across the highway from Atkins Pickle Plant. That delicacy is going strong as a bar food and party snack today, particularly in the southern United States. The 21st-century craze for fermentation and home canning has also brought cucumbers into the culinary limelight. What a legacy! These garden favorites offer a glorious abundance of options for vegetable growers, and we go into more depth about the different types of cucumber in this guide. I think everyone with a container, garden plot, or community garden liaison should get in on the act of growing the coolest vegetable. Here’s all the basic information you’ll need to do that very thing.
Propagation
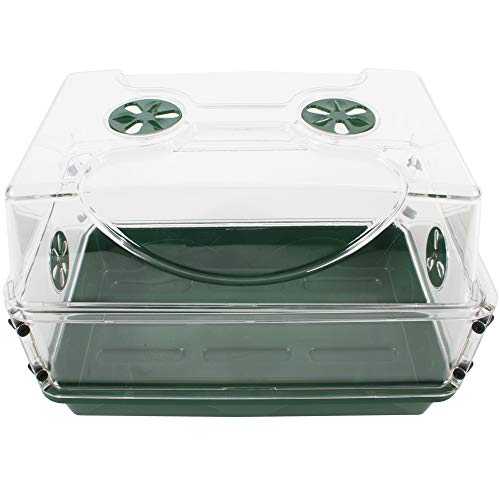
Before you plant, it’s a good idea to get familiar with the variety you’ve selected. While they all need full sun and well-draining soil amended with plenty of composted organic matter, different types need different seed spacing. Timing is also crucial. To germinate, all C. sativus varieties need warm soil that’s at least 60°F, and preferably in the 70 to 90°F range. The air temperature should also be settled and reliably warm, with a minimum of 50°F, even at night. Plant any type about half an inch deep, covered with vermiculite, seed starting medium, or sifted garden soil. Tamp it down lightly with your hand or the back of a trowel, and water thoroughly. Keep the soil moist but not soggy until the seeds sprout, usually within five to 10 days. If you intend for the vines to grow up a trellis, place four or five seeds per foot in rows three feet apart. When the sprouts reach about five inches tall, thin them to stand about a foot apart. I find the best way to do this is just to use scissors and snip them at the soil line. And I always compost the remains! There are other possible supports available too, like poles, tomato cages, or fence panels. You can learn more about planting cucumbers on a fence in our guide. If you’re working with a large garden plot and want to try the old-school method of planting in hills, make a mound of soil about six inches tall and a couple of feet in diameter. Space the hills about four feet apart. Then plant four or five seeds per hill, placing them in the center and an inch or so away from each other. When they’re a couple of inches tall, clip or pull all but the three strongest seedlings in each hill. While most seed distributors don’t recommend it, it’s also possible to start the seeds indoors and transplant them out after any chance of a hard frost has passed. I do this pretty often, which may sound odd since I live in the American South, where the growing season is quite long. But I want to get mine growing and fruiting before the weather becomes humid and the cucumber beetles make an appearance. Planting my seeds indoors first helps me gain a couple of weeks. If you live somewhere with a season shortened by cooler temps in spring or early fall, you may also want to start with transplants, either your own or ones you buy from a store. But do it cautiously! These vegetables don’t like to have their roots disturbed, so peat pots are an absolute necessity if you go this route. You want to be able to put the seedling and the pot you started it in right into the ground, not tinker around with taking the young plant out of a container that’s not biodegradable. That process may end with broken roots or snapped stems. Also make sure you start seeds you intend to transplant just four weeks before the last frost date in your area. Otherwise, you’ll have gangly, overgrown seedlings that won’t thrive after transplanting. If they don’t have enough light, they’ll become leggy and weak very quickly. Place them in a water-tight tray and cover the top with plastic wrap, or use a domed seed starter. EarlyGrow Domed Propagator Once the seeds sprout, immediately place them in a sunny window or beneath a grow light. Position the latter to shine about four inches above the tops of the seedlings and move it higher as they get taller. After the last frost date in your area and when the nights are reliably above 50°F, transplant the peat pots. Use the same final spacing you would if you planted seeds outdoors. Make sure you plant the entire pot beneath the soil, or it can dry out and the seedling will likely die off.
How to Grow
Like the superstars they are, cucumbers are high performers, but also quite demanding. They’ll grow quickly and produce lots of fruits, but only if you keep up with their needs. If you’ve planted an heirloom variety, or another type that needs insects for pollination, make sure you do all you can to attract pollinators. In some cases, you can resort to hand pollination, but it’s simpler and better for the environment to have a healthy population of mason bees, honey bees, and other pollinators to do that work. Any time you grow vegetables,you’ll also want to forgo all herbicides and pesticides on your lawn or in other areas of your garden. Also make sure your seedlings get enough moisture, from sprouting all the way up to harvest. They have a substantial tap root and also numerous shallow roots, and all of them will benefit if the plants receive between one and two inches of water per week. When rain doesn’t supply that amount, do it yourself, ideally with drip irrigation. If you use a hose or watering can, water at the base of the plant, leaving the leaves dry. Wet cucumber leaves are at a higher risk of developing powdery mildew and other fungal diseases. Because the roots nearest the soil are so shallow, you should keep the soil weed-free. You don’t want your cukes to have to compete for water or nutrients. When the plants are younger, you can carefully hoe the weeds, but once they’ve grown closer together, you’ll have to resort to hand-pulling weeds to avoid damaging your precious cukes’ roots. To prevent weeds from sprouting and encourage moisture retention, apply a thin layer of mulch around the vines at least a couple of times during the season. Limit yourself to three inches max, though, or you risk establishing a haven for many undesirable insects. Also, wait for the temperatures to warm to 75°F before spreading mulch. Otherwise it will make the soil too cool, and may damage or kill seedlings. To keep growing at those impressive speeds, the plants appreciate a bit of food, too. Apply a side dressing of fertilizer after the vines send out runners. According to Senior Public Service Associate Bob Westerfield at the University of Georgia Extension, it’s a good idea to “side dress cucumbers with an additional application of nitrogen fertilizer one week after blooming begins, then again three weeks later.” Westerfield recommended using a pound of 33-0-0 (NPK) fertilizer per 100 square feet of bed. Apply it about six inches from the base of each plant, along one side of the row, and cover it with a bit of screened or cultivated soil. If you have to choose, err on the side of applying too little fertilizer rather than too much. Excess nitrogen will encourage more leaves to grow while reducing the fruit output of the plants.
Growing Tips
When it doesn’t rain enough, irrigate with an inch or two of water per week.Prevent weeds with mulch, but only after temperatures reach 75°F.Put trellises in place as you sow seeds to avoid disturbing the roots after the seedlings sprout.Harvest regularly so the plants will keep producing.
Cultivars to Select
Between hybrids and heirlooms, pickling cucumbers and those for fresh eating, there are dozens of varieties you might want to grow in your garden. To narrow your choices, determine whether you’d do better with a bush variety that’s compact, or a vining type that would require trellising but conserve space on the ground. You might have plenty of room and opt to let vining varieties sprawl across the ground, too, though honestly they’re a lot tougher to see when it’s time to pick, and a lack of airflow paired with moist conditions can lead to disease issues. There are also cultivars that mature early. Opt for one of these if you live in an area with a short growing season or are planting later in the allowable window. You can also grow a quick-producing variety as a second crop later in the summer. Just know that even the speediest cucumbers will grow a bit slower as the weather starts to cool off in very early autumn, so you may not get a crop. Other types are popular for any number of reasons. They may produce well in containers, for example, or have small leaves that let you pick easily. Some set fruits with smooth skin or few seeds, others yield fruits continuously over an extended harvest period. I really shouldn’t be the one to say this, because I’m the first to be fascinated and want to grow any variety I come across. But it’s critical to pick a type that will grow well in your area. You need one that resists diseases and pests that are common where you live, and that will have time to produce a harvest within your available growing season. You should follow my example and purchase only the most suitable, resisting the urge to buy the ones with the coolest names or neatest seed catalog descriptions. (I’ll admit, I complain the whole time I am depriving myself in this way… but the results are well worth it when a crop comes in!)
Managing Pests and Disease
The easiest pests to spot are the mammals. Rabbits like cucumber foliage and blossoms so much they’re recommended as treats for pet rabbits. Mice and voles also enjoy munching both the young, tender shoots and the fruits.
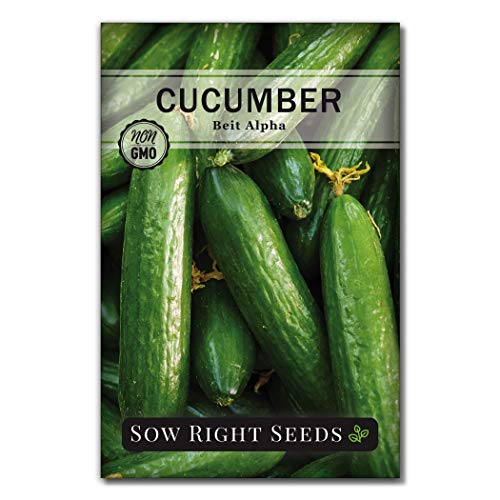
Beit Alpha
These thin-skinned, nearly seedless Persian cucumbers produce vigorous and high-yielding vines. People grow them in greenhouses or cold frames, because the plants don’t need pollination to set fruit. But ‘Beit Alpha’ thrives in containers or raised beds, too, maturing 55 days from sowing. ‘Beit Alpha’ Pick them at a medium length, say five to six inches, or allow them to mature to the appearance, texture, and taste of the 10-inch English cucumbers you see in the store.
Burpless Bush Slicer
Here’s one of the bush varieties I mentioned earlier. This open-pollinated hybrid is compact. It can grow in a 14-inch container without issues, as long as you keep it fed and watered throughout the season. A little support, like a tomato cage, will make the plant even more productive. The fruits have smooth, dark green skin, and grow to be 10 inches long by one and a half inches wide. ‘Burpless Bush Slicer’ Expect the harvest to begin 55 to 60 days from sowing, with more in stages over a long season. Seeds for ‘Burpless Bush Slicer’ are available from True Leaf Market in various sizes, from three-gram packets to five-pound sacks.
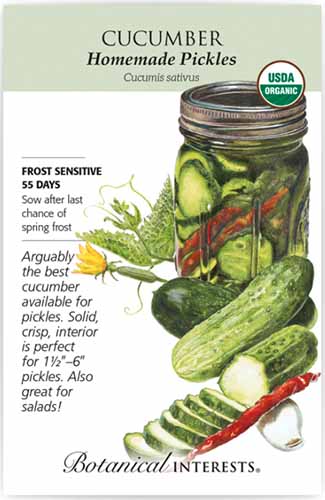
Homemade Pickles
You’ll need trellises for these, but not very tall ones. ‘Homemade Pickles’ produces high yields of medium-green cucumbers on four- to five-foot vines. They’ve got the bumpy skins with a scattering of spines, a dense-but-crispy texture, and are ready to harvest when they are between one and a half and six inches long. ‘Homemade Pickles’ This variety takes away some worries about disease, too. It’s resistant to anthracnose, angular leaf spot, cucumber mosaic virus, downy mildew, and powdery mildew. It’s also quick to mature, taking an average of 55 days. ‘Homemade Pickles’ seeds are available from Botanical Interests.
Lemon
There’s no law that says you can’t jump right to growing a unique type. It’s fun to be the only one in the neighborhood harvesting something like ‘Lemon’ cucumbers. This high-yield vine’s fruit ripens at lower temperatures than some, so it’s a good option if you live in a cooler, short-season climate. The fruits grow to about tennis ball-size, with unusual yellow skin that’s thin and tender. They’re tastiest picked at two inches in diameter, with the harvest window being 60 to 70 days from sowing. ‘Lemon’ The mild, sweet flavor and white or pale lemon-colored flesh make them a conversation piece. They’re also just the right size to use to make jars of hamburger or sandwich pickle slices. Packets of ‘Lemon’ cucumber seeds are available from True Leaf Market.
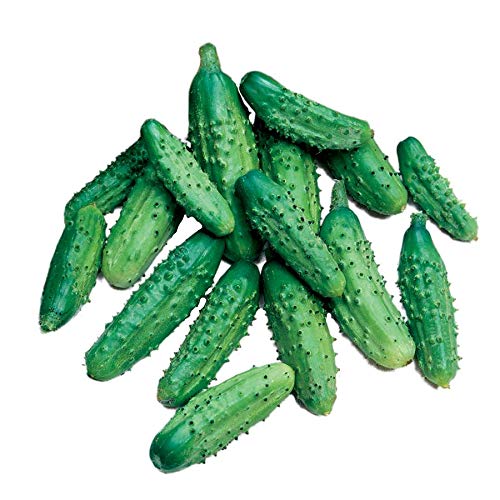
Parisian Gherkin
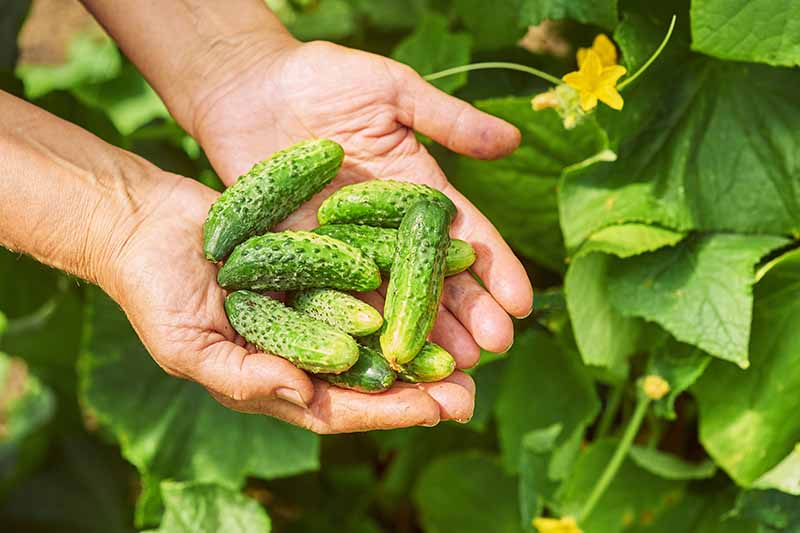
These fruits are meant to pick when they’re tiny, just the size of gherkin pickles. So try to keep up! You’ll want to eat them right away, while they’re still extra firm and crunchy, or pickle them at that size. ‘Parisian Gherkin’ This cultivar is fast, producing harvest-size two- to four-inch cukes just 50 days from direct-sowing. A hybrid, it’s been bred to be resistant to cucumber mosaic virus, scab, and powdery mildew, so it grows on when others might succumb.
Spacemaster 80
Want a slicer with fruits that look like the ones Dad or Grandma used to grow? ‘Spacemaster 80’ yields scads of smooth, seven to nine-inch blocky fruits, and takes just 60 days to do it. ‘Spacemaster 80’ And even better if you’re an apartment dweller or short on garden space: These are dwarf plants, with vines that grow just 18 to 24 inches long. ‘Spacemaster 80’ seeds are available from True Leaf Market in a variety of packet sizes. The best way to keep them at bay is to remove any debris or brush piles they can use as cover. You may need to resort to netting or even underground wire mesh fencing. Consult our guide for more ways to prohibit rabbits. Happily, this is one crop that deer won’t eat, due to the spiny fruits and fuzzy leaves. Bugs, though, also adore these cucurbits. Making an effort to control the insects serves a dual purpose. The larvae cause problems when they defoliate the growing plants, and the parent insects also carry plant diseases like bacterial wilt.
Insects
Here are a few of the main offenders and how to cope with them:
Aphids
Tiny, pear-shaped insects with long antennae, aphids like cucumbers almost as much as they do roses. They damage plant leaves and leave behind a honeydew that may cause sooty mold. And they multiply wildly. Worse yet, they can overwinter in the garden or weed piles, and hatch new aphids in exponential numbers in the spring. If you notice the yellow, curled, or dried leaves that may indicate aphids, get out the hose and try to blast them off with water. And should you have ample space for such an endeavor, try to encourage beneficial insects like ladybugs or lacewings in your garden. Either will take out your aphids naturally. Learn more about how to manage aphids in our guide.
Cucumber Beetles
The two types of cucumber beetle exhibit different patterns, but they’re both the enemy to a bumper crop of cucurbits. Spotted, Diabrotica undecimpunctata howardi, and striped, Acalymma vittatumis, both produce larvae that feed on the foliage. The beetles can also infect plants with bacterial wilt, starting from the time the little sprouts push through the soil. To prevent these pests, take away their “home away from home.” They live in high weeds, so keep the garden bed well weeded, along with nearby growing areas.
Cutworms
When the larvae from this insect chew the stalk of a young seedling and it breaks, that’s the end of that particular plant. These caterpillars grow to about two inches long. They come in a variety of colors and patterns, brown or dark yellow for example, with stripes or dots. The first line of defense if you’ve noticed their handiwork in earlier growing seasons is to make a homemade collar for the young seedlings, one that will keep the slithery bugs from getting to the stems. Read more about controlling cutworms here.
Disease
When you do all you can to prevent insect pests from encroaching on your crops, you’re a couple of steps ahead on preventing disease in your plants as well. That’s energy well spent, because cucumbers are quite susceptible to a number of diseases. These are the main ones to watch for:
Alternaria Leaf Spot
This fungal disease caused by Alternaria spp. first creates yellow lesions on the leaves, which become larger, brown, dead blotches. Eventually it will kill the leaves altogether. You can fend off leaf spot by rotating your crops and never planting cucumbers or other cucurbits in the same place two years in a row. In fact, it’s best to give that spot in the garden a break from cucurbits for two entire years. It also helps to water only at the base of the plants. If you douse your plants from overhead, fungal spores can splash onto the leaves and stalks.
Bacterial Wilt
This one is especially bad news. It is caused by the bacterium Erwinia tracheiphila and spread by cucumber beetles. Look out for bacterial wilt between June and August, since that’s typically when the host bugs are active. This scourge can take a plant from looking wilted and having discolored stems to completely dead before you realize it’s not just looking limp due to lack of water. If any of your plants become infected, rip them out of the garden and throw them away in the trash, right away. Do not place them on your compost pile! It sounds heartless, but that’s the only way to keep them from infecting the rest of the planting, or equally susceptible squash if it’s planted anywhere nearby.
Cucumber Mosaic Virus
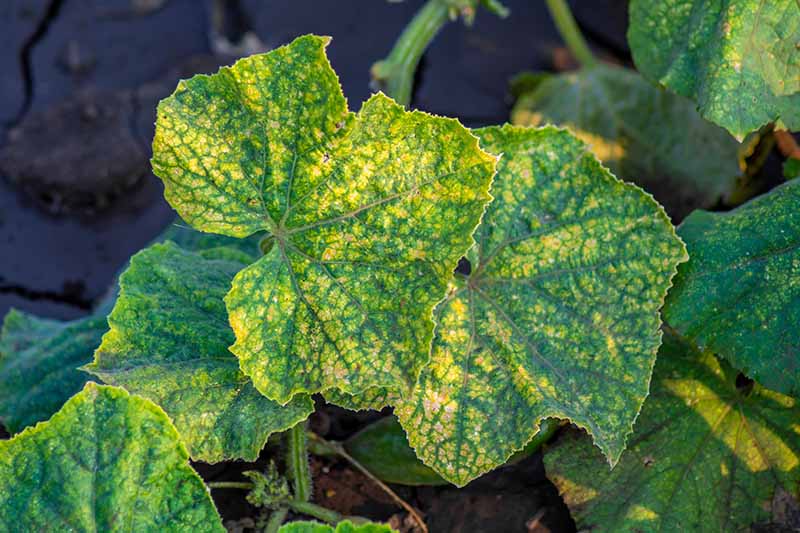
This virus, popularly known as CMV, stunts plants, and leaves behind a pattern that resembles a mosaic. Once it gains a stronghold, it will also make the fruits tiny and rough-skinned, and usually oddly-shaped. And I wish I had cheerier news, but CMV is spread via aphids, and they’re active the whole time your plants are growing. Cucumber beetles and residue on garden tools can also spread this deadly disease. If you notice this development, brace yourself. You can’t treat it, so those infected plants will have to go. Looking forward to the next planting season, there is a hopeful bit of information. Because CMV is so destructive, breeders have gone to a lot of trouble to come up with resistant varieties. You should seek those out if insect pests are prevalent in your growing area.
Powdery Mildew
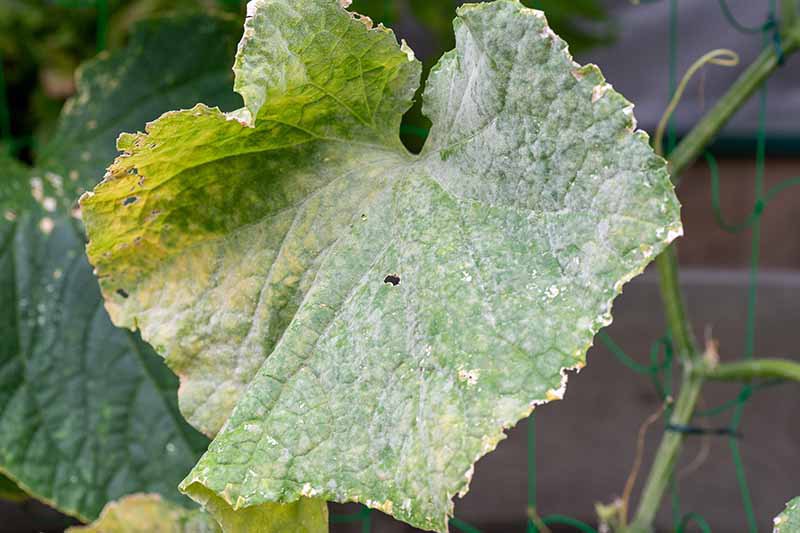
Powdery mildew is aptly named, causing white spots that look like a fine dusting of powder, or flour on the foliage. Most common in the spring, it is caused by hundreds of species of fungi, all of them part of the order Erysiphales. Happily, powdery mildew is usually a mild infection and if your plants are vigorous, it probably won’t harm them much. And when temperatures surge over 80°F, it may just disappear on its own. If it develops into a blight that covers the whole plant, or the whole garden has a bad case, seek out solutions that don’t involve conventional fungicides. Learn more about preventing and treating powdery mildew in our guide, which includes homemade and organic remedies. Along with taking steps to prevent or treat any of these diseases, it’s a good idea to check with your local extension service before you choose cultivars to plant. Ask them which diseases are most prominent in your area, and then select varieties that are most resistant. While you’re seed shopping, it’s a good idea to know which varieties are especially prone to the diseases that are common in your area, too, and avoid them. You can learn more about cucumber diseases in our guide. (coming soon!)
Harvesting
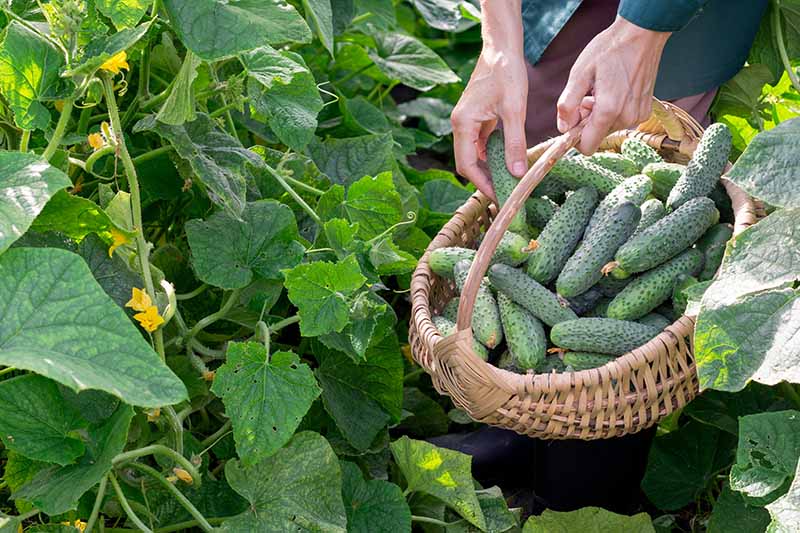
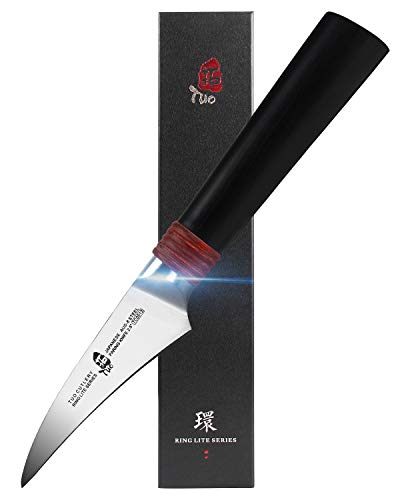
Ah, it’s time to pick! That’s a wonderful feeling. But don’t let that joy lead you to relax prematurely during the window when your cucumbers are ready to harvest. To get maximum enjoyment from all your hard gardening work, you must stay on top of picking. The plants will continue to produce new fruits longer, instead of putting their energy into forming seeds within the mature fruits, if you pluck the ripe ones every day or two. An important first step is consulting the specifics about your cultivar’s harvest window, so keep that information handy after you plant the seeds. Each cultivar has its own timeline between sowing and harvest, and its own ideal size at maturity. Consult the seed packet or online description to learn how big the fruit should be for optimum taste and flesh quality. Some of the picklers literally need harvesting at just an inch in diameter and a few inches long, while “burpless” varieties are usually at their peak at 10 to 12 inches. A few of the hybrid slicers, like ‘Diva,’ are at their most tender at just four to six inches long. It prevents waste when you know the best length for picking the variety you’re growing. Overgrown fruits tend to get seedy and soft. Sometimes their skins get so tough you can’t eat them without peeling. A word to the wise: When in doubt, pick early. You can always let the next batch get a little bigger if you don’t like the texture or taste of the smaller cukes. But more often, you’ll enjoy the younger fruits more, because they’re crisper and sweeter. You may even be able to eat some varieties that aren’t listed as “English” or “burpless” without peeling if you pick them while they’re on the small side. Learn more about how and when to harvest cucumbers in this guide. Tuo Paring Knife It’s tempting to try to pull them off by hand as you browse your veggie patch looking for edibles. But that increases the risk that the whole vine will pull away from the trellis, or that the shallow-rooted plants will come right out of the ground.
Storage
My first tip for storing cucumbers is don’t do it, not unless and until you have to. The best taste will always come from the just-picked fruits you wash and (maybe) peel before eating raw or cooked. Next, keep in mind that freshly harvested cukes will do just fine for a few days on the kitchen counter, assuming your house isn’t super humid. You’ll also need to keep them far from bananas, which produce ethylene gas that will make them go bad faster. They will need to move to the refrigerator within a couple of days if you don’t use them. But please, use them! Even if you have to splurge on some delicious sour cream dip to get the kids to eat them up while they’re still fresh. Before you pop any of them in the refrigerator, wash the skins and dry them thoroughly with a soft, clean kitchen towel. Next, wrap them in a dry cotton dish cloth to keep them from accumulating too much moisture in the cool air. Pop cloth and cukes into a plastic bag, and leave the end open. Then – and this might surprise you – plunk the bag down on the middle shelf of the fridge, towards the door. Don’t store them in the crisper, because that can be too cold. And don’t push them to the back of the shelf, because the air doesn’t circulate as well back there, so the cukes might get too moist and start rotting. Stored this way, how long will cucumbers last in the fridge? That coddling should give you an extra week, even two, before they get too mushy or spotty to eat. But – and I know I’ve already said this, but it’s important – try to eat them as soon as possible. What’s the point of having high-quality homegrown veggies if you won’t eat them while they’re still superior to anything you could ever buy in a store? If they’re approaching that final deterioration date, consider using them to flavor water or give yourself a facial. And hey, if they do slip into decay, there’s always the compost pile. That’s one of the reasons it’s so gratifying to grow your own food. If you mess up and let it get too big or too ripe, you can always return it to the earth and start again next season. Find more fresh storage tips here.
Preserving
The nursery rhyme may be about pickled peppers, but cucumbers are the ultimate ingredient for a batch of dill, sweet, or bread and butter pickles. They also figure prominently in chow chow and any number of other relish recipes. Most of those are intended for veteran water bath canners, however. If this is the first crop you’re trying to preserve, I’d recommend following the recipe for homemade lacto-fermented dill pickles featured on our sister site, Foodal. But maybe you were hoping this crop would help you stock up on something a bit more substantial? If that’s the case, consider making a big batch of the cold, spicy soup known as gazpacho using the recipe from Foodal. Then freeze it in freezer-safe containers in two- or three-cup portions. This will give you a good supply to defrost overnight in the fridge and serve as part of a light meal, or in shot glasses as an appetizer. Don’t count on these veggies for the dehydrator, however – they’re simply too watery. And if you’re not already one of the fortunate ones who makes pickles for fun and a full pantry, until you get the hang of home canning, you might want to grow only enough cukes to eat before they start going bad. But no worries there. Look at the following recipes, and you may find using up that harvest as soon as it hits the kitchen counter is a breeze.
Recipes and Cooking Ideas
Whether you’re an old hand at making sushi, someone who “puts up” gallons of dills using farmers market produce, or just the average diner who enjoys a crunchy salad, you’re bound to enjoy having a bounty of homegrown cucumbers for cooking projects! You can find recipes for some extra-tasty basics on our sister site, Foodal. To start, I heartily recommend Foodal’s take on cool, creamy tzatziki sauce. A Real Southern Cook in Her Savannah Kitchen Cucumbers make a delicious addition, of course, to a variety of salads, in combination with other fresh vegetables and fruits. And believe it or not, No less than Pierre Franey, long-time food columnist for the New York Times, considers lightly cooked cucumbers to be an “excellent foil” for fish and seafood dishes. 60-Minute Gourmet
Quick Reference Growing Guide
Get Ready to Pick a Peck
I know some gardeners get carried away with growing cukes, and soon the whole neighborhood is awash in the extras. For me, that’s never a problem. Between my pickling hobby, friends clamoring for more to use in their sushi, and the petting zoo near me that happily accepts any overgrown extras, I’m happy to harvest an abundance. I hope you’re able to follow these guidelines and grow a bumper crop of your own. Whether this is your first or your fiftieth crop, should you have any good tips and techniques you’ve learned in your own garden, the comments section is right below. Please share! And if you’ve got a question about growing these crunchy cucurbits, feel free to post that, too. We’ll help you find answers! For more info on controlling pests and maximizing yields, along with some fun suggestions for the best varieties to consider, check out these cucumber guides next:
Top 33 Cucumber Varieties to Grow at HomeThe Best and Worst Cucumber Companion PlantsWhat Causes Holes in Homegrown Cucumbers?
