If you have yet to include this beloved herb in your garden, you are missing out on one of the most rewarding plants to grow, ever. I’m not exaggerating. We link to vendors to help you find relevant products. If you buy from one of our links, we may earn a commission.
Do you need an easy to grow, hardy perennial? Do you want to grow an herb garden, but aren’t sure where to start? Are you interested in companion planting? Do you want to grow edibles that require little effort? Do you like the look of formal English gardens? Are you hoping to attract more butterflies to your garden? Do you have a shaded yard and less than ideal soil?
Well, keep reading…
This Flavorful Herb Is the Answer!
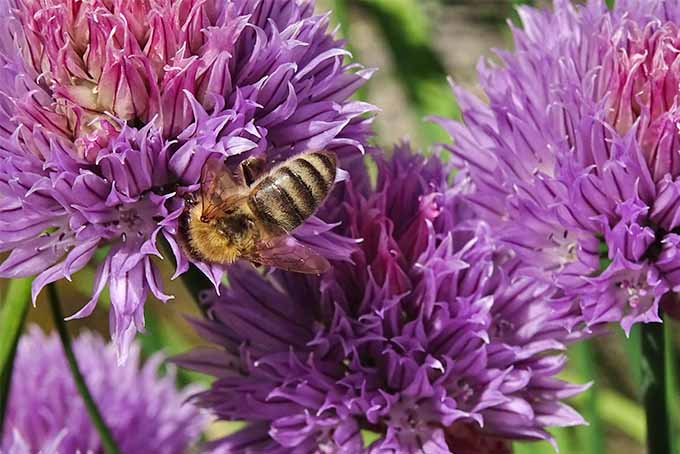
Chives fill all of these requirements, and more! I genuinely can’t come up with a single drawback of including them in your garden. They’re beautiful, edible, and low maintenance. They’re also hardy perennials, and one of the first plants to break ground in late winter. Their bright green leaves are a sure sign spring is near. Not to mention, pollinators love their showy white, lavender, pink, or purple flowers. And who doesn’t love attracting butterflies to their garden?
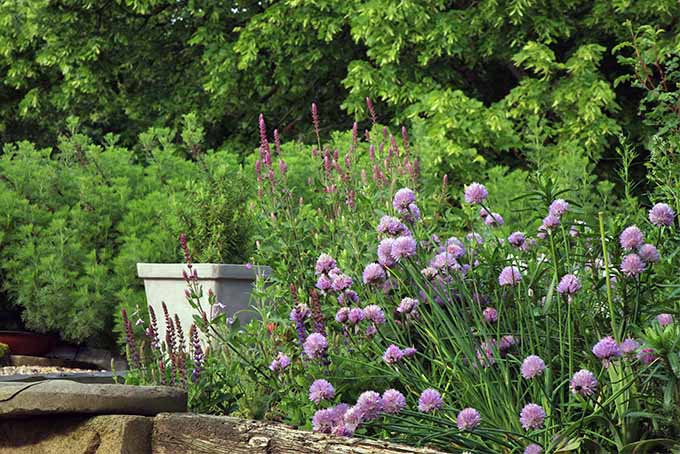
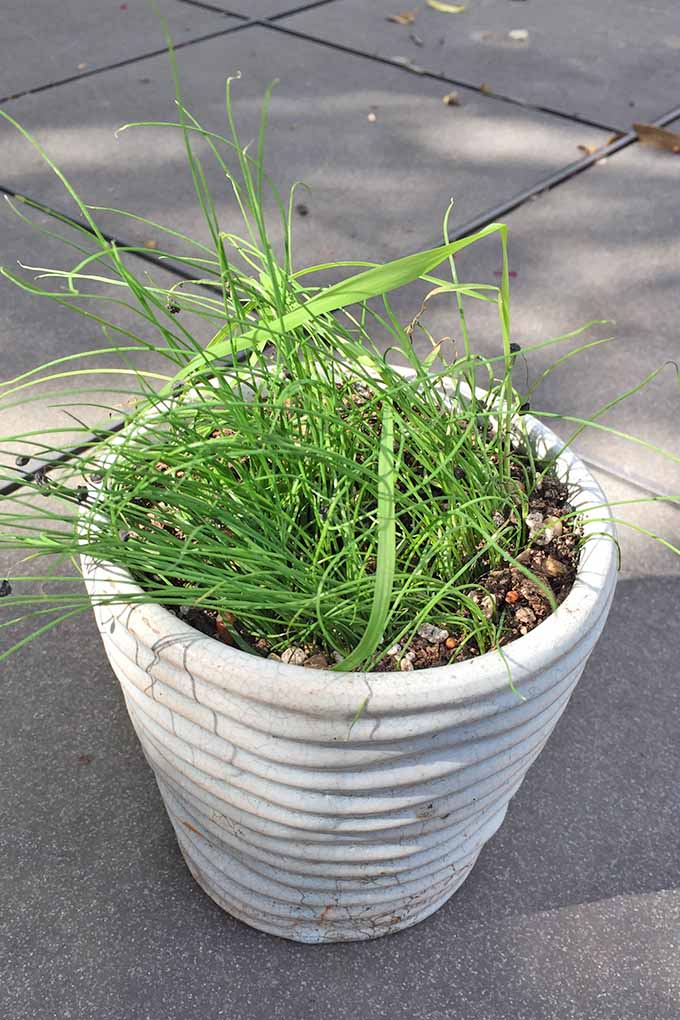
Not only do their flowers attract beneficial pollinators, according to Debbie Kirkpatrick, Kemper Horticulture Assistant at the Missouri Botanical Garden, these potent plants also have a reputation for repelling Japanese beetles and carrot rust flies. Compact and less than 24 inches tall when mature, chives are well suited to create a formal edge. However, they are equally striking when clumped throughout a cottage style garden. They work well in containers, and are also perfect for your kitchen windowsill. A relative of onions, they have a mild onion flavor and are great for use on omelets, salads, pizza, baked potatoes, and so much more – keep reading for some of our favorite recipe suggestions!
Something else that I love about this herb: the leaves aren’t the only part that’s edible. Feel free to munch on the flowers as well. You can add them to any salad as a stunning, tasty garnish. And if you don’t plan to eat them, these flowers also make attractive additions to cut flower arrangements. Best of all for those who are bothered by these common garden pests, perhaps put off by the oniony flavor, deer tend to leave A. schoenoprasum alone. Are you convinced yet? Make room for chives in your garden this year, and you won’t regret it. Here’s what’s ahead in this growing guide: Keep reading to find out how to grow, care for, and harvest them at home.
Gardener, Meet Chives
Chives are a member of the onion (orAlliaceae) family and are native to Asia and Europe, where they have been used medicinally for centuries. There is debate as to whether they are also native to North America, or merely naturalized here. Regardless, they have made themselves quite at home here. These small, bulb-forming plants grow in clumps, which can easily be divided every two to four years.
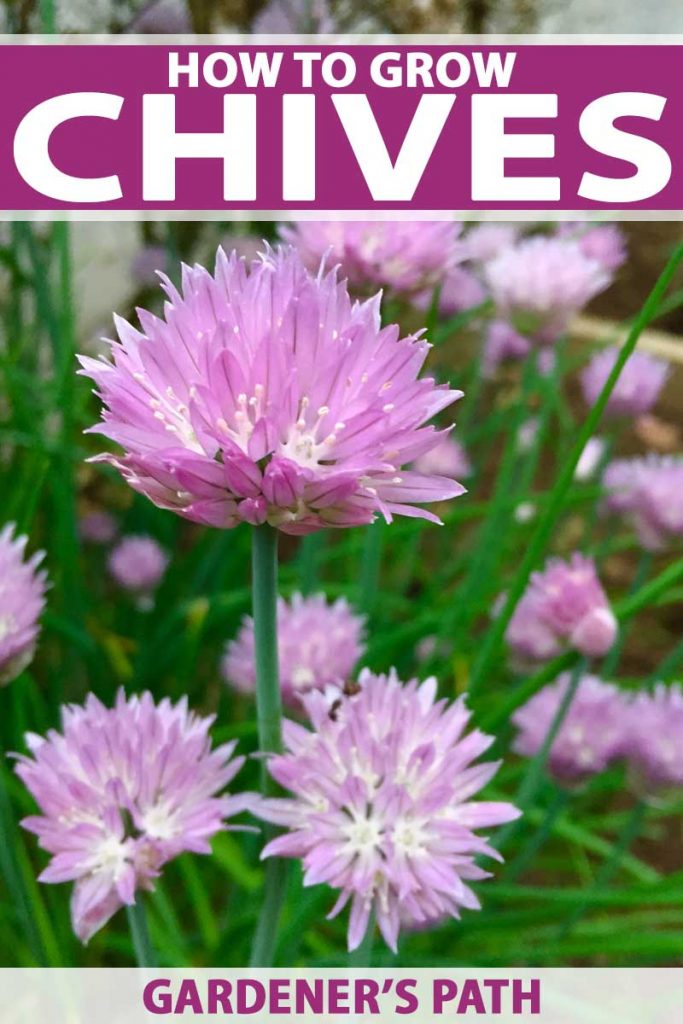
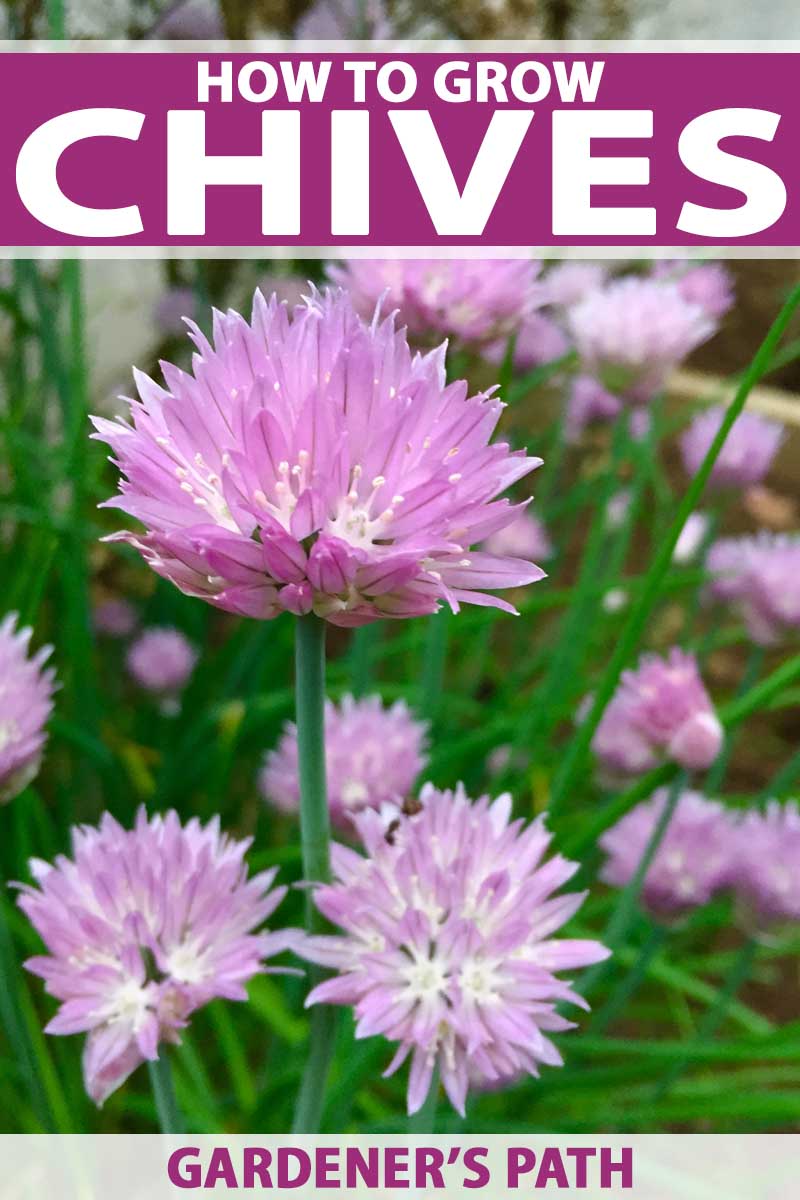
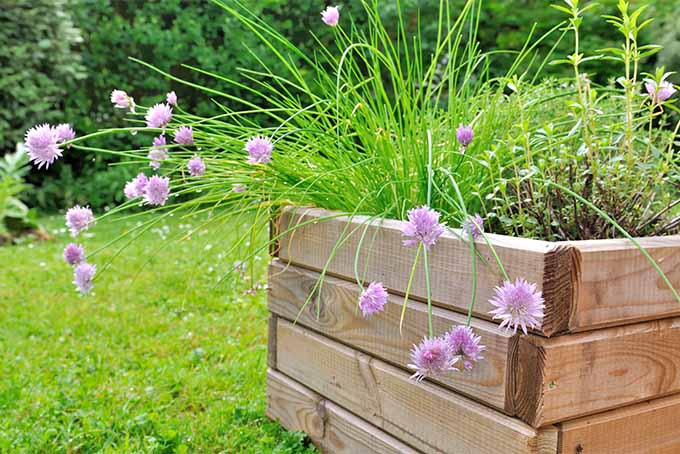
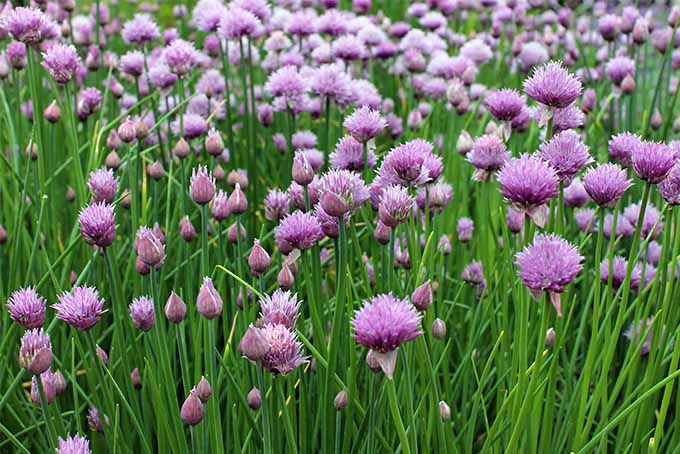
Reaching heights between 12 and 24 inches, individual plants are low growing and compact, usually no more than 12 inches wide. Their narrow, hollow leaves are bright in color and they produce striking purple, feathery, round flowers in May or June. Chives are hardy to zones 3 through 10, but can be overwintered indoors in colder areas. And they make an excellent companion to plantings of a variety of vegetables and herbs, from parsley and rhubarb to squash and nightshades (like eggplant, tomatoes, potatoes, and peppers). To overwinter, divide an already existing plant and pot it up in a small container (there’s more info on dividing plants below). You can let it grow on a south-facing windowsill through the winter, and plant it out again in the spring. Another option for overwintering is to plant them in a container initially. When temperatures start dropping, move the container indoors.
Chives prefer full sun and rich, well-draining soil. However, they are tough and, in my experience, can tolerate as little as 4 hours of sunlight, as well as less than ideal soil. Keep in mind that root rot is possible if soil is especially poor draining. Now that you’re better acquainted, it’s time to start growing!
Getting Started
First things first – get your hands on some chives. They are easy to divide, so start by asking around. A fellow gardener may have some in their garden, ready to be shared. Don’t spend too much time searching, however. Stopping at your local nursery and picking up a small clump is a breeze. Within just a few seasons, you’ll have your own established plant to divide. If you choose to purchase seeds instead, it’s best to start them indoors 8 to 10 weeks before the last spring frost. This way, your plants will have time to become fully established in their first season. You can direct sow seeds, too, as soon as the soil is workable. If you decide to direct sow your own seeds, keep in mind that you may not experience much of a harvest or bloom until the following year, when plants have a chance to fill in.
Plant Care
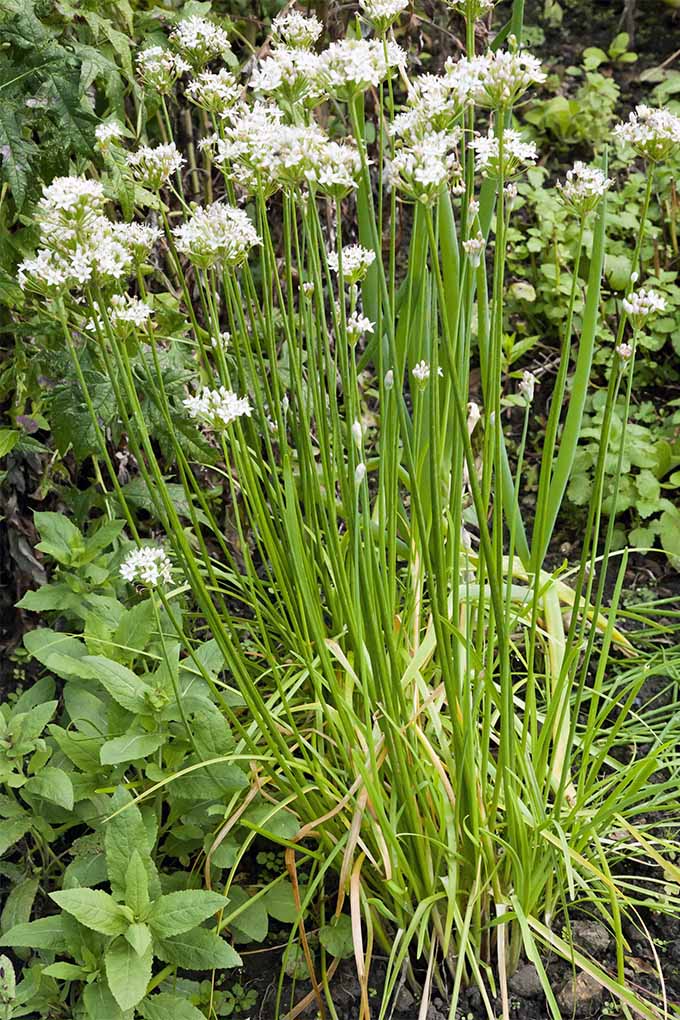
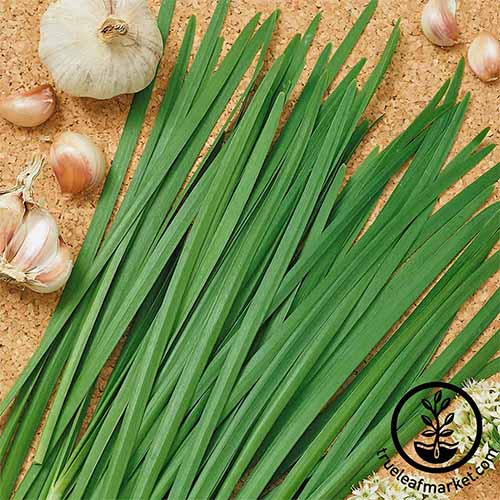
Widespread throughout North America, chives are adaptable to most conditions. But, for the healthiest and most productive plants, you’ll want to keep the following in mind: Each of these types has a different flavor. Heirloom Chive Seeds You’ll get 1 gram of heirloom seeds. For something a little different, A. tuberosum seeds in several different quantities are available from True Leaf Market.
Garlic Chive Seeds This variety sprouts attractive white blooms.
Sunlight
If possible, choose a site in full sun, receiving at least 6 hours of direct sunlight each day. Don’t hesitate to settle for partial sun, however, if full sun isn’t an option.
Soil
Fertile, well draining soil is best. To encourage robust growth throughout the season, add organic compost to the soil at the time of planting.
An all-natural, organic fertilizer can be used as well.
Fertilizer
To account for nutrients, add a slow release, organic fertilizer to the soil before planting and consider top dressing with compost.
Spacing
If planting in a group, space 8 to 10 inches apart, allowing plants to fill in and form a mass. This method works well to create a formal edge or border.
If you prefer seeing some mulch in between your plants or are planting them within a cottage style garden, space them a minimum of one foot from other plants.
Moisture
Water newly planted clumps well until established. If planted in well-draining soil, continue watering regularly for higher yields, especially during the heat of the summer.
Mulch
Mulch with compost, or another type of organic material such as wood chips or pine straw, to help retain moisture, suppress weeds, and add additional organic matter to the soil. If growing chives in a container, use potting soil to ensure better drainage. Using 100 percent compost or topsoil in container plantings generally results in poor drainage and weak plants.
If you do want to use compost, mix with sand and peat or coconut coir to allow for more oxygen and better drainage. Be aware that plants in containers typically dry out faster and need to be watered more frequently. Additionally, consider overwintering your container indoors if you live in zones 3 or 4, as plants in containers are less insulated from the freezing temperatures.
Dividing for Healthy Growth
Dividing plants every two to four years further promotes growth. Generally, the best time to divide is in late winter to early spring. However, you can also divide chives in early fall, which has its benefits. You may get an extra crop of new leaves before the arrival of winter. Just be sure to give plants enough time to become established before the first frost. To divide plants, water them ahead of time. Then, cut the leaves back to just a few inches above the ground. Use a pitchfork to dig the plant up, and lightly tap the root on the ground to break it up a bit. At this point, you can simply begin pulling the root apart into smaller clumps. Don’t worry too much about damaging or ripping the roots. Like I said before, chives are tough. Hold back on harvesting newly divided plants for a few weeks, or until they are established. Keep in mind that while plants can withstand poor conditions, they will grow more slowly and produce fewer blooms if they are not planted in full sun and fertile, well draining soil.
Enjoying the Harvest
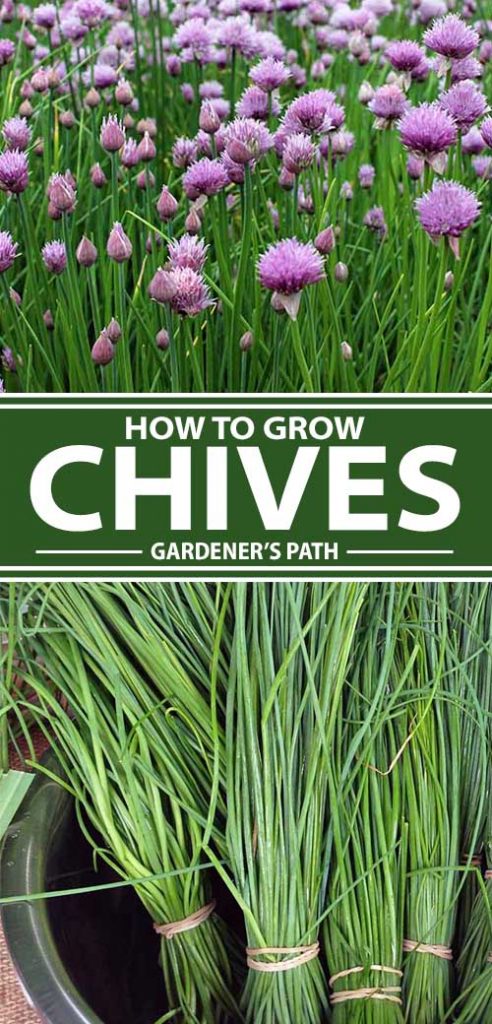
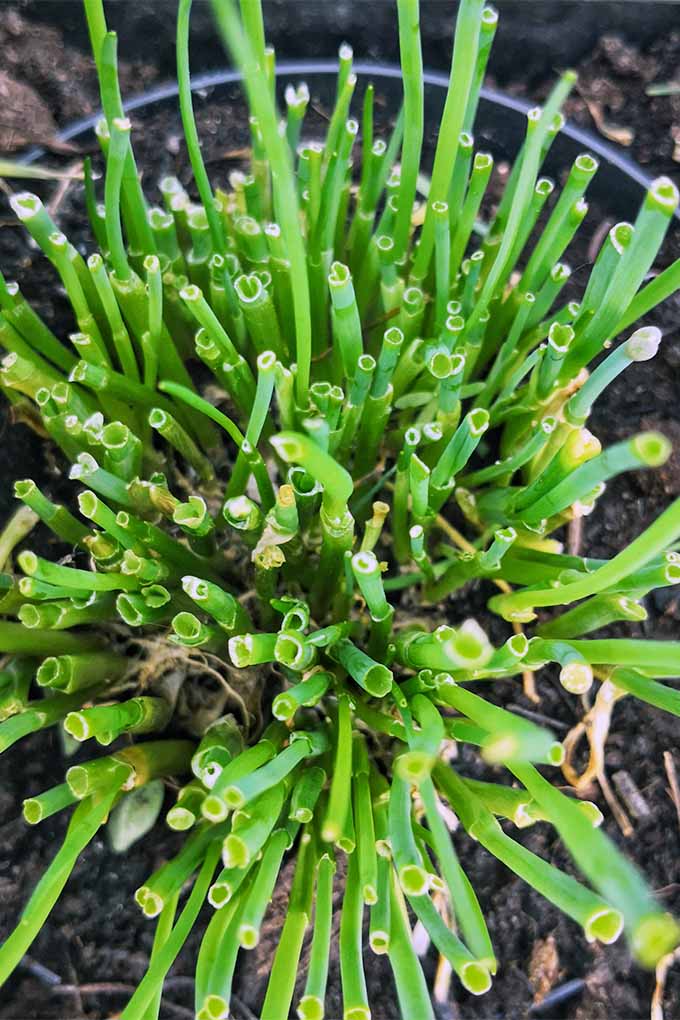
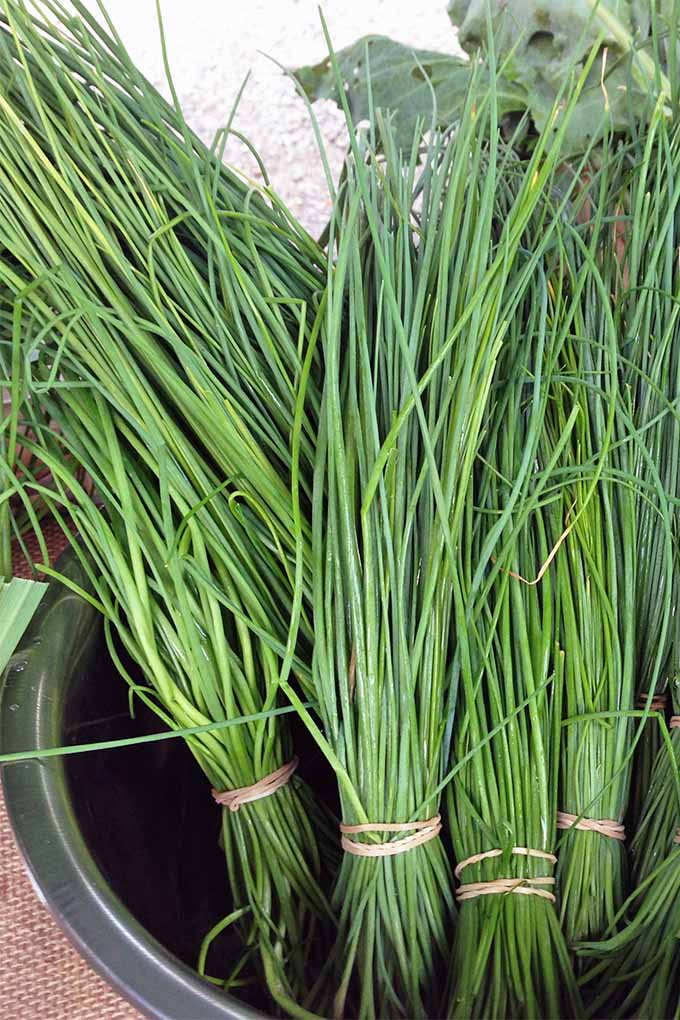
If you’re growing chives for their food value specifically, consider cutting flower buds off before they bloom. Doing this will encourage more vigorous growth. Harvesting leaves in the early morning is preferred, before the heat from the sun dehydrates the leaves. To harvest, wrap your hand around a clump of leaves and cut with clean, sharp scissors or a knife a couple of inches above where the plant meets the soil. Leaving some green at the base of the plant allows for better regeneration.
Store newly harvested leaves in water to keep them firm and fresh for longer. Fill a glass with a couple of inches of water, make a fresh cut at the base of the leaves, and place the leaves (or “blades”) in the glass. Replace the water regularly, daily if needed. Another great way to store chives is wrapped in a damp paper towel and placed in a sealed plastic bag in the fridge. The blades can be dried or frozen, but they lose a lot of flavor this way. If you’re lucky enough to live where they’re evergreen, just snip ‘em when you need ‘em. If you don’t plan to harvest some of your chives, and want as many blooms as possible on your plant, refer to the care instructions above. Providing ideal conditions and care is the best way to ensure beautiful blooms for a longer period of time. Deadheading, the process of removing spent blooms, will also help to encourage new flowers. Additionally, by not allowing flowers to go to seed, you will keep chives from spreading into areas of your garden where they aren’t wanted.
Into the Kitchen
Of course you’ll want to put your beautiful harvest to work, and we have a few delicious dishes to suggest that show off this versatile herb to its best advantage: For breakfast, use your green harvest to help craft a delicious spread and try this easy-to-make 4-ingredient recipe for a Peruvian Avocado and Cream Cheese Roll on Toast. It’s also great on bagels! Find the details at Sugar Love Spices. Looking for a busy weeknight dinner option? Put your beloved Instant Pot to use cooking a healthful, vegetable-packed Moroccan Sweet Potato Soup. You’ll find the recipe at Vintage Kitty.
Chives are a classic pairing with potatoes and the combo is shown off perfectly in a Classic German Potato Salad, which includes gherkin pickles and their juice. Get the recipe from our sister site, Foodal. Oh, and don’t forget date night! Chives are combined with rosemary and parsley in this decadent Wild Mushroom Tuscan Risotto, which works with any mushrooms you’d like to use. Get the recipe from our friends at Wanderspice.
A Multipurpose Gift from the Garden
This easy-to-grow plant offers beauty, food, and pest-repellent properties, so what’s stopping you from adding this versatile beauty to your garden? Don’t forget to put some in a pot near the kitchen, or even on a sunny kitchen windowsill for easy access.
Photo by Gretchen Heber © Ask the Experts, LLC. ALL RIGHTS RESERVED. See our TOS for more details. Product photos via Hirt’s Seeds and True Leaf Market. Uncredited photos: Shutterstock. With additional writing and editing by Gretchen Heber and Allison Sidhu.
