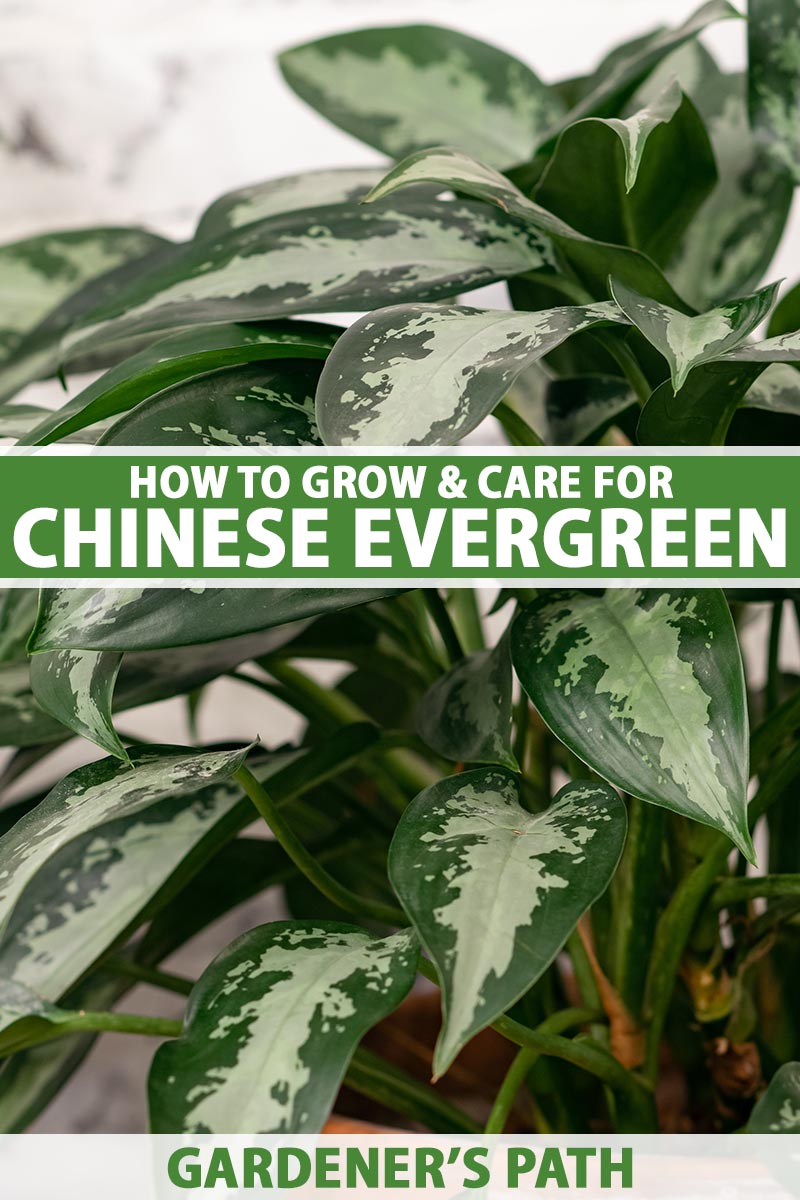
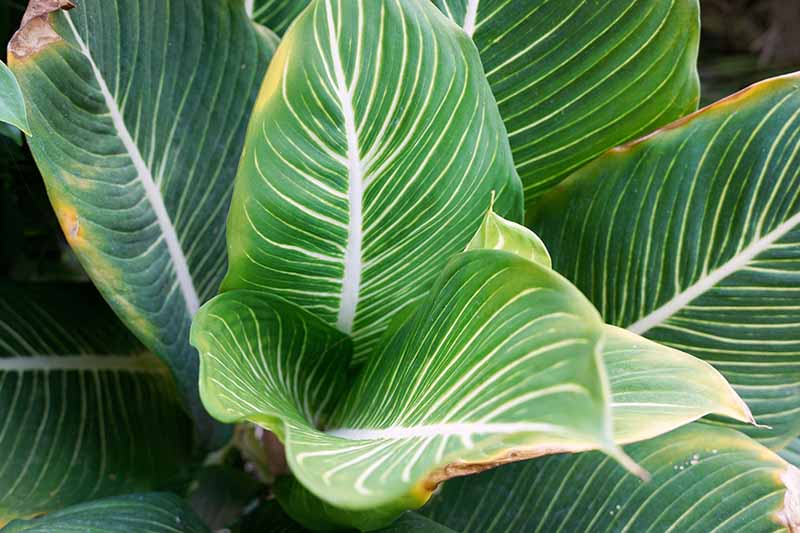
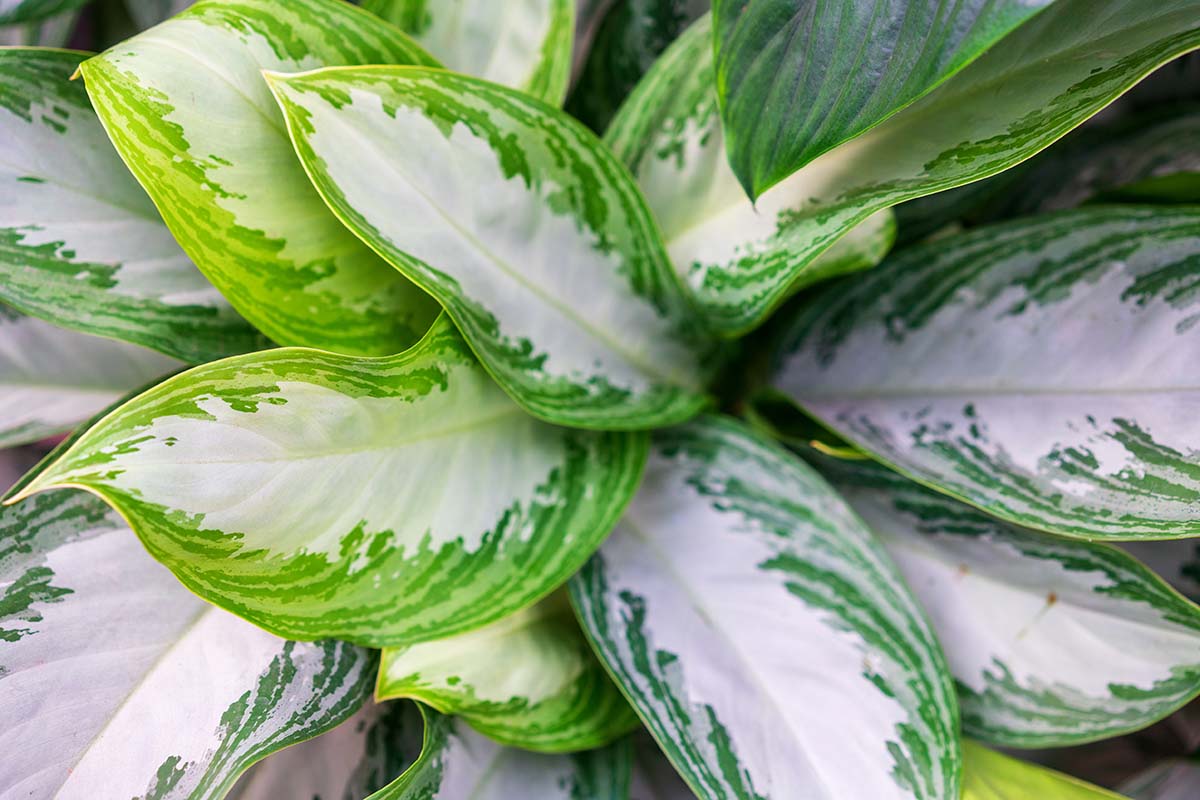
The Aglaonema genus includes over 20 different species, and is part of the Araceae, or Arum family. We link to vendors to help you find relevant products. If you buy from one of our links, we may earn a commission. In this article, we discuss all you need to know to grow and care for your own Chinese evergreen. Here’s the agenda: Let’s begin with an overview of Chinese evergreen and its place in history.
Cultivation and History
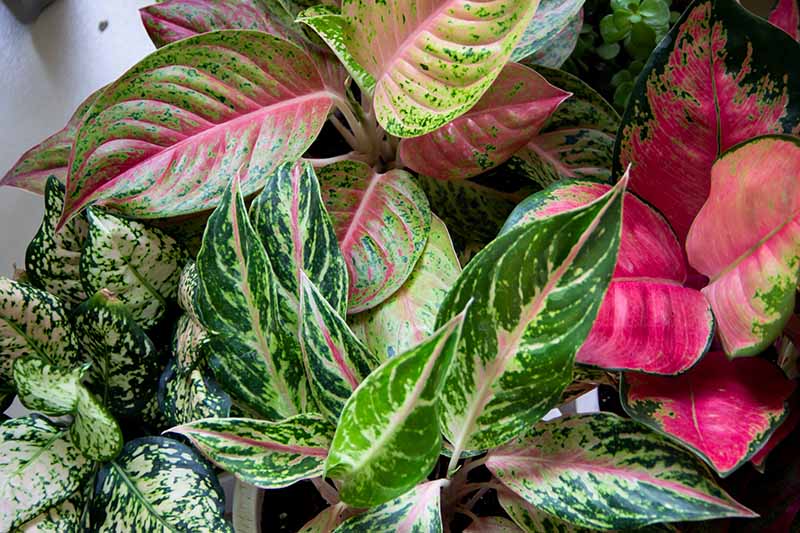
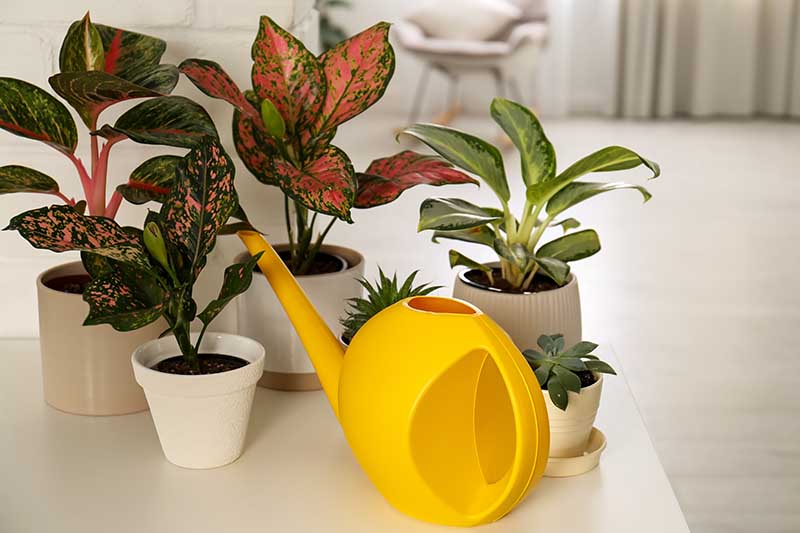
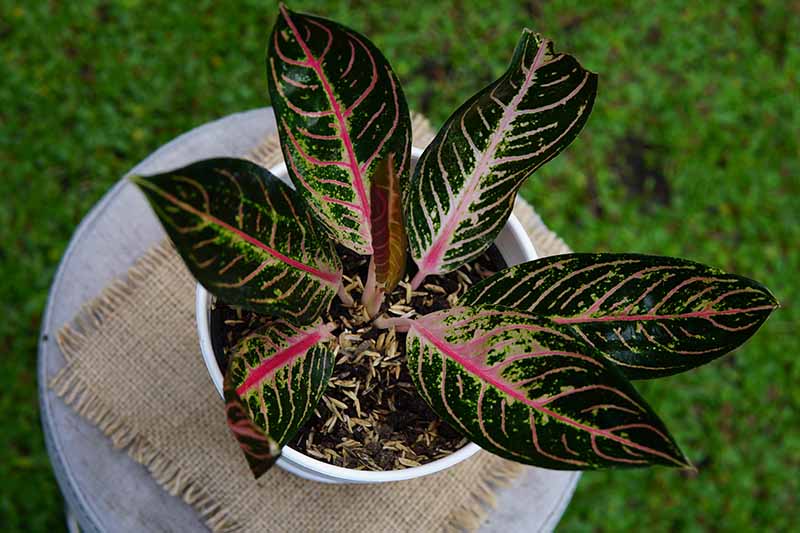
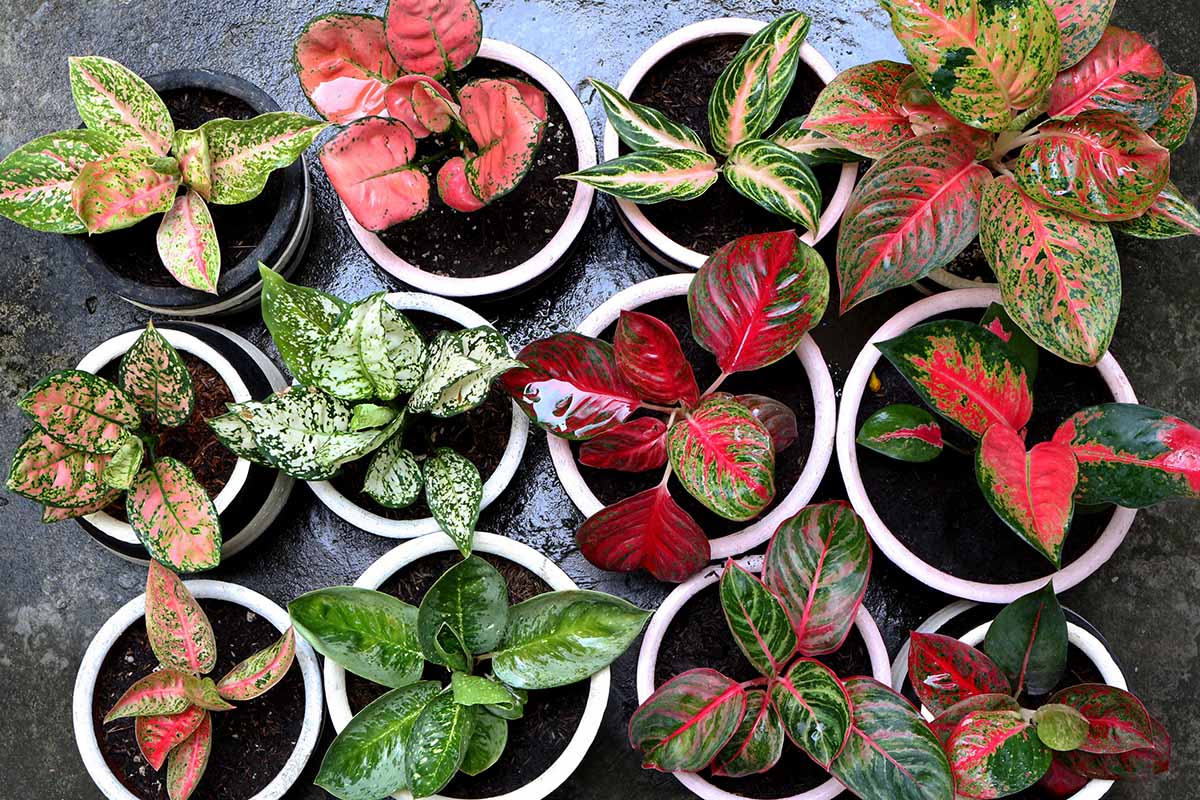
Note that like many houseplants, Aglaonema species are poisonous to both humans and pets. Under no circumstances should any portion of these plants be consumed. These tropical plants require organically rich, well-draining, slightly acidic soil with a pH of 5.6 to 6.5. For indoor cultivation, this is easy to achieve with quality potting soil. Chinese evergreen prefers part to full shade. Indoors, it thrives in a locations with bright indirect or diffuse light, such as in proximity to a bright window with a light curtain. It also has a high tolerance for low-light placements. All species of Aglaonema have an upright, clumping growth habit in their natural habitat, where they stretch toward the dappled sunlight that filters through the rainforest canopy. In lower light conditions, Chinese evergreen tends to spread wide rather than tall. Indoors, you can expect mature dimensions of one to two feet tall and wide. The leaves are between eight and 12 inches long, and may be green or variegated. Today’s cultivated varieties include combinations of green, pink, red, and white. Indoors, Aglaonema seldom flowers, but every once in a while, you may be rewarded with an inflorescence – an elongated whitish spadix surrounded by a greenish leaf-like enclosure called a spathe, much like a peace lily. Some people enjoy seeing the occasional inflorescence. Others snip it off at the base of the stem to trigger a return to foliar growth, and prevent the setting of messy red fruit. Historically speaking, like many tropical species that made their way to Europe, cuttings of Chinese evergreen likely rode the seas in a British plant hunter’s case. They were studied and cultivated at Kew Gardens, showcased in royal landscapes, entered into commercial cultivation, and were then exported and welcomed into 18th century Victorian parlors in America as ornamental showpieces. Just like the plant hunters of old, you can start in much the same way, by obtaining a cutting from a mature plant.
Propagation
Chinese evergreen may be started from a seed, stem cutting, division, nursery start, or scientifically cultured plant tissue. Let’s look at each option for propagation.
From Seed
Starting from seed is not likely to be within the domain of the home gardener, as the seed has to be harvested as soon as the flesh of the fruit is ripe enough to wipe off, and kept moist until it can be laid on top of a suitable potting medium to germinate. A seed-starting tray is kept at an even 70°F, and often covered with something like plastic wrap to aid in moisture retention. Germination may take up to 60 days. Once a seedling has produced a set of true leaves, it can be transplanted to a four-inch pot at the same depth as it was growing in its seed tray. The greatest challenge with this method is obtaining seed that is fresh and moist. Collecting seed from a houseplant is virtually impossible, because blooming is infrequent, and hand-pollination would be required. Not to mention, today’s hybrids are likely to produce no seed, or infertile seed. And even if it was fertile, the seed wouldn’t replicate parental traits or stamina, likely resulting in inferior progeny or unpredictable results. Moving on, here’s a method you might be able to use to get started.
From Stem Cuttings
If you know someone with a mature plant, ask if you can take a stem cutting. This won’t hurt it, but rather, taking a cutting here and there will help to stimulate healthy new growth. Sanitize sharp pruners in a 10 percent bleach solution (one part bleach to nine parts water) and rinse them well. Select a stem to cut. It should be one of the younger basal shoots with a stem about five or six inches long that has two or more leaves. Cut the stem near its base, just below a node, the bump where new growth is genetically pre-wired to sprout from. Place the stem cutting in a clean container that contains about two inches of water. Set the container in a location with bright but indirect sunlight. Change the water daily. Over the next few weeks, roots should sprout. Once rooted, transplant to a container six inches in diameter, with drainage holes in the bottom, that’s been filled with potting soil. Set the rooted stem one inch deep in the center of the pot, and tamp the soil firmly around it. Water well, and when all the water has drained out, water again to collapse any air pockets. Tamp the soil a second time, and add more soil as needed so it comes to about one inch below the pot rim. This extra inch makes it easy to provide water without overflowing. Alternatively, you can dip a cut stem in rooting hormone and place it directly in potting soil to develop roots.
By Division
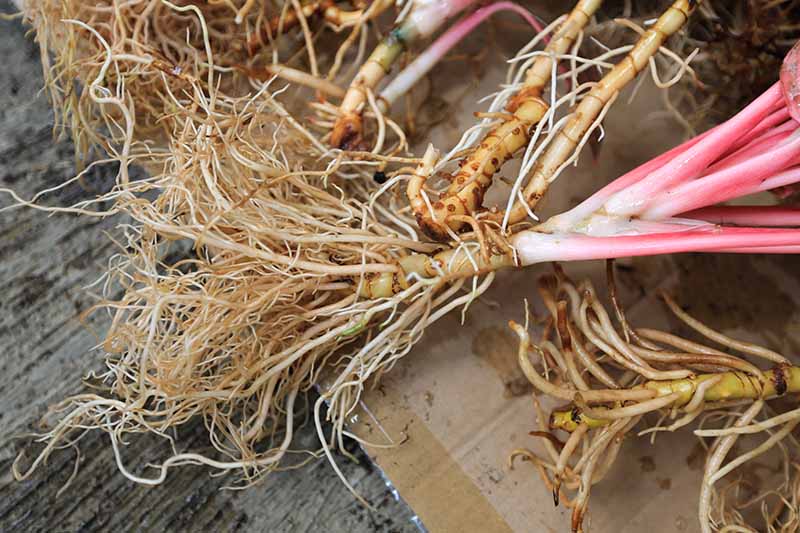
If you have a friend with a mature plant who just happens to be ready to repot it, you’ve struck gold! You can ask for a “division,” with roots and all, which gives you a jump start on the propagation process in comparison to rooting stem cuttings. Chinese evergreen has shallow roots that spread sideways and send up new shoots. The shoots can be divided from the mature main growth to start new ones, while downsizing and rejuvenating the old one. To start plants by division, you’ll need to unearth a plant, so it’s best done with a mature specimen that’s outgrown its pot and is ready for a new one. Once out of the pot, lay the entire contents on its side – dirt, foliage, and all. All around the main growth is a network of roots that have sprouted foliage. You’ll see that they are formed in separate clusters, and these can be separated. Slice straight down through the roots to separate one or more of these leaf clusters, getting not only stems, but attached roots, as well. Transplant each to a new pot as described above for repotting rooted stem cuttings. Pot diameter will vary depending upon the width of a division, but is likely to be in the six-inch range. Ideally, you want a fairly snug fit with a two-inch distance between the stem and the inner pot edge on all sides. For detailed instructions, see our complete guide to dividing perennials. If you don’t know someone with a plant, you can buy one and care for it as follows.
From a Nursery Start
You may purchase a little seedling in a tiny pot, or a mature specimen in a large one. The choice is up to you. Either way, if you want to put it in your own container, you’ll need to transplant it in much the same way as we did above. The only difference is that instead of burying the roots one inch deep, you’ll need to set the contents of the pot at the same depth in the new one as in the old. Choose a container with a diameter that allows for two inches of space from the stem to the inner pot edge around the entire perimeter. Work over newspaper or an old vinyl tablecloth. Place a layer of broken crockery bits or pebbles in the bottom of the pot to aid drainage. Add enough potting soil to fill the pot about halfway. Lay the plant on its side, and rotate, gently squeeze, and tap the bottom and sides of the nursery container to loosen the contents. If the roots are tightly bound, you can tease them apart, trim an inch or so off the ends, and gently flay them outward. Settle the plant into the center of the new pot at the same height it was in its original container. Fill in with potting soil and tamp it into place to secure it in an upright position. The soil level should be one inch lower than the rim of the container, for easy watering without overflowing.
By Tissue Culture
One final method is propagation by tissue culture, in which scientists replicate a species or cultivar’s traits exactly in the laboratory. Like plants started from cuttings or by division, these are also clones of the parent. This is the domain of skilled hybridizers, and where the most exciting features, like leaf color, are developed through cross-breeding. Now, let’s find out how to care for a plant once we have one potted up.
How to Grow
Once you have a plant potted in organically-rich, moisture-retentive, well-draining potting soil, you’ll need to find a suitable location for it. This is a tropical plant that prefers temperatures in the 70 to 80°F range during the day, and a minimum range of 65 to 70°F at night. These houseplants do best with humidity of at least 30 percent. If your home is exceptionally dry, you can group pots to increase the ambient moisture. Chinese evergreen does poorly in cold and drafty places. It reacts to these conditions by becoming stressed and growing more slowly. And if temperatures plummet to 45°F, it won’t survive. As mentioned, these tropical plants grow well in both bright indirect, or diffused light. They also have a high tolerance for low light, especially the green-leaf varieties, as opposed to the variegated types. When cultivating in bright indirect light, it’s important to keep the soil evenly moist, watering when the top inch or so is dry. In low-light conditions, let the soil dry out almost completely before watering again. Use a moisture meter as your guide. Also, try to avoid watering with cold water. Like cold air, it can cause shock and slow growth. During winter dormancy, growth slows, and you’ll notice that pots dry out slowly. When spring resumes and new shoots sprout, the need for moisture increases. Spring is also the time to fertilize with a well-balanced liquid or slow-release granular indoor plant food to support lush foliar growth. This means equal amounts of nitrogen (N), phosphorus (P) and potassium (K). Some folks swear by a once-a-year full-strength feeding, while others begin with a 50 percent diluted dose in the spring, followed by another each month or so through late fall. Follow the recommendations on the product you choose. Do not fertilize during winter dormancy.
Growing Tips
Use a high-quality potting medium that is organically rich, moisture retentive, and well-draining.Provide tropical temperatures and avoid chilling.Keep pots in bright indirect light evenly moist, but let those in low-light settings almost dry out between waterings.Follow package instructions to feed regularly with a fertilizer for indoor plants.
Pruning and Maintenance
From time to time, you may wish to prune leaves that are old and brown, damaged, or affected by pests or disease. To do so, sanitize pruners in a 10 percent bleach solution (one part bleach to nine parts water), and cut cleanly across the “petioles” or stems of affected leaves, as near to their base as you can. It’s also a good idea to dust the leaves periodically with a soft cloth. Foliage that is glossy and dust-free is less appealing to the common insect pests we’ll talk about shortly. Another periodic chore is repotting. Roots protruding from the drainage hole indicate a “root bound” or “pot bound” condition. When roots no longer have room to grow, they can’t take up food and water efficiently. To repot, you may divide as we discussed earlier. You can also transplant the contents of an entire pot to a new one that is two to three inches wider than the current one. Don’t go too large for two reasons: First, by the time the pot dries out, a plant growing in low light may be in desperate need of water. Second, an overly large pot may result in too much energy expended to grow extensive roots instead of lush leaves. Repot as described in the section on propagating nursery starts above. It’s okay to reuse potting soil. However, it’s best to refresh it by at least a third with new soil or amendments like peat or compost, to restore depleted nutrients. Now that we know all about cultivation and care, let’s turn our attention to some of the many varieties available. However, like other houseplants, it is not immune. New cultivars are arriving all the time, and it’s really fun to choose favorites. You might even want to group a collection of Aglaonema-filled pots. We have hybridizers to thank for the array before us, as they continuously adapt and improve interspecific hybrids, or crosses within the Aglaonema genus. As you shop, remember to note that green foliage thrives best in low light conditions, and more colorful cultivars are their brightest in bright indirect light. You’re likely to find offerings under a generic Aglaonema umbrella, followed by a cultivar name, such as Aglaonema ‘Silver Queen,’ rather than by a specific species within the genus. Here are a few beauties to whet your appetite:
Hot Pink Valentine Wishes
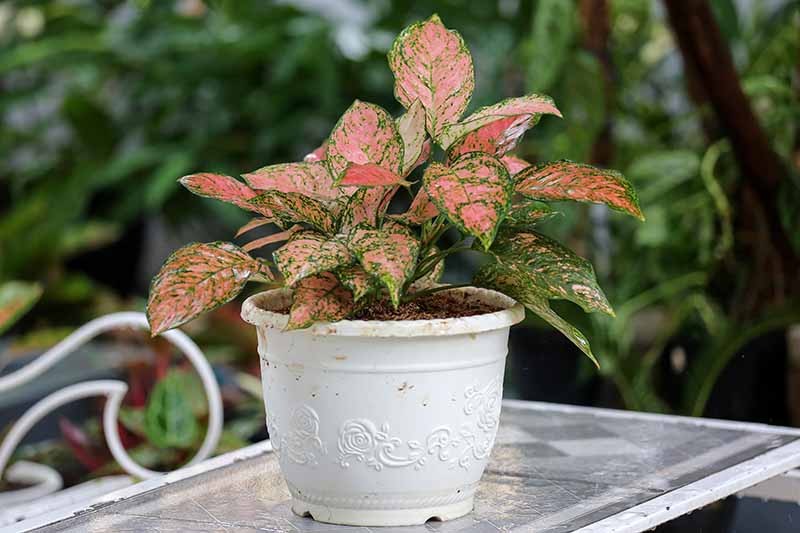
‘Hot Pink Valentine Wishes’ is a raucous riot of bright pink edged in dark green, shades of contrasting colors that play magnificently off one another. ‘Hot Pink Valentine Wishes’ If you’re looking to energize the decor in a low-light corner of your home, this one is sure to sizzle.
Osaka
The striking variegated foliage of ‘Osaka,’ aka ‘Spring Snow,’ has prominent narrow dark green margins and white centers splotched with dark green. ‘Osaka’ Fresh as a spring rain that melts the last of the winter snow, white equals light when you welcome this refreshing cultivar to your home.
Silver Bay
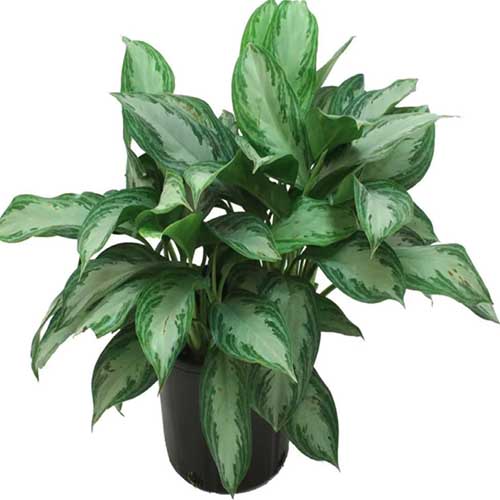
‘Silver Bay’ is a variegated type with wide, curvaceous margins of light and dark green embracing center swaths of silvery white. ‘Silver Bay’ Like love letters artistically wrought by Mother Nature herself, this may well be Mother Nature’s Aglaonema masterpiece. Find Aglaonema ‘Silver Bay’ now from Costa Farms via Home Depot in nine-inch-deep pots.
Managing Pests and Disease
In general, Chinese evergreens are not prone to insect infestation or infection when grown indoors. Some pests to watch for are:
AphidsMealybugsScaleSpider Mites
These common pests are usually fairly easy to eradicate with an insecticidal soap or organic neem oil. As pests may carry diseases, they should be promptly addressed. In addition, soilborne nematodes can be a problem with indoor cultivation. These microscopic pests damage roots, and their presence may only be suspected when repotting reveals root deformities. If they are present, it’s best to remove as much soil as possible from a plant, rinse the roots, remove damaged ones, and repot in a high-quality potting medium with some compost mixed in. The beneficial organisms in the compost help to combat them. For extensive infestations, take cuttings from unaffected foliage, if there is any, and start over. Per the pros at the Penn State Extension, some diseases and physiological ailments to be aware of are:
Anthracnose, from Colletotrichum fungiBacterial Leaf Spot, from Erwinia chrysanthemi, Pseudomonas cichorii, or Xanthomonas campestris dieffenbachiae bacteriaCopper DeficiencyMyrothecium Leaf Spot, from Myrothecium roridum fungi
Both anthracnose and bacterial leaf spot may be avoided by aiming the watering can nozzle at the soil, not the leaves. Myrothecium leaf spot is usually not a problem when using a well-balanced fertilizer that doesn’t contain an overabundance of nitrogen. And you’re not likely to see a copper deficiency unless you use an unbalanced fertilizer that has too much potassium and/or phosphorus. In addition to keeping the foliage dry, try not to over- or under-water, as both can cause leaf yellowing, browning, drying, wilting, and dropping, mimicking disease symptoms. In addition, conditions that are too wet may cause rotting, and very dry conditions may lead to dehydration, both potentially resulting in death. Other symptoms that may seem like evidence of an infectious disease include yellowing, wilting, and a failure to thrive in an environment that’s too cold, and crisp, brown leaves that drop because of too much sun exposure. Given the conditions they prefer, you can remedy and prevent these problems. Cultivation is easy when you remember the following essentials:
Start with a healthy cutting, division, or nursery start.Grow in a high-quality potting medium that is organically rich, slightly acidic, moisture retentive, and well-draining.Use an appropriately sized pot.Keep the ambient temperature between 70 and 80°F in the daytime, and 65 to 70°F at night.Water low-light pots just before the potting medium completely dries out, and those in bright indirect light when the top inch of soil is dry.Repot and/or divide as needed to avoid bound roots.Refresh the potting medium when you repot to replenish essential nutrients.Head off most diseases by keeping the leaves dry and using fertilizers with a balanced NPK ratio.Treat most pests with an insecticidal soap or neem oil.
With this information under your belt, all that remains is to choose your favorite (or favorites) and get growing! Will it have green leaves, or pink, red, or white variegation? Share your experiences with this plant in the comments section below. If you found this article informative, we recommend reading the following guides to other easy-care tropical houseplants next:
How to Grow and Care for a Grape Ivy HouseplantHow to Grow and Care for Tree Philodendron HouseplantsHow to Grow ZZ Plants Indoors
