But my personal favorite garden surprise involved vegetables, during the first season I grew ‘Chantenay’ carrots. We link to vendors to help you find relevant products. If you buy from one of our links, we may earn a commission. That fall, I was racing home late for the board game night our family was hosting. I fretted that I wouldn’t even have time to get a frozen lasagna in the oven before the guests arrived. Pulling into the driveway, I noticed a freshly dug spot in one of my container gardens. Entering the house, I heard laughter, and saw young friends happily munching. In their hands were sunset-hued sticks of carrot, unpeeled, and unadulterated with dip or dressing. My daughter Frances had remembered my little container plot of ‘Chantenay.’ The three had enjoyed digging, and now were chatting and nibbling, continuing for an hour as the lasagna baked. One friend, Sarah, smitten with this new treat, made me smile again when she asked to take some leftover sticks home with her. I hadn’t entirely forgotten those sweet, short carrots I’d planted months earlier. But I hadn’t noticed they were ready to eat. And since it was my first time growing them, I was caught off guard by their heartwarming color, orange with red cores in the center. I’ve grown many more of these special gems since then. To this day, they remind me of friendship, and offer unexpected rewards from seeds planted long ago. You might like this variety, too. I’m excited to describe its many advantages, and let you in on all the best ways to grow this carrot that’s red to the core. Keep reading, and here’s what I’ll cover:
What Is a Chantenay Carrot?
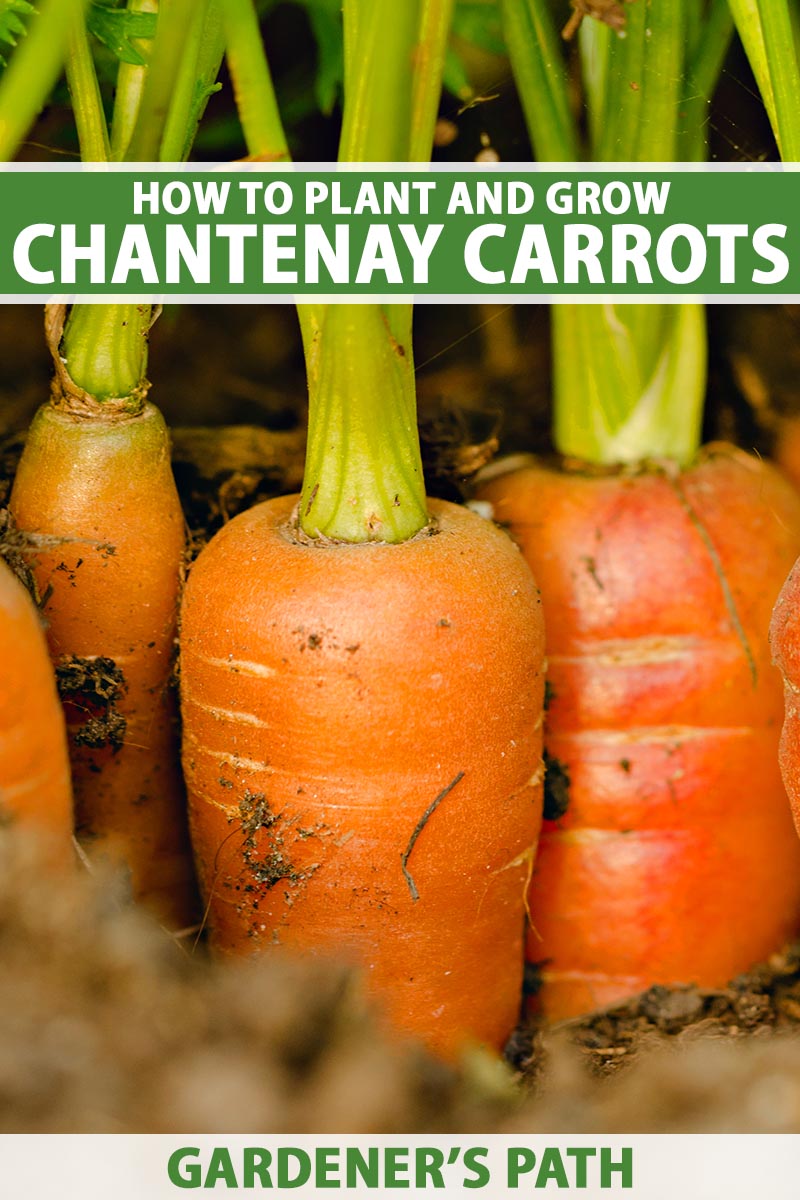
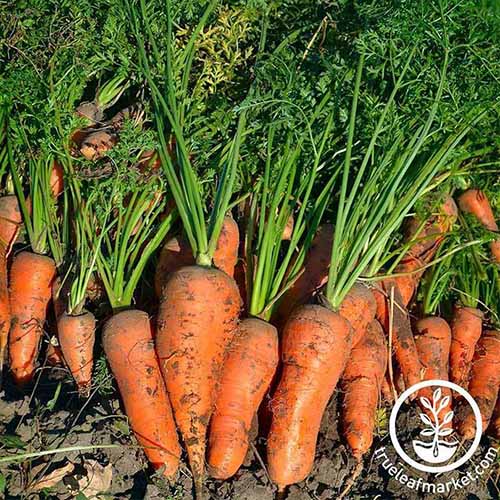
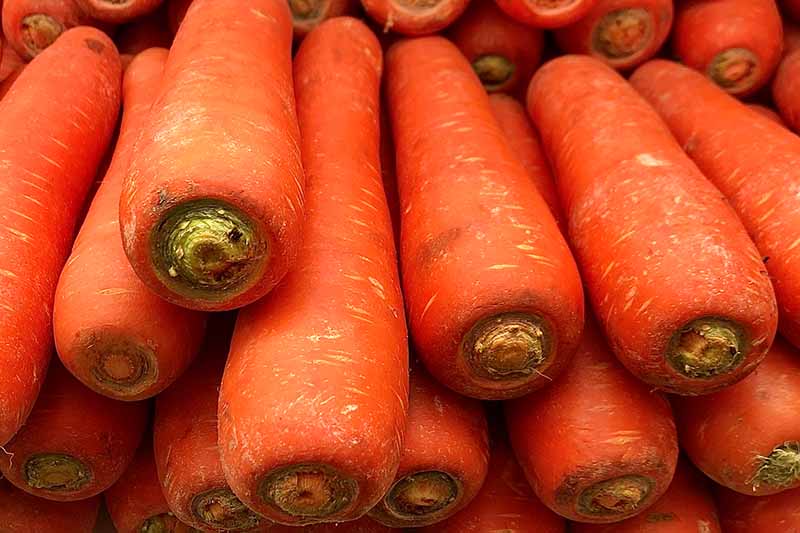
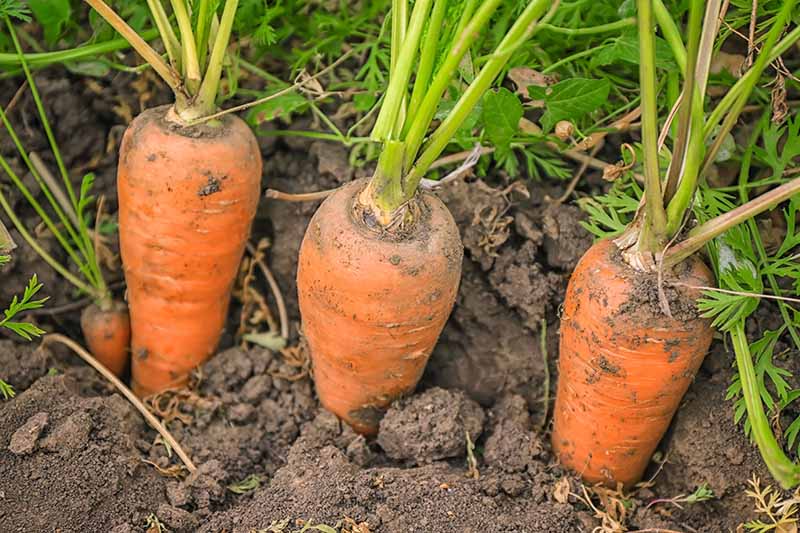
With the botanical classification Daucus carota subsp. sativa, these conical carrots taper to a blunt point. And the original cultivar, ‘Chantenay Red Cored’ comes to us from the Chantenay region of France. There is debate about when it debuted, but most experts agree it was towards the end of the 1800s. Ferry Morse began selling the variety in 1930. Crunchy and sweet at maturity, these medium to bright orange roots have smooth, firm skin. They offer a feast for the eyes when you cut them open, with red cores in sunset hues. A Minneapolis outfit, Northrup King and Company, released a separate cultivar called ‘Royal Chantenay’ in 1952. It’s known for producing slightly better yields, taller tops, and longer roots, which are five to seven inches at full size. In its more distant past, like all the root vegetables we know as Daucus carota sativus today, ‘Chantenay’ origins extend back to Eurasia. Civilizations there cultivated the colorful veggies as much as two to three thousand years ago, according to extension horticulturist W. Terry Kelley and horticulture professor Sharad Chintaman Phatak at the University of Georgia Extension. Back then, they were grown as herbal medicinal crops, used to ease conditions including bladder trouble, stomach ulcers, and childbirth pains. Kelley and Phatak also noted that people started growing carrots to eat at least as early as 600 AD, beginning with distinctly purple versions grown in the area that’s now Afghanistan. Orange types like this one didn’t come on the scene until they were grown in the Netherlands in the 1600s, later coming to North America with European expansionists. This type, like the others produced in the US today, is biennial, with a two-year life cycle. If no one pulls them up to eat, it’s likely the plants will overwinter and then use that sugar stored in the roots to bloom the following year. You can find annual varieties that undergo the entire life cycle in a year, but those aren’t produced in the US, according to the UGA horticulture experts. You can browse more options in our guide to the best carrot cultivars. But if this one sounds appealing, let’s get it growing in your garden!
How to Sow
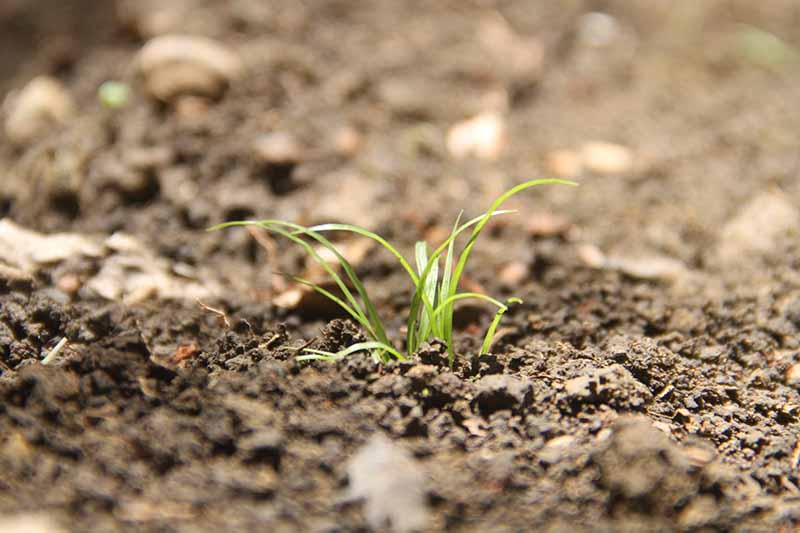
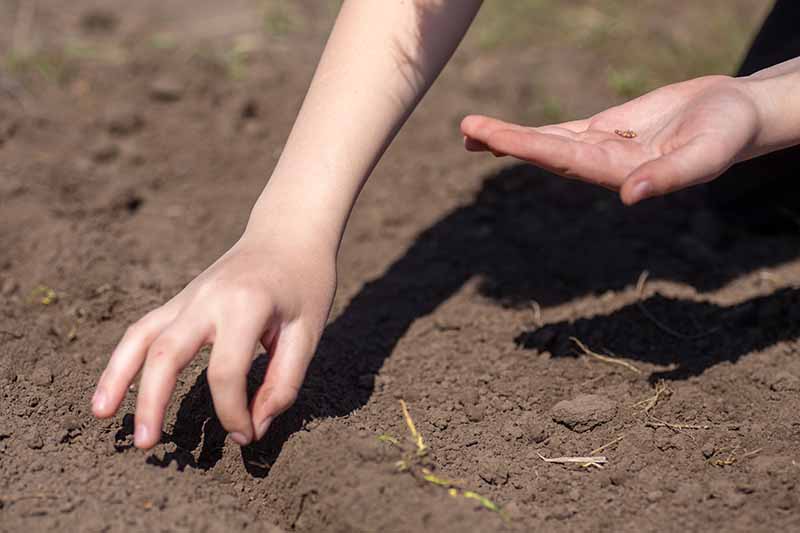
These root vegetables grow just four and a half to six inches long, so you have more places to plant them than you would if you were growing longer varieties like ‘Nantes’ or ‘Imperator.’ They require a soil depth of seven inches or so, not the 10 to 12 inches minimum that others demand. That means you could plant ‘Chantenay’ in raised beds, even those that are lined with plastic or another material, as long as they’ll have six or seven inches of soil available to set down roots. These are also a great choice for growing in planters or even indoors. Ideally, you should plant the seeds in sandy or loamy soil. They can handle soil that’s a bit on the heavier side, but you’ll risk forked roots and a terrible taste, so it’s better to plant them in soil that drains well. Also make sure to amend it with plenty of composted organic matter. And get rid of any pebbles or other detritus. The roots will go all wonky if they hit resistance in the soil. Like other D. carota sativus cultivars, they’ll need a soil pH of 6.0 to 6.8 and full sun to thrive, but they can tolerate part shade. This is good to know if you’re tucking them into odd spots in an edible container garden or have just a little extra space below one of their good companions, like peas, peppers, or love-in-a-mist. For the best yields, plant some in a garden spot where they’ll receive at least six hours of sunlight each day. Only sow the seeds directly in the garden or their final container, instead of trying to start them indoors. The roots really don’t like being disturbed, so transplanting is out! How far apart should you plant? While I am usually a bit stubborn about the waste involved in sowing too many seeds and then thinning later, in the case of carrots, it’s an absolute necessity. Even ‘Royal Chantenay,’ with its standout yields, often has spotty germination. Since they take so long to sprout, anywhere from 14 to 25 days, you lose several weeks of the growing season if you don’t plant enough and some of them fail to germinate. I usually plant a pinch of six of the seeds per inch, in rows eight inches apart. I sow them quarter of an inch deep and cover them with a light growing medium, like commercial seed-starting mix, or a couple of handfuls of loam mixed half and half with vermiculite. Then I water them lightly, using the gentle nozzle on the garden hose, or even a clean plastic spray bottle set to “fine mist.” It’s important to keep that soil moist but not soggy until you see sprouts. If the growing medium gets too dry and forms a crust, the seedlings won’t be able to power through it. When germination conditions are too soggy, the seeds might rot instead of sprouting, or they may wash away in the next rain. Dodge those issues, though, and once that feathery greenery makes its appearance, you’re on your way to a delicious harvest! Next I’ll share some more tips to guide you for the couple of months required between sowing and harvest. Spoiler alert: Thinning is essential, so expect some nagging about that.
How to Grow
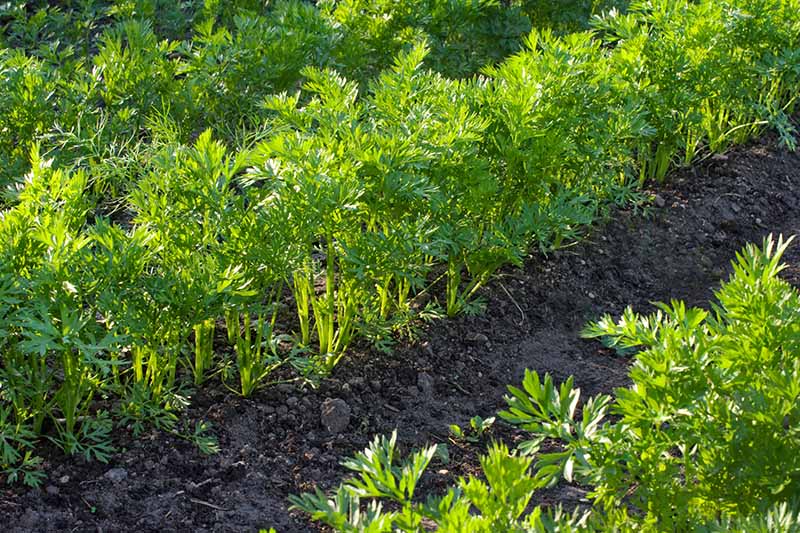
Once the seeds sprout and the tops grow a couple of inches, your focus will shift from just keeping the top inch or so of soil moist to making sure the plants receive ample water. These crunchy vegetables are not at all drought tolerant! If you’re not receiving enough rain, supplement with at least an inch of water per week during the early summer. Prolonged hot weather can also affect the yields, or cause the roots to develop a bitter taste. ‘Chantenay’ grows best when the temperature stays between 60 and 70°F. Try to only plant seeds when your crop will have plenty of time to mature before temperatures soar above that range in your area. Consider mulching, too, to keep moisture in and help suppress weeds. Carrots don’t grow as well when they have to compete for nutrients or sunlight, particularly in their first few weeks of life. The young seedlings are, frankly, weaklings that need your protection. Even when they’re older, you risk damaging the young roots if you have to pull nearby weeds. It’s more effective to mulch and keep them from sprouting in the first place. Apply just an inch or so of mulch between the plants and the rows several times throughout the growing season. And avoid using nitrogen-rich fertilizer on the beds. Too much of nitrogen can cause gnarly, bad-tasting roots, or lots of odd little side roots may sprout. Another absolute must: Thinning. Crowded carrots will produce the dreaded crooked roots. They may look cute on social media memes, but I find they tend to taste terrible. When the tops reach two inches tall, thin them to stand an inch apart. Use scissors or a sharp knife and cut the ones you’re getting rid of at the soil line. You don’t want to pull them up, because you may damage or disturb the ones you’re trying to keep in the process. Once the greens reach three or four inches, thin again. This time your aim is two-inch spacing. If you’re careful, you can uproot the carrots using the tops as a handle on this second go ‘round. At that age, they may have already produced tiny carrots you can eat! They won’t be as sweet or crunchy as the mature versions, but they’re fun as sort of a preview of the delicious harvest to come. Turn to our complete guide to growing carrots for more tips on improving the yield and flavor of ‘Chantenay’ and other varieties.
Growing Tips
Give germinating seeds shallow, frequent water.Mulch lightly several times during the growing season to retain moisture and suppress weeds.Thin twice, once when the tops reach an inch tall, and again when they attain a height of three to four inches.Once the tops are more than a few inches tall, provide at least an inch of supplemental water on weeks when it doesn’t rain.
Where to Buy Seeds
These carrot seeds are readily available. You’ll want enough of them to sow every three weeks until the weather gets too warm, and again in the late summer for an autumn or early winter harvest. Also consider that you’ll need extra to compensate for the low germination rates common with carrots, due to their susceptibility to soil temperature fluctuations and insufficient moisture after sowing.
Managing Pests and Disease
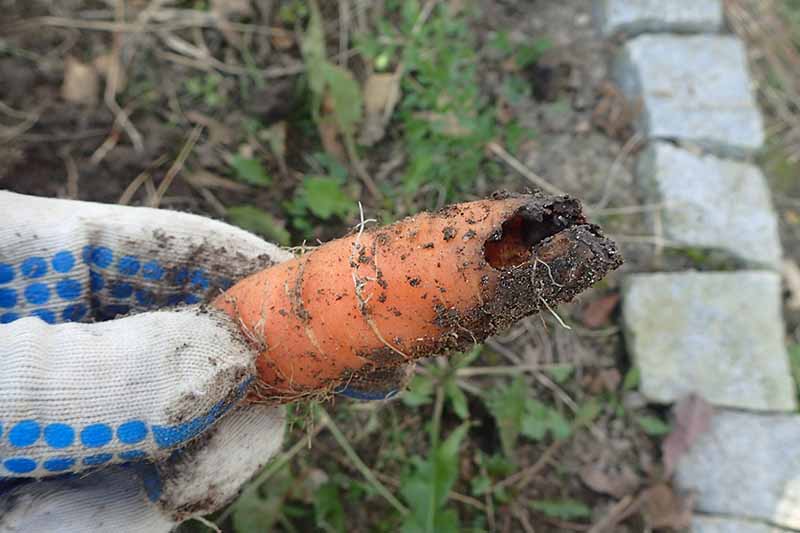
They may have red cores and sure, they’re sort of short, but ‘Chantenay’ are still carrots – and that means the pests that do the most damage attack at the roots. This is more than enough for several rounds planted in the garden, with some seeds left if you want to try your hand at growing carrots indoors in cold weather. ‘Red Cored Chantenay’ You can find various sizes from a modest packet to a one-pound sack of ‘Red Cored Chantenay’ seeds at Eden Brothers. ‘Royal Chantenay’ Find ‘Royal Chantenay’ seeds in a variety of packet sizes available at True Leaf Market. Carrot rust flies (Psila rosae), for example, are destructo-demons. They look like small green house flies, only their heads are yellow and they always have red eyes. They aggressively attack the plants by laying eggs where the crown meets the soil. When their larvae hatch, they tunnel into the roots and turn them red. You can tell they’ve struck if the leaves begin turning black. Once you’ve seen the root damage, you may feel a little ill… Other pests that strike below the soil include wireworms and carrot weevil larvae. There are also microscopic wormish animals known as nematodes (Meloidogyne species). The knots they create will stunt your precious root crop. You may be able to avoid them, though, by applying well-aged compost ahead of planting. It contains lavish supplies of predatory microorganisms that can battle the nematodes for you, without adding any chemicals. Read more about carrot pest identification and control. As for diseases, leaf blight is the most common. It begins on the edges of the leaves, establishing white or yellow spots that become brown and look watery. You should also watch out for aster yellows disease, which stunts the tops and causes hairy roots. Pests spread aster yellows as they flit or jump from plant to plant in search of food. Leafhoppers are a prime offender, and the disease they spread can overwinter to hit next year’s veggie bed, too. Bacterial soft rot, cercospora leaf blight, downy mildew, and powdery mildew round out the list of the most common diseases you may encounter with your crop. Integrated pest management is the first line of defense here, and you can learn more about it in our guide. If you’d rather avoid most of the insect bother, consider just growing this produce in containers stocked with fresh soil annually, or at least every couple of years. (That’s also a good way to fend off rabbits and voles, who do like to snack on all parts of this root vegetable.) Another tactic that works well but may be inconvenient is to postpone planting carrots until the late summer. When you harvest in the fall, you can avoid a lot of the common diseases and insects that arrive to infest these vegetable plants in the early spring. Rust flies, in particular, show right up on schedule in May and June, but don’t pose a threat if you plant later in the summer. You may be able to prevent trouble by covering the tops and the surrounding soil with a floating row cover, especially in the first 30 days when the plants are at their weakest. The cover should bar rust flies, leafhoppers, and flea beetles. And unless you’re trying to encourage seed production in the second season, you can leave the row cover in place except to weed or harvest.
Harvesting
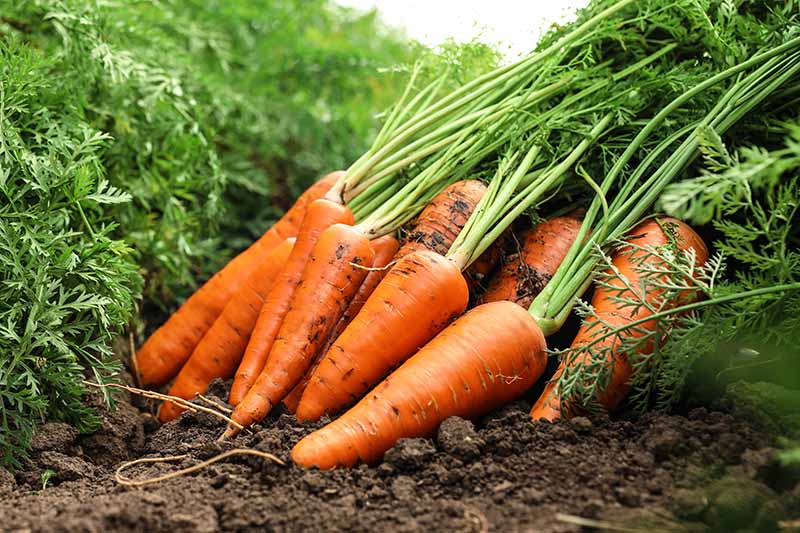
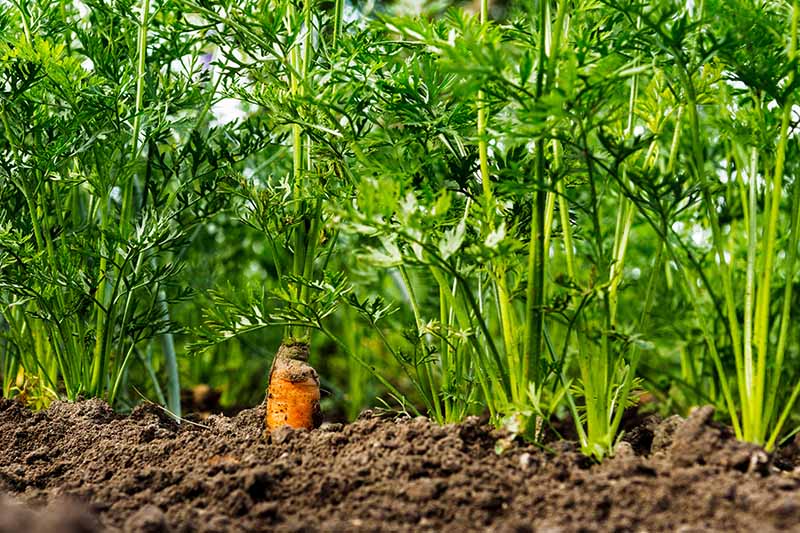
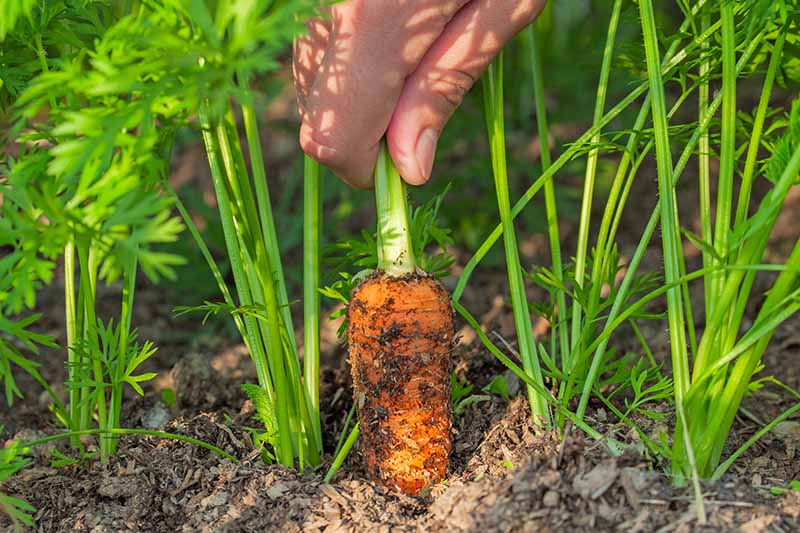
Full-size roots are the sweetest, so after the second thinning, try to hold out on pulling these carrots until they’re mature. That usually takes about 65 to 70 days, but add extra time if you’re growing during chillier fall temperatures. Look for orange showing above the soil line to determine if they’re wide enough to pull. They should be two to two and a half inches in diameter. If you can’t see the shoulders, you may have to pull one or two to be able to gauge their size. Happily, you can eat any that are just a little immature, as a tasty preview of what you can expect. Be sure to pull carrots the day after it rains, or create your own moist soil by irrigating 24 hours ahead of time. You may need a garden fork to loosen the soil around them, too. Then it’s just a matter of heave ho, uprooting them one by one. When you plant them to mature in fall and early winter, it’s also possible to store these vegetables in the ground. The idea is to protect them from frost and pull only those you need, but also to have them all collected by the time the ground freezes. If you live in an area where winters are mild, you may be able to keep a supply in the ground until early spring, though the tops will die off. Do make sure to get them up before they sprout for a second season, though. Once they “bolt” and prepare to flower, the roots won’t taste good at all. To harvest throughout the late fall and winter, first weed the entire plot or raised bed, so you’re not giving weeds a chance to overwinter. Then mulch the spot with a couple of inches of straw or leaves. For more details on harvesting ‘Chantenay’ and other carrot cultivars, check out our guide.
Storage
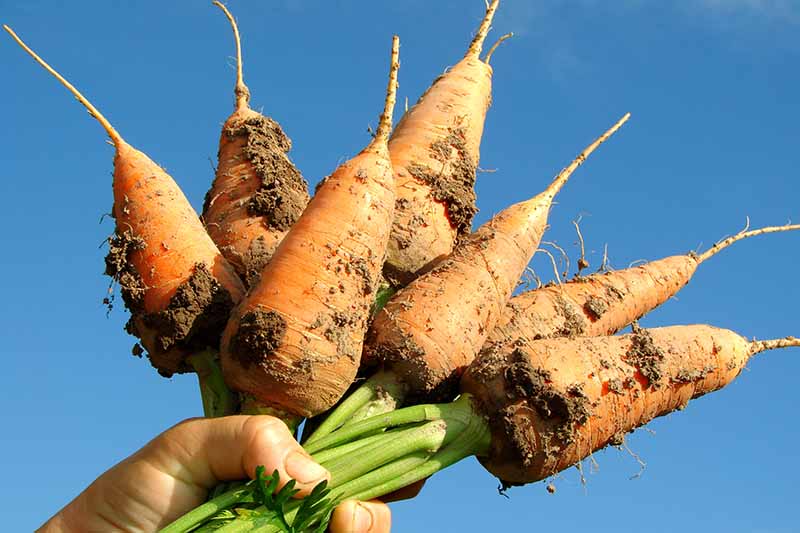
While carrots “bunched” with their tops are quite eye appealing, leave that approach to the food stylists. The greens may look pretty, but they’ll sap all the moisture from the roots before you have a chance to eat them. Before storing, immediately brush off any loose dirt. Then, twist or cut the tops to within an inch of the spot where they meet the root. Store them unwashed in a cotton produce bag in the fridge. If you’re a zipper plastic storage bag family, use one of those, but prick a few air holes in it first with the tines of a fork. This variety is a good keeper. It will stay fresh at 32 to 40°F and 95 percent relative humidity for six to eight weeks. Ordinarily, you’ll find those conditions in your vegetable crisper.
Preserving
With its rich hues, ‘Chantenay’ is a good choice for preserving. I particularly like the way it looks sliced into thin, colorful coins to dehydrate and add to soup mixes. Other methods include pickling, fermenting, freezing, or dehydrating. You can also find a recipe for homemade carrot habanero butter to freeze or water bath can in our guide to growing ‘Danvers’ carrots!
Recipes and Cooking Ideas
Baby food, juice, coleslaw, stew, cake, muffins – there is a seemingly endless parade of dishes this carrot variety will make more delicious. Eaten raw, it’s also a wonderful “gateway” vegetable for that fussy toddler, or the spouse who believes only rabbits eat salad. You can pair slices or sticks with hummus for either age group. For the adult palate, they’ll also provide the perfect sweet-crisp complement to spicy appetizers like cheesy jalapeno black bean dip. Find the recipe on our sister site, Foodal. The red core and deep orange flesh also gives you an extra incentive to use this type as an ingredient in spreads, purees, or soups. In addition to being a bit sweeter than a lot of other varieties, the color is something special. One of my favorite soups to make with that splash of red-orange carroty color also contains a surprise ingredient: pear. It can be served warm or chilled. This soup is extra special made with fresh homegrown limas. To make a creamy white bean, homegrown carrot, and pear soup, you will need a tablespoon of olive oil, a roughly chopped medium-size onion, two cloves of minced garlic, two cups of ‘Chantenay’ or other sweet carrots sliced 1/4 inch thick (about five), two teaspoons of dried Italian herbs, four cups of vegetable broth, a firm pear that has been peeled and chopped, two cups of cooked or canned white beans (or fresh or frozen lima beans), a teaspoon of salt, a teaspoon of black pepper, and an optional half cup of creme fraiche or half and half if you’ll be serving it cold.
Creamy White Bean, Carrot, and Pear Soup
If you’re using canned beans, give them a rinse and drain them in a colander. If you’re using limas, steam them until tender. Heat the oil over medium heat in a large, heavy stainless steel or enameled cast iron soup pot on medium. (If you only have saucepans, divide the ingredients and make two batches.) Add the onion and stir fry for about three minutes. Stir in garlic, reduce heat to medium low, and cook for another minute. Add carrots and herbs, stirring with a wooden spoon to coat them with the oil. Pour in broth, increase heat to medium high, and bring to a boil. Reduce heat to medium low, cover pot, and cook for 10 minutes. Stir in the chopped pear and beans, and continue simmering for another 15 minutes or so, until the fruit and vegetables are quite soft. Being careful not to splash the hot soup, use an immersion blender to create a smooth puree, or use an ordinary blender or food processor and work in two-cup batches. Season with salt and pepper to taste. You can either serve this warm immediately, or let it come to room temperature and then chill it for at least a couple of hours in the fridge to serve as a refreshing chilled soup. To serve cold, stir in the creme fraiche or half and half right before serving, or swirl a tablespoon or so into each serving. Should you be trying to work more veggie side dishes into your repertoire, you can always do a simple preparation that uses this small variety whole. After steaming or parboiling for about five minutes, toss with olive oil, grated Parmesan, black pepper, and chopped fresh dill. Roast in a 375°F oven or air fryer for about 12 minutes. When the carrots are tender but not mushy, and the cheese starts to brown, they’re ready to eat. Squeeze some fresh lemon juice over the cooked carrots if you like, and serve warm or at room temperature. What about you? Do you have experience with this fairly short, red-cored cultivar? If you do, the comments section below is open for your suggestions and preferences for growing this variety. You’re also encouraged to share notes on other favorites that you like to plant in containers, raised beds, or the backyard garden plot. And if this guide was helpful, we have bushels of other carrot-growing info you’d probably enjoy. Check these articles out next:
How to Harvest and Store Carrot SeedsHow to Grow Carrots In ContainersWhy Carrots Crack: Tips for Preventing Split RootsTroubleshooting and Preventing Carrot Growing Problems
