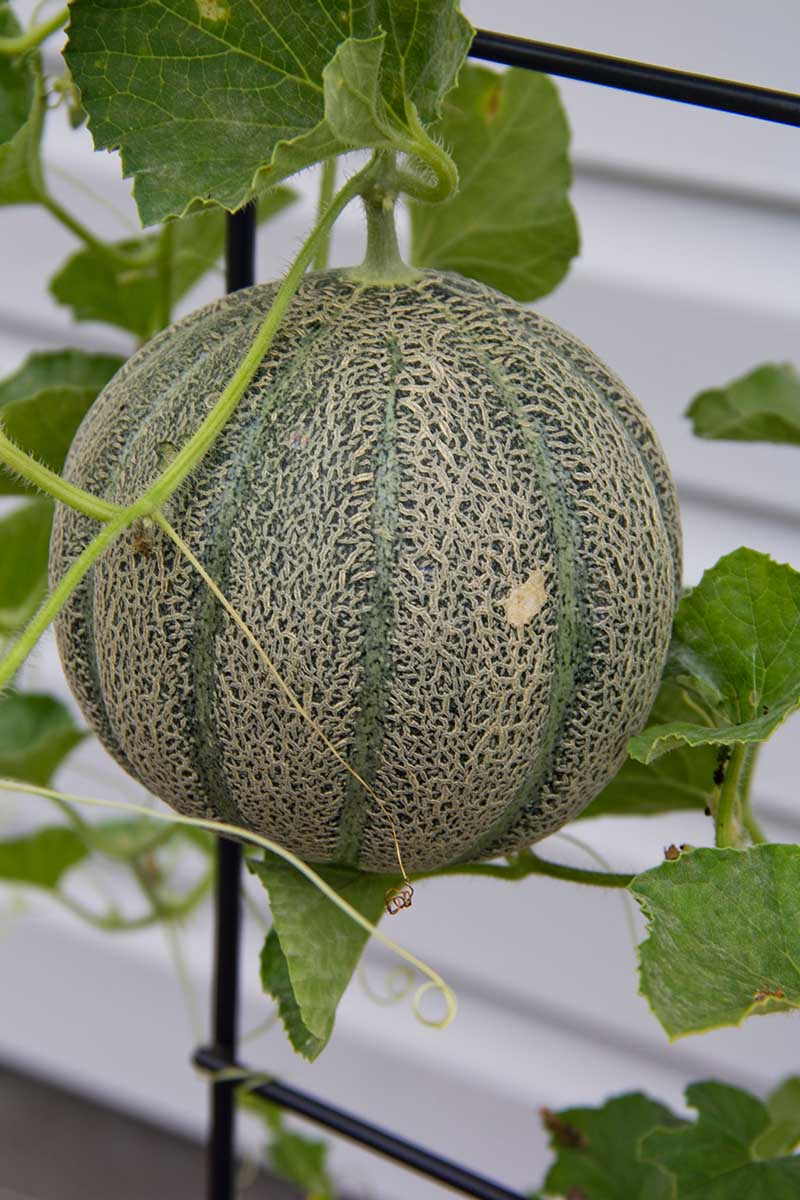
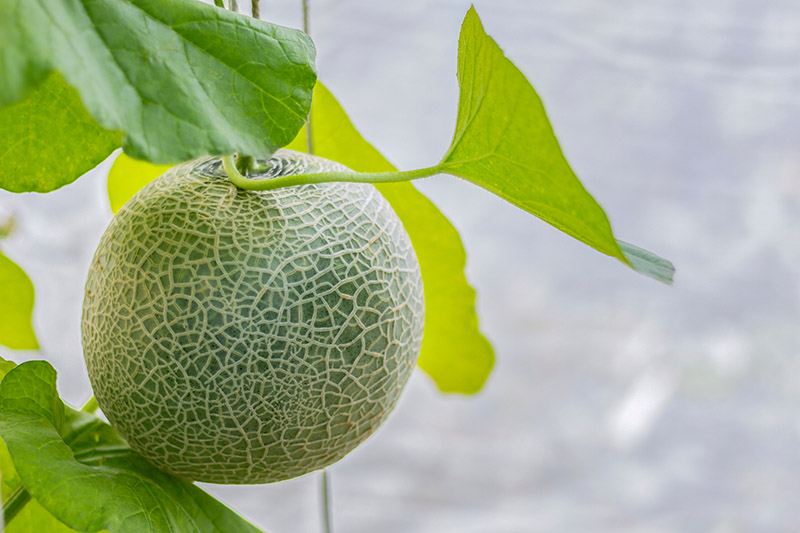
If you do have a garden that large, I am sincerely glad. The thought of a massive melon patch is immensely cheering. But those of us with limited space need to get creative. We’ve got to train our melons to climb skyward. We link to vendors to help you find relevant products. If you buy from one of our links, we may earn a commission. So don’t shy away from growing these delicious melons (Cucumis melo var. reticulatus), which you can learn more about in our growing guide. Even those of you with small or even tiny growing spaces can grow these juicy fruits. Are you ready to get started? I thought so. Here’s what you’ll learn:
Why Melons Need Space
Cantaloupe, like other Cucurbits, grow long vines. These can reach anywhere from four to seven feet, depending on the variety. And they can quickly take over your garden, leaving little room for anything else. By training the vines to climb a vertical structure, you save space in your garden while still giving the melons plenty of space to stretch. Plus, training them on a trellis keeps the fruits, vines, and leaves off the damp soil, helping to prevent fungal infections and pest infestations. Even better, the leaves won’t have to compete with weeds or surrounding plants for sunlight. Keep reading to learn about the best structures to support your climbing cantaloupe!
The Best Structures for Vertical Growing
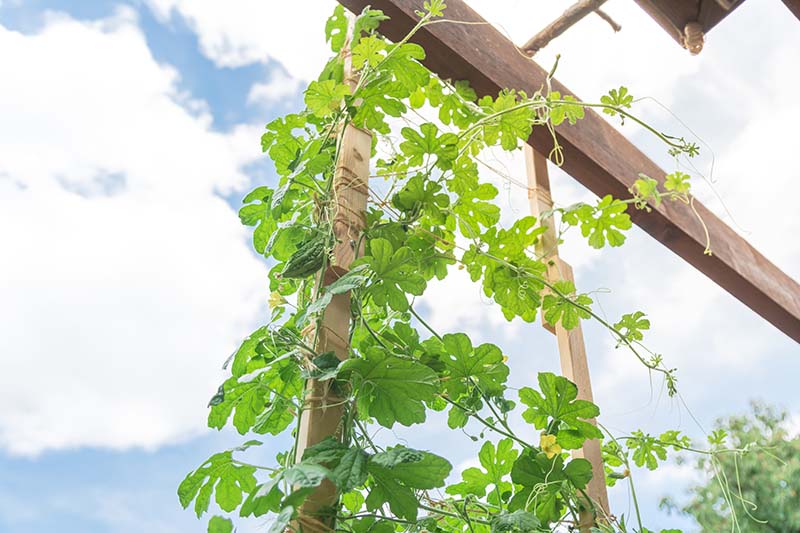
Because vines grow so long – well, tall, if you will – it can be helpful to choose a structure that’s tall as well. If you’ve got the building skills, create an arched trellis that people can walk under when they visit your garden.
The vines will climb all over it, giving the feeling of entering an enchanted wood whenever you pass under your archway. You could even put together one of these gazebos and train the vines to loop around them. If you don’t have space or the building skills to create an arch or gazebo, any of the following structures will work:
A sturdy tomato cage A fence A trellis Bamboo hoops Two sturdy poles with twine strung between them Zip ties and wire fencing
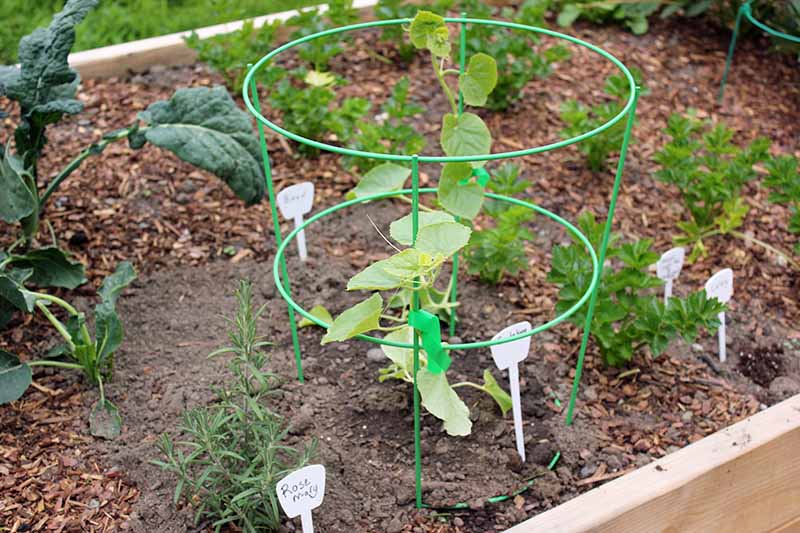
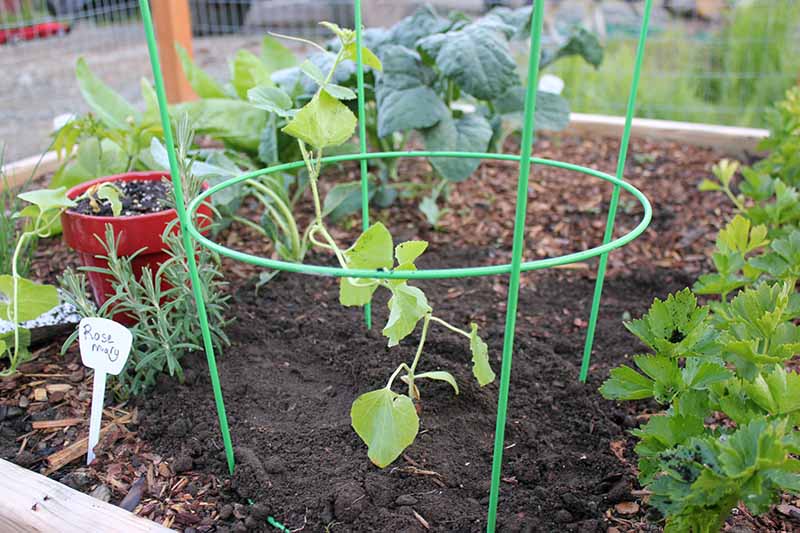
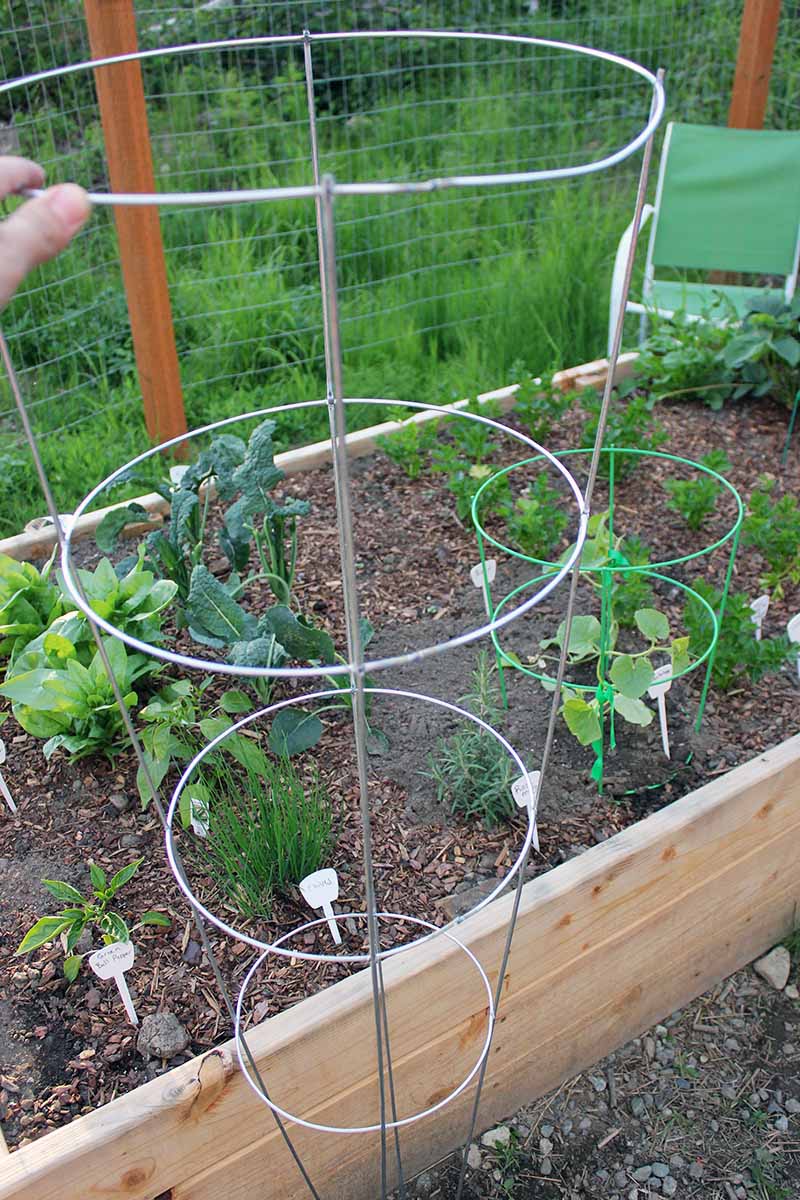
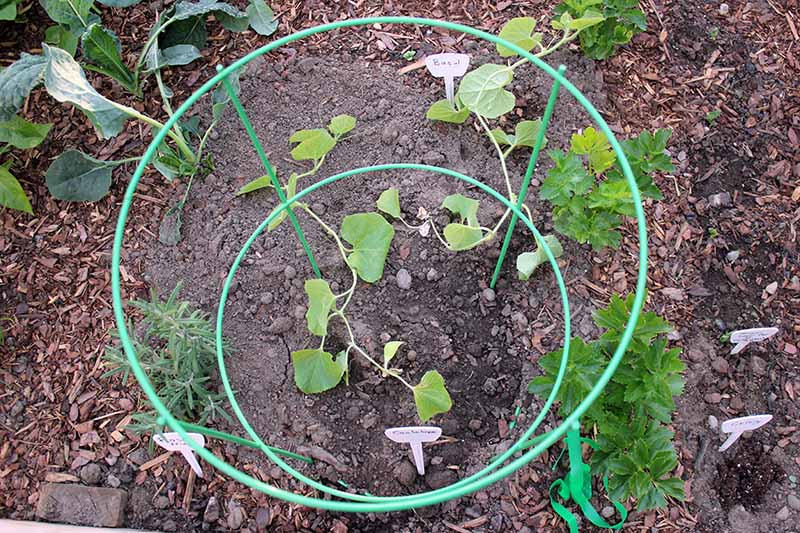
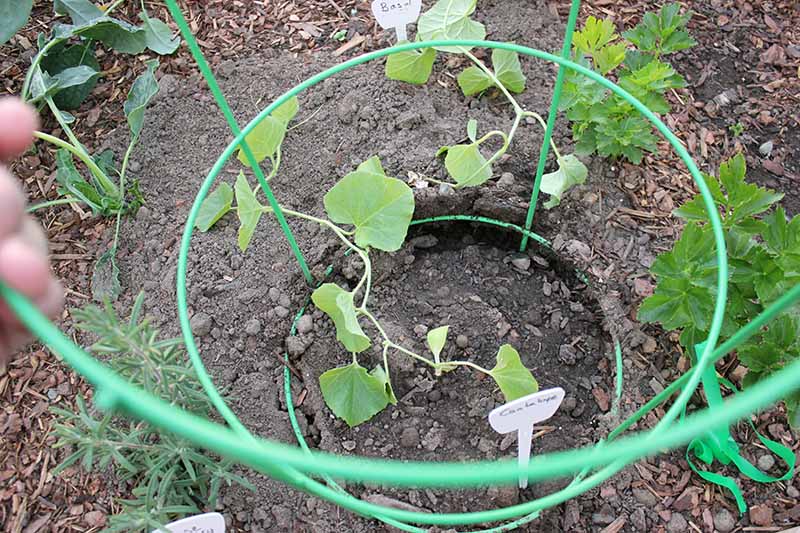
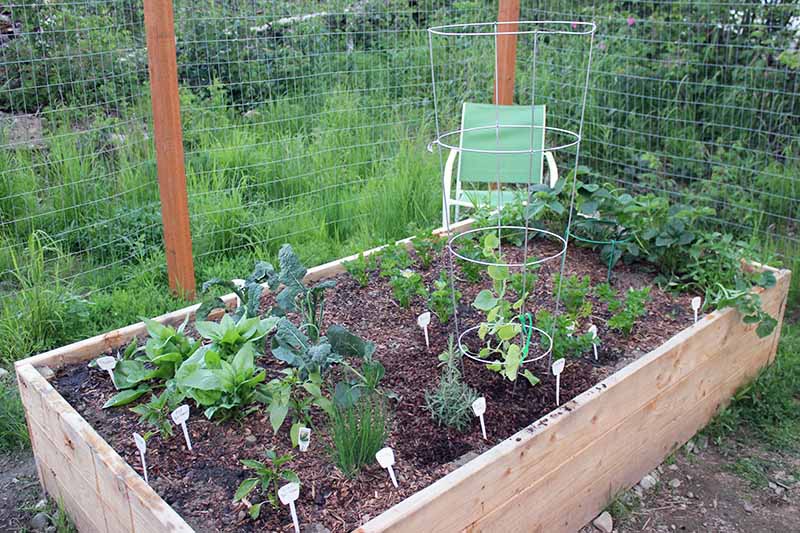
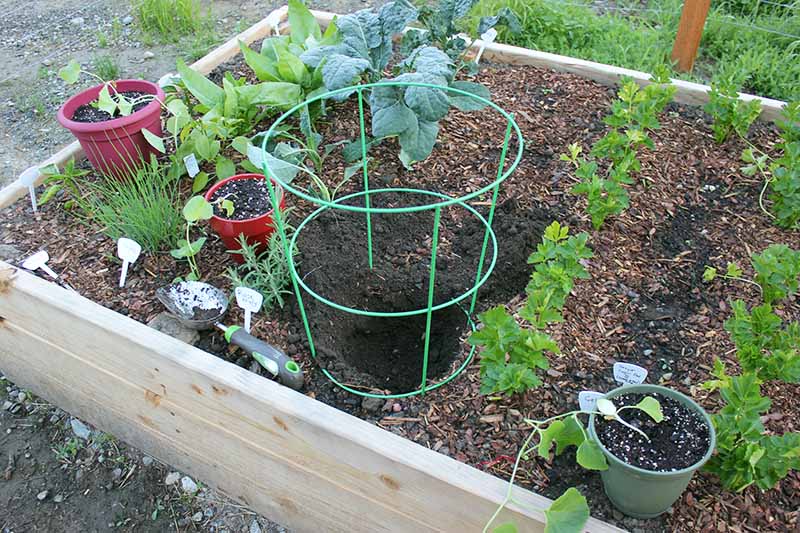
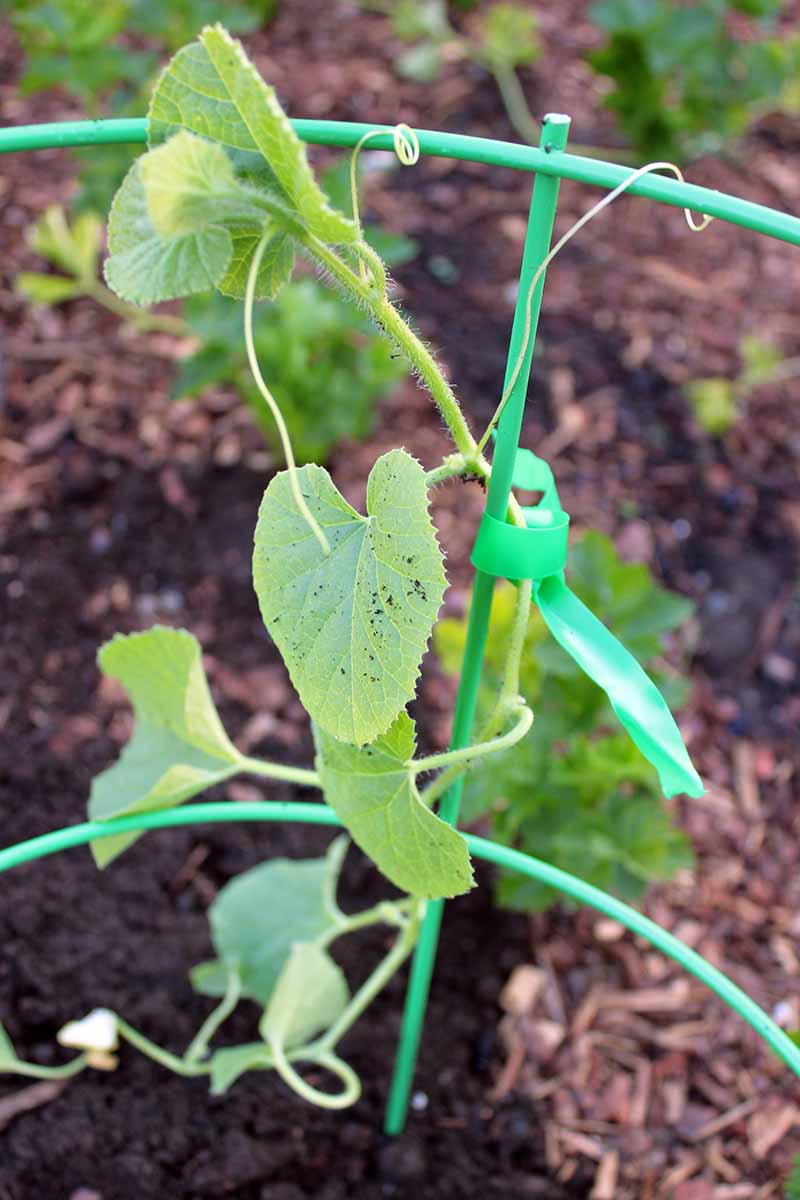
You get the idea. And while a tall structure may be ideal for some, you can use a smaller one, like this little green cage I got for some of my cantaloupe to grow on: You’ll just have to keep an eye on the vines and make sure to manage them correctly. I’ll show you how to do this in just a moment. And if you do feel like you need to use a bigger cage, it’s easy to carefully snip off any plant tape you use, gently remove the old cage, and insert a taller one in its place before re-wrapping and organizing the vines. This is exactly what I had to do when I realized the miniature tomato cage I was using wouldn’t be tall enough to support two vines. I bought a 52-inch cage instead. Because I’d only loosely tied the vines to the wires, it was easy to unwind them. Some of the soil under the first wire ring came loose, which made my breath catch in my throat for a moment, but ultimately I don’t believe the roots were disturbed. Then, I patted the dirt back down and watered the roots before covering them with mulch. My vines are now much happier, with lots of space to grow. If you have the same issue, you’ll want to fix it before the melons start forming so you don’t disturb the fruit. In gardening, there are plenty of mistakes to be made, but plenty of these can be fixed.
Planting the Melons
Whether you’re growing cantaloupe from seed or from a transplant, we’ve got you covered.
From Seed
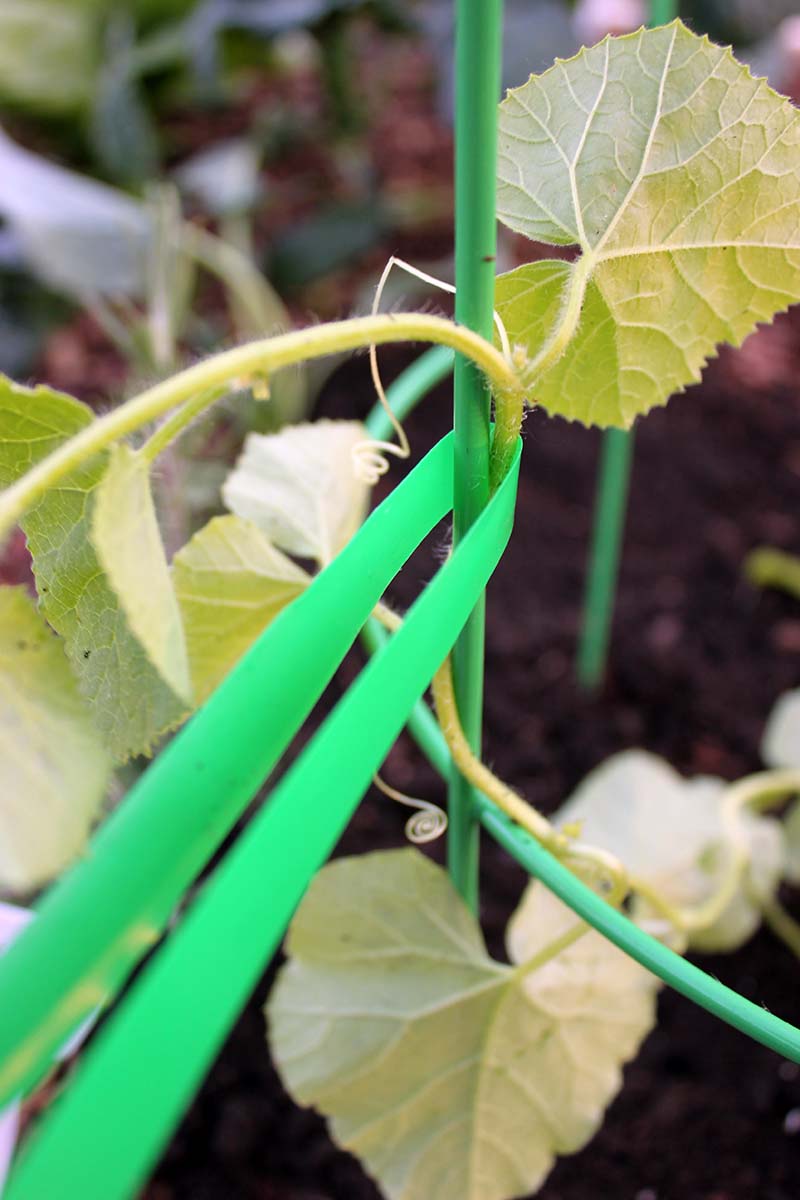
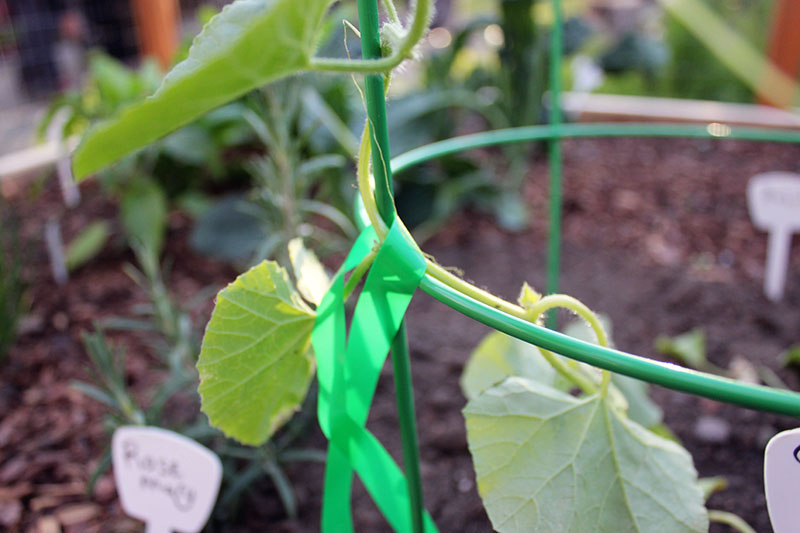
If you live in a warmer climate – around Zone 7 and up – direct-sow your seeds right next to your trellis as soon as there’s no threat of frost in the forecast. Make a half-inch divot in the soil and put the seed in the hole, pointy side down. Cover with soil and water thoroughly, keeping the soil moist but not waterlogged until germination. Once the first true leaves emerge, you’ll notice that the plant is already becoming bendy and viny. All the tape is there for is to help the vine learn to wind around the trellis. As the plant grows, keep tying the growing vines to the wire as needed.
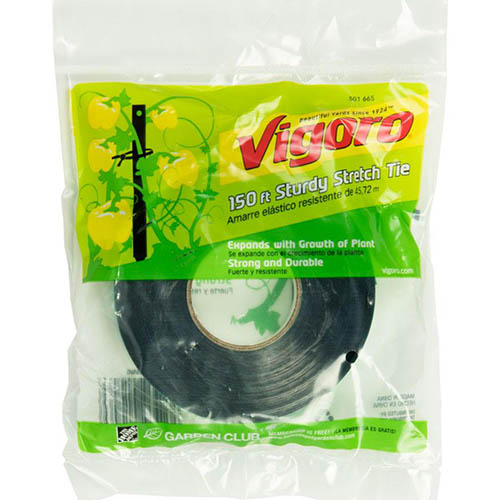
Vigoro Sturdy Stretch Tie I used this stretchy plant tie tape from the Home Depot. Don’t tie it tightly at all. You don’t want to crush the vine.
From Transplants
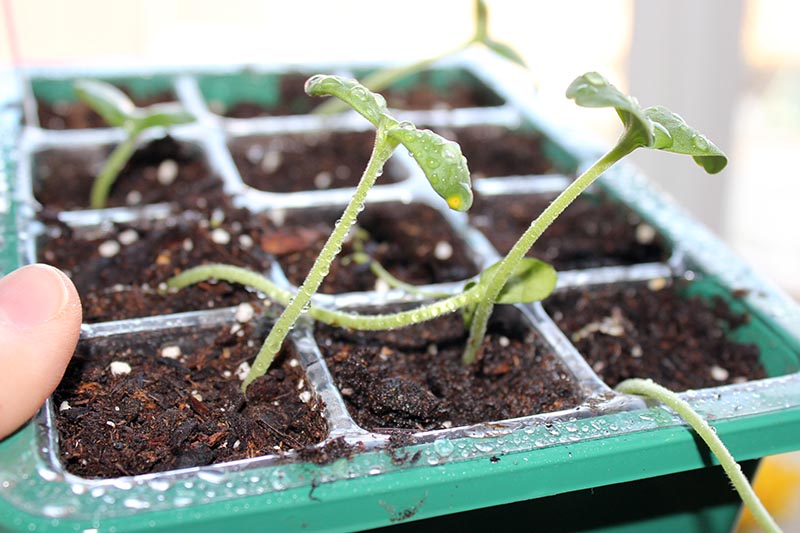
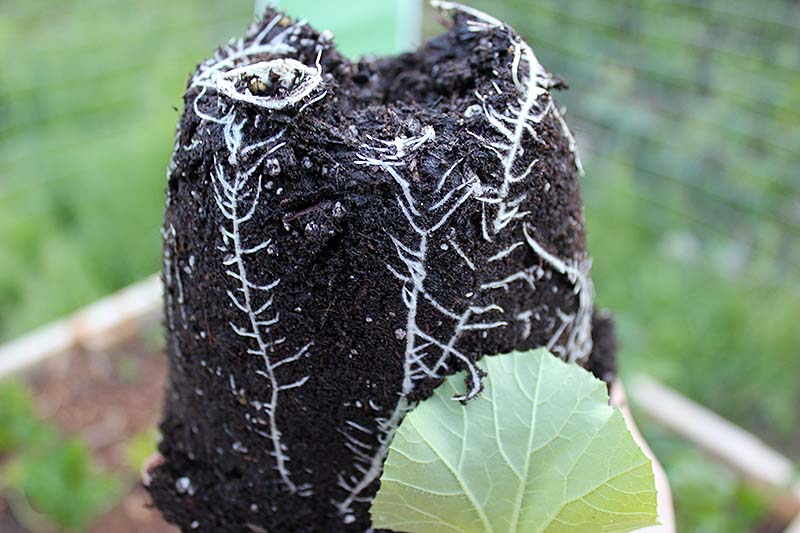
If you’re like me and live in a colder growing zone, you’ll start your seeds indoors about four weeks before your last frost date. Or maybe you’ll buy starts from a nursery. Once the seedlings have two sets of true leaves, start hardening them off. I kept mine on the back porch for about a week before moving them to the garden. I first left them out there for a few hours, then for most of the day, and then all day and all night. My final step was to leave them in the garden, which receives a ton of sunlight, keeping an eye on them to make sure they didn’t wilt. They flourished. To transplant them into the garden, I secured the cage in the soil and dug a hole in the middle as deep and wide as the pot I started the plant in. You should do the same if you purchased your starts in nursery pots. I gently removed it, taking a moment to appreciate how neat the roots looked. I also dug a hole for a second plant on the outside of the cage. Then, I took both of the plants’ vines and gently secured them to the trellis.
Keeping the Melons Trained
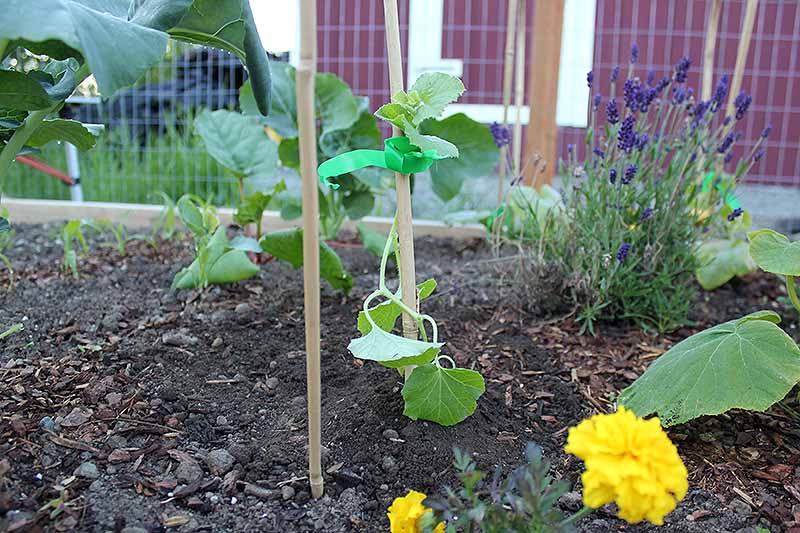
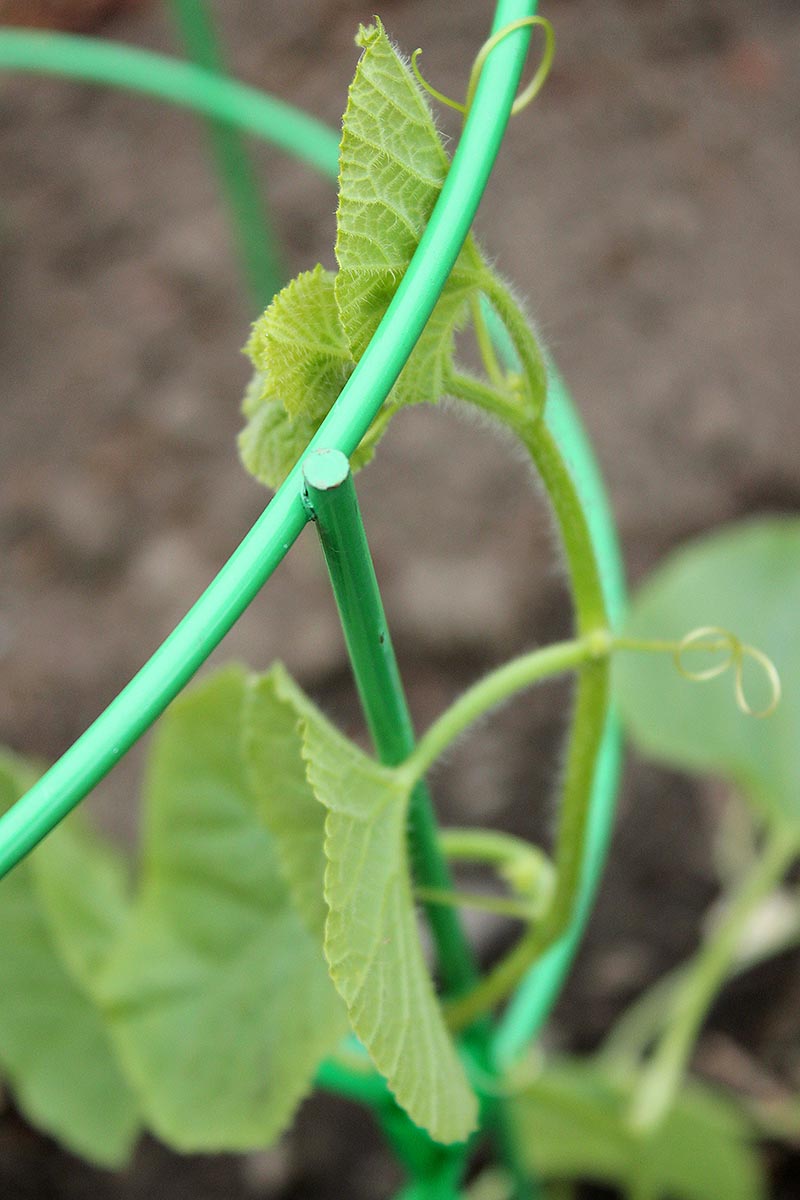
As the cantaloupe grow, I’ll simply keep winding the vines around and around the cage until it’s just a bounty of leaves, vines, and fruit. It’ll be a little crowded, but that’s okay. Since I still had one more plant to put in the garden, I planted it next to a sturdy bamboo hoop and secured the vines the same way I did for the melons trained on the cage. But if you notice any wayward vines, simply move them back where you want them to go and secure them with stretchy plant ties. The vines will naturally weave through whatever you train them onto, whether it’s a lattice fence or a bamboo pole. You can also use those curly tendrils that shoot off the vines to help with training by wrapping them around the wire. Those tendrils are there to help the vines and fruit stay balanced when they’re growing on the ground, and they’re perfect for helping to support trellis growing too.
Harvesting Cantaloupe Grown on a Trellis
Once the rinds turn from white to gold, your cantaloupe are ready for harvest. They should also smell fruity, and easily detach from the vine.
The convenient thing about raising them on a trellis is that you’ll be able to see them more easily than you would if they were growing on the ground, and make sure to catch them at the perfect point of ripeness.
Vertical Bliss
You won’t regret the gorgeous sight of verdant vines climbing whatever trellis you dream up. And your cantaloupes will thank you for giving them all the necessary space to stretch and grow.
Have you ever grown cantaloupe on a fence, pole, or lattice archway? I’d love to see your comments – and photos – below. And don’t forget to check out these helpful articles on growing melons next:
How to Grow Cantaloupe in Containers 33 of the Best Melon Varieties The Taste of Summer: How to Plant and Grow Watermelons 11 of the Best Cantaloupe Cultivars to Grow at Home


