But the best way to enjoy this nutritious brassica is straight from the garden. Or, if you’re short on growing space, from the container garden. Have you ever tried growing this cruciferous vegetable in containers? We link to vendors to help you find relevant products. If you buy from one of our links, we may earn a commission.
Getting Started
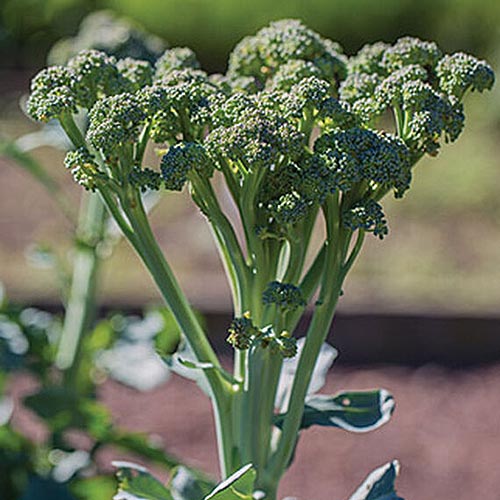
A member of the Brassicaceae family, broccoli was cultivated in Italy over 2,000 years ago. Known scientifically as Brassica oleracea var. italica, it’s typically grown as an annual, and finds its way into hundreds of dishes around the globe.
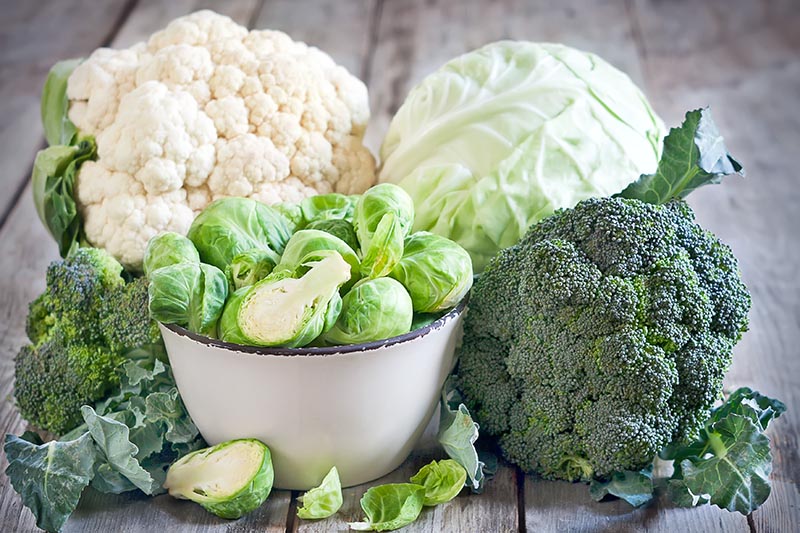
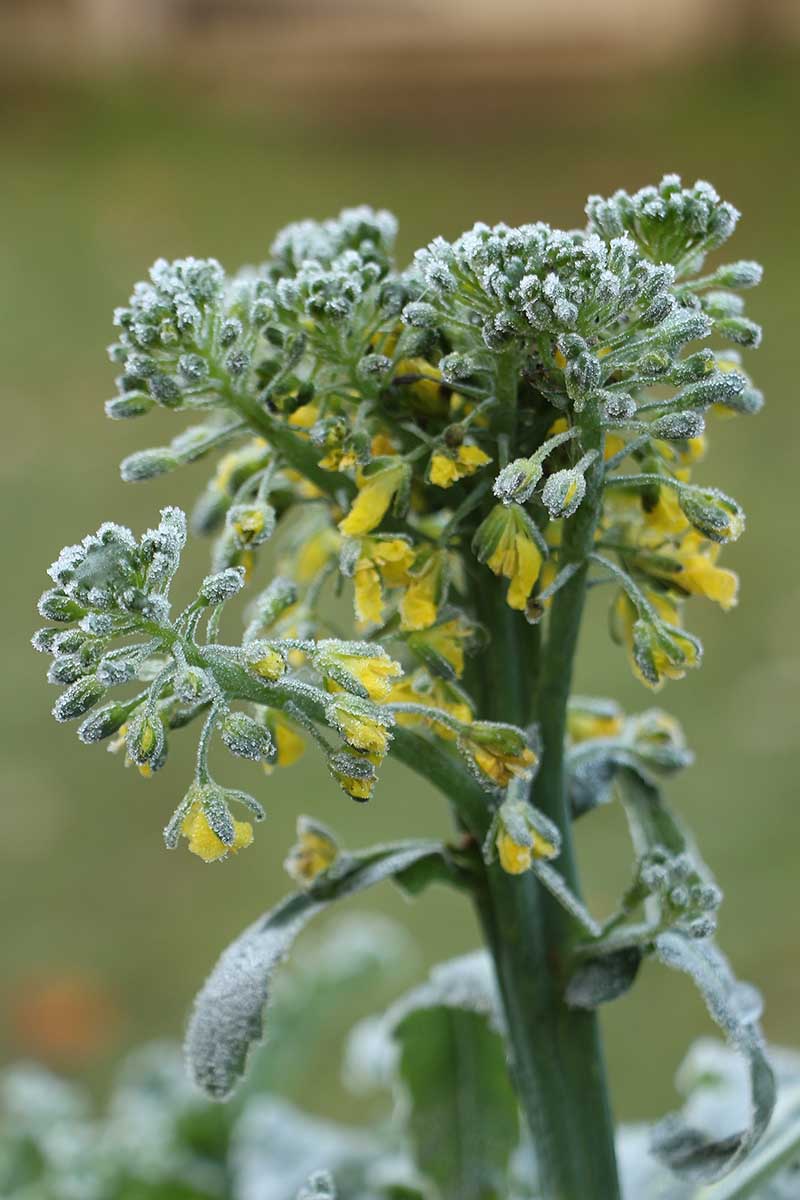
When you harvest the head and you’re eating a floret, what you’re actually eating are unopened flowers. Embarrassingly, I did not know that until quite recently! And really, knowing that just makes me love this brassica more. Other popular veggies in the family include cauliflower, brussels sprouts, cabbage, turnips, and kale.
Check out our growing guide to learn more about growing broccoli in the garden. In this article, we’ll spill everything you need to know about growing this cruciferous vegetable in containers.
Why Grow Broccoli in Containers?
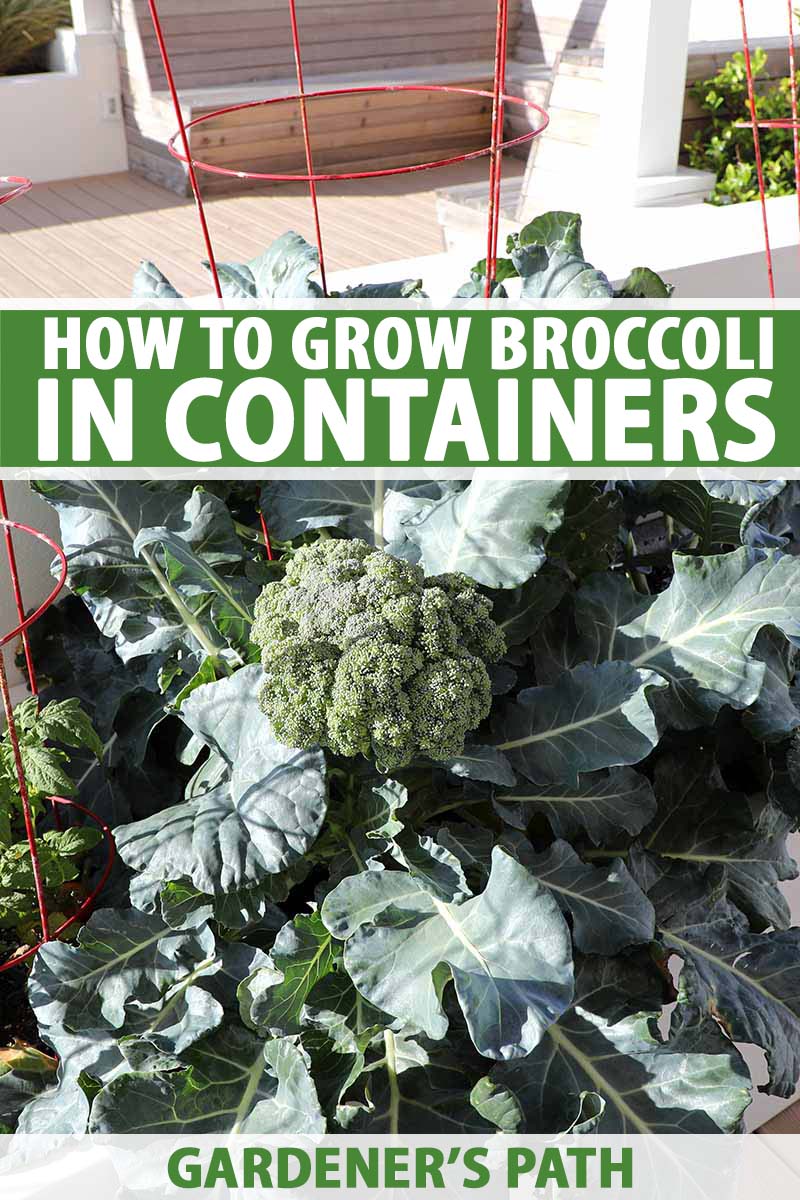
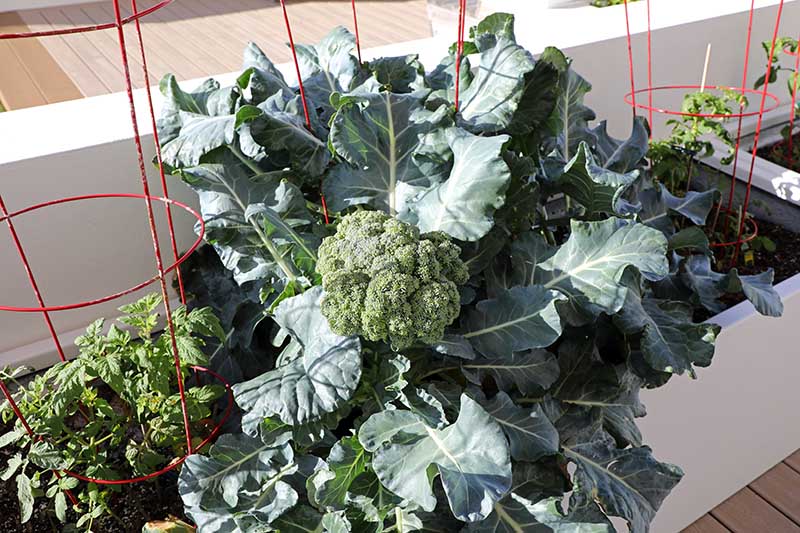
Broccoli is a large plant, and it’s natural to wonder why or how anyone would grow it in containers. The main reason is that it saves space. Normally, if you live in an apartment or have a small yard, it would be tough to find somewhere to plant it, as it can spread three to four feet!
Growing broccoli in a container means that even if you’re pinched for acreage, you can grow a delicious harvest on your patio, balcony, deck, or small yard. You can also stretch the growing season by using containers because you have more control over the environment this cool weather crop needs. Also, if you don’t mind letting your plants be a little cramped, you can plant several in each pot, getting more veggie for your square footage. Provided you supply enough nutrients and consistent watering, your broccoli will thrive in a smaller space.
Choosing the Right Container
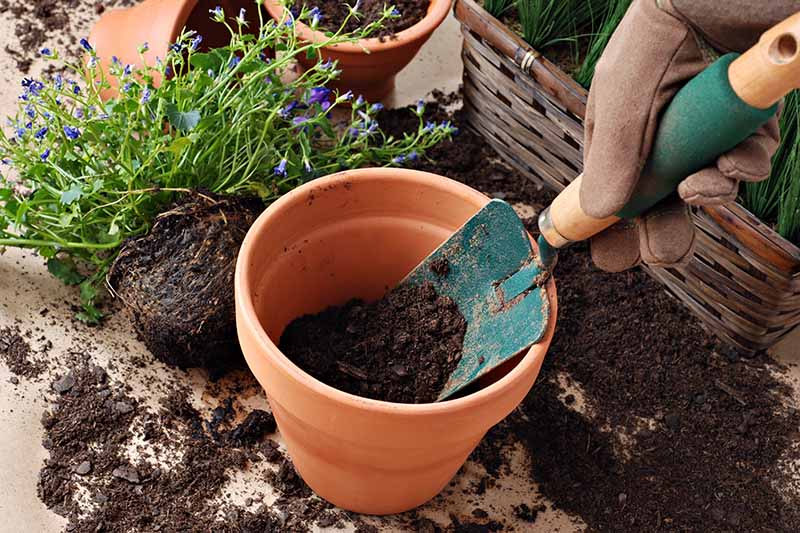
There are two ways to approach growing this large brassica in a pot. You can either plant one per 12-inch by 12-inch pot, giving the leaves and heads the recommended space – about a foot or more between plants in an outdoor garden. Or, you can crowd a couple of plants together and enjoy slightly smaller main heads, but more secondary (side shoot) heads later on. In this case you could grow three plants in an 18-inch wide, 12- to 18-inch deep pot. Your container should be a minimum of 12 inches deep, to accommodate root growth. It’s really up to you, and how much space you have in your container garden. I chose to plant my crops in a more crowded pot. The next thing to consider is the type of pot you use. Make sure that it’s a light color, as dark colored pots can cause the soil to heat up too much on sunny days. Terra cotta works well, or a lighter colored plastic pot. Just be aware that being porous, terra cotta pots can dry out a little more quickly than plastic.
For more information on choosing the best pot for container gardening, check out this article. Make sure that whatever type of container you use has draining holes in the bottom so that your plants don’t get waterlogged, potentially causing root rot. You can also add a layer of gravel, broken pottery, or pebbles into the base of the planter to allow water to filter down and away from the roots.
Preparing Your Container
The first thing you need to do is fill your container with soil and fertilizer. You can either use:
Potting mix amended with 10-10-10 (NPK) fertilizer, according to the directions on the package. Well-draining garden soil amended 50-50 with compost or well-rotted manure.
If you decide to use soil from your garden, don’t use soil that has been previously planted with brassicas as it can harbor disease. Broccoli likes neutral to slightly acidic soil, so you may wish to conduct a soil test to make sure the pH is between 6.0 and 7.0. Soil should be loose and well-draining to promote healthy root growth.
How to Grow
To briefly cover growing zones, first know that B. oleracea var. italica loves cool weather and a full sun location – hot summer temperatures can cause the plant to bolt. Because of this, there are two ideal seasons for planting your broccoli: spring and fall. For a spring planting, you’ll want to sow seeds indoors about eight weeks before your average last frost date. You’ll get a head start on enjoying your crisp brassicas if you start them indoors, but you can also start them directly in containers outdoors, 2-3 weeks before your average last frost date.
You can technically keep broccoli growing indoors, but this cruciferous veggie loves brisk, cool weather and will thrive in natural sunshine. For a fall planting, sow seeds about eight to ten weeks before your average first frost date. The plus side of growing in containers during cooler fall weather is that you’ll battle fewer bugs. And in warmer climates, you can plant a winter crop, and then an early spring crop before skipping summer and starting again in the fall. You can choose to either sow your own seeds, or purchase transplants from a nursery. I decided to start mine from seed.
Sowing Seeds
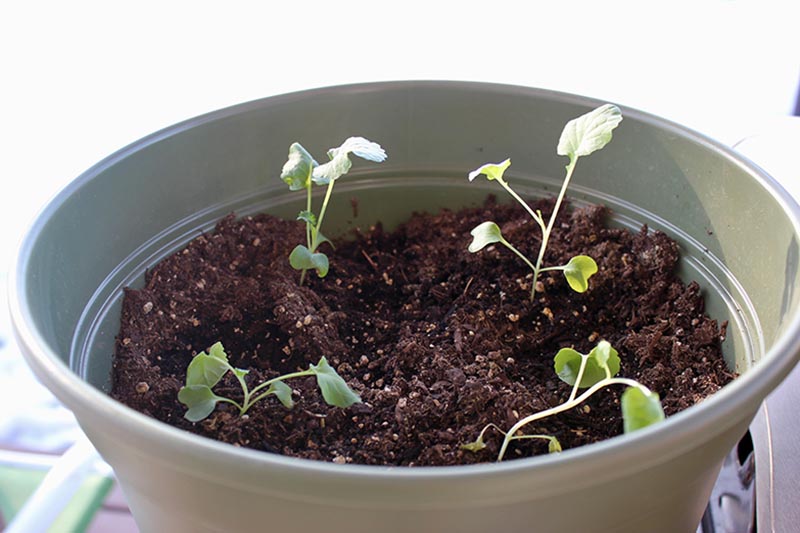
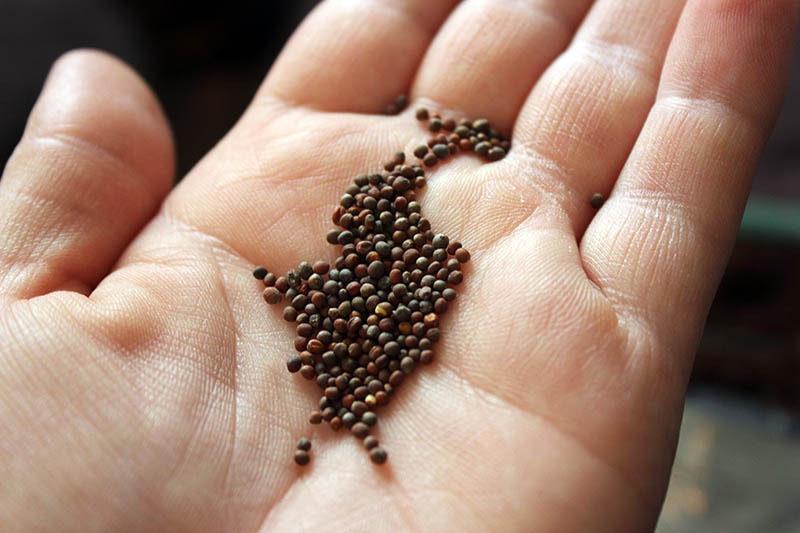
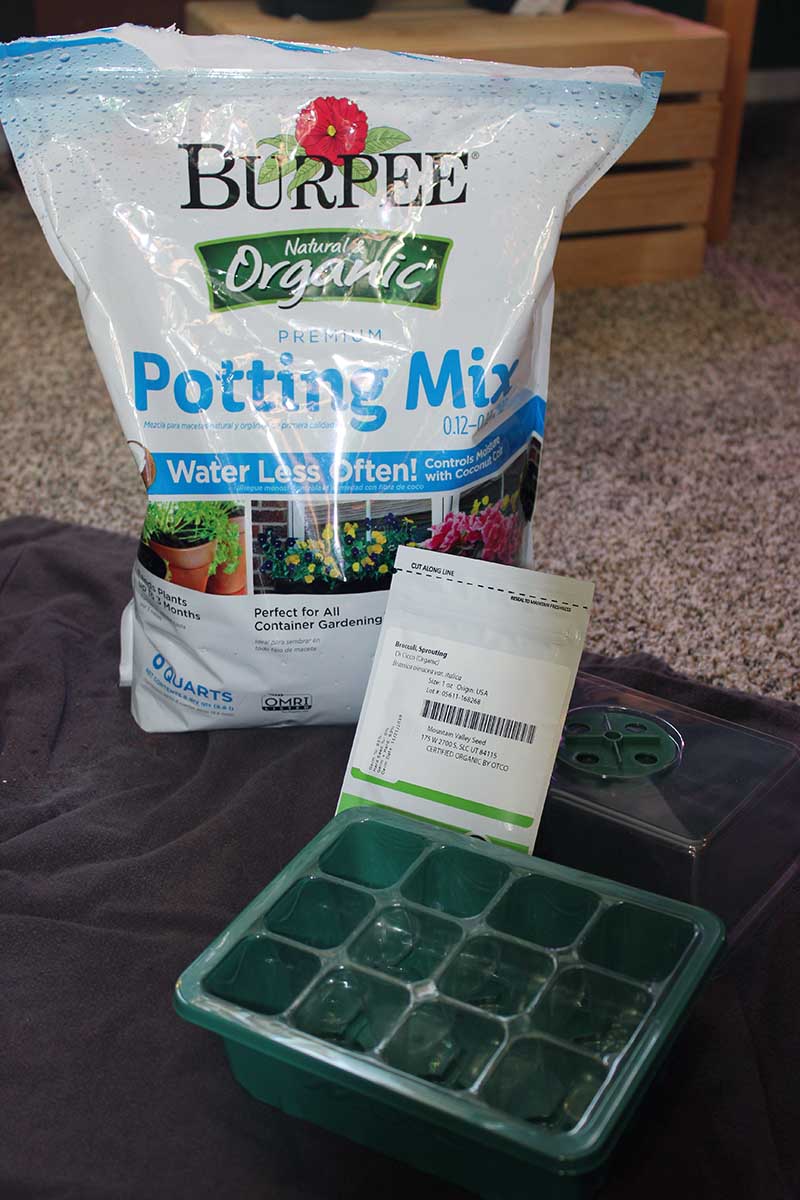
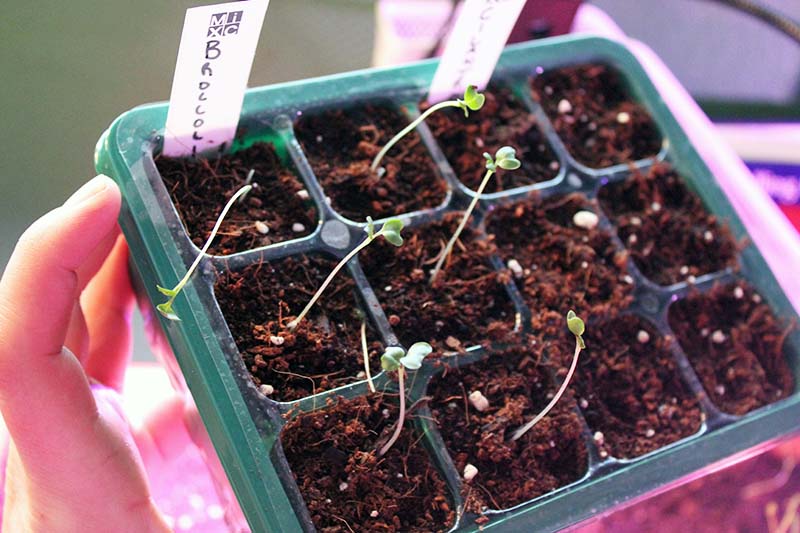
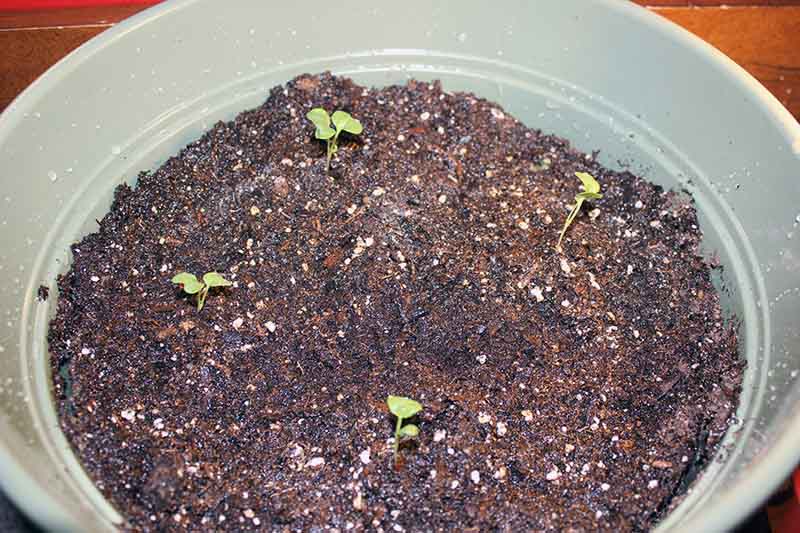
Broccoli seeds are round like peppercorns, and a striking deep purple-brown color. They’re nice and big compared to some other seeds. You can start them in trays or directly in the containers where they’ll be growing. I chose to start mine in seedling trays, and here’s how I did it. Fill each cell – or your container – with a good-quality potting mix. I used a premium organic potting mix from Burpee. Then create a small hole with your finger – about 1/4 to 1/2 an inch deep. Drop two seeds into each hole, in case one of them fails to germinate. Cover with soil and water gently with a spray bottle or showerhead watering can so as not to displace seeds. Keep the soil moist but not waterlogged. Some seeds need light to germinate, but broccoli seeds do not. The moment you see them germinate – after 5-10 days – set your trays in a sunny windowsill or point a grow light at the emerging seedlings. If both of your seeds have germinated, after a few days, thin to one plant per cell by cutting the smaller seedling with scissors. If you are using a grow light, keep the light one to two inches away, moving them as the sprouts grow. On a windowsill, it’s advisable to rotate your seedling tray regularly to prevent the shoots from leaning towards the light. If you leave the grow light too far away, like I did, your seeds will tend to grow “leggy” in their quest to reach more light. The problem with this is that the stalk won’t be as strong later on. Thankfully, an easy way to solve this problem is to transplant the seedlings immediately to their permanent container. That’s what I ended up doing – even though they still didn’t have their first set of true leaves.
Transplanting
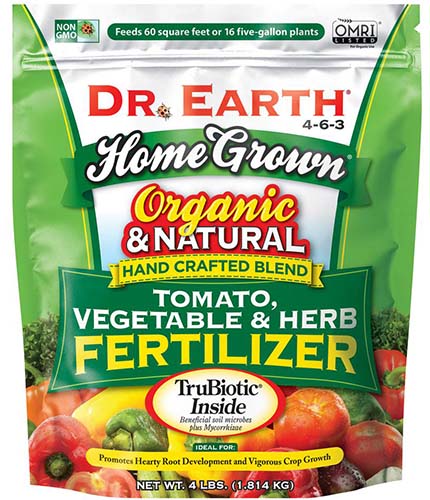
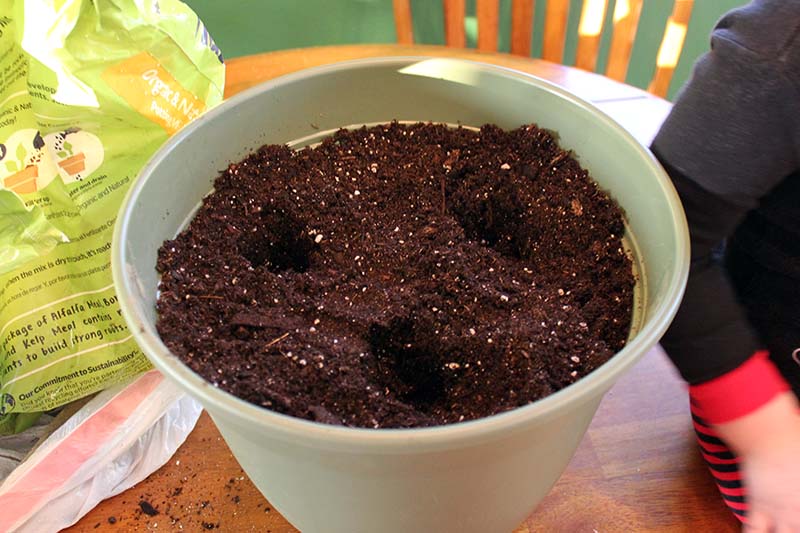
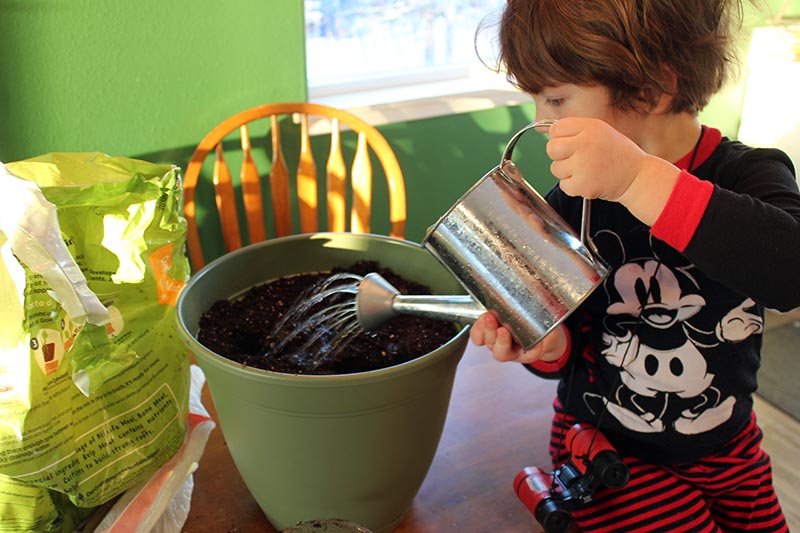
Next, I dug holes in the soil, about 3-4 inches apart, the same size as the root ball of my transplants. I filled a large container with potting soil and added some 4-6-3 (NPK) vegetable-specific granular fertilizer from Dr. Earth, available from Home Depot, and let my three-year-old mix it all together.
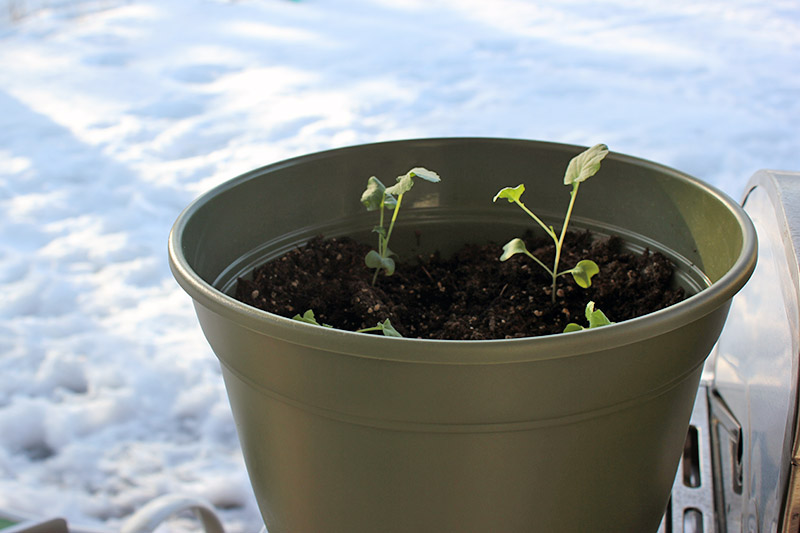
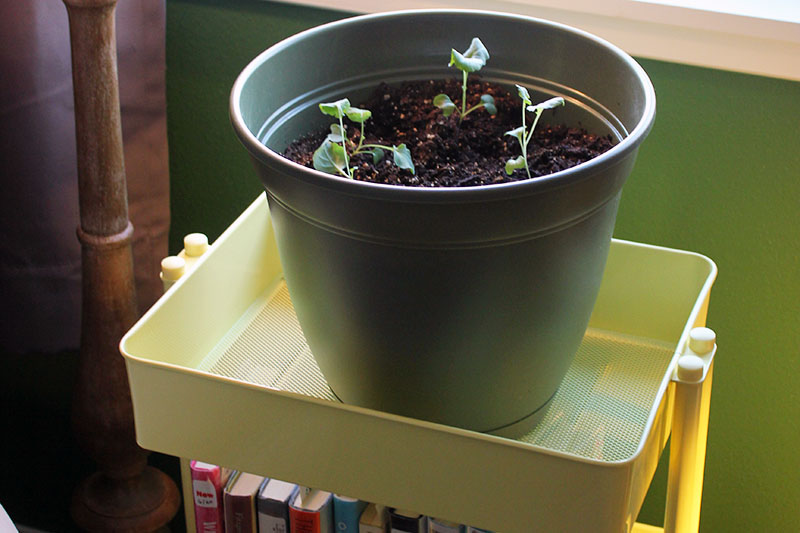
Dr. Earth Tomato, Vegetable, and Herb Fertilizer You can also use a balanced 10-10-10 (NPK) according to the package instructions. You can do the same if you don’t mind crowding your plants – or, as I mentioned before, you can stick to one plant per every three to five gallons, or one plant in a 10-inch pot and two in a 12-inch and so on. I decided to crowd my plants together in a three-gallon container. I couldn’t bear to get rid of too many of the seedlings I’d planted (I sowed six). I was only going to transplant three in my 10-inch wide by 12-inch deep pot, but my toddler snuck an extra one in there and I couldn’t dampen his gardener’s enthusiasm by taking it away. So, I have four broccoli seedlings in my container. Since the shoots were so leggy, I buried about two inches of the green stem, but usually, you would plant to the same depth as the seedling pot. I gave the entire 10-inch container a thorough watering and set it back under the grow light. The green beauties have been growing at a steady clip ever since, and I can’t wait to harvest the tasty heads in another month or so! I’m keeping the container indoors, just waiting for the weather to warm up to a consistent 45°F here in Alaska before I set it on my back porch for some fresh air and sunshine. You will need to harden off your seedlings before they go and live outdoors To do this, set them outside for an increasing amount of time every day over the period of a week or two. Depending on the cultivar you are growing, broccoli will take about two to three months to mature.
Container Care
Once the plants are in the container, they’re easy to care for. Set them in a full sun location, or indoors near a window or under a grow light. Give them one to one and a half inches of water each week and they’ll stay happy. Soil should be kept moist, but not waterlogged – and remember that soil in containers can dry out more quickly than it would in the garden. To check if your plants need water, stick your finger about an inch down into the soil. If it feels moist, you don’t need to irrigate. If it feels dry, go ahead and add water. If it rains, you can skip watering for several days to a week. And if you have heavy rain, you can simply move your container into a space where it won’t get waterlogged. You’ll also want to fertilize your plants once a month with a 5-10-10 fertilizer until harvest time. This ensures that they continue to receive necessary nutrients, as the roots are unable to expand beyond the container to find nutrients in the soil – and the more frequent watering can flush nutrients out. Do you live in an area where temperatures tend to heat up even in the spring and fall? Add a layer of organic mulch to the top of the soil to help the roots stay cool and moist. Using a light-colored mulch like straw will help reflect heat away from the soil. If, on the other hand, you’re growing your plants indoors for a while like I am, keep them under a grow light or near a window. They should receive at least six to eight hours of full sun every day to produce big, beautiful heads. If you are using them, remember to keep the grow lights 2-3 inches away from the leaves, adjusting as plants grow.
Growing Tips
Sow seeds indoors 8 weeks before the average last frost date for a spring planting or 8-10 weeks before first frost for a fall crop. Provide 1 to 1 and 1/2 inches of water weekly, adjusting according to rainfall. Fertilize once a month with a 5-10-10 (NPK) or a balanced 10-10-10 (NPK) fertilizer. Mulch with straw to keep the soil cool and aid moisture retention.
Cultivars to Select
To get the best results when growing broccoli in pots, you’ll want to select cultivars that are compact and fast maturing. If you notice any pests, pick them off and apply diatomaceous earth to the soil.
Di Cicco
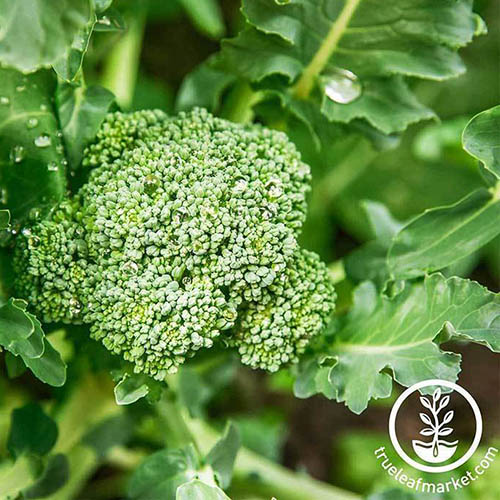
True Leaf Market’s ‘Di Cicco’ is exactly what’s growing in my container! This heirloom cultivar forms heads instead of multiple stalks like ‘Royal Tenderette Hybrid,’ described below, but it’s quick to mature. In just 48-70 days, you’ll be enjoying crisp crowns.
‘Di Cicco’ Harvest the main head when it’s 3-4 inches wide for a roasted broccoli soup, like this one from our sister site, Foodal. And then watch as multiple side shoots grow from the stalk, providing you with even more tasty florets. You can find seeds in packets of various sizes for ‘Di Cicco’ at True Leaf Market.
Royal Tenderette Hybrid
An excellent choice for containers, the sprouting variety ‘Royal Tenderette Hybrid’ produces several three- to four-inch stalks that each produce a floret.
‘Royal Tenderette Hybrid’ This fast-growing variety matures in just 50-60 days from germination and can produce two to three harvests. You can simply cut a few sweet-tasting florets off for an easy lunchtime side dish for your family and then watch as more stalks grow in 12-14 days. Find packets of 50 seeds or a set of 12 plants in 1.5-inch pots available at Burpee.
Managing Pests and Disease
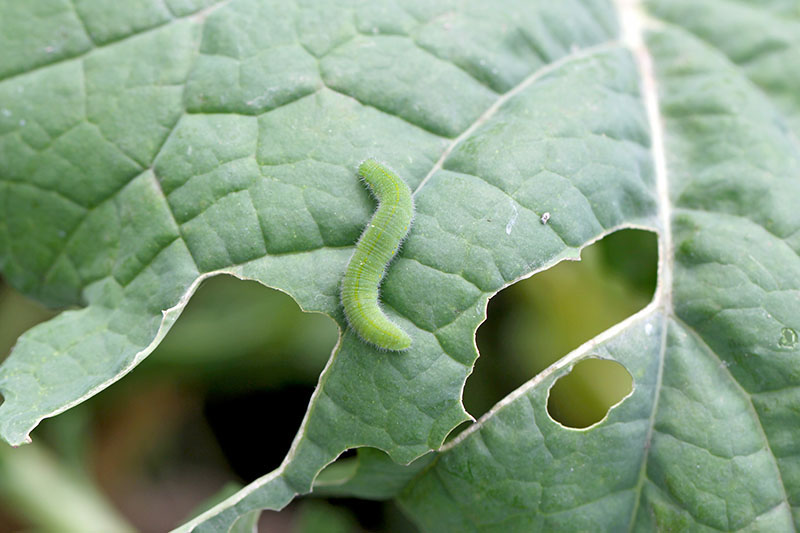
Broccoli can be susceptible to cabbage loopers, cabbage worms, aphids, and other pests, but since you’re growing it in pots, you can keep a closer eye on your plants. If you don’t catch the pests themselves but start to see holes chewed through your leaves, spray them with neem oil. You can find more broccoli pest identification and control tips here.
You can avoid most soil-borne diseases by using a good quality potting soil. Powdery mildew is a fungal disease to watch out for, particularly in containers where plants are growing close together, without adequate air circulation. You’ll notice white patches appear on the leaves. Avoid over-watering which can create a humid environment, and water at the soil level to keep the leaves and stems dry. Read more information on identifying and treating broccoli diseases here.
Harvesting
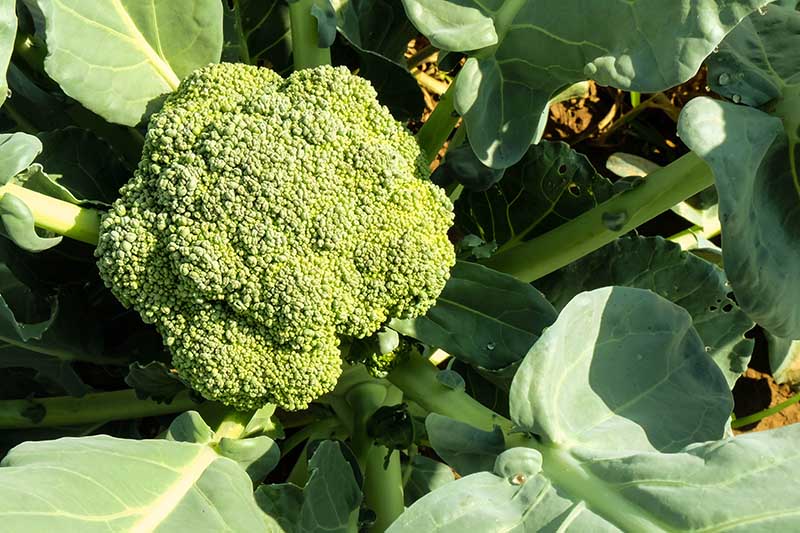
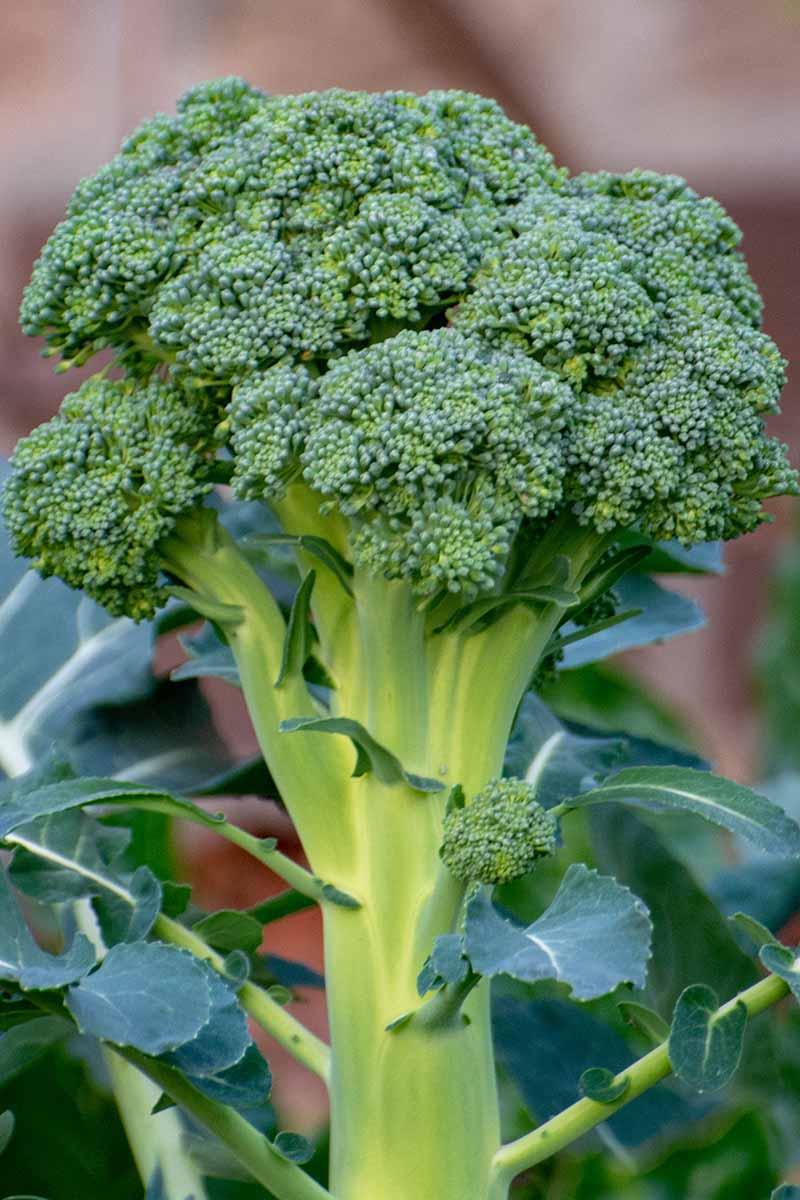
When a head first emerges from the stalk, start monitoring your container every day. The heads can grow really quickly at this stage, and you don’t want to let the buds turn into flowers. About four to seven days from the first time you see florets, the head should be around three to five inches in diameter with tight, packed buds.
Here’s how to harvest once it’s ready: take a pair of pruning shears or a sharp knife and clip or cut the stem about four to six inches down. By clipping off a big portion of the stalk, you allow the plant to refocus energy into producing side shoots instead of the main head. And whatever you do, don’t turn around and pull the plant out of the container! Side shoots will continue to grow for as long as the weather stays cool enough. Check it every few days for tasty florets that can reach up to a third of the size of the original head. You can even eat the flowers if you accidentally let the plant bolt. They’ve got a mild and slightly sweet flavor and can be added to salads. To learn more, check out our guide to when and how to harvest broccoli.
Recipes and Cooking Ideas
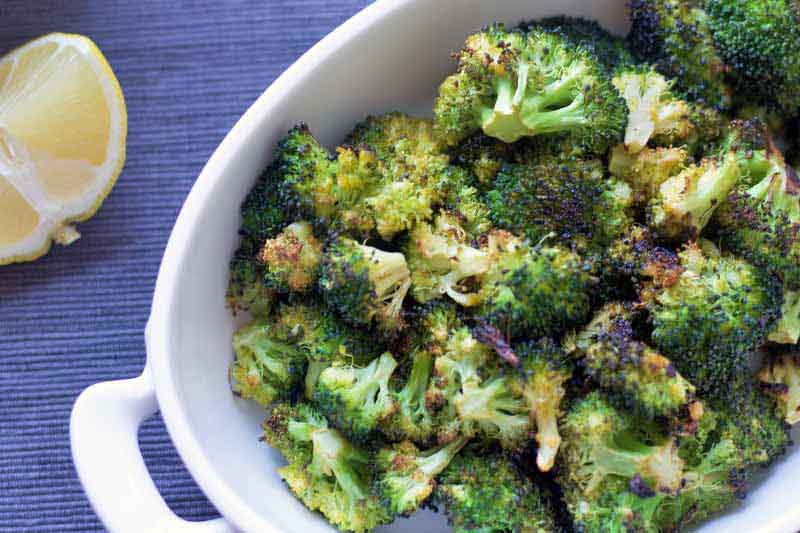
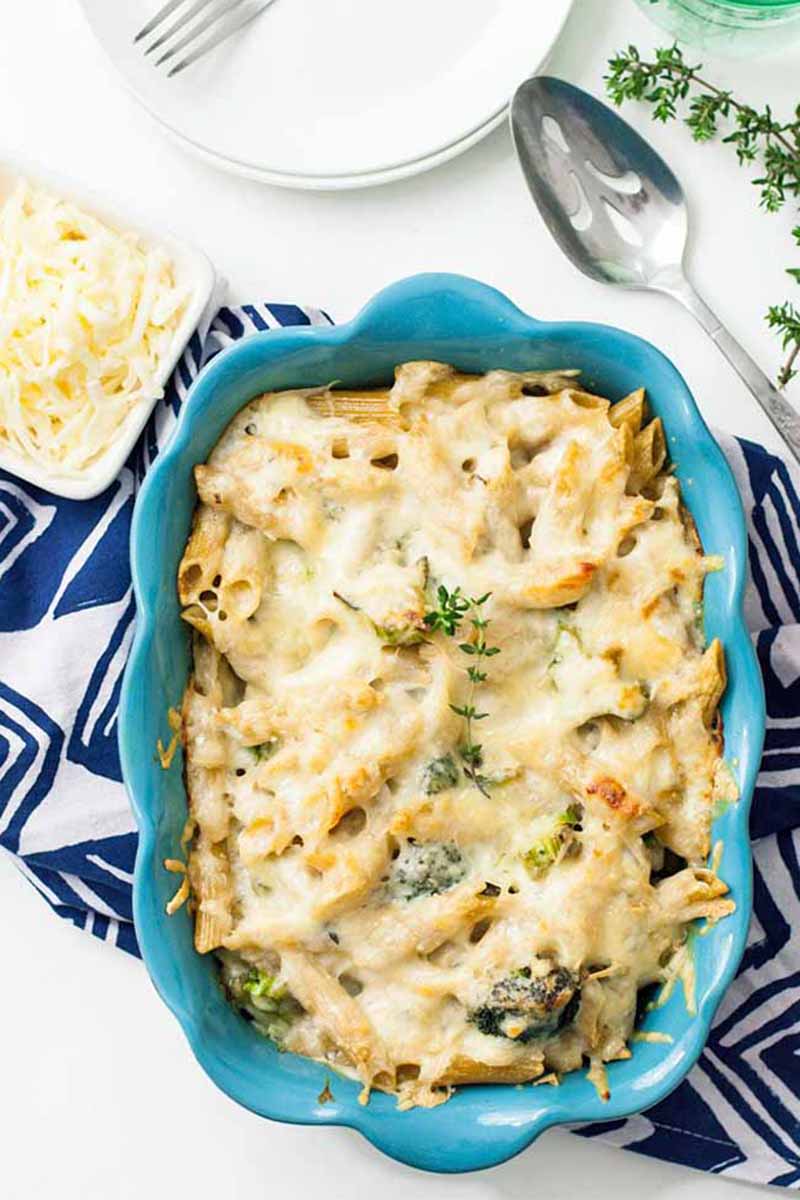
Broccoli can shine in so many recipes – just don’t try to sneak it into a berry smoothie. I tried to do that once, and whew! It completely took over. Not sneaky at all. Instead, roast it for a perfect dinner party side, with this recipe from our sister site, Foodal. Or for a cheesy charred broccoli pasta bake, try this scrumptious recipe also from Foodal. You can enjoy it raw, steamed, sauteed, roasted, and creamed – for extra inspiration, head over to Foodal for more tasty recipes.
Brassica Bliss
So what are you waiting for? Grab those pots and start growing broccoli for a delicious harvest in just a couple of months.
And now you know how to grow it in containers, you’ll have a fresh, homegrown supply even in the smallest of spaces. Container vegetable gardening is also a great way to get the kids involved. Have you tried growing broccoli in containers? What’s your favorite way to eat home-grown broccoli? Let us know in the comments below! And if you are looking for more information about growing broccoli at home, check out these articles next:
Broccoli Buttoning: What Causes Multiple Tiny Heads? 9 of the Best Companion Plants to Grow with Broccoli Why Does My Broccoli Have Loose, Bitter Heads? Why Won’t My Broccoli Form Heads?
Photos by Laura Melchor, Kelli McGrane, and Raquel Smith © Ask the Experts, LLC. ALL RIGHTS RESERVED. See our TOS for more details. Uncredited photos: Shutterstock. With additional writing and editing by Clare Groom and Allison Sidhu.