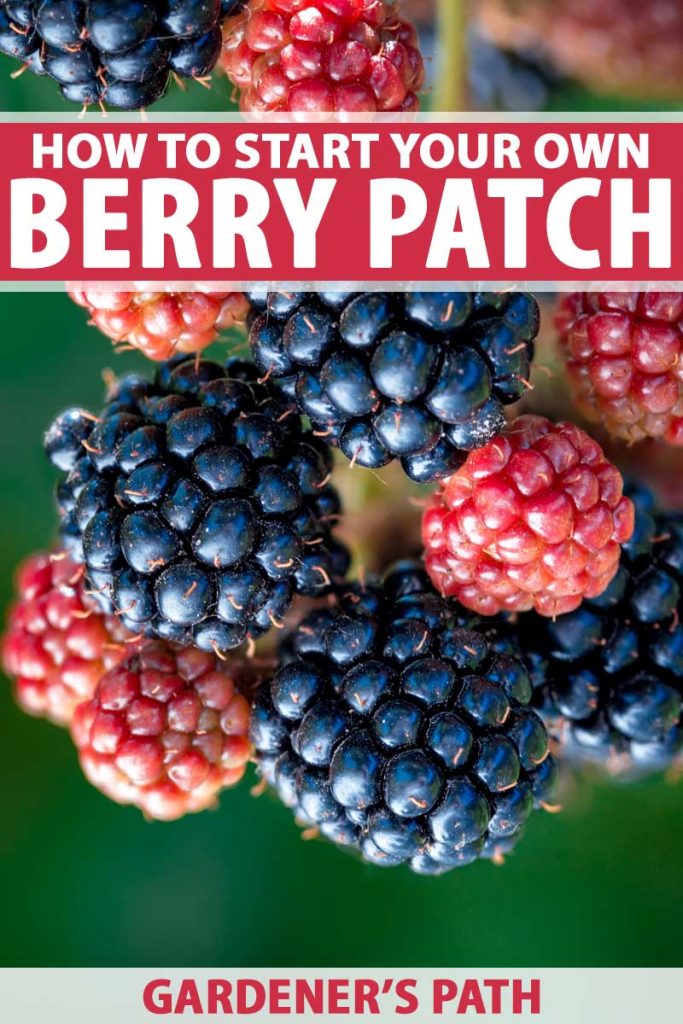
Pollen wafts on the warm winds while the sun beats down, a hummingbird flits by and the hyperactive beating of its wings buzzes through your ears; you feel it more than you hear it. Warm soil beneath your feet and calico cloud shapes in the sky above. If you’re like me, you’re probably in your bare feet with a beer in your hand. All that sounds pretty good, but nothing says (or tastes like) “summertime” like a berry patch in the backyard. We link to vendors to help you find relevant products. If you buy from one of our links, we may earn a commission. There’s something that is simply spectacular about a bunch of prickly brambles that’ll sting you just as fast as they give you some delicious fruit, and it all depends on how careful you are in approaching them. I can’t even eat store-bought blackberries anymore; they taste like pale and bland imitations of the vine-ripened, freshly-plucked bunch of aggregate fruit you get straight from the garden. And raspberries? Forget about it. They’re a different fruit altogether when they’re freshly picked, compared to those chilled and store-bought in convenient plastic containers. The only solution to your edible woes is to plant your own berry patch. And it’s not a project for people unwilling to put in the hard work. Most berries require carefully prepared soils and growing areas to grow to their fullest, and they require regular care to do their best. But for that brave, maybe foolhardy gardener, a berry patch will pay back the sweat and labor poured into it with the most delectable fruit you can imagine. Let’s see what really goes into it.
Breaking Ground
Location is everything. Without exception, berry patches need access to full-sun conditions and good drainage in rich, fertile soil. Some plants have their own needs that need to be addressed (blueberries want a strongly acidic soil, for example), but there are a handful of essentials all berries need to have to grow their best.
Keep Those Wild Berries Away!
Probably the most important aspect of a berry patch is that it needs to maintain a good distance from any existing wild berry and bramble patches. This is an effort to prevent diseases and infection from transferring from the wild plants to your domesticated ones. Recommended distances range from as far as 500 yards to a mere 50 feet. If you’ve got wild brambles growing in the perimeter of your yard and have no use for them, this is a great excuse to eliminate their presence and ensure the future of your own edible crop.
Full Sun and Good Soil
Like most fruit-bearing plants, berries need full sun to grow optimally. Some plants, like raspberries, will grow in part-sun conditions, but their crop yields will suffer for it. Most berry patches I’ve seen are located squarely in the center of a backyard, soaking up as much sun as possible to guarantee good growth. Producing worthwhile and plentiful fruit requires rich, nutritious soil. In general, preparing a good berry patch is a multi-year endeavor. Initial preparations of the bed are vital to the long term health of the plants.
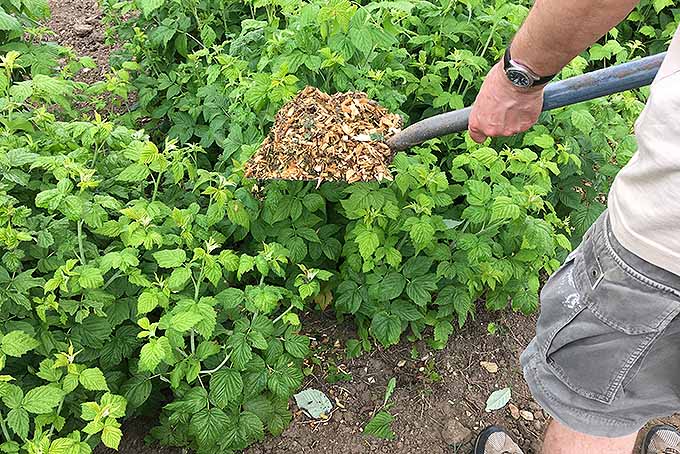
Organic Material
Plenty of compost, fertilizers, and other organic materials go a long way towards a successful berry patch. When first establishing a bed for berries, it’s important to completely remove the existing topsoil and amend it with good compost or manure. Even after plants have been established, apply compost to the beds at regular intervals, once or twice a year. Because most berries do not do well with competition from weeds and other undesirables, healthy layers of mulch should be added as well. Some berries have very specific needs. We’ll touch on those in the individual plants section below.
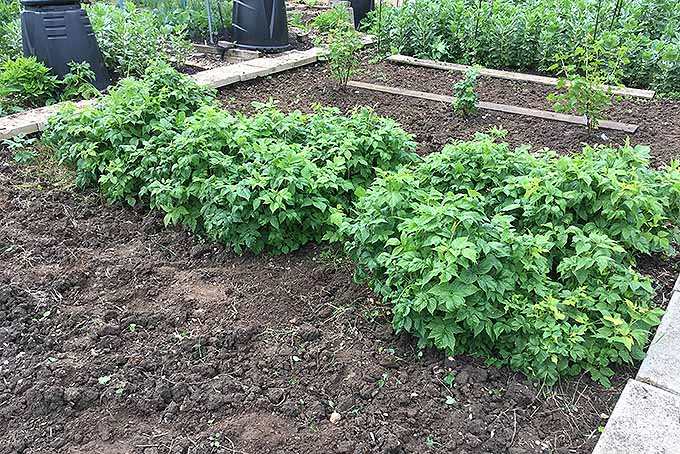
Space and Room to Grow
Even though berries will grow into dense patches of plants on their own, at the time of initial planting they need space and room to spread. Perennial plants like blackberries, raspberries, cranberries, and blueberries will spread out freely. Regular maintenance of dead canes or runners is required. Strawberries, on the other hand, tend to survive for just a few years, typically three to five, depending on variety. They need plenty of room to spread out and do their thing. However, their propensity for spreading out with baby plants (called runners) can quickly choke a patch of plants, ultimately resulting in minimized yields.
Which Types to Grow
We’ve got four favorites to shed some light on. It’s almost guaranteed you’ll find something tasty here.
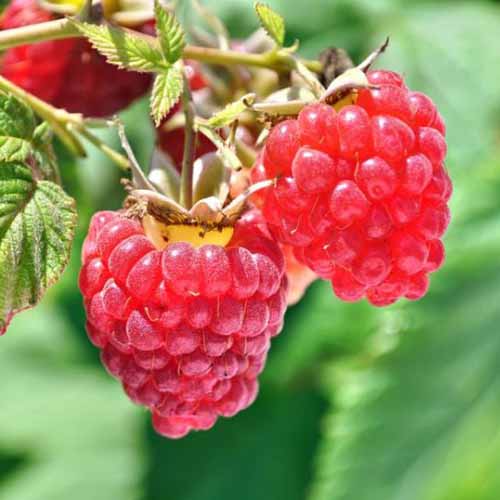
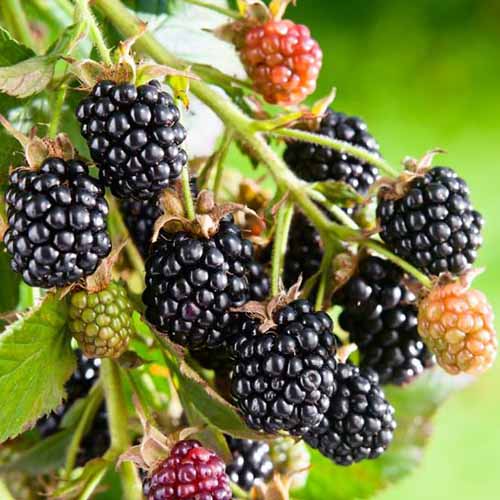
Raspberries and Blackberries
Raspberries and blackberries are my favorite, and when I think of a berry patch, I see these guys in my mind. Once the plants are established, they tend to happily take care of themselves and require just a bit of pruning in the springtime to remove old canes. Otherwise, you can sit back and watch those berries ripen.
Specific Soil and Planting Requirements
Raspberries and blackberries want to be planted in good, rich soil. Plant them thinly and with nice gaps between plants, about one foot apart each, to guarantee air flow and ease of weeding. Because canes older than two years will die, having this extra space to work with in the beginning pays off greatly in the following years. Keep the plants in full sun and try to keep them away from strong winds. They will produce in part-sun, but you’ll be disappointed in the volume at harvest time. And their leaves are sensitive to windburn.
Additional Notes
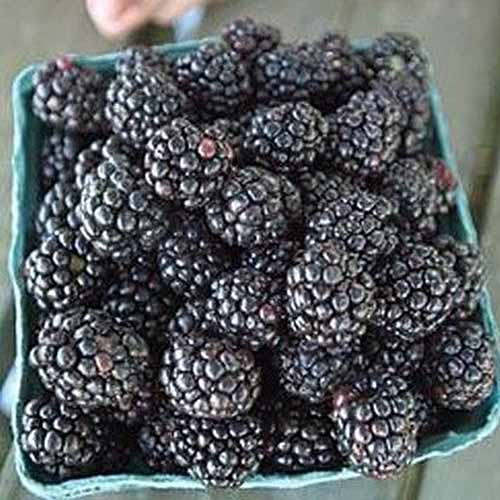
Raspberries will grow a new, green cane in one year. This new growth will then winterize and harden over to a more woody state, to produce fruit in their second year. Jewel Raspberry Plants in 5-Inch Containers They’re beautiful, produce huge crops, and taste as good as any fruit could. These are available from Nature Hills Nursery. Heritage Raspberry Plants, available from Nature Hills When I think of raspberries, I’m usually imagining a Heritage berry. They’re perfect for snacking and baking and for turning into preserves. You can find more of our favorite raspberry varieties here. Black Satin Blackberry Plants, available via Nature Hills As for blackberries, thornless varieties are popular in the garden. Ouachita Blackberry Plants, available from Nature Hills Try Black Satin for large fruit, some that will grow to be nearly as big as a golfball, or the Ouachita variety for a plant that doesn’t need a trellis. These canes will be dead in the third year, and should be removed from the patch. Some raspberry varieties can be cut down every year and allowed to grow again from scratch. For a more detailed explanation, read our full guide to growing raspberries. Blackberries resent being dug up and fussed over. Let them spread and do their thing, and watch – in some level of shocked wonder – as their canes reach lengths of nearly twenty feet, topple over, and start a whole new plant. Once your blackberries are established, just let them go and actively cut back at their growth. It’s a prickly job, but that’s part of the appeal of berry patches. For more details, read our guide to growing blackberries here. As a final note on this pairing: the two are susceptible to the same diseases. Some folks recommend putting a gap of anywhere between fifty and one hundred yards between the two types, but I’ve never done that. In some of our clients’ yards, we have one run that is blackberries on the left 10 feet and raspberries on the right 10 feet. We’ve never had trouble with this, but it seems to be an issue for some folks out there.
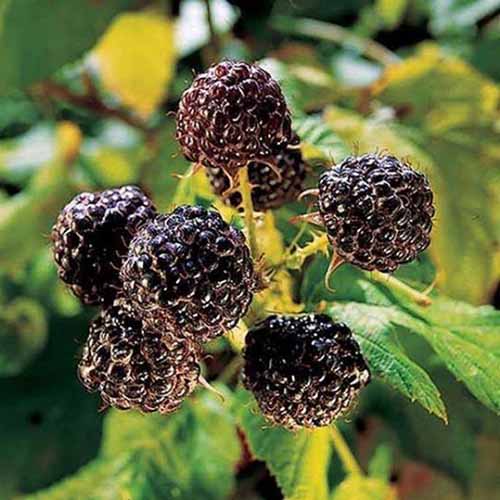
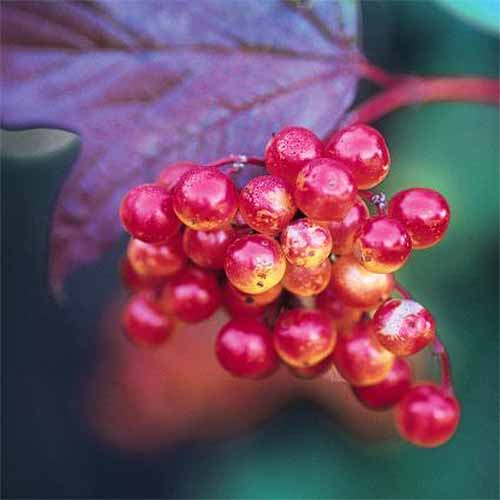
Cranberries
I’m going to admit straight-up that I don’t like cranberries much, but they are tasty if you’ve got the palette for them. My attraction to cranberries is more focused on their lovely appearance, and the challenges involved in growing them. Also, they’re great in a cocktail.
Specific Soil and Planting Requirements
Most folks start out with a patch about four feet by eight feet for cranberries. You’ll want to entirely remove all of the soil from this patch and replace it with peat moss, bone meal (about a pound), and blood meal (about half a pound). It’s imperative to prevent the bed from drying out at any point, but not necessary to keep it soaked. Plant cranberries about two to three feet apart. They will produce runners regularly; it’s good to keep them growing, but you should be vigilant about preventing them from spreading outside of the bed and into the yard. Cut or pinch them before the runners spread too far. Individual plants can be grown in a two-by-two-foot square, with soil replaced with peat moss.
Additional Notes
Get ready for some work! To properly grow cranberries requires an investment of effort and time. A different species altogether, the American highbush variety produces fruit that very closely resembles your typical Thanksgiving favorite in both taste and appearance. Actually a member of the honeysuckle family (rather than a heather like the true cranberry) it produces clusters of white flowers followed by fruit that matures in the fall. This hardy shrub will grow to be rather large, averaging eight feet wide by eight feet tall when it reaches maturity, often even larger. American Viburnum Cranberry, 2- to 3-Foot Bare Root Plants Birds love the berries too. Just be sure to purchase the true North American cultivar – European varieties (without the “americanum” at the end of their name) have inedible berries. American highbush cranberries are available from Nature Hills Nursery. These plants will ship bare root, so make sure you’re ready to plant as soon as they arrive! I like to soak the roots of bare root plants in a bucket for an hour or two to prep them for planting. Plants don’t produce fruit until they are three years old, so unless you’re buying larger containerized plants, you’re in for a bit of a waiting period. However, once they start to produce, you’ll have plenty to pick. Cranberries do not require fertilizing for the first two years of their growth, and too much fertilizer will cause them to grow out runners galore while sacrificing food production. Don’t overfeed these guys. That’s right: there’s no need to flood the field so your cranberries will be saturated and swimming. They like moist growing conditions but don’t want to be in standing water. Regular watering (about one inch of water per week) partnered with well-draining soil is the way to go.…
Add some sand to your cranberries each year. A layer of about half an inch scattered around the bed is all you need. Do this in the springtime to encourage new growth and to help eliminate weeds and some insects.
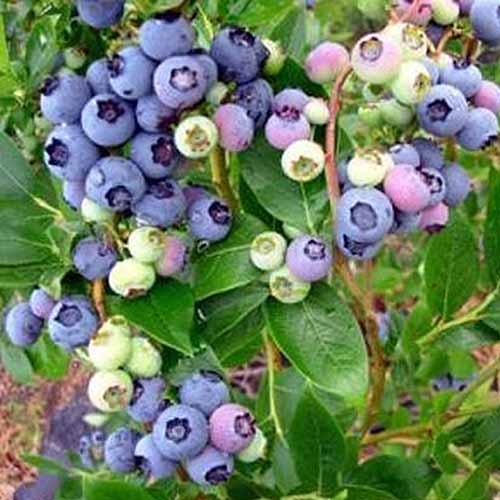
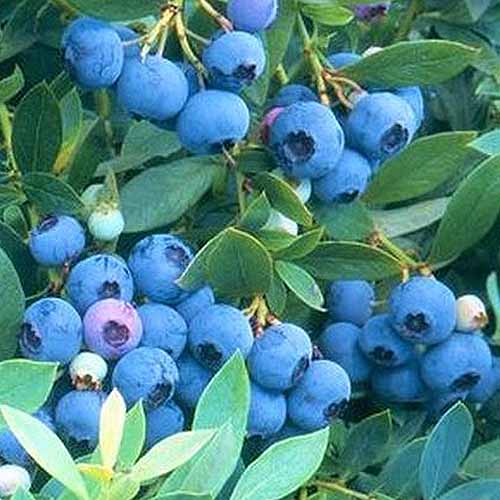
Blueberries
I just can’t get enough fresh-picked blueberries when they’re in season. That also means I never buy them from the store, because they can’t come close to homegrown ones. I also love the wildlife that’s attracted to blueberries, and the ornamental appearance of the shrubs.
Additional Notes
Blueberries thrive in acidic soil, with a pH as low as 4 to 5. Add plenty of organic material to break down and prep the plants for their new acidic home. I’ve known people who simply plopped a bush in their yard without any consideration for the pH of the soil, and they seem to get some pleasure from snacking on the meager harvests as they arise. But the people who enjoy larger yields will take care to amend their intended blueberry patch a year before planting anything. Add acidic organic matter like pine needles, coffee grounds, and shredded leaves to a tilled bed and allow it to break down over a season. At the start of the next growing season, plant your blueberries. Re-apply pine needles as mulch at planting and repeat that process each year. DO NOT use fertilizers at planting. Wait about a month or so before you do. I’ve had the best luck with fertilizing most berry plants in small doses at a regular interval. Wait four weeks after planting to fertilize, then fertilize again every two months until the fall. Fertilizers for blueberries have the benefit of being useful elsewhere in the garden. I’ve used this product from Dr. Earth for various clients who are all very happy with the results. I’ve got a reputation for saying, “Ah, the birds gotta eat too,” and I allow my avian buddies to have their fair share of berries. But not everybody likes birds as much as I do, so throwing netting over your blueberries or placing your plants in a fenced-in and covered area is the best way to ensure they aren’t picked at by wildlife.
Suggested Cultivars and Where to Buy
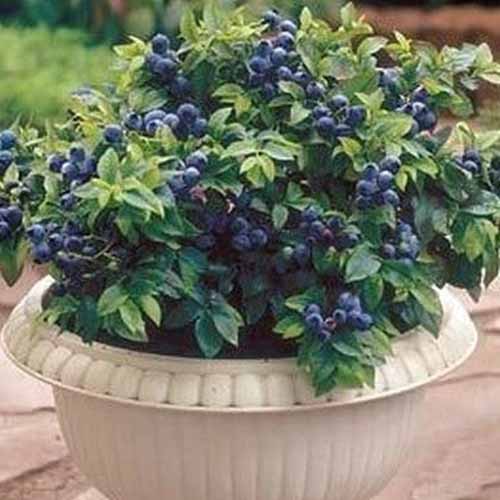
There are a handful of types of blueberry: you’ve got highbush, lowbush, half-high, and rabbiteye. The highbush blueberry grows better in slightly warmer climates, ideally Zones 4 to 7, and reaches heights up to eight feet. Some varieties, like O’Neal, can grow up through Zone 10. The highbush varieties can also serve as a part of an edible landscape plan and they have have beautiful red and yellow displays of fall foliage. The lowbush blueberry prefers colder winters, thrives in Zones 3 to 7, and rarely reaches more than two feet in height. It’s also known for having a more intensely sweet flavor than highbush varieties. Half-high and rabbiteye blueberries combine features of the lowbush and highbush. The half-high species reaches more modest heights (two to four feet) and responds well to a cool winter. In warmer climates, the rabbiteye is a good choice. They produce tasty berries later in the summer. Duke Blueberry Plants, available via Nature Hills The Duke blueberry grows to about four to six feet tall. This is probably my favorite blueberry because of its robust taste and the amount of fruit it produces. It is a northern highbush, so it prefers a cool winter. Sunshine Blue Blueberry Plants, available from Nature Hills For a southern highbush try Sunshine Blue. They reach a height of up to four feet and produce berries the size of a dime. Expect a good crop of healthy plants! Top Hat Blueberry Plants, available via Nature Hills Top Hat is a good example of a lowbush blueberry. They reach a modest size and can easily be grown in a container, so you can grow blueberries even close to your kitchen. For more of our favorite blueberry varieties to grow for home harvests, read our full guide. Blueberries also perform at their best when they’re planted in pairs, or even larger groupings. Cross-pollination makes for bigger, better, tastier fruit. The roots of most blueberries don’t grow deeply. Their roots are fibrous and have a tough time growing in compacted soil. Ideally, you’ll be able to dig out and till the soil where you’re planting your blueberries. Amend the soil by adding peat moss, compost, sand, and the original soil into a mix. Ideally this will be a ratio of four parts peat moss, two parts compost, two parts original soil, and one part sand (4-2-2-1 ratio). At the very least, add some peat moss and compost to the planting site.. (Hey, nobody said blueberries aren’t picky.)
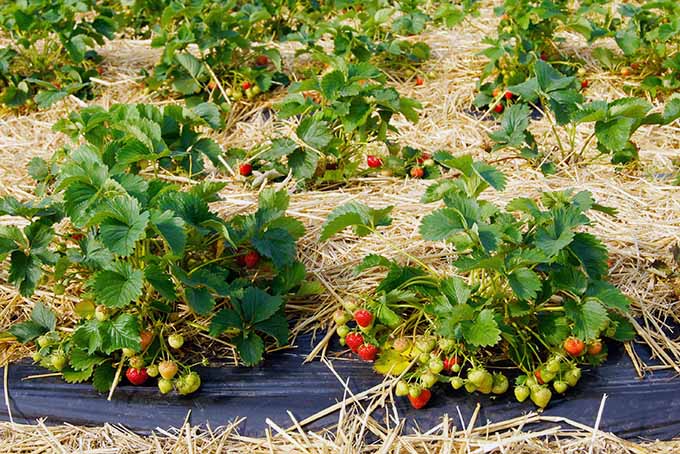
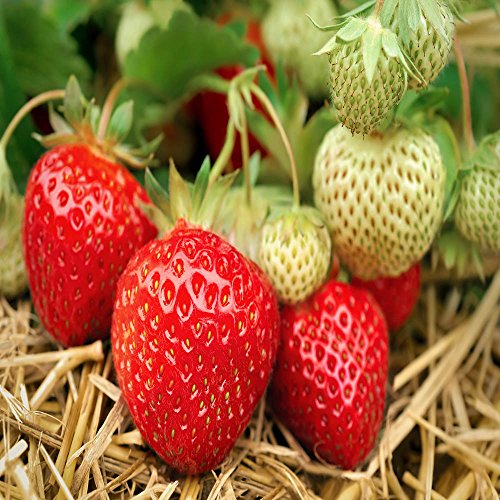
Strawberries
Except for the fact that they’re a bit picky in terms of the soil they’ll grow in, strawberries are generally easy to grow, and can be placed in nice little pockets of your garden to fill in as edible ground cover, or to provide a nice splash of color. The foliage offers exceptional fall color, too.
Specific Soil and Planting Requirements
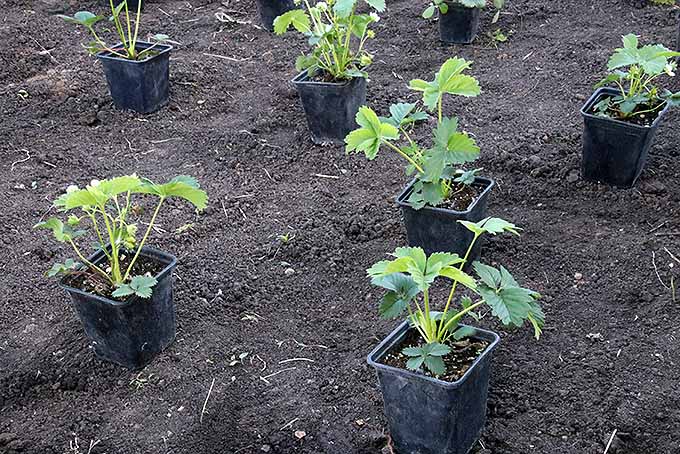
Strawberries want to be planted in rich, sandy soil with good drainage. They do their best in raised beds or in garden patches with good drainage and regular watering. When planting them, ensure their roots are tucked just below the soil level and that their leaves are upright and out of the soil. This sounds simple, but you’d be amazed to know how poorly I’ve seen strawberry patches planted. Strawberries can take a year to start producing anything worthwhile, and they do not like competition in the meantime. Diligent weeding is a necessity for a strawberry patch. You can also plant your strawberries in a container. Almost any container with adequate drainage will do: an old wheelbarrow, a broken terra cotta pot laid on its side, or even a colander could do the trick. If growing in containers, use a standard potting mix with a bit of compost worked in. Allow the strawberries to just start drying out before you water them again. Read more about growing strawberries in our complete guide.
Additional Notes
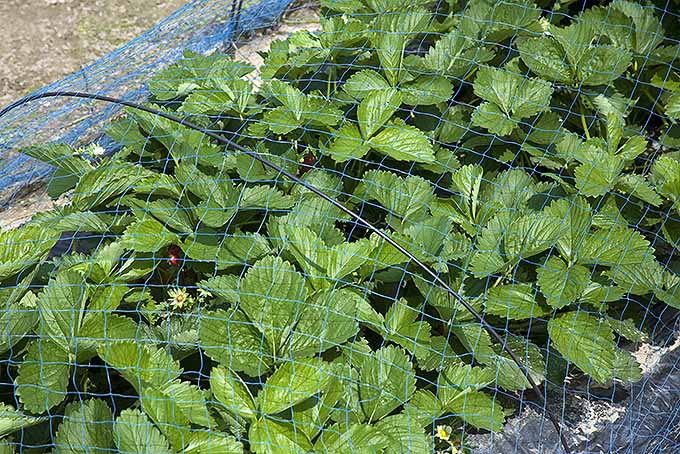
I’ve always planted strawberries in a grid pattern and like to combine different varieties in the same patch. I do this mostly because I like the variety in flavor, but it also provides a bigger window of when you can harvest. While day neutral produces two crops, typically in early summer and fall, the everbearing will produce continuously throughout the summer, and the June bearing produces just one crop towards the early part of each season, but it’s a big one. The best choice for you depends on what you want to do with your strawberries! If you’re interested in making a strawberry rhubarb pie (my new favorite pie recipe!), aim for a June bearing variety. You can even grow your own rhubarb with our tips. If you want some reliable fruit throughout the entire summer, aim for an everbearing variety. More interested in veggies during the high points of summer? Try a day neutral strawberry instead to have early summer and fall crops! The Allstar strawberry is a June-bearing plant, so you can expect one single, large crop. These have a nice flavor, and the winter-hardy plants do well in Zones 4 to10. The plants also have interesting leaves, toothed with three lobes. Allstar Strawberries, 4.5-Inch Containers These are available online from Nature Hills Nursery. Everbearing Ozark Beauty Strawberry, 20 Bare Root Plants Seascape Beauty Everbearing, 10 Live Plants These are vigorous with tasty fruit, the perfect candidate for a day neutral plant. Strawberry runners are going to spread out, so you’re going to want to try to cut out about half of these when you see them taking off. Strawberries don’t want to be overcrowded, and too many runners mean little fruit production. I’ve had gardens where strawberries aren’t bothered at all by wildlife, and then there are gardens where we’ve had to construct makeshift bamboo and bird netting cages around the plants to keep out chipmunks and groundhogs. Keeping an active log of what visitors you have in your garden helps to prepare for inevitable troublemakers in the following seasons. And it’s nice to have this memento as well, a record of your garden’s history. Maybe take a couple pictures, or even try sketching something. An essential element of your spring garden checklist is a garden journal. Sometimes a simple notebook works, but specially designed garden journals are made for this kind of project. Pouring your love and sweat into a patch of ground you’ve tilled, tested, and amended, then planting prickly things and producing sweet berries sounds like a worthwhile endeavor to me. Most of the time it takes a while, at least a season or two, to get more than a few mouthfuls of berries, but when you do… well, that’s about as sweet as they get. Try a nice border of chamomile to attract pollinators and offer their sweet smell while you’re working the ground. Chances are your herb garden is also located nearby, so don’t forget to check in on it and scratch a few things off your spring care checklist! What’s growing in your patch of land? Feel free to ask questions and leave comments below! And for more information about growing fruit in your garden, check out these guides next:
Grow Your Own Gorgeous Mulberry Trees7 Top Elderberry Varieties to Grow in Your BackyardThe Ultimate Fall Berry Planting Guide