It’s one of those flavors I find so essential in my cooking. No matter where I’m living, from a tiny loft in the middle of a city to a sprawling ranch in the mountains, I always have a potted bay plant with me. As much as I love to cook with it, I admit that I’ve been caught more than once nabbing a leaf from my plant as I walk by, just so I can crush it between my fingers and lose myself in its scent. We link to vendors to help you find relevant products. If you buy from one of our links, we may earn a commission. I won’t lie to you. Propagating bay from seed is an exercise in patience and precision. But it can be done. A good rule of thumb is to assume that half of your seeds will either not germinate, or they won’t survive past the seedling stage. Don’t let that put you off. Just plan to plant twice as many as you think you’ll need. Once you see that healthy seedling growing in its permanent home, I have no doubt that you’ll agree it was worth the effort. Plus, there’s always something to be said for gaining a valuable new gardening skill. If you’re ready to tackle this gardening project, here’s what we’ll talk about in this article: Up for the challenge? Here we go!
All About Bay
Talk about a plant with some history behind it. Bay, also known as bay laurel, is likely one of the longest cultivated trees out there.
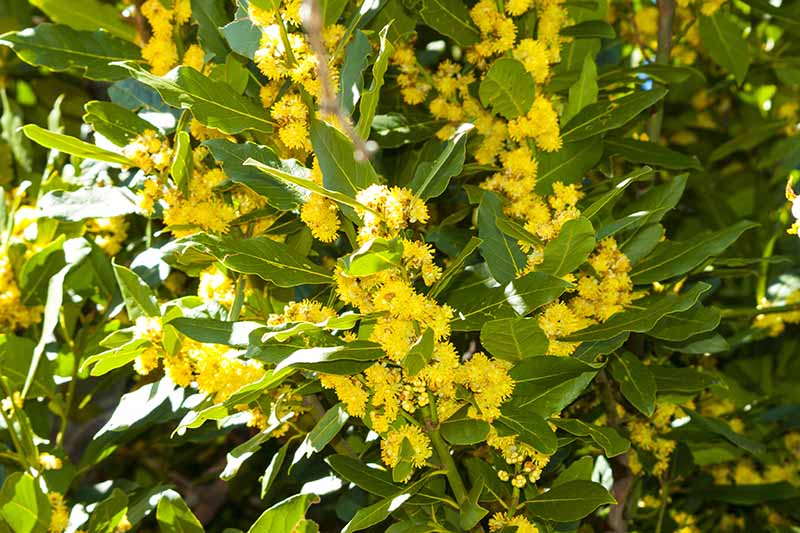
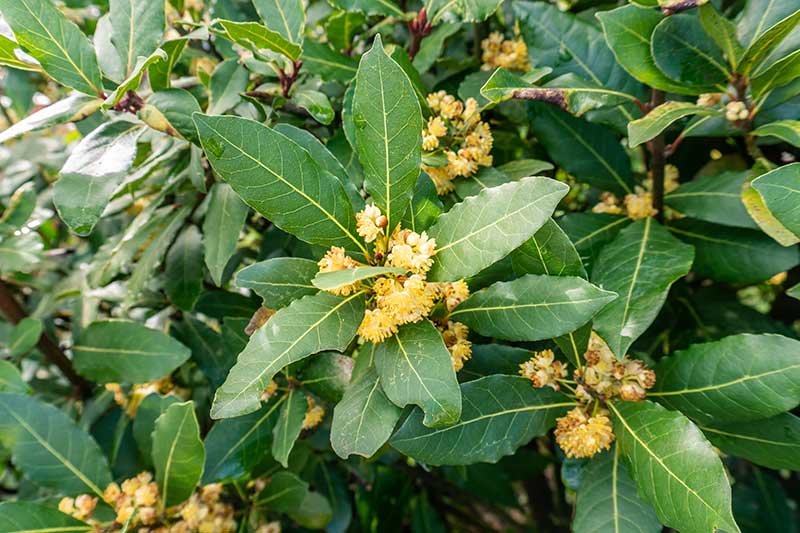
You’ve undoubtedly heard about Nobel Prize laureates or people who hold a baccalaureate degree. The term “laureate” comes from the Latin word for laurel wreath, laurus. Laurel wreaths were used by ancient Greeks to denote victory, and the saying “to rest on your laurels” denotes reliance on old victories. That’s a pretty impressive pedigree for a plant that many people merely think of as something to be tossed out after the soup has boiled for long enough. Whether you grow it for its aromatic leaves or as an ornamental, this evergreen plant makes a multisensory statement in the garden with a visually pleasing compact growth habit, pungent flowers, and appealing scented foliage.
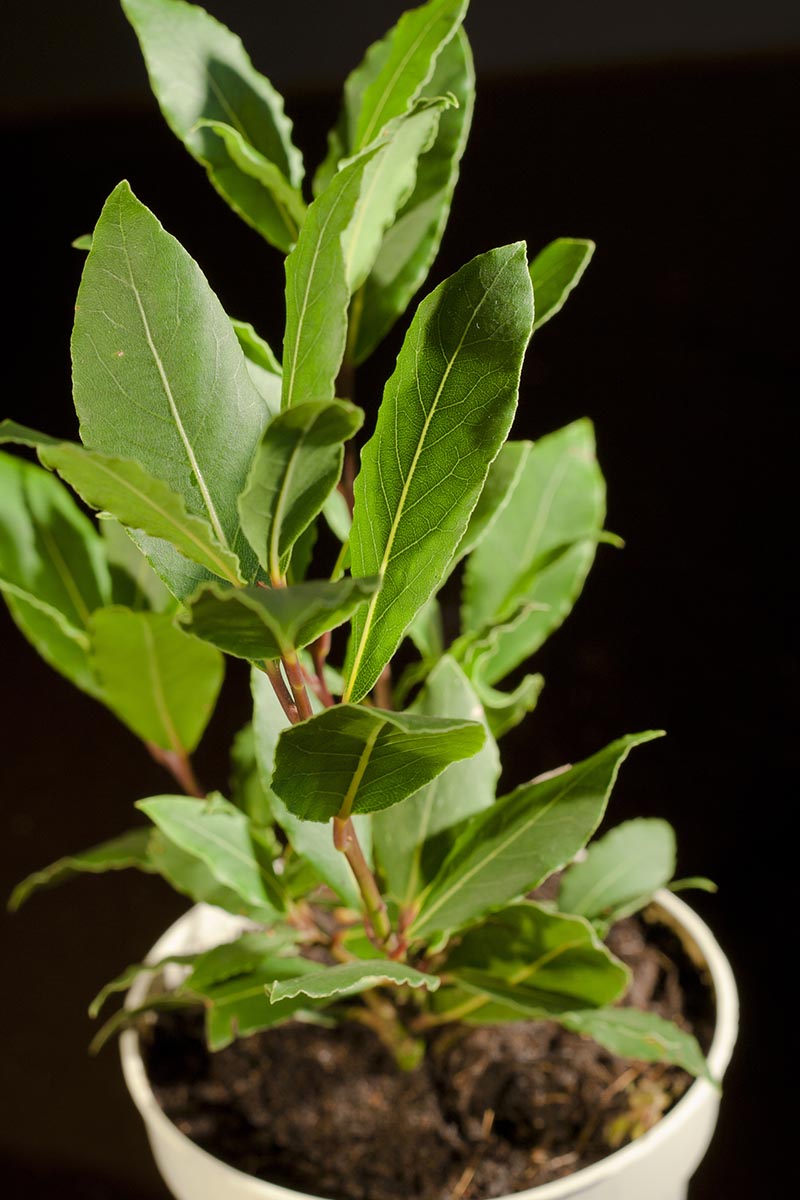
The plant will grow to about 60 feet tall at maturity in its native Mediterranean region, but most of the time you’ll see shrubs that are shorter than 10 feet in home gardens, with a compact form maintained through regular trimming. The leaves are about three inches long, and you’ll often see them sold dried in stores for use in cooking. Bay can’t handle heavy frost – it needs to spend the winter indoors in USDA Hardiness Zones 6 and below, so plan to propagate it in a container if this is where you reside. In warmer zones, it can be grown outdoors year-round.
How to Acquire Bay Seeds
If you want to save seeds from mature plants that you already have growing in your yard, you need to make sure you have both a male and a female for successful fertilization. Bay is dioecious, which means the male parts and female parts grow on different plants.
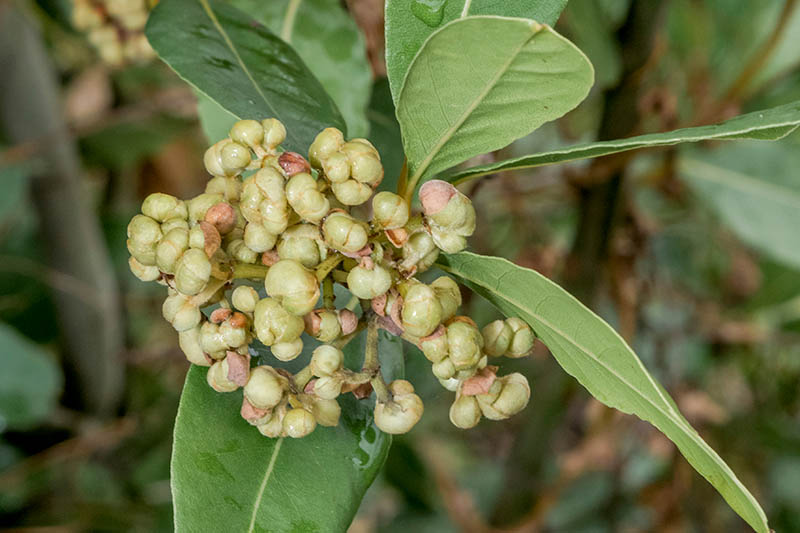
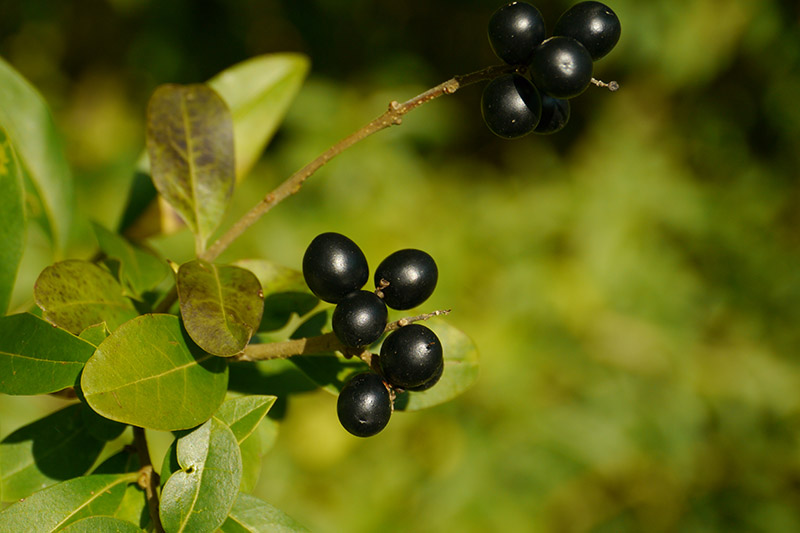
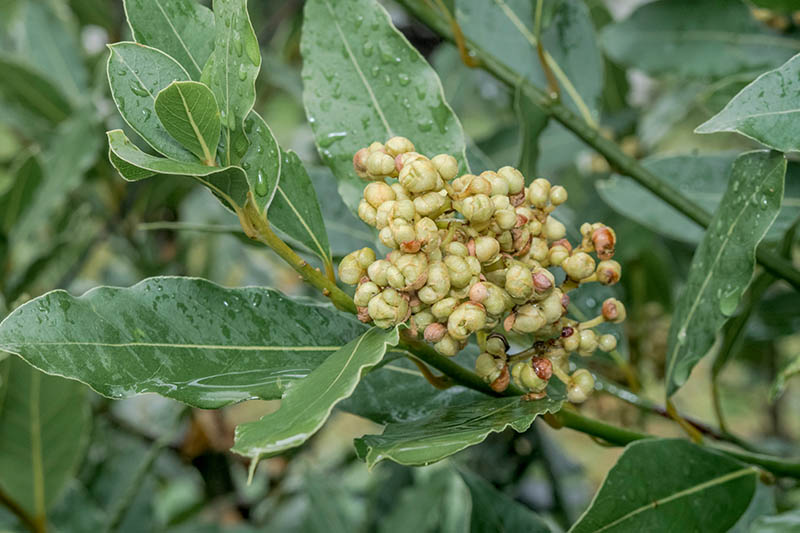
Look for small drupes that have turned dark purple or black in the late summer or fall. Pluck them and remove the pericarp from each one – that dark, matte covering over the seed. Just pry the pericarp away with your fingers. If you have dried seeds, which is what you will typically get when you purchase them, the chances of germination are lower. You can also buy L. nobilis seeds from local plant nurseries and online. L. nobilis
How to Propagate
Fresh seeds that were still contained in their pericarp before you remove it to put them in the ground germinate best.
You’ll want to plant 20 percent more than what you think you’ll need to make up for the possibility of a lower germination rate. To get the seeds to pop up, you want to convince them that they’re growing in the same conditions they would experience in their native Mediterranean home. Normally, this would be cool, moist weather followed by a warm, moist period as winter moves to spring. To mimic this, fill a plastic bag with a soilless seed starting medium. Place the seeds inside, add water so that the medium is moist but not wet, and close the bag. Leave a large enough opening so that air can move in and out of the container. If you’re using a zip-top bag, leave an inch or so unzipped. Place the bag in the back corner of your refrigerator, which is typically cooler than the front. You want the bag to stay around 40°F to cold stratify the seeds. Check the moisture level of the potting medium every few days, and mist with water if it starts to dry out. After eight weeks, you should see at least a few seedlings starting to pop up. Wait two more weeks, and then remove the sprouted seeds. Put them in four-inch seedling pots filled with seed raising soil, which is similar to the soilless medium you used to start them in, with additional soil. Seed starting potting mix typically includes a blend of perlite, coir, vermiculite, or peat, along with sterile soil. Be sure that you are using either new containers or that you sterilize the containers with a 1:10 mix of bleach and water to avoid problems later on. If you use a garden tool to assist with lifting and planting your seeds, sterilize that, too. Keep the soil moist but not saturated, like a well-wrung-out sponge. Don’t overwater. After the plants reach about six inches tall, they’re ready to head to the garden or your outdoor container after a week of hardening off. Pat yourself on the back for a job well done. You can plant bay outdoors anytime from April to September in Zones 7-10. Technically, you can also give them a period of warm and moist stratification, but it’s much more difficult to control the conditions this way and, as a result, it’s much less reliable. Stick with cold stratification instead.
Troubleshooting Tips
Say 10 weeks has gone by and none of your seeds have sprouted. Are you doomed to a destiny of having to buy your bay transplants at the nursery?
Or worse, having to rely on the pre-dried grocery store leaves? No! Don’t give up. You can try these things first, to determine what might be going on.
1. Control Temperature
Check the temperature of your fridge. Is it right around 40°F where you’re keeping the bag? Remember that your refrigerator should stay consistently at or under 40°F or you risk spoiling your food, which could lead to illness. If not, adjust the temperature, put the bag back in, and keep waiting. Don’t give up hope until about 12 weeks have passed.
2. Control Moisture
You should also check the moisture in the bag. Does it feel wet to the touch? If you make a little ball out of the medium, does it stick together? If so, the soil is too wet and you may have killed your seeds, or they may just be waiting for better conditions. Likewise, if the soil feels completely dry and doesn’t bind together at all, it’s too dry for germination.
3. Take Steps to Prevent Disease
As if coaxing them out of dormancy wasn’t tricky enough, bay seeds are prone to damping off. There’s nothing worse than getting the stubborn seeds to sprout, only to see them wither away thanks to fungi in the Pythium, Rhizoctonia, or Fusarium genera. Damping off can prevent germination. Or, if the seedlings do start to grow, they may begin to rot or appear water soaked and mushy. Eventually, they’ll wilt, turn gray or brown, and die back. Controlling damping off starts before you even put the soil in your growing container. You want to always sterilize your pots and tools before use. As mentioned, I like to use a 1:10 solution of bleach and water. Always use sterile seeding mediums, as well. Avoid overwatering, and don’t apply fertilizer to young plants. You can read more about damping off here.
4. Try Again
If nothing happens after about 12 weeks, it’s probably time to try a new batch. If you bought the seeds, this batch may have been too old, so don’t assume that you did something wrong.
Germinating Bay Seeds Is Worth the Challenge
Bay has a reputation for being tough to grow from seed. This is one of the reasons that plants cost a bit more than other herbs at the local nursery.
But if you’re up for a bit of a gardening challenge, there’s no reason that you can start your own L. nobilis plants this way. If your first batch of seeds are duds, don’t give up. I know it can be discouraging, but sometimes it’s a matter of try, try again. Check out our guide to growing bay laurel for more information or if you have a friend that has an existing plant, you can try propagating your own from cuttings. Are you growing bay in your garden? Let us know in the comments below! Curious about how to start even more garden staples from seed? These guides will set you on the right path:
How to Grow Rhubarb from Seed How to Grow Chives from Seed How to Grow Tomatoes from Seed in 6 Easy Steps
© Ask the Experts, LLC. ALL RIGHTS RESERVED. See our TOS for more details. Product photo via Flowelover. Uncredited photos: Shutterstock.
