We link to vendors to help you find relevant products. If you buy from one of our links, we may earn a commission. It is suited to cultivation in USDA Hardiness Zones 2 to 11, where it grows as an annual. Also known as bottle gourd, calabash, or birdhouse gourd, it comes in a variety of shapes and sizes and has been prized for millennia for having mature fruits with a tough outer “exocarp” that dries to a water-impermeable, wood-like consistency after they are harvested. In this article, you’ll find all you need to know to cultivate hard-shelled birdhouse gourds in your garden. Here’s the lineup: Let’s get started.
Cultivation and History
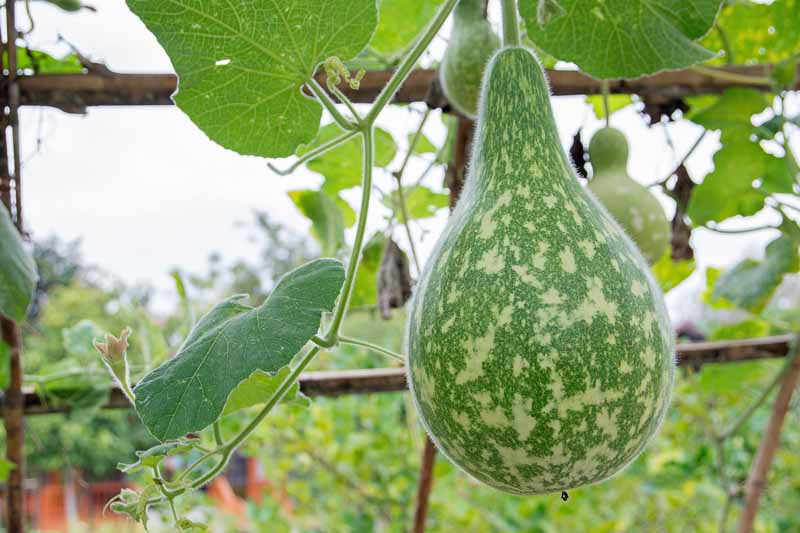
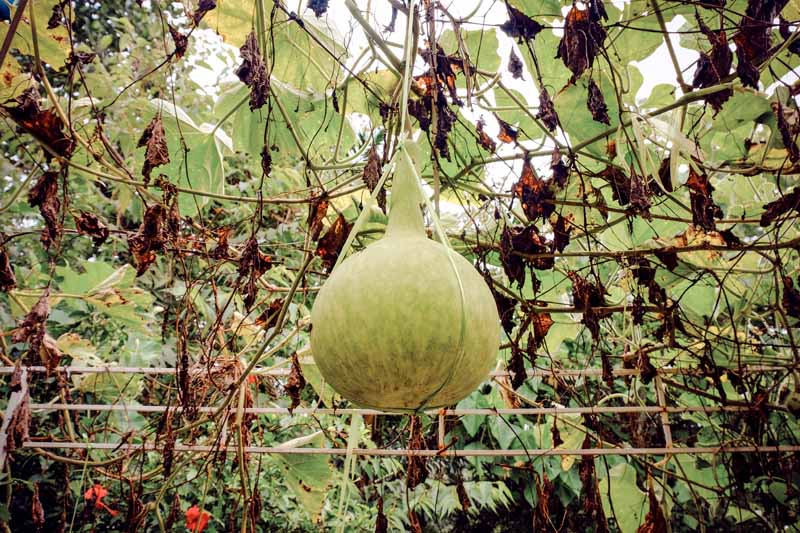
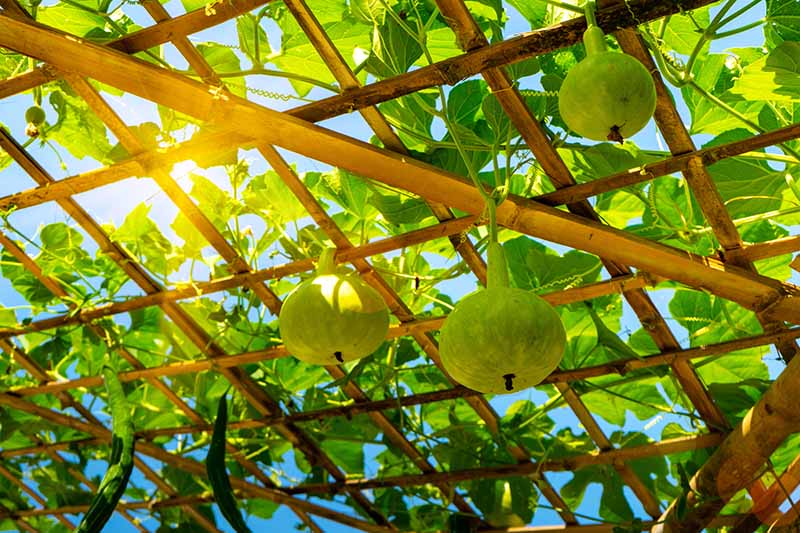
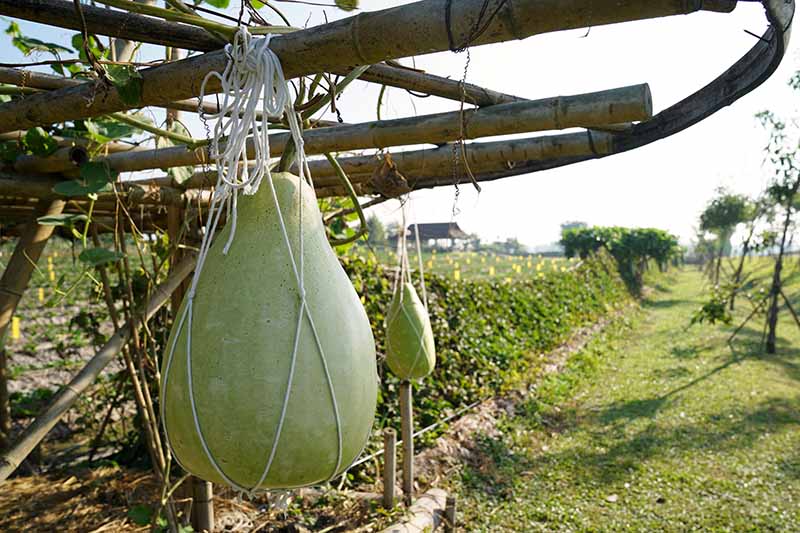
L. siceraria has a long growing season of up to 180 days. Its vines may reach lengths of 16 feet or more, and can grow on the ground, along fences, over arbors and pergolas, or up teepees and trellises.
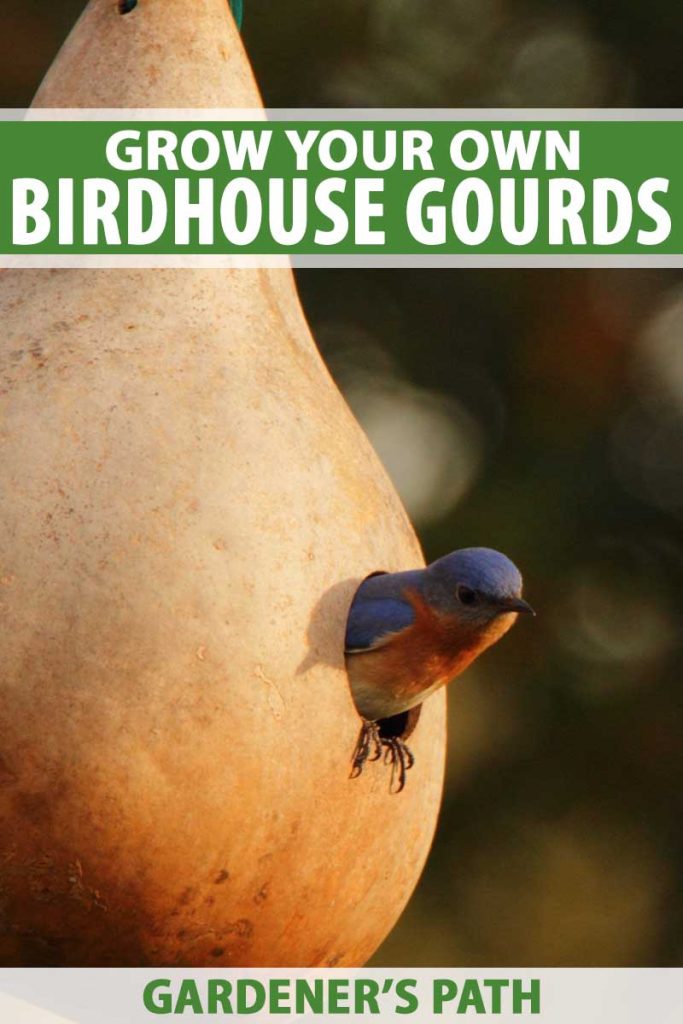
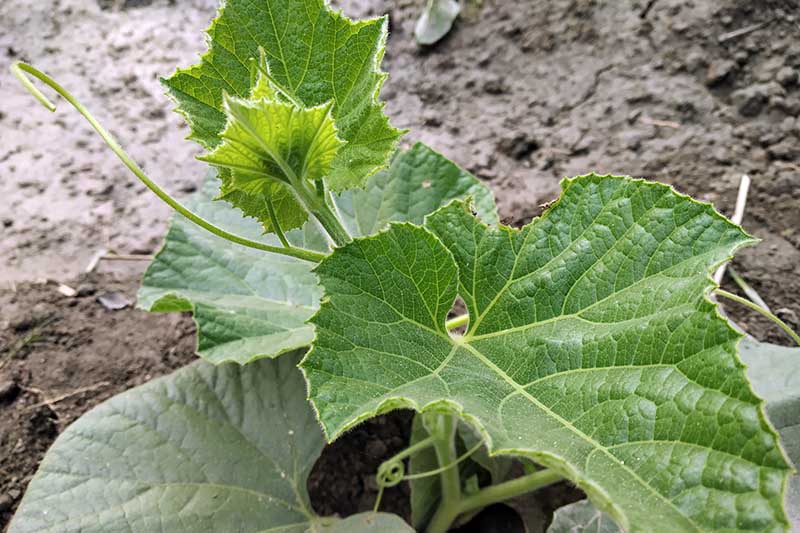
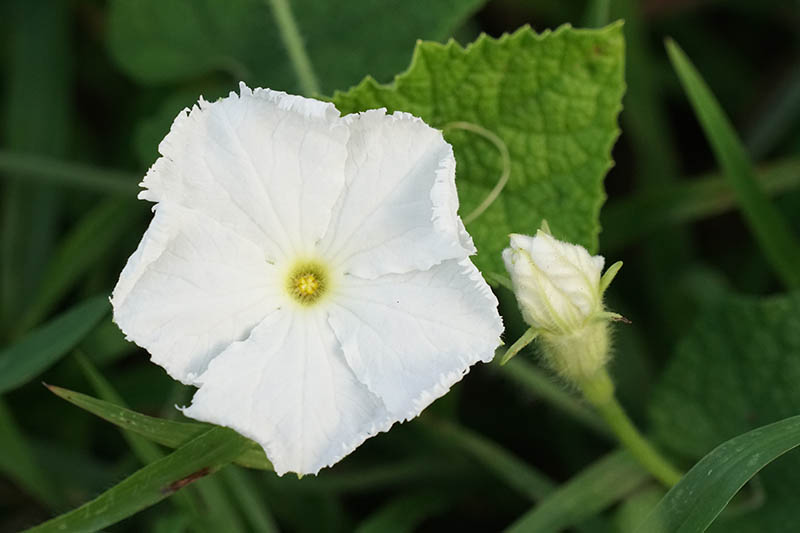
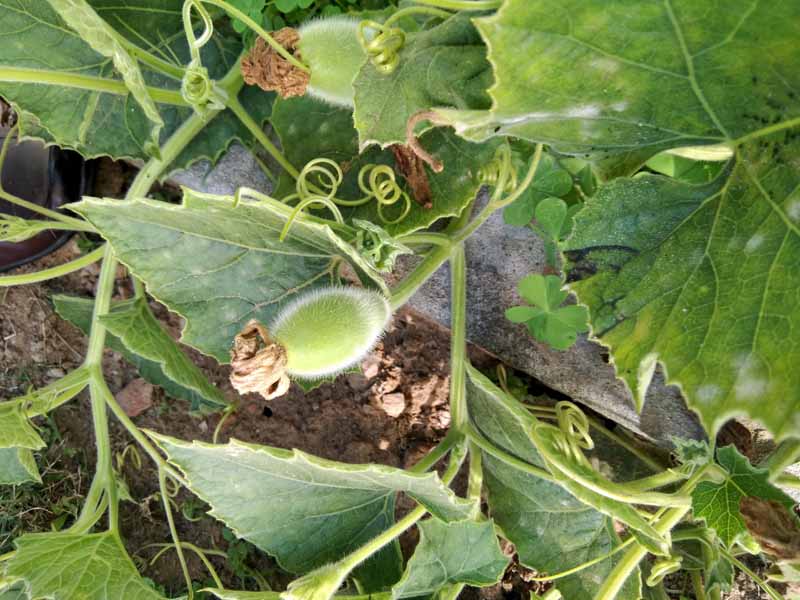
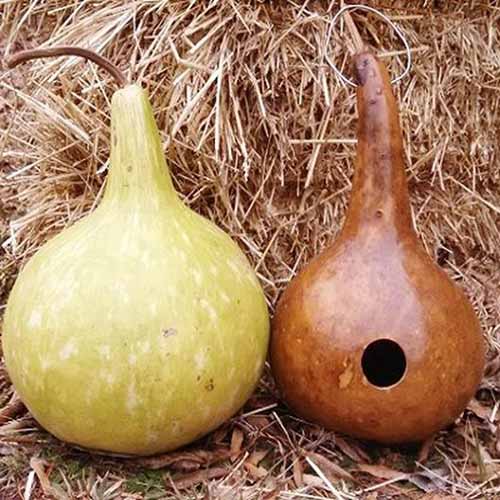
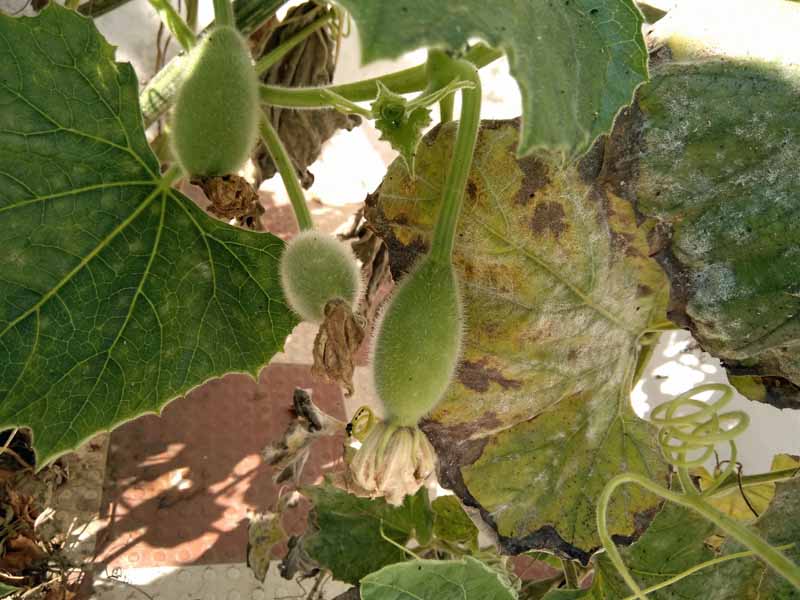
The foliage consists of fuzzy green leaves and white blossoms. There are both male and female flowers, and only the females produce fruit. Bottle gourds may have an elongated or rounded shape. Some may twist like a gooseneck and others may sport a double bulge like a weightlifter’s dumbbell. The bottle gourd has an honored place in history as one of our earliest domesticated crops. Dating back 10,000 years to prehistoric days in the Americas, and 7,000 years to Asia, it is believed that the species is native to Africa. Two subspecies have been identified, the African L. siceraria var. siceraria and the Asian L. siceraria var. asiatica. Lagenaria is the Latin word for bottle, or flask. Mature hard-shelled gourds have been used for millennia as food containers, water jugs, floats for fishing nets, and even body armor. Early Native Americans used them as musical instruments in religious ceremonies, as well as birdhouses to attract insect-eating purple martins.
And while the tender immature fruits, shoots, leaves, and seeds of L. siceraria are edible, it’s crucial to understand that this plant contains a toxic chemical compound called tetracyclic triterpenoid cucurbitacin that is known to cause severe and potentially lethal GI distress. Folks who consume it say not to eat any part or drink the extracted juice if it tastes “bitter,” but at least one documented hospitalization for GI bleeding indicates that this is a dangerous game to play. In India, where it is known as dudhi, or lauki, L. siceraria has been used for thousands of years in Ayurvedic medicine’s Panchakarma cleanse, which makes the most of the toxin’s purgative qualities. L. siceraria is cultivated as a vegetable crop across Southeast Asia, and in Japan, where it is still used by traditional practitioners to treat ailments ranging from asthma to inflammation, and to support heart health and immune function. In today’s American gardens, it’s a unique ornamental plant that boasts vigorous flowering vines and fruits that make sturdy, decorative birdhouses.
Propagation
To grow your own plants, start with fresh seeds that are packed for the current growing season and come from a reputable purveyor. Because of the long number of days to maturity, you may want to start your seeds indoors four to six weeks before the last average spring frost date for your region. Here’s how:
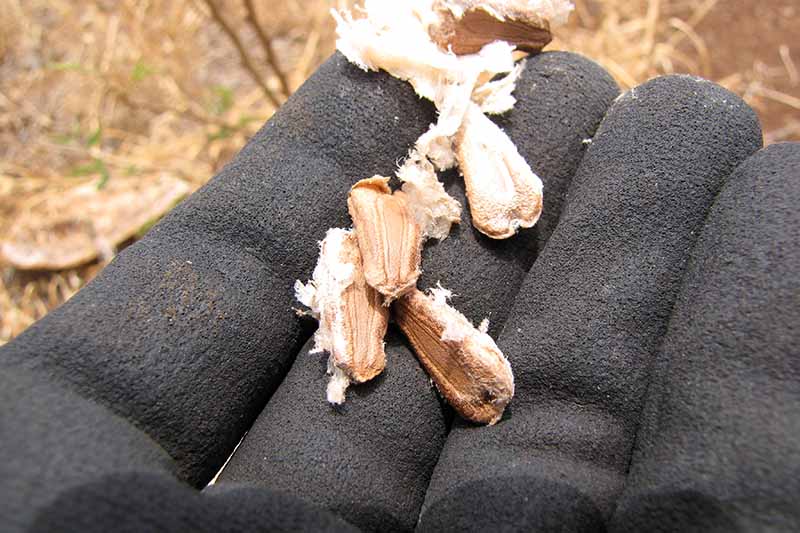
Soak the seeds overnight in lukewarm tap water. Fill biodegradable peat pots or egg carton cells with potting medium. They easily transplant to the garden with minimal root disturbance. Make a depression about an inch deep in the potting medium in each pot/cell. Place one seed, pointy side down, in each depression and cover it over with potting medium. Standing the seed up minimizes its horizontal surface area and inhibits rotting when watered. Line a cookie sheet or other ample pan or tray with a half-inch-thick stack of newspaper or paper towels. Place the pots/cells on the newspaper-lined pan. Put the tray in a location that receives bright, indirect sunlight. Keep the potting medium moist, but not soggy. Never let it completely dry out. Germination takes about two weeks, but you may not see sprouts for another two.
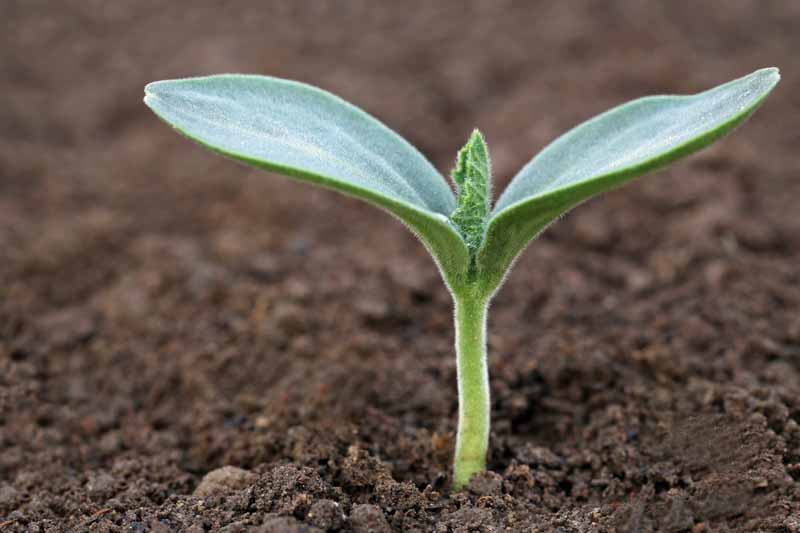
When the seedlings have two sets of true leaves, acclimate them to the outdoors a few hours each day for about a week, and then settle them into garden soil at the same depth they are in their pots/cells.
How to Grow
Whether you’re starting seeds indoors and transplanting them out, or direct-sowing them in the garden, you should do so after the danger of frost has passed in the spring. Select a full sun location. If you live where summer afternoons are scorching, a little afternoon shade is beneficial.
The soil should be organically rich and well-draining, with a slightly acidic to neutral pH of 5.5 to 7. To determine your soil’s acidity, you can conduct a soil test. Soil that is too sweet (alkaline) is easily amended with the addition of compost. Work the soil to a crumbly consistency, to a depth of six to eight inches, in a foot square patch of ground. Amend it as needed per the results of the soil test, or just throw in a couple of hefty handfuls of compost for good measure. Make a mound of the crumbly earth that is about six inches high and a foot wide. Prepare as many mounds as you like, with five to eight feet between the mounds. Setting the seeds up high helps to promote good drainage and inhibit rotting. Place four seeds in each mound at a depth of one inch. Point them downward, and allow three inches between them. As described in the case of indoor planting, they are less likely to rot in this position than if you lay them flat. Cover the seeds and pat the soil down firmly. Water the soil and keep it evenly moist, but not soggy, until plants are well established.
Fertilizer is not required, but if you want to use it, choose one that is well-balanced and releases slowly. Avoid products with an excess of nitrogen, or you may grow lots of leaves and few fruits. When you have seedlings with two sets of true leaves, thin the number of plants per mound to two. If you wind up with two extremely vigorous vines, you can always thin them to one later, if you like. The same goes for transplants – plant two in each mound, to give the vines plenty of room to spread as they grow. I know it’s hard to thin seedlings, but if you let them all mature, the plants will be very close together, limiting air circulation, increasing ambient humidity, and making them more prone to insect infestation and disease.
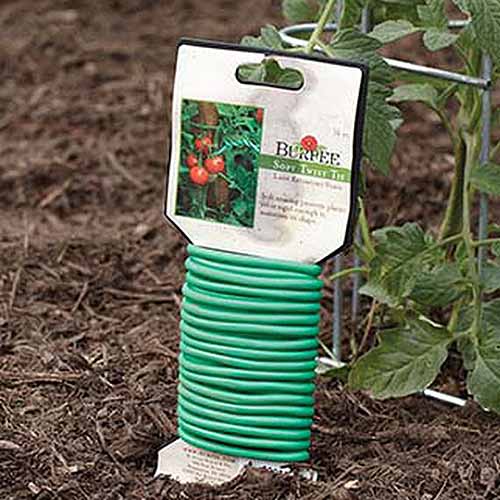
Some time on the ground is beneficial, as the vines tend to root themselves into the soil as they lengthen, giving the entire plant additional support. With soft twist ties, like this product from Burpee, you can train them to grow on the structure of your choice for a dappled-shade hideaway that adds vertical landscape interest.
Soft Twist Ties from Burpee Each package contains a 16-foot continuous roll that can be cut as desired. However, this effort to provide the plants with a stronger base may result in some fruit emerging at ground level. Gourds that rest on the ground are susceptible to flattening and rotting. To protect them, follow the recommendation in Rodale’s Ultimate Encyclopedia of Organic Gardening and apply several inches of mulch (I like clean straw) beneath developing fruit.
The pros at the Rodale Institute also recommend a side dressing of compost in the middle of summer, as plants are heavy feeders. Side dressing is a technique in which you work nutrients into the soil without disturbing the roots, in a radius that goes from the stem outward to the “drip line,” or edge of the foliage. With vines, this can be tricky, so just add some compost near – but not on – the plant, around midsummer. At about this time, you may find that your gourds are getting bulky. While the stems are quite sturdy, some folks like to provide added support with a soft sling. Now, let’s recap.
Growing Tips
For the best results, remember the following when planting hard-shelled gourds:
Start seeds indoors to get a jump on the long growing season. Use peat pots or egg carton cells that can be direct sown to avoid disturbing seedling roots. Mound the organically-rich garden soil to optimize drainage. Place seeds pointing downward, not flat, to keep them from rotting. Add midseason compost for these heavy feeders, but avoid nitrogen-rich fertilizers. Provide support for vines and cushions for fruit in the form of structures, mulch, and slings.
Pruning and Maintenance
When the main vine reaches about 10 feet, you can use clean shears to prune it back a few inches. This encourages lateral branching. It’s on these lateral branches that the female flowers are most likely to form and set fruit. An additional pruning chore is to snip off broken leaves and stems. Such damaged plant tissue is vulnerable to pests and disease. If you see signs of an infestation or infection, such as discolored or disfigured foliage, snip it off as well, and discard it in the trash. Keep developing gourds on the ground from becoming flat or rotting by elevating them on a bed of clean straw. Don’t be surprised if you pay a visit to the garden on a summer afternoon and find your leaves totally wilted. This is normal! They will perk right up when the heat subsides later towards evening. Avoid the temptation to water at midday. To maintain even moisture, it’s best to water in the morning. Established plants should do fine with an inch of water per week in the absence of rain. During a very dry spell, you may need to be a bit more generous. Watering in the cool of the evening is also tempting, but don’t do it. The presence of excess moisture overnight is conducive to mold growth. And finally, remember to keep the garden weeded. Not only do weeds compete for water, they inhibit airflow, and provide a breeding ground for disease-carrying pests.
Where to Buy
Managing Pests and Disease
The best way to avoid pests and disease is with good garden practices. Here are two reputable sources of birdhouse gourd seeds, L. siceraria.
Birdhouse Gourd Seeds from Eden Brothers Seeds are available from Eden Brothers in 1-ounce and 1/4-pound packages.
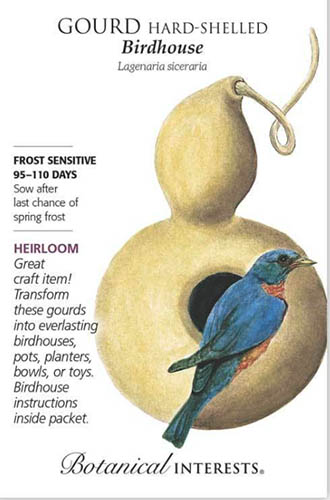
L. siciceraria Seeds from Botanical Interests Botanical Interests supplies heirloom L. siceraria seeds in packets of two and a half grams. Buy quality seed, space plants for optimal airflow, keep the garden free of weeds and debris, avoid overwatering, and sanitize equipment like pruning shears, shovels, and gardening shoes before and after use.
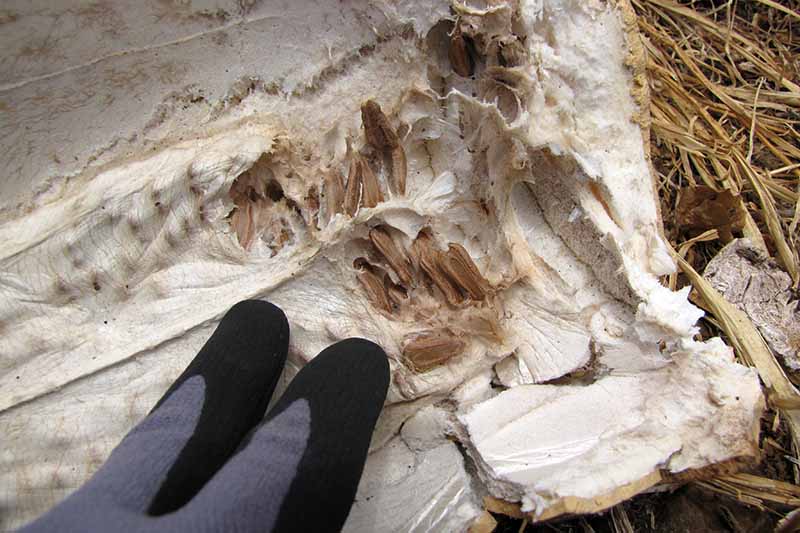
However, even with our greatest efforts, trouble may arise. Some pests that are common to squash varieties like gourds include:
Aphids Cucumber beetles Cutworms Leaf Miners Pickleworms Spider Mites Squash Bugs Squash Vine Borers Thrips Whiteflies
Consult our article on identifying and controlling zucchini pests for in-depth information about managing many pests also common to L. siceraria. In addition, pests can be disease “vectors,” or carriers, so outbreaks need to be addressed. Some diseases to be on the lookout for are:
Alternaria Leaf Blight Anthracnose Bacterial Wilt Blossom End Rot Cercospora Leaf Spot Cucumber Mosaic Virus Downy Mildew Fusarium Crown Rot Gummy Stem Blight Powdery Mildew Septoria Leaf Spot Verticillium Wilt Watermelon Mosaic Virus Zucchini Yellow Mosaic Virus
Learn more about many common squash ailments that can also affect L. siceraria in our article on identifying and controlling common zucchini diseases. Reputable seed purveyors strive to offer squash seeds with superior disease resistance. And while these lists look long and intimidating, infestations and infections may be minimal and do little damage to your developing gourds. Don’t panic if you have some issues. I’ve had beautiful squash grow on plants whose leaves were thoroughly damaged by powdery mildew, for example. For more information, see our complete guide to growing squash. And be sure that when you grow squash of any kind, you remember to rotate locations yearly to avoid pests and diseases that can winter over in the soil. Are you still with me? I know it’s a lot to take in, but the results are so worth it! Now that we’ve discussed cultivation and troubleshooting pests and disease, it’s time to reap the rewards of our labors.
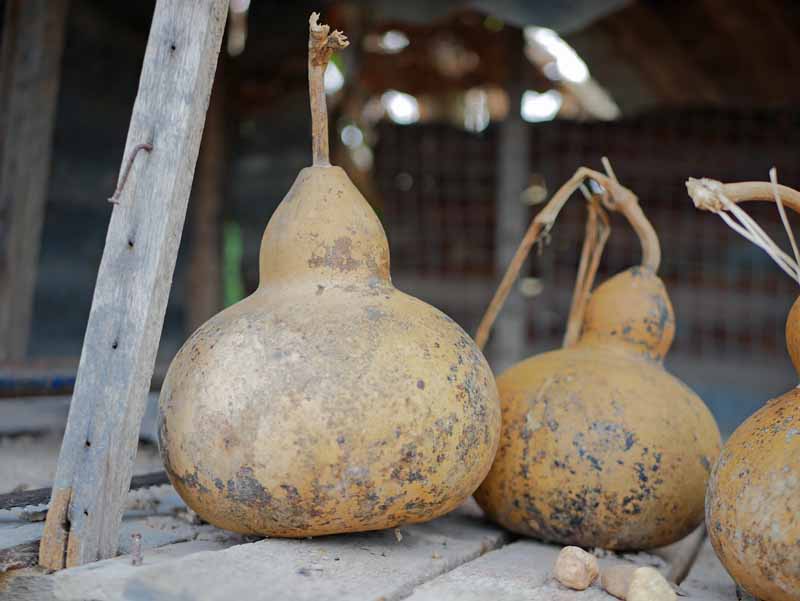
Harvesting and Drying
As fall approaches, the days grow shorter and the nights become cooler. Keep providing an inch of water per week if it doesn’t rain, and watch for the first frost. When the foliage wilts, it’s almost harvest time.
As the vines wither, brown, and stiffen, clean and use your favorite pruning shears to snip the vine above each fruit. Be sure to leave a generous length of stem attached. It will continue to feed the gourd to optimal maturity, and is also handy for suspending it to dry out. Bottle gourds can tolerate a couple of light frosts, but not a hard one, so don’t wait too long to pick them. Once you have your crop in, remove all plant debris from the garden to avoid wintering over pests. Dispose of infested and diseased debris in the trash, not on the compost heap. Clean all garden tools and shoes before storing them away, and make a note in your garden journal to find a new location for next year’s squash plants. Now it’s time for drying. As the moisture evaporates, hard-shelled gourds change in color from green to tan, and have a tendency to grow mold. To avoid exposing your family to spores, find a well-ventilated, dry location outside the house for storage.
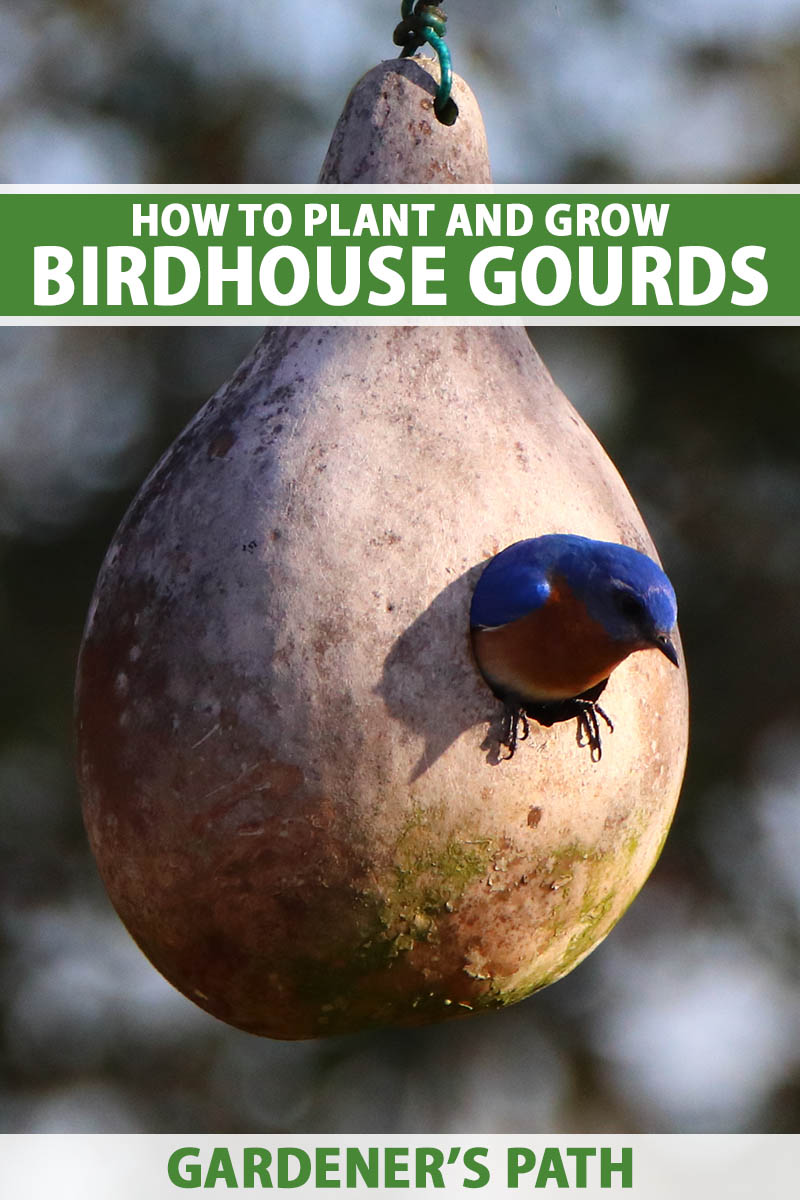
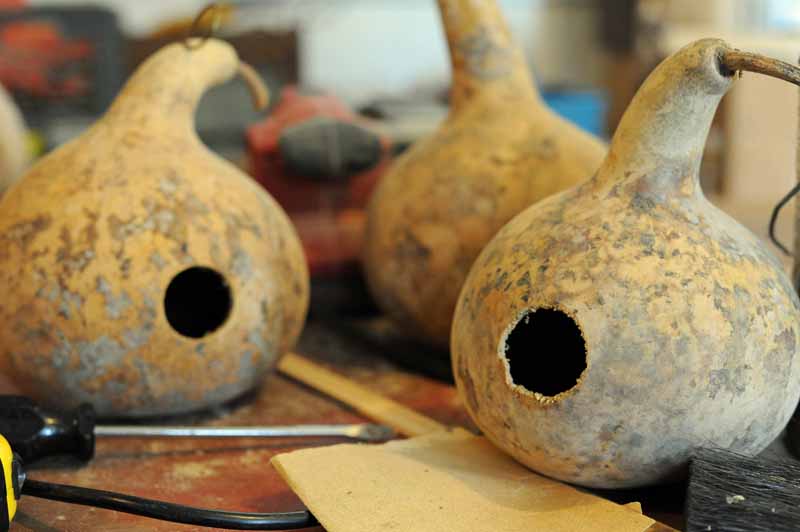
Good places are garages and sheds, where the fruit can be suspended on heavy twine or rope from nails or hooks, or stood on wire racks, like you use for cooling cookies. The smallest varieties may only need a few weeks to fully dry out, whereas the largest may take almost a year. The drying period lasts for as long as it takes to achieve a lightweight, hard gourd that sounds hollow when you tap it. You may even hear the seeds pinging around inside. You can learn how to prep, cut, and paint your own bottle gourd birdhouses in our article. (coming soon!)
Best Uses
L. siceraria produces sprawling vines, large leaves, fragrant white flowers, and heavy fruit. With room to roam and structural support, it is an ornamental and novel addition to the garden. And drying and decorating them for the birds is fun the whole family can enjoy. Here’s an attractive arbor from Wayfair that’s sure to showcase your gourd vines to best advantage.
Plow & Hearth Montebello Iron Arbor The Montebello Iron Arbor might be just right for your garden. It’s available from Wayfair. Growing gourds is fun when gardening with children, as the sprawling vines and swelling fruits never cease to delight.
If you’re wondering if you can grow other plants with L. siceraria, the answer is yes. Some folks like to grow legumes like beans and peas, because they are known as “nitrogen-fixing” plants that help to make this essential nutrient readily available to neighboring plants. Corn is another excellent companion because it shares similar cultural requirements. Long-time growers say not to grow squash near potatoes. It may adversely affect their flavor, pest tolerance, and growth rate.
The plants take up a good amount of garden real estate when permitted to ramble along the ground, so consider using decorative support structures. With some soft twist ties, a pair of pruners, and your artistic inclinations, you’ll have them trained in no time for lush backdrops, focal points, and amusing hideaways in your summer garden scheme. And if you’re like me and enjoy backyard birdwatching, I know you’re going to be thrilled by the beautiful homes you can craft for your avian friends with the dried fruits of your labor. Do you have experience with this plant that you’d like to share? Please do so in the comments section below. And for more information about growing gourds and decorative squash in your garden, check out these guides next:
How to Plant and Grow Ornamental and Hardshell Gourds Smoother Skin from the Garden? Learn How to Grow Loofah 7 of the Best Ornamental Gourd Varieties
© Ask the Experts, LLC. ALL RIGHTS RESERVED. See our TOS for more details. Originally published on March 17, 2019. Last updated March 1st, 2021. Product photos via Botanical Interests, Burpee, Eden Brothers, and Wayfair. Uncredited photos: Shutterstock.