Rich green leaves, a compact form, and brightly colored fruit make them a contender for even the most formal gardens. I did say fruit. So many of the plants we commonly refer to as vegetables are actually fruit, including peppers, for the simple fact that they are seed bearing. We link to vendors to help you find relevant products. If you buy from one of our links, we may earn a commission. From omelets to tacos, to pasta dishes and salads, sweet bells provide a tasty crunch to so many popular meals without the spice. But nothing beats the crunch of a freshly picked fruit. It may seem intimidating for the beginner gardener but, as long as you know a few key pieces of information before getting started, bell peppers are fairly easy to grow – as long as the weather plays along, that is.
This article will walk you through it all, from starting seeds to transplanting seedlings to plant care and maintenance, so that you can grow and enjoy these beauties in your own garden.
Start Early
Bell peppers are a perennial in tropical areas. But in colder climates, they are grown as annuals and they really have no tolerance for cold weather. They require a fairly long growing season, often up to 90 or even 100 days, so the shorter your summer, the sooner you need to start seeds indoors. It is possible to save seeds from organic store bought bell peppers. Collect seeds from red peppers, since they are more mature then green ones, and set them out to dry for a few days. Then sow them or store them in a paper envelope and place them in a dry location for safekeeping. Definitely consider buying seeds as well, since one of the benefits to growing your own bell peppers is choosing from a number of otherwise unavailable varieties.
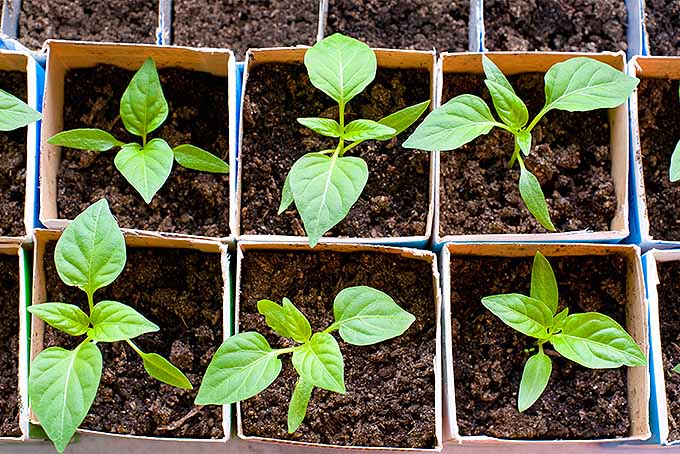
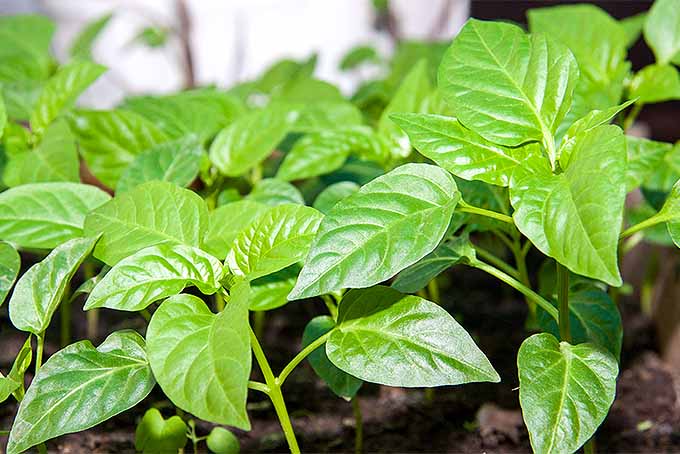
The rule of thumb is to start seeds 6 to 8 weeks before the last average frost date in spring. However, if you keep plants healthy and thriving, you can sow them even earlier. Start seeds using a seed starting mix and place them in a warm, sunny spot. Covering flats or cell packs with plastic can help speed germination rates. Providing a consistent source of heat, like with a seedling heat mat, will also help since soil needs to be around 80°F for seeds to germinate. If soil is warm enough, germination should occur within ten days. Once seeds germinate and grow two to three true leaves, you’ll want to pot them in larger containers filled with damp potting soil to reduce settling. Add organic fertilizer according to label recommendations as well, to encourage strong growth. Water newly potted plants well and keep them consistently moist.
Transplanting
Although you may be tempted to do it sooner, wait to transplant peppers to the garden until a couple of weeks past the last frost date. Make sure to harden them off first though, or your plants may not make it at all.
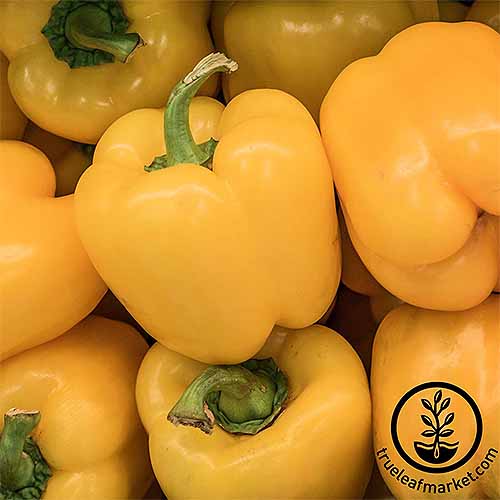
Canary Bell
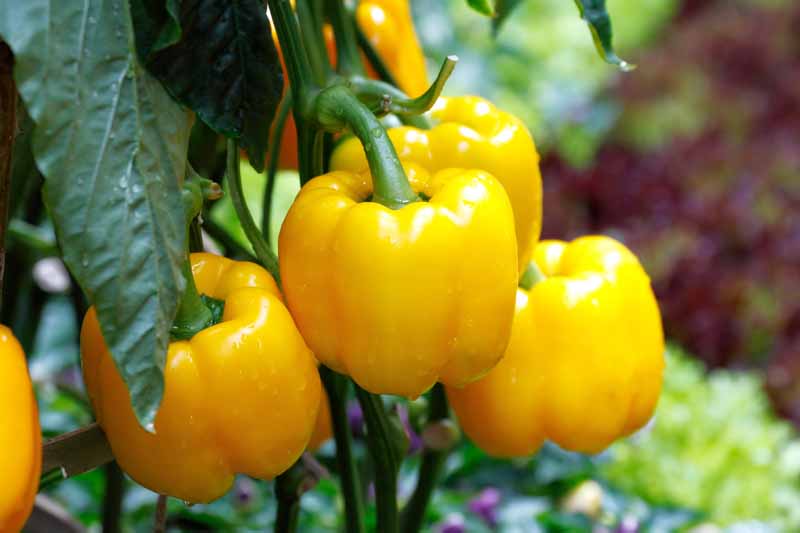
Slow and steady wins the race, when it comes to the yellow Canary bell. These take 100 days to reach maturity, but the long wait will be worth it when you get to enjoy these prolific 3 1/2-by-4-inch sunshine yellow fruits.
‘Canary’ Bell Seeds Tobacco Mosaic Virus resistant seeds are available in 1/4- or 1-ounce packages from True Leaf Market.
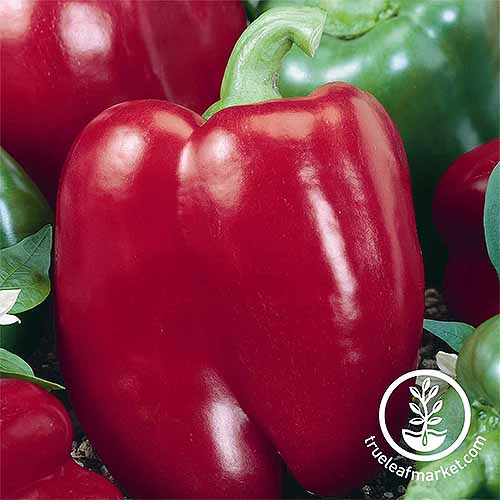
Big Red
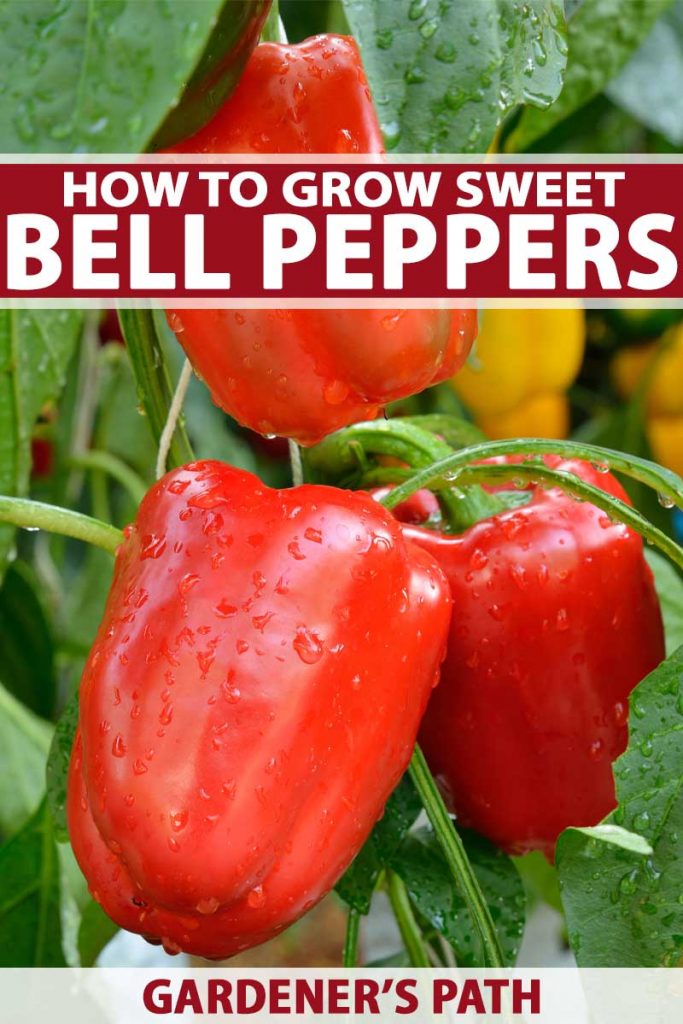
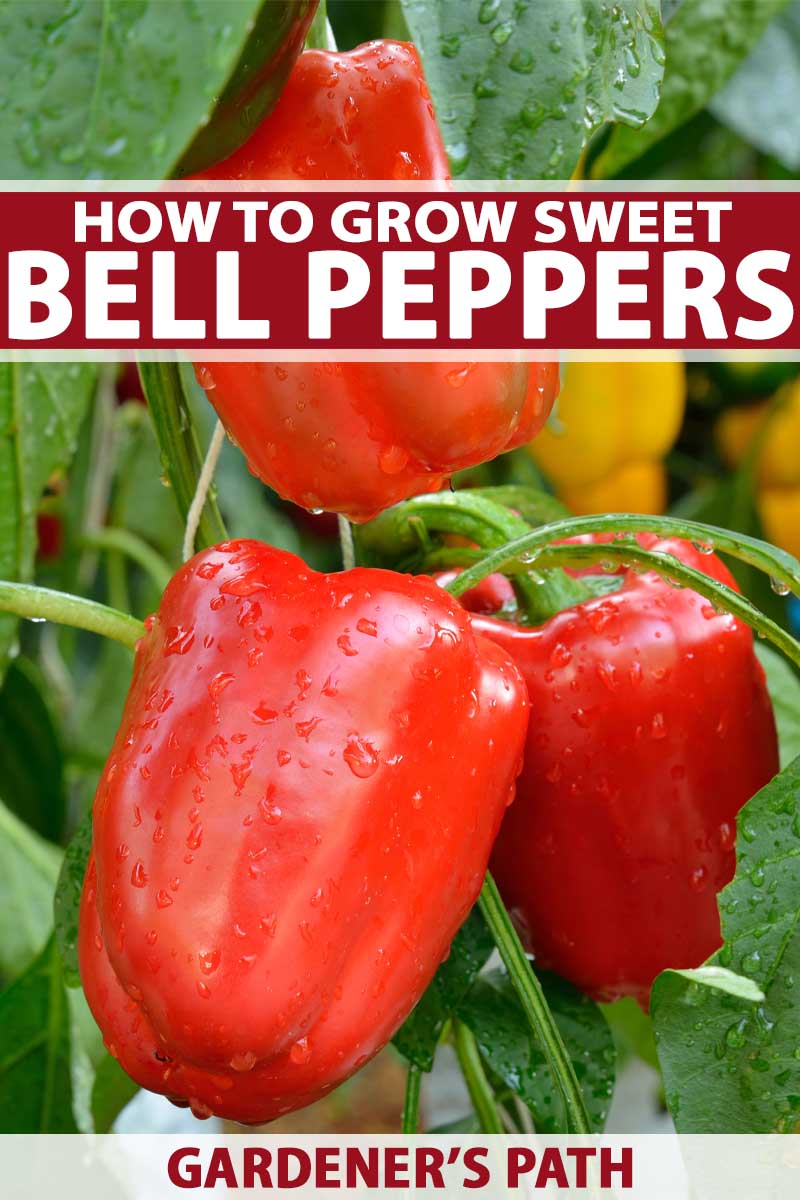
Big Red takes about 75 days to harvest, turning from green to red as it ripens. This sweet pepper has very thick flesh with a mixture of 3- and 4-lobed blocky fruits.
‘Big Red’ Seeds A veggie patch favorite, seeds are available in a variety of package sizes from True Leaf Market.
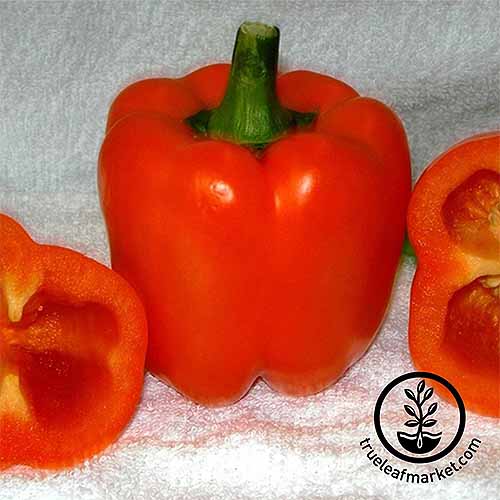
Coral Bell
Vibrant orange Coral bell peppers are a welcome addition to the garden, growing vigorously and producing 4-lobed fruit that reach about 4-by-3 1/2-inches at maturity.
‘Coral’ Bell Seeds Seeds are available from True Leaf in 1/4- or 1-ounce packages. Expect 78-88 days to harvest.
California Wonder
California Wonder 300 TMR is delicious when picked green, or can be left on the plant to ripen to a sweeter red pepper.
‘California Wonder’ 300 TMR, available from True Leaf Market This four-lobed fruit makes a delicious stuffed pepper, on the larger side at around 4-by-4 ½-inches max. The “TMR” in the name stands for Tobacco Mosaic Virus Resistant, and you can expect about 75 days to maturity.
Purple Beauty
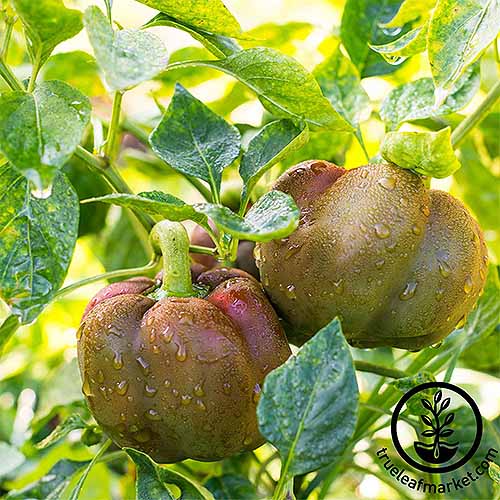
Purple Beauty is a striking heirloom pepper with a deep purple color, thick-walled flesh, and 4-by-3-inch fruit.
‘Purple Beauty’ Seeds
Chocolate Beauty
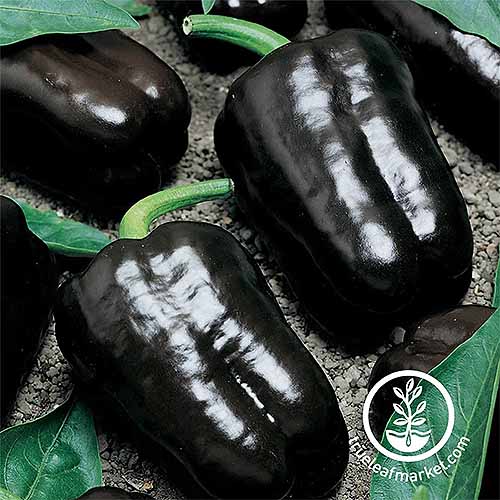
For something a little different, the Chocolate Beauty offers a luscious, deep brown color with super sweet flesh. It grows quickly, with about 67-70 days to maturity, and is Tobacco Mosaic Virus resistant.
‘Chocolate Beauty’ Seeds Hardening off simply refers to the process of getting plants acclimated to a new environment. Plants that have been grown indoors for months will likely become severely stressed or even die if placed directly in the garden, and we want to avoid this.
Instead, slowly introduce plants to outdoor weather. Over the course of several days, set them outside for longer periods of time. Start in the morning and bring them in later and later each day until you are confident they have adapted. Before transplanting, make sure the soil temperature is warm enough, usually around 65°F. Transplanting can stress a plant and cause blossom drop, so you’ll want to remove any flowers that form before giving them a permanent home. In the garden, leave at least 18 inches between plants, possibly more, depending on the variety you’re growing. Water newly planted bell peppers really well and add an inch or two of organic mulch. Their roots are shallow and mulch will help to maintain moisture and protect roots from moisture related stress.
Growing Healthy Plants
Bell peppers generally need warm soil and warm temperatures to thrive. To encourage faster growth in cooler areas, consider laying black plastic over the soil. Just be careful not to let the soil get so hot that beneficial soil bacteria are killed. Remember that the target temperature is only 65°F, and don’t overdo it. Full sun and loamy, rich, well draining soil with a pH near neutral is ideal for planting. For improved fruit production, keep plants evenly moist throughout the season. Too wet or too dry, and you’ll likely notice a decline in the plant’s overall health or fruit development. It’s especially important to keep plants consistently watered when they are in bloom and producing fruit. Between 1 and 1 1/2 inches of water each week should be sufficient. Unfortunately, even if you do everything else right, bell peppers won’t produce much fruit if temperatures aren’t ideal, typically between 70 and 90°F.
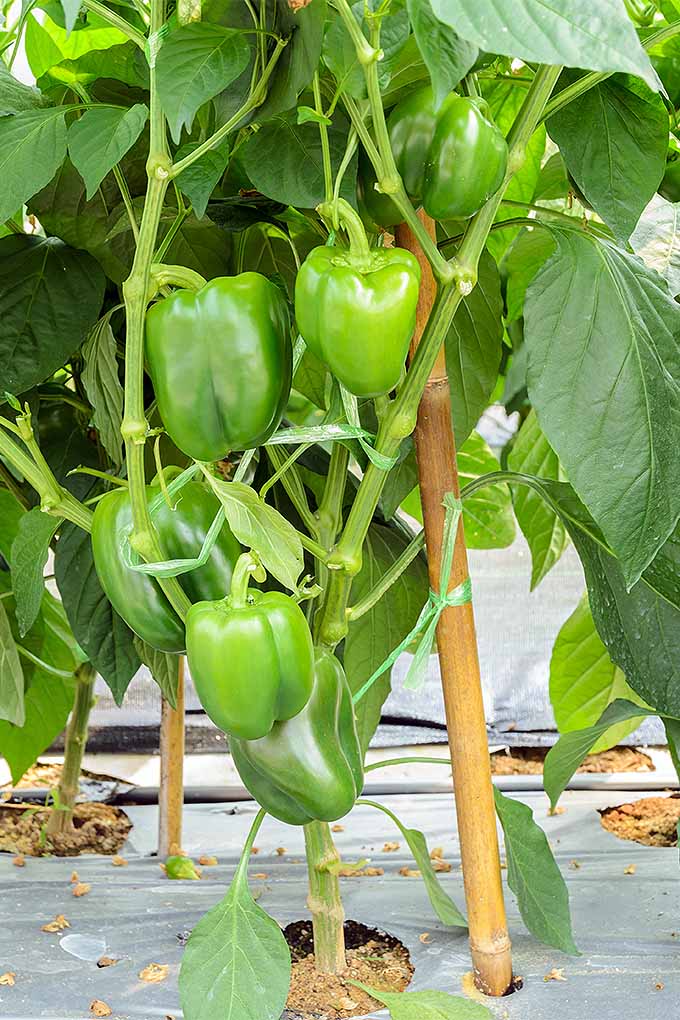
They will be sloth-like in growth if nighttime temperatures fall below 55°F. And if temperatures are too hot, they will likely start to drop their blossoms before ever having a chance to set fruit. This is why they’re considered a bit more temperamental to grow than some other veggie patch favorites like spinach or radishes. Shallow roots and heavy fruits make bell peppers more likely to topple over, so consider staking them once flowers begin to form. While fertilizing is helpful, be cautious not to over fertilize, especially with nitrogen. This is known to cause leafy green growth, but it will actually stunt flower and fruit production. Bell peppers are in the Solanaceae family, along with tomatoes, eggplant, and potatoes. This means they share many of the same disease and pest issues, as well as nutritional needs. For this reason, you’ll want to avoid rotating these crops with each other in the garden.
Managing Pests and Diseases
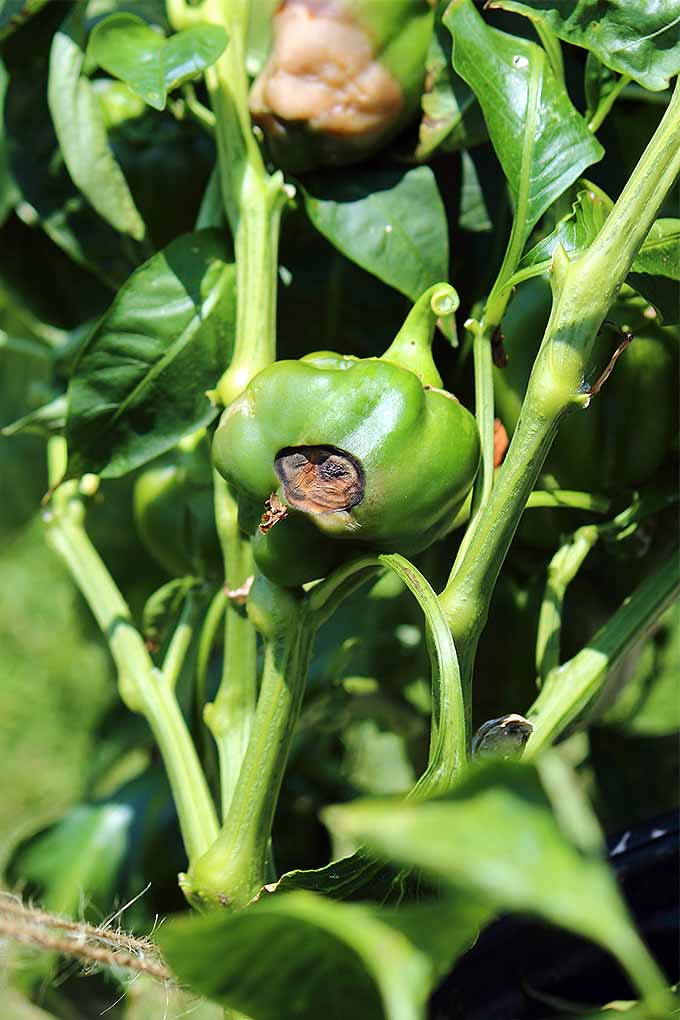
Bell pepper plants are susceptible to overwatering or poor draining soils. So be aware of root rot and phytophthora blight, a fungal disease that causes permanent wilt. Another issue linked to moisture stress is blossom end rot, which shows up as a dark, sunken area on the fruit. It’s fairly common and is a result of calcium deficiency. However, just because plants are calcium deficient, this doesn’t necessarily mean the soil is. Rather, the issue could just be that calcium present in the soil is tied up for one reason or another. For instance, if soil pH is too low, calcium uptake can be affected. Also, inconsistent moisture levels can negatively impact calcium availability.
And, since roots are shallow, it’s easier to damage them when caring for and weeding your garden. Damaged roots aren’t going to be as effective in taking up needed nutrients. Also keep an eye out for aphids, spider mites, stink bugs, flea beetles, and cutworms. Spray these critters with a strong stream of water, horticultural oils, or simply hand pick and squash all who are unwelcome. The best way to mitigate all pest and disease issues is to maintain healthy plants within an optimal environment. Check your garden regularly and be quick to address any concerns. And do your best to invite natural predators into your gardens, such as birds, praying mantises, and ladybugs.
Harvesting
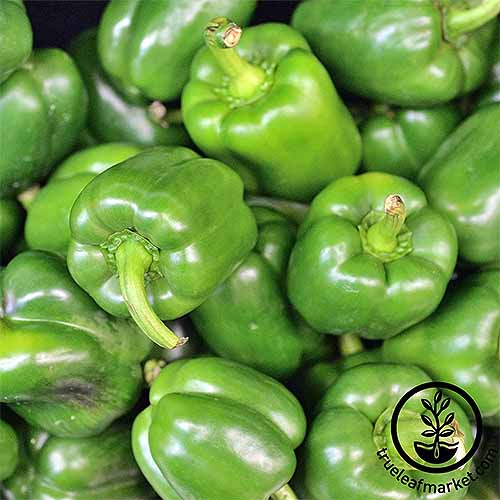
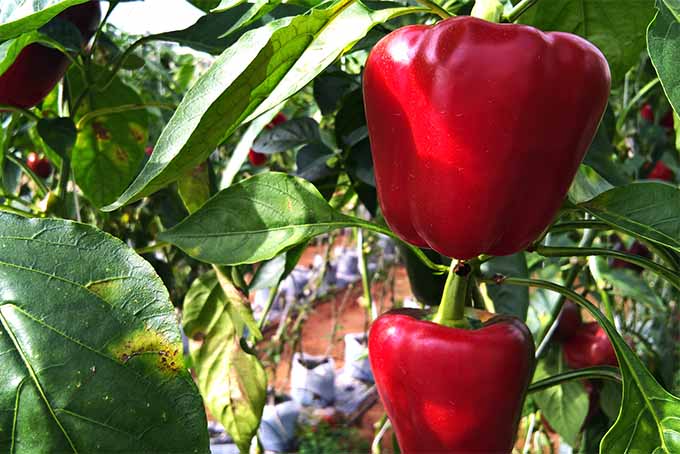
Sweet bells are unique, since choosing when to pick them is mostly up to you. If you love the flavor of a green pepper, pick a few when they’re full-sized with thick flesh but not yet beginning to turn shades of red, yellow, or orange (or purple! or brown!). The peppers will sweeten the longer you leave them on the plant, with increased vitamin C content as well.
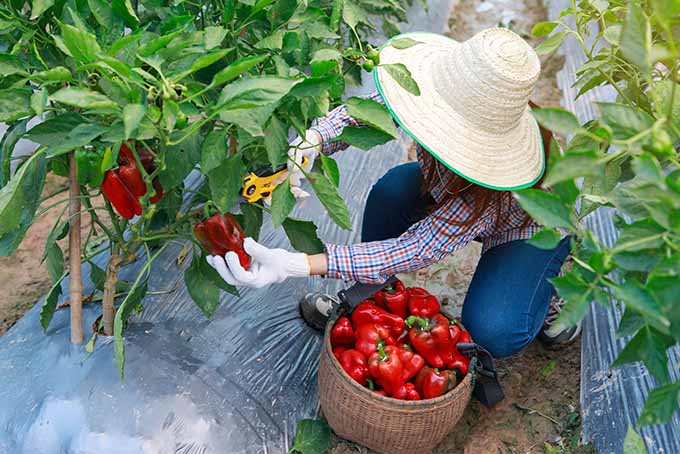
Make a clean cut with a knife or sharp scissors when harvesting, being careful not to topple or otherwise disturb the plant. You don’t want to knock off any fruits that are still developing, or cause any damage. Wipe any excess dirt away with a clean, dry cloth and store in the produce crisper bin of the refrigerator for up to one week. Wait to wash until you’re ready to use them, since damp produce with become moldy and rot quickly in the refrigerator.
A Few Recipe Ideas
In addition to being delicious in a salad, or sliced into strips and served with a big bowl of homemade hummus, homegrown bells add texture and flavor to a variety of tasty dishes.
Try this recipe for Spiralized Sweet Potato Noodles with Roasted Red Peppers and Sun Dried Tomatoes from our sister site Foodal, or this homemade Harissa Sauce from our friends at Wanderspice. Fajitas are a family favorite, and this Vegetable Fajita Sheet Pan Dinner from The Domestic Dietitian comes together in minutes. And you’re sure to love this Bean-Free Low FODMAP Chili from Erika’s Gluten-Free Kitchen. For breakfast, serve up a cast iron pan-full of this irresistible South Asian Spiced Shakshuka with Bell Pepper and Spinach from Feast in Thyme. And don’t forget, in addition to sharing with the neighbors, a big harvest gives you a chance to show off your home preservation chops. Roasted, they can be stored in oil. Or try parboiling, peeling, chopping, and freezing in individual packages for a quick add-in to toss into weekend omelets and egg scrambles. Peppers can also be chopped and dehydrated for use in soups, or ground into a flavorful powder that you can add to your spice cabinet.
Worth the Effort
There’s quite a bit of information provided here, and it may seem just a bit overwhelming to take on bell peppers as a home gardener. So, I want to wrap up with a few key points:
Start seeds early or buy good looking seedlings, and make sure to harden them off before transplanting. Wait to transplant into the garden until two or more weeks past the last frost date, since soil needs to be warm for plants to really take off. Mulch and keep water moisture consistent, since roots are shallow and susceptible to water-related stress. Don’t fret about what you can’t control – like temperatures that are too hot or too cold.
Keep these basics in mind and you’ll be enjoying some tasty sweet bell peppers soon enough! And if you want to explore the world of peppers, some of these guides will be of use:
How to Plant and Grow Poblano Peppers How to Plant and Grow Ghost Peppers How to Plant and Grow Anaheim Peppers
Product images via True Leaf Market. Uncredited photos: Shutterstock. With additional writing and editing by Allison Sidhu. Originally published by Lynne Jaques on December 31st, 2014. Last updated March 8th, 2018.
