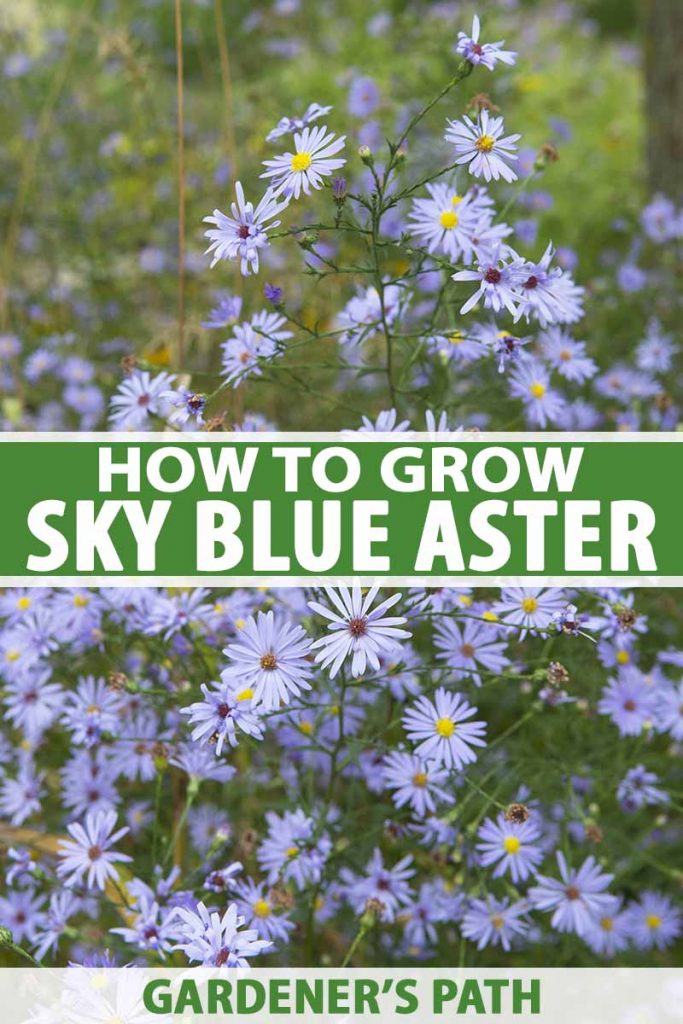
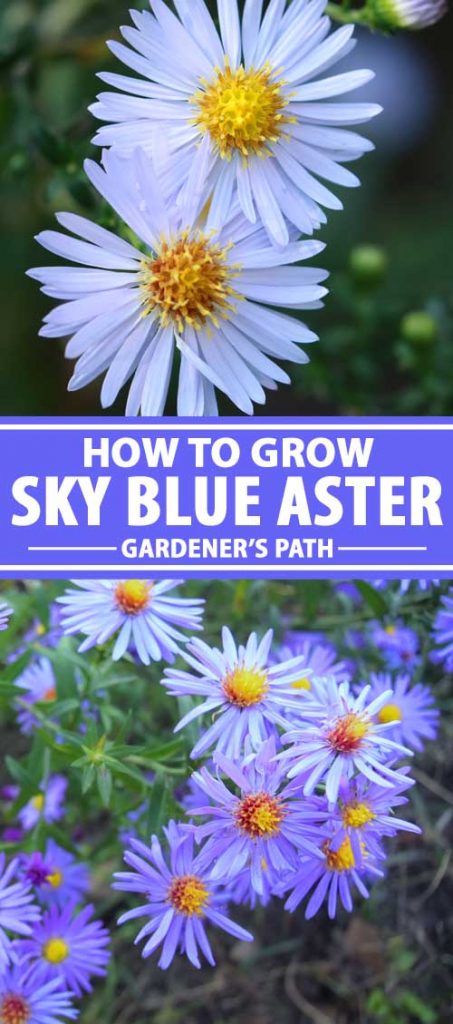
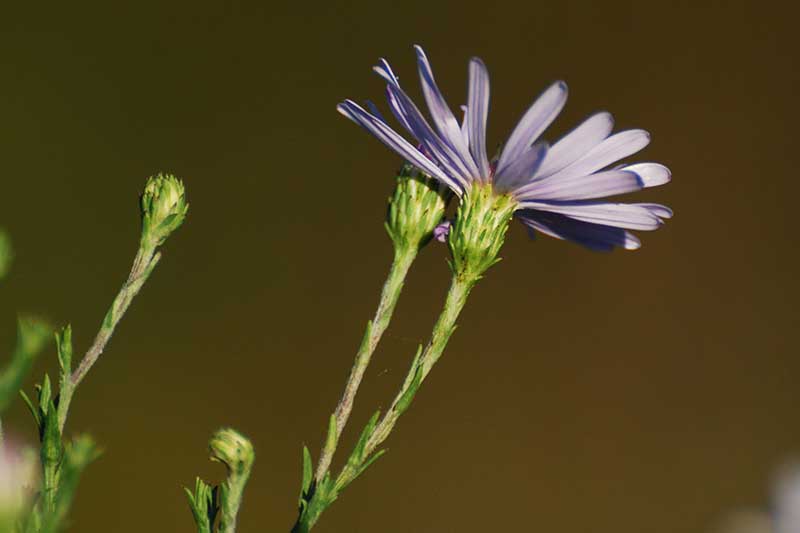
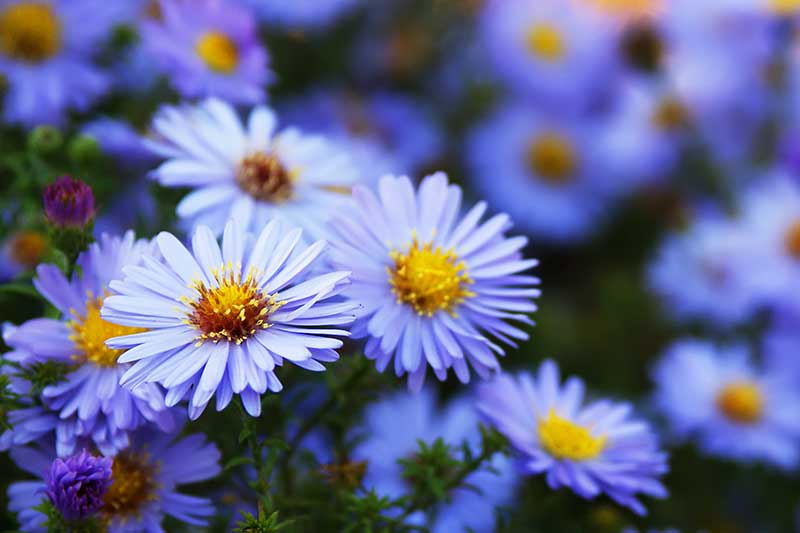
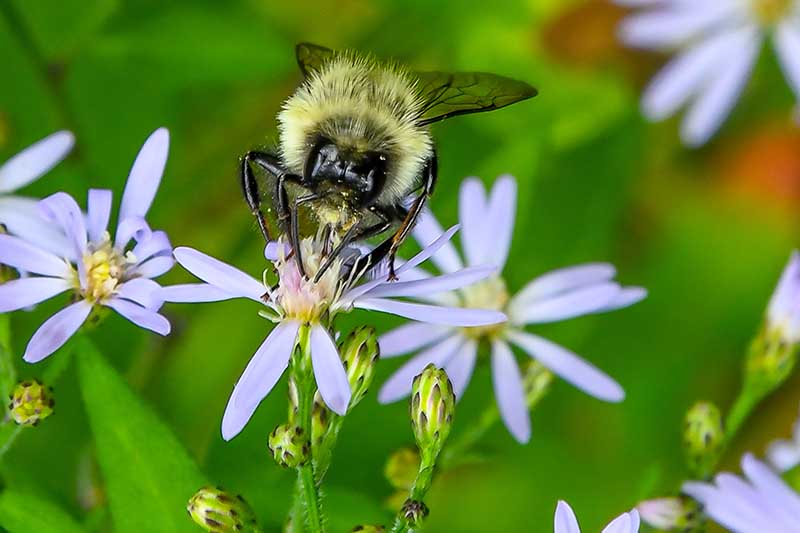
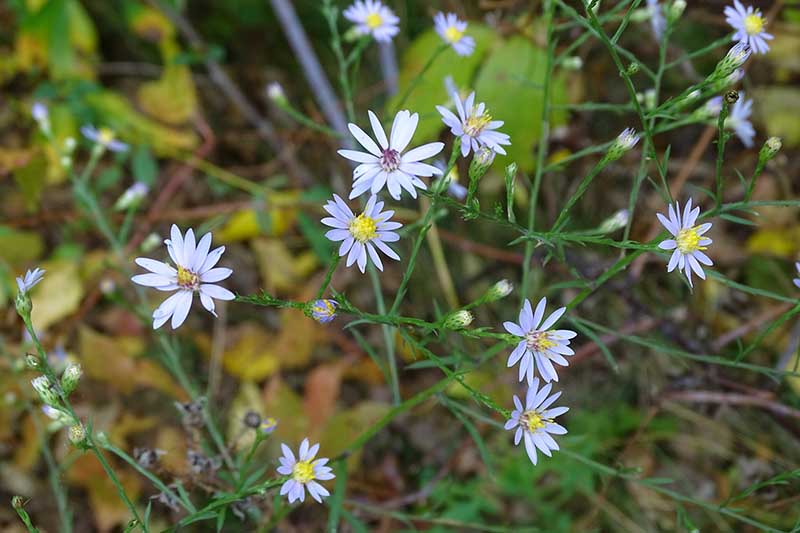
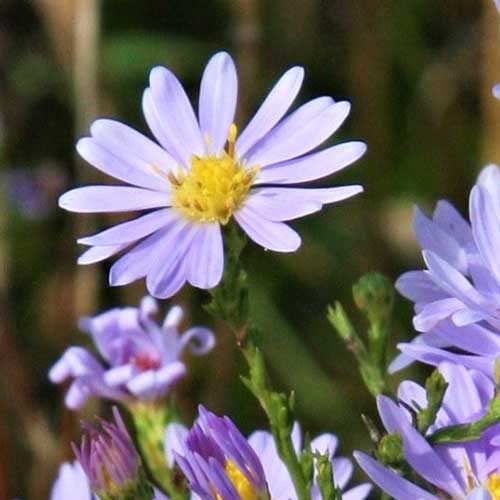
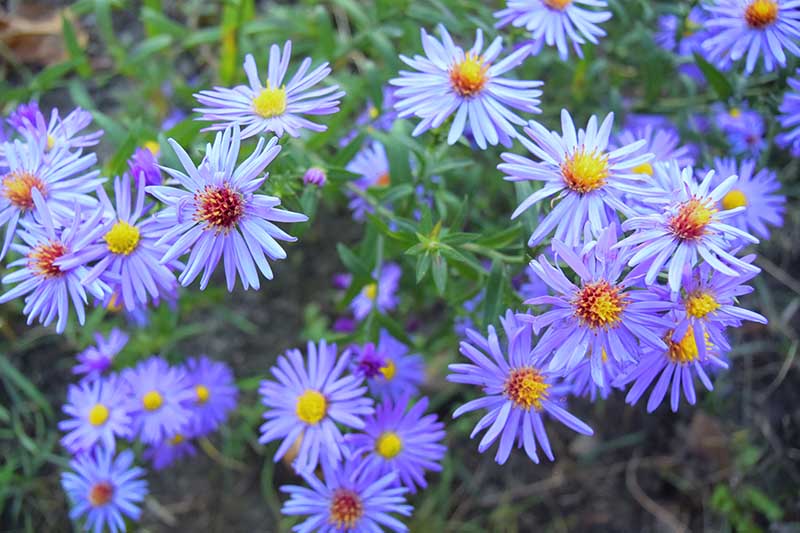
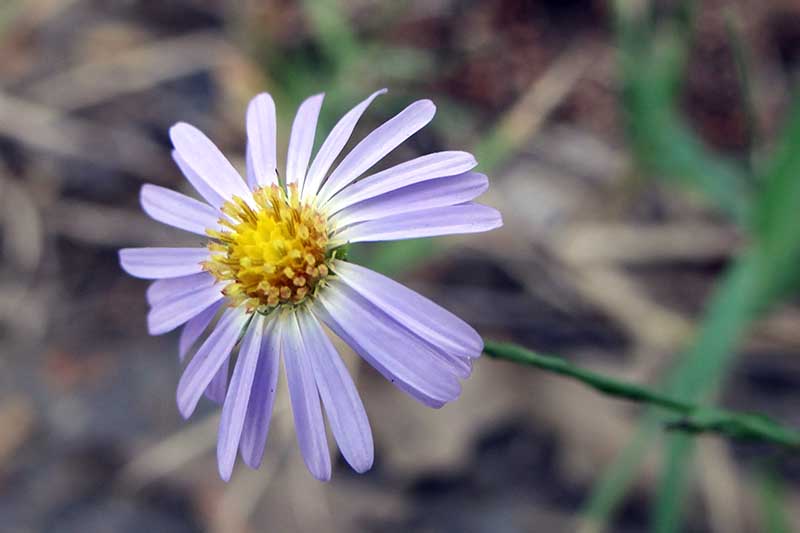
It toils away all season long, forming branching foliage. Then it bursts into masses of blue, daisy-like flowers, just in time to bridge the gap between summer’s waning blooms and fall’s spectacular leaf show. This member of the Asteraceae family has an upright growth habit. Dense basal foliage thins out along branching stems that culminate in loose, cone-shaped floral clusters. We link to vendors to help you find relevant products. If you buy from one of our links, we may earn a commission. The shade of blue may vary from deep to pale, or it may be slightly purple. In this article, you’ll learn how to grow and care for vigorous sky blue aster in your outdoor living space.
Cultivation and History
Listed as an endangered species in New York, sky blue aster is prized by native plant enthusiasts.
According to the New York Natural Heritage Program, a botanist by the name of John Leonard Riddell was the first to name the lovely blue flower he found growing by the Olentangy River in Ohio, in 1835. He identified it as Aster oolentangiensis, misspelling the river reference. Later it was reclassified Aster azureus as a member of the Aster genus, which contained over 500 species at the time. During the 1990s, research revealed that the US native asters have their own unique evolutionary history, and as such they were reclassified into different genera. Of the “new” genera created, the largest of these is Symphyotrichum. Today we know the sky blue aster as S. oolentangiense. These changes illustrate a fine tuning of aster nomenclature and a reinstatement of the original geographic reference.
Propagation
To cultivate sky blue aster in your garden, you can sow seeds, take cuttings, or divide existing plants.
From Seed
Because this is a native species, you may rest assured that if you collect seeds at season’s end, provided they are viable, they will produce exact replicas of the parent plant from which they came. Start seeds indoors about four weeks before the last average frost date in your area. It’s recommended to use seed-starter peat pots that can be planted in their entirety to minimize root disruption. Sow 2-3 seeds 1/4 inch deep in each pot. Keep the soil lightly moist, but not saturated. Use a heat mat if necessary, to maintain an even temperature of approximately 70°F – the seeds should germinate in 10-14 days at this temperature. Once the seedlings have at least two sets of true leaves, and all danger of frost has passed, you can start hardening them off in preparation for planting. To do this, place them outdoors in a location protected from wind, and over the course of a week, gradually leave them out for longer periods before transplanting. Alternatively, you can direct sow in the garden after the last spring frost. Sow seeds 1/4 inch deep in a full sun location. Some gardeners have also had success sowing seeds in fall. They overwinter in the ground, go dormant, and germinate in spring when temperatures warm up. You can thin your seedlings to 24 inches apart when they have 2-3 sets of true leaves.
From Cuttings
Another way to start plants is to use clean, sharp shears to take soft tip cuttings from mature plants in spring. Take a 2- to 5-inch cutting, remove the lower leaves, then dip the cut end in powdered rooting hormone. Place the cutting in a mix of sand and vermiculite or perlite, and keep it in a bright location indoors, out of direct sun. Roots should develop in one to two months, and they can then be transplanted into the garden.
From Divisions
In addition, you can divide existing plants. Carefully dig one up and slice straight down through the roots with a clean, sharp shovel. Remove the “division,” and transplant it elsewhere. This is best done in the spring after all risk of frost has passed. To learn more about how to do this, see our full guide to dividing perennials.
From Transplants
You may also find mature plants or seedlings in season at a local nursery. Simply transplant them to the garden as soon as possible after purchase, preferably in the cool morning hours, to avoid heat stress. Plant seedlings or transplants at the same depth as the root ball.
How to Grow
You’re going to love this plant’s easy-going temperament. It prefers full sun but tolerates light shade, and grows in any type of soil, provided it drains well.
Its preferred soil pH is slightly acidic, but anything in the 5.5 to 7.5 range is acceptable. Conduct a soil test, and follow the recommendations in your report. A little organic matter, like compost, can boost acidity, while garden lime can reduce it. Mature dimensions are 24 to 36 inches tall and 18 to 24 inches wide. Allow 24 inches between plants for optimal airflow. You can plant in the ground or in large containers. For container growing, choose a pot with a diameter of about 18 inches. This species is known to thrive in shallow, rocky soil, so a pot depth of 12 inches should be adequate.
Once established, plants do well with about an inch of water per week. Use a rain gauge to determine if you need to provide supplemental water. These plants exhibit a fair amount of drought tolerance, and it’s better to err on the side of being too dry rather than too wet. Standing water can cause root rot. However, container plants are likely to require supplemental water, as pots dry out faster than the ground. Adding a layer of mulch over the soil in containers is an excellent way to help with moisture retention. As for fertilizer, I tend to stay away from it with native plants that are known to be vigorous growers. But amending with a dose of a slow-release, balanced granular product, such as 10-10-10 (NPK), at planting time and each spring thereafter is an option that some gardeners have adopted. If you have amended your soil with compost prior to planting, extra fertilizer is unnecessary.
Growing Tips
Like many native plants, S. oolentangiense is easy to establish in the garden, especially when you give it a solid start by:
Choosing a location with full sun to light shade. Adjusting your soil’s pH if necessary, as indicated by a soil test. Providing even moisture during the germination and seedling stages. Watering established plants if rainfall is less than one inch per week, especially container plants. Transplanting seedlings and mature nursery plants in the early morning hours.
Read more about managing perennial aster flowers here.
Pruning and Maintenance
Aster is one of those plants that you can fuss over or leave alone, depending on your expectations. If you plant it where spreading and self-sowing are acceptable, and you don’t mind it getting a little “leggy,” you may be happy to leave it alone. Alternatively, you may want to prune plants by about 1/3 in early summer, to encourage a dense, compact shape. You can also deadhead spent blossoms to inhibit self-sowing. And every three years or so, you may want to divide your plants to reduce density, increase airflow, and contain spreading. Whether you adopt a hands-off or hands-on approach, at season’s end you may cut down the stalks, or leave them in place for wildlife habitat and winter interest. Native plants usually hold their own against weeds, however, this is another area where you can choose to take action or simply leave things alone. At the first sign of grayish leaves after a wet spell, apply an organic fungicide according to the package instructions, or prune away affected stalks by cutting them at their base.
Where to Buy
Easy to grow and maintain, the loose blossom clusters and moderate height of S. oolentangiense make it an excellent mid-border filler. It delivers a texturally-rich vertical background for shorter specimens and ground covers throughout the summer, when it’s green, and into the fall, when it’s flush with blooms.
Sky Blue Aster In addition, this clumping species provides valuable habitat for the beneficial insects, birds, and butterflies that visit your garden as the growing season comes to a close. You can find 3-packs of seedlings in 2-by-3-inch pots from Nature Hills Nursery.
Managing Pests and Disease
As a native plant, S. oolentangiense is not prone to problems with insects or diseases. However, sometimes rainy summer weather can have an adverse effect on dense plants, causing a buildup of humidity, the breeding ground for powdery mildew. If you have a problem with powdery mildew on mature, well established plants, you might consider dividing them to increase airflow. Another condition to watch out for is aster yellows, a disease borne by the sap-sucking aster leafhopper. Apply an organic insecticidal soap if you notice tiny, green, hopping insects and punctured leaves. Yellowing and deformity may indicate the presence of this incurable condition, and warrant the destruction of affected plants.
Best Uses
One way to showcase this blossom-laden, texturally-rich perennial is to give it room to spread naturally, along rustic paths, fences, and property perimeters.
Another is to give it a job as middle-height anchor in a garden bed or border, filling gaps between lower-story ground covers such as sweet alyssum and seasonal favorites like chrysanthemum, Montauk daisy, and strawflower, and shrubs like azalea and hydrangea. Or, interplant it with goldenrod, New York and New England aster, red valerian, and speedwell for a butterfly meadow. S. oolentangiense is an excellent choice for erosion control, as its root system consists of ground-hugging rhizomes that keep soil from washing down gravelly slopes. It’s also able to withstand a fair amount of salt exposure. And as a drought-tolerant native plant, it’s ideal for xeriscaping, a landscape style focused on low-resource, minimal maintenance plantings.
Quick Reference Growing Guide
As a native perennial, it requires minimal water and maintenance, and once established, mostly fends for itself. With its rhizomes and self-sowing habit, it readily naturalizes, for friendly hedgerows, border gardens, and open meadows with masses of blooms. Self-sufficient. Dynamic. Cheerful. Sky blue aster is the flowering perennial you’ve been waiting for! Have you grown sky blue aster? Let us know in the comments, and feel free to post a photo. We love hearing from you. For more information on growing asters in your garden, check out these guides next:
How to Grow and Care for Early-Blooming Alpine Aster 11 of the Best Pink Aster Varieties How to Grow China Aster for Color in the Late Summer Garden New England Aster, Sensational Summer Through Fall
© Ask the Experts, LLC. ALL RIGHTS RESERVED. See our TOS for more details. Product photo via Nature Hills Nursery. Uncredited photos: Shutterstock.
