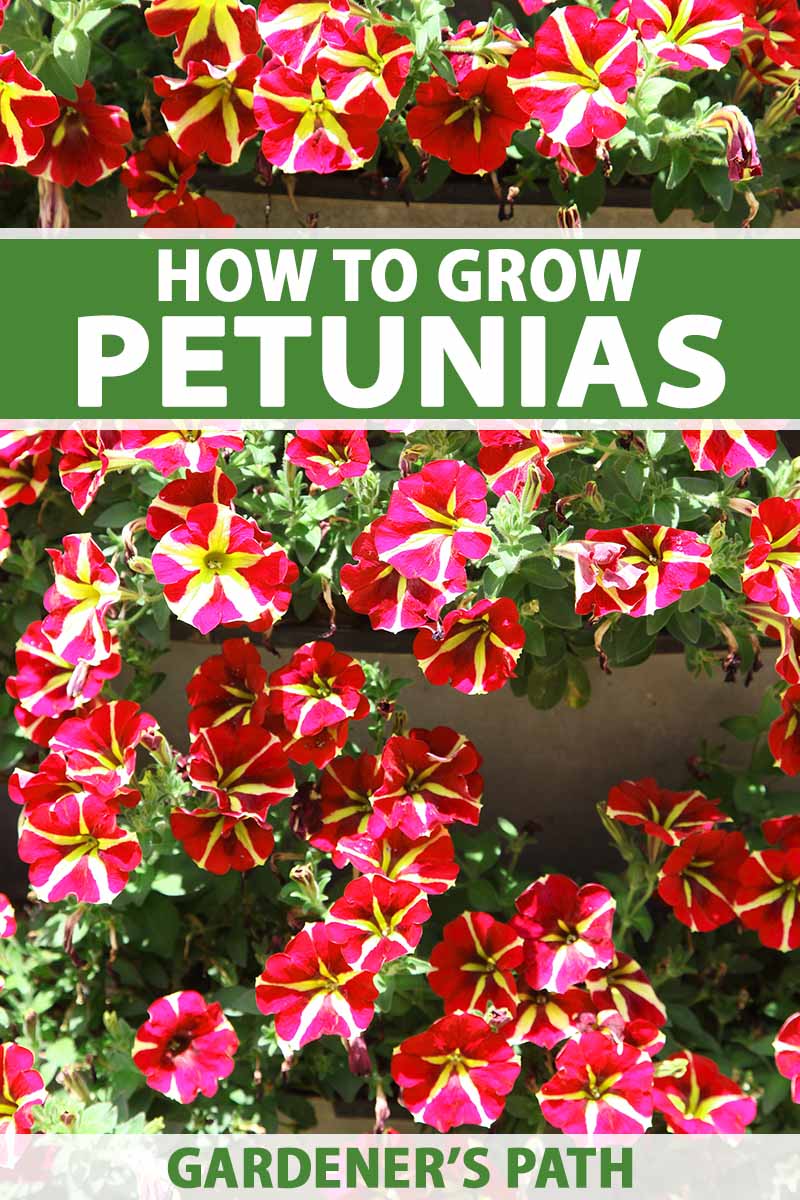
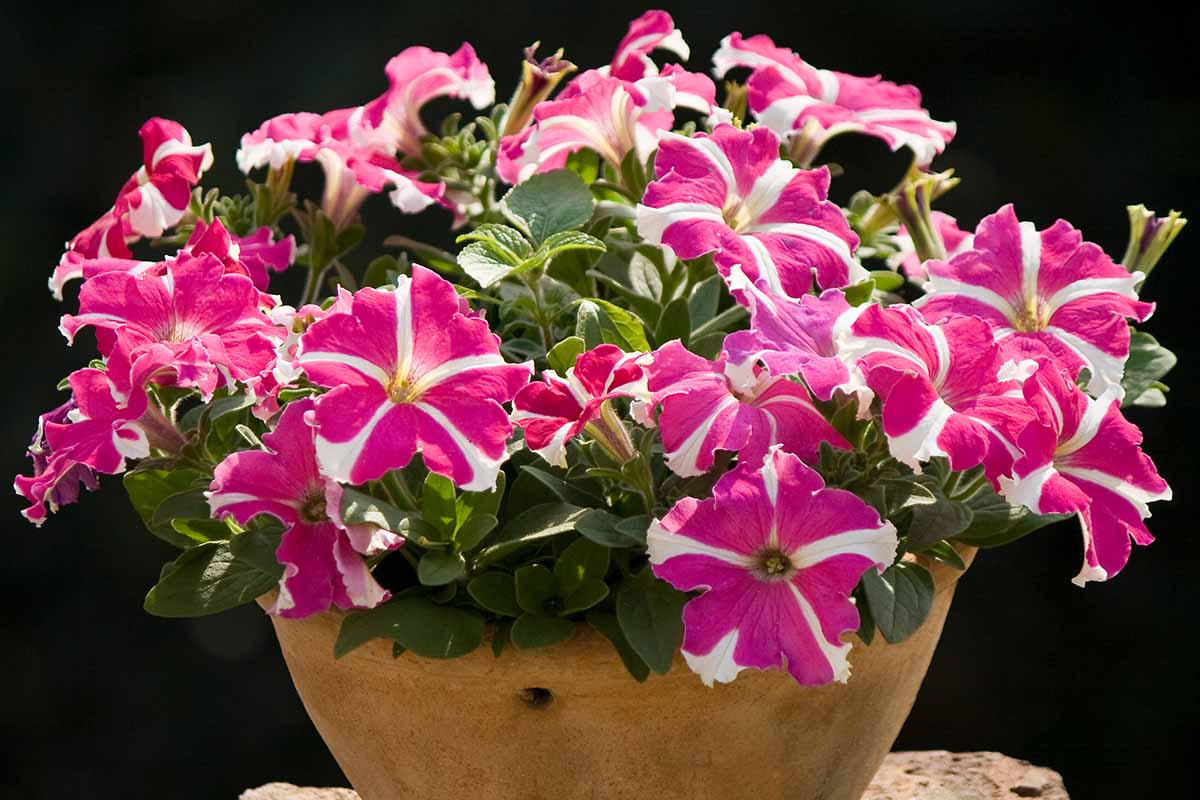
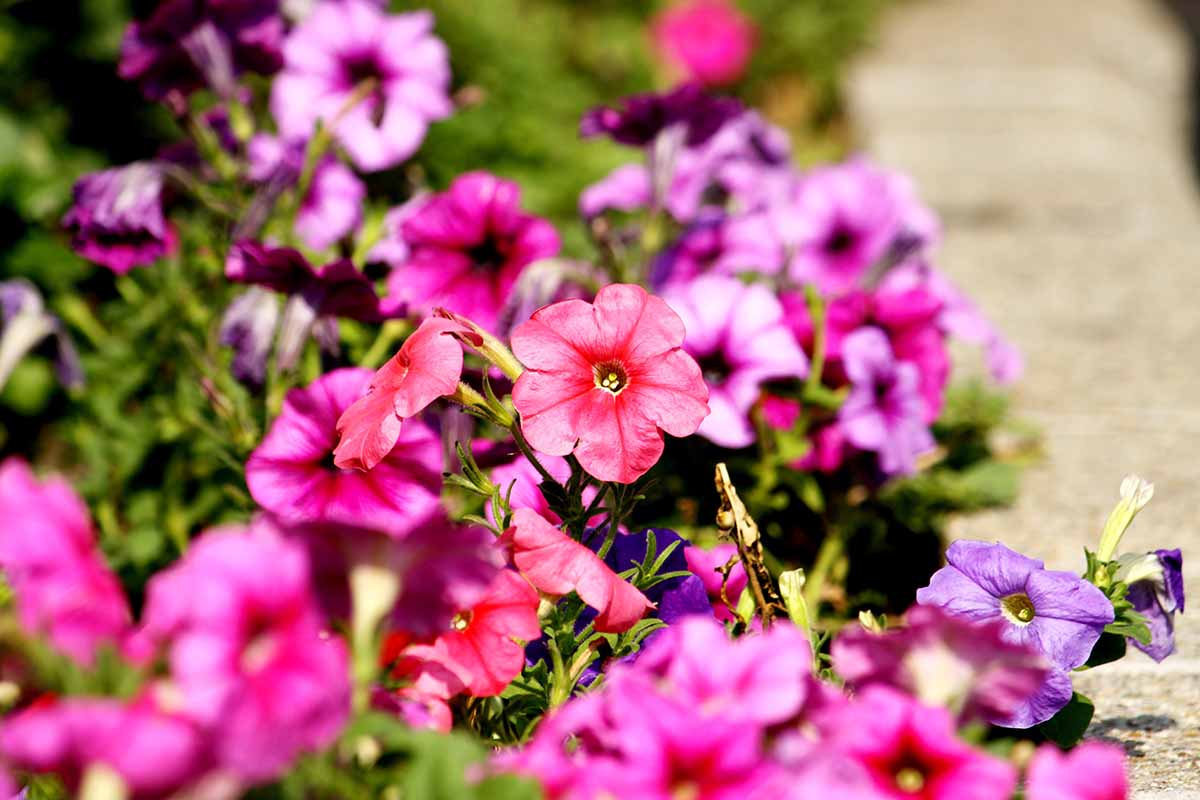
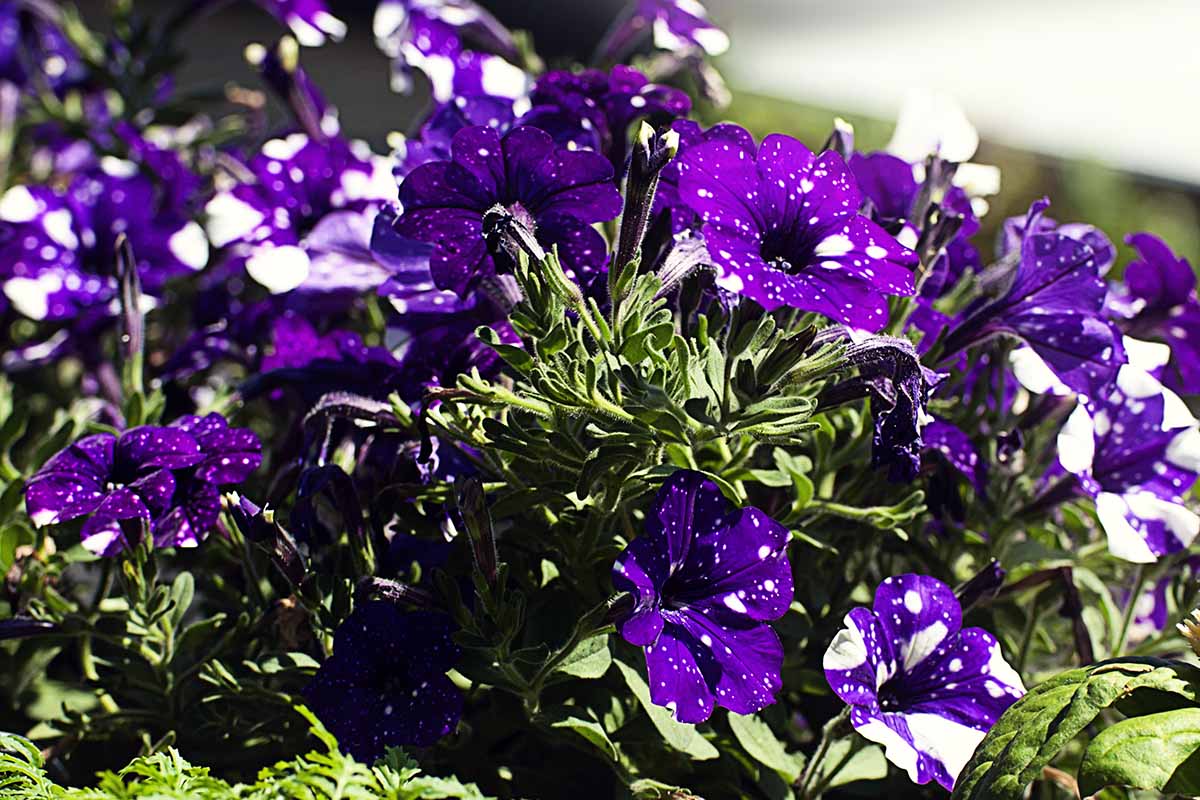
Beloved for their masses of colorful blooms and their easy-care nature, these plants are South American natives that have definitely found a home in North America. We link to vendors to help you find relevant products. If you buy from one of our links, we may earn a commission. With single or double trumpet-shaped blooms in pink, purple, red, yellow, or white, this flower is often called upon to add vibrancy to the garden from spring until fall. If their heat tolerance, or long blooming season sound good to you, maybe it’s time to start growing your own color-popping petunias. We’ll cover the steps and strategies that will help to make the growing process go smoothly for you – and help your petunias stay healthy and continue to bloom all season long. Here’s the lineup:
Cultivation and History
Part of the Solanaceae family, which includes tomatoes and tomatillos, petunias are divided into several groups that include grandiflora, multiflora, milliflora, floribunda, and ground cover types. Learn more about the distinctions between these types here. There are 35 known species of petunia, and virtually all of the ones you might grow as a home gardener are hybrids. The splashy bloomers are native to South America. In the early 1500s, when Spanish explorers found the low-growing white-flowered type in South America, they didn’t find it all that appealing, and so went about their merry way after naming it “Petun,” approximately translating to “worthless tobacco plant.” The flower made its move from the rainforest environment to the garden bed after the French brought a sample of the vine to Spain in 1823. In 1831, Scottish explorer John Tweedie found another variety, now known as P. violacea, and took some of the purple-flowered specimens back with him to the Glasgow Botanical Gardens. From there, plant breeders from England, the US, Germany, and Japan have been on a quest to develop new and better hybrids in new colors and various bloom sizes. By 1934, Japanese breeders had succeeded in developing varieties with double blooms. Wave petunias are a more recent innovation. In 1995, the Ball Seed Company introduced its Wave series of cultivars, and these are among the most popular varieties available today. The company has since broadened its line to include Tidal Wave, Double Wave, Easy Wave, and Shock Wave cultivars. Already have a favorite type? Or do you just want to learn more about these popular bedding and basket plants? Let’s dive right in to explore the best ways to grow and care for petunias.
Propagation
It’s a thoughtful Mother’s Day tradition to buy a mostly-grown petunia plant that’s already blooming riotously and present it as a gift. The fully-grown plants are also a solid option for filling containers for the summer patio, or even planting in a bare patch of garden. But if you’d like to grow and care for the plants from an earlier stage, that’s also gratifying and can cost less than buying the pre-planted annual baskets. Here are the top ways to propagate petunias:
Start Seeds Indoors
Like the wax begonia, petunias can be tricky to grow from seed. The seeds are tiny and have quite specific propagation requirements. And this process takes a while, so be sure to confirm that you’ll have enough time. Start eight to 10 weeks ahead of your area’s average last frost to assure spring blooms. Prepare a shallow container of pre-moistened seed-starting mix, or several small pots if you plan to keep the petunias in these containers for the rest of the growing season. Each should have drainage holes and a tray to catch excess water. You’ll basically just press the seeds into the top of the mix, spacing them about an inch apart and scattering 1/8 inch of seed starting mix over the top. Water the containers thoroughly and allow them to drain, discarding any excess water. Then cover the top of the container with plain old plastic wrap, and place it in a sunny windowsill. Look for sprouts in seven to 10 days, and be sure to remove the plastic and position those seedlings beneath a strong grow light or on a sunny windowsill immediately. If you’ve used a shallow tray, transplant the individual seedlings into their own small containers with good drainage once they’ve grown a set of true leaves. Thin the seedlings according to the spacing recommended on your seed packet. Keep them moist until you’re ready to plant them outdoors, but never allow the soil to become waterlogged. The best temperature for indoor care is around 75°F.
Sow Seeds Outdoors
Direct-sowing seeds in a garden bed, outdoor container, or in the ground only works in the warm weather in USDA Hardiness Zones 9 to 11, where you can grow petunias as perennials. Otherwise, it takes too long for the weather to be warm enough for seeds to germinate while still allowing the 10 to 16 weeks of warm weather they need to grow large enough to bloom. If you are in one of these warmer areas, make sure to cultivate the soil down to at least six inches ahead of planting. When you’re sowing into a container, make sure you use a growing medium formulated for container flowers. Ordinary garden soil won’t drain well or provide enough nutrients for these plants. Other than that, proceed the same way you would if you were starting the seeds indoors. Just be sure to keep the soil and the seedlings evenly moist without allowing the soil to become too soggy.
Root Cuttings
To be both frugal and creative, why not propagate some petunias from cuttings? This approach offers the advantage of new plants that look (and bloom) like the parent plant you can see before your very eyes. So if you know someone with a petunia you admire or have one growing yourself, you can proceed to propagate clones from cuttings by filling a two- or three-inch-wide container with about two inches of the pre-moistened seed-starting medium. Many containers will work well here, including old yogurt cups and peat pots. Just make sure the pot has drainage holes at the bottom, or plan to cut some if you need to. Cut a six-inch-long stem from a healthy, stocky plant. With your fingers, gently remove the leaves from the lower half of the stalk, starting from the end that you have cut, opposite the terminal end. Jab the cut edge about half an inch into the soil, and place the container somewhere warm that receives at least six hours of sun each day. The kitchen windowsill is ordinarily a suitable spot. Keep the soil moist but not soggy throughout the rooting process. Generally, roots will start forming in about 10 days, maybe sooner. Let the cuttings become established indoors for about six weeks, or until they’ve started producing new growth, before transplanting outside.
Transplanting Seedlings and Nursery Starts
You’ll want to wait until the soil is at least 60°F and all danger of frost has passed before you transplant seedlings or nursery starts outdoors. It’s important to harden off the young plants before exposing them to the wind, increased sunlight, and cooler temperatures outdoors. Nursery-grown plants shouldn’t need hardening off. Place the containers in an area sheltered by a wall or cold frame for an hour on the first day, and increase the duration spent outdoors by an hour or two for a few days, until they can spend a full day outside. Move the containers gradually into full sun in their final location. To transplant, work the soil down at least six inches and amend it with organic matter like mushroom compost. Plant each seedling or nursery start in a hole the same size as its container, making sure the top of the root ball is even with the soil surface. Backfill around the roots and tamp the soil with your palm, firming it gently. Make sure to water as soon as you’ve transplanted, and keep the soil consistently moist until the plants have adjusted to their new homes. Many gardeners like the visual effect of planting seedlings in groups of three, especially when you’re growing them in larger containers or window boxes. In garden borders, you can allow just four to six inches of space between miliflora types; multfloras and grandifloras will need to be planted 12 inches apart if you’re growing them in full sun – in shadier locations you can allow just six to eight inches. Provide ground cover types 12 to 18 inches of space between plants to give them room to spread. You’ll find more information on fertilizing plants below. But keep this tip in mind: For petunias grown in hanging baskets or other types of containers, it saves time and effort to add a teaspoon of time-release granular fertilizer to each hole ahead of placing your transplants. That way, you don’t have to continually bring them down to your level to add applications of liquid fertilizer.
How to Grow
If you’re buying petunias as bedding plants, be sure to bring home healthy stock from the nursery or home store. Look for starts with stocky, strong stems that branch laterally, instead of just growing straight up on a single stalk. While the best plants will display an abundance of buds, you don’t want to buy starts that are already in full bloom. If you do, they may have difficulty adjusting to transplanting, or they may finish flowering way too soon. Don’t purchase bedding plants that have yellowed leaves or holes, or spots left behind by bugs. And be sure to look into the drainage holes to make sure the roots are bright white, not brown or slimy. Give them a sniff, to make sure you don’t detect that unmistakable odor of root rot. To encourage petunias to flower profusely, situate them in an area that gets at least six hours of sun each day. They can flower in indirect light, but they’ll never become the show-stopping bloomers you’re looking for if they aren’t grown in full sun. They do just fine in any type of well-draining soil, but their preferred pH is 6.0 to 7.0, or slightly acidic to neutral. Throughout early spring, be extra attentive to the threat of a late frost, and cover the plants with frost cloth ahead of time to protect them. Be sure to remove any coverings with the return of warm weather. Petunias will benefit when you pinch the top inch or so of the stalks back while the plants are still four or five inches tall, and not yet blooming. This will encourage each seedling to branch instead of getting leggy. Once they’ve gotten established, you can move into maintenance mode. Read more about ongoing care for petunia plants in the next section.
Growing Tips
For abundant blooms, grow in full sun.Choose suitable potting mix and avoid average garden soil when growing petunias in containers.Keep an eye on the weather forecast in spring and protect young seedlings when late frost is predicted.
Maintenance and Pruning
Once petunias are established, it’s relatively simple to keep them growing and flowering. These are the most important maintenance tasks:
Watering
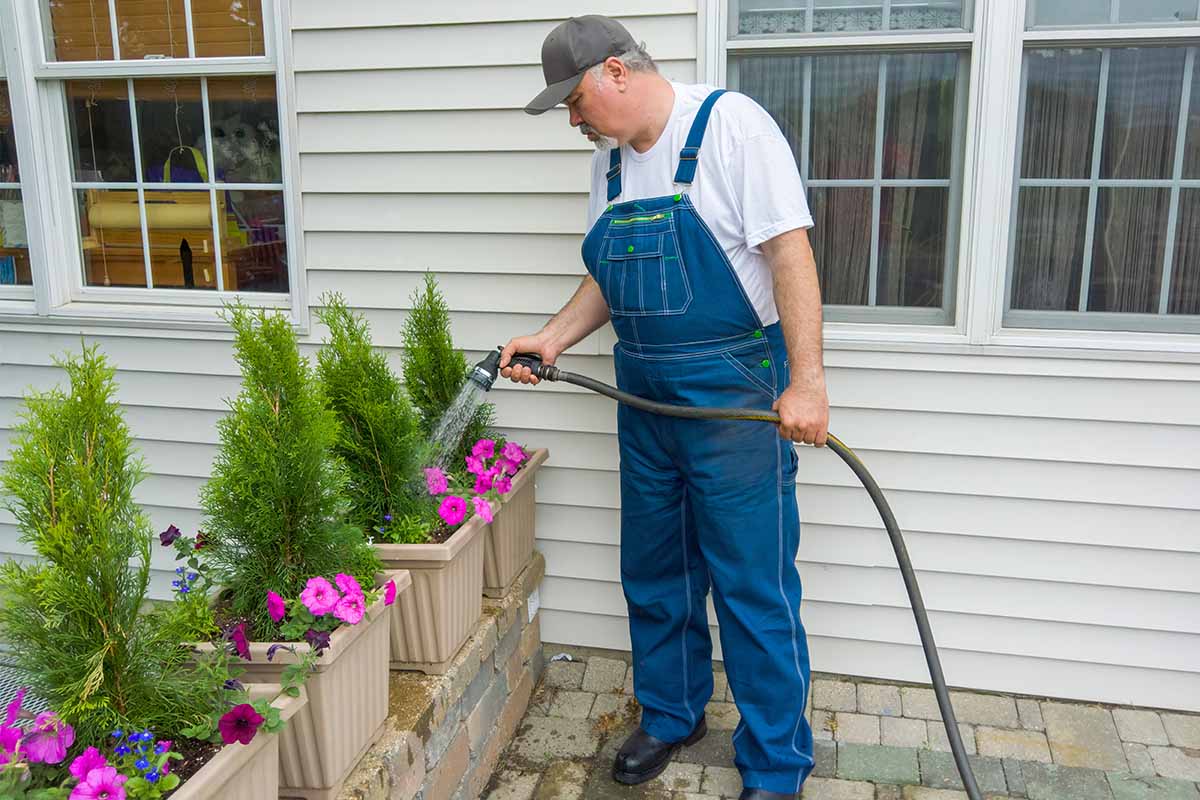
These plants require at least an inch or two of water every seven to 10 days. If the rain doesn’t provide it, you should. Be careful to water at the soil line, not from overhead. It’s important to water deeply. If you water often, providing just a little, you’ll encourage the roots to become shallow. That makes it hard for the plants to take up enough water to survive, and it also requires you to water far more often than you would otherwise. When you’re growing container varieties, you may need to water every day during the hot summer, especially if you chose a clay pot, which won’t retain much moisture to speak of. Make sure you’re giving the plants ample water each time you hydrate, pouring it on until you see it draining out of the holes in the bottom of the container. The finite amounts of soil in a container can’t hold as much water as the ground, but you still don’t want it to get too soggy either.
Fertilizing
To stay healthy during that months-long blooming marathon, petunias need a dose of diluted liquid fertilizer, provided once every month or so while they’re flowering. Select a balanced product (10-10-10 NPK). You can apply this with the water you use to hydrate the soil, or as a foliar spray, following the manufacturer’s instructions.
Deadheading
It’s not necessary to clip or pinch dead flowers from petunias with smaller or single blooms, and you’ll probably want to skip all the bending and crawling if you’ve planted them in a low garden bed or as ground cover. But you may want to deadhead spent blooms regularly in containers and hanging baskets that are situated near living spaces. This will keep the plants tidier and looking more attractive, along with encouraging more blooms. The varieties with large or double blooms are also far too glamorous to be sporting dead blossoms, so be sure to clip them off whenever you think of it. They make fine additions to the compost too, by the way.
Pruning
Even if you do pinch back small plants as described above, petunias will tend to get leggy and stop forming as many blooms as the summer wears on. At this point, you’ll want to do the standard pruning, clipping the shoots back by about a third of their height, or almost all the way down to the ground if it’s needed. Don’t go too far, though. The plant that’s left will still need some of its leaves to photosynthesize so it can grow back. There’s no point in pruning with just a couple weeks left before the first frost. But if you make these cuts in late summer, your petunias may produce an entire second round of healthy stems and beautiful flowers.
Cultivars to Select
Herbivores
These ornamental plants are considered a delicacy by numerous woodland creatures. Rabbits will nosh on the foliage and flowers and so will deer, as well as mice and other rodents. Here’s a sample of what’s available, to get you started:
Grandiflora Daddy Series
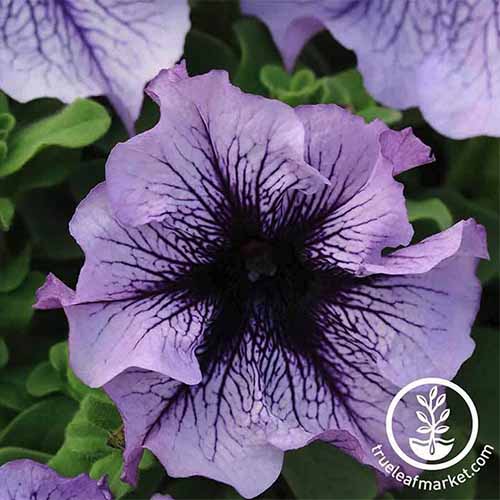
This popular collection of cultivars produces 12- to 15-inch plants with four-inch ruffled blooms in a variety of colors with an attractive veined pattern. Daddy Series Blue Pelleted seed is so much easier to plant than the tiny individual seeds, and True Leaf Market has packets of 1,000 pelleted seeds available in blue (which is more of a purple than a true blue), orchid, pink and white ‘Peppermint,’ multicolored ‘Sugar,’ pink, red, or a mix of several colors.
Spellbound Blush
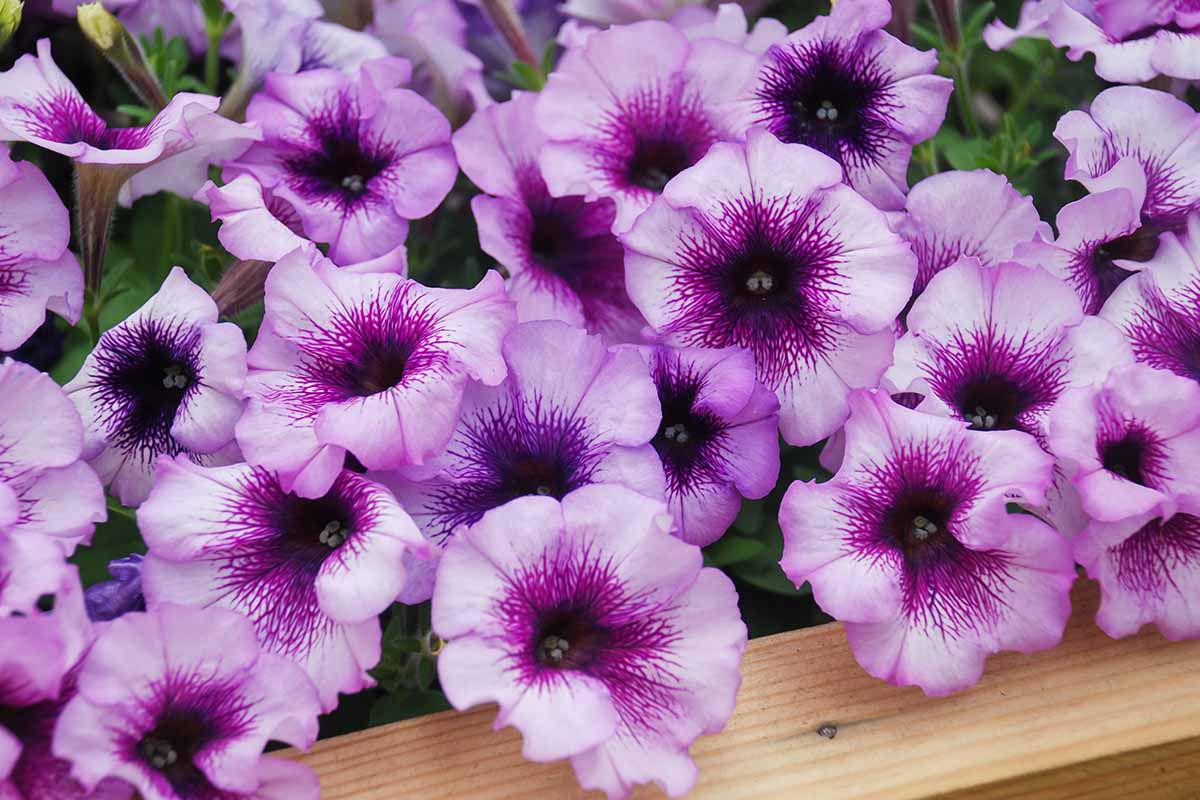
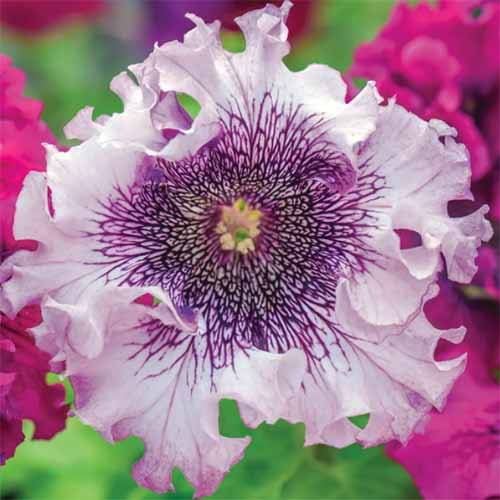
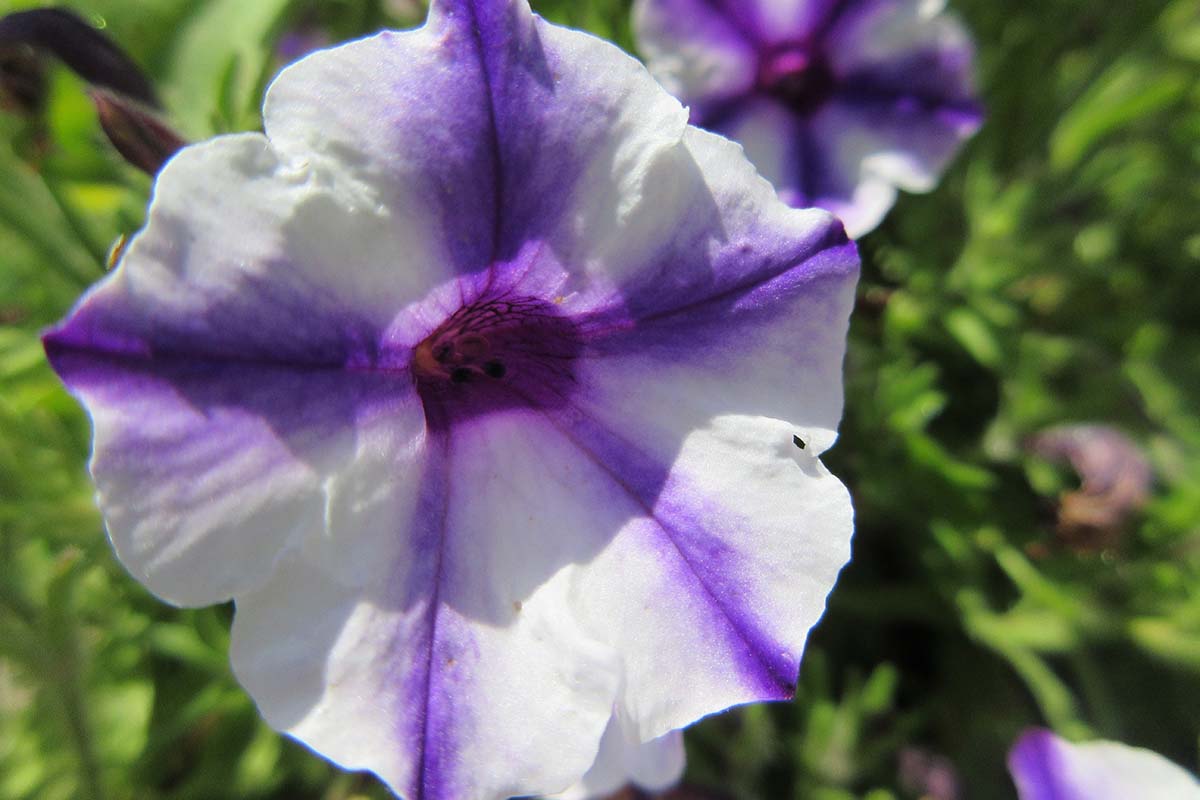
Fancy! If you want a bodacious, over-the-top petunia right from the start, here you go. Spellbound ‘Blush’ boasts four- to six-inch flowers that are white/blush and frilly on the perimeter, with painterly, dark purple centers. This hybrid cultivar stands tall without drooping and is known to tolerate rain on its blooms without a problem. Spellbound ‘Blush’ And if you’re torn between growing starts or trying your hand at sowing seeds indoors, Spellbound ‘Blush’ is available in both 15-seed packets and four-packs of live plants from Burpee.
Wave Series
If you’d like to plant your own Mother’s Day hanging basket, a group of mounding petunias to cover a bare spot, or some pots of Wave petunias for the patio, live starts are available from Burpee. Wave Series Their collection, sold in bundles of 18 starts, includes three top spreading varieties: Purple Wave, Easy Wave ‘Red,’ and Shock Wave ‘Denim.’
Managing Pests and Disease
The most difficult aspects of growing petunias are getting them established and keeping them watered, while pests and diseases rarely present problems. Here are the most likely culprits if you do notice damaged or sickly plants: Placing row covers over the starts at planting time may help to protect them, as will constructing barriers or fences aimed at deterring whichever pests are prevalent in your area. Gardeners also report success planting all varieties except for ground cover types in elevated locations where rabbits, voles, and the like won’t have access to them. For more info on protecting your bedding plants and blooms from rabbits, see our guide. We also offer step-by-step instructions for building a deer fence.
Insects
Just a few common garden bugs might cause a little trouble, but usually nothing devastating.
Caterpillars
Tomato hornworms, yellow wooly bears, and other types of caterpillars may decide to make a meal of your petunias. Usually, if you notice them, you can simply pick them off and dispose of them without involving any chemicals. Some caterpillars that might strike are solitary, so it’s not like they’re doing too much damage on their own. Others are the pupae of beautiful butterflies so you might want to leave them alone. Liquid Bt can also be used to control caterpillars. If you spot them munching leaves and leaving black dots of frass scattered around, mix up a solution of Bacillus thuringiensis and water in a spray bottle according to package directions, shake, and spray onto the plants. Garden Safe Neem Oil Mixed at home with just one ounce per gallon of water, this 16-ounce concentrated product will yield 16 gallons of treatment. A few other bugs can present problems. While serious infestations aren’t common, you’ll want to keep an eye out for aphids, leaf miners, and thrips. We have the details on identifying, deterring, and preventing each of these insects in our complete petunia pest control guide.
Diseases
Petunias commonly grown by home gardeners are by and large hybrids that have been bred to be disease resistant. You can further discourage disease by eliminating the insects that spread infectious pathogens – especially aphids – and providing ample air circulation. Still, you may encounter a few ailments, particularly if you’re growing in ultra-humid conditions or haven’t given the plants enough space. Here are the main diseases you may need to tackle:
Aster Yellows
This odd ailment causes abnormal growths that resemble little green flowers bursting out of the petunia blooms. The disease may be caused by a number of phytoplasmas, which are pathogens similar to bacteria. To deter this disease, take care of leafhoppers in the garden, which are the main carriers. For more info, check out our guide to identifying and treating aster yellows.
Damping Off
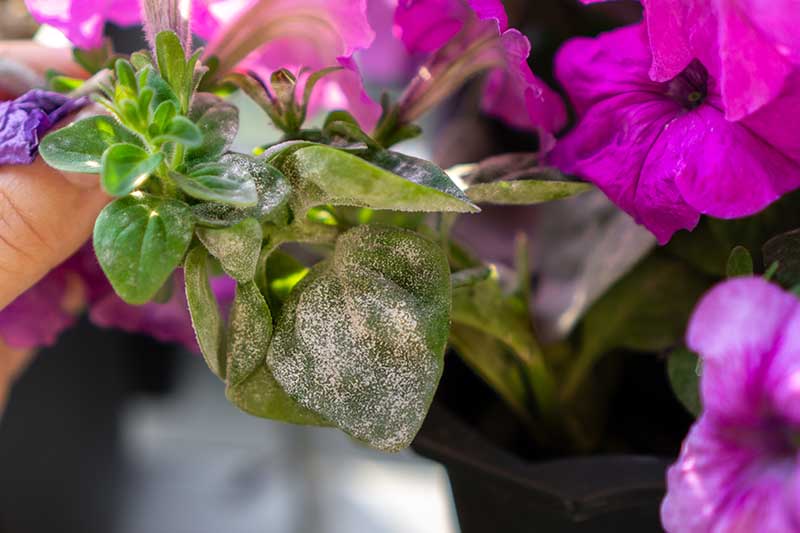
A fungus or water mold is at fault if your young plants succumb to damping off. Rhizoctonia, Fusarium, or Pythium species will attack young seedlings at the root, and the damage is always deadly. Learn more about damping off and find prevention tips in our guide. Powdery Mildew The fungus Erysiphe cichoracearum creates powdery mildew, which makes the plants look as if white flour has been sprinkled on the leaves. Powdery mildew is most common when you grow petunias in dry, warm climates. Stop it before it starts with tips from our guide.
Turnip Mosaic Virus
No, that’s not a typo. This disease that afflicts turnips and other vegetables can also strike and kill petunias, particularly young bedding plants purchased from nurseries. It causes yellow spots on the leaves or possibly larger, light green splotches. This virus is spread by aphids, so controlling them as part of your integrated pest management strategy is key to preventing infections. Find more details about detecting and preventing turnip mosaic virus in our guide.
Best Uses
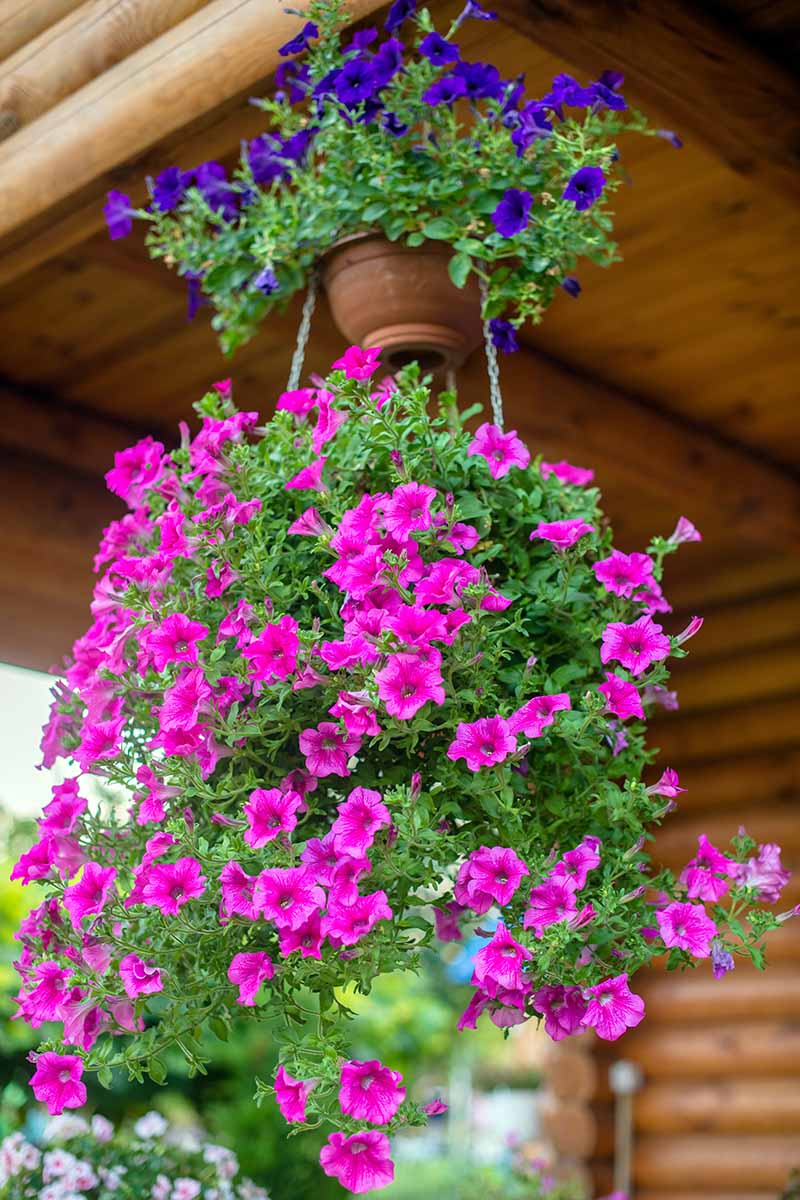
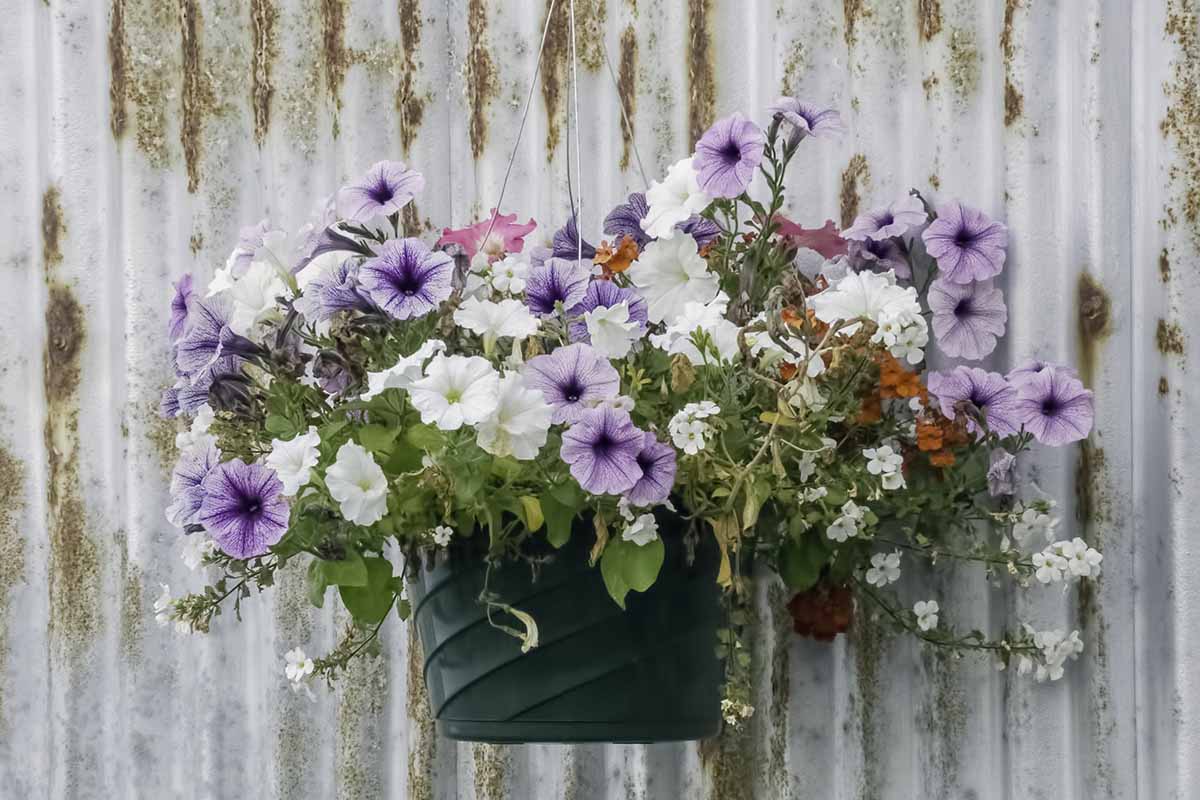
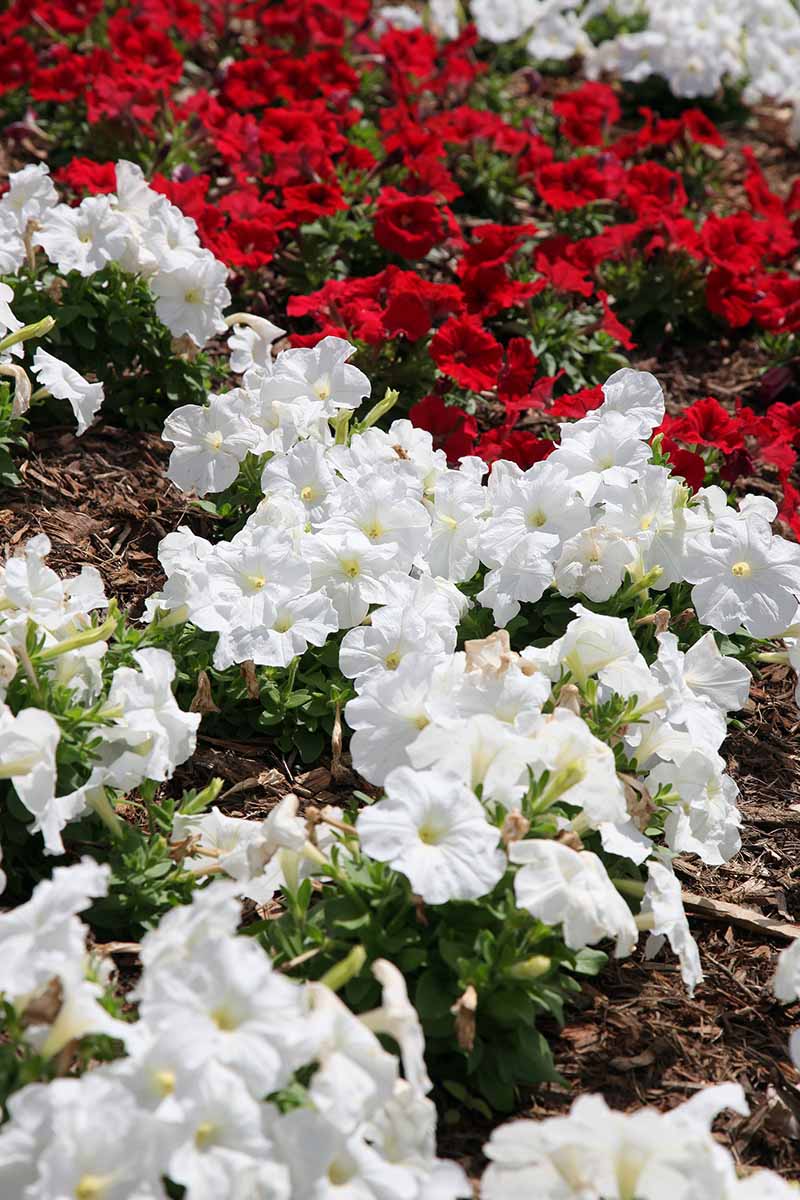
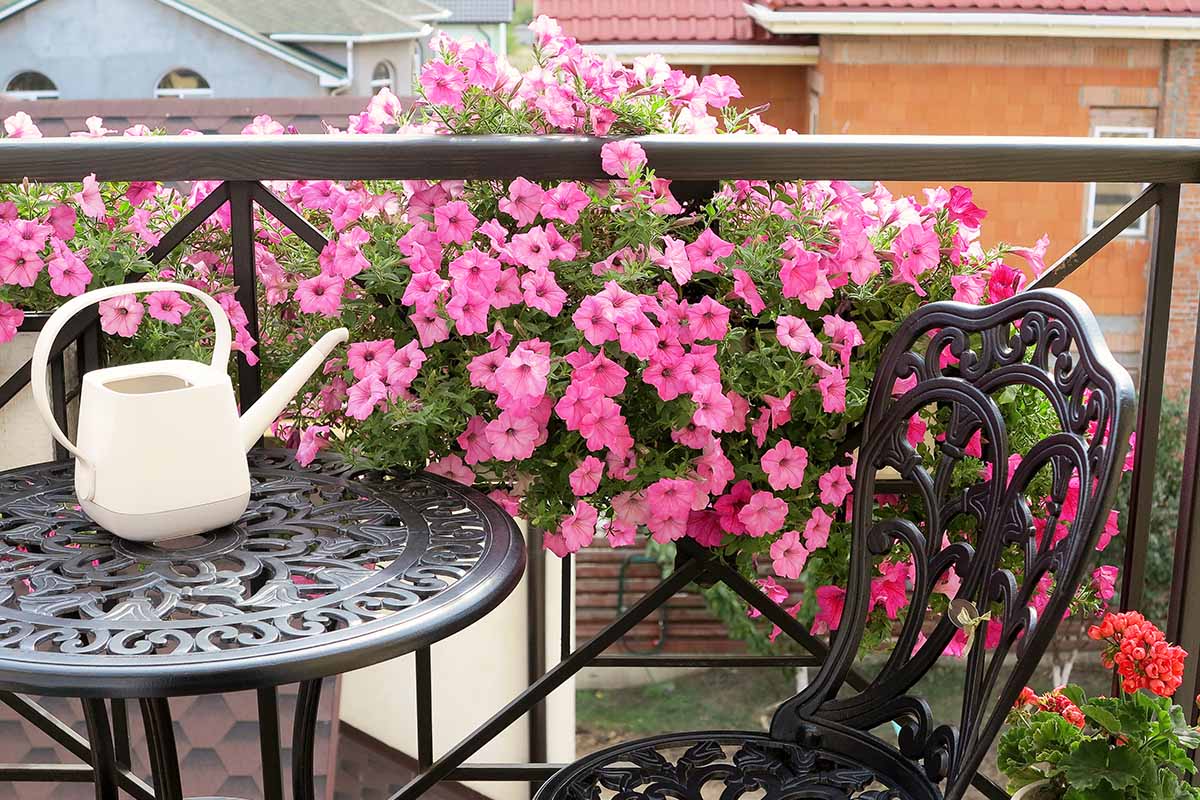
You will run out of space and budget long before you exhaust all the available ways to employ petunias to your advantage! The only caveat is this: Remember they need full sun to be at their healthy, blooming best. If you can meet that condition, they’ll add eye-popping color to hanging baskets, container gardens, and window boxes. Try pairing the varieties that bloom in blue or purple with silvery foliage like dusty miller, or cascading ornamental grasses. In the garden, the shorter versions with smaller blooms are appealing in the front of a border. Ground cover varieties can fill up a bare spot on a hill, beneath a bird bath, or around a mature hardwood tree in a hurry – if they can get enough sun, that is. They even provide a service in the vegetable garden, growing well with members of the nightshade family and brassicas, and attracting pollinators for all nearby plants that might benefit. Or try these sweet, bright hybrids in a cottage garden design, or as a colorful screen in areas where springtime bulbs have bloomed and then faded. Do you have any favorite types of this popular ornamental, or ingenious ways to use them in your garden design? The comments section below awaits your input, whether you’re sharing tips or asking questions. And be sure to include photos if you have them! For more information on this versatile, long-blooming annual (or perennial!), check out these petunia guides next:
Your Complete Guide to Overwintering PetuniasAre Petunias Cold Hardy? Tips for Outdoor Winter Care
