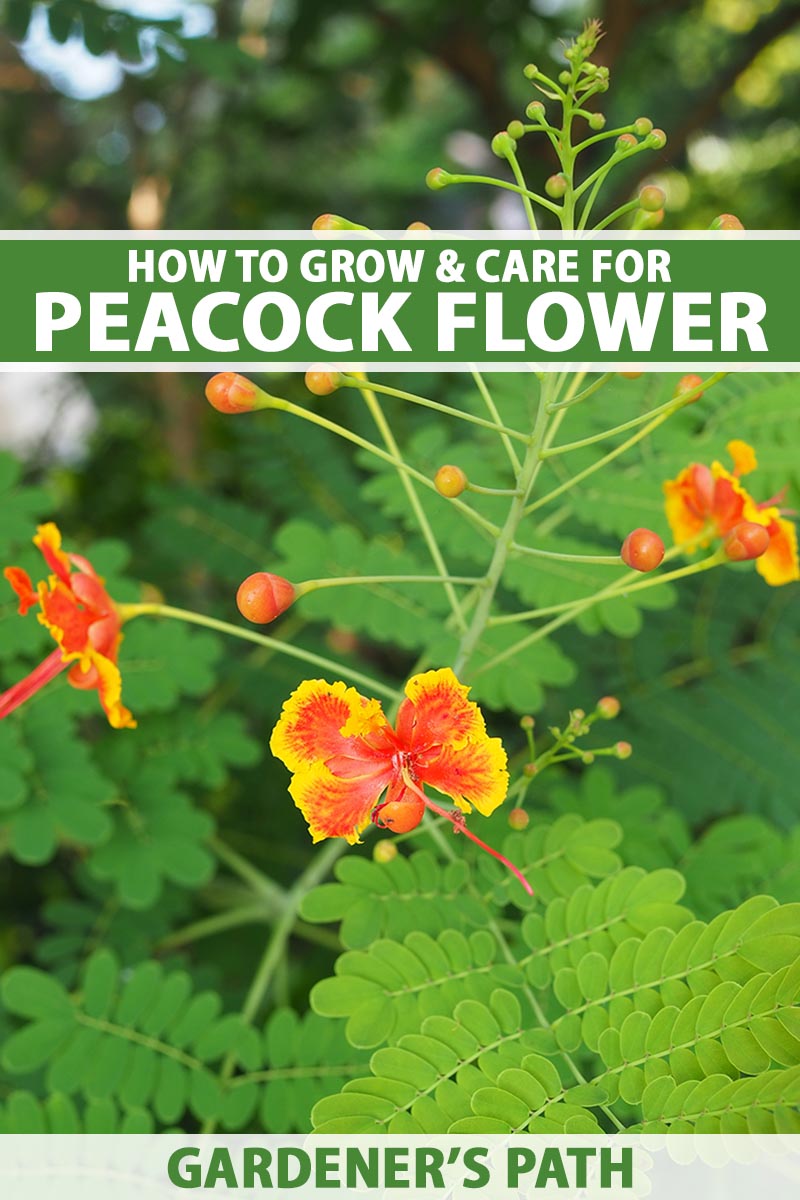
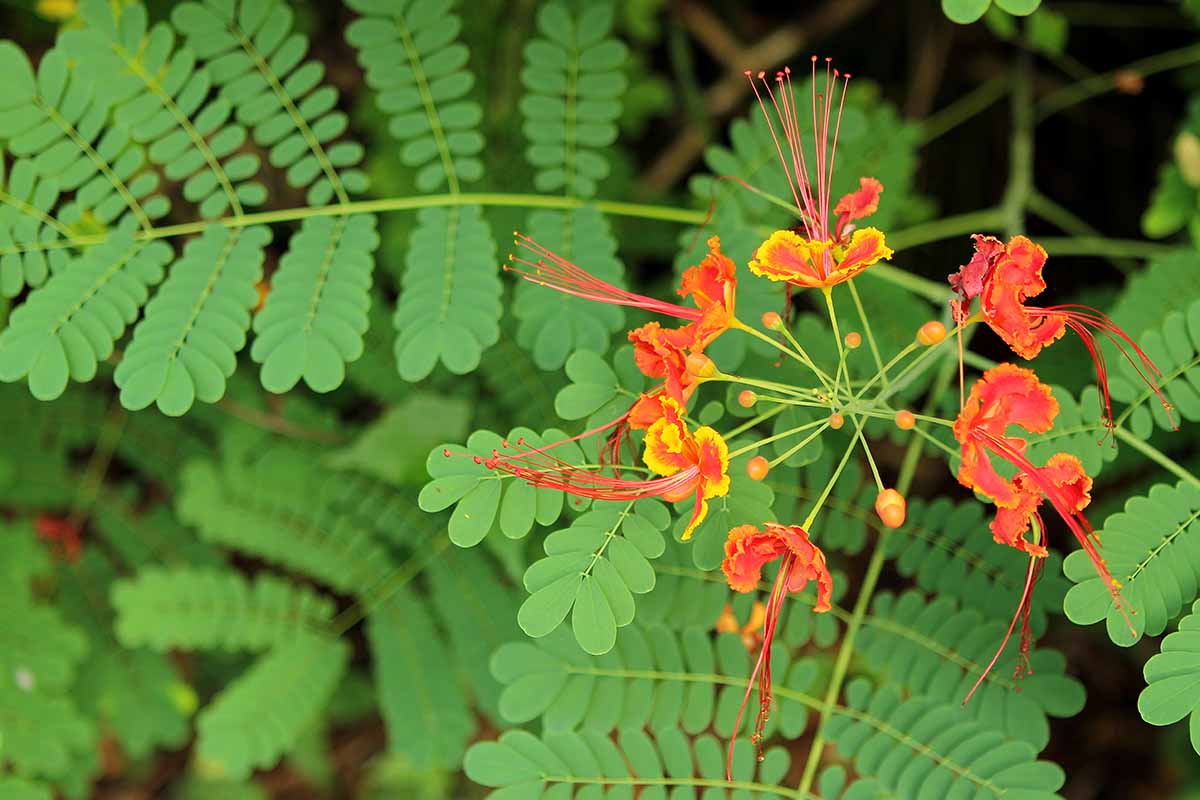
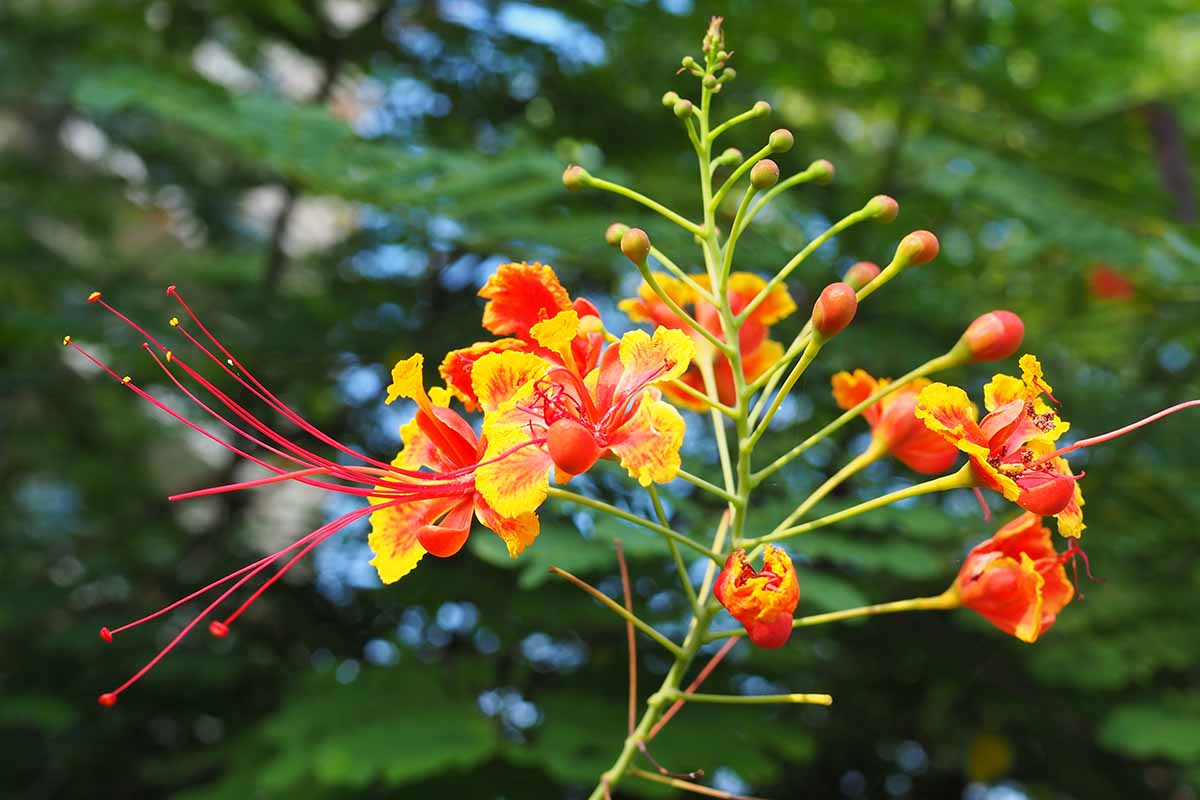
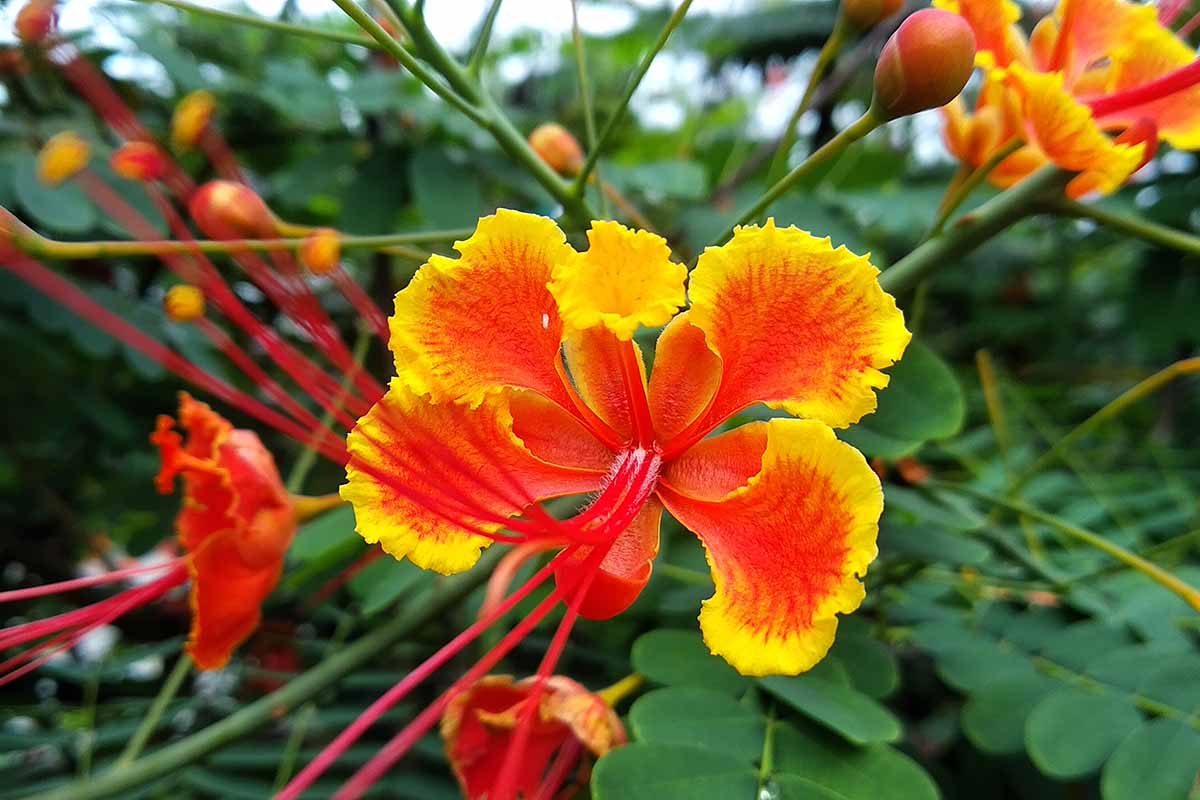
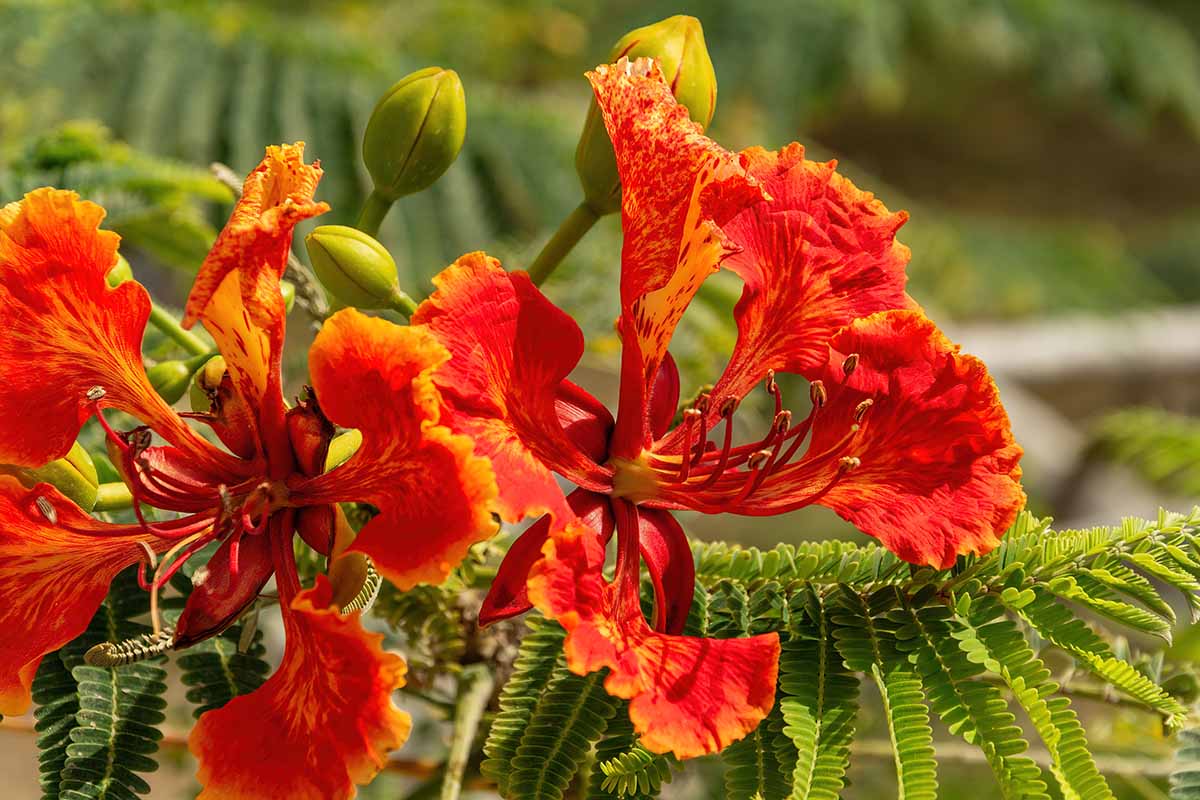
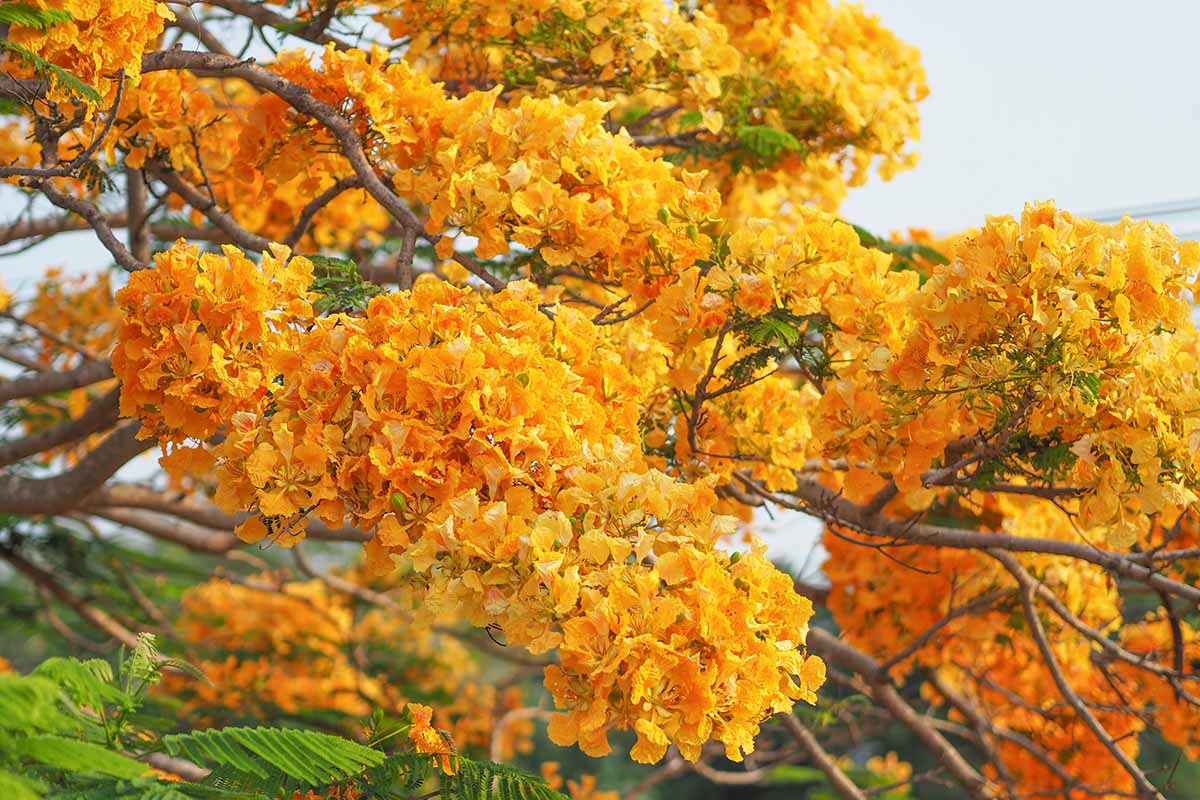
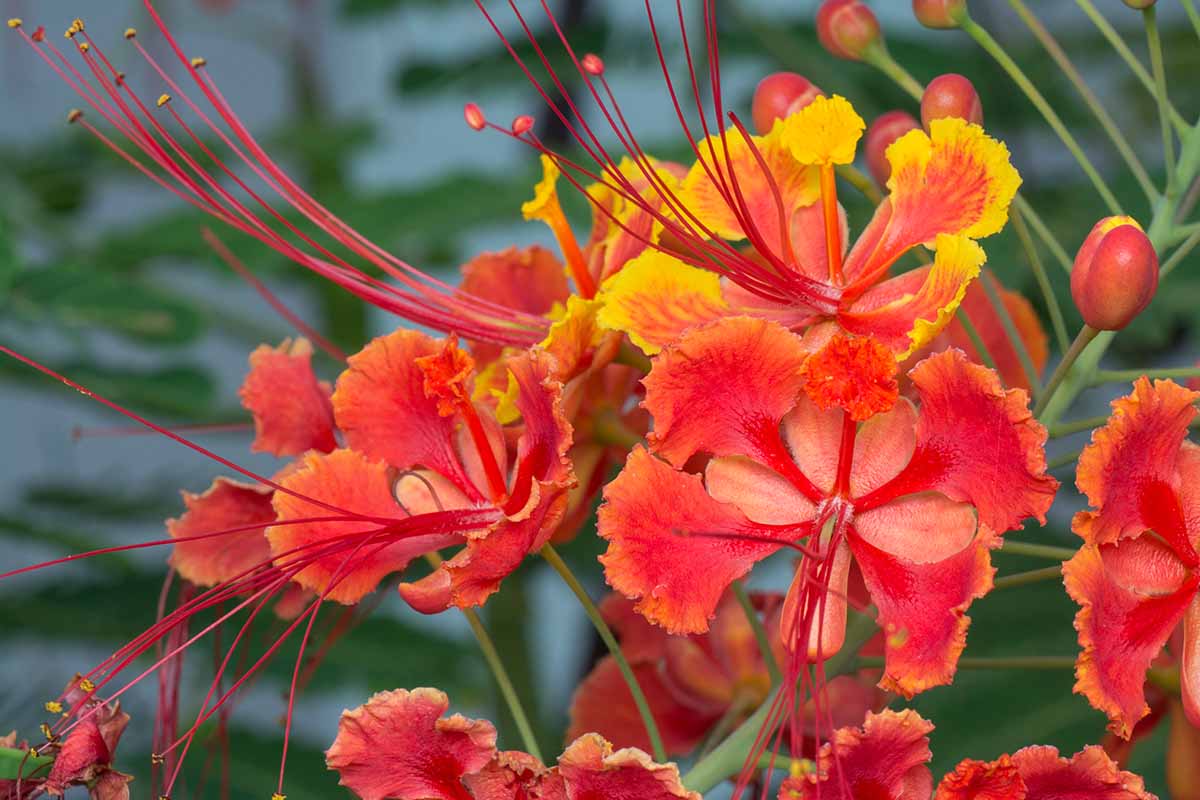
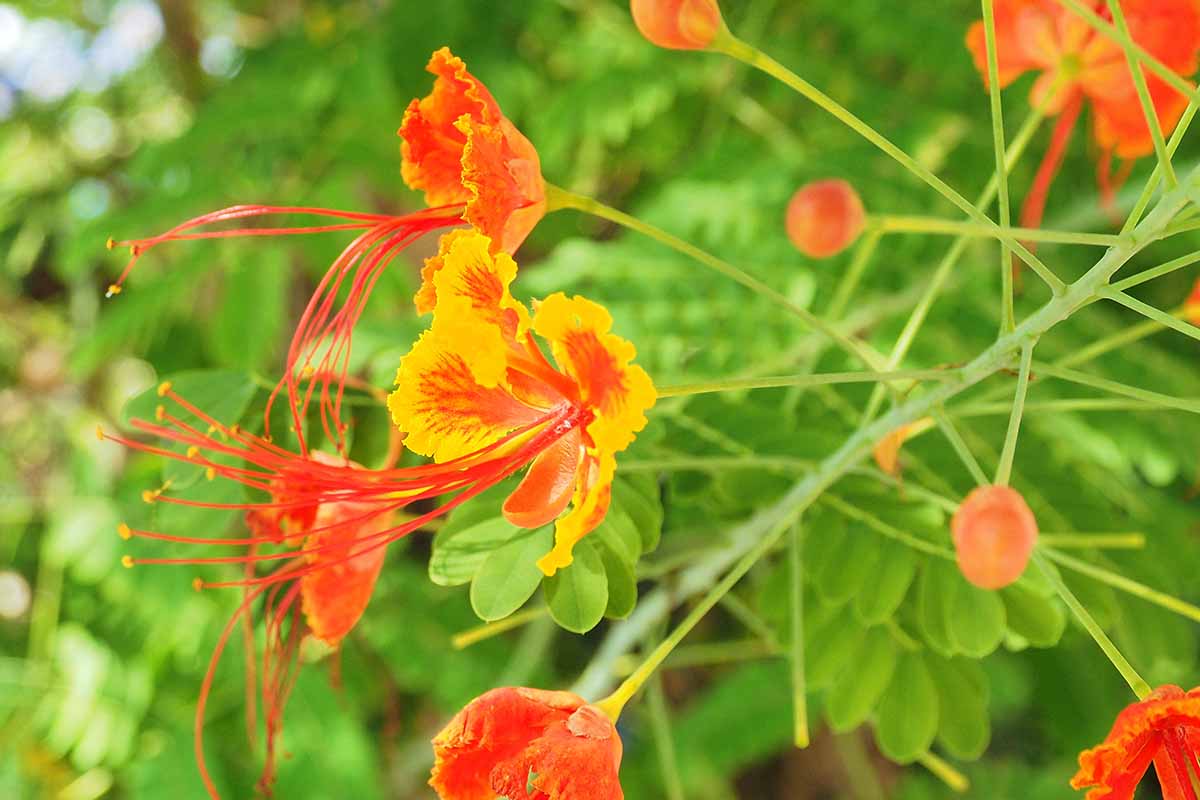
This evergreen tree or shrub has dark green, bipinnate compound leaves on thorny stems that can provide a gorgeous screen if desired. Along with the stunning foliage, this tropical beauty has orange-red, cupped flowers that bloom in clusters known as racemes, which can flower year-round in warm enough climates. We link to vendors to help you find relevant products. If you buy from one of our links, we may earn a commission. Aesthetics, versatility, utility – red bird of paradise has the full package. And it can all be yours, if you have the required know-how. That’s where we come in. This guide will cover just how to grow and care for a peacock flower. From propagation methods to health care tips, we’ll go over the information needed to start growing these bad boys for yourself – and more! Get amped for what awaits:
Cultivation and History
Despite its name, the red bird of paradise isn’t actually related to a plain ol’ bird of paradise from the Strelitzia genus. Being a tropical plant, C. pulcherrima thrives in USDA Hardiness Zones 9 to 11 as a woody evergreen shrub or tree, and makes do in Zone 8 as a returning perennial. The peacock flower hails from Mexico, Central and South America, and the Caribbean. While on the first scientific mission to the New World in the early 16th century, Spanish botanist and physician Francisco Hernández became the first European to reference this plant. American colonists from Europe admired C. pulcherrima and gave it the “peacock flower” moniker. By the end of the 17th century, C. pulcherrima was being cultivated back in Europe, and it went through a name change. Originally named Poinciana pulcherrima, the genus was renamed Caesalpinia for logistical reasons, as well as to honor Italian botanist Andrea Cesalpino. Left untouched, the species name pulcherrima means “the most beautiful” in Latin, which is pretty spot-on. The red bird of paradise has even more common names, such as “Mexican bird of paradise” and “Barbados flower fence.” Also known as “the pride of Barbados,” it is the national flower of this country, and is depicted on the nation’s coat of arms. “Dwarf Poinciana” is another nickname you may come across because of its resemblance to the Royal Poinciana tree, as referenced in its formal botanical name before being reclassified. Other notable species in the Caesalpinia genus include C. mexicana, referred to commonly as Mexican bird of paradise, and C. gilliesii, the desert or yellow bird of paradise, both of which feature yellow blooms. Despite being mildly poisonous, red bird of paradise tissues have been utilized by humans throughout history in a ridiculous number of ways. Here’s a mega – and probably incomplete – list of uses: treating convulsions, controlling intestinal worms, inducing menstruation, treating GI conditions, soothing skin conditions and reactions, relieving fevers and chest pains, alleviating bites and stings, stunning fish, treating coughs and breathing issues, repelling insects, preventing lung and liver disease, making Hawaiian leis, washing the eyes and mouth, aborting unwanted pregnancies, inking and dyeing, and even executing criminals! Gee whiz… it’s like the Swiss Army Knife of the botanical world. Nowadays, the peacock flower is a valued ornamental in the landscaping industry.
It balances the mass and density of a screen with the floral interest of a bouquet, and is stunning when used/displayed pretty much anywhere in the garden. Despite being a tropical plant, its drought tolerance makes it a solid option for xeriscaping, or low-irrigation and low-maintenance landscaping in arid climates. As plants belonging to the Fabaceae family, red bird of paradise seeds have a bean-like coating, which is hard and tough to penetrate. Of course, you’ll also want to know how to transplant your sprouted propagules once they’re ready to move into the garden.
Sowing Seeds
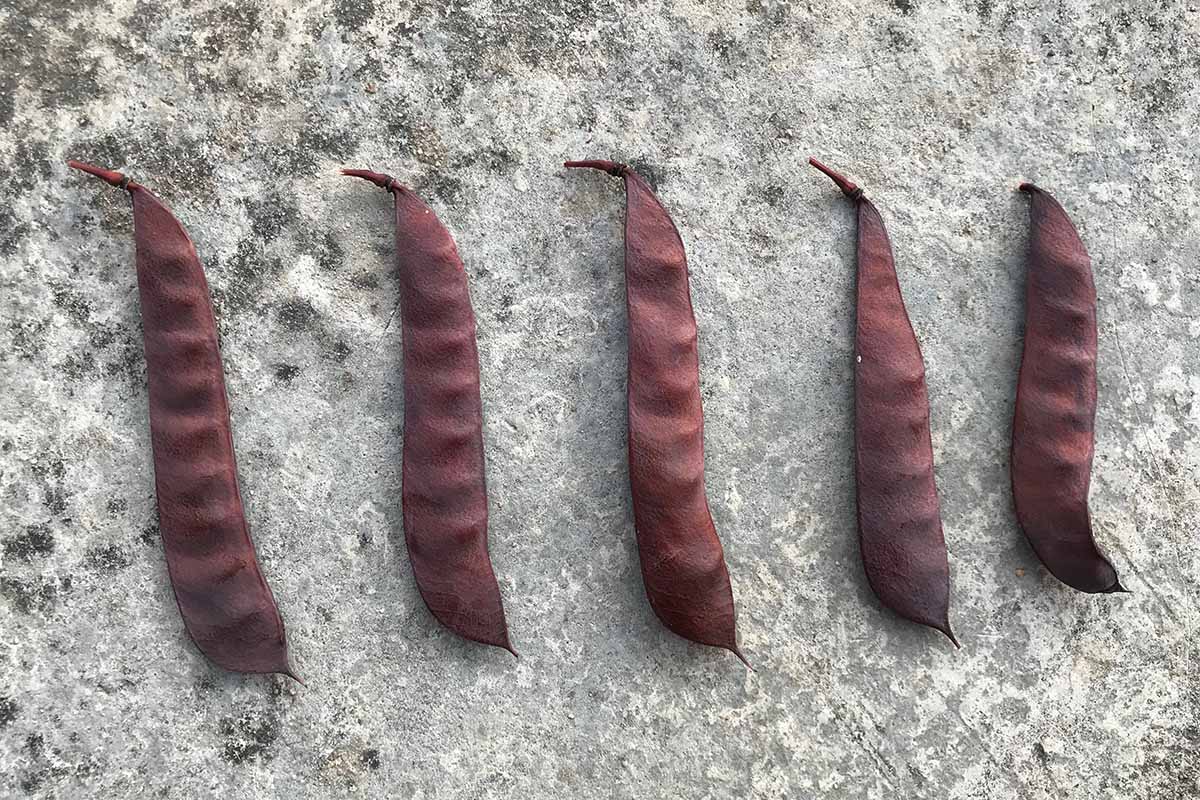
Caesalpinia Pulcherrima, Pack of 10 Seeds If you’d like to gather some yourself, simply pick some seed pods off the branches as soon as they turn brown, and before they have a chance to scatter. Put these pods in a brown paper bag, and place the bag in a dry location like a garage, cupboard, or pantry. The seed pods continue to dry, and they will eventually split open and release their seeds. While this preserves the seeds and protects them from pests and moisture loss, it does make germination more difficult. Thankfully, we can kick-start germination ourselves with a process known as scarification, where we penetrate the seed coat to allow water in. You can scarify with a file or sandpaper by rubbing the seed against the abrasive surface until you penetrate the seed coat and expose the cotyledon. A small, shallow, and cotyledon-exposing cut from a sterilized blade also works. Next, soak the seeds in lukewarm water for six hours, and discard any non-viable ones that float to the surface. From here, the viable seeds can be sown outdoors or indoors. Either way, the ideal planting time is summer, or as soon as possible after preparing the seeds. In both locations, you also want to keep the adjacent soil moist. To sow outdoors, find a sunny patch of well-draining, fertile soil in your garden. After tilling the top six inches of soil, sow the seeds a quarter- to a half-inch deep, spacing them six to 20 feet apart to account for their mature spreads. Cover the seeds with adjacent soil, water them in, and expect germination within two weeks. Keep the seedlings moist as they grow and develop. During wintertime, keep them protected from any subfreezing temperatures via cloches and/or wraps, if necessary. Come spring, the seedlings should be ready to flower. For indoor sowing, prepare a tray of well-draining seed-starting media. A mix of 50-50 sphagnum peat moss and perlite should suffice. Sow the seeds a quarter- to a half-inch deep, moisten the nearby soil, and keep the tray in a bright, indirectly lit area. Germination should take a week or two, and the seedlings should be repotted once they develop a second pair of true leaves. At this point – if it’s no longer wintertime – you can begin to harden them off by bringing the seedlings outside for 30 to 60 minutes. Add 30 to 60 more minutes of outdoor exposure every day until the seedlings can tolerate a full day’s exposure, at which point they’ll be set for transplanting.
Transplanting
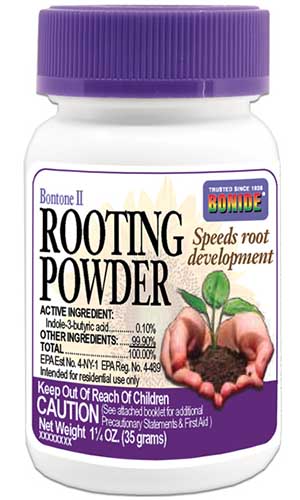
When the sprouted or rooted propagules are ready for transplanting, choose a sunny area of well-draining, fertile soil in your garden. Dig holes large enough to fit the root systems, then insert the transplants. Defoliate the bottom half of the cutting, and dip the leafless end into a rooting hormone, such as this IBA powder, available from Bonide via Arbico Organics. Bonide Bontone II Rooting Hormone Powder Stick the dipped ends of the cuttings into a tray of growing medium similar to what you’d use for indoor seed sowing, and moisten the soil. Keep the tray in a bright, indirectly lit place and keep the medium moist. By the time a couple new leaves form, they’ll be ready to harden off, similar to what you’d do for seedlings. Once hardened, they’re ready to transplant. Backfill any empty pockets with nearby soil, water in the plantings, and keep them well-watered until they become established.
How to Grow
C. pulcherrima is too gorgeous to grow in less than optimal conditions, in my opinion. But it is pretty adaptable, so don’t stress if your environment is lacking in some ways.
Climate and Exposure Needs
It’s worth restating: this plant needs to be grown in USDA Hardiness Zones 9 to 11 to survive year-round as an evergreen shrub or tree. Zone 8 will force it to be a perennial that dies to the ground every winter, unless you overwinter it indoors once temperatures dip below freezing. Additionally, the closer to the equator it’s grown, the more it will grow like a tree instead of a shrub, and vice versa. Peacock flowers should be planted in full sun or partial shade, but ideally in full sun for optimal flowering. The more sun, the better the blooms will be, so give C. pulcherrima all the rays it can handle. In full shade, it won’t flower nearly as much and growth will be leggy. To grow a red bird of paradise in a container, it’s best to use a material such as cement or terra cotta with drainage holes at the bottom. The foliage that does such a good job at screening also catches wind very well, and the plant can tip over if it’s not weighed down with a heavy pot. When it’s brought inside for the winter, your C. pulcherrima will want as much indoor sun exposure as it can get. It won’t need as much water as it would outside, and you can skip the fertilizer until spring.
Soil Needs
Well-draining soil is absolutely essential for the peacock flower to grow while avoiding root rot, so planting in soil with a sandy texture is the best way to achieve this. Ample soil fertility provided via organic material will also help with drainage, and will keep the plant lush and vibrant. Both acidic or alkaline soils work, so a middle-of-the-road pH range of 6.0 to 8.0 will suffice.
Water and Fertilization Needs
Deeply irrigate C. pulcherrima whenever the surrounding soil becomes dry. You can discern this by sticking a finger a couple inches into the soil: don’t water if you feel moisture, and vice versa. Remember that this plant is drought-tolerant and prone to root rot if overwatered, so when in doubt, err on the side of providing less. Some floral fertilizer in spring – like what you’d use for roses – can help the blooms, while a springtime soil amendment of organic material can improve fertility and soil texture. But whatever you do, don’t fertilize with nitrogen. This legume already receives ample nitrogen from nitrogen-fixing bacteria in the soil, so any supplemental nitrogen would be excessive.
Growing Tips
The more sun exposure, the better the blooms.Well-draining soil is essential.Don’t fertilize with nitrogen.
Pruning and Maintenance
Although a peacock flower makes for a great screen, you don’t want to prune it into a geometric shape like you would a boxwood or Euonymus. However, you can make pruning cuts in early spring to train it into more of a tree or shrub shape, if desired. Train it as a tree by keeping the multi-stemmed trunk exposed, and train it as a shrub by keeping it stout and spreading. You can also pluck dead flower heads, and removing the spent blooms faster than gravity would on its own will encourage repeat blooming, along with keeping your plants looking tidy. You can also mulch the plant for added protection during the dormant season in Zone 8. Be mindful of the thorny stems while you’re doing all this work, and be sure to wear puncture-resistant gloves while pruning or handling plants. For any potted peacock flowers that you want to overwinter in cooler zones, bring them indoors once the temperatures drop below freezing. Care for them in a well-lit, warm location through the winter. You’re free to bring them back outside once the final frost passes in spring. Repot container-grown plants if and when they start to become severely root-bound. The seed pods burst open to disperse the seeds when they’re ripe, so there’s definitely a tendency to reseed away from the mother plant. If a dense thicket of C. pulcherrima isn’t what you had planned, pull the seedlings as they sprout.
Cultivars to Select
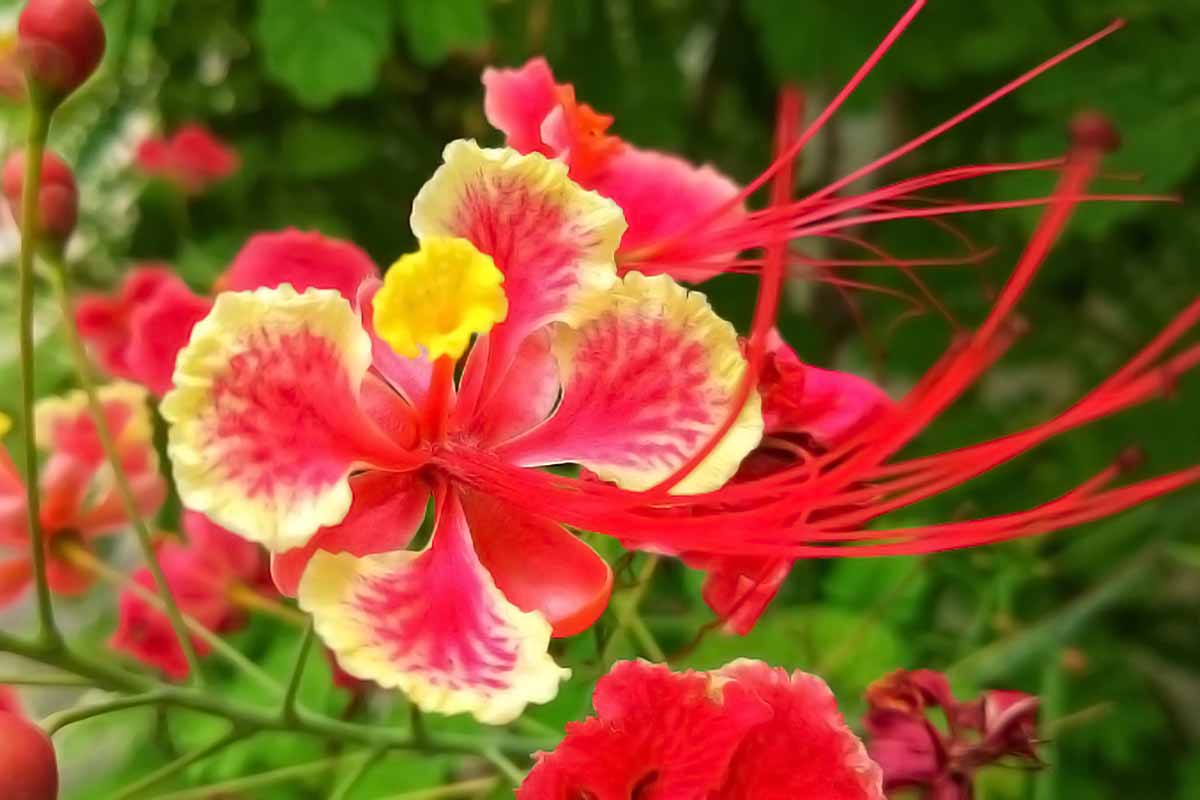
The plain ol’ peacock flower is glorious enough, but cultivars with varied bloom colors do exist. ‘Phoenix,’ for example, has yellow blooms instead of orange-red ones. This cultivar, along with the standard species, can be purchased from tropical nurseries and specialty plant purveyors.
Managing Pests and Disease
Luckily, C. pulcherrima is resistant to deer. Unfortunately, there are still some pests and diseases to watch out for. Properly caring for your red bird of paradise will help to keep it healthy… and when it comes to pests and diseases, healthy organisms always fare better than unhealthy ones.
Pests
Many pests are vectors for pathogens, so keeping the pests off of your plants will help keep diseases at bay, too. Many infestations can be prevented by keeping natural predators around, such as ladybugs, dragonflies, and spiders. With a diverse collection of plantings that provide blooms and overwintering structures, you’ll encourage these beneficial creepy-crawlies to hang out in your garden.
Aphids
Aphids are soft-bodied, translucent green insects that feed on sap, which stunts plant growth and vigor. As if feeding on plant tissue wasn’t bad enough, these pests secrete honeydew in their wake, which may result in sooty mold. In addition, the honeydew is a food source for some ant species, who protect the aphids from predator insects as payment.
Whiteflies
Whiteflies look like… well, white flies. Despite the resemblance, they are not true flies, and are more closely related to aphids. Monterey Horticultural Oil For a worthy product, check out what Monterey has available from Arbico Organics.
Scale
Scale insects are brown, itty-bitty, hard-to-spot critters that feed on plant tissue, and they also excrete honeydew. Infested plants can become chlorotic, browned, and weakened over time. Severe infestations can even result in plant death. Natria Insecticidal Soap Read more about identifying and controlling scale in our guide.
Spider Mites
The first arachnids on our list of pests, spider mites are oval-bodied, bristly critters that are tough to see without a hand lens. Their presence is often made known thanks to the webs that they spin on plants they infest. Feeding on leaves and stems, spider mites can turn plants brown and chlorotic, and can cause premature leaf dropping or even death. Applications of an insecticidal soap like the one mentioned above can help keep spider mites under control. Learn more about spider mites and how to control them in our guide. About a twelfth of an inch in length, these pests also feed on leaves and stems while secreting honeydew, which leads to a host of problems. Use an organic insecticidal soap to control whiteflies, and read more about managing them in our guide.
Disease
Sanitary gardening practices, such as using sterile gardening tools and clean growing media, can go a long way in preventing disease.
Armillaria
Caused by species of Armillaria fungi, that causes root rot, this disease occur if a peacock flower is overwatered or placed in poorly-draining soil, although an outbreak can occur even in a perfectly healthy specimen if fungi is present in the soil and conditions are favorable. This disease results in weakened, necrotic, and/or dying root systems. Above the soil line, symptoms include stunted growth, branch dieback, weakened foliage, and overall decline. You may also see the fruiting bodies of the honey mushrooms around the base of your plant. Unfortunately, there’s no known fix for this once it occurs. All you can do is remove the infected plant, destroy it, and start over. Adding insult to injury, you’ll have to start over somewhere else, because the fungi can live for years in the infected patch of soil.
Root Rot
Root rot shares symptoms with Armillaria, but has a different cause. While Armillaria root rot is caused by an actual fungus, regular ol’ root rot results after roots are exposed to too much water for too long. In the case of C. pulcherrima: over-irrigation, poorly-draining soils, or a combination of the two are often the culprits. With root rot, you can dig up the plant, snip off afflicted roots, and replant in hopes that it will bounce back. But while that advice is pretty sound for houseplants, it’s a pretty tall order for a large shrub or tree. If removing rotted roots doesn’t work or is logistically unfeasible, you’ll have to pitch the root-rotted specimen and start over. The good news? Since you – probably – don’t have a pathogen living in the soil, you’re free to use the same patch of soil for a new plant! Plus, it’s an opportunity to learn from the mistakes that might have led to root rot in the first place, making you a better gardener in the long run.
Best Uses
Whether it’s a specimen, accent, border, or container planting, the peacock flower is very versatile in the landscape. It’s tolerant of both drought and salinity, meaning it can grow in arid climates as well as in tropical regions near saltwater. The gorgeous foliage grows thick enough for use as an informal screen, while the beautiful blooms provide floral interest and attract beneficial pollinators. Just be mindful of the thorns when you choose your planting area!
Quick Reference Growing Guide
Growing Peacock Flower: You Don’t Have to Wing It
Cultivating Caesalpinia pulcherrima doesn’t have to be a shot in the dark, so I hope this article illuminates the way a bit. For such a gorgeous display of ever-blooming flowers and dense foliage, it’s definitely worth starting off a peacock flower on the right foot. Your training is complete… it’s time to grow these guys for yourself. As you would when you grow anything new, learn from and forgive yourself for any cultivation mistakes you may make. It’s all part of the process of becoming a better gardener! Questions, comments, or concerns? Head down to the comments section below. I’m jazzed to see what you’ve got to say! If you’ve had a grand old time learning about the peacock flower, then have a gander at these here tropical flowers next:
Growing Plumeria: How to Care for FrangipaniHow to Grow and Care for Canna LiliesHow to Grow Calla Lilies for Easy Sophistication
