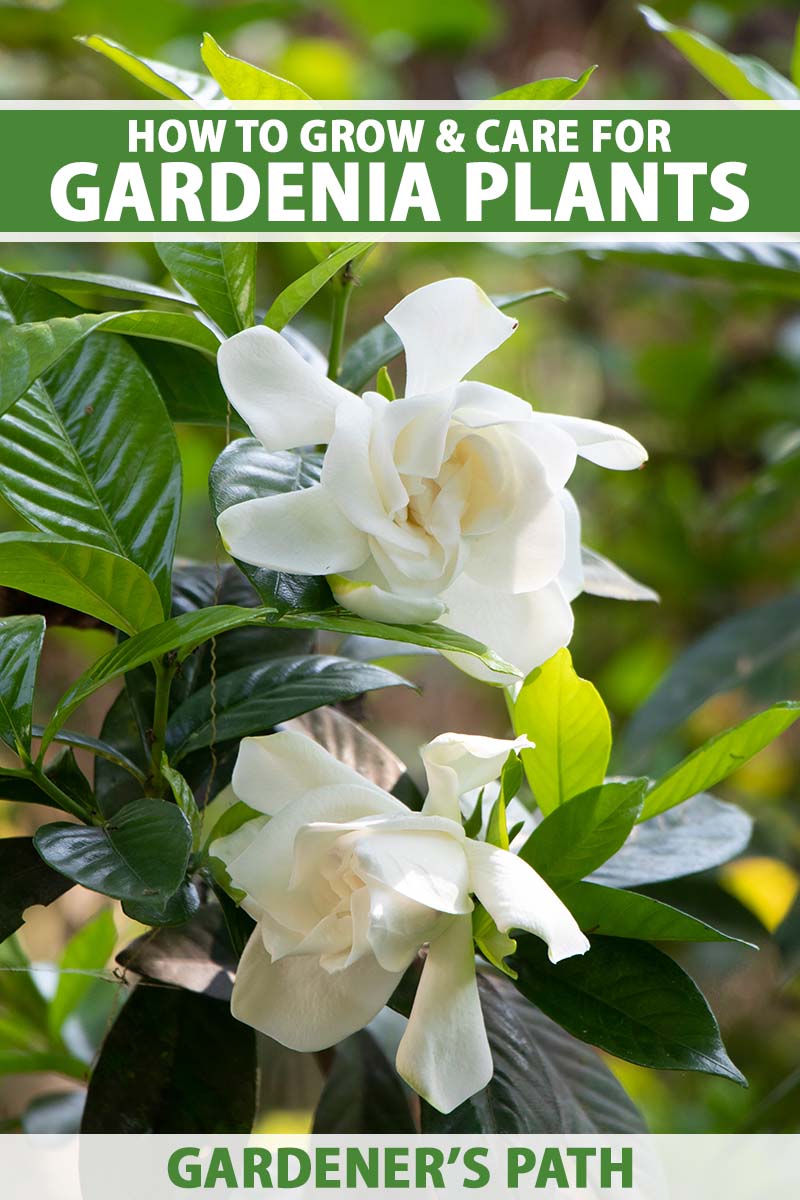
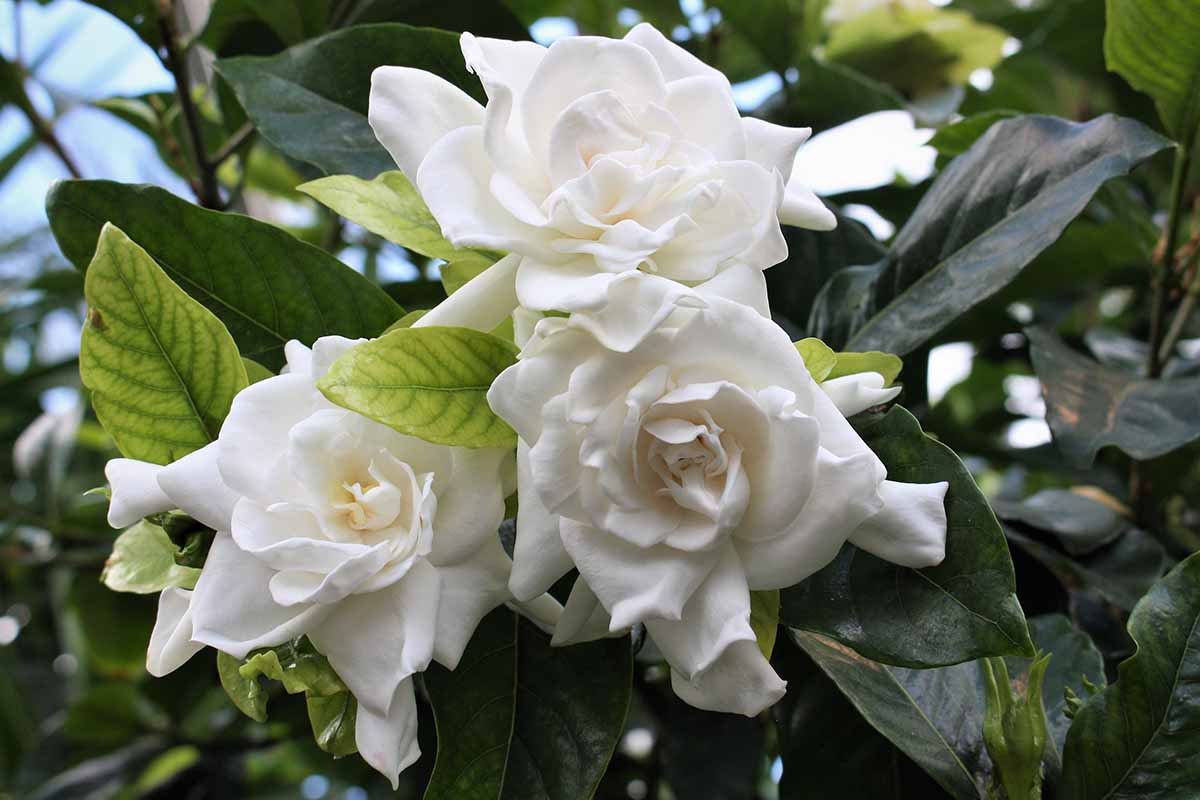
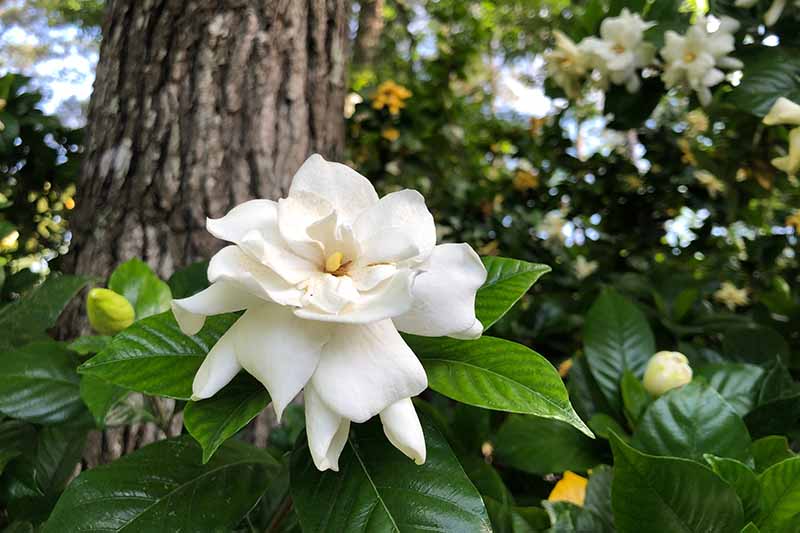
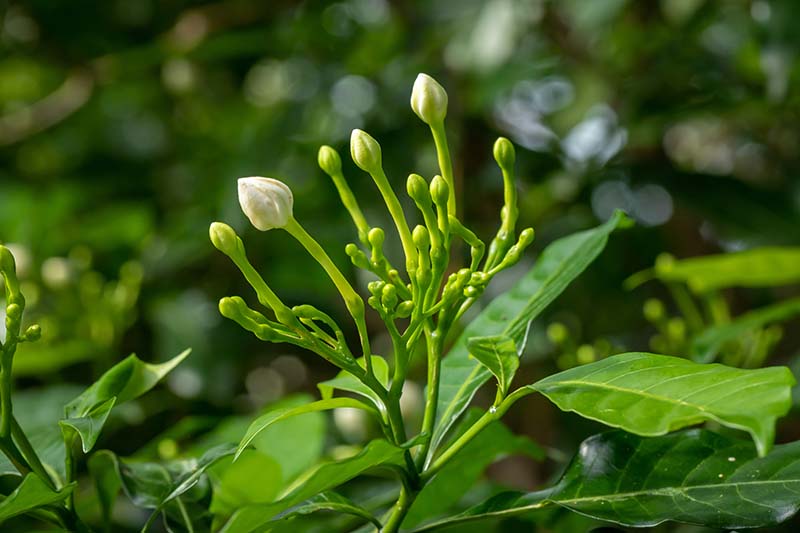
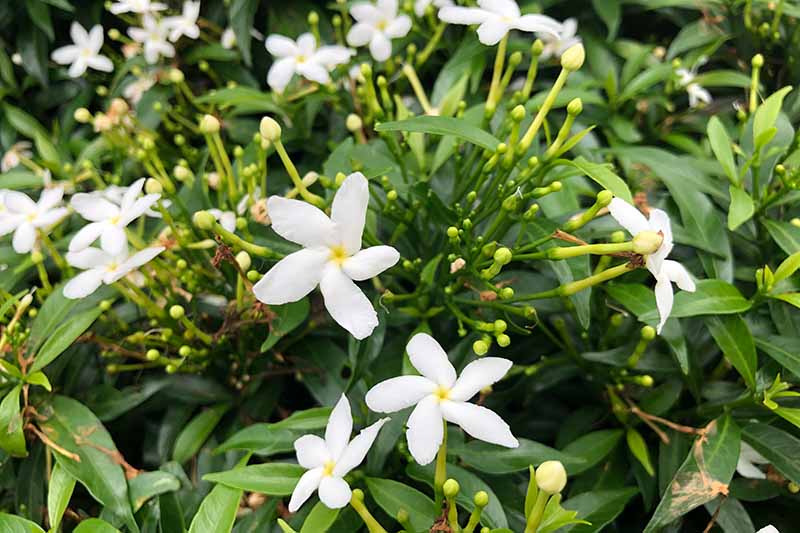
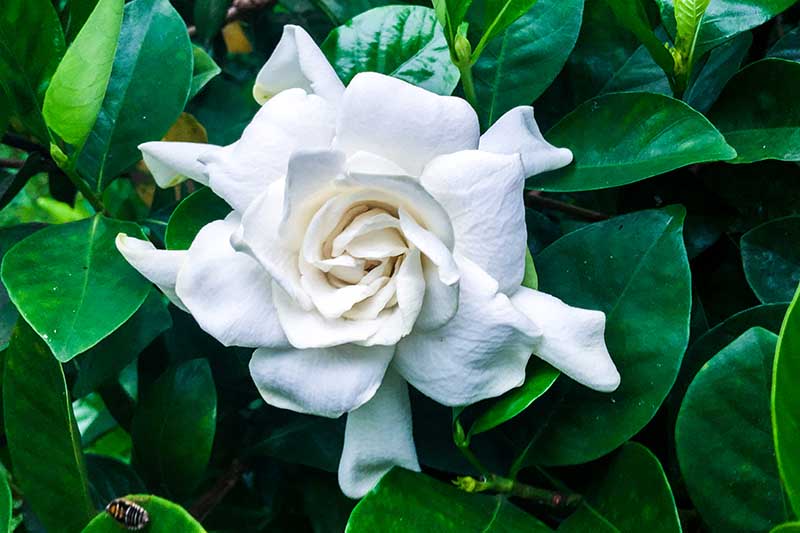
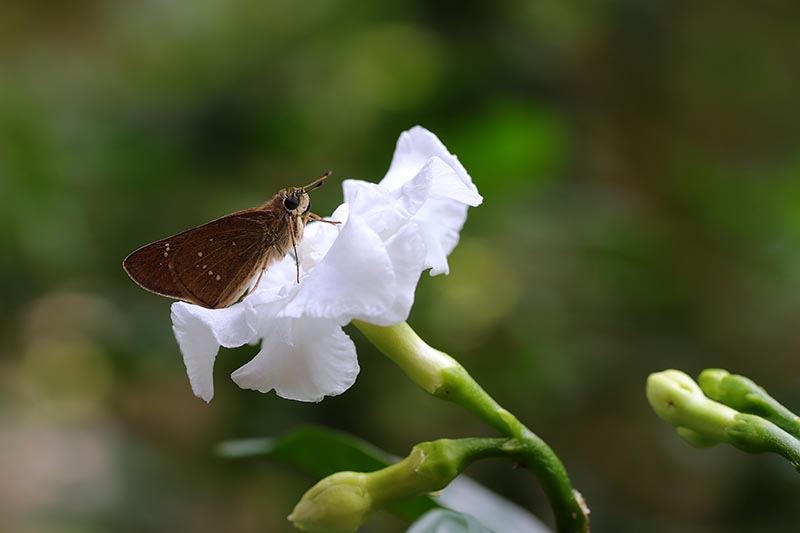
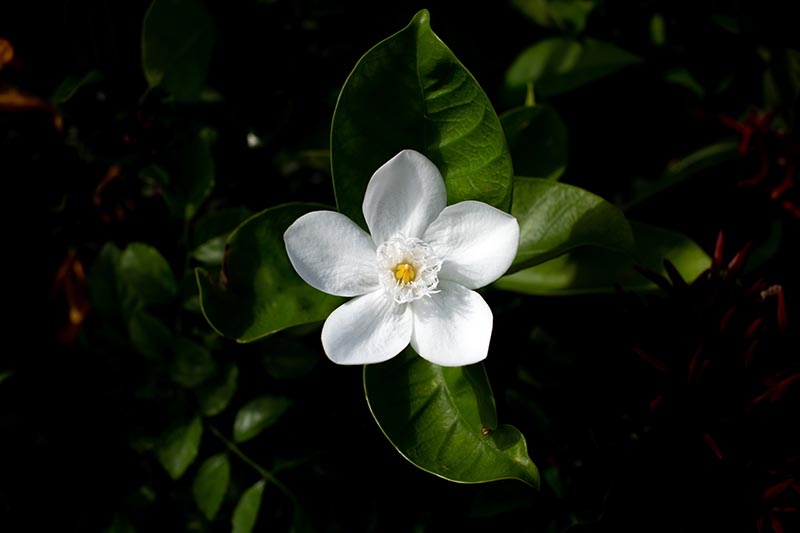
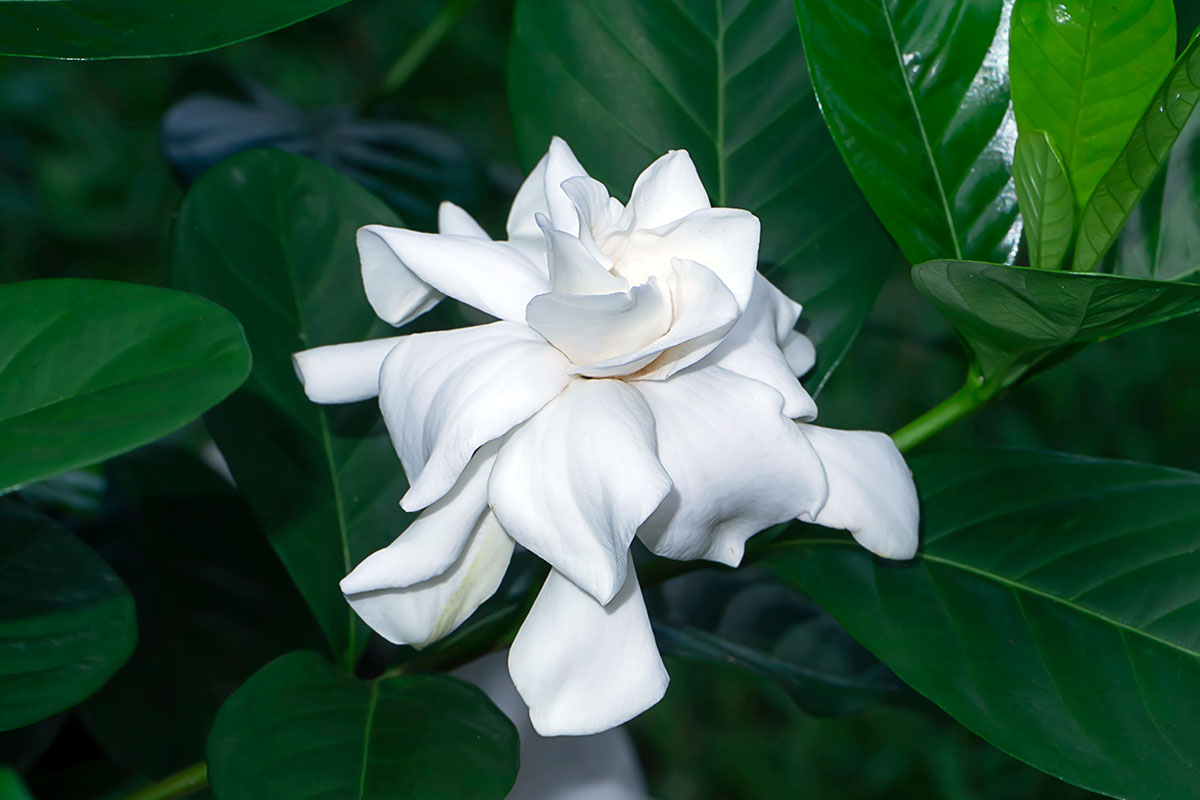
There are nearly 200 species in the Gardenia genus, but us ornamental gardeners are concerned only with G. jasminoides, and the variety it is often grafted onto, G. thunbergia. G. jasminoides is also known as Cape jasmine, a name that comes from the mistaken idea that this flower originated in the Cape of Good Hope, when it was merely transported to England from Asia on a boat that made a stop there. It has been grown in China for more than 1,000 years, and continues to delight floral arrangers and landscape designers to this day. Most varieties boast white blooms, but some have yellow flowers. ‘Golden Magic,’ for example, has double blooms that are white when they start opening and change to a creamy yellow as the flowers open fully. It’s a compact shrub that grows two or three feet tall and wide. We link to vendors to help you find relevant products. If you buy from one of our links, we may earn a commission. Just a whiff of that scent and I’m transported to joyous, carefree spring and early summer days with warm breezes, and starlit nights. Now that I’m tending these flowering shrubs myself, I’m equally taken with the amazing horticulturists behind the development of cultivars that are more frost-hardy. Between varieties like ‘Frost Proof’ that can be grown in Zone 7, where temperatures can plummet to 10°F, and more modern dwarf cultivars like ‘Radicans,’ which grows just a foot tall, growing numbers of fans can readily enjoy this shrub in borders, hedges, mass plantings, and container gardens. I’d like you to invite you to learn more about both the traditionally appealing gardenia varieties that can grow six feet tall, and some of these newer cultivars that put their lovely scent and prolific blooms within reach for many more gardeners. Here’s what to expect:
Cultivation and History
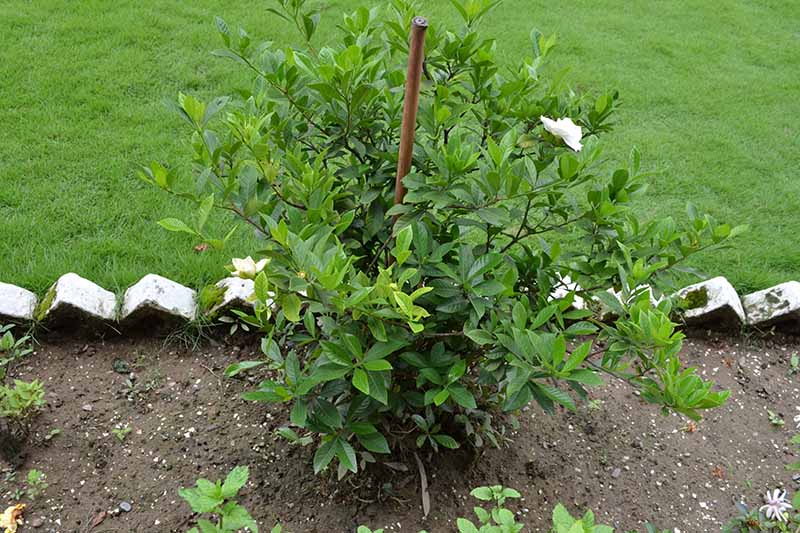
Native to the tropical regions of East Asia, particularly southern China, the common gardenia (G. jasminoides) is a tender evergreen shrub. In North America, the plant has been used in herbal medicine, and the orange berries it produces were once commonly used to dye food and clothing. Until recent years, it was only grown outdoors in Zones 8 to 11, and there weren’t any varieties of G. jasminoides that could sustain frost or freezing temperatures. Most of the old-school types were of a standard size, too, meaning they reached three to six feet tall, and spread three to five feet wide. Gardeners like my mom would usually grow the shrubs as part-time houseplants, taking them outdoors in the warmer months. Today, hybridizers have made more cultivars available that are hardy down to Zone 7, along with dwarf varieties that are downright petite. Most of the gardenias available from nurseries and local greenhouses are comprised of a scion grafted onto disease- and pest-resistant stock. While these recent improvements help to make this flower more accessible to more people, they don’t alter the main appeal: that amazingly sweet, spicy gardenia scent. It’s a good thing this species is so rewarding in terms of adding interest to the landscape and providing copious numbers of blooms, usually over an extended period or in several bursts during the season, because it is also a bit… shall we say, demanding? It’s not quite up to orchid standards, if you ask me, but this species does have precise light, soil, and maintenance requirements. Gardenias enjoy heat, humidity, and sunlight, but self-destruct if they receive too much direct sun, for example. They need consistent water, but can’t stand wet feet. And they’re averse to transplanting, and highly susceptible to certain diseases and something called bud drop. In brief, gardenias are not one of those “plant it and forget it” ornamentals. With that said, I’d still recommend this flowering plant for anyone who wants to add something elegant, evergreen, and fragrant to the garden. Once you get the hang of caring for it, it’s pretty straightforward, and not all that time-consuming. Ready to take a look at the process? Let’s get growing!
Propagation
Most home gardeners grow gardenias by purchasing small plants from nurseries. These are commonly cultivars that have been grafted onto vigorous G. thunbergia stock. The grafting process used by growers and hobbyists is beyond the scope of this article. But you can propagate gardenias at home if you have access to a mature plant, by rooting cuttings or air layering. You can also grow gardenias from seed.
From Cuttings
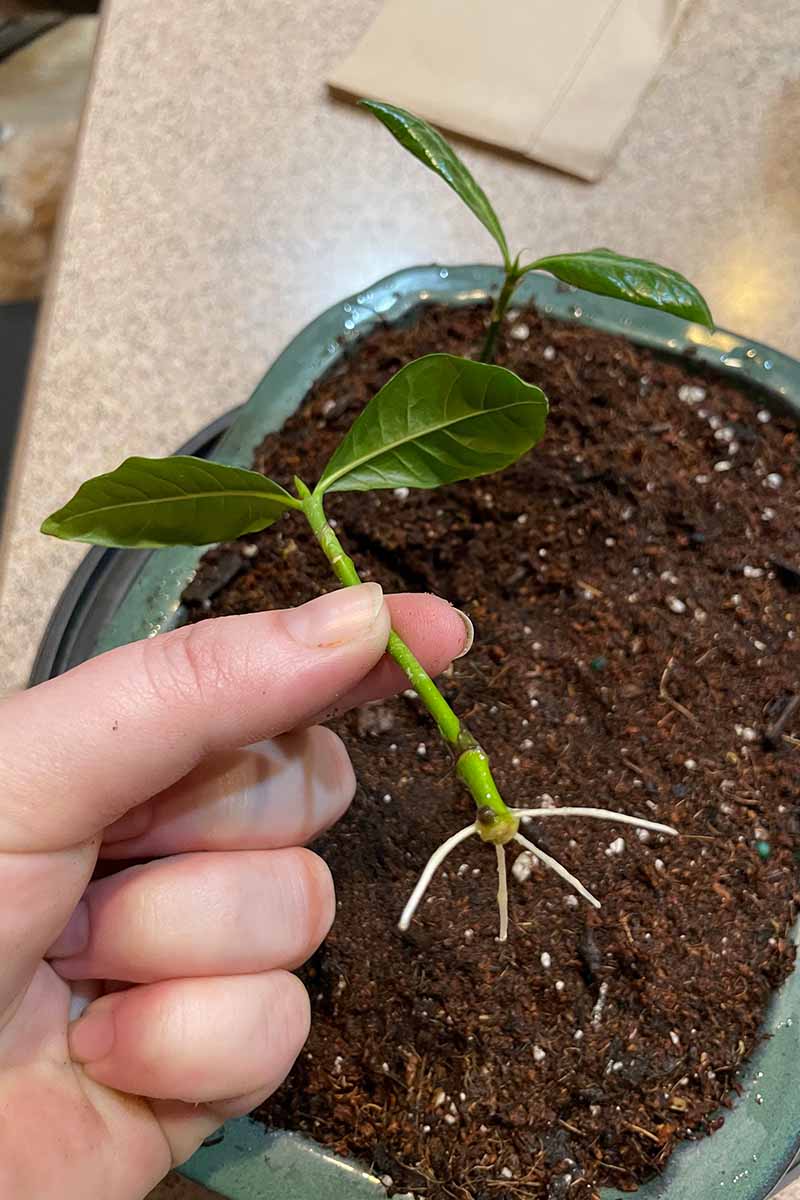
You can start a new G. jasminoides from a four-inch stem cutting taken any time of year, as long as you have access to branches that are of the right age. You want to take cuttings from branches that are six to eight weeks old. Sever four inches from the end or the center section of the branch, being careful to cut it right below a node. Strip the leaves from the lower half, leaving a couple of sets of leaves on the top half. Dip the cut end into rooting hormone powder (or the end furthest from the tip of the branch, if taking a mid-branch cutting), and place it into a shallow dish filled with an inch or two of pre-moistened seed starting medium. Roots should sprout within a month or two, but you’ll need to keep the soil consistently moist with a mister or by bottom watering. Repot the rooted cutting when the roots are at least an inch long. Then let the plant grow to at least three inches tall with at least a couple of new leaves unfurled before transplanting.
From Seed
It’s a substantial time commitment to grow gardenias from seed, since they’ll take two or three years to bloom, compared to less than one year for grafted or air-layered transplants. They also won’t be as vigorous as the varieties grafted onto root-knot nematode-resistant G. thunbergia, but these “own root” plants may be more cold hardy at temperatures below 28°F. Despite the drawbacks, propagating from seed can be a fun project to share with kids, and a low-cost way to get more shrubs for mass plantings, hedges, or containers. You can obtain several small seeds from each bright orange or red pod on a shrub that’s finished flowering for the season, sometime in late autumn. If you or a friend are growing gardenias, watch carefully for them to form pods. Alternatively, you can also purchase seeds online. You can start seeds indoors over the winter to transplant in spring. Fill a four-inch container that has drainage holes with a couple of inches of seed-starting mix. Sow five or six seeds a quarter-inch deep and a couple of inches apart. Water thoroughly and let the soil drain completely. Cover the top with plastic wrap or a plastic bag, and set the container in a window or some other spot with bright light, but not in direct sun. The ideal temperature for germination is 75°F, but a few degrees warmer or cooler is fine. The cover should help to retain the moisture the seeds need to sprout. But if the soil looks dry, be sure to carefully remove the plastic to mist it with water, and then replace the cover. If you’re lucky, about 50 percent of the seeds will germinate in four to eight weeks. At this point, you can remove the plastic. Keep the soil moist and containers placed on the windowsill or near (but not directly under) a grow light for the rest of the winter. Transplant them in spring. Some folks also save the seeds they collect in the fall to plant directly in the garden in early summer the following year, also sowing the seeds a quarter-inch deep and a couple of inches apart. It’s tougher to keep the humidity consistent with that approach, but misting can help. If you go with that plan, be sure to place the pods, the seeds they contain, or purchased seeds in an airtight container or paper envelope for storage, and keep it in a cool, dry place. Of course, if you live in an area where gardenias are hardy year-round, you’ll have more opportunity to harvest seed pods, and also to start the seeds indoors.
Via Air Layering
While it’s far simpler to just proceed with cuttings when you want to generate new starts from a gardenia, air layering is another viable option if you already have mature plants. It essentially involves making a cut on a branch that’s still on the shrub, painting this “wound” with a rooting compound, and wrapping it in a hank of damp sphagnum moss. To keep the wound moist until roots develop, wrap the moss in aluminum foil or polyethylene film. It’s best to perform the operation in spring, selecting a mature shoot from the previous season, or in midsummer, using one that grew that year. The stem should be at least as thick as a pencil. For this specific type of flowering shrub, measure a spot about 12 inches down from a branch tip, and remove the leaves from a two-inch section. Then score two parallel slashes about an inch and a half apart around the stem, slicing into the bark and the thin layer of green tissue below it just until you reach the woody tissue. Use the knife to connect the two circular cuts with one perpendicular slice to connect them, then peel off the ring of bark to expose the woody tissue. Dust the exposed surface with a rooting hormone powder, and pack the spot with damp sphagnum moss, loosely tying it with biodegradable twine if it’s needed to keep the moss attached. Encase the moss in a double layer of eight-by-12-inch sheets of aluminum foil, or the same size sheet of polyethylene film, gently wrapping it in place on the stem and twisting the ends so they stay in place. To keep the sliced spot from breaking off the shrub, support it with a stake or splint. Water the layering spot consistently to keep it moist, aiming a gentle spray above the top of the wrapping and allowing the water to trickle into the packing. It’s crucial to keep the casing in place so the moisture needed for rooting does not escape. Every month or so, carefully unwind the casing to see if roots are growing. Replace it immediately if they need more time. Once the roots have grown so long they’re visible an inch or more outside the moss, it’s time to remove the new plant. Cut it from the parent plant with a sharp knife or pruners. Make the cut just below the clump of moss and roots. Gently unwrap the casing, but leave the moss in place, and then transplant your new gardenia to its final destination.
Transplanting
To plant shrubs purchased from an online supplier or local greenhouse, or cuttings you’ve rooted yourself, start by watering them and letting them drain so the soil is moist but not wet. Dig a hole in the growing area that is about three times the width of the pot, and deep enough so that the top of the root ball will be an inch or two above the soil surface. Gardenias like to sit high. Center the transplant, adding dirt below the roots until you achieve the desired height. Backfill with soil, tamp it down lightly with your hands, and water thoroughly. If the soil settles, add more on top, making sure the crown of the plant stays about an inch above the soil surface. If you can spot the graft union on a grafted variety, make sure it is well above the soil surface. Add a two-inch layer of mulch that hasn’t been treated with any type of herbicides or pesticides. Straw or pine needles are suitable selections.
How to Grow
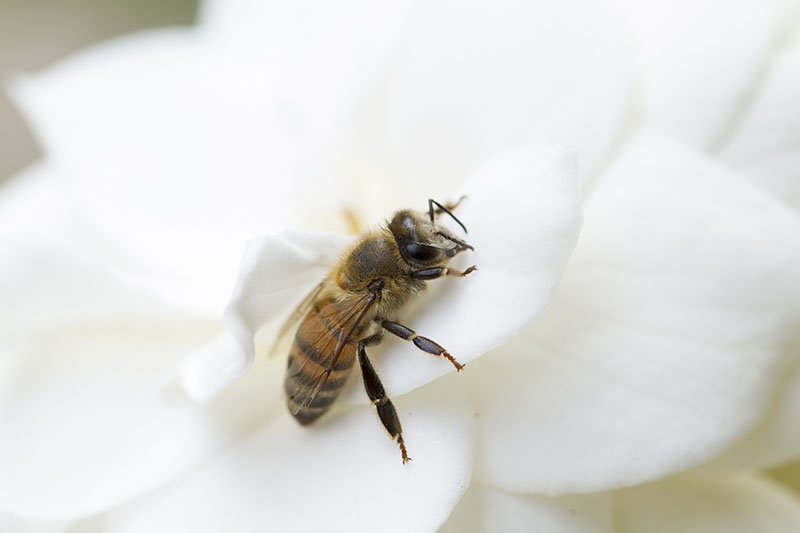
Ahead of planting gardenias, pick a spot where the soil is already acidic, with a pH of 5.0 to 6.0, or amend it to reach that level. This is not the time to guesstimate, so be sure to test your soil in advance. Gardenias are also finicky about light. They thrive in full sun, and require about five hours of it per day, but they’ll need protection from baking midday or afternoon sun. North- and east-facing exposures are ideal because the plants will receive bright morning light and some midday light, but they won’t be in full sun during the hottest part of the day. Light to moderate shade will also work, as long as they’re in an area that’s protected from wind. (I know, picky picky!) This location should also have soil that hasn’t been treated with pesticides, since gardenias draw bees and other pollinators. As for companion plants, make sure to avoid any that will vie for root space. Gardenias have shallow roots and they won’t survive such a competition. In general, it’s a good idea to plant dwarf varieties at least two and a half feet from the nearest competitor, be that another gardenia, a companion plant, or other garden feature. That amount of spacing assures the airflow necessary to avoid disease when the shrubs reach their mature spread of two to three feet. Standard varieties need even more above-ground space to provide for their air circulation needs when they reach maturity. Check out your particular variety to learn how far it might spread, but count on needing anywhere from four to eight feet between standard-size gardenias and other landscape plants and features. If you’ve opted to grow G. jasminoides in containers, much of the same advice applies. They’ll need to be placed in a spot that receives five hours or more of full sun, or bright light from a sunny window. But don’t expose them to direct sunlight in an indoor setting, or strong midday sun outdoors, or they’ll wilt. Containers tend to dry out more quickly than garden plots, so be sure to check the soil moisture often, and water whenever the top two inches are dry. There are potting soils formulated specifically for acid-loving flowering plants that work well for gardenias growing in pots. Coast of Maine Organic Potting Soil Any mix you use needs to be acidic, with a pH of 5.0 to 6.0. Unless they’re growing on a humid patio or in a greenhouse, gardenias growing in pots also need frequent misting to assure their humidity requirements are met. For more information about all aspects of growing these lovely plants indoors, including more container gardening tips, see our gardenia houseplant growing guide.
Growing Tips
Plant in acidic soil with a pH of 5.0-6.0.Don’t grow gardenias outdoors year-round if you live in Zone 6 or below – it’s too cold. You’ll need to overwinter them indoors.If you do get winter damage on your plants, check out our guide, “How to Manage Gardenia Winter Cold Damage,” to help rejuvenate them so that they continue to thrive.Water consistently but don’t oversaturate the soil.
Pruning and Maintenance
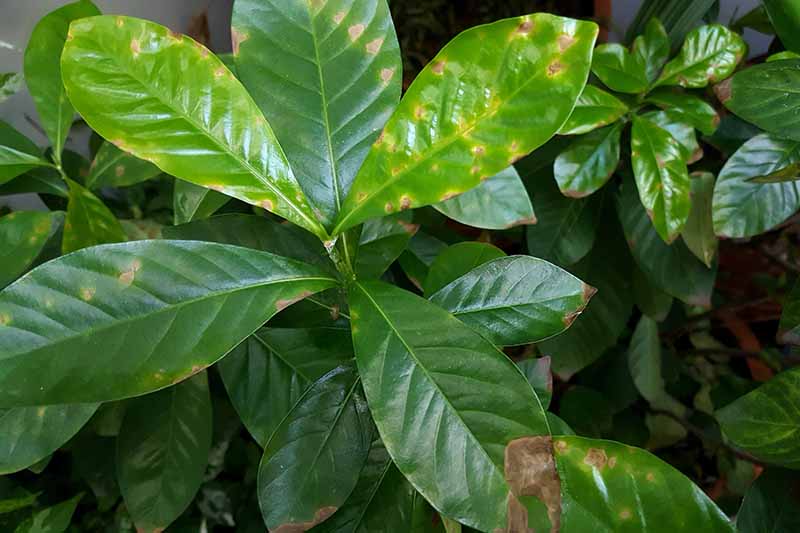
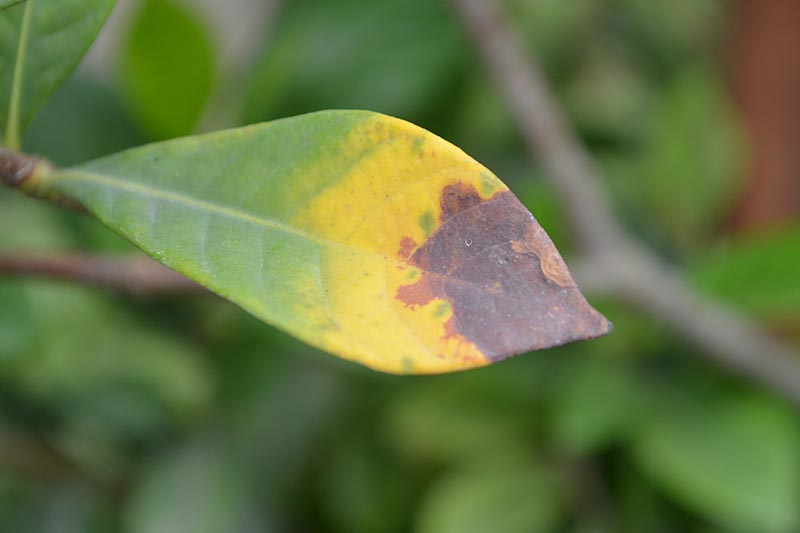
Don’t say I didn’t warn you! Gardenias really are a bit labor intensive to maintain, but their looks and scent more than make up for the energy you’ll expend. They thrive in humidity, for example, so you will need to mist them with a fine spray from the hose if your area is suffering an arid hot spell. It’s normal for a few older leaves to drop or turn yellow in early spring or autumn, but be cautious if you spot new leaves turning yellow and falling off the shrub. Use a granular fertilizer that’s been formulated for acid-loving flowers like camellias or azaleas, or one intended for use on landscape plants. If you can, opt for a product with 30 to 50 percent slow-release nitrogen. Espoma Organic Holly-Tone Gardenias are beloved for their long blooming season and prolific flowers, but that bonanza necessitates multiple fertilizer applications, even if you haven’t noticed yellow leaves. And reach out to your local extension service agent to determine whether you’ll also need to apply a fertilizer that boosts potassium. Apply this supplemental fertilizer once in early spring, and again in late summer. Just be careful not to fertilize in fall if you garden in an area with freezing temps. If you do, you could encourage young growth to form right ahead of the first frost, and it’s most susceptible to being destroyed if it freezes. Other upkeep includes removing spent blooms to encourage more, and watering once a week throughout periods of dry weather in the summer. Some gardeners favor drip irrigation so the leaves don’t get wet and develop leaf spots. But I would only commit to that expenditure if you’re in an area that doesn’t get much rain in the warm months. A soaker hose can do the job nicely as well, though these also involve the effort of installation and the inconvenience of working around embedded hoses. In general, unless you anticipate very little rain for many hot months on end in the typical growing season, I’d stick with watering by hand. Look for more tips on hydrating ornamental shrubs and the rest of your landscape in our guide. Pruning is also recommended, but you’ll want to do this chore only after the shrubs have finished flowering in the summer or fall, depending on the variety. Don’t prune once you can spot buds forming in late autumn or early winter, or you’ll sacrifice the next year’s first blooms. If you’re growing younger plants, prune just enough to keep your gardenia shapely – no need for a chop-fest. Established plants will benefit from more substantial pruning. For them, cut two-thirds of the new growth back after the plant is done blooming. And make sure to clip off any dead, damaged, or diseased branches you spot. It’s okay to cut them at any time of year, without waiting for flowering to finish. Successful gardenia growers will also tell you to do what you can to avoid a condition known as bud drop, wherein buds plop right off the branches. It’s a sad sight, because it happens right before they bloom. A couple of strategies for avoiding bud drop include promoting humidity if the weather isn’t cooperating, and making sure you water whenever the top two inches of the soil beneath your plants is dry to the touch. One final gardenia issue that may require an abundance of patience involves the temperature. If nighttime temperatures never attain the 50 to 55°F range at all during a given year, buds won’t form in the first place. Temperatures within this range are bound to arrive eventually, so you’ll probably end up with blooms at some point even if your shrubs end up skipping one or more seasons of flowering.
Managing Pests and Disease
Part of tending to these elegant beauties involves staying on top of the many insect pests and disease pathogens that may attack them. Here are five to consider:
August Beauty
One of the standards that helped establish the gardenia’s reputation for scented delights and show-stopping blossoms, ‘August Beauty’ sports three-inch double blooms from mid-spring to autumn. It is hardy in Zones 8 to 11. ‘August Beauty’ It’s a big one, reaching four to six feet tall and spreading three to four feet. The blooms are naturals in floral arrangements. Try floating a few in a clear bowl for an elegant centerpiece. Live ‘August Beauty’ plants are available from Nature Hills Nursery.
Frost Proof
Upright, bushy, and dense, ‘Frost Proof’ is a newer hybrid that is hardier than most. It’s able to grow outdoors year-round in Zones 7 to 11, while more traditional types are hardy only in Zones 8 and above. Well-suited to use as a hedging plant, ‘Frost Proof’ reaches a mature height of four to five feet, and spreads three to four feet wide. ‘Frost Proof’ The bright white flowers are three inches wide and they waft that signature scent. Plant the blooming shrubs in patio containers for a naturally-scented outdoor entertainment area, or pick the blooms for compact floral arrangements. Live ‘Frost Proof’ plants are available in several sizes from Nature Hills Nursery.
Golden Magic
This compact shrub has fragrant blooms that turn from white to golden yellow as they age. This is a great choice for small spaces, since its mature height and spread are both just two to three feet. This is also one of the vintage gardenia varieties that is hardy only in Zones 8 through 11, not in Zone 7.
Jubilation
Part of the Southern Living Plant Collection, ‘Jubilation’ is a relative newcomer to the world of gardenia growing. It’s hardy in Zones 7 to 10. This cultivar reaches just three feet tall, but it still spreads three to four feet. It features an abundant blooming session in late spring, followed by more moderate bursts of blooms periodically throughout the summer and fall. ‘Jubilation’ Double white blooms accent the glossy evergreen leaves perfectly, and the foliage also contrasts nicely with bare trees in the fall and winter landscape when blooming has subsided. ‘Jubilation’ is available from Wal-Mart in two-gallon containers. Kleim’s Hardy This dwarf variety with a mounding habit was bred to be hardy in Zones 7 to 11. It features distinctive white single blooms that are flat, six-petaled, and waxy. They don’t look like typical gardenia flowers, but one sniff of the heady fragrance and their identity is firmly established. ‘Kleim’s Hardy’ With a reduced height and spread spanning two to three feet in either direction, this cultivar is suitable for container gardens and small spaces. Live ‘Kleim’s Hardy’ plants are available from Nature Hills Nursery. While they are deer-resistant, potentially harmful insects are drawn to these shrubs, and they may also incur numerous ailments. Here are the most common ones to watch out for, along with some potential solutions:
Pests
Most of these pests can be eliminated with a strong spray from the hose, or by using environmentally-safe insecticidal soap or neem oil spray, but it also pays to try to prevent infestation by giving the plants ample air circulation.
Aphids
You can detect the presence of aphids – and equally annoying whiteflies, which we’ll cover below – if you spot a gray, fuzzy fungus forming on the foliage, a condition known as sooty mold. These small green or gray insects will suck the sap right out of the stems and foliage, and they also carry disease pathogens from plant to plant, leaving sticky-sweet honeydew behind. They’ll usually succumb to a strong spray from the garden hose, but you may need to resort to insecticidal soap if that won’t work. Learn other strategies for eliminating aphids in our guide.
Root-Knot Nematodes
If the foliage is wilting or your plant starts to look distressed, microscopic roundworms known as nematodes could be the culprit. While many types of nematodes are beneficial, root-knot nematodes (Meloidogyne incognita) live in and feed on the shrubs’ roots. This causes knots or galls to grow there, eventually causing symptoms that start with yellow mottling on the foliage, and may eventually lead to stunted growth or branches dying off. They’re particularly common in subtropical areas, and thrive in sandy soil. The best strategy for avoiding these destructive pests? Select gardenia varieties that have been grafted on resistant rootstock. Read more about root-knot nematodes in our guide.
Scale Insects
These soft, flat, wingless, shiny, reddish-brown bugs, Coccus hesperidum, look like small, oval scabs. Both the nymphs and adult females suck sap and leave behind a sticky substance that can encourage black sooty mold, much like aphids. Or, soft scales may destroy the leaves – and the gardenia’s ability to acquire nutrition through photosynthesis. If you can spot their icky-sticky selves in time, you may be able to scrape them off with your fingernail, or a bit of paper towel dampened with rubbing alcohol. If they’ve progressed to the point where the foliage becomes yellow, you may need to turn to insecticidal soap or other remedies outlined in our guide to dealing with these pests.
Spider Mites
These pinhead-sized sucking arachnids (Tetranychidae spp.) love heat, just like gardenias do. They feed on the underside of the foliage, leaving behind white dappling and eventually weakening the whole plant. As they proliferate, they’ll also cover blooms with webbing. The best strategy is to avoid them by keeping foliage from getting dusty, and maintaining hydration. Spider mites tend to strike grimy leaves and water-stressed plants. If they’ve pervaded your plants, learn ways to control them through integrated pest management or biological controls in our guide.
Whiteflies
The whitefly (Trialeurodes vaporariorum) lives up to its name. It’s small, white, and has wings – but the bigger issue is its eating habits. These pests will suck sap from the foliage of your flowering plant. They leave the euphemistically named honeydew behind, which can attract the aforementioned sooty mold that gardenias are prone to. You may be able to get rid of whiteflies with neem oil spray or insecticidal soap, or perhaps just a strong blast of water from the hose if they haven’t proliferated. Learn other coping methods for dealing with these pervasive bugs in our guide.
Diseases
When gardeners say these elegant, fragrant shrubs are “challenging” to grow, part of that reputation comes from the many diseases that can afflict them. Advances in hybridization have made some grafted cultivars more resistant, but there are still certain conditions to watch for, especially if you’re growing an older variety.
Sooty Mold
Sooty mold has long been associated with gardenias. It looks like smudges of oily soot on the leaves, and the fungus that causes it is attracted to the honeydew left behind by sucking insect pests including aphids, scale, and whiteflies. Those bugs may also spread sooty mold from plant to plant. The good news is that sooty mold wipes off, and it is mostly just unattractive, not destructive. But left untreated, this fungal disease may advance to a stage where it negatively impacts the plant’s ability to photosynthesize. And those insects that spread sooty mold are a threat, since their feeding can defoliate plants or damage their tissue. To avoid sooty mold, eliminate the insects that cause it as recommended above, and read more about this fungal disease in our guide.
Powdery Mildew
Powdery mildew is quite common as well. Caused by the fungus Erysiphe polygoni, it appears as a floury dusting, usually found on the upper sides of the leaves. Powdery mildew may be minimal at first, progressing to eventually cover entire leaves. Unchecked, it may start forming small, circular structures known as chasmothecia, which start out pinhead-size and light, becoming progressively larger and darker. This disease typically reaches its peak in late summer, and hits younger growth hardest. It may deform leaves and buds, and cause leaves to turn yellow or drop. Air circulation can discourage the fungi, so make sure to give your gardenias enough space in the garden or landscape. Cut away and dispose of any diseased tissue promptly. If you catch powdery mildew before it is widespread, certain fungicides may be effective. Learn more about treating this issue in our guide.
Root Rot
Root rot is also prevalent, caused by fungi and oomycetes including Phytophthora, Rhizoctonia, and Pythium species. You can view its impact from above if you spot yellowing, wilting, or dropping leaves. The damage done to the roots can eventually cause the whole plant to die. As with so many aspects of flower gardening, early detection and prevention are the best ways to deal with root rot. Choose resistant varieties, and before you purchase a gardenia from a nursery, inspect the roots via the drainage holes at the bottom of the plant. Plant in a well-draining area, and be sure to dispose of any plants that succumb to root rot promptly. Avoid replanting in the same spot until a couple years have passed, or choose a resistant variety the second time around.
Best Uses
With its many different sizes, bloom times, and flower types, G. jasminoides is a species that offers a great number of options for incorporating it into various gardens and landscapes. Depending on the variety you settle on, you can grow gardenias as ground cover, free-standing specimen plants, or part of a flowering hedge. With their lovely scent, they can also serve as a feature in outdoor living spaces. Planted near a patio, deck, or outdoor kitchen, they’ll waft a sweet scent to those relaxing or socializing nearby. And when they’re not in bloom, the glossy green leaves provide evergreen color as part of a border, walkway, or mass planting. Don’t forget the expanded options that come with growing dwarf varieties in containers. They will liven up porches, balconies, or urban rooftop gardens. When you’re willing to give them that little bit of extra TLC they need to bloom and thrive, these beautiful specimens will enhance many aspects of the landscape or garden. Or do you already have experience caring for these sweet-smelling shrubs? If you do, please take the time to share any tips you have, as well as questions, in the comments section below. And if you’re interested in other fragrant blooms for the garden, border, landscape, or containers, read these scented flower guides next:
How to Plan a Rose GardenHow to Plant and Grow Scented GeraniumsHow to Grow Stock: A Cottage Garden Staple
