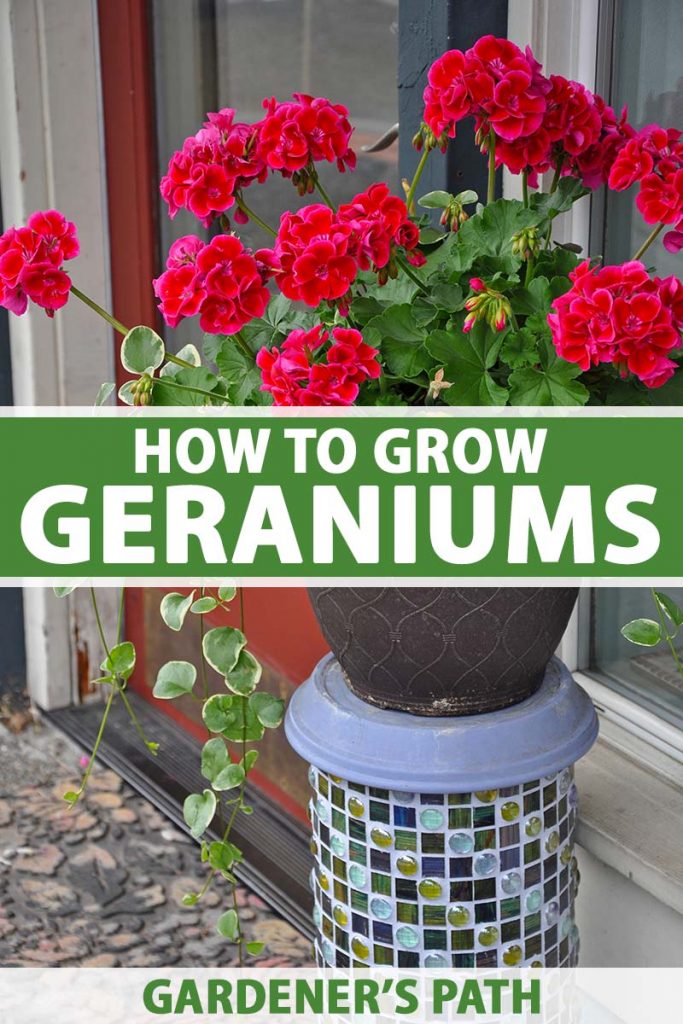
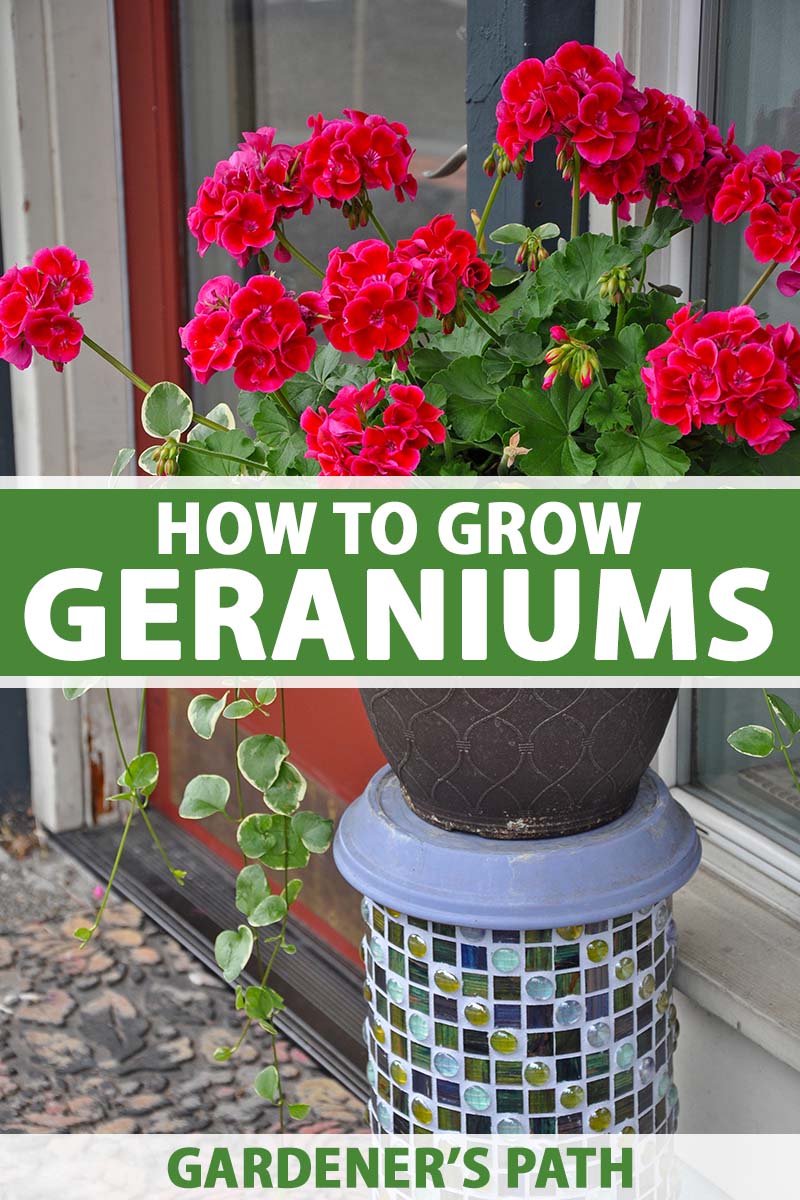
A perennial in USDA Hardiness Zones 10-11, Pelargonium x hortorum may be grown as an annual elsewhere. It’s suited to beds, borders, and containers, and can be wintered over indoors as a houseplant. Today’s color palette includes shades of orange, pink, purple, red, white, as well as bicolored and double-petalled varieties. We link to vendors to help you find relevant products. If you buy from one of our links, we may earn a commission. In this event, all of the students in the band, chorus, and orchestra were challenged to walk from door to door in our neighborhood taking orders for the colors available then: pink, red, and white. The one who sold the most plants won a prize. Since I never won, I can’t remember what it was! After racing around trying to outsell our classmates, we soon retraced our steps with pots of blooms tucked into our wagons, bicycle baskets, and the family station wagon, if we were lucky. As if by magic, flowers appeared in front yards for six square miles. In this article, you’ll learn all you need to cultivate and care for the classic garden geranium in your yard. Read on to meet a dependable bloomer you’re sure to love.
What Are Garden Geraniums?
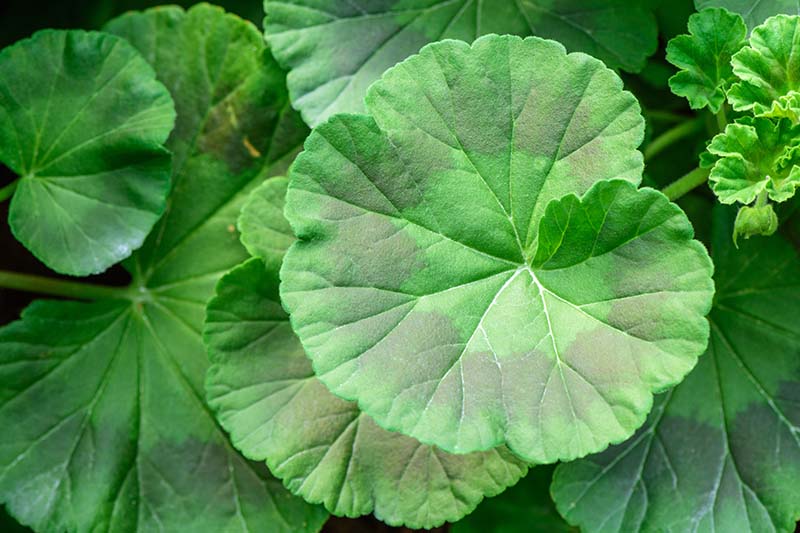
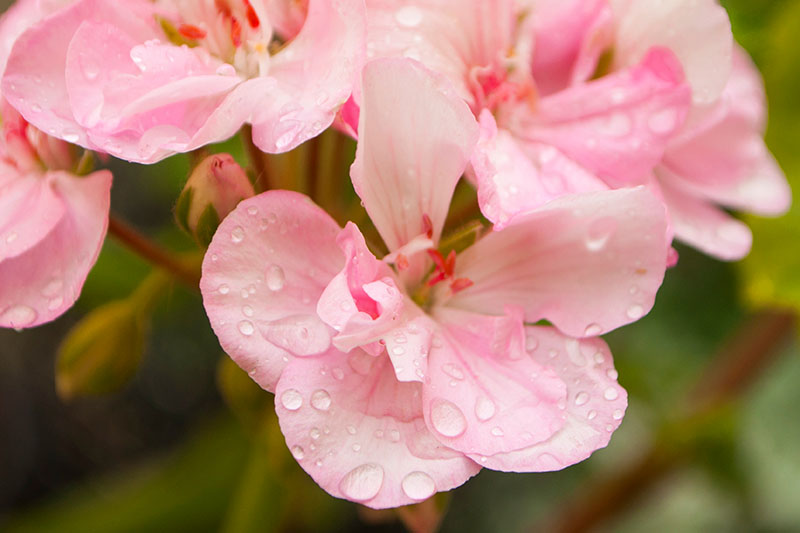
Pelargonium x hortorum (Pelargonium x hybrida) is an umbrella term for cultivated interspecific hybrid crosses of different Pelargonium species – most notably the zonal geranium, P. zonale and the scarlet geranium, P. inquinans. The “zone” of zonale refers to a band of color on the leaf surfaces, parallel to the scalloped margins. Generally green or purple, it may also be light or dark. There are also unusual variations, like the yellow, purple, and green of Pelargonium x hortorum ‘Tricolor.’
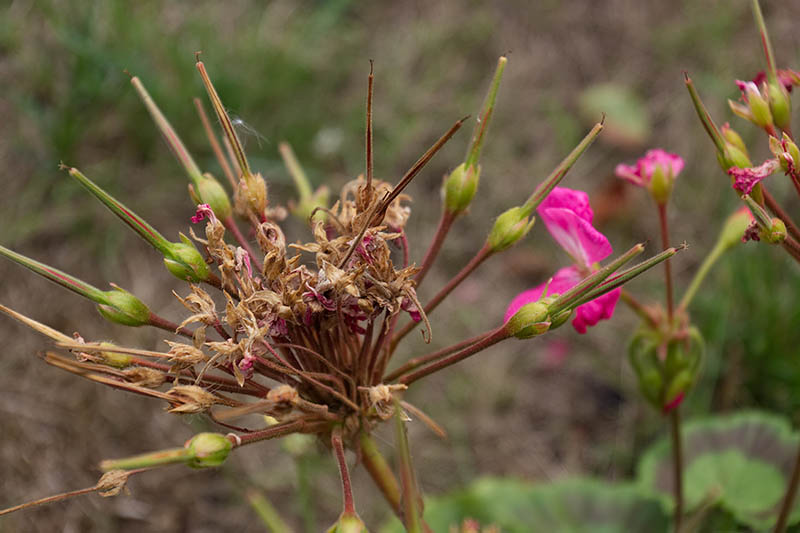
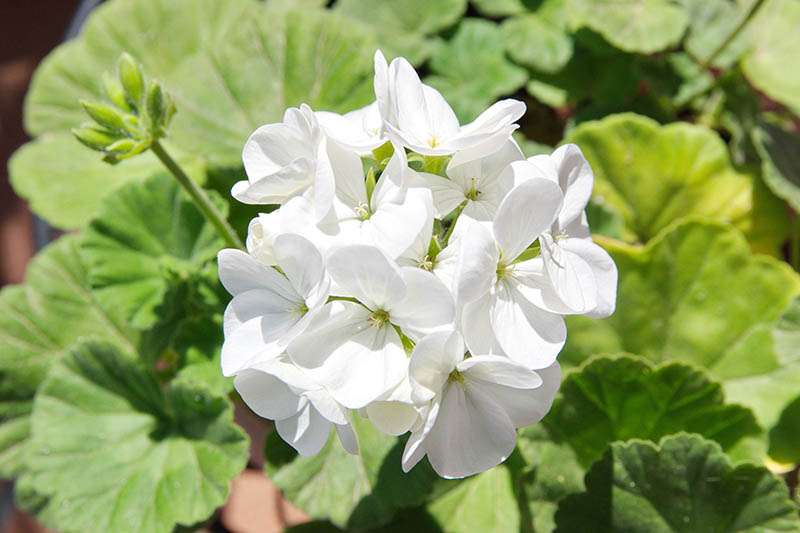
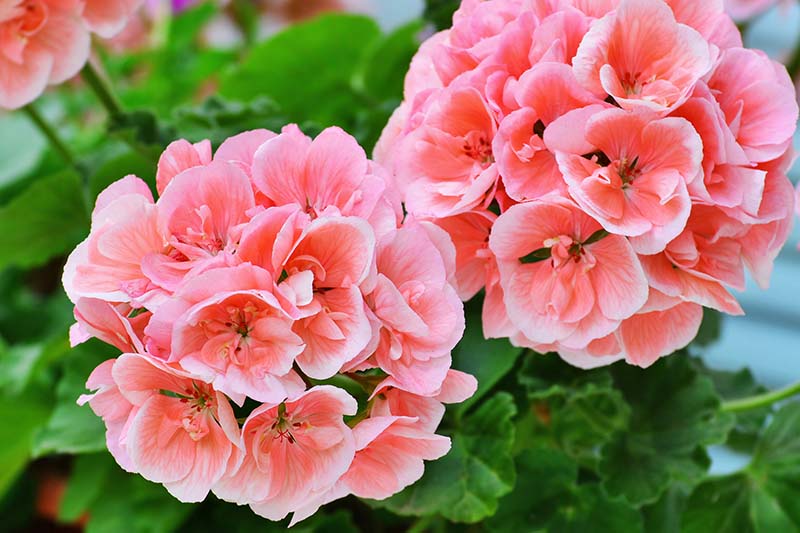
The banded leaves are generally green to dark green, fuzzy, and have a pungent fragrance, especially when crushed or rubbed. Thick, branching stems are visibly scarred where the petioles have fallen away. Heights range from one to three feet tall and equally wide, depending on the variety. From late spring until first frost, showy inflorescences of round clusters of blossoms form atop slender stems. As the flowers fade and wither, they form elongated, needle-like pods that resemble the bills of storks, and the name Pelargonium is derived from the Greek pelargos, which means stork. Hortum is Latin for garden.
Plants typically have a mounding, shrubby growth habit, although there are some variations. In tropical regions, the stems may become woody. They thrive in a full sun location but can benefit from part shade in the warmest locales. The soil should be organically rich, moist but not soggy, and well-draining. It is important to note that these plants don’t like wet feet or moisture-laden leaves, two problems that may invite fungal disease. I mention my dad here, because years ago he tried to raise these plants as perennials in Florida, reminiscent of our annuals at home. Whether due to poor drainage or poor spacing, he found that they could not withstand the persistent humidity and rainfall, or the occasional frosts. How he would have loved to give some of today’s varieties a try!
Originally classified in the Geranium genus, zonal or garden geraniums were reassigned to the Pelargonium genus in the 1700s, when ornamental cultivation was already well underway. However, the name “geranium” had become so entrenched in common usage that even today, we don’t call these plants “pelargoniums,” as proper nomenclature would require. Why does this matter, you ask? Because there are other exciting Pelargoniums to explore, such as the ivy geranium, P. peltatum. And because the true Geranium, the hardy cranesbill, offers its own wonderful array of colors and winter hardiness in Zones 4-9.
Propagation
There are two propagation methods used by commercial growers: from seed and vegetative. Seed geraniums are grown from F1 or first generation hybrid seed and typically reach a height of 12 to 18 inches. Flowers have a single row of petals.
Seed varieties are often considered inferior to those propagated vegetatively, because they tend to have smaller flower heads, and the single row of petals may not withstand heavy wind and rain. However, as you will discover in the cultivars section below that there are noteworthy exceptions.
Plant breeders have developed the so-called “designer varieties” with semi-double or double rows of petals that grow up to three feet tall. These are propagated via cuttings and produce clones of the parent plant. In many cases, these plants do not produce viable seed. You can start your geraniums from seed or by taking a cutting from an existing plant. In addition, you may also buy plants from your local nursery at the seedling or established stage. These plants will either be grown from seed or propagated vegetatively. Let’s look at each propagation method.
From Seed
To start geraniums from seed, purchase F1 seeds from a reputable purveyor. Do not try to save seed from an existing plant as the second generation will not grow true to the parent plant.
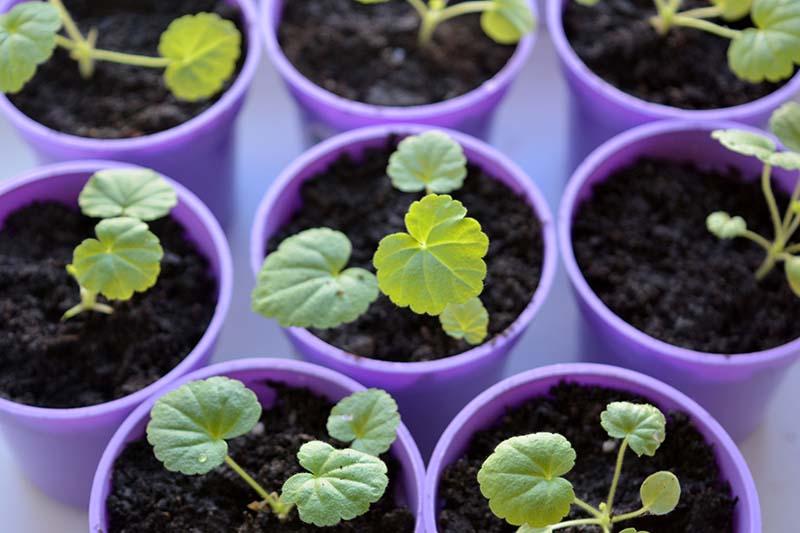
According to experts at Iowa State University Extension and Outreach, you should start seeds indoors in mid-February to get a jump on the 13 to 15 weeks it takes the plants to grow and flower. You may sow seeds outdoors in Zones 10 to 11 at any time. Sanitary conditions are essential to prevent damping off, a fungal disease that causes the sudden death of seedlings. Espoma Soilless Starting Mix Fill the containers to about 1/2 to one inch below the pot rims. Before sowing, gently scarify the seeds with an emery board to break the seed coats. Place seeds two to three inches apart in larger containers or one seed per cell and barely cover them with 1/4 inch of potting medium. Give the containers a thorough soaking to saturate the potting medium and cover them with clear plastic wrap. To ensure germination, the soil temperature must not go above 75°F, so place containers out of direct sunlight in a room with a daytime temperature of 70-75°F, and 60-65°F at night. Water when the potting medium is dry, you want to keep it moist but not waterlogged. Remove the plastic wrap when you see the first sprouts. After germination, the Iowa State horticulturists recommend placing containers four to six inches below a 40-watt fluorescent grow light for 12 to 16 hours per day. When the seedlings have a set of true leaves, thin them out unless they are growing in individual cells. Choose the strongest in each container to keep and pull up or cut the rest down. Alternatively, pot up all of the seedlings into individual six-inch diameter pots filled with soilless potting medium. At this time, you can dilute houseplant fertilizer and apply it to the seedlings every two weeks. After all risk of frost has passed, acclimate the growing plants to the outdoors gradually, setting them out for a few hours each day, for about a week, before transplanting them to the garden or containers. Plants should flower 13 to 15 weeks after the seeds are sown.
From Cuttings
You may also start new plants by taking stem cuttings from existing plants.
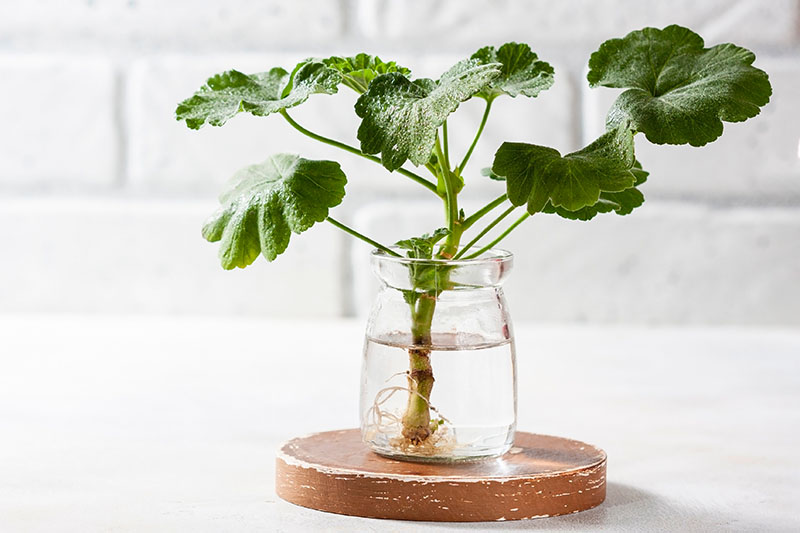
It’s best to take cuttings from fresh green growth, rather than old woody stems. The best times to do this are in early spring, or just after a new flush of growth following blooming. Sanitize a sharp knife and make a clean cut about six inches down from the stem tip, preferably just above a leaf node. This helps to stimulate the existing plant to grow new foliage. Cut off all but the top few leaves at their points of origin, so you have a length of bare stem about four inches long. Place the cutting into a clean, transparent container. Fill the container with three to four inches of water, ensuring that the water isn’t in contact with the leaves at the top of the stem. Choose a location that is out of direct sunlight and change the water daily to keep it fresh. In approximately one month, you will start to see roots growing from the bottom of the stem. Wait until the roots are well established, approximately one to two inches long, before transplanting the rooted stem cutting to the location of your choice. Alternatively, instead of placing it in water, you may start your cutting in sterile soilless potting medium. The pros at Purdue University Extension recommend a sterile, soilless potting medium with added vermiculite or perlite, to keep it airy and conducive to root formation. When you have taken your cutting as described above, moisten the cut end and dip it into powdered rooting hormone. Make a three to four-inch hole in the potting medium, and place the stem into it. Firm the soil securely around the stem and place it in a sunny location where temperatures remain between 65-75°F. Keep the potting medium moist, but not soggy. Never allow it to completely dry out. The roots underneath grow first, so it will take longer to notice foliar growth on top. When you see new green growth, it’s time to plant the rooted stem. You can learn more about how to root geranium cuttings in this guide.
Transplanting
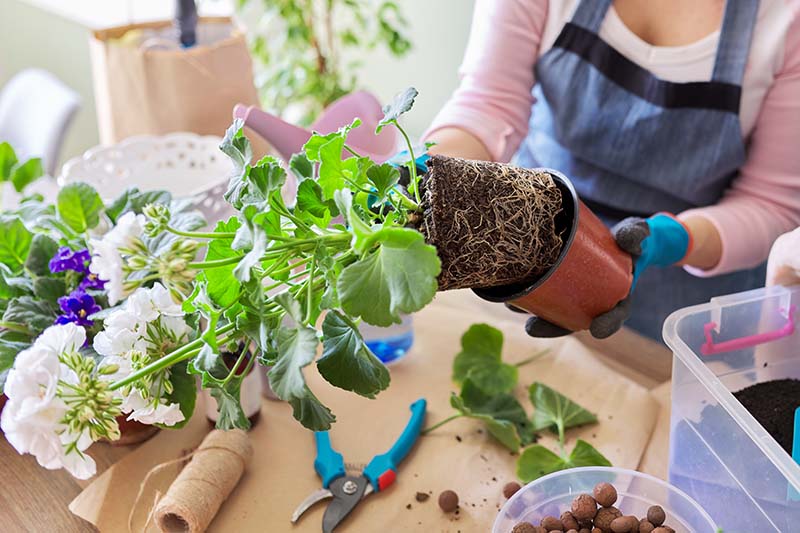
You may also start with seedlings, rooted cuttings (called plugs), or established plants from your local nursery. To transplant, choose a location with organically rich, well-draining soil, and work it to a crumbly consistency to a depth of at least eight inches.
Alternatively, fill the container of your choice with a good quality potting soil. Choose a pot that can accommodate a mature width of between one and three feet, depending on the mature size of your plant, and with a depth of at least eight inches, to give the shallow roots ample room to absorb nutrients and water. Set the plug, seedling, or plant at the same depth as it was in its original container. Tamp the soil down firmly and water thoroughly. If you have planted in a container, water until it runs out of the bottom, and then water a second time.
How to Grow
When planting outdoors, either in the garden or containers, choose a full sun location. For regions with scorching summers, a spot with some afternoon shade is best.
Your garden soil should be moderately fertile and well-draining. The ideal pH is between 6.0 and 6.5. Conduct a soil test if necessary, to determine if any amendments are needed. Use a good quality potting medium for container gardening. Space plants eight to 12 inches apart in the garden, and six to eight inches apart in containers. Apply a balanced 20-20-20 (NPK) fertilizer per package instructions at the time of transplanting to the garden, and use a water-soluble plant food for containers. Continue monthly applications throughout the growing season. Be vigilant about watering new transplants to help them establish sound root systems. Mature plants don’t like “wet feet,” but should be watered before the soil completely dries out. You may want to use a moisture meter as a guide. If you’re in a warm region, add a two-inch layer of mulch around the plant to cool the ground, aid in moisture retention, and promote good drainage. For those growing geraniums in cooler regions, you’ll be happy to learn that you can winter your plants over indoors. Another option that is especially useful for growers of annuals is to sink potted plants into the garden soil up to their rims for the spring and summer, and then take them up in the fall to winter over indoors.
Growing Tips
Growing geraniums is easy when you remember these essentials:
Provide a location with full sun, or afternoon shade in the warmest regions. Space plants eight to 12 inches in the garden, and six to eight inches in containers to maximize airflow and inhibit moisture buildup. Apply a two-inch layer of mulch to cool the ground, facilitate moisture absorption, and inhibit oversaturation. Water before the soil completely dries out but don’t allow it to become oversaturated.
Maintenance
Perlagonium x hortorum are low-maintenance plants that won’t take up much of your time and will reward you with abundant blossoms. To encourage repeat blooming throughout the growing season, deadhead spent flower heads. To do this, snip off entire stems, or inflorescences, at their points of origin.
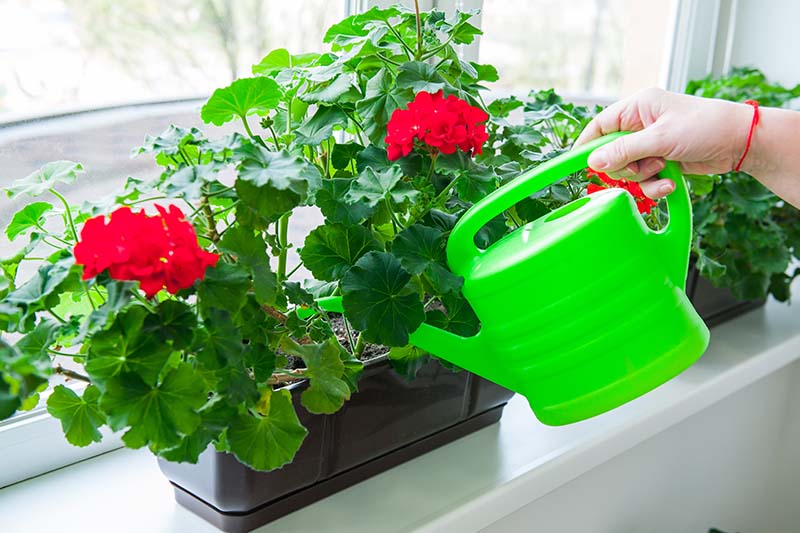
Water the garden and containers before the soil completely dries out. Remember that containers dry quicker than ground soil, so check them regularly. Be sure to irrigate at the soil level to avoid wetting the foliage, a common contributor to fungal infection. Snip off discolored or damaged foliage to inhibit pests and disease. Pinch or prune off the growing tips of stems to encourage more compact growth as desired. Fertilize monthly throughout the growing season with a balanced 20-20-20 (NPK) fertilizer in the garden, and a water-soluble houseplant food if you’re growing in containers. When growing plants as perennials in Zones 10 and 11, you may want to cut them back by one-third each spring to prevent them from becoming woody.
Cultivars and Series to Select
There are numerous cultivar series of Pelargonium x hortorum available.
Managing Pests and Disease
Healthy plants don’t typically suffer from pest or disease issues. Within any given series, you’ll find a range of delightful signature colors. Here are some to whet your appetite:
Calliope™
Bred for durability, the Calliope series are a cross between a zonal (P. zonale) and an ivy geranium (P. peltatum). Their semi-double petals hold their own in heavy rains, and handle heat and drought with equal aplomb.
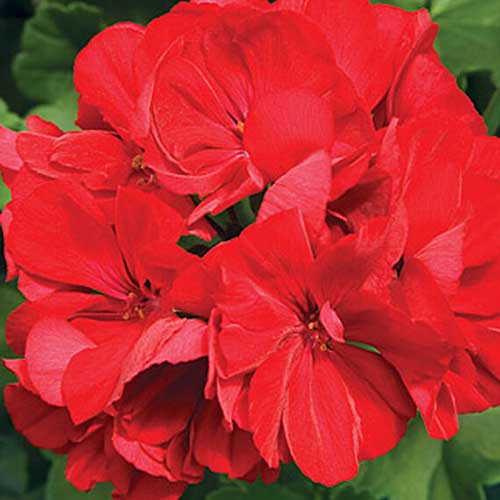
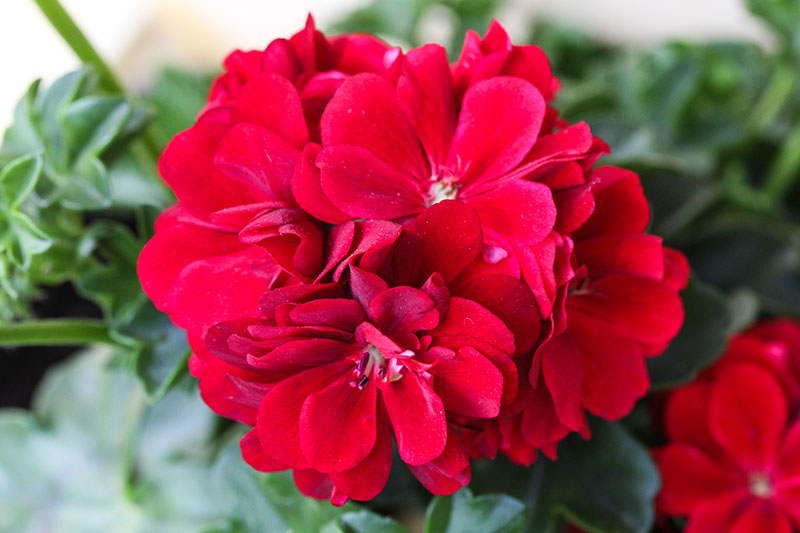
Calliope™ Dark Red Calliope™ Dark Red is one member of the series. It boasts velvety red blooms atop 12- to 24-inch plants with trailing, ivy-like leaves and is sure to be a showstopper. Expect a spread of 18 to 20 inches. You can find Calliope™ Series plants available from Burpee.
Maverick™
A Texas favorite, this series offers compact, mounding plants with large flower heads, unlike many seed varieties, and an “open plant” growth habit that allows the sun to reach all of the foliage. And while flowers have a single row of petals that may not withstand heavy rain and wind as well as semi-double and double vegetative varieties, they have other desirable features like tolerance of a variety of soils, as well as heat and drought conditions.
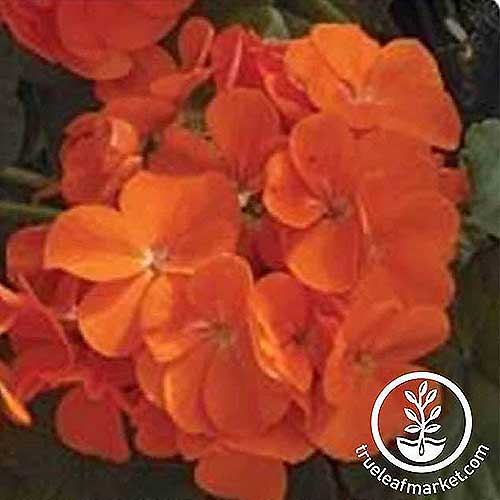
Maverick™ Orange Maverick™ Orange is just one hue in this series. It has vibrant orange blossoms atop 12- to 18-inch plants with a spread of 15 inches, making it perfect for container gardening. Find ‘Maverick™’ Series seeds now from True Leaf Market in a variety of colors.
Pinto™
This series produces five-inch flower heads on mounding plants that are bred to withstand poor soil, heat, and drought.
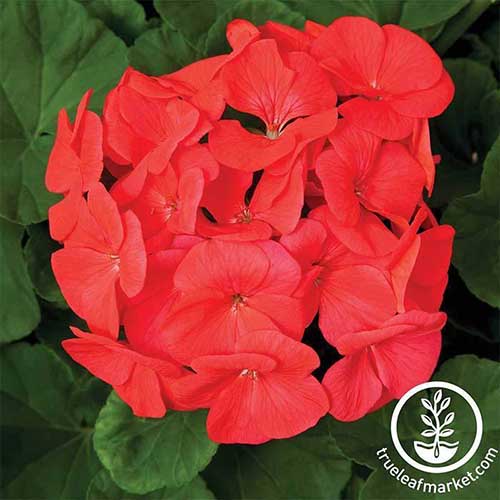
Pinto™ Premium Coral Richly color-saturated Pinto™ Premium Coral is one of the color selections available. Heights range from 12 to 18 inches, with a spread of approximately 12 inches. Find Pinto™ Premium Series seeds available from True Leaf Market in an array of hues.
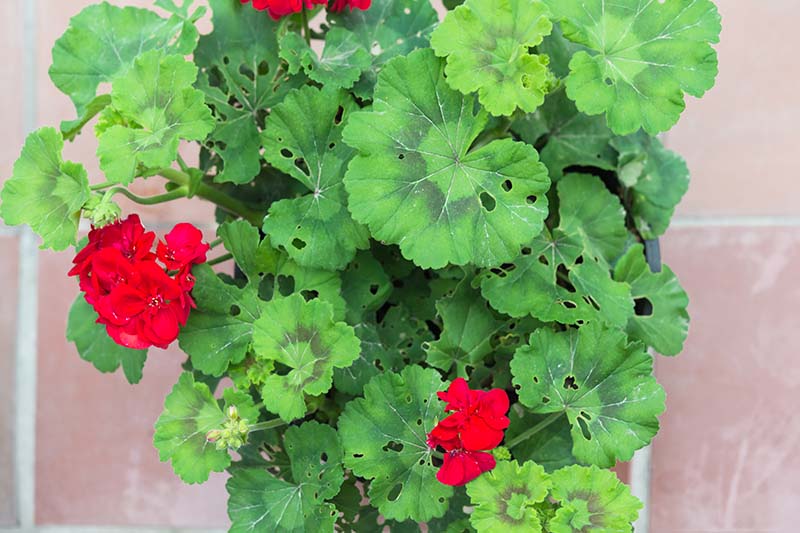
However, oversaturation, inadequate drainage, excessive water on the leaves, and/or poor spacing of plants may render them vulnerable to pests and fungal disease. Pests to watch out for are:
Aphids Caterpillars Mealybugs Spider Mites Whiteflies
You can try rinsing the insects away with a stream of water from the hose. If this doesn’t do the job, you may need to apply an insecticidal soap or neem oil. Pests can spread diseases, so you don’t want to ignore them. Possible diseases you may encounter include: Botrytis blight aka gray mold is caused by the fungus Botrytis cinerea, and usually starts with spots or lesions on the foliage or a gray mold on the flowers. Leaf spot is caused by various fungi in the Alternaria genus. Symptoms include dark brown spots on the foliage that appear to be water soaked. As the disease advances, these spots may be surrounded by a yellow halo of dying tissue. Root rot aka blackleg, is a fungal infection caused by Pythium spp. Brown lesions appear at the base of the stem that gradually turn black, killing the plant. Use best gardening practices to avoid these fungal conditions. Remove affected plant material and apply a fungicide as needed. To prevent spread, dispose of any diseased plant debris in the trash. Get tips on identifying and controlling diseases that affect geraniums here.
Best Uses
Garden geraniums are wonderful bedding plants, provided you space them appropriately to allow for good airflow and inhibit a buildup of moisture that may lead to fungal disease.
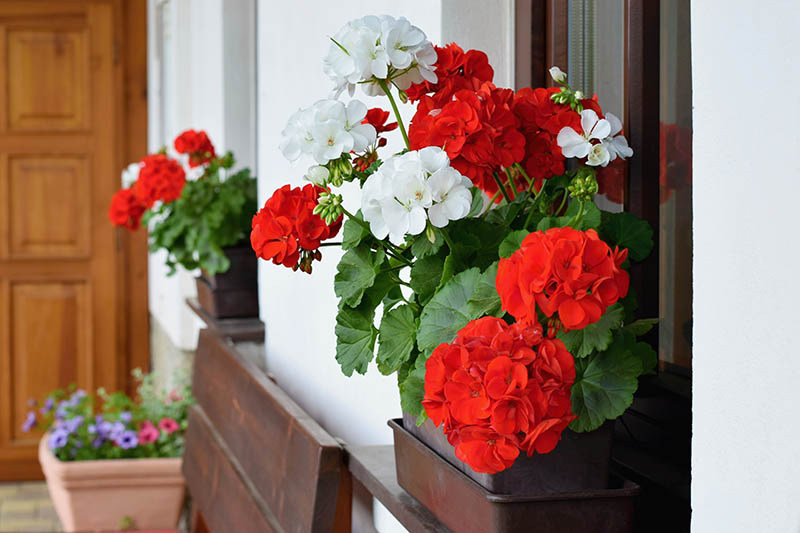
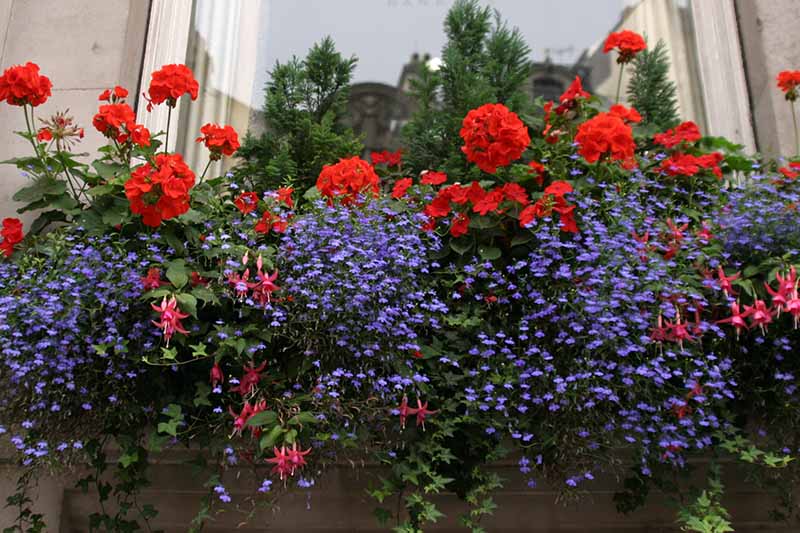
They also fit the bill when you’re looking for a summer bloomer for border edging. Also at home in containers, because of their shallow roots and compact nature, they’re a window box staple as well as a top choice for hanging baskets. Try combining them with fuchsia, lobelia, members of the conifer family, and other geraniums for eye-catching mixed groupings. In addition to outdoor use, Pelargonium x hortorum makes an excellent houseplant, which is especially useful in cold regions, as plants can be wintered over indoors. Long considered a gardener’s friend, the pungent odor of the leaves, especially when crushed or rubbed, repels herbivore pests like rabbits. They may even help to repel Japanese beetles. It seems that when the bugs nibble the leaves, they fall into a drunken state, making them easy prey for birds and other beetle-eating wildlife.
With full sun, well-draining soil, and a little bit of maintenance you can enjoy this dependable, disease-resistant classic as an evergreen perennial in Zones 10 and 11, and as an annual in all temperate zones. Are you growing geraniums in your garden? Let us know in the comments section below, and feel free to share a picture! And to learn more about growing flowers in your garden, check out these guides next:
How to Grow and Care for Dreamy Delphiniums 15 of the Best Scented Geranium Varieties How to Grow and Care for Common Foxglove How to Grow and Care for Agapanthus
© Ask the Experts, LLC. ALL RIGHTS RESERVED. See our TOS for more details. Uncredited photos: Shutterstock.
