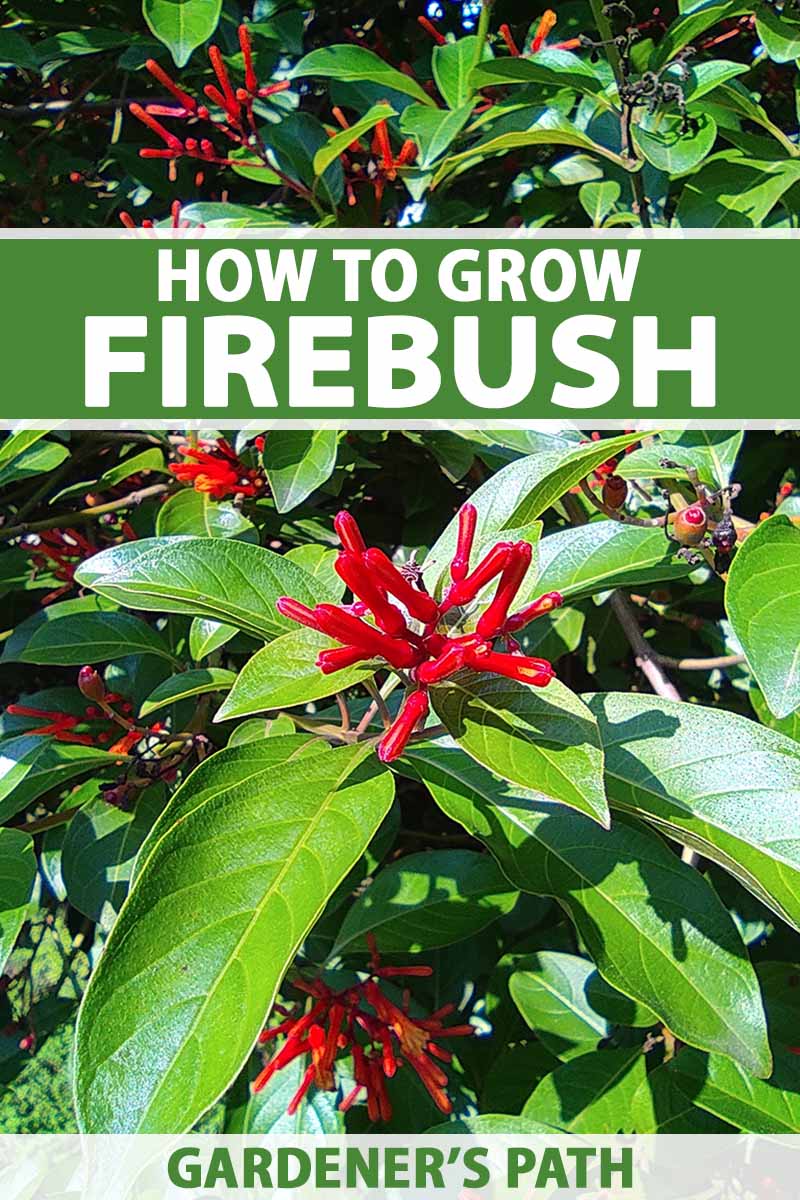
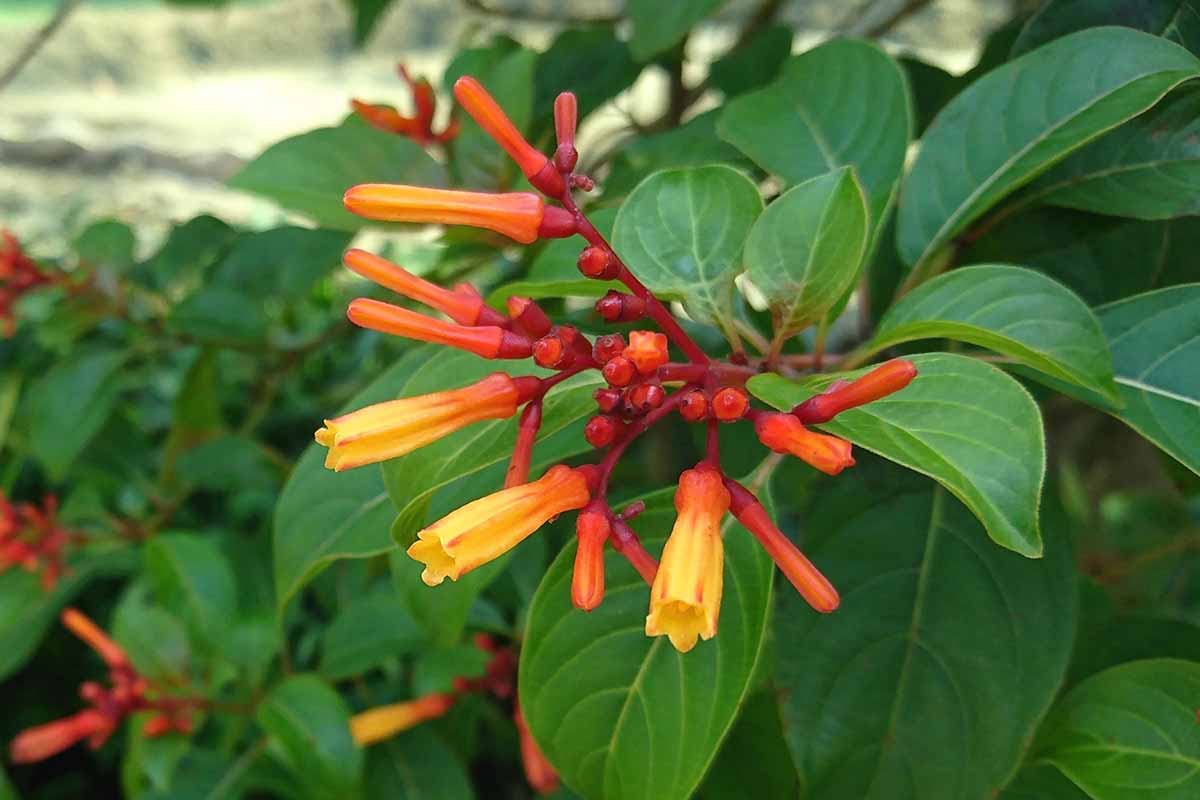
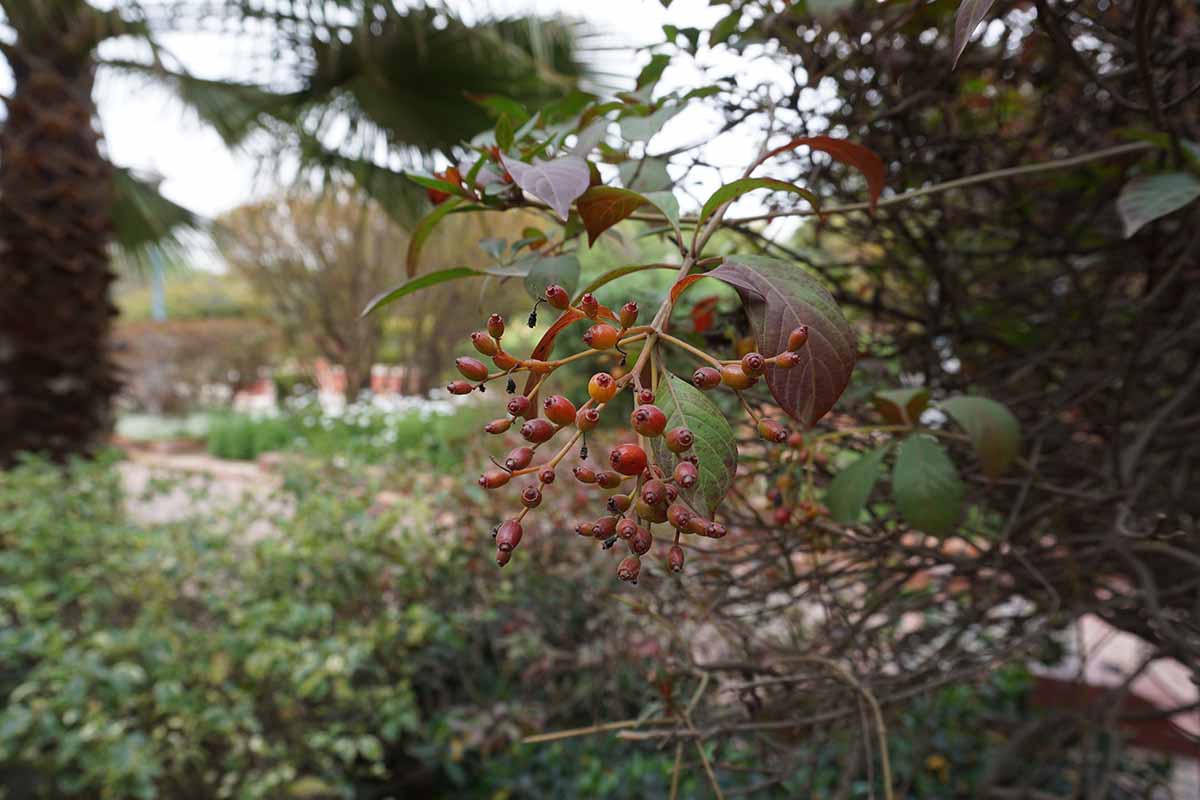
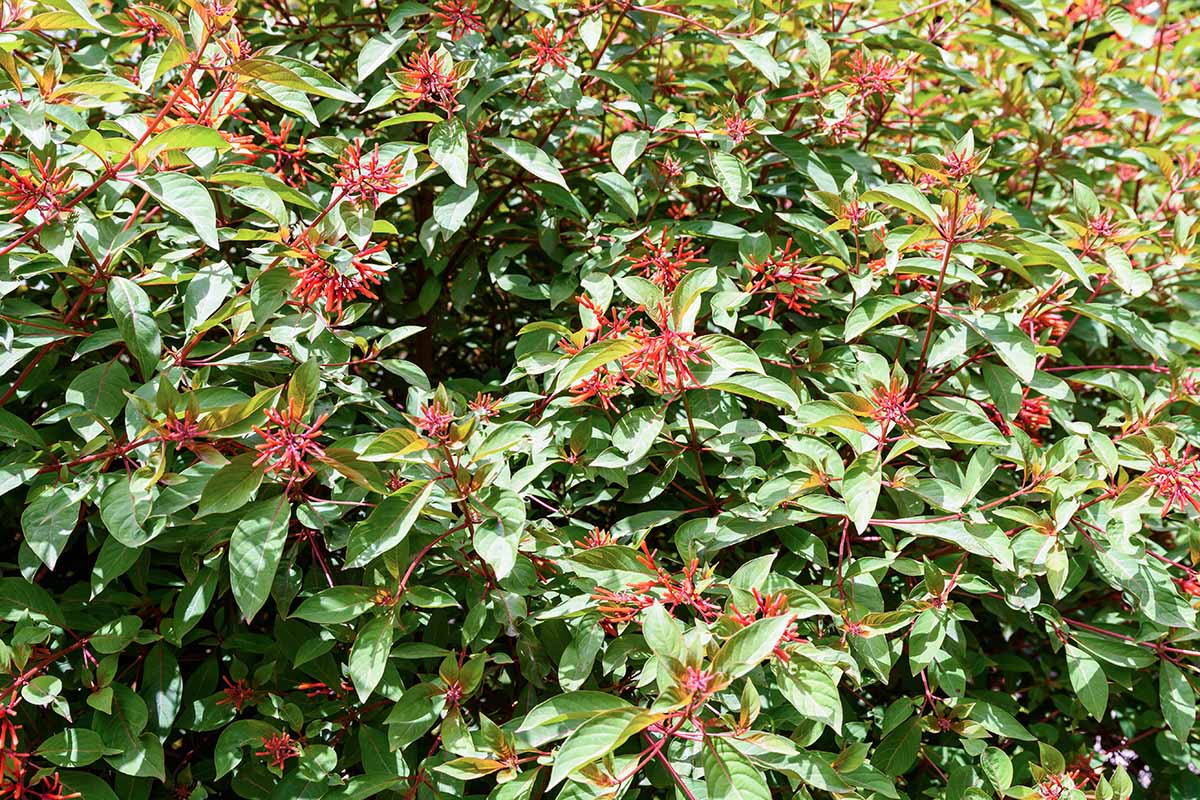
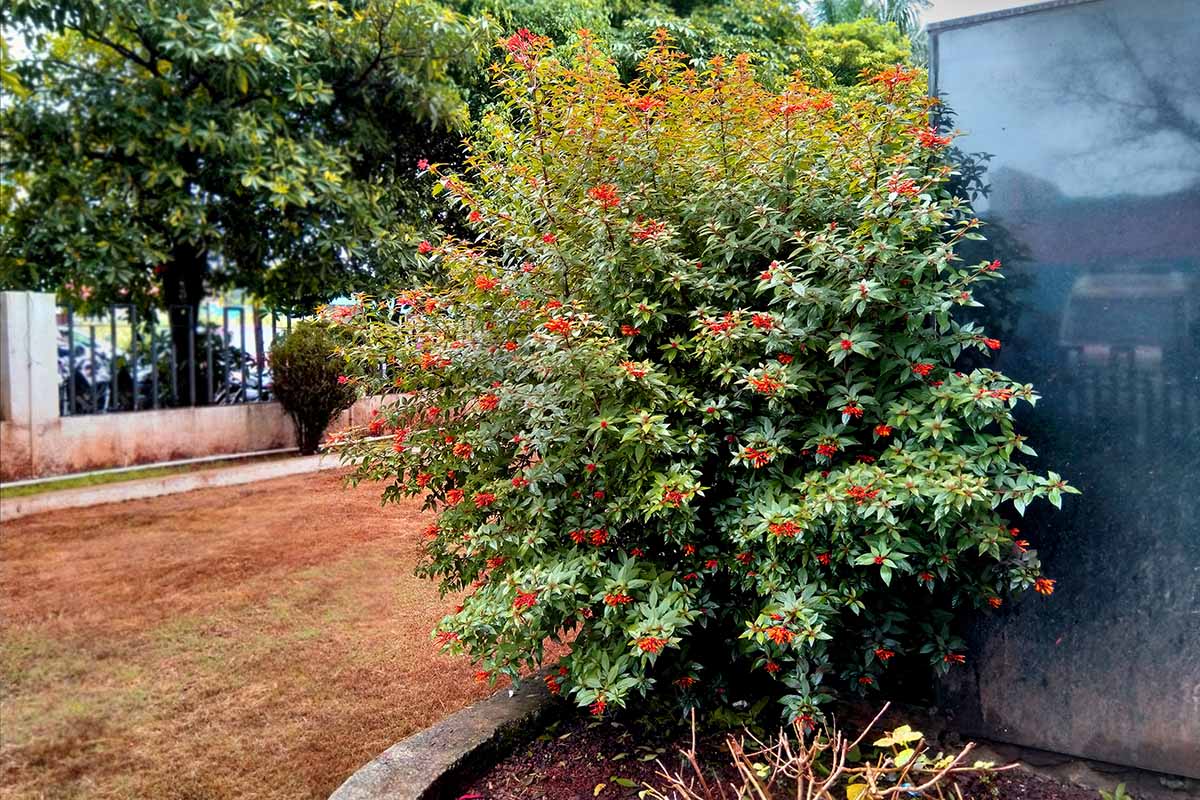
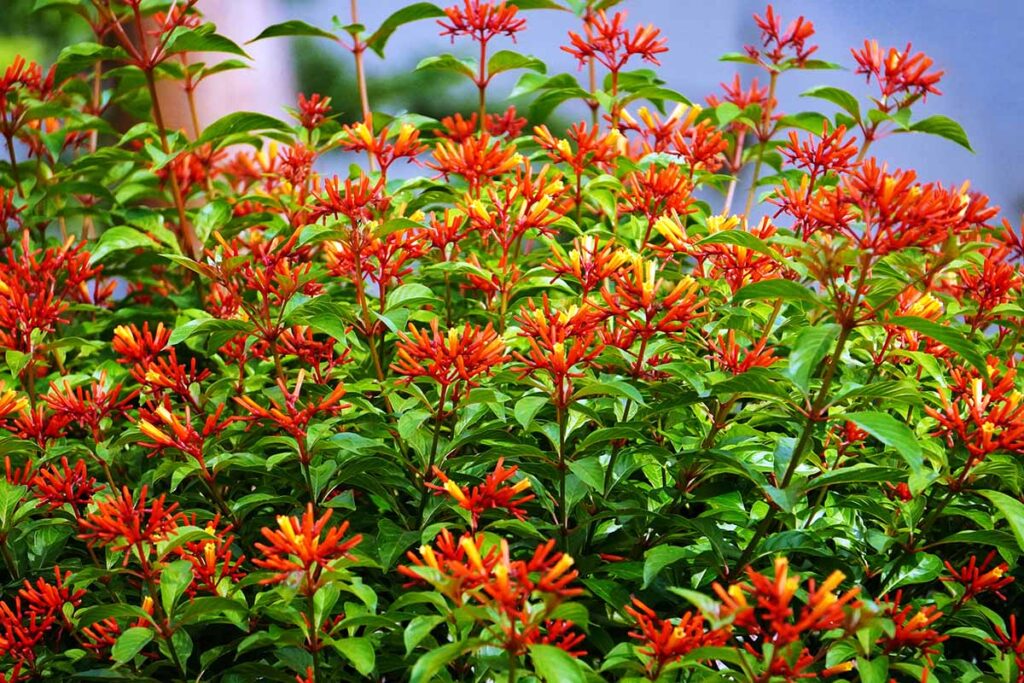
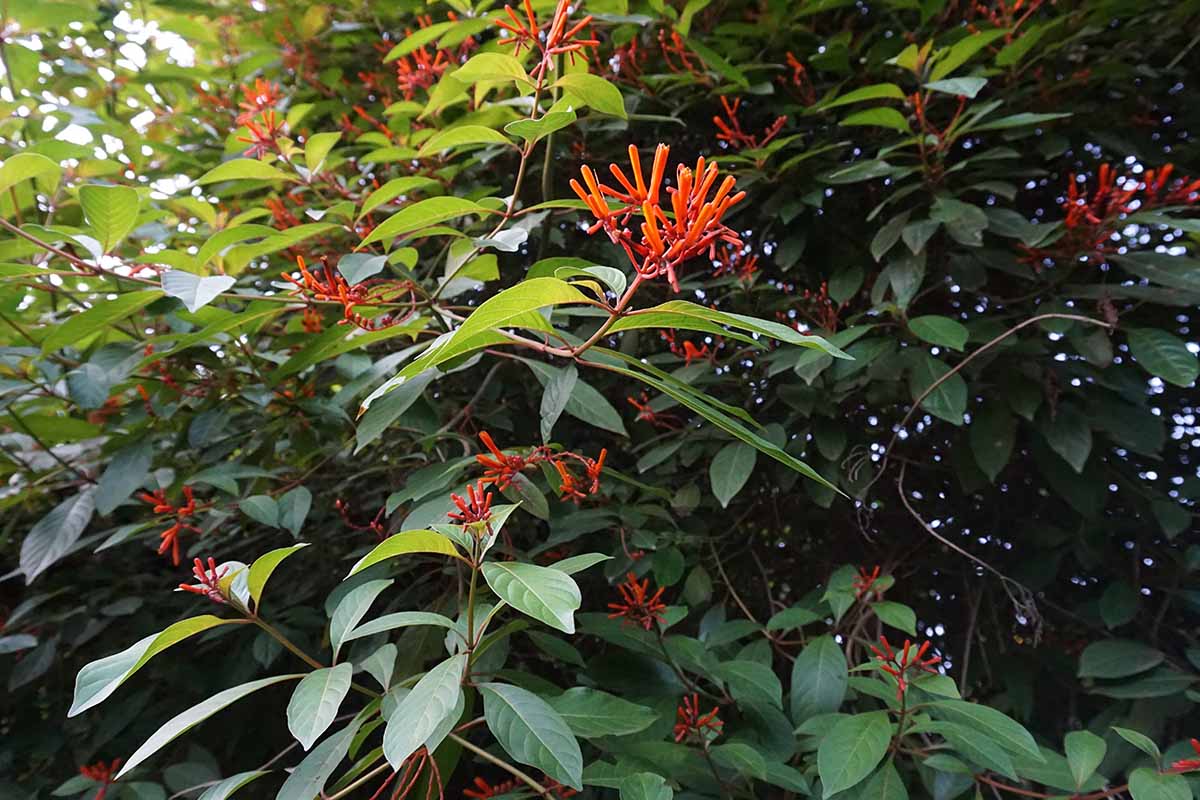
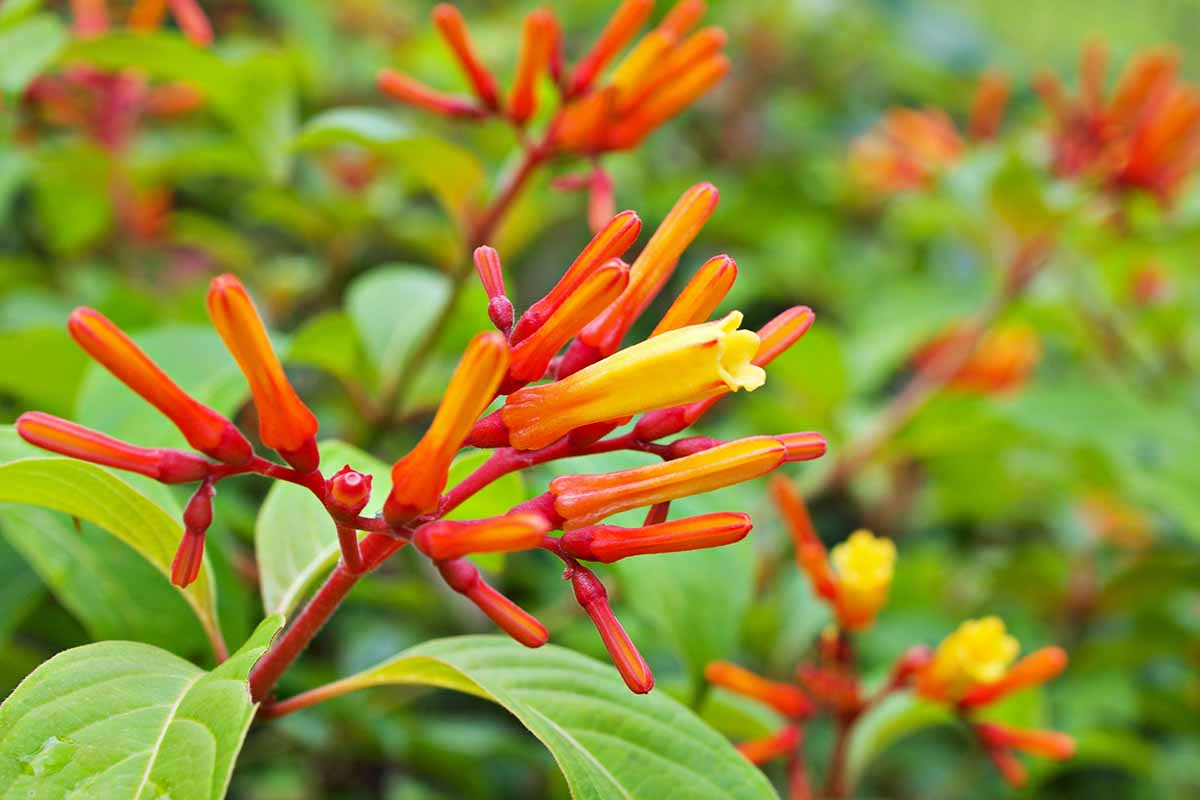
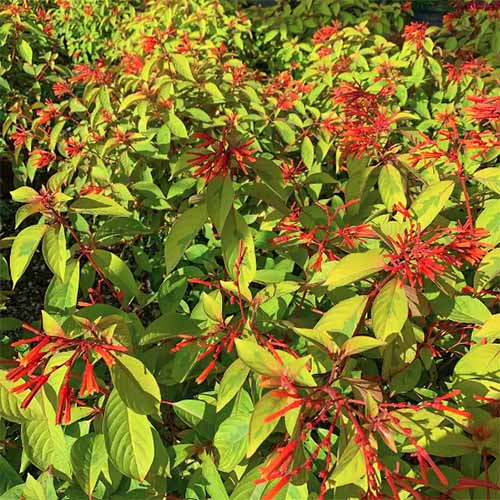
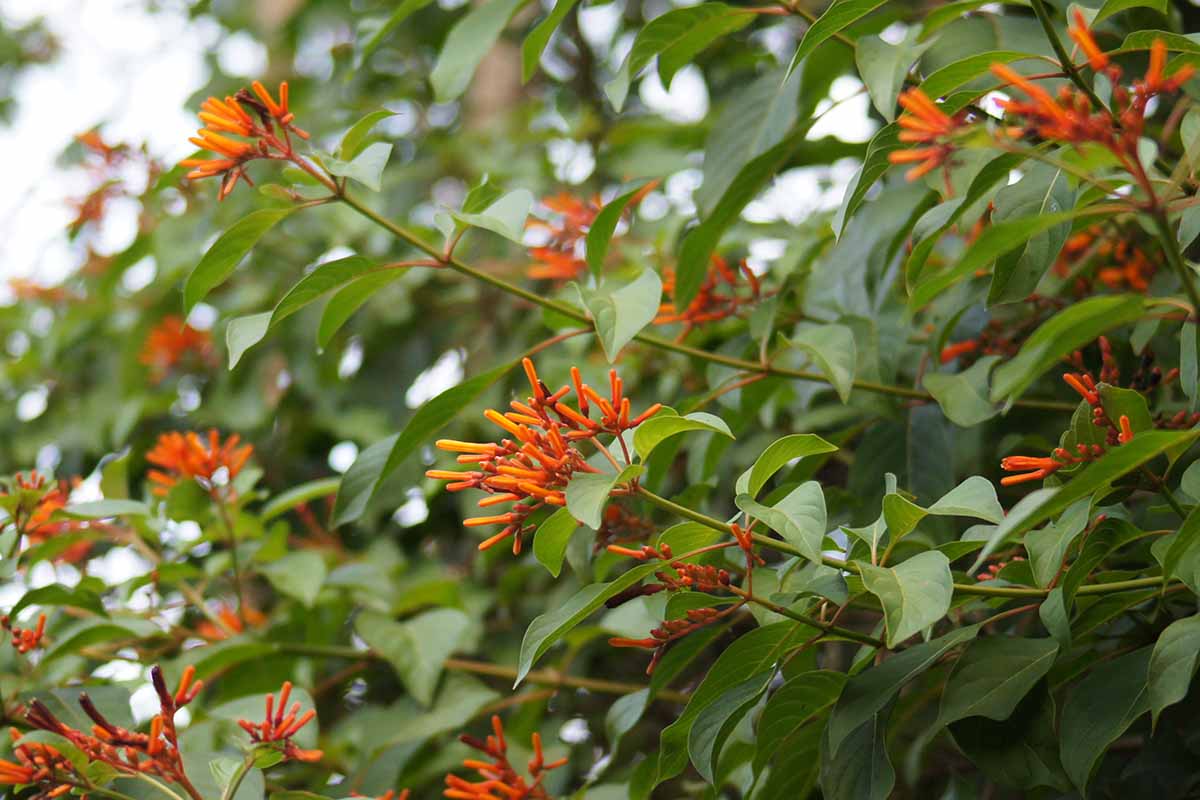
This plant goes by other aliases such as firebush, hummingbird bush, and scarlet bush… but whatever you choose to call it, H. patens is well known for its striking vegetation and ability to attract beneficial pollinators. The orange-red tubular flowers bloom as terminal clusters in spring and continue through fall, providing a rather lengthy period of floral interest. Showing up on the pedicels in place of the flowers are red to black, fleshy berries, which are quite attractive to songbirds. We link to vendors to help you find relevant products. If you buy from one of our links, we may earn a commission. Depending on the cultivar and growing conditions, firebushes can be foot-tall shrubs, 15 foot-tall trees, or any size in between! Because they’re also resistant to salt and wind, they will do just fine as coastal plantings during hurricane season. This low-maintenance plant is definitely worth adding to your garden, whether as part of a perennial border, hedge, or specimen planting. In this guide, you’ll learn how to cultivate the firebush for yourself! We’ll also cover how to keep your plant healthy via pest control and disease prevention techniques. Here’s what’s coming atcha, firebush fans:
Cultivation and History
The Hamelia genus was named in honor of the French polymath Henri-Louis DuHamel de Monceau for his contributions to botany and agricultural science. A member of the Rubiaceae – or coffee – family, the genus consists of 16 different species, with H. patens being the most widely distributed. Firebush is native to the tropical and subtropical regions of the Americas, from the southernmost United States to the northernmost nations of South America, and everywhere in between. In many of its native regions, the leaves, stems, and berries are used by indigenous peoples for treating skin conditions like rashes, stings, and fungal issues. The extracts are also used to treat fevers, menstrual cramps, headaches, dysentery, and inflammation. Studies have shown firebush extracts to have antifungal, antibacterial, pain-relieving, hypothermic, and diuretic properties, so these folks definitely have the right idea. The edible berries – black when ripened – make for a tasty fermented drink that’s popular in Mexico, but aren’t very tasty when eaten raw. In the landscape industry, the firebush has become a go-to ornamental shrub or tree for tropical and subtropical regions. Additionally, there are plenty of cultivars available, to satisfy many niche landscape needs.
Propagation
Propagating firebush can be achieved via seeds, cuttings, or transplants. In addition to choosing a propagation method, though, you’ll also have to decide on whether your firebushes will be planted in a pot or in the ground.
From Seed
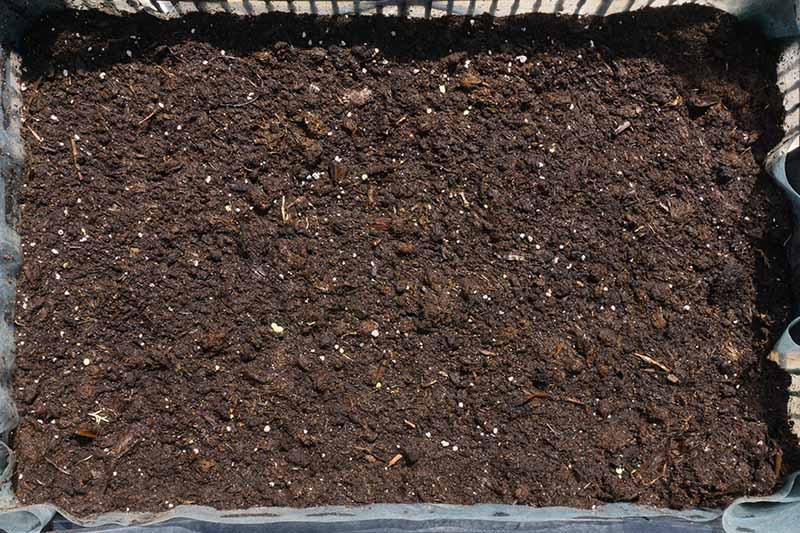
There’s more than one way to acquire firebush seeds. If you want to purchase them, then you should be able to find them at local plant nurseries or online. However, you can also collect them from the berries of an existing plant, if you have access. Select a large, ripened berry in summer. Along with the berries changing color from red to black, recently fallen fruits are a telltale sign of ripeness. With your fingernails, peel away the fruity exterior and slowly work your way deeper until you spot seeds. After that, pick out the desired amount of seeds using tweezers, if you can’t get at ‘em with your fingers. Once you have fresh seeds, you’re ready to sow. Firebush must be propagated with fresh seed, however… so the sooner, the better. If you’re sowing indoors, get a seed tray and fill it with a seed-starting mixture, whether it’s store-bought or homemade. If you go the DIY route, a 50-50 mix of peat moss and perlite will do just fine. If environmental sustainability is a priority, using coconut coir instead of peat moss will suffice. Sprinkle the seeds onto the surface of the medium and gently mist them with water. As you wait for the seeds to germinate, you’ll want to keep them misted, but never let the soil become soggy. Keep the tray indoors, in a well-lit area such as a windowsill, and covered with clear plastic to prevent the soil from drying out. When the seeds germinate in one to three weeks, remove the plastic covering and continue to keep the soil moist but not waterlogged. Thin them out as they grow and start to crowd each other out. Once they form at least one pair of true leaves, and all risk of frost has passed, bring them outside into the sun for 30 to 60 minutes. Add 30 to 60 minutes of outdoor exposure every day until the seedlings can handle a full day’s worth of sunlight. At this point, they will be ready to transplant, as discussed below. For outdoor sowing, prepare a patch of well-draining garden soil that has full sun exposure. You may have to add organic material and/or sand in order to achieve that ideal drainage. Cultivate the soil up to twelve inches deep in preparation. Bury the seeds a quarter-inch deep, spaced far enough apart for their expected mature sizes. Lightly irrigate the seeds, and keep the soil moist but not waterlogged.
Transplants
If you’re transplanting nursery starts, seedlings, or cuttings, the best time to do it is in the spring, although in frost-free locations any season other than winter is acceptable. Bonide Powdered Rooting Hormone Stick the cuttings into four-inch pots filled with well-draining potting soil or a mixture of peat moss and sand, and make sure to keep the medium moist without drenching it. The cuttings will need to be in a location with indirect light and a temperature of 85°F or above. If you are unable to keep the environment at that temperature, then warming pads like these ones from Gardener’s Supply will add 10 to 20°F to the heat already provided by the environment. Seedling Heat Mat Once the cuttings have developed strong roots and new foliage, they’re ready for hardening off and transplanting as discussed below. Once the seedlings are three inches tall, and have been hardened off, you can plant them. Find a sunny or lightly shaded part of the garden, and prepare holes large enough for the root system of each seedling you intend to plant. Space out said holes one to twelve feet apart, depending on the expected mature size of the cultivar you are growing. After you’ve dug your holes, plant your transplants so that the top of the root system is just below the soil line. Fill in the holes with soil, pat it down, and water them in. Don’t slack on watering the transplant until it becomes established.
How to Grow
A firebush needs to be in Zones 9 to 12 in order to thrive as a perennial. However, for those planting in environments like Zone 8 or parts of 9 that straddle the line between warm enough and too cold, you could keep your firebush in a pot to play it safe, and bring it inside when temperatures drop to 40°F. In more temperate zones, you can plant this fast growing shrub as an annual. The closer to Zone 12 you plant it, though, the bigger it’ll grow… conversely, if you grow it as an annual, don’t expect it to reach a height greater than one to two feet. Firebush loves full sun exposure, which means six-plus hours of sunlight per day. It’ll also tolerate partial shade, particularly in hotter regions. Plant in full shade, however, and it’ll produce weak blooms and leggy stems. The only thing a firebush absolutely requires from soil is ample drainage, which’ll be provided best by a sandy soil texture. Optimal pH levels are 5.5 to 8.2, but firebush will survive in soils beyond that range. Fertile soils rich in organic matter aren’t necessary, but they’ll certainly help it to produce those gorgeous blooms. If you’re trying to squeeze every last inch of height from your firebush, then training it up a trellis will help the plant reach its full vertical potential. For perennial plantings you plan on overwintering, a properly-sized and well-draining pot will allow for portability when bringing your plant indoors. Properly-sized means a diameter of 10 to 14 inches for small varieties and 14 to 24 inches for larger ones, with the latter needing a depth of at least 14 inches. You can learn more about growing Hamelia in containers in our guide. (coming soon!) For optimal health, deeply irrigate the soil around the roots whenever the top two or three inches are dry. One of this plant’s strengths is drought resistance though, so forgetful gardeners and chronic under-waterers can rest easy. Supplemental fertilization isn’t required, but adding a bloom-boosting fertilizer with a 2-6-4 (NPK) ratio in springtime will make the already spectacular flowers even more eye-catching.
Growing Tips
Full sun is optimal, but partial shade works in particularly hot regions.Well-drained soils are a must.Provide a deep watering whenever the top two to three inches of soil dry out.
Pruning and Maintenance
Pruning comes in handy for firebush control. These plants can grow five feet per year in optimal conditions, so regularly – or at least occasionally – shearing the foliage will keep them tidy and contained. Make sure to not remove more than a third of the plant’s mass at once, though. You can also remove any spent flower heads for aesthetics or to prevent berry litter. It’s not essential, since they’re pretty quick to fall off by themselves. But if your plant needs to look immaculate for that upcoming backyard barbecue, then it certainly won’t hurt. In parts of Zone 9, a firebush often dies all the way to the ground in cold winters, only to vibrantly return in the spring. Don’t freak out and assume you’re a bad gardener, or anything… but if the plant doesn’t grow back, then you might want to check your hardiness zones map again. For those grown as annuals, remove and compost the plants once they die back at the end of the growing season. If you have a potted firebush that you want to bring inside for the winter, do so once temperatures reach 40°F. Put your plant in a basement or garage and wrap the pot in bubble wrap or burlap for extra protection. Bring it outdoors in the spring once all risk of frost has passed and temperatures are reliably above 40°F. Learn more about how to overwinter firebush in our guide. (coming soon!)
Cultivars to Select
The species firebush plant has much to offer, but for gardeners looking for certain ornamental traits, or for those just looking to switch things up a bit, other varieties and cultivars are available.
Compacta
Also known as Hamelia patens var. glabra, this dwarf variety grows up to three to four feet tall at maturity. You can tell it apart from the species plant by checking the foliage: the species has soft hairs on the leaves, while ‘Compacta’ foliage is hairless and smooth. In addition, ‘Compacta’ blooms are more of a yellow-orange than a standard orange-red hue.
Calusa
I didn’t think firebushes could get much better… until I discovered ‘Calusa.’ ‘Calusa’ has brighter flowers and even greater disease resistance than the species plant, along with a denser, more uniform growing habit. In addition, its leaves are tinged with red in a way that really complements the blooms. ‘Calusa’ reaches a mature height of three to eight feet, making it a compact, yet outstanding addition to the landscape.
Firefly
‘Firefly’ is practically identical to the species plant, save for a mature height of three to five feet, plus leaves and flowers half the size of a normal firebush. Fans of proportion: fear not. ‘Firefly’ won’t let you down. However, no plant is completely impervious to infestation or infection, so let’s go over some issues that could arise. ‘Lime Sizzler’ From a distance it looks almost golden, especially in bright sunshine. For a two-gallon ‘Lime Sizzler’ firebush, the Home Depot has you covered.
Managing Pests and Disease
Firebush is already pretty resistant to pests and diseases, so plant health care needn’t be a huge priority here.
Pests
In addition to the damage insects already do, some may also transmit pathogens. With sound pest management practices, gardeners can prevent diseases, too.
Aphids
These soft-bodied insects will infest and suck sap from the foliage, all the while producing offspring all-too-eager to follow in their parents’ footsteps. Aphids also secrete honeydew, which can lead to sooty mold as it collects on plant tissues. A plant won’t die from aphid infestation, per se, but it’ll be left with stunted, chlorotic, and/or curling leaves, along with a weakened vigor.
Scale
Scale are rounded, wingless, itty-bitty insects that suck the phloem sap from plant tissues. They’ll also leave honeydew in their wake like aphids do, which isn’t healthy or aesthetic for a plant. If you want them dead as well as gone, applications of neem oil or insecticidal soap will do the job. Find neem oil available at Arbico Organics. Bonide Neem Oil You could also add predatory insects to your garden as a means of biological control. For more information on how to control aphids, read our guide. Soaking a cotton ball in rubbing alcohol, then rubbing the cotton on individual scale insects will dessicate and kill them. Other than that, control recommendations for scale are similar to what you’d do for aphids. Learn more about scale and how to manage an infestation in our guide.
Spider Mites
Bacterial Leaf Spot
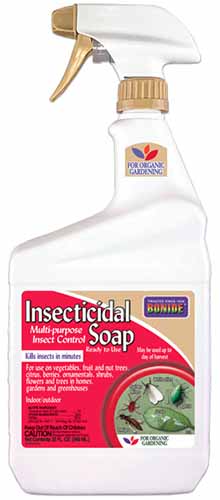
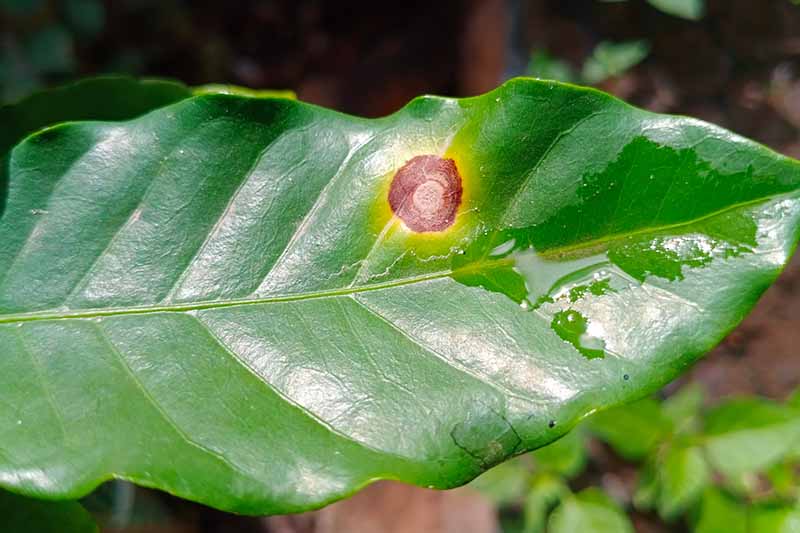
Caused by species of Xanthomonas, this disease shows up on foliage as small, round, and darkened spots. These lesions hinder photosynthesis, which weakens the plant. Gentle sprays of insecticidal soap, as per the manufacturer’s instructions, will help to control spider mites. Bonide Insecticidal Soap Bonide has just the product you need, available from Arbico Organics.
Disease
Along with keeping pests under control, sanitary gardening practices and using sterile gardening tools will help prevent the spread of disease. Many pathogens also love wet conditions, so all the more reason to provide well-draining soil and avoid overwatering. This isn’t usually fatal, but even mild cases leave the plant stunted and covered with unsightly blemishes, which is no bueno. Pruning afflicted leaves, removing and destroying fallen plant detritus, and properly spaced plantings will all help prevent bacterial leaf spot. Applying copper fungicide as a preventative measure, or after multiple years of severe foliage losses can help, too. But if a plant is too far gone, culling it from the garden may be all you can do.
Root Rot
In firebush, the primary cause of root rot is overwatering, which blocks the roots from receiving ample oxygen. These roots become necrotic, which leads to many aboveground issues such as leaf wilting, chlorosis, and eventual death – not good at all. Root rot really can’t be reversed, so your best bet is to remove the plant from your garden and learn for next time. Even seasoned irrigators can accidentally overwater plants by watering just prior to unforeseen rainfall, so always keep the upcoming forecast in mind. Firebush can handle drought, though, so when in doubt: wait a bit longer before watering.
Best Uses
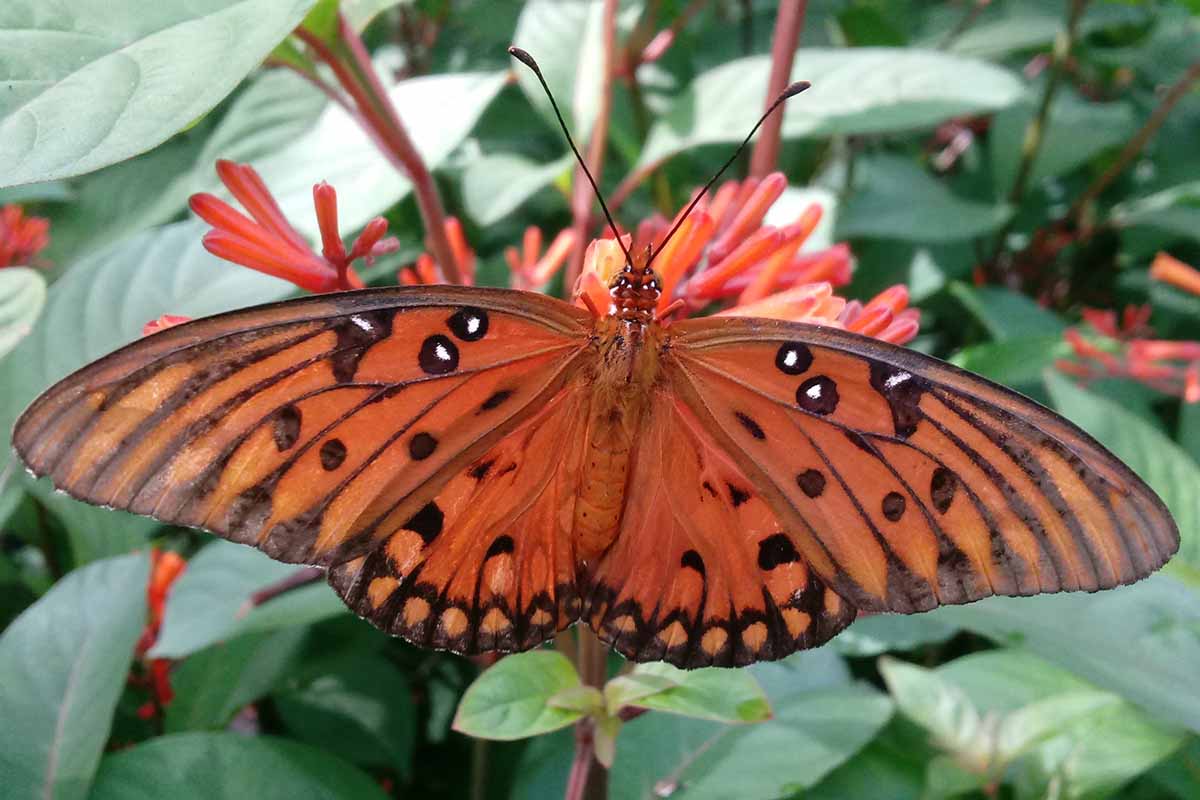
Mixed perennial borders, specimens, accents… the firebush is very versatile, ornamentally. These plants make great screens and hedges, along with enticing many beautiful pollinators, like butterflies and hummingbirds into your garden. If grown north of their preferred hardiness zones, firebush plantings can add a touch of the tropics to an otherwise temperate landscape. Hopefully, now you feel confident in caring for this plant yourself! Don’t worry, its durability and vigor makes it quite forgiving, should you make any cultivation mistakes. Making mistakes, learning lessons, gaining new skills… it’s all part of the gardening process! Questions, comments, experiences, or any words put together in G-rated sentences are all welcome in the comments section below! I’m psyched to read and respond to them. If you enjoyed learning about the firebush, here are some more guides on growing woody shrubs:
How to Grow and Care for Heavenly BambooHow to Grow and Care for Spirea BushesHow to Grow and Care for Rhododendrons
