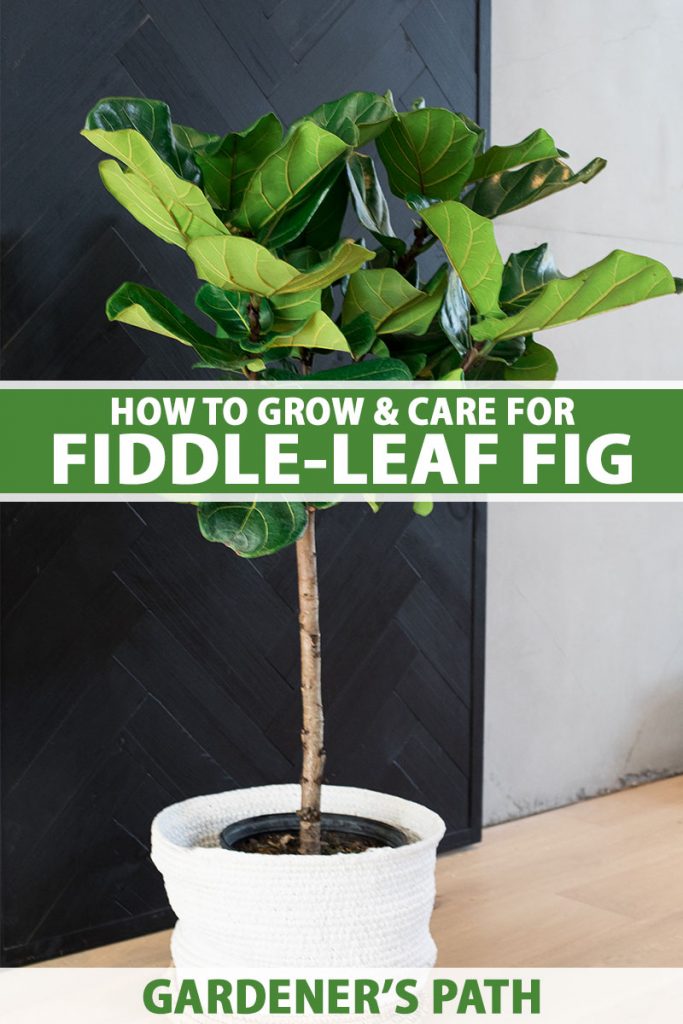
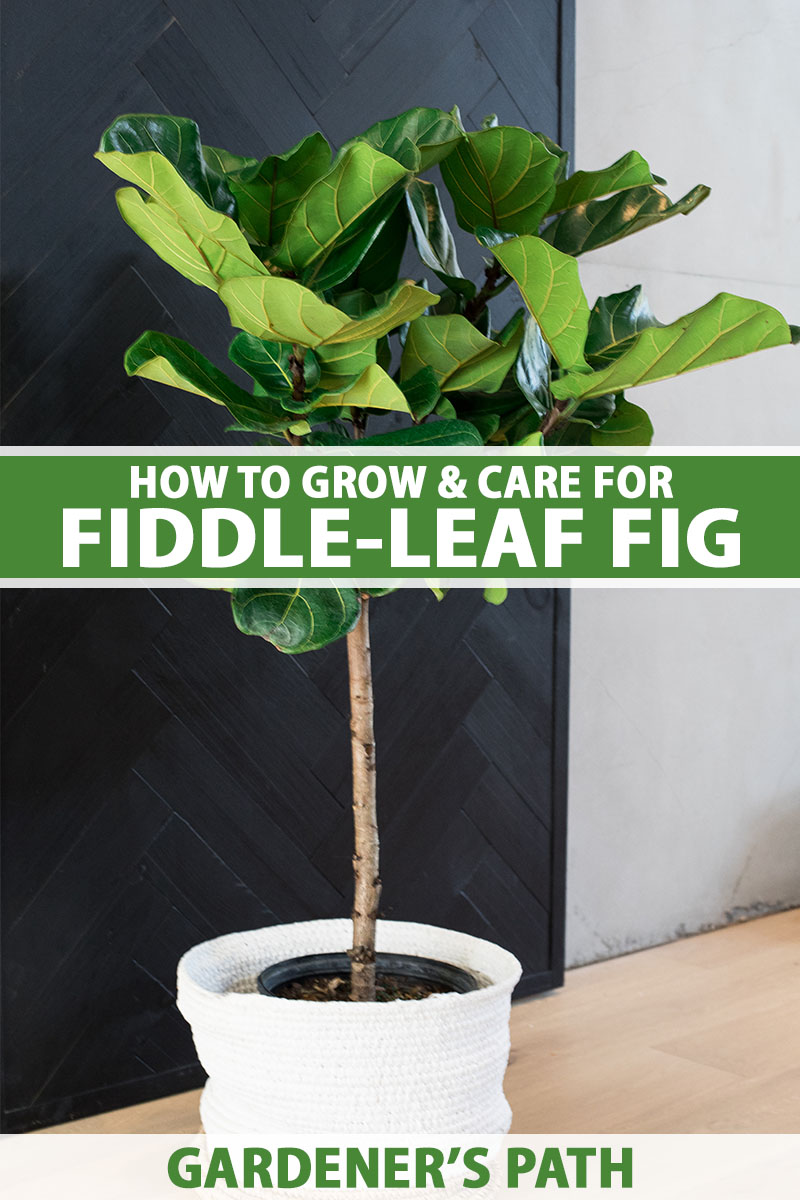
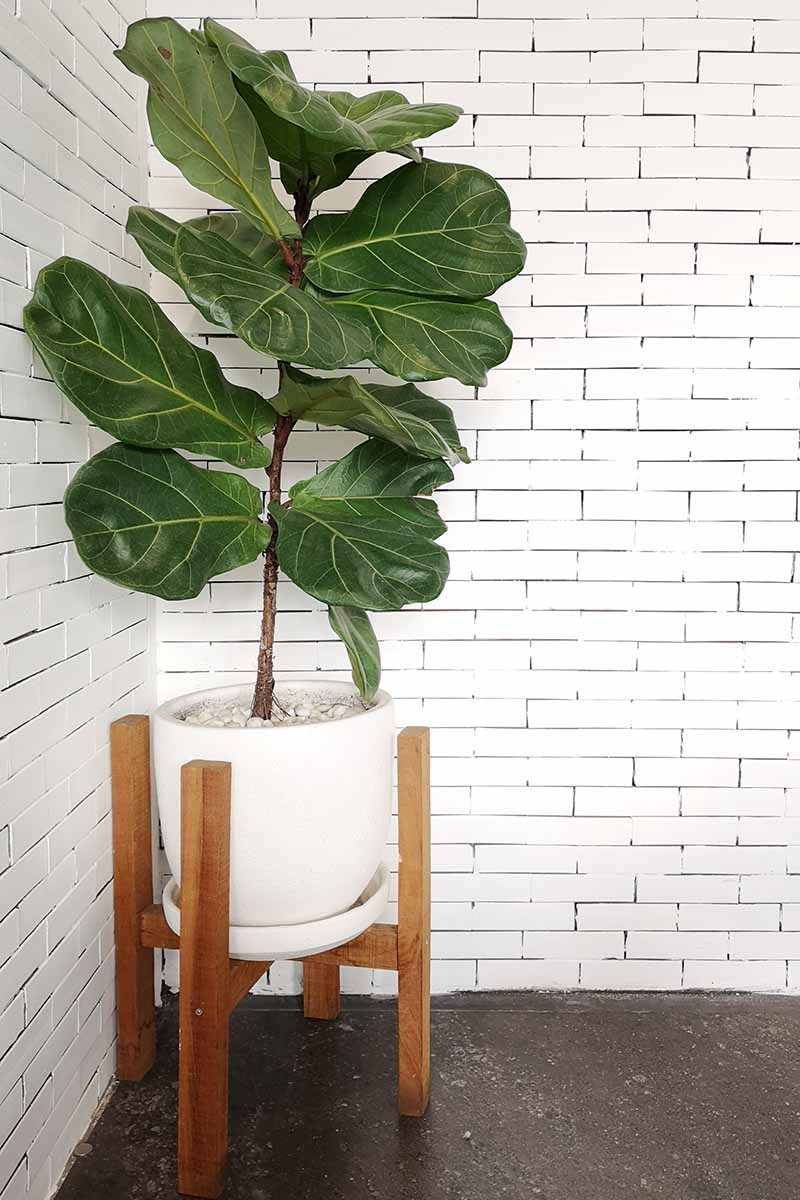
These marvelous plants stand out indoors because of their architectural shape and glossy, prehistoric-looking leaves. But unlike some of the other “of the moment” houseplants, like air plants and monsteras, these striking specimens are incredibly fussy. In fact, they’re so finicky that it’s a surprise to me they’ve become so popular. We link to vendors to help you find relevant products. If you buy from one of our links, we may earn a commission. If you’re committed to adding one to your space, think of it as something akin to bringing home a new puppy. It’s going to need time and attention, though you won’t have to worry about waking up at three o’clock in the morning for a feeding or an emergency potty trip. Don’t let their persnickety ways put you off. They’re a bit more challenging to care for than various other types of houseplants, but once you get to know fiddle-leaf figs, they’ll come to feel like a part of the family, and caring for them will become second nature. I even know people who name their plants, talk to them, and hire house sitters to watch them when they leave town! Okay, “people” includes myself. But hear me out: it has taken me years to master the art of raising fiddle-leaf figs, and I’m not about to let my plants flounder! If naming and chatting with them now and then is going to help, I’m doing it. This guide explains everything I’ve learned over the years, and it’s going to set you up to overcome any obstacles that might get in your way so you can keep your fiddle-leaf fig healthy, happy, and looking beautiful. Bestowing a name on your plant is optional! Here’s what I’ll cover: I call my giant nine-year-old tree Midori, and he receives constant praise whenever people visit my home, though we’ve been through some challenges together to reach that point. Ready to learn how to nurture a standout fiddle-leaf fig houseplant of your own? Let’s get started!
Cultivation and History
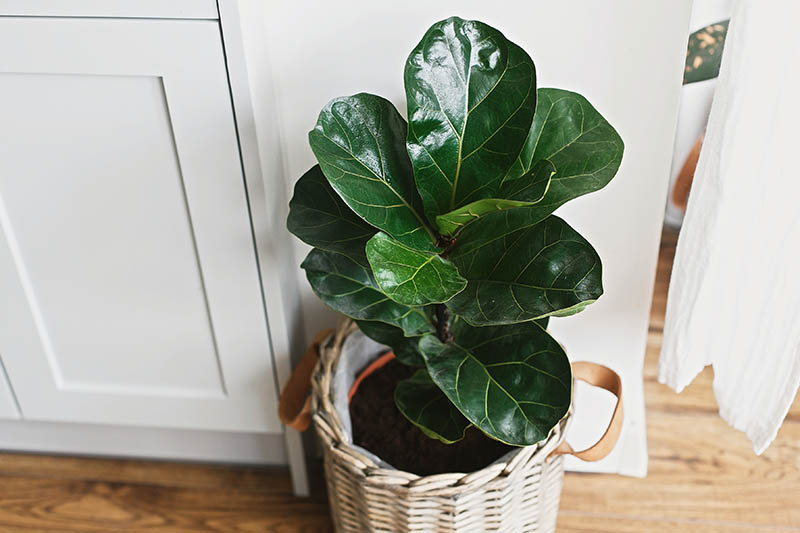
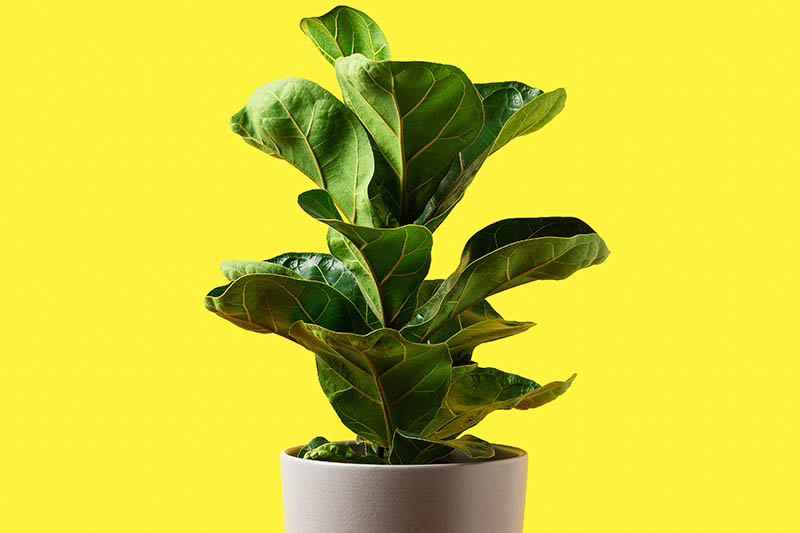
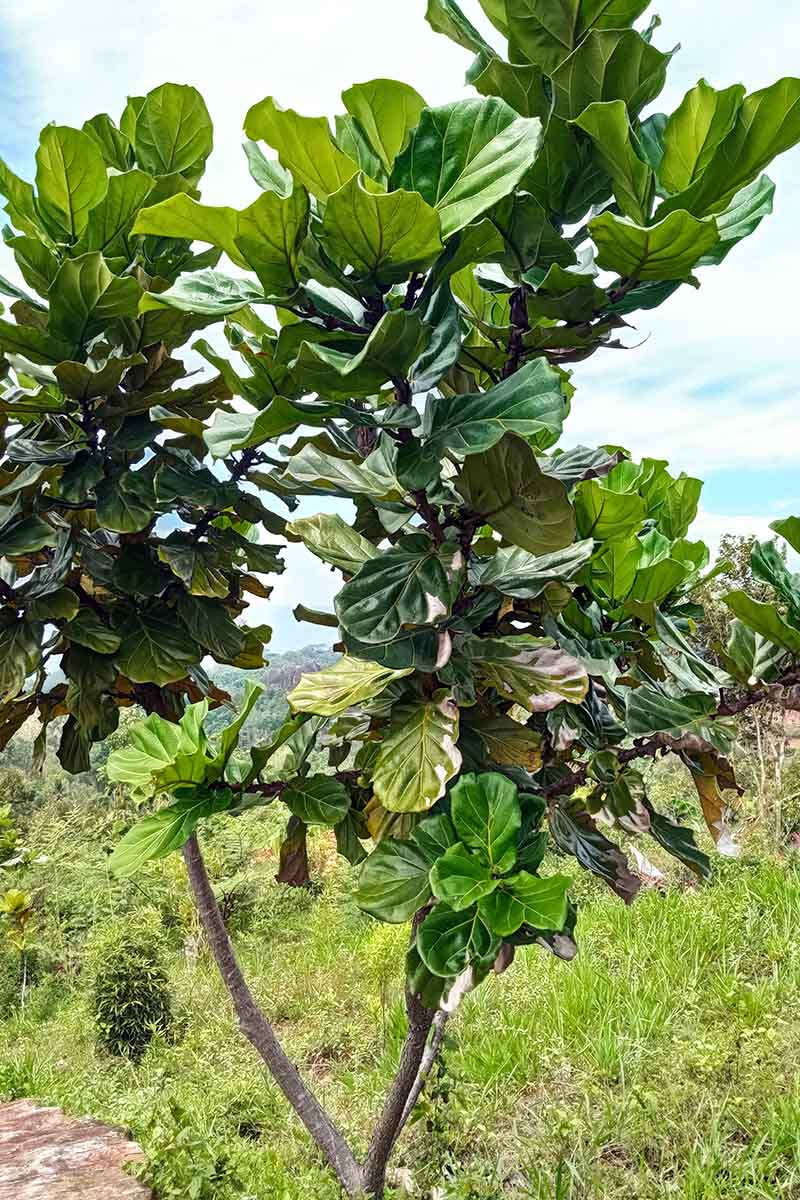
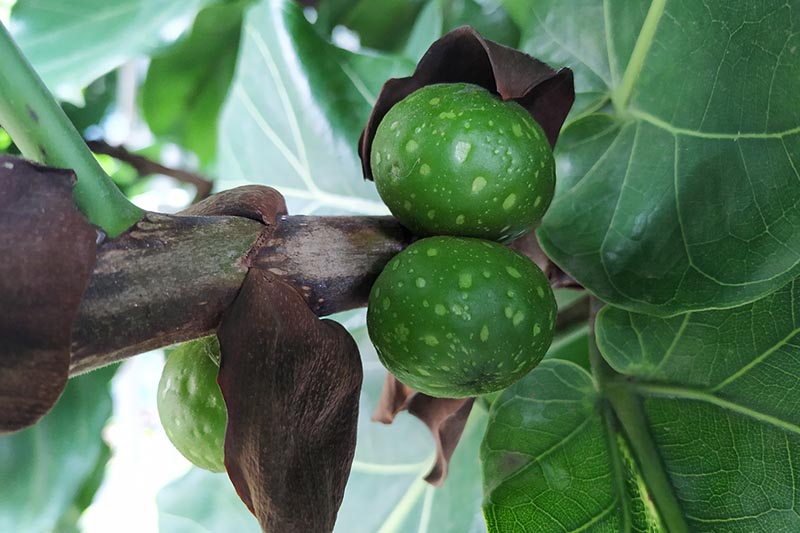
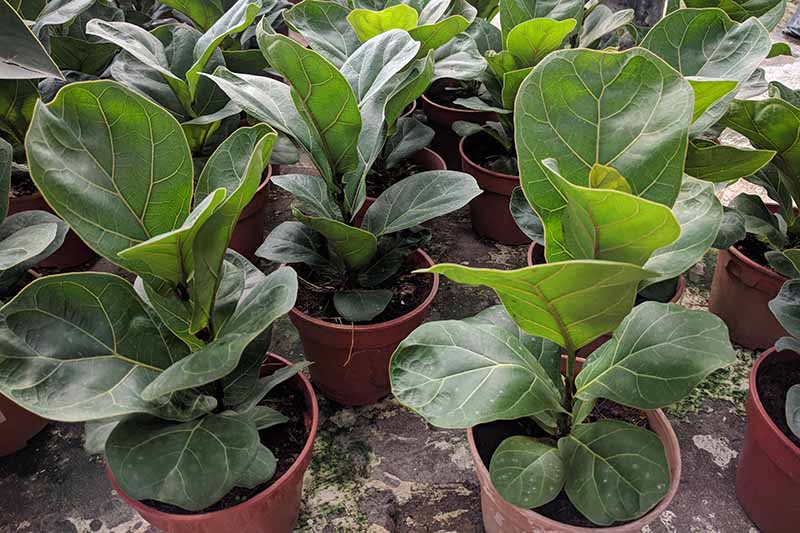
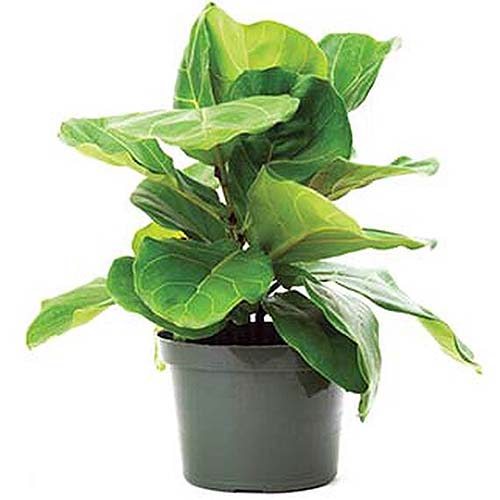
Are you curious to know a bit more about the history of fiddle-leaf figs? Before they could be found on Pinterest boards and in trendsetting homes around the world, this species started out in the lowland rainforests of western Africa. In their natural habitat, they grow 40 to 50 feet tall. When cultivated outdoors as landscape specimens, which is possible in subtropical climates like those of USDA Hardiness Zones 9 to 11 in the US, they are typically shorter, about 15 to 25 feet tall. Don’t worry about your new fiddle-leaf fig growing that tall and crowding you out indoors. In your home, they won’t have the right growing conditions to reach such heights. Standard plants will probably top out around 10 feet, though I’ve seen them grow over 12 feet under ideal conditions. And dwarf varieties are available as well, if you’re looking for something a little smaller. For such a seemingly delicate plant, fiddle-leaf figs can be a touch unmerciful. In the wild, seeds are dropped into the canopy of the forest by birds, bats, or monkeys, where they start their lives if germination is successful. As they mature, these epiphytes send roots down from the canopy and into the soil. As they do this, they slowly wrap their roots around the host tree, and may eventually strangle it to death. The fiddle-leaf is related to weeping figs (F. benjamina) and rubber plants (F. elastica), which both do the same thing. Collectively, along with dozens of other fig species, they’re known as strangler figs. The evergreen leaves of the tree are violin or lyre-shaped, which – as you probably guessed – is where they get their name. The foliage is deep green and leathery in appearance. The upper side of the leaves appear somewhat waxy, while the undersides are slightly lighter and matte. The leaves can grow to be 15 to 18 inches long. If you slice the stems and branches of F. lyrata open, their sap contains latex that can be irritating to the skin. Be sure to keep this in mind if you are pruning or propagating plants, and wear gloves. You won’t see any edible fruits on this plant if you’re growing it indoors, even though they’re part of the mulberry or fig family, Moraceae. In their native habitat, however, they grow round one-inch fruits that look similar in shape to the common fig fruit.
Technically called syconiums, these fruits contain small, off-white flowers inside. The flowers rely on a specific wasp, Agaon spatulatum, for pollination. After the wasp pollinates the flower inside, the fruit develops. Even if you did happen to give your fiddle-leaf fig the right conditions to produce fruits (if you are growing one outdoors, for example), they don’t taste good like the ones from their cousin the common fig, F. carica, which produces those familiar delicious fruits that you find at the grocery store. F. lyrata fruits are tart and astringent.
Propagation at Home
While it is technically possible to grow a fiddle-leaf fig from seed, it’s extremely difficult and not recommended. Fortunately for would-be fiddle-leaf parents, these plants lend themselves nicely to propagation by air layering or via stem cuttings.
By Air Layering
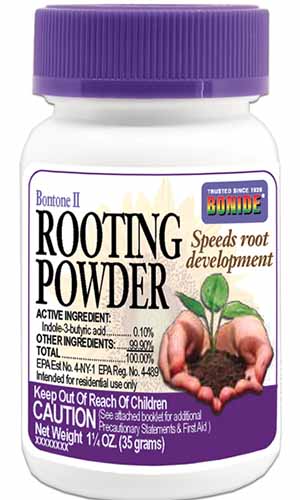
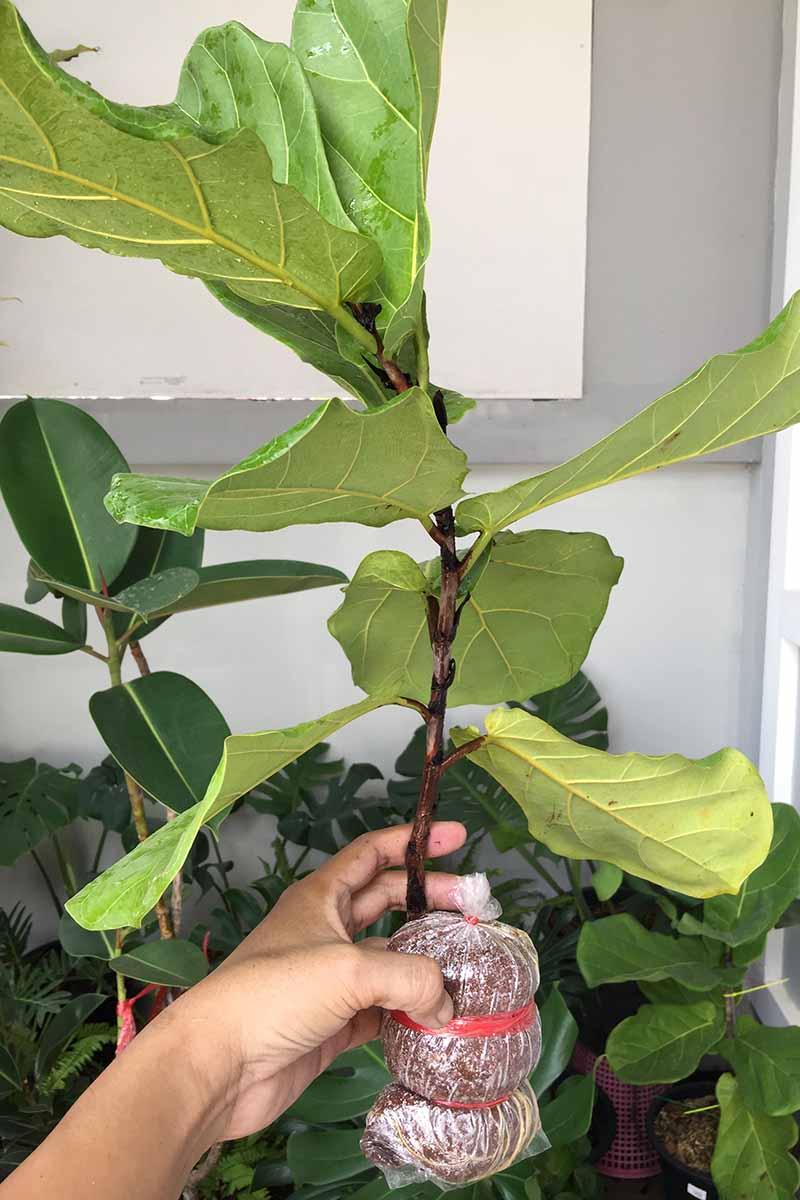
Air layering involves stripping the outer layers of the stem of a mature plant to expose the interior, and encouraging new roots to grow from there. Once roots form, you cut away the new growth and plant it. Here’s a brief overview of how to make it happen: Cut away the leaves from a section of brown, woody stem using a clean pair of clippers. You want to have about a six-inch section to work with, with at least a foot of stem both above and below the area you’re working with. Make a shallow cut horizontally all the way around the stem using the blade of a sharp, clean knife. Three inches below that, make another similar cut. Then, slice shallow vertical cuts into the stem every half inch or so, connecting the two horizontal cuts you made. Each of these cuts should be made into the phloem but not the cambium of the stem. That means cutting away the brown bark to expose the green interior, but if you expose the white interior, you’ve cut too deep. If you do cut too deeply by accident, it’s not the end of the world. Just make sure to go slow so that if you do cut too deep, you can adjust and make sure the rest of your cuts are made to the right depth. Seal the top and bottom ends of the bag with zip ties or string. Brush the exposed layer with a very thin layer of rooting hormone powder. Bonide Bontone II Rooting Powder I like to use Bontone II Rooting Powder, which you can purchase at Arbico Organics. Then, soak a few handfuls of sphagnum moss and wring it out so that it is moist but not wet. Wrap the moss around the exposed part of the stem and wrap that in thick, clear plastic to hold it in place. Water and feed the fiddle-leaf fig as you would normally (more on that below). Every few weeks, open the wrapping and mist the moss to keep it moist if it has started drying out. In about two or three months, you’ll start to see roots filling the plastic bag. At that point, cut off the top of the plant just below the plastic bag, using a clean pair of clippers. Remove the plastic and moss, and gently tease out the roots. Plant as you would a transplant. The original base will branch out at the spot where you cut it. Now you have two fiddle-leaf figs where you used to only have one!
By Stem Cuttings
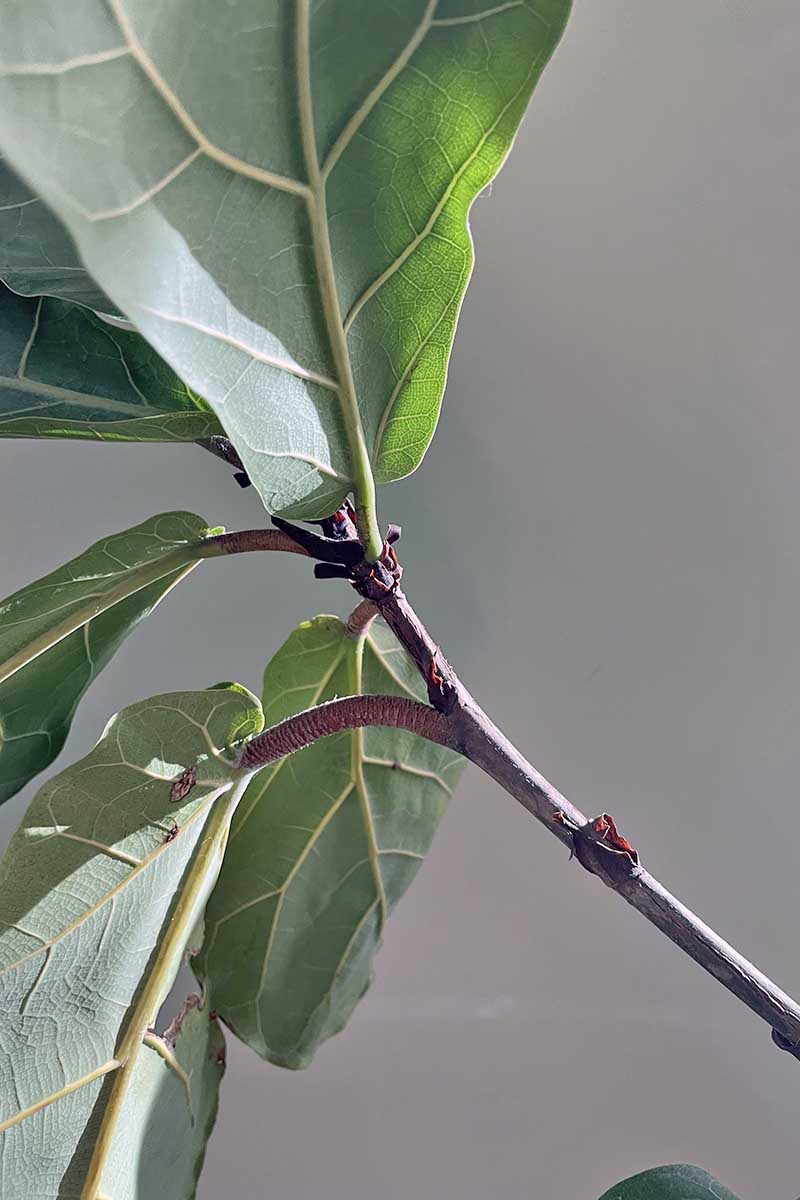
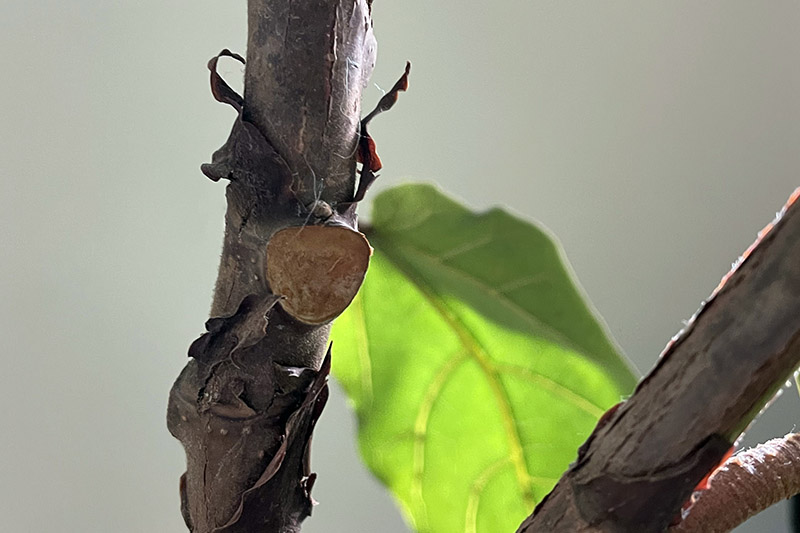
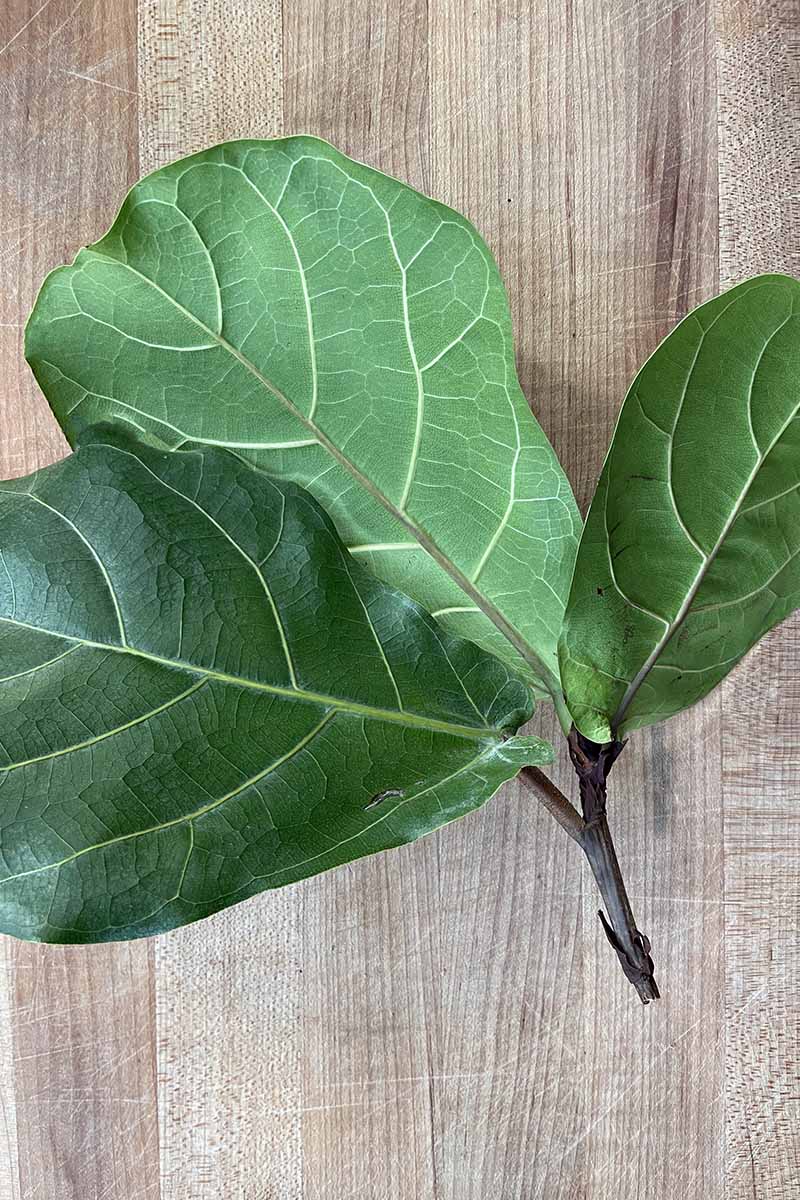
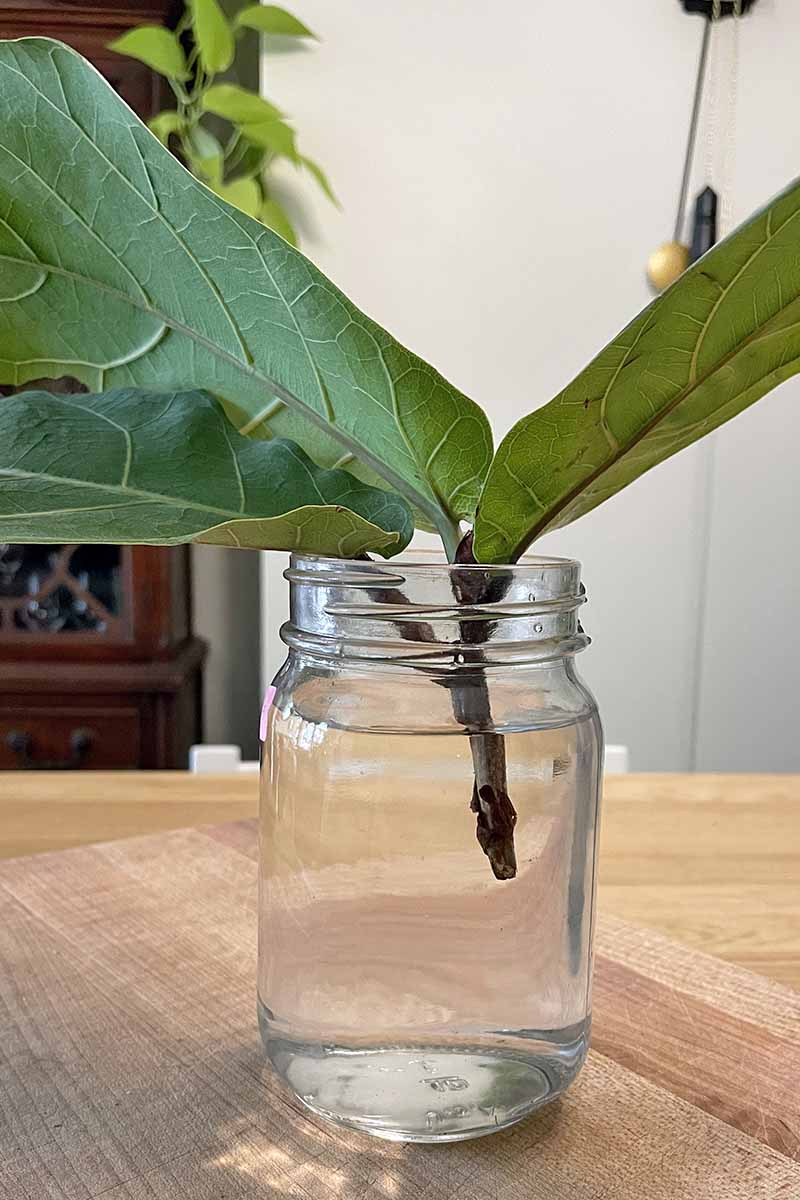
Stem cuttings are a reliable option to propagate your fiddle-leaf fig, and this method is less complicated than the one described above. Locate a healthy-looking branch, one with unblemished leaves and no signs of disease or pests. Cut it off with a pair of clippers. The exact length isn’t important. What you’re aiming for is to snip a section with at least two leaves, but more is better. Cut away any leaves from the lower half of the stem to expose one or more nodes. The node is the part where the leaf attaches to the stem. Nodes are where the new roots will grow, so the more you have, the better the chances are for roots to emerge. Be sure to keep at least one leaf attached to the top half of the stem. Then, cut the base of the branch at about a 45-degree angle right below the lowest leaf node. The reason you cut at an angle is to increase the surface area for the plant to absorb water and nutrients. Dip the end in a rooting hormone powder (see our recommendation above). Fill a six-inch container with sterile potting soil, water the soil, and poke a hole in the center with a pencil or chopstick. Place the cutting in the hole and firm the soil around it. A third of the stem should be buried in the soil. Mist the cutting daily and keep it covered with clear plastic to retain moisture. Tent the plastic over the leaves so that it isn’t touching the plant. You can prop up the plastic with thin wooden dowels or sticks. Keep the soil moist but not wet, and put the cutting somewhere that it will receive at least six hours of indirect sunlight per day. You could also place your cutting in a glass container like a mason jar or small vase filled with non-chlorinated water. Skip the rooting hormone powder, soil, and plastic tent, and just make sure that a third of the stem is submerged. Keep it in an area that receives at least six hours of indirect sunlight and change the water every few days. After four to six weeks, you should see roots forming in the water, or you can give a soil-planted cutting a gentle tug to see if it resists. At that point, it’s ready to transplant.
Transplanting
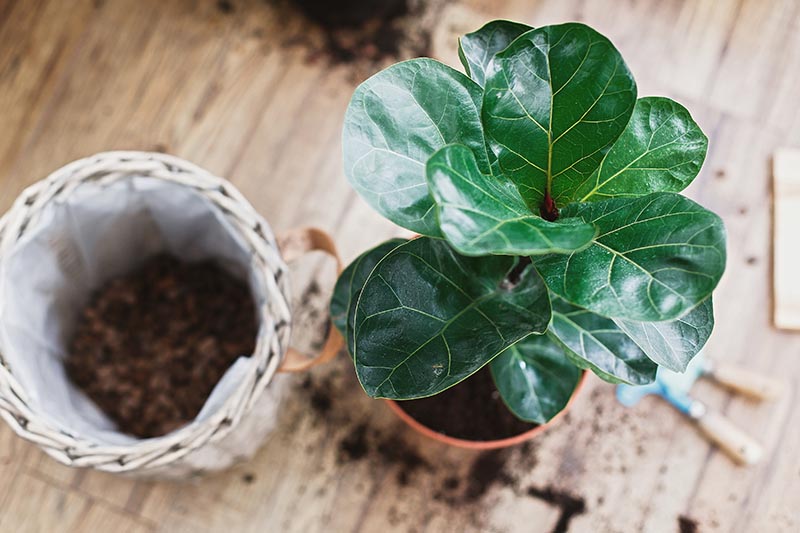
When you head to the store to pick out your new fiddle-leaf fig, look for one that doesn’t have any brown or yellowing on the leaves. Also check the smell of the soil (don’t worry about looking weird sniffing a plant at the store. It’s worth the strange looks). If there is a foul smell, skip that one. This can indicate root rot or a fungal infection. Examine the plant for any signs of mites or other insects (more on that below). Then, so long as the temperatures are right, bring your plant home. Do your best to protect it from wind and direct sun while in transit. So what are the right temperatures to bring your plant home in? Forget finding a new fiddle-leaf fig for the holidays. I get it. In the middle of winter in cold regions, it sounds really appealing to bring home a bunch of greenery to perk things up. But don’t bring your new addition home in the cold months if this can be avoided. It may not seem like that big of a deal, but if you bring your plant from the warm store through the cold air and into your car, you could shock or even kill it. After picking out the perfect plant and spending all that money, that’s the last thing you want to do. Wait for the spring, summer, or fall, and transport it when air temperatures are above 55°F. The same consideration applies if you buy a fiddle-leaf fig online during the cold – or extremely hot – months. The variation in temperatures during transit isn’t worth the risk. It may arrive alive, but within a few weeks your plant might start dropping leaves like there’s no tomorrow. Transplant your new family member right away after you bring it home. Choose a container that is two to three inches larger than the one it is growing in. Make sure the container has drainage holes and a saucer underneath that excess water can drain into. Don’t go too much larger than the original container or you’ll find it challenging to water appropriately. That’s because you’ll need to put extra water in the container in order to help it reach the roots and you may end up giving it too much, drowning the roots instead. When you place a layer of gravel or other material in the base, the water pools just above that layer, effectively doing the opposite of what you’re aiming for, which is to move excess water away from the roots. Look for a soil mix that includes some perlite and peat moss or coconut coir to improve drainage. Miracle-Gro Potting Soil Miracle-Gro’s Potting Soil Mix is a good option, and it’s available from Home Depot. Don’t put rocks, broken pot pieces, or other coarse objects in the base of the container to improve drainage. This recommendation is a gardening myth that may actually do more harm than good.
How to Grow
So, you’ve gotten your plant established in its new home and you’re ready to face the exciting challenge of making your fiddle-leaf fig tree the happiest, healthiest specimen in your neighborhood. Here’s what you need to do. First off, it helps to know what fiddle-leaf figs don’t like. They don’t like too much direct sun, too much shade, too little water, too much water, drafts, drastic changes in temperature, too little air humidity, being moved, dust on their leaves, or your taste in throw pillows. Okay, maybe not that last one. But I wasn’t kidding when I said they can be picky. Keep reading to find out how to maintain conditions that these plants do like, so you can help your new houseplant to thrive.
Water
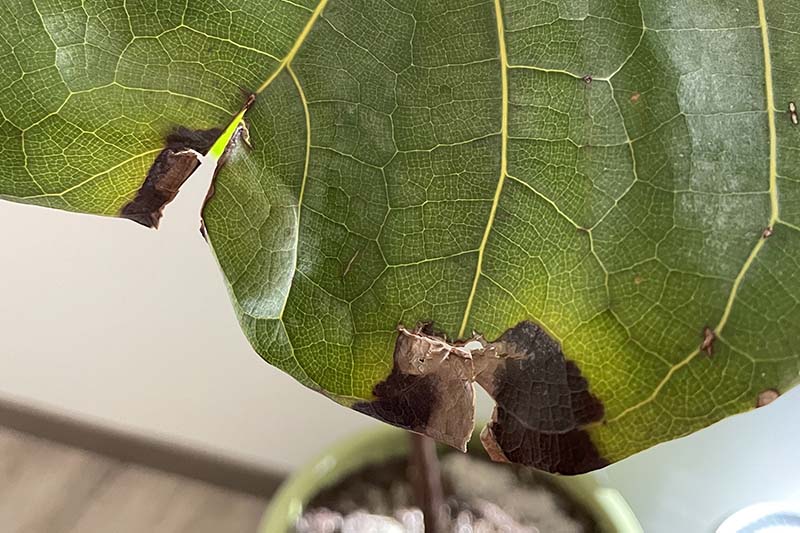
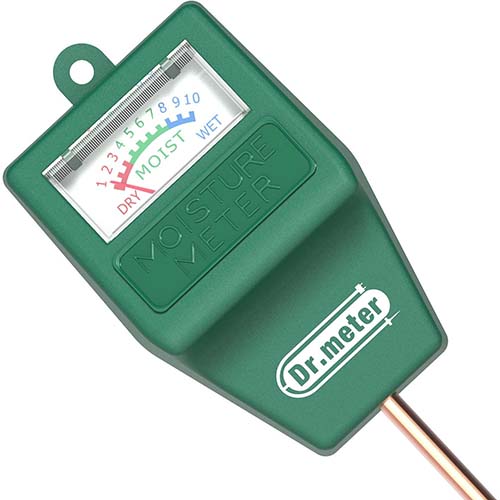
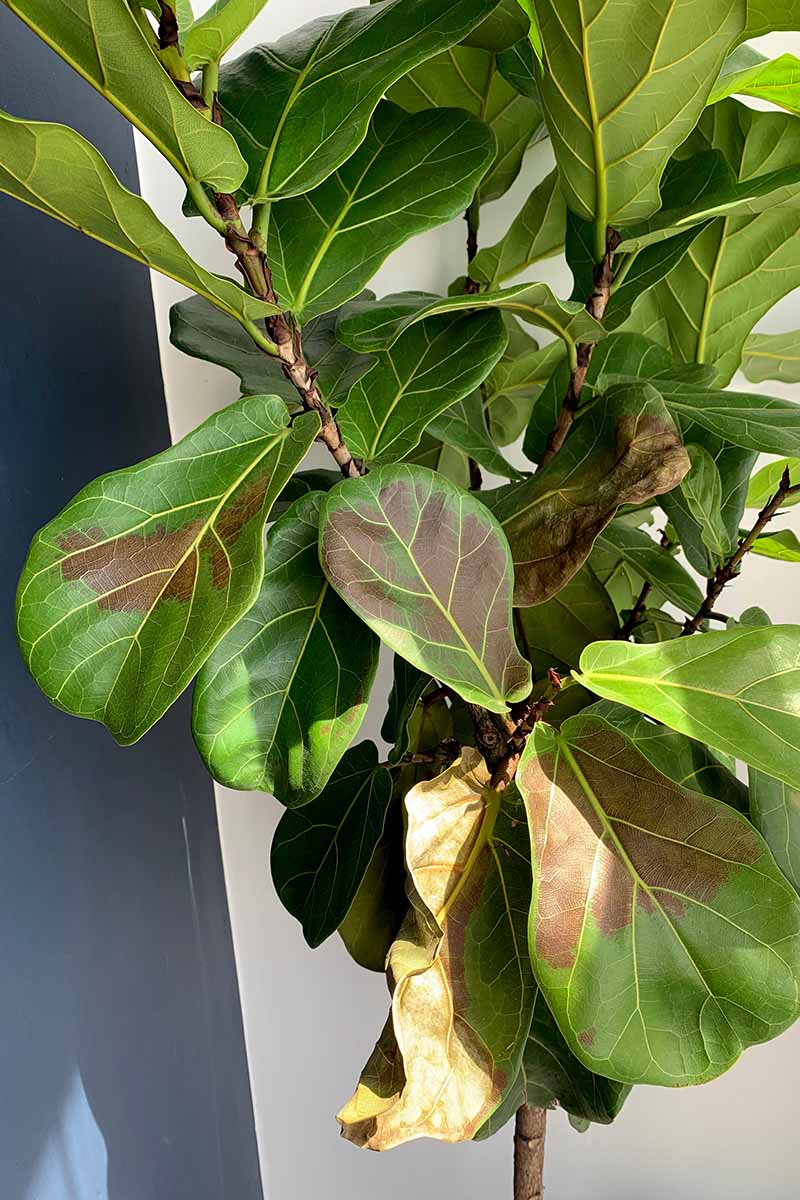
Watering is perhaps the biggest challenge with growing F. lyrata. Fiddle-leaf figs are particularly finicky about their water needs. In their natural habitat, they can tolerate drought, so when in doubt, err on the side of too dry over too wet. The best way to tell if your plant needs water is to stick your finger in the soil. If it feels dry at the top and moist – like a well wrung out sponge – at two inches deep, you don’t need to add any water. The roots need to dry out slightly in between watering. Wait to add more until you can stick your finger in the soil and feel that it is dry in the top two inches and just starting to dry out below that. To figure out if you’re watering appropriately, watch for dark spots on the edges of the leaves, particularly older leaves. That’s often a sign of root rot, a fungal disease which is usually caused by too much water – I’ll cover more about this in the disease section below. If you see dry, wrinkled spots forming on the edges of leaves or drooping foliage, that’s a sign of a lack of water. If that all sounds too fiddly, invest in a hygrometer. They’re especially useful for checking moisture levels when you are growing finicky fiddle-leaf fig trees. Dr. Meter Moisture Hygrometer I use a Dr. Meter hygrometer, and it has saved more than one of my houseplants from an untimely death. You could also set a reminder on your phone or calendar to check the moisture in the soil, because these plants are exceptionally sensitive to drastic variations in the amount of water they’re getting (see, I told you caring for one of these is like having a puppy). Of course, a timer doesn’t mean that you’re absolutely going to need to add water just because the timer went off. It’s just a reminder for you to check so that your plant doesn’t end up going too long without. When it’s time to water, bottom watering is a great idea to direct water towards the roots. If your container is light enough that you can lift it, put the plant in a bathtub or sink filled with several inches of room temperature water and allow the plant to soak up the water through the base of the container for about an hour. Then drain the tub or sink, and let the excess water run out of the drainage holes in the pot for about 15 minutes. Not everyone can move their plants, however. One of my fiddle-leafs is over nine feet tall and is potted in a large container – coaxing it into the bathtub isn’t exactly an easy feat. To water plants you can’t or don’t want to move, try to still use lukewarm or room temperature water, or you run the risk of giving the plant a shock. Water evenly around the base of the plant, at the soil level. Do not sprinkle the foliage. If you notice any water sitting in the saucer after watering, dump it out, or wick it out with a towel. Water left in the saucers can lead to a buildup of soluble salts, which can slow plant growth. Watering from the bottom can do the same, so be sure to water from the top every few times to flush out any residual salts. You’ll likely need to water less in the winter when the plant’s growth slows or stops as it enters dormancy. That’s why it’s important to check your soil each time before you water. You’ll probably need to water more in the spring, summer, and fall, but check to be sure before you start adding more. You may have seen pretty cachepots on Instagram, decorative solid containers without a drainage hole or saucer in sight. You can plant in these if you’re in love with a pot without holes that perfectly matches your decor. But planting directly in a cachepot is not recommended. Though it’s not impossible, getting the amount of water that you’re giving your fiddle-leaf fig just right is going to be difficult, and the risk of wet feet and eventual root rot is high. Roots need exposure to available air as well as water, and planting in porous soil in a pot with adequate drainage is the best way to achieve this. A good compromise is to put your plant in a plastic nursery container with drainage holes and then place that inside the decorative container cachepot. Known as double potting, this method allows you to display that pretty container without increasing the potential for overwatering and fungal disease.
Humidity
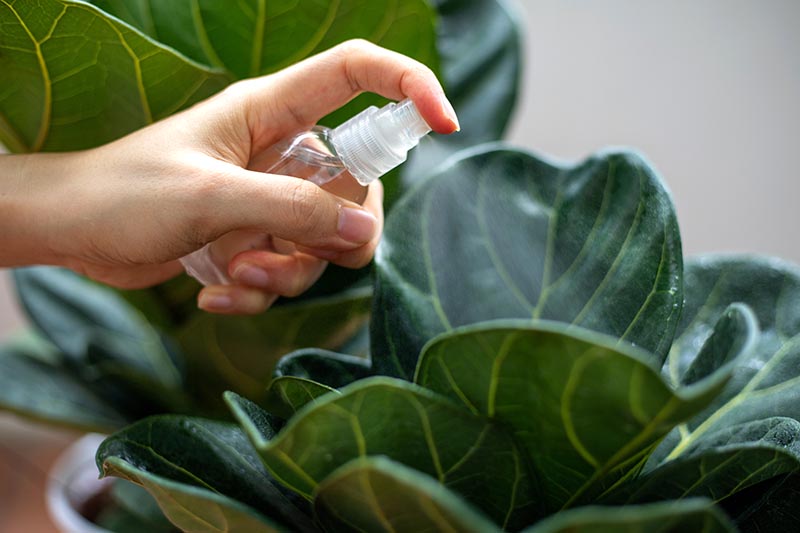
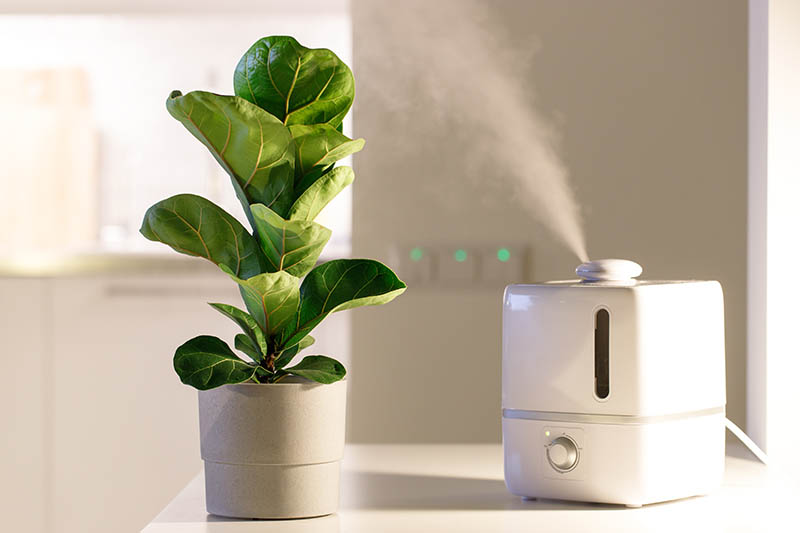
In the winter, when indoor air tends to be much drier, lightly mist the leaves every few days with a spray bottle. Fiddle-leafs that grow in conditions that are too dry will develop wrinkled and crumpled leaves. Mist in the morning, so the foliage has time to dry out before the evening. If you live in a dry climate, you might want to consider purchasing a humidifier. Your skin and your fig will thank you. Anything below 20 percent humidity is too low for houseplants.
Light and Heat
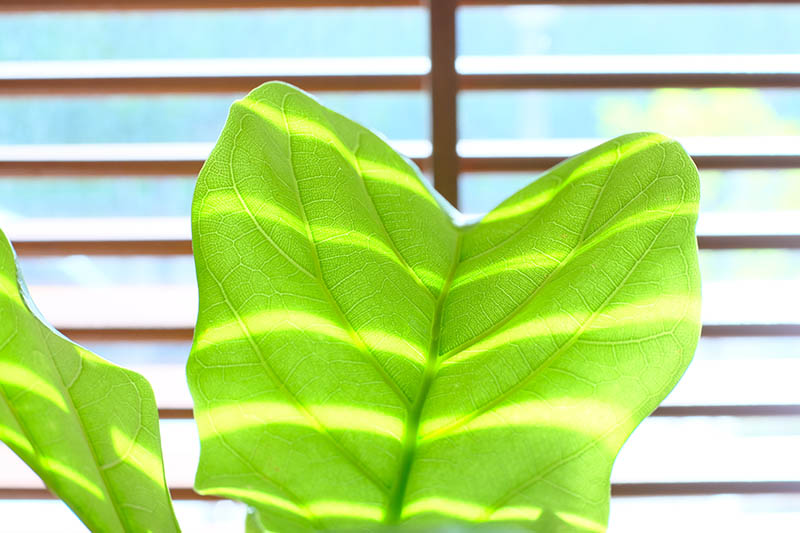
Put your fiddle-leaf fig in a spot where it’s going to receive plenty of indirect sunlight, with just a bit of direct sunlight in the morning. The water evaporates from the tray, humidifying the air around your plants. Decorative Humidity Tray Arranging plants in groups can also help to increase humidity. Ideally, place it near an east facing window where it can bask in the indirect light all day long, without any direct sun in the heat of the afternoon. Too much direct sunlight can cause the leaves to burn, turn brown, and fall off. Conversely, a dark basement corner just won’t do. If it doesn’t receive enough light, the foliage will turn yellow and the leaves may fall off. Avoid keeping your plant anywhere that temperatures may change too dramatically. Your plant shouldn’t be exposed to extreme temperature fluctuations, temperatures below below 55°F or above 85°F. That means keeping pots away from drafty or single-pane glass windows if you live in an area with a climate that is often very cold or very hot. Avoid radiators, fireplaces, cooling vents, and exterior doors. If you have fans or air filters, keep plants away from these as well.
Fertilizing
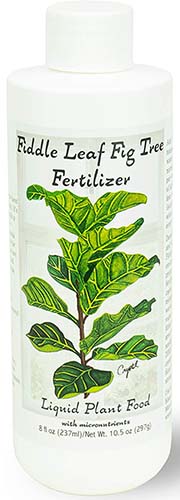
There are two different types of products that I recommend to fertilize your plants: slow-release granular fertilizer, or liquid fertilizer. Both work well, so it’s up to you to decide which fits your schedule. Liquid fertilizer needs to be applied every other time you water during the growing season, while granular products are a once- or twice-a-year task, depending on the manufacturer’s recommendations.
Repotting
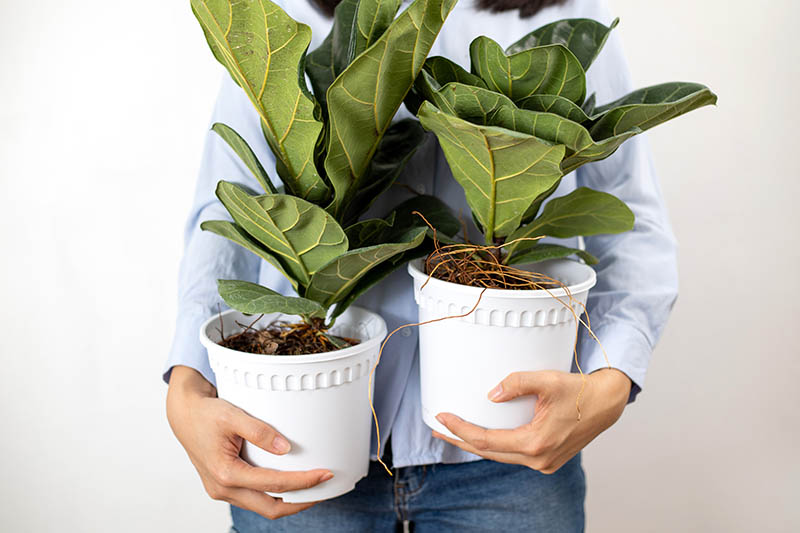
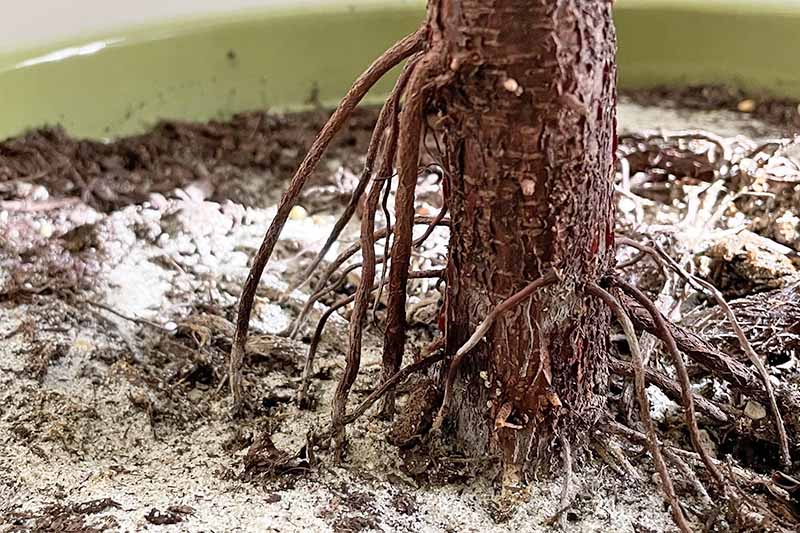
Every few years you’ll need to repot your plant. How do you know it’s time? You’ll often see roots extending out of drainage holes or circling the perimeter of the container above or below the soil line. Fiddle-leaf figs do best with a 3-1-2 formulation of these nutrients. This encourages the plant to produce big, healthy leaves and lots of new foliage. Aquatic Arts Liquid Fertilizer If you want to go the granular route, I’m a big fan of Down to Earth’s Insect Frass. Just beware that it has a distinct scent that some people don’t like. I use a tablespoon per gallon of soil once in the spring, and once in the late summer for my fiddle-leaf figs. To figure out how many gallons your container holds, measure the length, width, and depth of your pot in inches. Multiple the length and width together and then multiply the depth by that sum. Divide that by 231 and you’ll have the number of gallons you can fit in your container. Down to Earth Insect Frass Fertilizer You don’t need to fertilize in the first few months after planting, and in most cases you can also skip fertilizing in the winter. Plants that are dormant aren’t developing new growth, so they don’t need the extra nutrients. I like to gently wiggle a finger down the side of the container to see if I can feel the roots bumping up against it. F. lyrata can produce aerial roots, or roots that grow from the stem of the plant above the soil and extend downwards into the soil. Those aren’t a sign that your plant needs to be repotted. It’s best to do this project in the spring. Pick a container a few inches larger than the existing one. Ease the plant out of its existing pot. You might need to run a gardening knife gently around the perimeter of the pot to loosen the soil. Once you have the plant out of its pot, gently remove the soil from the roots. Part of the goal of repotting is to refresh the soil, so you want to remove as much of the old potting mix as possible. Then, trim away any dead roots. Dead roots can be dry and brittle or they can be mushy and have a musty smell. Then, plant it as you would a transplant (discussed above).
Growing Tips
Allow the top inch of soil to dry out between watering.Give plants at least six hours of bright, indirect sunlight per day.Don’t expose plants to dramatic shifts in temperature.
Pruning and Maintenance
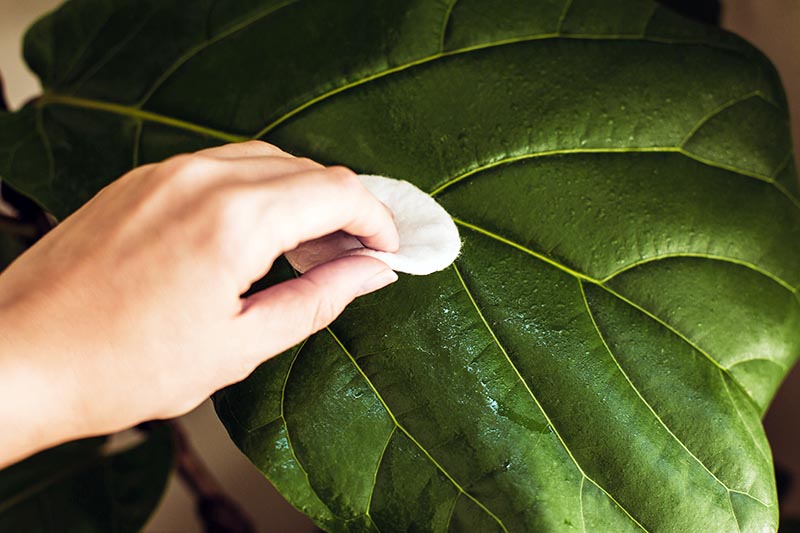
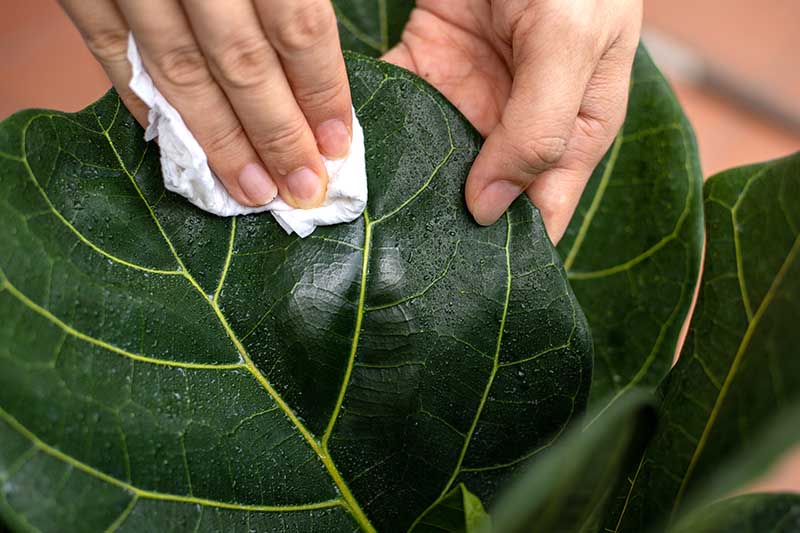
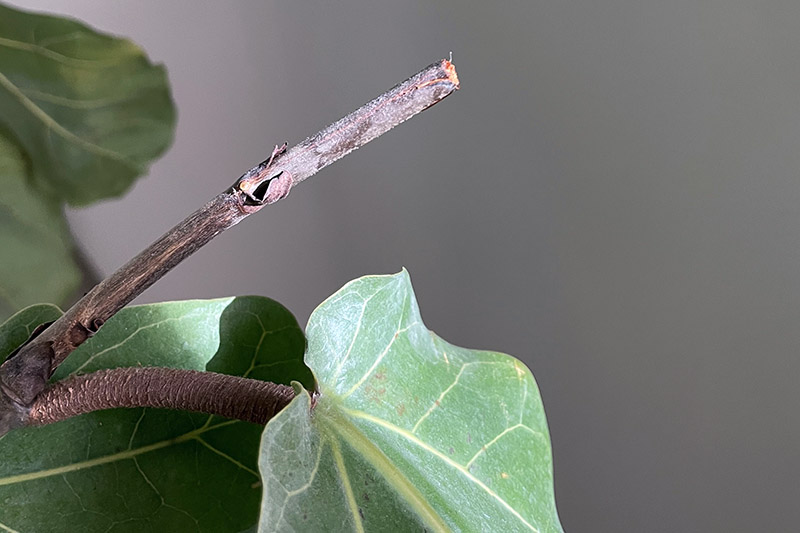
You’ve tackled the tough stuff by nailing your watering schedule and finding the perfect spot for your plant to thrive in. There’s just a few more things you need to know to maintain your fiddle-leaf tree. It may sound strange to dust a plant, but you absolutely must dust those big fiddle-shaped leaves. Because they are so large and often grow somewhat horizontally, they collect a ton of dust. Take a damp cloth and gently wipe the leaves at least once a month. If you don’t, dust can block access to sunlight and clog the “pores” in the foliage or stomata, slowing photosynthesis and causing the plant to struggle to survive. Fiddle-leaf figs can grow quickly. It’s not unusual to see them shoot up a foot or two in a year. If you leave your plant in a corner and don’t rotate it, that growth can quickly become uneven as it tries to reach for the sunlight. There are two ways to deal with this. First, rotate it frequently. And second, make it even by pruning occasionally if it starts to look uneven. Every month or so, turn the plant a few inches. I always turn Midori in the same direction (clockwise) so I don’t forget which way we’re moving. If your plant starts to grow lopsided, prune away some of the leaves on the heavy side to give it a more uniform appearance. Beyond maintaining symmetry, there are plenty of other reasons to prune. If they’re happy, these plants will continue to grow towards the ceiling indefinitely. Trim the highest branches so that the plant stays at least a foot below the ceiling for aesthetics, proper airflow, and to ensure it gets enough light. You should also remove any diseased or damaged leaves. These are just a drain on your plant and they won’t recover. Plus, any disease pathogens could spread to the rest of your fiddle-leaf fig and potentially kill it. Another reason you might want to prune is to give your plant a tree-like shape. But some gardeners keep the leaves intact on the lower part of the stem for a bushier shape. In the wild, fiddle leaf figs grow naturally in that familiar trunk and canopy shape. But in the home, the plant usually keeps its lower leaves. If you like the more traditional tree look, you can prune away the lower leaves and branches. Once a year, you may also want to thin your fig to encourage good air circulation. Any crossing branches should be snipped. To prune, put on some gloves, because the sap these exude when cut can irritate the skin. Then, grab a clean pair of pruners. This is a task that can be done at any time of year, but if you prune in the winter, you won’t see new growth for several months afterwards. Cut stems an inch from a stem or leaf node. The plant will split and grow new branches where you cut it, so keep that in mind as you encourage the shape you want. You should see new growth start within a few weeks if plants are trimmed during the growing season. You can also cut away any leaves or stems that don’t fit the shape you’re looking for. Just don’t take more than one-third of the plant at a time. Finally, if a few of the leaves show some dark spots at the edges from overwatering or underwatering, you can trim the brown bits off using a pair of scissors, or clip them off entirely. They won’t recover their color, so there’s no point in keeping them around. If your plant starts to look sparse due to leaf drop or leggy growth, or you don’t like the shape, you can chop the entire trunk down to about a foot tall and start over. The plant will grow new branches from the cut spot and you can start shaping it anew. Consider air layering before you prune your plant severely. Following the method described above, you may be able to end up with two plants for your efforts. Find more pruning tips here.
Cultivars to Select
The original species plant is the most common in stores, but keep an eye out for the couple of different cultivars that exist. They can make a charming addition to your indoor jungle if you’re looking for something a little unusual. Ficus lyrata in 6-inch Pot True species plants are available in six-inch pots from Burpee.
Bambino
If you’re a fan of the fiddle-leaf fig but need something a bit more compact, check out ‘Bambino.’ It only grows to be about 24 inches tall, with proportionally smaller leaves. And instead of maxing out at 18 inches, the leaves on this plant grow to about eight inches in length. ‘Bambino’ The foliage is also a bit rounder than that of the standard plant, without the distinct fiddle-like shape. Sound like just what you’re looking for? You can find plants in six-inch and three-gallon pots available from Fast Growing Trees.
Compacta
With leaves that grow to about half the size of the standard fiddle-leaf fig and a shorter stature that tops out at about five feet, it’s clear where ‘Compacta’ got its name. It grows slower than the standard species, so you won’t have to repot it as often.
Variegated
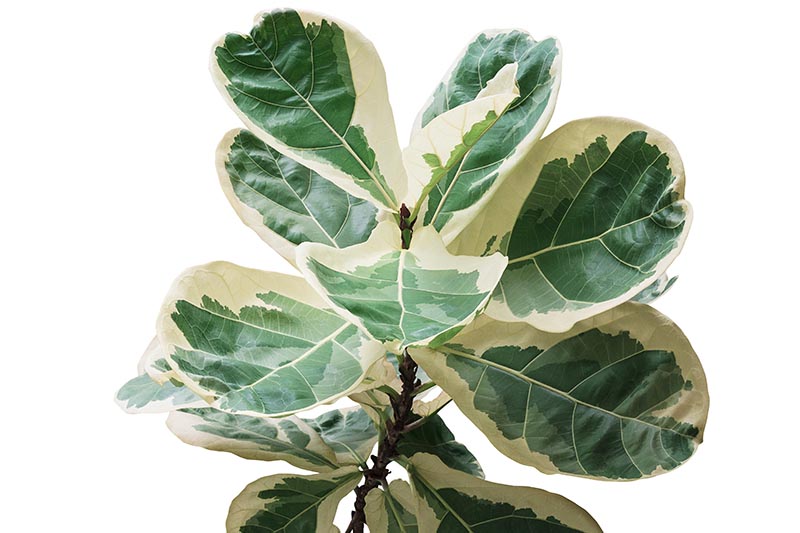
This cultivar stands out from the others because of its multicolored leaves, featuring a dark green center and creamy yellowish-gold edges. As is the case with many variegated types of plants, it does better with a bit less light than the true species plant. Put it somewhere with strong, indirect light, but to avoid leaf burn, don’t expose it to direct sun.
Managing Pests and Disease
Once you nail the water, light, and temperature requirements, your fig will probably be growing along happily. Keep it fit as a fiddle by watching out for the following pests and diseases.
Insects
It’s important to keep a close eye on all of your houseplants, but especially fiddle-leaf figs. By the time they start showing symptoms of insect infestation, it’s likely you already have a serious plague on your hands. It’s not all bad news, though. All of these pests are pretty easy to address as long as you spot the pests themselves early, before they have a chance to cause lasting damage.
Fungus Gnats
Fungus gnats (Bradysia spp.) are about the size of a fruit fly and they can damage plants when the larvae start to feed on their roots. You probably won’t see the larvae, which are about 1/8 inch long with black heads and white bodies, so keep an eye out for the adults instead. Check your plants frequently, by examining the leaves and branches. You probably won’t notice single gnats, but if you walk past your plant and a little puff of fruit-fly-like bugs take flight, particularly if they emerge from the soil, you probably have fungus gnats. That means it’s time to act. If you wait to see symptoms on the plant, you’re in trouble. Plants may wilt or stop growing, and leaves may turn yellow. Under the soil, the roots may be damaged so severely that the plant can’t sustain itself. Yellow sticky traps placed on top of the soil or suspended just above the soil on stakes are effective for capturing the adults. You can also trap them the same way you would fruit flies, by filling a shallow container with three parts apple cider vinegar and one part water. Add a drop or two of liquid dish soap and mix everything together. Place the container on top of the soil. With both sticky traps and vinegar traps, you need to check frequently to see if they’ve gotten too full of dead insects and need to be refreshed.
Spider Mites
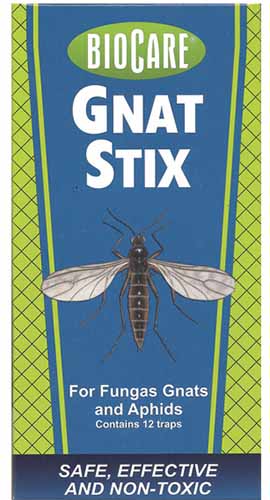
Spider mites are members of the Tetranychidae family. These tiny arachnids feed on plants by puncturing leaves and stems with their mouthparts. They’re extraordinarily common, so if you grow houseplants (or any plants) long enough, you’re likely to encounter them. If you’ve struggled with fungus gnats in the past, it’s a good idea to keep a yellow sticky trap in the container at all times, so you can monitor for the pest and act before an infestation becomes severe. BioCare Gnat Stix BioCare Gnat Stix, available at Arbico Organics, are made specifically for handling fungus gnat problems. Find more tips on controlling fungus gnats in our guide.
Mealybugs
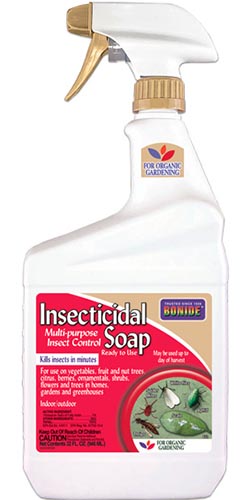
Mealybugs (from the family Pseudococcidae) are small insects that look more like evidence of a disease than a pest. They have soft bodies and they are usually covered in a white waxy coating. You’ll also see them surrounded by a cottony white fluff that sort of looks like mold – these are the egg sacks. They suck on plants, leaving sticky honeydew behind as they go. Over time, foliage may turn yellow and fall off, and new leaves might fail to form. That honeydew also attracts ants and can lead to sooty mold. You need a good offense to avoid an infestation of these strange bugs. This includes keeping your plant healthy with the right amount of water, light, and fertilizer. If you only spot a few of these bugs, dip a cotton swab in rubbing alcohol and dab it on each individual. Just be careful not to wipe any alcohol on the foliage. Bonide Insecticidal Soap Still struggling? Try an insecticidal soap like the one from Bonide, available at Arbico Organics. You can spray it directly on your indoor plants to kill off any stubborn mealybugs that refuse to die. Read more about controlling mealybugs here. The first thing most people notice is fine webbing on the plant, often with what looks like little bits of debris in the webs. When you look closer, you can see tiny reddish or light green spider-looking bugs crawling around on the web and plant. You have to look close to spot them, since they’re only about a millimeter in size. Beyond seeing the actual web or mites, you can also look for tiny rust-colored dots stippling the leaves. These pests reproduce fast, and you can go from a no-big-deal type of situation to red alert pretty fast. Badly infested plants exhibit stunted growth and may drop leaves. They particularly love dry plants that aren’t receiving enough water and that have dusty leaves, so be sure to keep on top of your plant maintenance! To control spider mites, wash down the leaves and stems of your fiddle-leaf fig with a strong spray of water, and don’t forget to spray the underside of leaves! Do this in your bathtub rather than outside with the hose so you can use lukewarm water. You’ll need to do this once a week for a month or so to be sure that you’ve gotten them under control. If that doesn’t work, it’s time to break out the insecticidal soap (check out the section on mealybugs above for our recommendations). Find tips for spider mite control here.
Disease
Here are the most common diseases that you will need to keep an eye out for on these houseplants.
Botrytis Blight
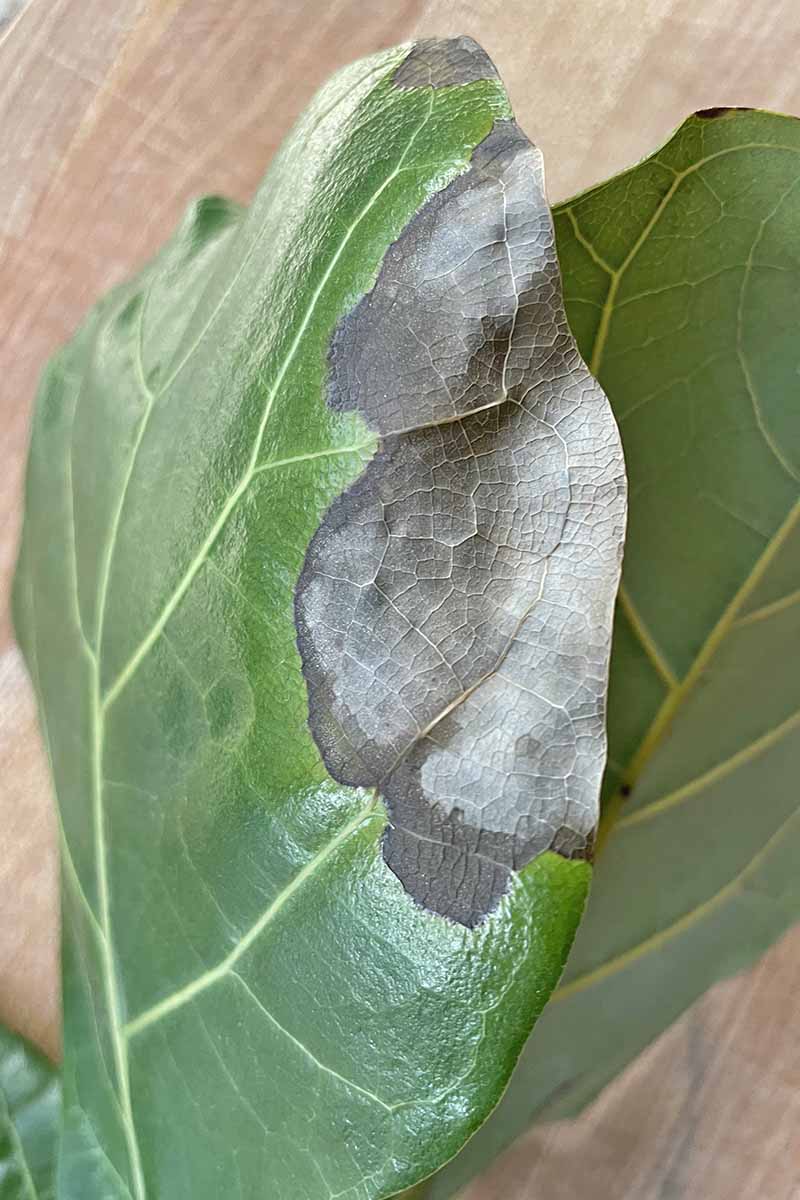
Also known as gray mold, Botrytis may be caused by several types of fungi in the Botrytis genus. Signs of an infection are gray or tan spots on leaves, usually accompanied by gray spores. To avoid it, be sure to water appropriately (not too much, not too little) and don’t overfeed your plant. If you are misting your plant’s leaves to increase humidity, do it in the morning so the moisture has time to evaporate over the course of the day, rather than at night when it is typically dark and cooler. Fortunately, indoor conditions are rarely right for this disease to spread out of control, so long as you don’t overwater continually. The fungi needs high humidity and wet leaves paired with cool temperatures to survive. Remove any diseased leaves or branches when you see them, and dispose of them in the trash.
Root Rot
Allow me to paint you a picture. It’s a dark and stormy night. Lighting flashes across the sky outside and thunder shakes the windows in their frames. Suddenly, you hear a sound that strikes terror in your heart: the dreaded clap of a leaf falling from your beloved fig plant to the ground! Nooooo! I don’t think I’m being overly dramatic. I spend so much time dusting, feeding, watering and generally nurturing my plants that when the leaves start to drop, it strikes fear into my heart. There are several reasons that leaves may drop, but root rot is a common disease, caused by water molds from the genus Phytophthora or certain types of fungi (Fusarium spp. or Rhizoctonia spp.). The most reliable way to diagnose this disease is to examine the roots. They’ll look wet or soft and mushy, and there might be an unpleasant smell. If you lift the entire plant out of its pot, the soil might drip water. I have a nearly ten-foot-tall fig, so pulling it out of its giant container wasn’t an option for me. I dug down and stuck my finger as deep as I could into the soil and felt soggy soil about six inches deep, even though the top was totally dry. Beyond the soggy roots, the most common telltale sign is brown spots that form on the edges of leaves, or sometimes on the interior. These brown spots will spread and expand if you don’t fix the problem, and they commonly appear closer to the base of plants first. You may also see white fungal spores on the leaf surfaces. These plants don’t like wet feet, and roots need exposure to available oxygen as well as water. Drowning the roots means they’re unable to take up water and nutrients, leaving them open to disease, and ultimately spelling doom for your tree. If allowed to progress, affected leaves will begin to drop. But this can be caused by other problems as well. To differentiate from leaf drop caused by underwatering, take a look at the leaves that have fallen. If root rot is the culprit, they will exhibit dark spots, while unblemished leaves will remain on the plant. If you see signs of rot, repot plants growing in heavily saturated soil or soil that is more than three years old right away. Old soil loses its ability to effectively hold and drain water as the organic matter it contains breaks down. Take the fiddle-leaf fig out of its container and wash the soil away from the roots. Trim away any soggy or dead roots, then replant as you would a new transplant. If you find the soil isn’t downright soggy, you can simply stop watering for a week or two, until the soil dries out. In the future, water less often, give the plant a bit more light, and consider adding more drainage holes to your container – or transplanting to a different pot to prevent future problems. Pretty soon, you’ll be enjoying the architectural splendor of your fabulous plant, rather than worrying about just keeping it alive. It’s a lot like having a puppy, right? At first, you’re stressed out, trying to do everything right. But after a while, you discover you’ve become a pro plant parent. I can’t wait to hear about your success, and you absolutely have to come back and tell me what you named your new family member. Let me know in the comments section below – and feel free to share a picture! Sure, you may not be the type to name your plants. But trust me – it’s easy to get attached to fiddle-leaf fig trees. And for more houseplant ideas, check out some our other favorites:
How to Grow Tropical Nepenthes Pitcher Plants25 of the Best Low-Light Houseplants to Liven up Your DecorHow to Grow and Care for Florist’s Azaleas IndoorsHow to Grow and Care for a Grape Ivy Houseplant
