We link to vendors to help you find relevant products. If you buy from one of our links, we may earn a commission. One plant that you might not be as familiar with – but one that’s definitely worth adding to your December decor as well as your landscape – is the Christmas fern. It’s gorgeous, easy to care for, and has very few disease or pest issues. Plus, its evergreen foliage ensures that it will continue to dazzle even in wintertime! This guide will walk you through the steps required for propagation and care so you can tend to this plant properly. We’ll also touch on its history, in case you need something interesting to talk about with that one holiday visitor with whom you have no rapport whatsoever. Here’s what’s on the docket:
What Is a Christmas Fern?
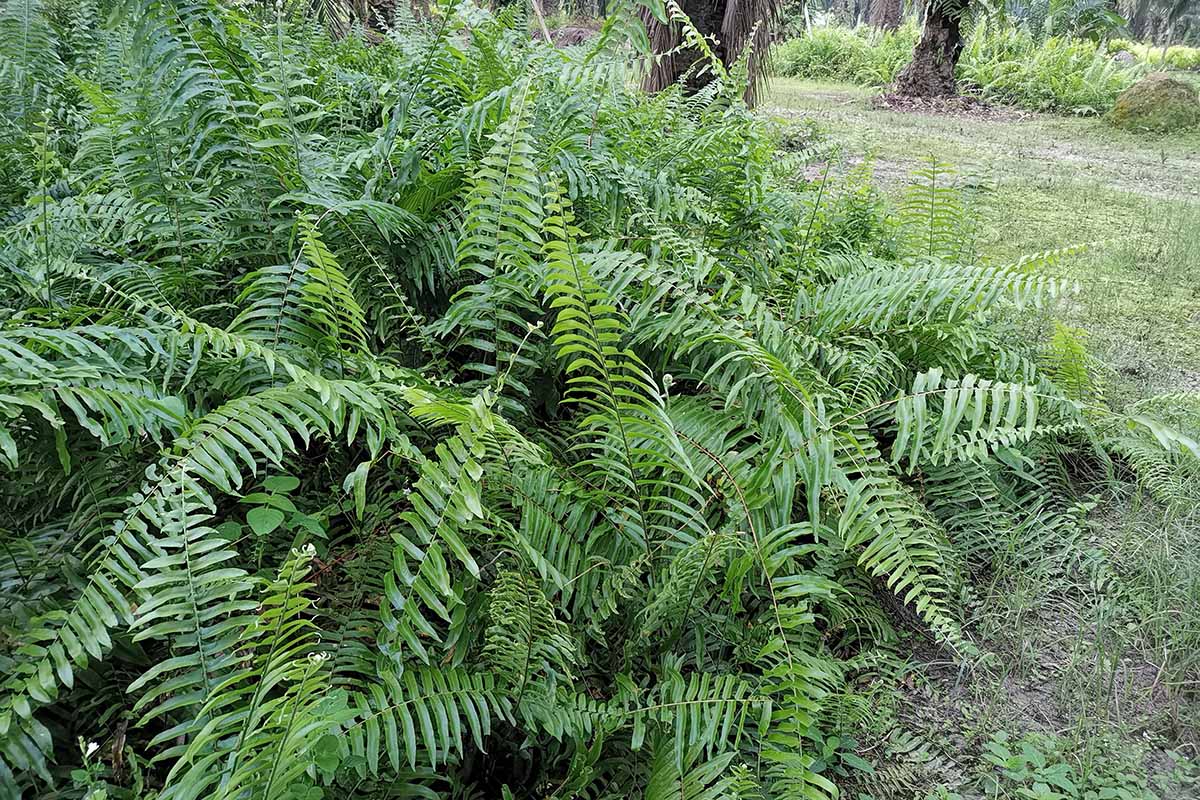
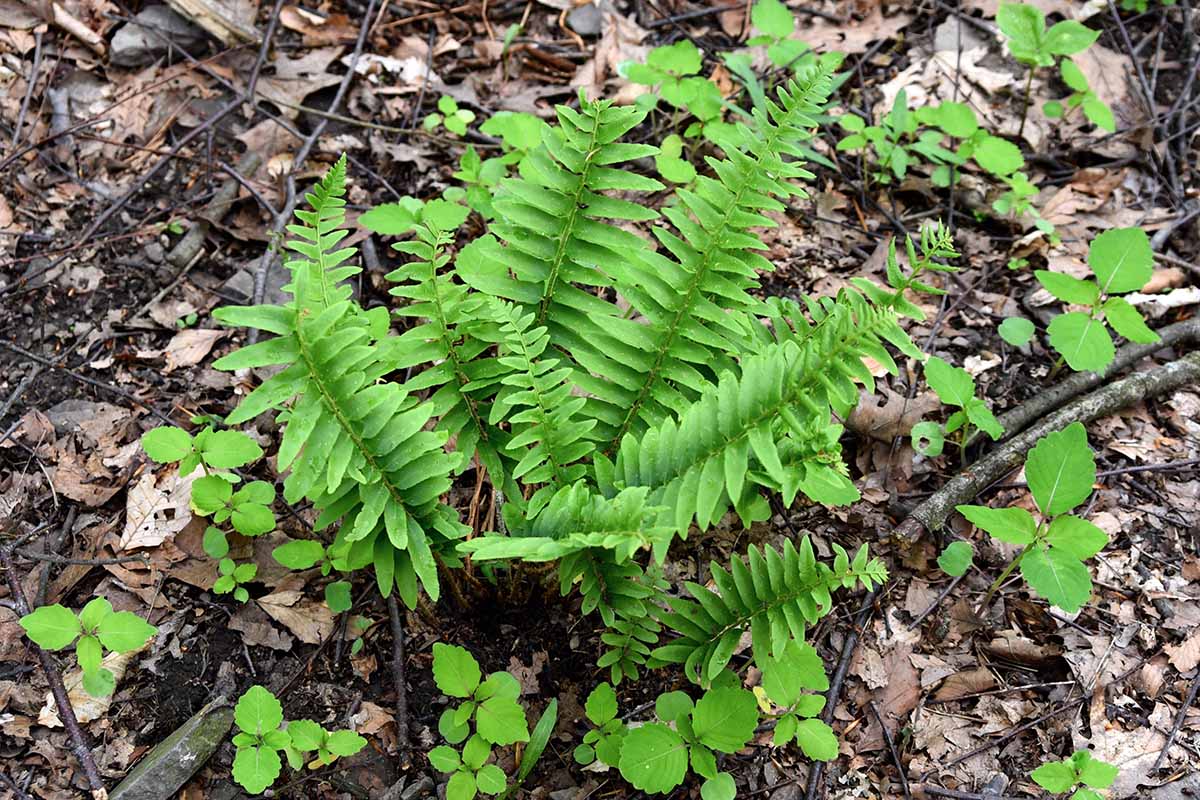
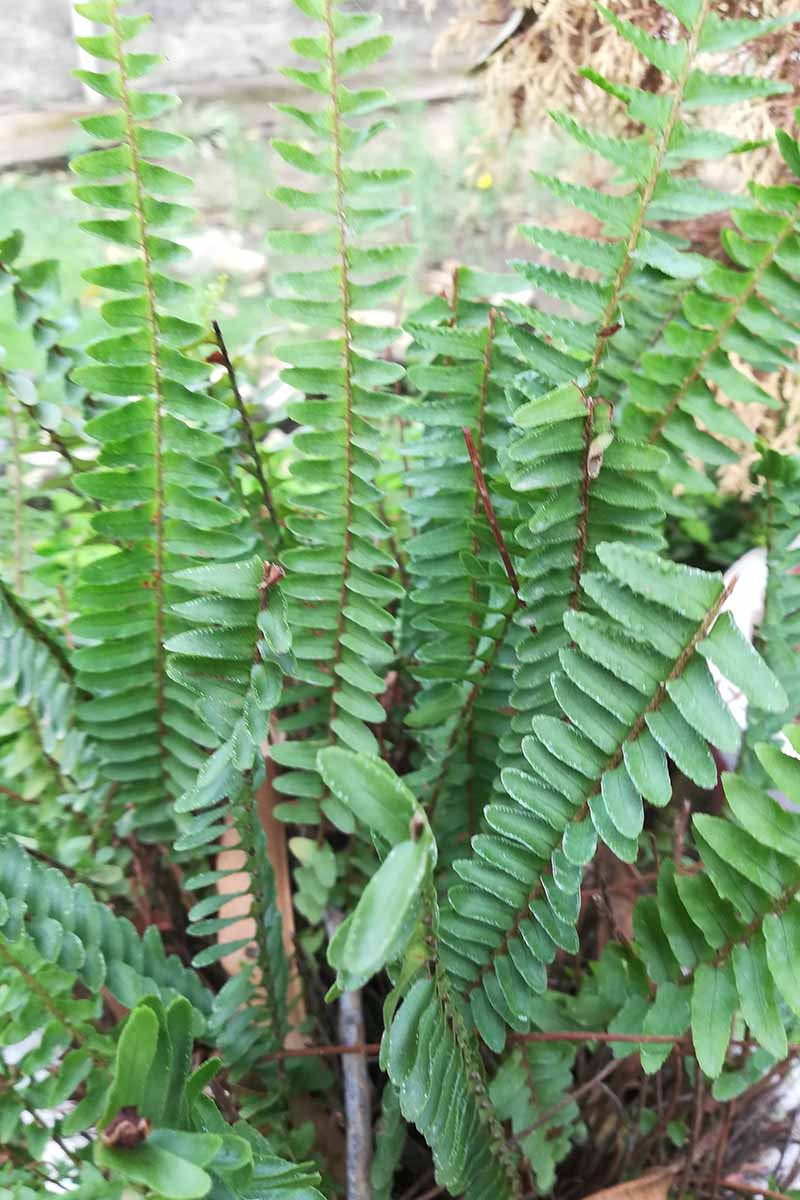
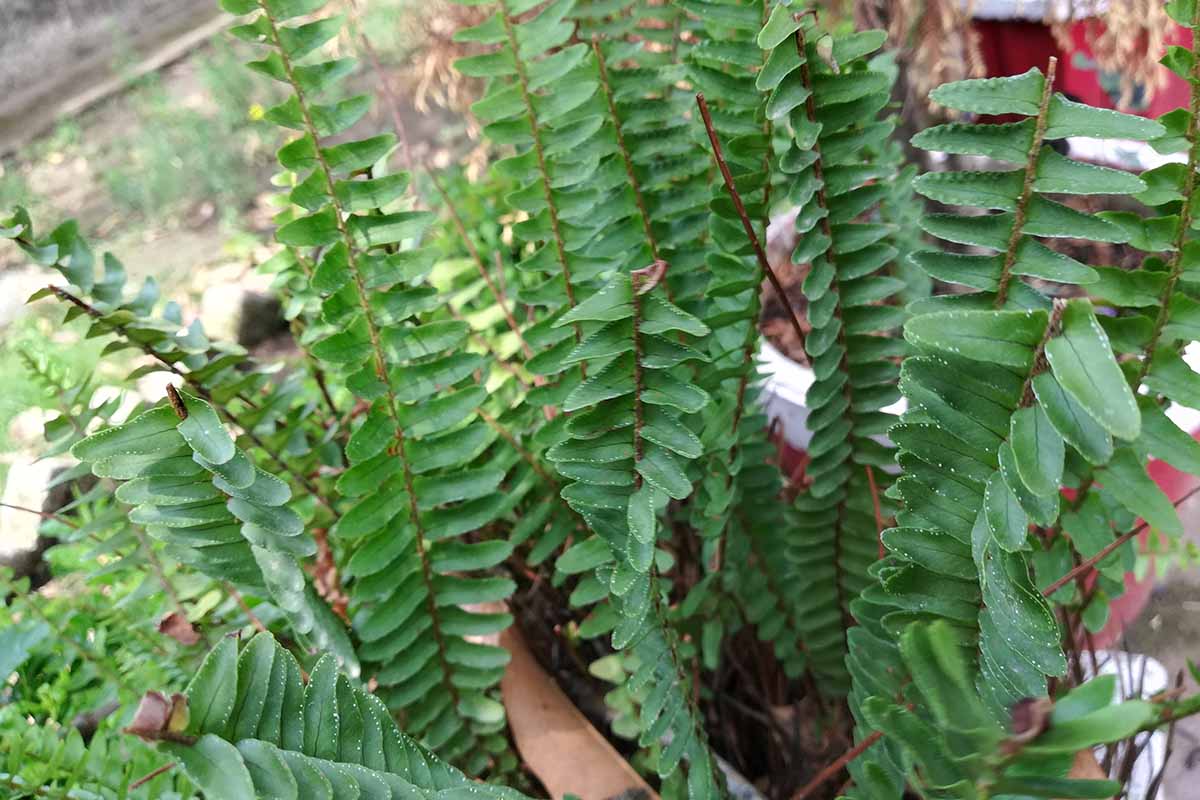
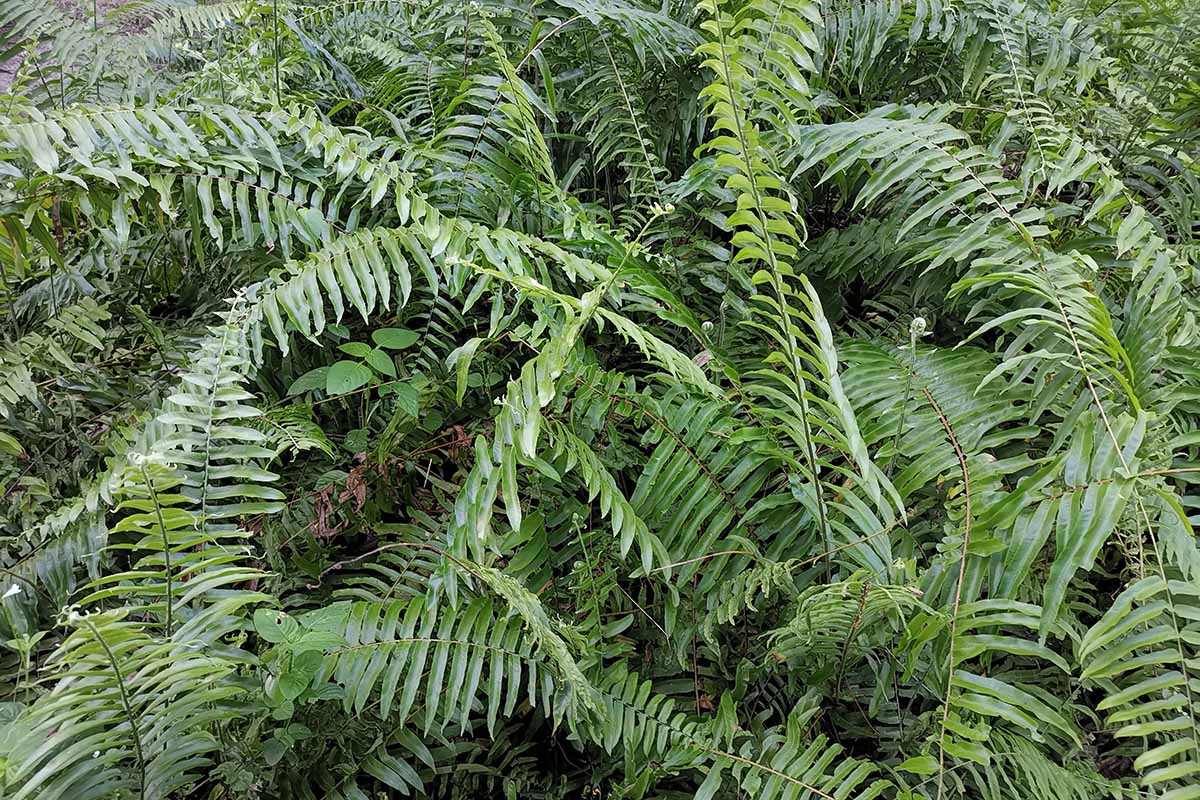
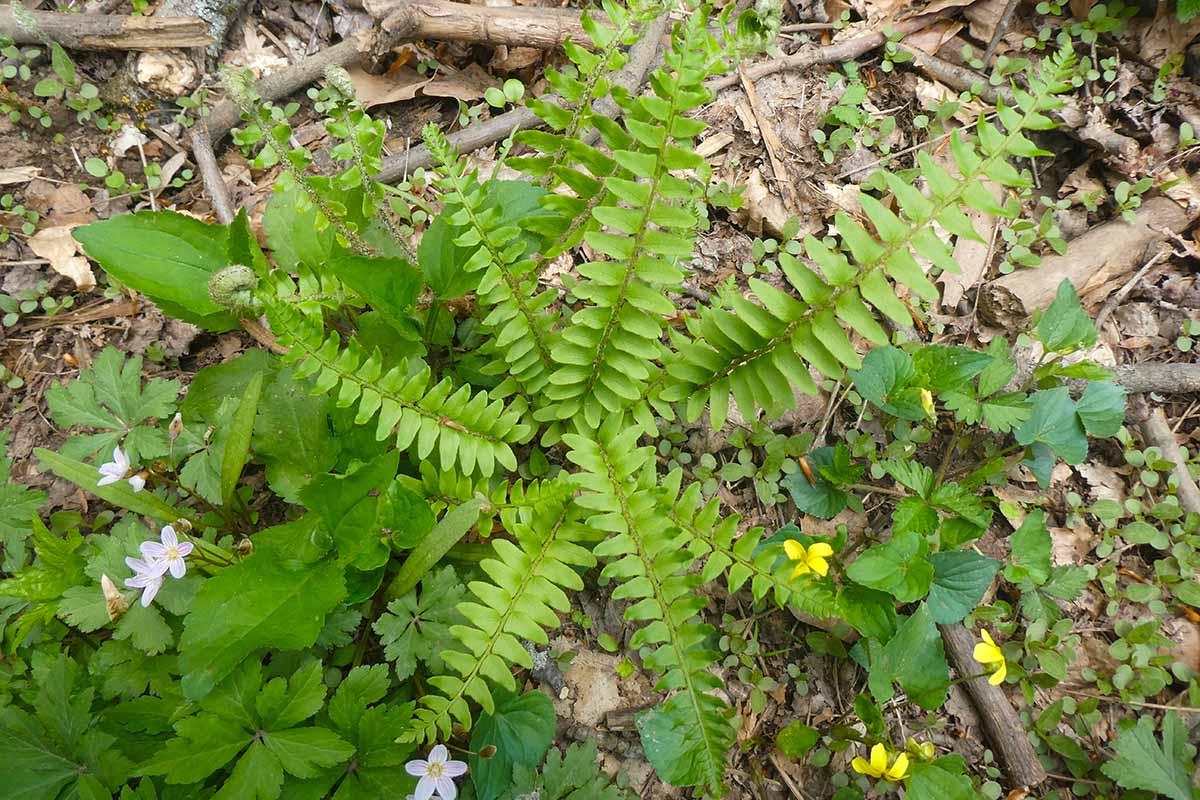
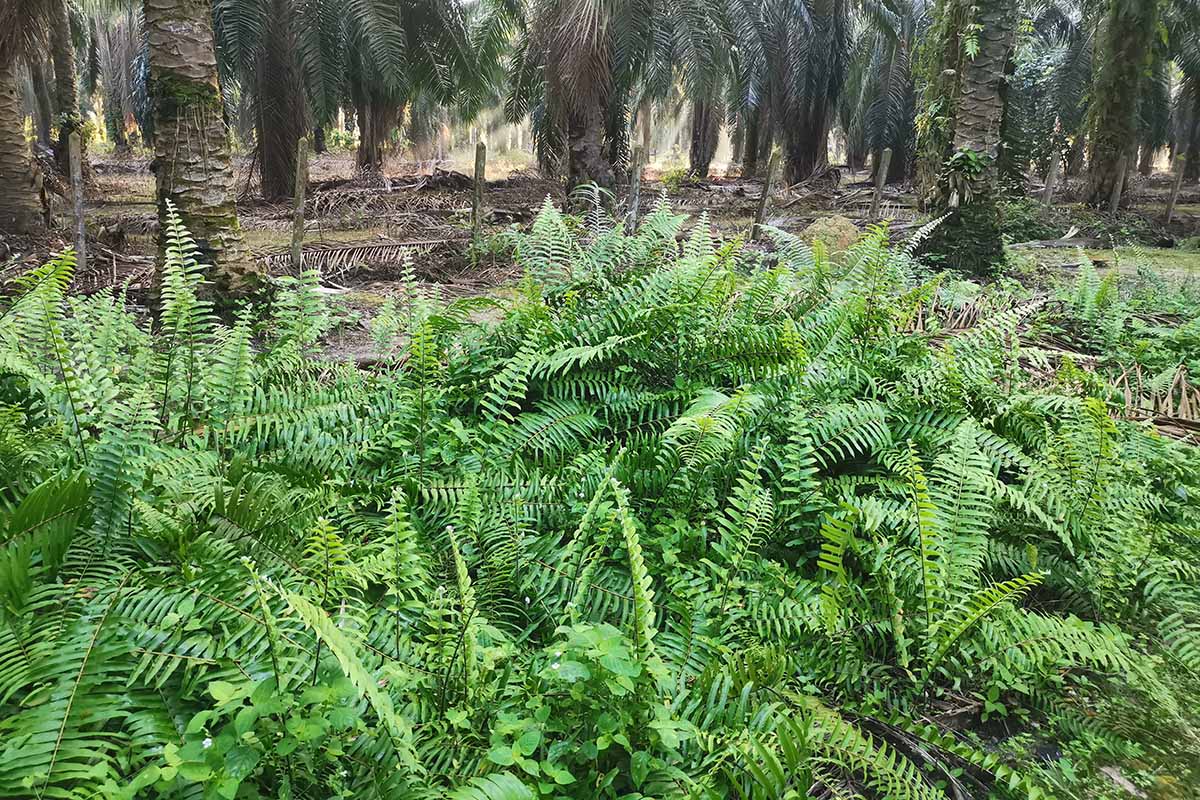
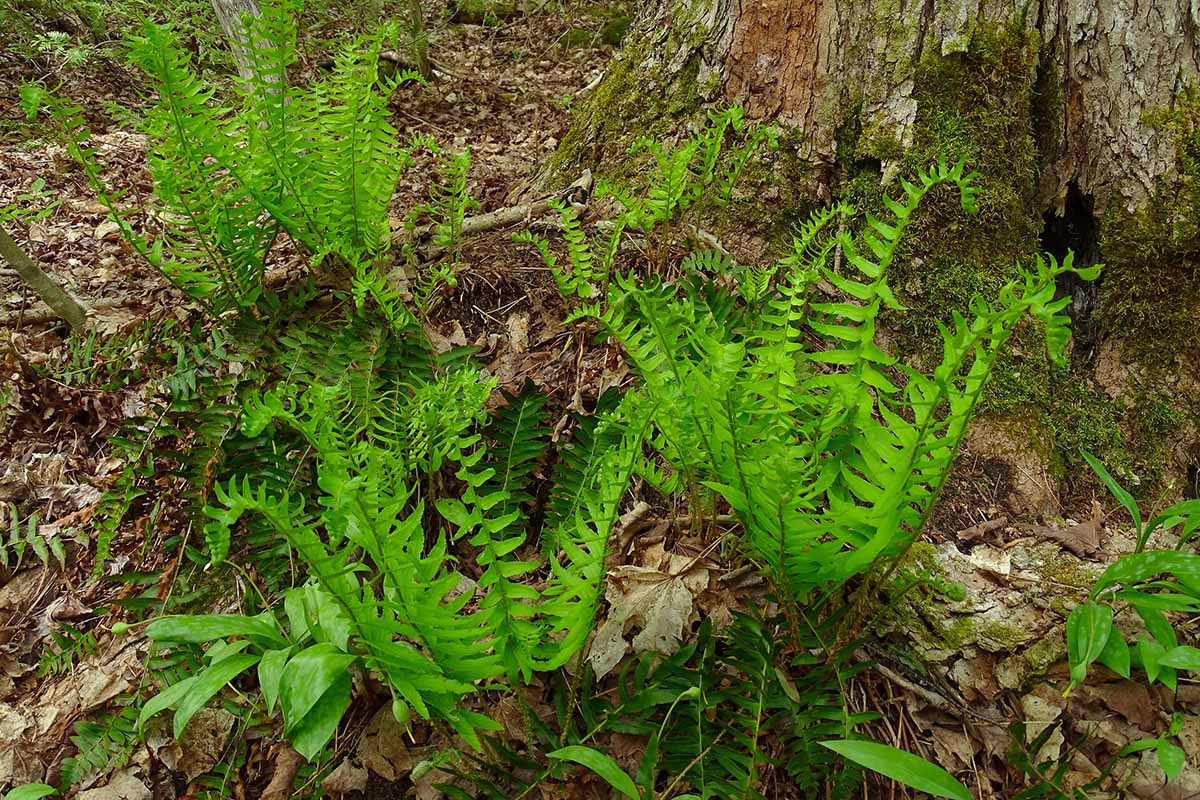
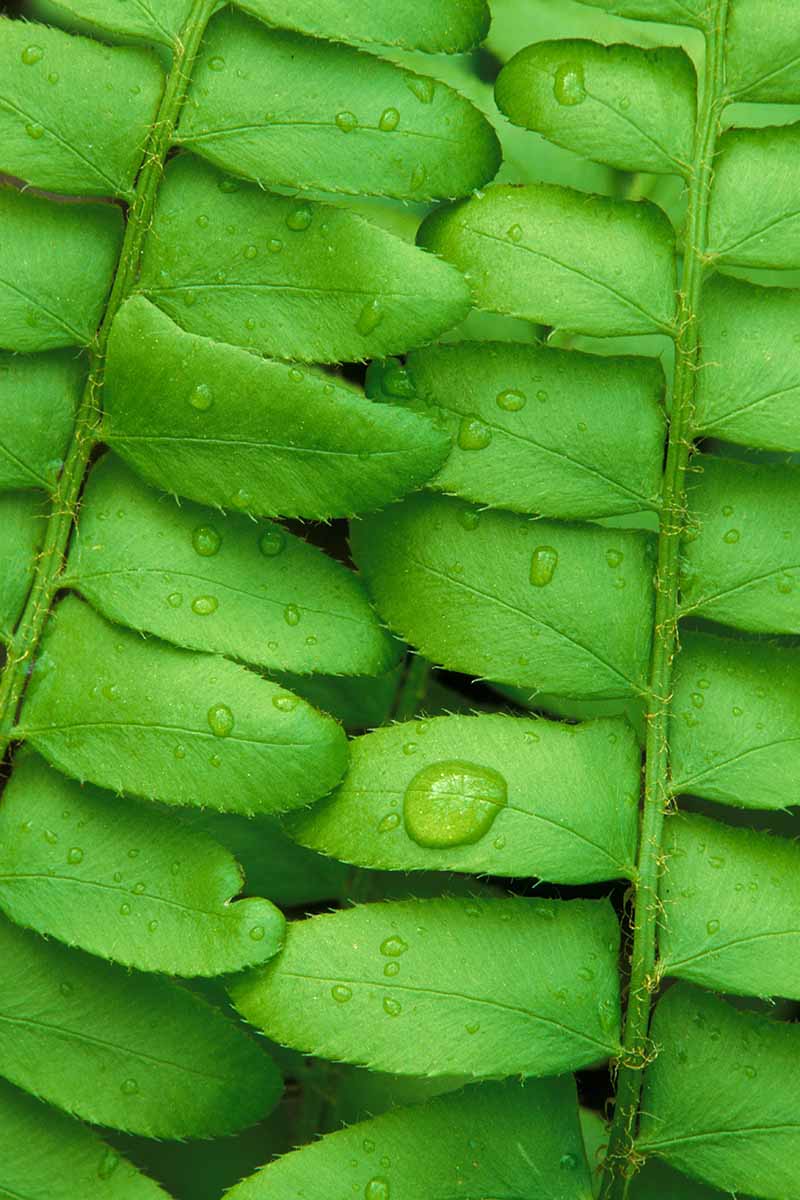
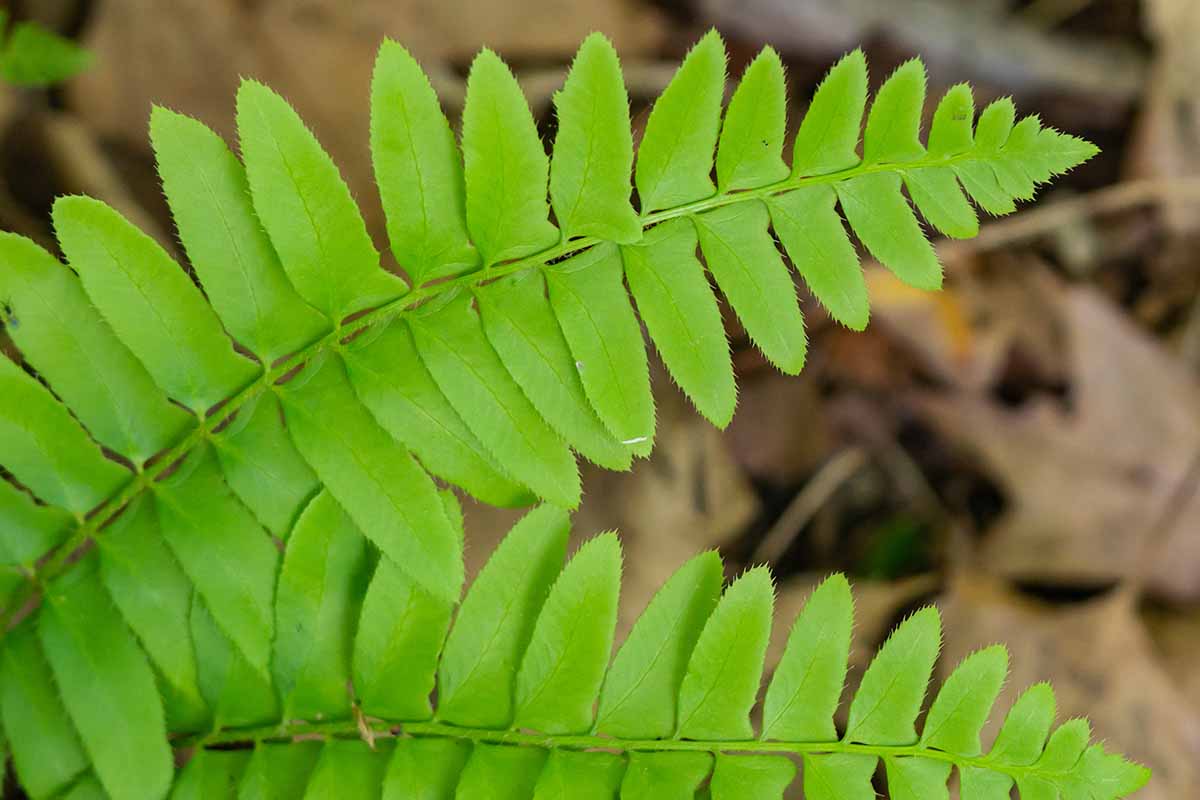
The Christmas fern – aka the Christmas shield fern, canker brake, evergreen wood fern, dagger fern, or Polystichum acrostichoides – is a member of the Dryopteridaceae family, aka the shield or wood ferns. The genus Polystichum, also known as the holly ferns, is composed of at least four hundred different species distributed worldwide, with many more that likely remain unclassified even today. “Polystichum” is a fusion of the Greek words “polys” and “stichos,” meaning “many” and “row,” respectively. Many spore-producing sori are arranged in rows on the undersides of holly fern fronds, hence the name. The species name acrostichoides means “similar to Acrostichum,” another genus of ferns with a similar sori arrangement. Hardy in USDA Zones 3 to 9, P. acrostichoides can trace its roots back to eastern regions of the United States and Canada. Within this area, it can be found growing in swamps and thickets, fertile and rocky woodlands, and along stream banks. It’s quite common for these plants to grow and develop under the canopy of large shade trees such as sugar maples. With a fountain-like habit, this plant reaches one to two feet in height and width at maturity, and has a rhizomatous root system that’s effective in stabilizing eroded slopes. Unlike other types of ferns which spread to form dense colonies, this species does not have a tendency to naturalize and stays where you put it, in tidy clumps. To the untrained eye, ferns of different species can look pretty similar to each other. But luckily, there are some notable traits that allow you to tell this one apart from the others. For one, the leaflets – or pinnae – have a leathery texture with a glossy dark green hue, and retain their color all year long. The pinnae margins are also sawtoothed, with fine, bristly tips. At the base of the pinnae a lobe protrudes towards the apex of the frond, giving each leaflet a mitten- or stocking-like appearance that further emphasizes the plant’s common name and its association with the cold-weather holiday. The furled young fronds or fiddleheads emerge silvery and scaled in spring. Not all fronds bear spores, but the ones that do are longer and more erect than the sterile ones. On the terminal third of fertile fronds, brown-to-black sori form that release spores from summer to early fall, which hitch a ride on the wind to spread the species further.
Cultivation and History
Exploring the origins of the Christmas fern requires winding back the clock a bit – about 75 million years, to be exact. The Dryopteridaceae family that P. acrostichoides belongs to first made its appearance during the Cretaceous, which was the final period of the Mesozoic Era. A lot happened during this time – flowering plants started showing up, Velociraptor and T. rex were running around eating other large reptiles, the dinosaurs were wiped out by an ill-timed asteroid… or at least, that’s the hypothesized mass extinction event I tend to go with. Thankfully, pteridophytes such as the Christmas fern survived. Fast-forward to more recent history – Indigenous Americans utilized P. acrostichoides as medicine to treat rheumatism, stomachaches, chills, toothaches, convulsions, and fevers, while early New World settlers from Europe used the fronds in wreaths for Yuletide decor. As noted in “The Fern-Lover’s Companion: A Guide for the Northeastern States and Canada,” written by George Henry Tilton and published in 1923, the name “Christmas fern” was bestowed upon the species by John Robinson, a professor of botany and vegetable physiology who ran the department of botany at the Peabody Academy of Science in Salem, Massachusetts. Robinson must’ve figured its use in decking the halls warranted the moniker. When other ferns turn crisp and brown in the winter months, this one remains green, glossy, and vibrant. Although the precise date of this event isn’t known, it’s believed to have occurred in the late 19th century, during the Victorian Era: a time of burgeoning fern obsession sometimes tending toward the extreme. Robinson was himself author of “Ferns: In Their Homes and Ours,” published in 1878, in which he writes, “Fern-culture in America has still the characteristics of a novelty. […] There has not yet been published in this country any work devoted exclusively to the cultivation of ferns.” Later on, in their lust for frondy wreaths, people went nuts collecting Christmas ferns, to the point where it was becoming more and more difficult to find them in the wild. Thankfully, folks took a much-needed chill pill… And that, in combination with the eventual dominance of manmade materials in wreath-making, seemed to halt the excessive P. acrostichoides destruction. Nowadays, the Christmas fern is a common plant to find growing wild in eastern woodlands. It’s still used today in holiday decorations, as well as in floral arrangements.
Propagation
Christmas ferns may be propagated by sowing spores, taking root divisions, or transplanting potted specimens like you might purchase from a nursery.
From Spores
Ferns such as P. acrostichoides don’t produce seeds like flowering plants do. Rather, they make spores. Their entire life cycle is fascinating enough to warrant a brief crash course. On the underside of certain leaflets of this species are sori, which each contain spore-producing sporangia. Spores drop from the sporangia, end up elsewhere, and germinate into prothalli: little heart-shaped structures that produce egg and sperm cells. Within each prothallus, an egg is fertilized by the sperm, forming what eventually develops into a full-fledged fern… which will go on to make its own spores that continue the cycle. P. acrostichoides drops its spores from June to September. During this time, use a sterilized blade to cut away a healthy-looking frond. Next, place the frond sori-side down on plain white or waxed paper. Sandwich the frond with a second sheet of paper and keep it in a place that’s free of drafts and other disturbances. About 24 hours later, uncover the frond. If a frond-shaped spore-print is present on the paper, great! If it’s absent or faint, you collected the frond at the wrong time. If the print is there, brush the dropped spores into a waxed or paper envelope before storing them in the fridge. Spores can stay viable in the fridge for years and they’re able to sprout in any season, so you can sow them whenever you please. Decided that it’s time to sow? Take a three- to four-inch plastic pot and fill it with a 50/50 mix of sphagnum peat moss and perlite. After gently patting the medium down, moisten it thoroughly. Next, take a clump of spores about the size of a match head and spread them evenly across the medium’s surface. Loosely tent and then seal a gallon-size plastic baggie around the pot, and place it on a sunny windowsill. For those who live in the Northern Hemisphere, a south-facing window in winter or a north-facing window in summer would be best. Keep the growing media moist, and be sure to keep the temperature of the selected space in your home at 65 to 75°F all the while for the best results. After several weeks, the surface of the growing media should be coated in a film of green prothalli. Open the bag and mist them with water when they reach a quarter-inch in height to spur on the fertilization process. Wait 12 more weeks, keeping the media moist and the pot in the baggie the entire time, only opening it as needed. If 12 weeks have passed and you see any formed sporophytes that have formed, take an appropriately-sized dose of liquid houseplant fertilizer according to package instructions for a container of this size and dilute it down to quarter-strength by adding three parts water per part of fertilizer. Apply your diluted solution to the potting medium. Keep maintaining the moisture as needed within the bag, and continue adding fertilizer diluted to quarter-strength at three-month intervals. Once your baby ferns grow an inch or two in height, gently separate them into two- or three-plant clumps, placing each clump in its own pot or in its own space in a large tray filled with your 50/50 mix. Space the clumps two inches apart. Whether you keep using a sealed plastic baggie to retain moisture or you opt to transfer them to a terrarium, the plants should be kept in humid, draft-free conditions and out of direct sun. Two weeks after you’ve separated the plants into clumps, you can add some ventilation by slightly unzipping the baggie or leaving the terrarium cover open a bit. The plants should be ready for hardening off for outdoor transplanting when nine months have passed since you first sowed the spores. Come spring, leave the plants outside in partial to complete shade for 30 minutes to a full hour before bringing them back inside. Add 30 to 60 minutes to each successive day until the plants can handle a full day outside, at which point they’re ready to transplant.
From Divisions
Like most ferns, P. acrostichoides benefits from dividing every three to five years, but do so sooner if frond growth appears stunted or if the center of the plant has died back. It’s best to divide outdoor plants just after the first frost in fall, and indoor or outdoor plants can also be divided prior to the appearance of new growth in spring, when they are dormant. A day or so before dividing Christmas ferns out in the landscape, deeply irrigate the soil around your to-be-divided specimen. Give the frondage a haircut, leaving just six inches of greenery above the ground in place, before digging a circle around the plant with your choice of digging implement. Make sure to create the circle four to six inches away from the perimeter of the specimen. Really get under the plant with your tool and then lever it up out of the ground. Gently remove any loose soil from the roots and place the plant on a tarp to keep track of your divisions. To divide a potted plant, remove the fern from its pot by using a garden trowel, soil knife, or your fingers to tease and dig the root ball out of the growing media. Set the plant on a tarp or newspaper. Separate the root ball into equally-sized pieces with a sharp and sterile blade for transplanting. Four daughter plants is a solid number to shoot for, as long as each division has an intact root system at least two to three inches in diameter.
Via Transplanting
After selecting your transplanting sites for ferns propagated at home, divisions, or nursery starts, prep holes that are slightly bigger than the root system of each transplant and amend the soil with a few handfuls of compost or well-rotted manure. Place the transplants in the holes, covering the roots to the same level, and backfill as needed. Water them in deeply, and keep the soil evenly moist while the transplants get established. For container plantings, you’ll want to procure a pot with a diameter that’s a couple of inches larger than the original container. Put a bit of your 50/50 mix of peat moss and perlite into the bottom of the new pot. Gently squeeze the sides of the transplant’s pot to loosen and ease it from its container. Pull out the transplant, and use your fingers to tease out any tangles from the bottom and sides of the root system to kickstart nutrient and water absorption. Move the transplant into the new pot, planted to the same depth. Backfill with growing media, and water in the plant. Keep the media moist as your transplant becomes established in its new container.
How to Grow
The goal with any plant in cultivation is to provide conditions that closely mimic those of its natural environment, so let’s take a look at exactly what these guys need to thrive.
Climate and Exposure Requirements
As plantings suitable for USDA Hardiness Zones 3 to 9, Christmas ferns are pretty cold-tolerant – quite fitting for a holiday-themed pteridophyte, if you ask me. Although they’ll almost definitely freeze up at the North Pole, they’re hardy as far north as you can go in the United States, save for certain parts of Alaska, Minnesota, Montana, and Wyoming. P. acrostichoides loves full to partial shade, and is able to tolerate the shadiest of exposures. It’s also quite resistant to fire… not that you’d intentionally set your landscape ablaze or anything. But if a stray firework or a barbecue-gone-wrong were to leave you with a scorched garden, or if you live in a region prone to wildfires, then at least your Christmas ferns would fare better than many other more tender species. Avoid planting in direct sun or boggy areas with standing water. Scorching sunlight will cause fronds to yellow and die back, and sodden conditions leave plants prone to rot, which we’ll cover next.
Soil Requirements
Proper soil drainage is essential for this plant’s health and vitality, along with an acidic soil pH of 5.0 to 6.5. Along with having the proper soil texture, drainage can be maintained with the addition of two to three inches of compost or well-rotted manure each fall as a side dressing around outdoor plantings. These amendments contribute to soil fertility as well. Peat moss will help to keep the soil moist in a potted plant mix, while perlite or vermiculite will maintain a porous structure that allows excess water to drain, preventing health issues.
Irrigation and Fertilizer Requirements
“Moist” is infamous for being a commonly disliked word, but for a Christmas fern, it’s a life-giving quality. P. acrostichoides loves sitting in cool and moist – but not completely saturated – soil, and it’s best to maintain this condition by choosing a naturally moist area to begin with for landscape plantings, and watering whenever the soil surface feels dry to the touch in the absence of rain or with potted indoor specimens, as well as during periods of extreme heat.
Maintenance
Each spring and fall, adding two to three inches of a natural mulch such as fallen leaves or pine straw around the root zone of outdoor in-ground plantings will help to conserve soil moisture. In addition to adding organic matter, a single dose of a balanced, slow-release granular fertilizer applied in springtime should be more than enough, if you wish to use it. Jack’s Classic Fertilizer Follow package instructions to mix the powder with water prior to application. Liquid Indoor Plant Food Apply according to package instructions.
Growing Tips
Full to partial shade is best, though Christms ferns can tolerate deep shade or low light indoors.Well-draining, slightly acidic, fertile soil is optimal.Water deeply whenever the soil surface is dry.
Other than a bit of mulching, all you gotta do maintenance-wise is cut off broken and dead fronds whenever you happen to notice them. There’s an early holiday gift for ya: fewer garden chores! Indoor plants can also be dusted gently. And don’t forget to divide or repot as needed, if the center of mature plants starts to die back.
Herbivores
Thankfully, P. acrostichoides is resistant to deer, squirrels, and rabbits, which’ll save you quite a bit of hassle in the landscape. Along with finding small as well as mature specimens at specialty garden centers and nurseries, look into local horticultural meet-ups or plant swaps to see if you can trade whatever you’re already propagating for this holiday pteridophyte. Who knows – you may even make a new friend! Christmas Fern The Internet also provides a plethora of perusable options for buying Christmas ferns – online vendors such as Nature Hills Nursery will meet your P. acrostichoides needs. Plants are also available in four-inch pots from Hirt’s Gardens via Walmart.
Managing Pests and Disease
Robust health is a Christmas fern’s first line of defense against pests and diseases, and it’s best built up with proper cultivation practices. Here are a few common pests and pathogens that may occasionally come to call: But as deer are wont to do, they may take a nibble at times of year when little else is available to munch on in the garden. While songbirds will be attracted to your Christmas ferns, it won’t be because they find them tasty – they’ll use the overwintered fronds as a nesting site. This won’t do much harm to your plants, and the net positive of having songbirds in your garden will outweigh any minor structural damage.
Insects
Pests will often carry pathogens with them that could infect your plantings. Want to control disease? Start with pest management.
Aphids
A common enemy of the gardener, these soft-bodied pests will suck the sap out of plant tissues, which can lead to wilted fronds and overall stunted growth along with the actual feeding damage. Additionally, aphids excrete honeydew, which is a cosmetic nuisance that can lead to sooty mold growth – a gnarly fungal pathogen that’s as unhealthy for plants as it is ugly.
Caterpillars
A rare occurrence indoors, serpentine webworm larvae (Herpetogramma aeglealis) may feed on Christmas ferns in the landscape, rolling up leaves to shelter within and to pupate. Arbico Organics has an arsenal of aphid-loving insects available for you to utilize in your garden. Monterey Horticultural Oil Monterey horticultural oil is available in quart- and gallon-sized containers from Arbico Organics. Further tips for combating aphids can be found in our guide. You may notice rolled leaves and frass as signs of their presence. The adult grayish-brown adult moths have a wingspan of about 30 millimeters while the larvae are small and yellowish, with darker heads. You can hand-pick and dispose of them if you wish, or treat plants with Bt beneficial bacteria if infestations become a problem.
Mealybugs
Even though close-up photos of mealybugs make it almost appear like they’re covered in powdered sugar, these pests are anything but sweet. Coming in at a twentieth to a fifth of an inch long, mealybugs are round, segmented, and coated with a trademark whitish wax that makes IDing them easy-peasy. Clumping together in colonies on plants, a mealybug infestation can lead to reduced vigor and shoot dieback, both of which will leave your P. acrostichoides looking a bit damaged and sad. Hand removal and high-velocity water sprays are great forms of physical control, while horticultural oil applications and spot-treating with alcohol-soaked cotton swabs are solid means of chemical control. The above-described predatory insects – along with spiders and minute pirate bugs – will make short and tasty work of mealybugs. Our guide has even more information on mealybug management.
Disease
Sterile garden practices such as sanitizing your tools and ensuring that you only utilize disease-free plants and growing media, whether propagated or mixed at home or purchased from a nursery, are foolproof ways of preventing infection in your ferns. In addition to sooty mold, as mentioned above, you may also encounter:
Crown Rot
Caused by Fusarium and Sclerotinia fungi as well as Phytophthora water molds, crown rot results in the yellowing, wilting, and dropping of fronds, followed by the eventual death of the plant. While the causal pathogen can vary, the condition in which it strikes is pretty much always the same: overly wet soils that don’t drain well enough. Since management of crown rot is very difficult, it’s best to focus on prevention. Providing excellent soil drainage and avoiding overwatering are both essential, whether your Christmas ferns are grown in pots or in the ground, as pathogens thrive in environments with excess moisture. Avoid planting too deeply, and water only at the soil line. If crown rot does occur, pitch any infected plantings.
Best Uses
It goes without saying that the Christmas fern is the ideal pteridophyte for the holiday season – it’s in the name, after all. Individual fronds can be used as gorgeous natural elements in wreaths, swags, and floral arrangements, not only during the festive winter holiday season, but throughout the year. The compact size of P. acrostichoides makes it a fantastic houseplant. It may also be used as a ground cover, especially in winter when the fronds lie prostrate on the ground. However, remember that it will not spread far and wide naturally like other types of ferns might. Along with accenting specimen plantings, the dark green color of the foliage provides a fantastic backdrop for other, more brightly-colored flora. A mass of Christmas ferns can do wonders in controlling erosion on slopes, thanks to their rhizomatous root systems. And to top it all off, a line of them planted or arranged in pots in the garden functions nicely as a border! This plant will make a lovely addition to your garden, no matter the time of year – but I’ll give you bonus points if it’s included as part of your holiday decorations! If you’re curious about any aspect of the growing process, or simply have an insight or two to share, then make your way to the comments section below! Want to learn more about ferns? Then Christmas came early for you this year:
How to Grow and Care for Autumn FernsHow to Grow and Care for Heart FernsHow to Grow and Care for Cinnamon Ferns


