Close your eyes and imagine a lush, tropical landscape. You probably picture palm trees, large fans of green leaves, and bright, dramatic blooms soaking up the sun. Maybe you included yourself in this scene, lounging on a beach chair amongst the palm fronds and sipping on a pina colada – or maybe that’s just where I see myself in this scenario! We link to vendors to help you find relevant products. If you buy from one of our links, we may earn a commission. But they can thrive in more temperate regions with a little more sunlight and some extra effort to protect them from chilly temperatures. You can even slip on some flip flops for the full experience. Learn how it’s done in your growing zone now! Here’s what we’ll cover:
What Are Canna Lilies?
They’re anything but mundane! In the family Cannaceae, there is only one genus: Canna. Within this small group, a mere 10 species of flowering perennials are found. These are closely related to other tropicals such as ginger, bananas, and birds of paradise. The common name for this plant is deceiving as none of the members of the genus are true lilies. Learn more about distinguishing true lilies from other species in our guide to planting and growing lilies. These herbaceous perennials prefer heat and humidity and thrive in many types of soil – in fact, they’ll tolerate clay and sand like champs. Consistent moisture is a must for cannas. In fact, it’s possible to include some of them in or near a water feature or boggy area of the garden.
Anatomy
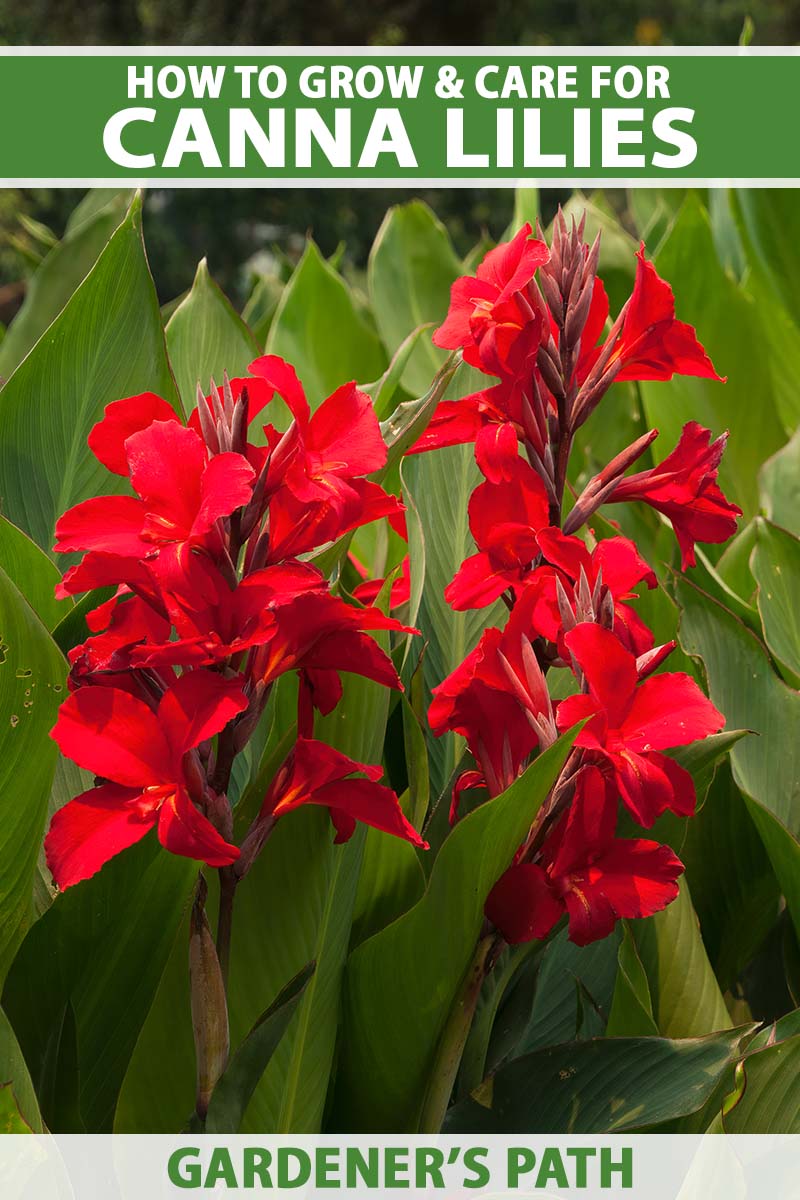
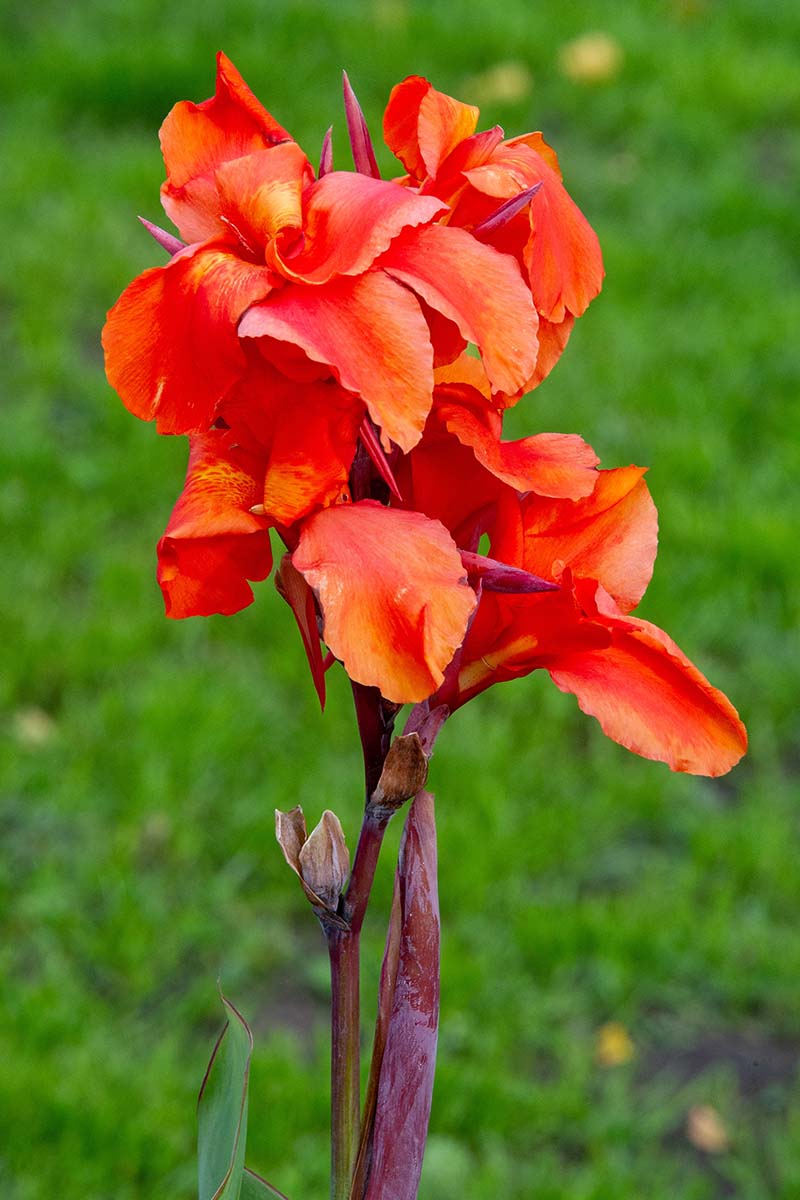
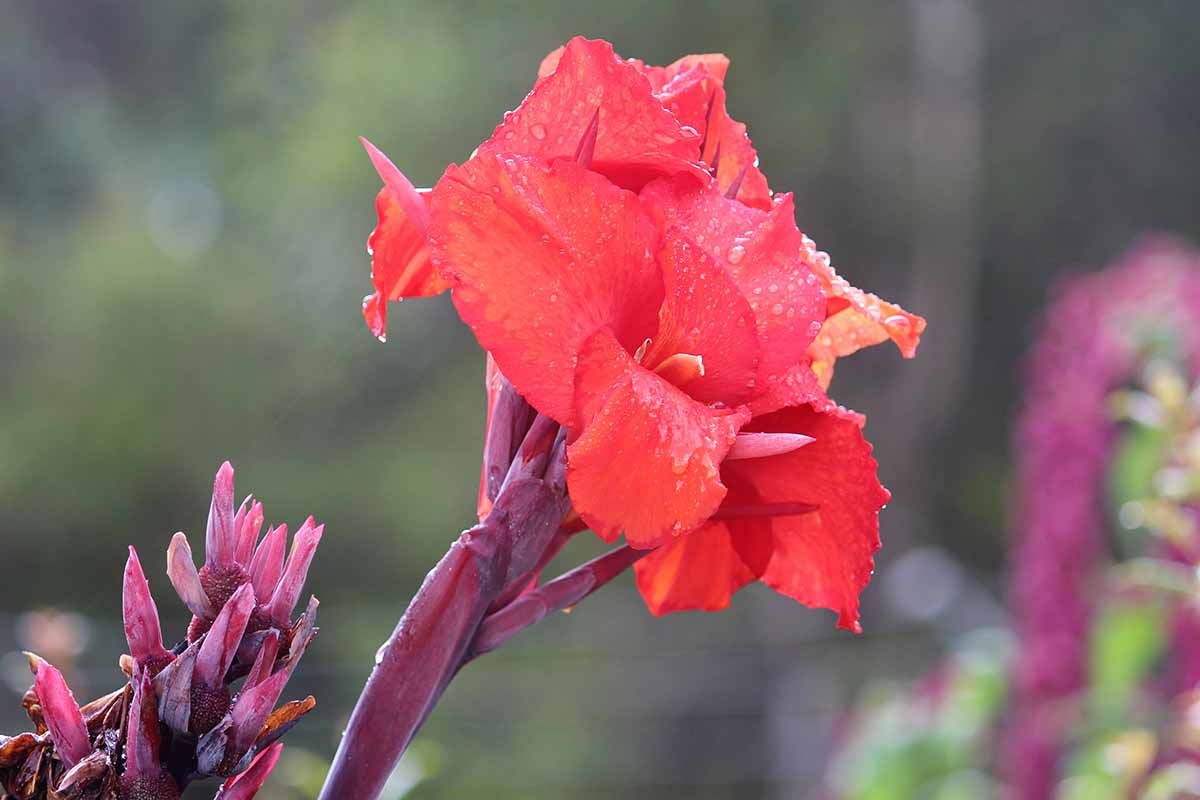
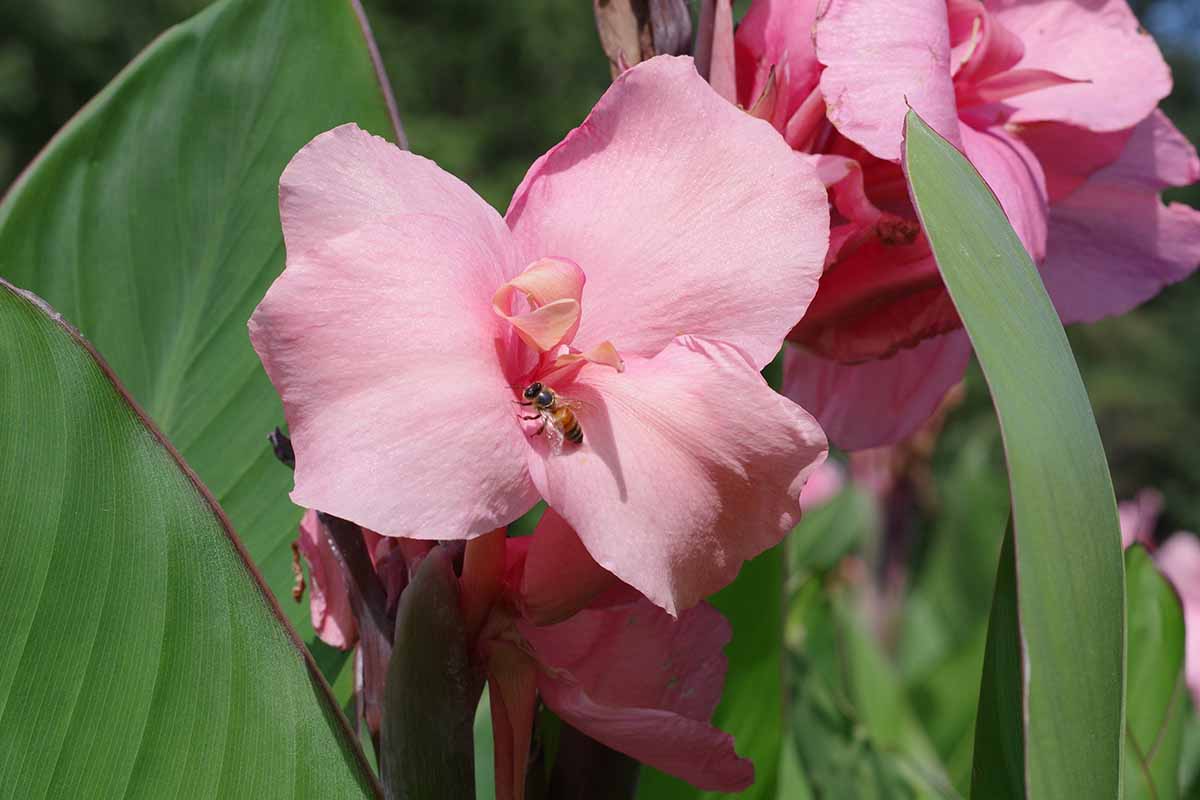
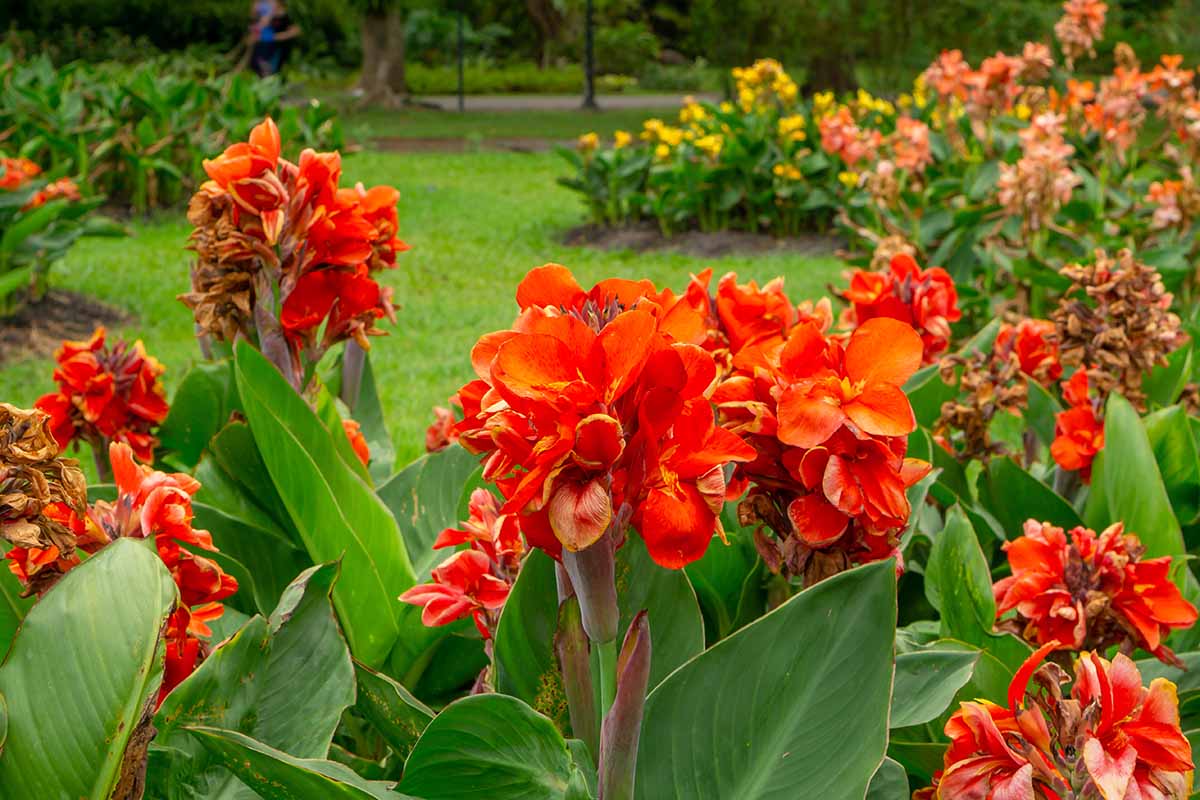
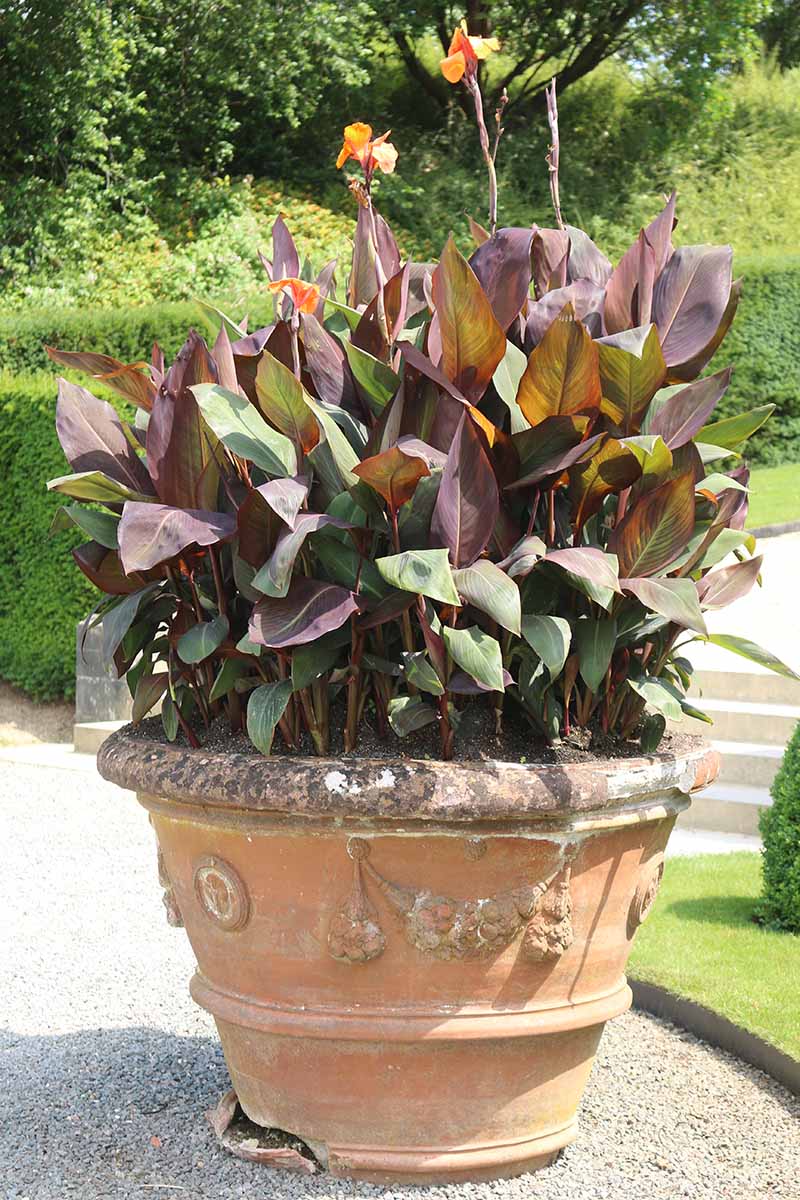
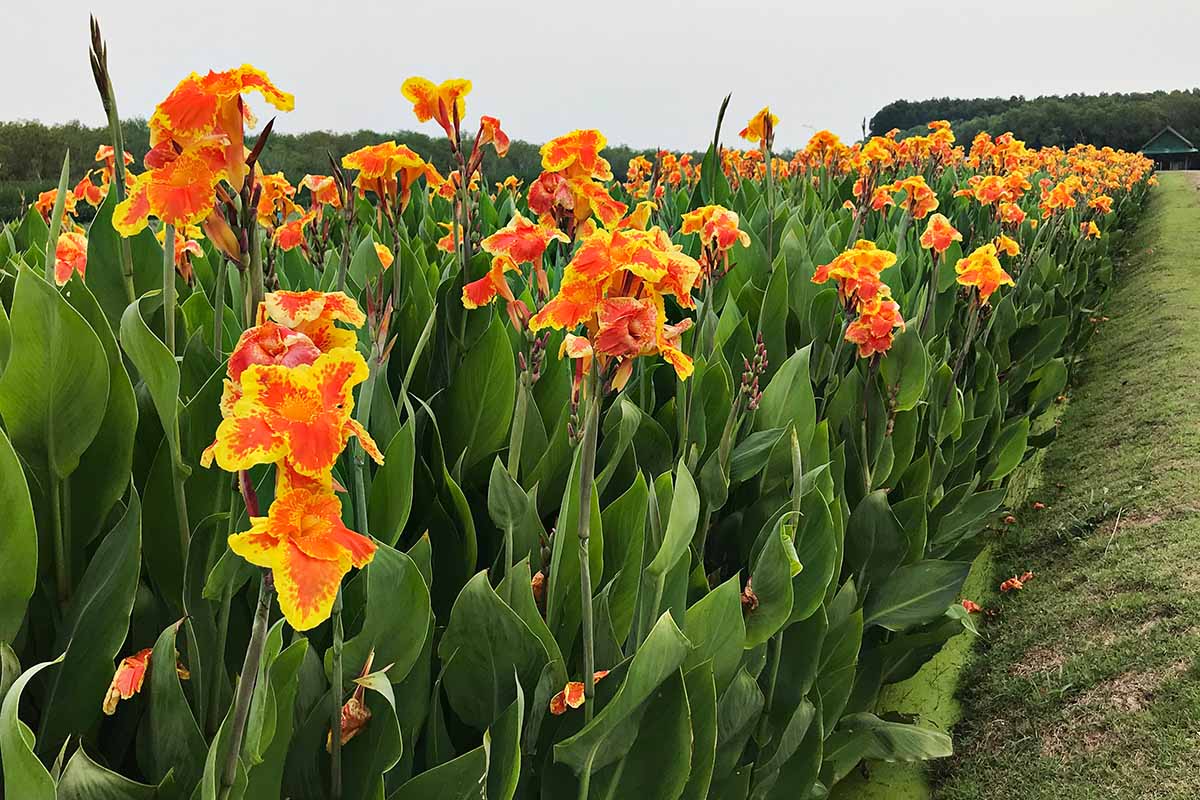
These plants are characterized by their rhizomatous roots, large leaves, and uniquely structured blooms. Unlike many flowers, most species’ blooms appear to have three large petals that are actually clustered, adapted stamens called staminodes. The true petals are small and inconspicuous, hidden out of sight by the showy stamens. Some species, such as C. amabilis and C. paniculata, have narrow staminodes and sometimes produce loaded inflorescences with dozens of blooms each. Occasionally referred to as Indian shot or arrowroot, they’re a preferred source of nectar for pollinators – particularly hummingbirds that love the open-throated, easy-access flowers. We can’t skate past the foliage, either – the colors and patterns are incredibly spectacular, often featuring bright tones such as purple, yellow, and red. Each immature leaf grows as a curled tube, unfurling like magic to reveal the color and pattern within. Some of the most striking specimens display color patterns unlike any other. The purple stems, orange inflorescences, and orange, yellow, and burgundy variegated leaves of C. indica ‘Phasion,’ for example, seem to have come straight from the pages of a tropical fairytale. Stalks that hold the leaves and blossoms are thick and sturdy, often more than an inch in thickness. They can be brightly colored as well, in tones of green, purple, and red. The leaves are generally 10 to 12 inches in width and can range from one to four feet in length, and one plant may spread to more than three feet in width. Species and cultivars vary in their height and spread. The most compact of these are the dwarf cultivars, bred to remain under about four feet in height. Taller varieties can tower over the garden at nearly seven feet tall, with the wild specimens reaching nearly 10 feet. Let’s talk a little more about their origins and uses.
Cultivation and History
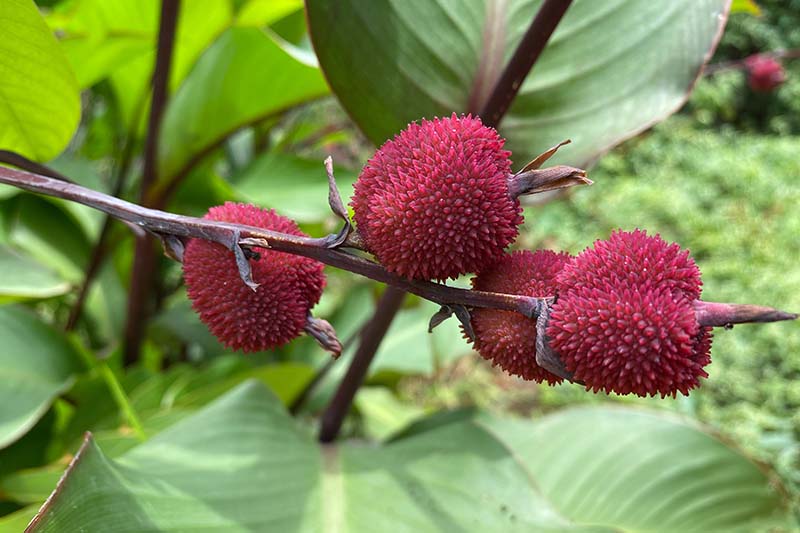
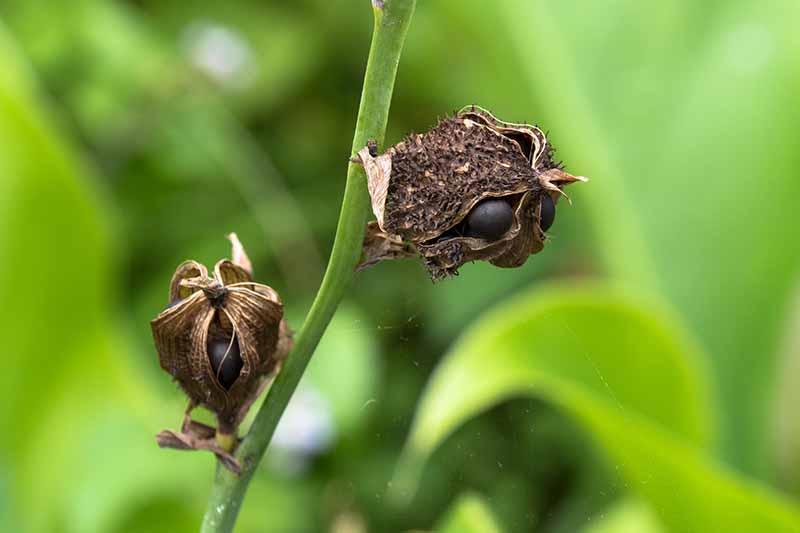
Indigenous to southern North America, Central America, and northern South America, the tuberous corms of C. indica were used as a food source for centuries by the indigenous peoples of the region prior to being discovered by foreign explorers. The first known specimens were collected from the Americas and sent to Europe in the mid-1500s. It’s unclear how they came to arrive there exactly, but botanists of the age immediately took notice. They began cultivating the plants, but it wasn’t until the 1800s that cannas became popular in gardens. Because of the continual crossbreeding of the various species, most botanical names that you’ll see use the generic hybrid name C. x generalis. Cultivars are broken into 10 groups based on foliage color and type, growth structure, and region of cultivation. Members of some African and Middle Eastern cultures use the seeds as filler for percussion instruments such as gourd rattles that are similar in design to maracas. Wild specimens are typically very tall, sometimes reaching up to 10 feet in height, and the blooms they produce are often small compared to those of cultivated varieties. Botanists and breeders have been crossing specimens for over 200 years to improve bloom size, reduce height, and enhance cold hardiness, among other advantageous traits. The leaves, blooms, and starchy roots of some species are edible, and these are used in agriculture. Edible canna starch may serve as a substitute for arrowroot, and they’re often fed to livestock as an inexpensive food source. In the wild, cannas grow in semi-wetland areas where they spread along riverbanks and lake beds. A somewhat boggy environment is preferred for species like C. flaccida, which will tolerate being partially submerged. The tubers effectively provide filtration to their planting bed, removing potentially harmful toxins and pollutants. They can be planted in wetland areas to purify the substrate. In ideal conditions, healthy plants will produce blooms that self-pollinate to produce seed pods. The seeds are about one-quarter inch in diameter and hard as stones, with a nearly impenetrable seed coat. Self-seeding in the wild occurs naturally when the pods dry and split open, scattering their contents to the soil below. In a boggy environment, the wet substrate gradually dissolves the fibers in the tough exterior seed coat, allowing for water absorption and germination. With this in mind, let’s discuss home propagation and which methods work best.
Propagation
Even though cannas produce seed, their long history of crossbreeding and hybridization makes the resulting offspring unreliable in reproducing parental characteristics. Because of this, it’s best to begin propagation with rhizome division. However, if you’re curious about the results that might be produced from seed, I’ll give some instructions for that as well – we want to see your results, so leave us a comment with some pictures please! Note that some cultivars and hybrids are commonly sterile.
From Seed
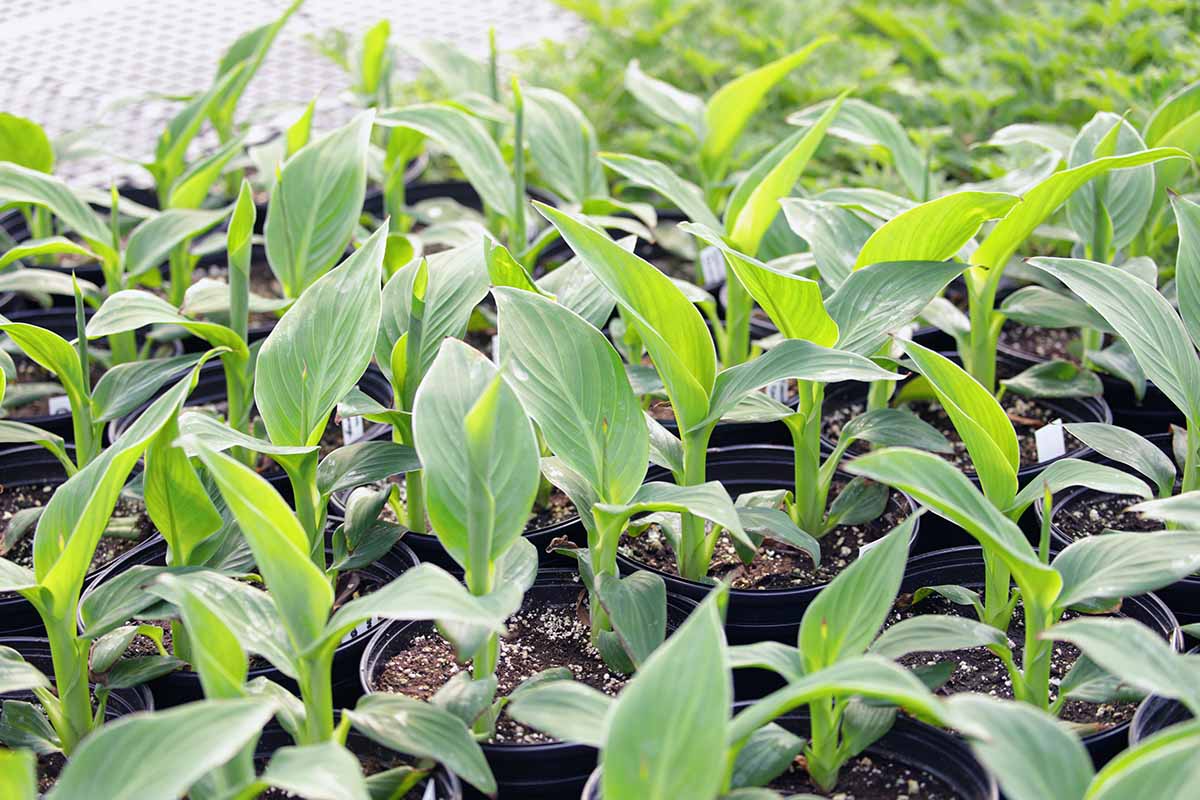
Collect ripe seeds from the mature pods of a fertile specimen when they split open on their own – this usually takes place in mid- to late winter. Nick the thick seed coat with a sharp, sterile garden knife and place it in water. Soak for 24 hours. Alternatively, rather than nicking the coat, seeds can be submerged in nearly boiling hot water which will dissolve the protective elements of the fibrous coat in a shortened time period. Allow the water to cool and soak the seed for 24 hours. Sow one seed per container or cell, pressed about a quarter-inch deep in a mix of one part coconut coir to one part sand or perlite. Moisten well, allow excess moisture to drain off, and cover with plastic film. Place the pots in a location where the soil will remain at about 70°F to germinate. A heat mat can be used to keep temperatures consistent. After about seven to 14 days, sprouts should appear. Remove the plastic covering and move the seedlings to a sunny location where they’ll receive at least six hours of sunlight per day or use a grow lamp. Once they’re five to seven inches in height, seedlings can be transplanted outdoors in the spring. Be sure to maintain soil moisture. Direct sowing at an outdoor site is a suitable alternative, and this can be done using the same methods as described above, soaking seeds before planting to a shallow depth in a sunny location, and maintaining soil moisture. Sow seeds outdoors, at least 18 inches apart, after the danger of frost has passed for your region.
From Rhizome Divisions
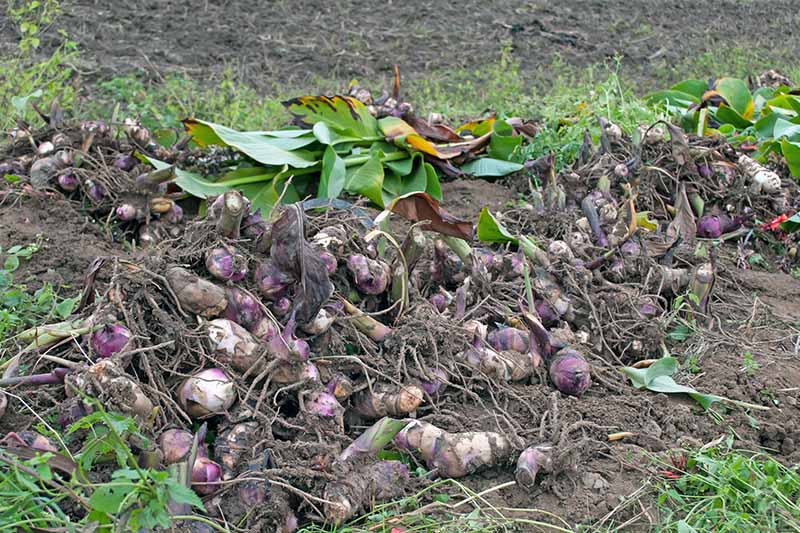
Rhizomes spread by producing offshoots that grow into new plants. Each offshoot will produce its own roots, so they can easily be separated into individual plantings. Dividing rhizomes is the surest and easiest way to reproduce parental traits. It also reduces the waiting period until maturity, which means blooms will appear earlier than with seed-grown specimens. Every three to four years, corms should be dug up and separated. It’s best to do so during dormancy, if possible. After the foliage dies back, dig up the corms and rinse them off so you can see where to make your cuts. Locate segments where new offshoots have formed – they’ll typically be smaller, bulb-like nodules with an eye at the top where the new stems will sprout. Using a sharp, sterilized garden knife, carefully cut between the nodule and the main rhizome. Be sure to include some roots and an eye with each tuber. The newly split corms should be left to callus for a few days prior to potting or transplanting.
Transplanting
Whether you’ve started with seeds or rhizome division, or purchased new starts, you’ll need to transplant them to their growing site. It’s best to move transplants outside after any danger of frost has passed. For in-ground locations, prepare a hole about three to four inches deep, or the same width and depth as the cell or root system, and place the plant in it. Don’t sink the roots more deeply than they were previously buried. Backfill with soil and press the transplant into place with your hands. Water it in well to settle and provide one to two inches of water per week in the absence of rain. Most types of cannas also grow well in pots. It’s important to choose a container large enough to allow adequate space – one of at least 12 inches in depth and width should be used for most species. A wide, heavy container is best to avoid toppling over as some varieties can be extremely tall – be sure you know the expected mature height of the one you’re planting before placing it in a pot. Any planter that you choose should have good drainage, although it’s important that it doesn’t dry out too quickly, as cannas don’t tolerate drought well.
How to Grow
In regions where temperatures remain consistently above about 40°F year-round, canna lilies can be planted in a location where they receive at least six hours of sunlight and one to two inches of water per week. Zones where they’ll enjoy heat and humidity are ideal as they won’t need much protection, unless an unexpected cold snap comes through. Hardiness Zones 6 to 8 may experience low temperatures that can cause damage and die off. In these areas, winterizing is necessary. I’ll discuss that in a moment. No matter which zone you live in, cannas will tolerate a wide range of soil conditions. Sandy or clay soil is no big deal, although it’s best to amend with organic material such as compost to ensure that necessary nutrients are available. Temperate zones call for more sunlight, so a site that receives eight hours or more of direct sun exposure per day is best.
Pruning and Maintenance
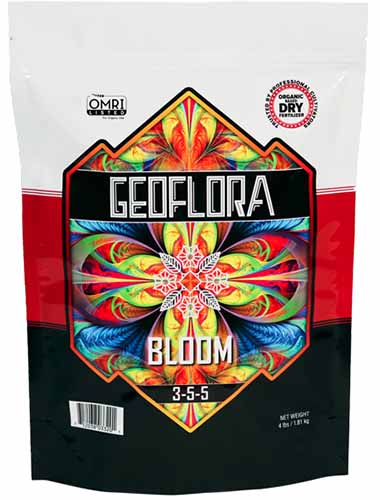
Typically, it’s not necessary to regularly prune most herbaceous species. But in this case, it’s an important step to improve blooming. Even though they’re not super demanding, canna lilies can be heavy feeders that prefer nutritive soil during times of active growth and blooming. A soil pH of 6.0 to 6.5 is optimal. Two to four inches of compost or well-rotted manure can be spread over and worked into the soil around the base of the plants once in late winter or early spring, and again in midsummer. Geoflora Bloom Fertilizer If you’d prefer to use a packaged fertilizer to be sure that adequate nutrients are available, organic Geoflora BLOOM (3-5-5 NPK) is available from Arbico Organics in four-, eight-, 25-, and 50-pound packages. Apply commercial fertilizers according to printed instructions. Get more tips on fertilizing canna lilies here.
Growing Tips
In warmer climates, plant canna lilies in partially shaded areas where the ground is consistently moist.In cooler climates, choose a sunny location where they’ll receive at least 8 hours of direct light per day.Avoid allowing the substrate to dry out by offering 1-2 inches of water per week in the absence of rain.Container growing will curb unwanted spread of rhizomes.
Beginning in late spring and continuing through fall, keep an eye on the condition of the blossoms and foliage. As leaves die off, cut them out with a sterile garden knife or pruning shears to make room for new growth. When the inflorescences are spent and the blossoms are all withering, cut the entire spike out at the base. Note, however, that some cultivars have been bred to be “self-cleaning,” meaning they’ll automatically drop dead blossoms on their own and extra maintenance is unnecessary. It’s also important to look over the inflorescences to make sure there are no remaining unopened buds – if there are, remove just the dead flowers, unless you plan to collect seed. Opening up space in this way encourages the production of new shoots for both flowers and foliage, redirecting energy where it’s needed, and reducing the likelihood of pest and disease problems that are attracted to decaying material. In addition to pruning or deadheading, plan to divide the rhizomes every three to four years, or earlier if you notice that new shoots are cropping up outside where you’d prefer them to grow. It’s best to wait until blooming has stopped and corms are dormant to divide plants, if possible.
Controlling Unwanted Spread
Under ideal conditions, rhizomes will spread quickly and, in some areas, can become invasive. Avoid planting them near waterways where seeds may be washed away and deposited elsewhere to spread unchecked. Plants can be deadheaded or flower spikes can be cut back before seeds mature to prevent self-sowing. There are two ways to grow them in containers to control rhizomatous spreading. For both methods, use a substrate that is light, such as a one-to-one mix of coconut coir, compost, and sand or perlite. Fill the container to just below the brim and bury the rhizome about three to four inches deep with the eyes facing upward. In the first method, you can simply pot them as you would any other specimen and place them on the patio, deck, or porch. Growing conditions as previously described should be provided, so take your zone into account to determine the best site. In the second method, pot the corms as described but sink the container into a prepared hole in the ground at the appropriate site. This is a good choice if you want to create a mass installation as a border or background without allowing them to take over the yard.
Winter Care
Whether you plant in-ground or in containers, winter care is important in cooler zones. Cannas can also be grown indoors, but caretaking is a little different for houseplants. We’ll cover this in a little more detail in our guide to growing canna lilies in containers. (coming soon!) In USDA Hardiness Zones 9 to 11, temperatures rarely dip below freezing. Some areas within these zones are warm enough for flowers to bloom year-round, and their foliage remains lush and colorful as well. North of these zones, cold weather can damage or kill the rhizomes. It’s important to either dig up the corms for storage after the first frost or cover them well if the ground doesn’t typically freeze in your region. It’s possible to install them near a wall or fence to allow for radiant heat to create a small microclimate, but that’s not a sure bet in regions that experience temperatures below freezing. In the fall, as the temperature begins to drop, cut the stems back to two to three inches in length. Carefully unearth the tubers, rinse them off and let them dry thoroughly. Store them in one to two cups of coconut coir in a paper bag placed in the basement or another cool, dry location until the following spring. Alternatively, in areas where ground freezing is unusual, cut the stems back to just above ground level and cover them with a layer of shredded wood or straw mulch that’s two to four inches thick. In the spring, move the mulch back away from the crowns to allow sunlight to reach them. If you’ve dug them up, place the tubers in a tray or bucket of warm water for an hour or two prior to replanting to rehydrate them and start to bring them out of dormancy before planting out. Container-grown plants can simply be cut back to two inches above soil level and the whole container can be moved to a sheltered, cool location to overwinter. Now, the most important question: which variety will you choose to grace your garden or landscape?
Insects
Four-legged pests aside, there are only a few insects of concern. Keep a close eye out for warning signs to nip any potential infestations in the bud. Instead, I’ll touch on a few that will add a bit of the tropics to any garden or landscape, and catch the eye when they’re both in and out of bloom. All varieties described below are suitable for growing in Zones 4 to 11 with winter protection or storage in regions north of Zone 8, unless otherwise noted.
Black Knight
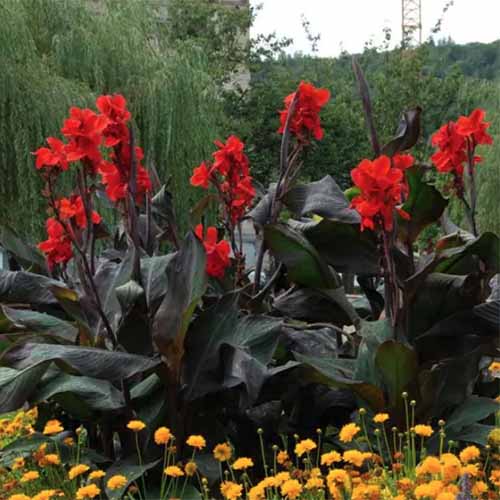
If you’re in the market for a cultivar that adds distinctive color even when it’s not in flower, C. x generalis ‘Black Knight’ is the one to choose. The huge, paddle-shaped leaves and stems of this specimen are nearly black, with a shock of deep red blooms on stems standing four to six feet in height. ‘Black Knight’ To create a stunning backdrop or truly astounding mass planting, find ‘Black Knight’ tubers available in a five-pack from the Bloomsz Store via Home Depot.
City of Portland
Bloom color is a key reason to choose C. x generalis ‘City of Portland’ as a focal point. Orange to deep salmon pink blossoms perch atop the towering stems – sometimes reaching heights of over five feet! ‘City of Portland’ The soft green foliage presents a perfect backdrop to frame the blooms and draw attention to their stunning color.
Lucifer
Dwarf cultivars such as C. indica ‘Lucifer’ make perfect container specimens! This one was bred to have a compact height of just three feet max. ‘Lucifer’ has deep, blood red blooms with yellow tipping, and lush green foliage reminiscent of banana leaves. ‘Lucifer’ The shorter stature of this cultivar makes it a good choice for smaller spaces in the garden or landscape. You can expect blooms to begin appearing in midsummer and continue through fall.
Picasso
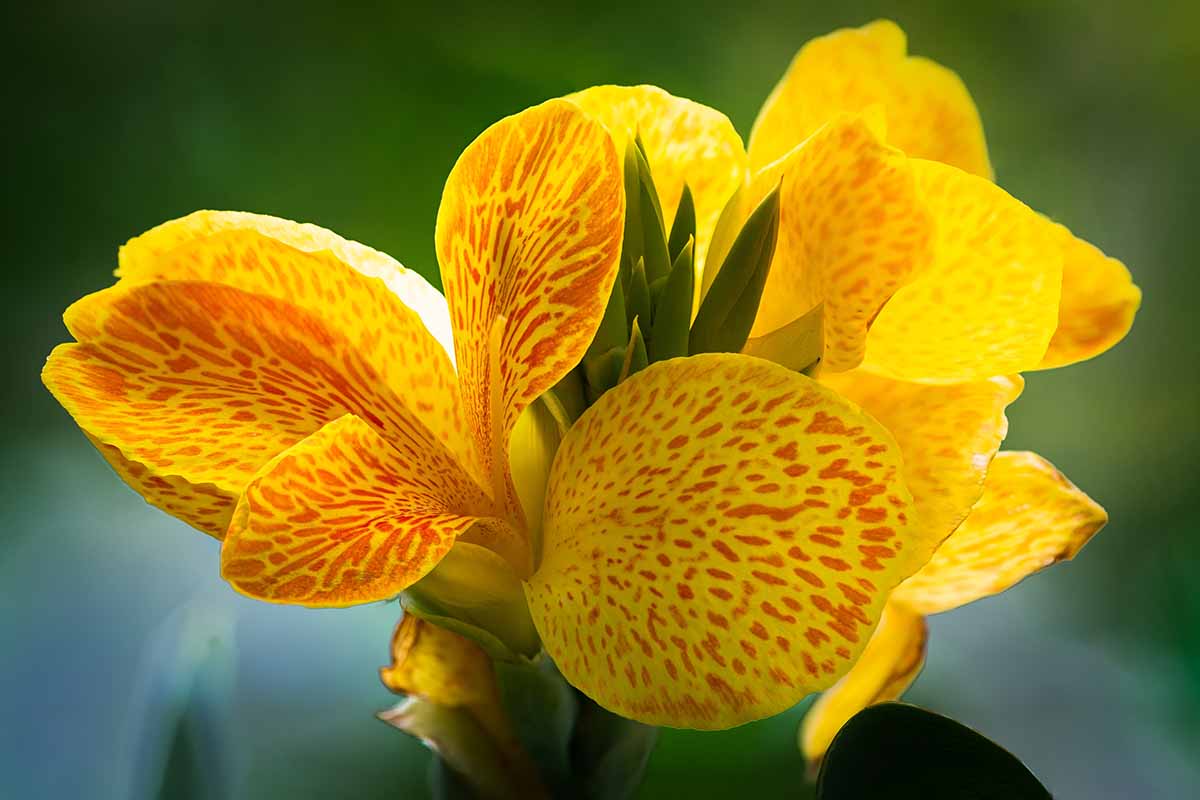
One of the most stunning cultivars, C. x generalis ‘Picasso’ produces bright yellow staminoids with red spotting that are similar in appearance to toad lilies (Tricyrtis hirta). While the green, banana-like leaves may be a little plain in comparison to those of some other specimens, they frame their flowers perfectly and add structural interest between bloom seasons in warmer climates. This dwarf cultivar attains heights of three feet max, which is exactly right for a container or smaller area. Or plant in groups for a truly glorious mass planting around a foundation or fence! ‘Picasso’ ‘Picasso’ is also a midsummer stunner that will bloom through the summer to first frost in the fall.
Pretoria
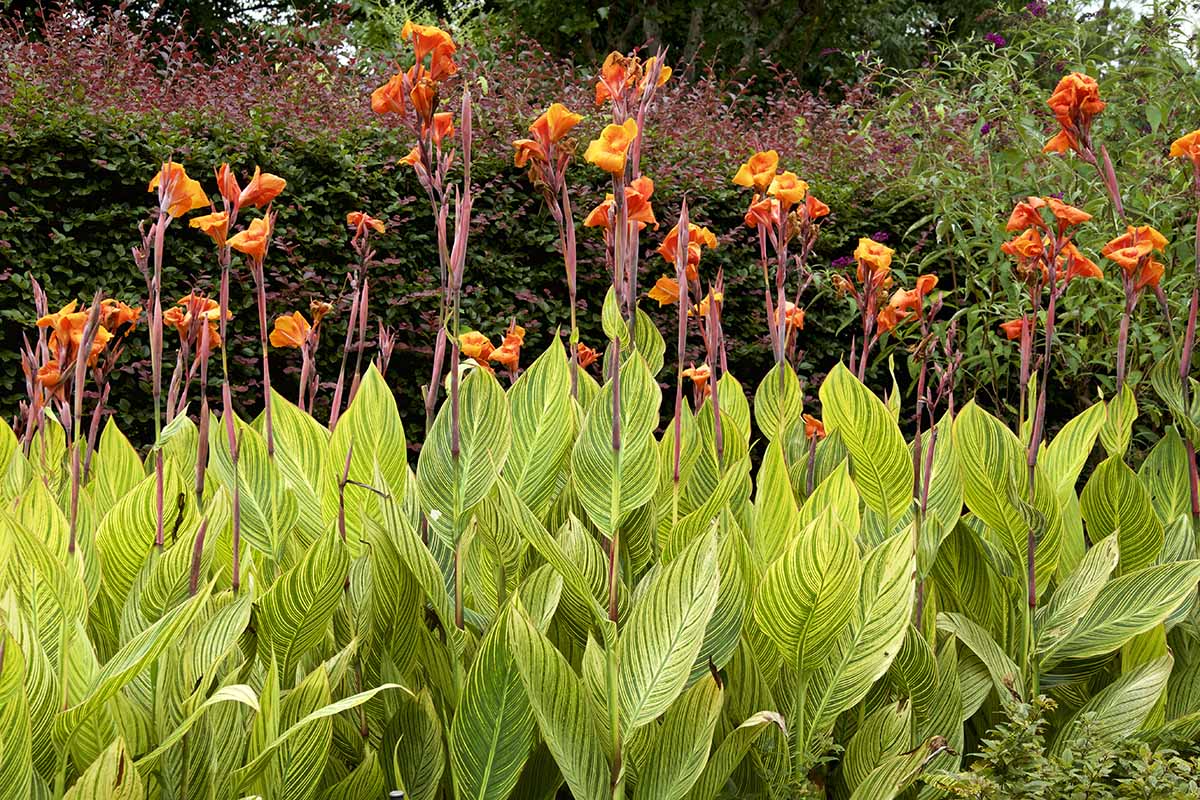
Talk about maximum impact – C. indica ‘Pretoria’ is one of the most distinct and magnificent cultivars available, with variegated, paddle-shaped foliage striped in tones of light and dark green interspersed with bright yellow. The blossoms are deep orange with a paler yellow-orange margin. And if the color alone doesn’t draw the eye, then the stature of these cannas will – this cultivar is known to reach more than six feet in height! ‘Pretoria’ ‘Pretoria’ can be grown outdoors in Hardiness Zones 2 to 11 but prefers warm temperatures, so be sure to protect the corms from freezing as needed. You can purchase tubers in quantities of two, four, or 10 from Eden Brothers.
Wyoming
Boastful blossoms and fanciful foliage are abundant with C. x generalis ‘Wyoming.’ Variegated foliage striped with green, purple, and bronze unfolds below shocking orange blossoms in spring and summer. ‘Wyoming’ This cultivar is one that prefers full sun no matter what zone it’s growing in, and it’s hardy throughout Zones 7 to 11. It’s a mid-range type that reaches heights of three to four feet. Find packages of two-, four-, or 10 rhizomes (listed on the website as bulbs) available from Eden Brothers.
Managing Pests and Disease
While canna lilies are largely free from issues, there are a few to be on the lookout for.
Herbivores
There are very few animals that take an interest in cannas and most of the ones that do are after the rhizomes rather than the flowers or foliage. Root Guard Baskets Barriers such as these keep out ground-dwelling predators but may not always be effective against squirrels – most of us know that you have to be a magician to thwart these furry thieves! If you do use barriers for protection, be sure to divide the rhizome clusters often to avoid overcrowding.
Japanese Beetles
In my opinion, these guys are the aphids of the beetle species. If you find some of the scents or flavors produced by your plantings to be delicious, I guarantee they do too. And once they track them down, they’ll chew them to the stem and invite hordes of friends to join them. Learn all about banning these pests from your garden in our guide.
Leafrollers
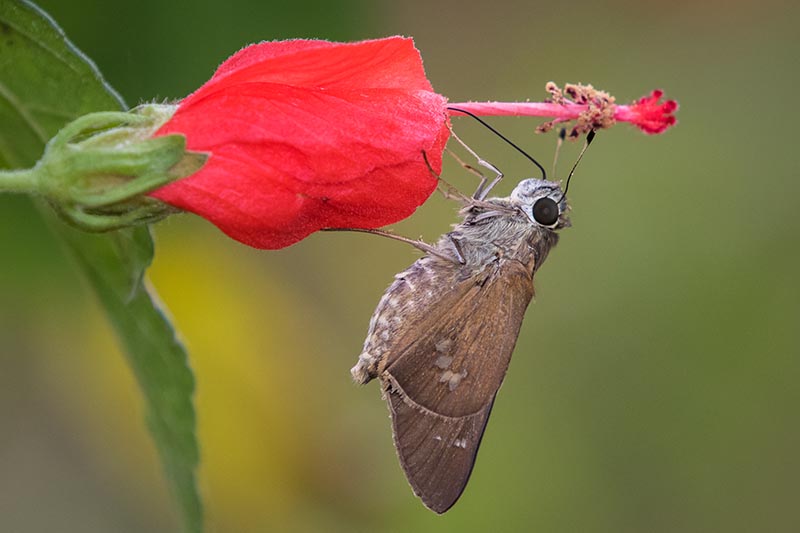
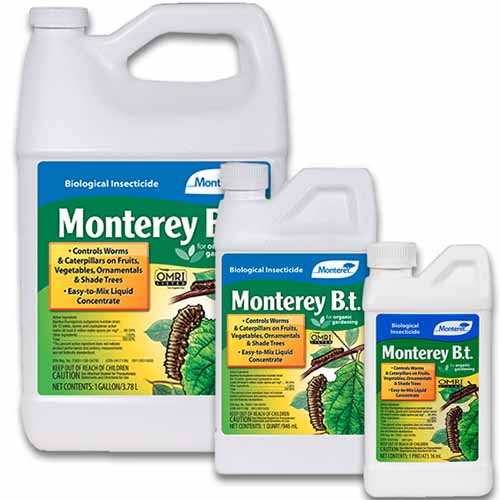
Leafrollers are one of the most bothersome pests for plants in this genus. The larvae, or caterpillars, are known to hatch from eggs that are laid in the spring and summer. There are two different types of adults that are often referred to by the same common name: Calpodes ethlius and Geshna cannalis. The Brazilian skipper or canna skipper (C. ethlius), also known as the larger canna leafroller, is endemic to southern North America, Central America, and the Caribbean. The adult butterflies are brown and commonly identified by their “skipping” flight pattern, seeming to jump in short bursts rather than fluttering through the air. The adult skippers lay blue-green eggs on the undersides of the leaves, and even though they’re only about one millimeter in diameter, they’re fairly easy to spot as they turn pink prior to hatching. Eggs can be scraped off or smashed on sight. Brazilian skipper larvae are typically dark in color, sometimes even black. They’re about a quarter to one inch in length, depending on their age. The larva chews the edges of canna leaves and then folds the freed flap down to tack it in place around itself where it will pupate. Because they need to create a new rolled flap for shelter as they grow, a small infestation of these caterpillars can devastate a large portion of foliage. The adult lesser canna leafroller (G. cannalis) is a small and relatively nondescript moth. It’s also brown in color but has not been studied in depth, other than to observe the effects that the larvae have on cannas. This species lays flat, clear to whitish-yellow eggs in groups of six to 15 on the upper surface of leaves, and the larvae that hatch are generally paler in color than those of the larger species. These also chew the margins of the leaves, but they often roll the entire leaf over and pin it using silk that is visible from the outside. Discard pruned material in the trash or burn it where this is permitted. Both types of larvae can be smashed on sight, or plucked off of the leaves and placed in a shallow tray for birds to feast upon. You can spray plants with Bacillus thuringiensis (known simply as “Bt”) to control a serious infestation. Monterey Bt Liquid Concentrate Find Monterey Bt Liquid Concentrate available in pint-, quart-, or gallon-size bottles at Arbico Organics. In cases of extreme infestation, use a sharp, sterile knife or shears to cut plants down to the ground. They’ll regrow, rest assured, but this will deter adults from laying eggs and can make a lasting difference through the summer months. Since an ounce of prevention is worth a pound of cure, neem oil can be applied early in the season and again after each time it rains to create a preventive barrier that may reduce the chance of infestation ahead of time. Find more information on pests of canna lilies here.
Disease
Our list of diseases to be on guard for is also short, though they can cause quite extensive damage.
Canna Rust
Many types of plants are affected by rust. This fungal infection spreads through the air and the fungi can live in standing water. An outbreak can appear like the botanical version of chickenpox, with raised orange bumps popping up across the surfaces of leaves and stems. Once it has taken hold, it can be nearly impossible to eradicate without cutting the entire specimen back to the ground. Learn more about canna rust in our guide.
Viruses
One unfortunate truth about cannas is that they’re very susceptible to viruses. Some of these are specific to the genus. Others, like mosaic viruses, can spread easily across species, to vegetables and ornamentals that are also growing in the garden. Bear in mind that adequate spacing and separation between garden plots can help to ensure that viruses are not spread easily. But removing infected plants from the landscape may be the way to go. Aphids, for example, aren’t known to cause major infestations on plants in this genus, but they may visit and move on, bringing the virus with them if your cannas are infected. There is no cure for viruses such as canna yellow streak, yellow mottle, or bean yellow mosaic. Infected foliage will typically show streaking, which can appear similar in pattern to variegation but often with more yellow tones. Leaves may eventually wither and die. Once signs of a viral infection are spotted, remove the affected specimens from the ground and destroy them. Never add them to the compost pile, and be sure to thoroughly disinfect any tools that were used in their handling. Similarly, any time rhizomes are divided, be sure to use sterile equipment and sterilize your tools again after you’re finished. Get more tips on identifying and controlling diseases of canna lilies here.
Best Uses
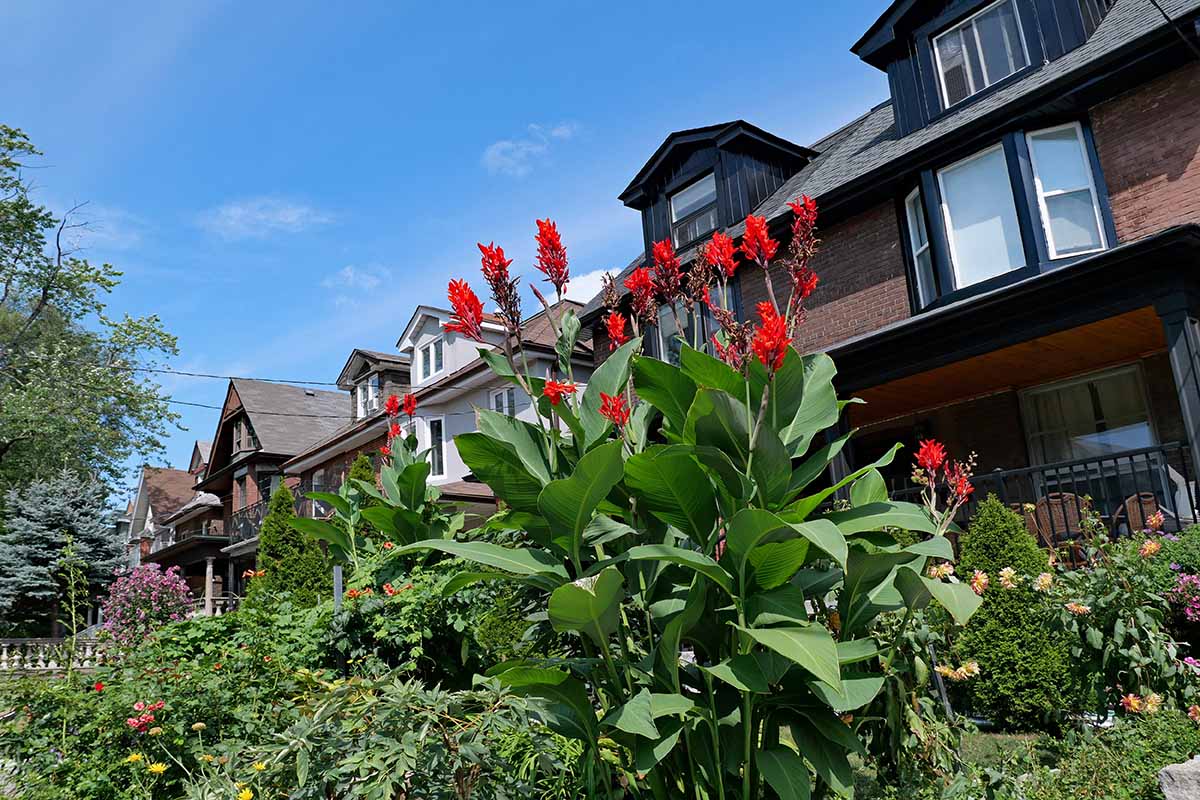
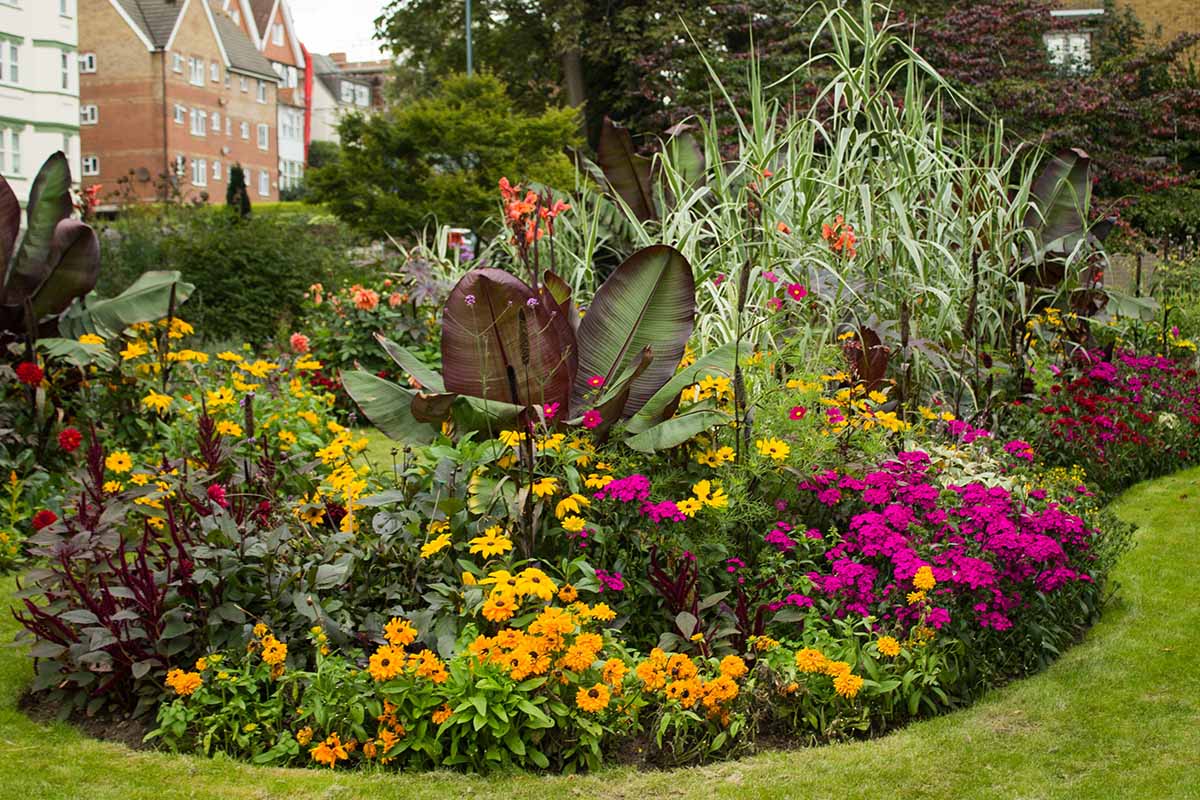
Remember that tropical garden that I mentioned right at the start? The one with palm trees, hibiscus, birds of paradise, and bananas? Well, cannas are a must in this type of installation. Match them up with elephant ears, sedges, Florida shield ferns, viburnum, and calla lilies for a bed loaded with color, texture, and architectural interest. Container growing is a great choice as well, and they can be planted individually or as a mixed presentation with liriope, marsh marigolds, and bergenia for an abundant, dense container garden. If you have a patch of wet ground in full or mottled sunlight, these are an excellent choice for putting that moisture to use. Add them to a border around a pond or pool where they can provide some privacy and shelter for koi and other aquatic creatures. We want to know – which canna is your favorite? Do you prefer the variegated types with their rainbow of colors, or the soft green banana-like leaves with big, bright blooms? Whichever variety you enjoy most, they’re flexible enough to be enjoyed in so many zones, and so many ways. Let us know where you have them growing and what methods you use to keep them thriving. We’d love to see your garden as well, so drop some pictures in the comments! If you’re looking for even more flowers to add to the garden that love sun and moisture, check out these titles next:
9 Best Full-Sun Flowering Perennials for Southern Gardens17 Temperate Flowering Perennials That Will Grow Almost AnywhereTips for Growing Amaryllis in the Garden
