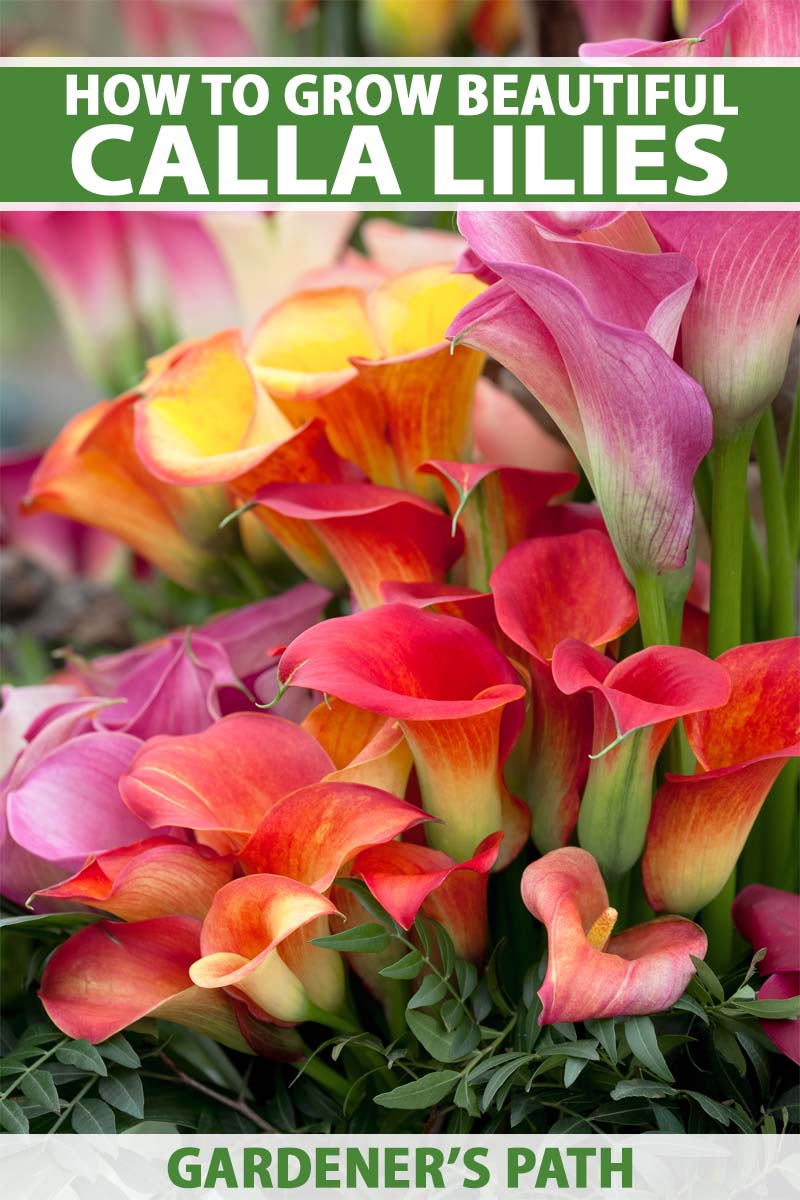
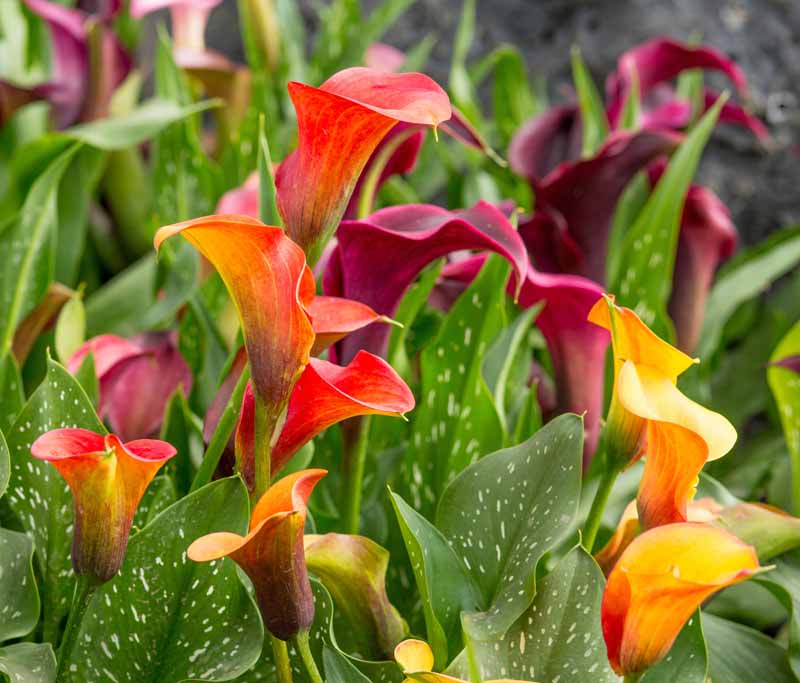
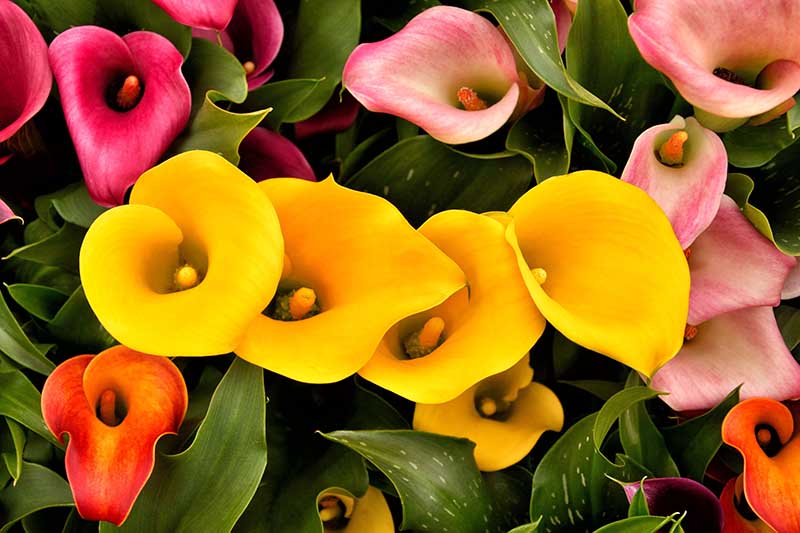
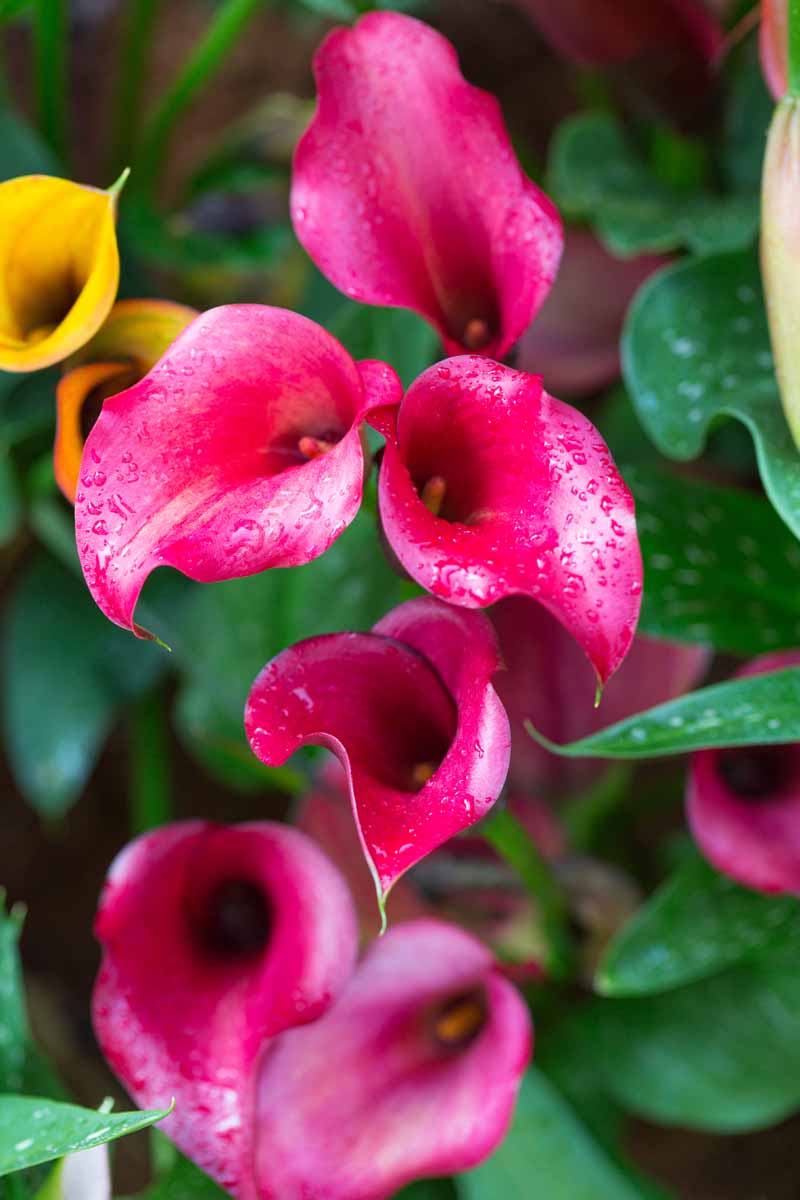
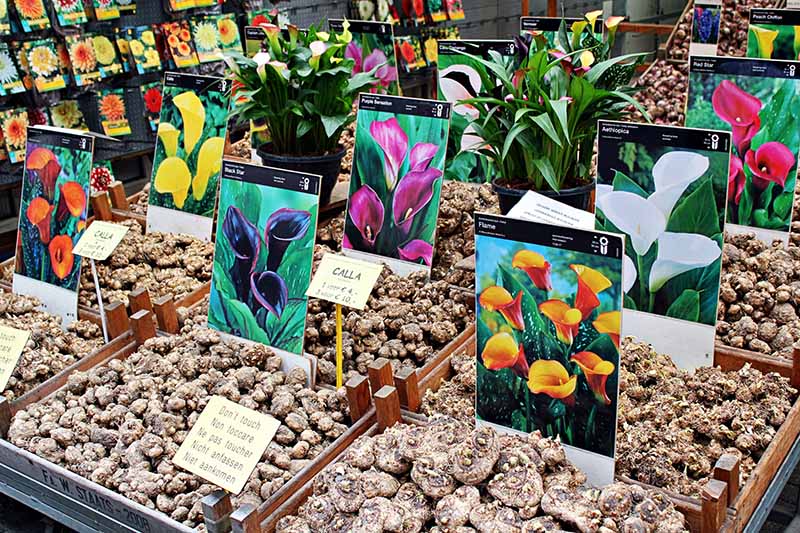
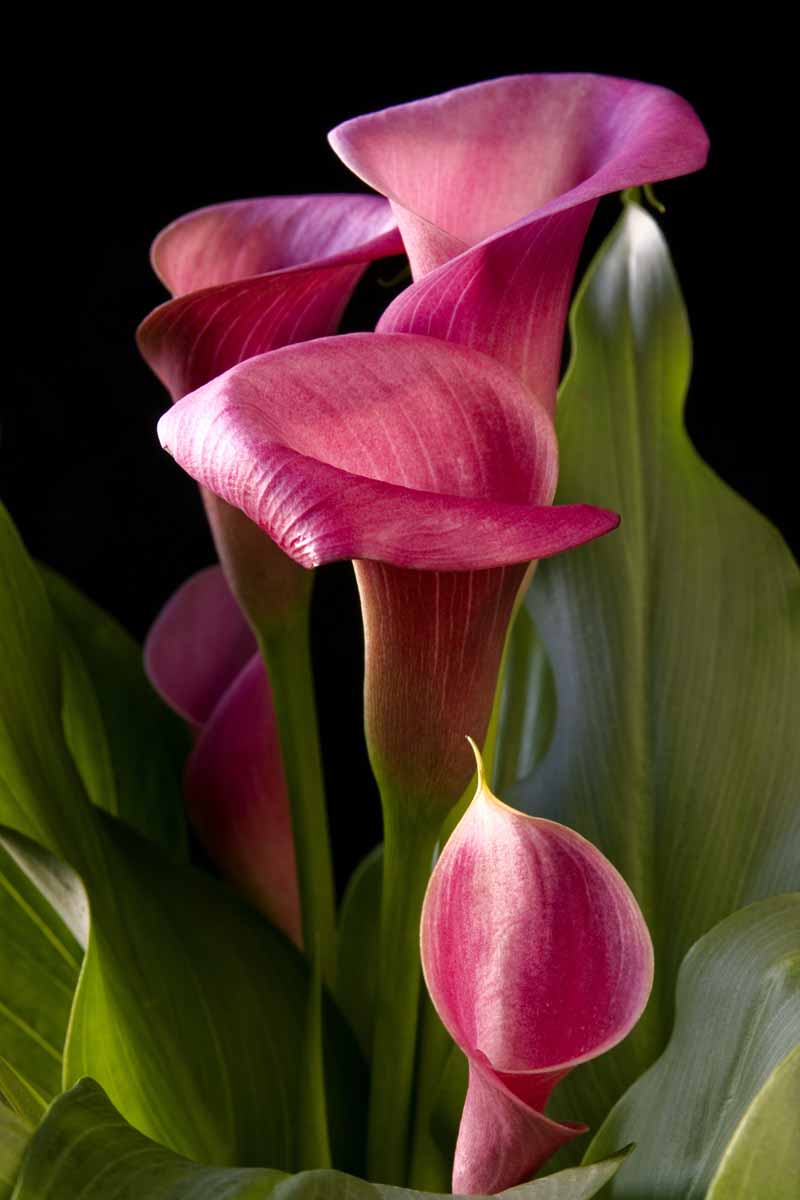
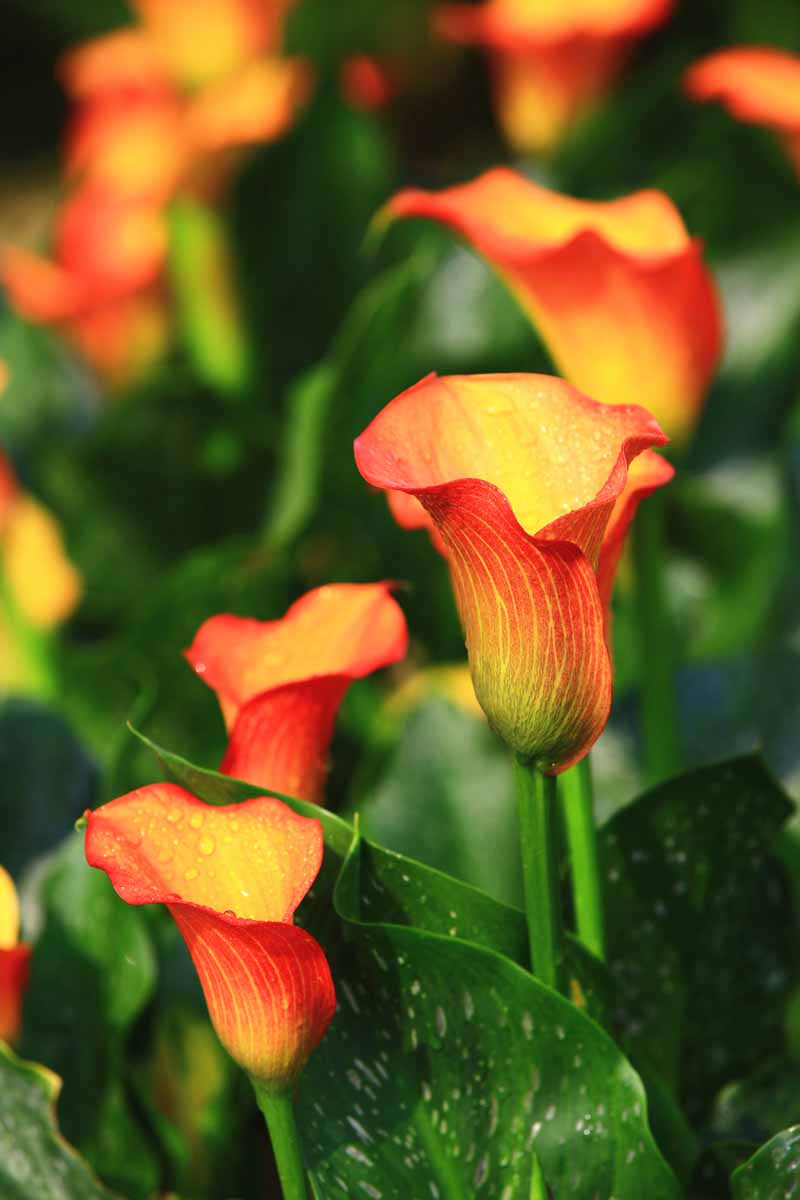
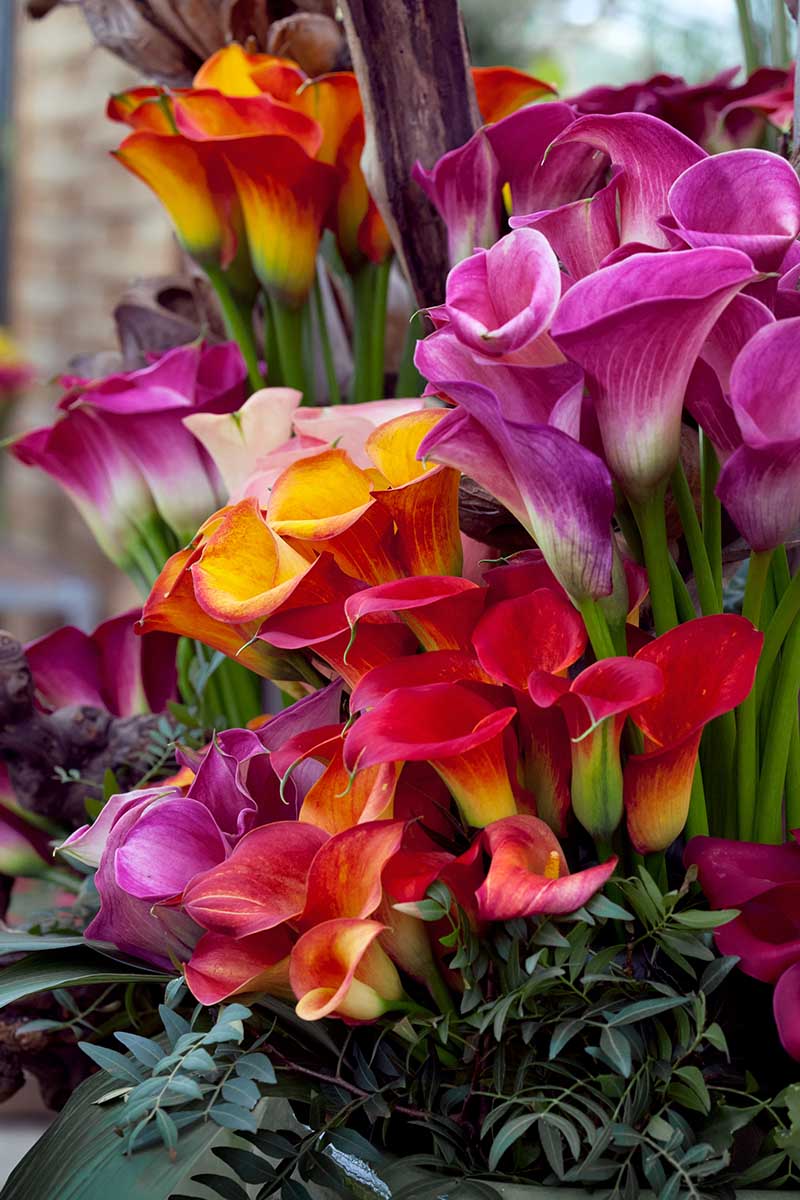
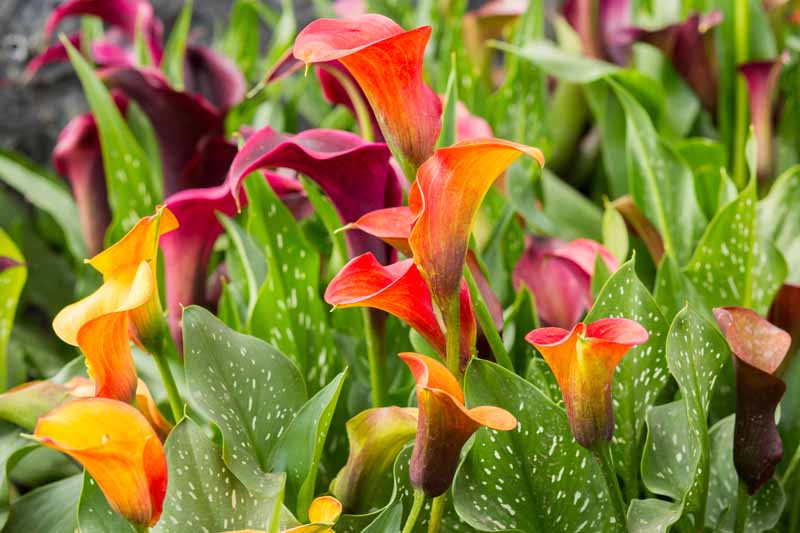
Consistently elegant, callas add a unique flair to the garden with their distinctive chalice-like flowers in a range of luscious tropical colors supported by handsome upright foliage. The striking colors come in a wide range of colors including apricot, black, burgundy, mauve, orange, peach, pink, purple, white, and yellow. And they’re long-lasting, providing weeks of color in the spring or late summer garden, depending on when they were planted. Tender perennials, callas flower from early to midsummer. However, outside of their recommended hardiness range, callas may be grown as annuals – planted in spring for a striking late-season display from midsummer through September. We link to vendors to help you find relevant products. If you buy from one of our links, we may earn a commission. When they’re not in bloom, the strappy to heart-shaped foliage stays attractive and vibrant, sage to jade green in color and often adorned with luminous white freckles. They attract butterflies and hummingbirds, but deer, rabbits, and rodents will typically leave them alone. Just as alluring in a vase as in the garden, the white varieties are a favorite in wedding bouquets, and all colors make long lasting and eye-catching floral arrangements. Interested in learning more about the classy calla? Then let’s dig in and learn how to grow calla lilies for easy sophistication! Here’s what lies ahead:
What Is a Calla Lily?
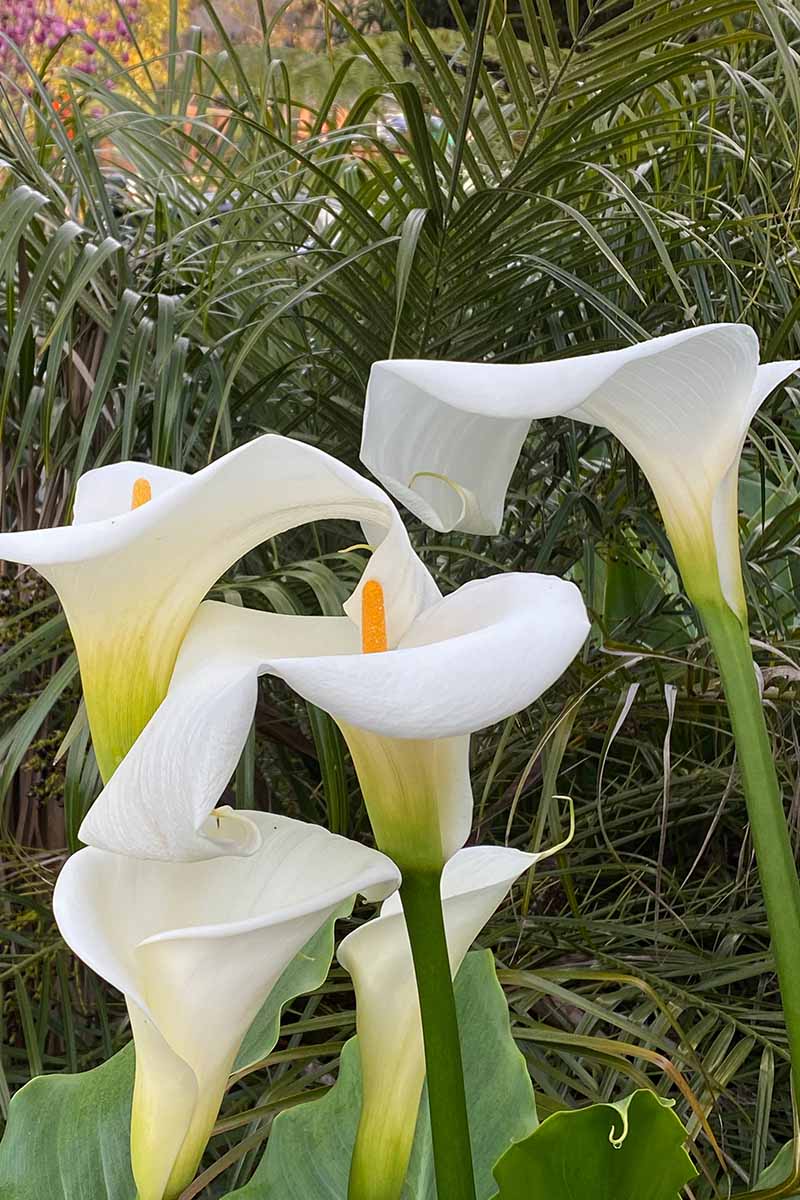
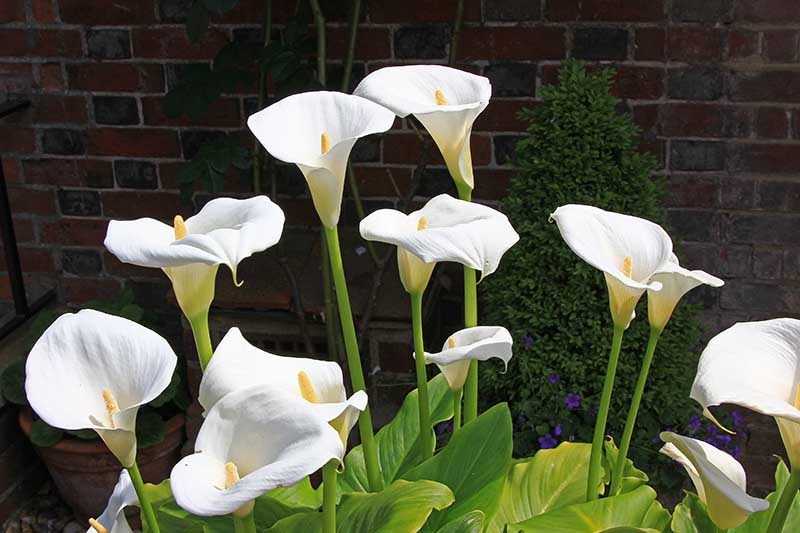
Not a true lily at all, calla lilies, also called arum or pig lilies, are herbaceous rhizomes from southern Africa and belong to the Zantedeschia genus in the Araceae family. The word “calla” is derived from the classical Greek word for beauty, “kallos,” which clearly applies to these showy plants. The genus contains eight species of clump-forming perennials grown for their colorful, ornate flowers and decorative foliage. Frost tender, these plants are hardy only in USDA Hardiness Zones 8 to 11, and are grown as annuals in cooler regions. The flowers consist of a single modified leaf called a spathe that appears as a seamless “petal,” rolled into a chalice or trumpet shape. The spathe encircles a finger-like inflorescence called a spadix, which is the true flowering part. The spadix is typically golden yellow or matches the spathe in color, and produces small seed pods after flowering. The handsome leaves are elongated and stemless, sometimes shiny, and with a swordlike or arrowhead shape. These come in various shades of green, from milky jade to deep forest. Delicate white spotting is a lovely feature that adorns the foliage of many cultivars, providing a freckled look. There are four species of note for the home garden, along with numerous hybrids. Plant callas away from areas where children or pets play or livestock graze, and wear gloves when handling all parts of the plant including seeds and rhizomes.
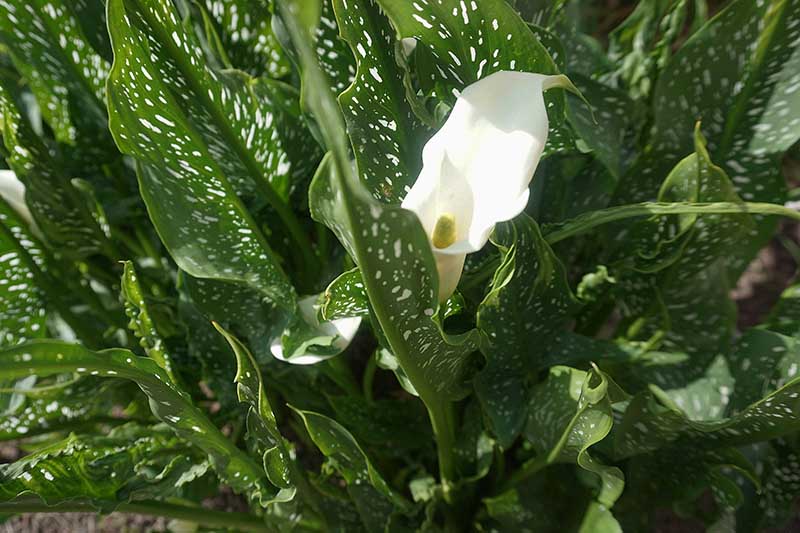
Z. aethiopica is also known as the common or arum lily. It features wide trumpet-shaped flowers with a milky white to pale rosy pink spathe, often adorned with a saucy flip or twist at the tip. The spathe is anchored with a golden spadix and is set amidst dark green arrowhead-shaped foliage. This is the most popular species used by florists. It prefers a moist location and can be grown as a bog plant or in water gardens as well as garden beds. These plants grow 24 to 40 inches tall, and are hardy in Zones 8 to 10. Z. albomaculata, also known as the spotted calla lily or white spotted arum, has distinctive ivory white flowers that occasionally show cream, pale yellow, and coral pink variations. The spathes are chalice-like, tall and narrow, with broad, strappy foliage adorned with white freckles. An exceptional cut flower, plants of this species have a mature height of 12 to 24 inches, and are hardy in Zones 10 to 11. Z. elliottiana is also known as the golden arum or calla lily with a large, trumpet-like spathe and a spadix of brilliant golden yellow. The pretty foliage is freckled and has an arrowhead form. A standout variety that provides weeks of blooms, these plants reach 24 to 36 inches tall. They are hardy in Zones 8 to 10. Z. rehmannii is the pink species. It features pretty spathes of mauve, maroon, pink, purple, and white. The spadices are yellow, and the foliage is strappy and swordlike. A prolific bloomer providing weeks of color, this shorter species produces plants of 12 to 24 inches in height. These are hardy in Zones 8 to 10. Other species include Z. jucunda, Z. odorata, Z. pentlandii, and Z. valida. Z. jucunda features trumpet-shaped flowers in different shades of yellow from pale and buttery to a deep buttercup shade. Z. odorata is a rare white arum with a yellowish-orange spadix; a pleasant, slightly sweet fragrance similar to freesia; and attractive arrowhead foliage. Z. pentlandii has lemony yellow spathes with a purple base, and broad ovate leaves of blue-green. Z. valida has a creamy yellow spathe with a deep purple base, and vigorous arrowhead foliage.
Cultivation and History
The white arum lily, Z. aethiopica, was sent to Europe sometime in the 1690s by Simon van der Stel, the first governor of the Dutch colony at the Cape of Good Hope in South Africa. An avid amateur botanist, van der Stel had a keen interest in tropical flora and sent many African species home to Holland for study and commercial cultivation. The white arum was the lone species in cultivation until the mid-1800s, when those with colored spathes were introduced. Today’s colored varieties are the result of complex hybridization that provides outstanding colors and plants with a long bloom time. Z. aethiopica can even abide semi-aquatic conditions once established, but the colored forms are prone to soilborne bacterial infections and root rot when soil is oversaturated. Also, once established, Z. aethiopica can produce flowers and foliage continuously like an evergreen under optimal conditions. However, the colorful hybrids must undergo a period of dormancy before flowering again.
Propagation
Callas are best propagated via rhizome division, but they also grow well from seeds. However, you can expect to wait up to three years before you’ll see flowers from seed-grown plants. Please remember to wear gloves when handling all parts of Zantedeschia to protect your skin from the potentially toxic and irritating compounds it contains.
By Seed
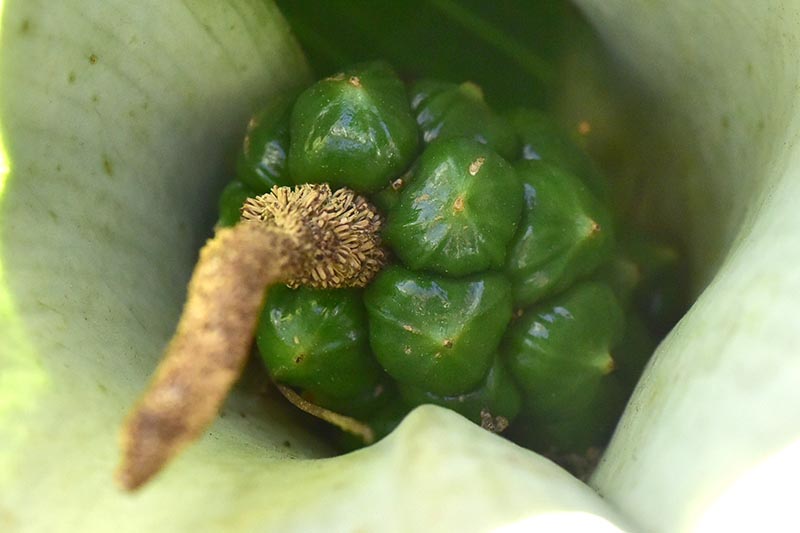
Seeds appear in late summer to early autumn and must be collected when fully ripened, then stored until planting the following spring. Seeds form on the thick spadix, developing in kernel-like pods after flowers fade. The pods eventually reach two to five inches in length. They are ready for harvesting once they’ve turned yellow, and they will feel soft if you give them a gentle squeeze. Cut pods off at the base and store in a paper bag until they are dry and brown. When fully ripe, the pods will split open and the seeds are easily squeezed out. Store dry seeds in an airtight container in a cool, dark location until spring. Here are the steps for planting: Fill shallow nursery flats with a moistened starter soil mix and scatter seeds lightly on the surface, spacing one to two inches apart. Cover seeds with a quarter-inch of moist starter soil. Place flats in a bright, warm location. Use a heating mat to ensure the soil reaches the ideal germination temperatures of 70 to 80°F. Water seeds with a gentle shower whenever the soil surface feels dry. Once two to three true leaves have formed, transplant the healthiest and strongest seedlings to four-inch pots filled with potting soil, one seedling per pot. Thin or discard any small or slow-growing seedlings. In their first year, keep seedlings in bright light with consistent water and provide protection from hot afternoon sun. Overwinter plants indoors and plant out the following spring.
Root Division
When the tuber-like rhizomes become aged and overcrowded, flower production decreases. To keep your callas vibrantly productive, divide the clumping rhizomes every three to five years. Rhizomes can be lifted in fall after the foliage has turned brown and pulls away easily from the roots. Use a garden fork or spade to loosen the soil all around the rhizome clump, digging down 12 inches and giving about four inches of ease around the edges. Slide the fork under the clump and pry upwards to lift and remove it. Gently brush away any dirt. Lightly trim dangly roots and cut away any remaining foliage to two to three inches. Using a clean garden knife or shears, cut apart the rhizome, ensuring each section has at least one eye. Sprinkle the cut sections with a natural fungicide like garden sulfur. Discard any parts that are soft, squishy, or smelly, as well as old sections that are no longer producing viable eyes. In a warm, dry location out of direct sun, allow the rhizome sections to dry for a day or two to callus over before replanting or storing. Callusing seals the wounds and helps to prevent infection or pest infestation. If you’re outside of their recommended Zone 8 to 11 hardiness range, overwinter the rhizomes in cold storage and replant in spring. For perennials grown year-round in the ground, in late winter or early spring, use a sharp, clean spade to cut and lift out rhizome sections as soon as new growth appears, with at least one eye each. Sprinkle the cut edges in the remaining clump with garden sulfur. Add fresh soil to the host site and gently firm it in place. Sprinkle cut edges of the new cut sections with sulfur and allow to callus over for a day or two as described above before replanting.
How to Grow
Calla lilies require loose, well-draining, and consistently moist soil enriched with compost or aged manure, and prefer slightly acidic soil with a pH range of 5.6 to 6.5. They prefer a full sun location in regions with temperate summers, and partial, dappled, or afternoon shade in areas with hot summers. Full shade will compromise flowering and is not recommended. Rhizomes are typically planted in the spring. Wait until all danger of frost has passed and the soil has warmed to 65°F. For earlier flowers, you can start rhizomes indoors in one-gallon pots six to eight weeks before planting out into the garden. In areas where they can grow as perennials, they can also be planted in late summer or early fall. But note that it might be difficult to find rhizomes at this time because they’re usually sold in spring. Here are the planting steps: With a garden fork or spade, loosen the soil to a depth of eight inches. Work in a shovelful or two of aged compost. To improve drainage, add a shovelful or two of landscape sand or pea gravel as needed. Dig planting holes two to four inches deep, depending on the rhizome size, and mix in some bone meal for healthy root development. Space rhizomes 12 inches apart, measuring from center to center. Set the rhizomes in the hole with the growing tips, or eyes, facing up. Carefully backfill with soil and lightly firm in place. Use a shower setting on the garden hose to water gently but deeply. It can take two or three weeks before the first shoots appear, after which point growth is rapid. After plants are six to 10 inches tall, mulch thickly with straw or leaf mold to retain moisture and keep weeds down.
Bog Planting
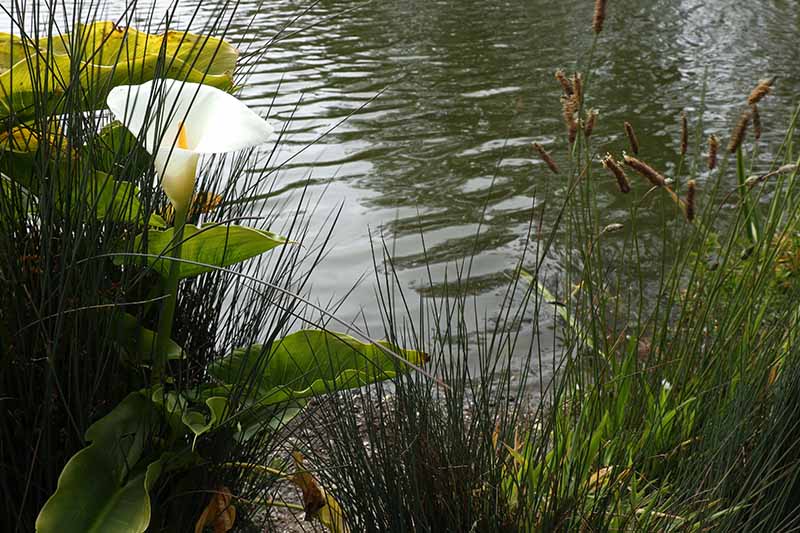
Z. aethiopica is suitable for use as an aquatic species for placement at the edge of a bog, pond, or stream. Add water garden soil mix to 12-by-12-inch aquatic planters or a wicker basket. Plant rhizomes two to four inches deep and cover with soil. Set the planter in a site that receives five to six hours of sunlight each day. Bring plants indoors for the winter, and place in bright indirect light. The following spring, repot in aquatic planters and set back in the pond. All aquatic plants should be grown in a heavy, enriched, clay-based topsoil. Avoid commercial potting mix or soils with a lot of compost, peat, perlite, or other materials that tend to float.
Container Care
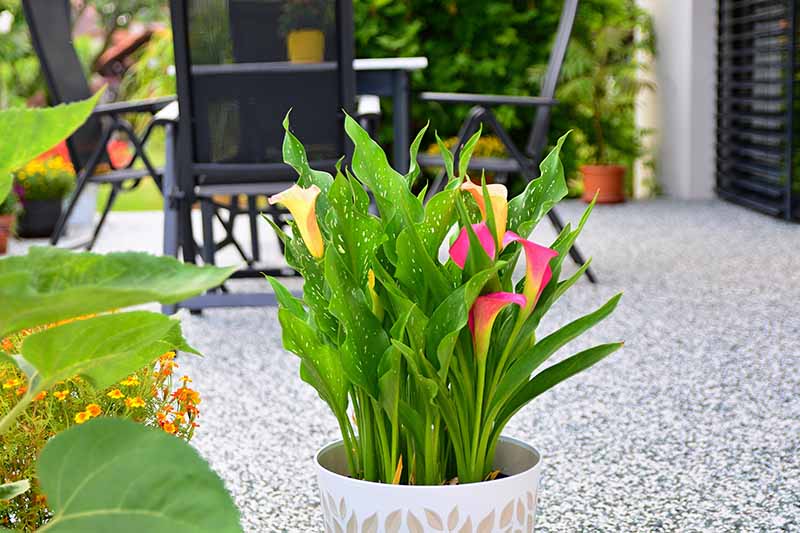
Callas do well in large containers, 16 inches and larger, and can be planted closer than in the ground, about four to six inches apart. Heavy feeders, container-grown plants should be fed every two weeks with a balanced, half-strength diluted fertilizer, with a makeup such as 10-10-10 NPK. Once the foliage has faded in preparation for dormancy, stop watering and move your plants to a dark or shaded area. Resume watering in two to three months, and move the containers back into the light once all danger of frost has passed. Keep the soil lightly moist until you see the first bit of green leaves poking through the surface. Once topside growth is six inches, increase watering to keep the soil moist but not wet. Fertilize only while the plant is growing and flowering. Evergreen varieties can also be grown indoors or overwintered near a window that provides bright indirect light. Indoors, keep the soil moist and continue to fertilize on a monthly basis.
Growing Tips
The following tips will help you get the best production from your flowers.
Choose large rhizomes to produce bigger plants with a greater display of flowers.In areas with cold winters, grow callas as annuals and dig up the rhizomes in fall to store over winter.For container growth, ensure a quality growing mix is used instead of garden soil.Water newly planted rhizomes sparingly until new growth appears, then water more generously to keep the soil moist.To prevent yellowing leaves, give plants afternoon shade in areas with hot summers.In warm climates where callas are winter hardy, rhizomes can be left in the ground to bloom again early the following summer.If you find that your calla lilies are drooping, use this guide to troubleshoot the problem.
A little regular maintenance also promotes healthy plants and plenty of flowers.
Pruning and Maintenance
During the growing season, provide plants with a monthly feeding of a balanced liquid fertilizer such as 10-10-10 NPK. As mentioned above, container grown plants benefit from more frequent feedings. A half-strength solution applied every two weeks keeps foliage and flowers looking their best. Deadhead spent flowers to convert energy away from making seeds and back to the rhizomes. To prepare for dormancy, after flowering has stopped, reduce watering and let the foliage turn yellow and die back. Lift and clean rhizomes grown as annuals, and store until the following spring. In February or March, clean perennial beds and begin feeding plants that show new growth with a balanced all-purpose fertilizer. Perennials are clump-forming and need to be divided every three to four years to maintain high bloom production. Divide clumps as outlined in the root division section above.
Winter Storage
Dig up rhizomes after the first frost, or when leaves have yellowed and died back. Clean gently with a brush and trim any remaining foliage. Allow the rhizomes to cure in a warm, dry location for about a week. Layer them in a box or paper bag filled with slightly moist peat moss or vermiculite and store in a cool, dark, and dry location with temperatures between 50 and 60°F. And for more details, check our guide on how to protect calla lilies in winter.
Managing Pests and Disease
With the right conditions, callas are generally robust and healthy. But there are a few problems to watch for.
Black Star
‘Black Star’ is a handsome hybrid that features tall funnel-shaped flowers of the deepest, darkest burgundy purple, with attractive deep green and freckled foliage with burgundy tips and ribbing. For striking effect, combine with bright or light-colored plants like lime green potato vine or silvery artemisia. ‘Black Star’ Plants grow 15 to 24 inches and are hardy in Zones 9 to 11. Rhizomes are available at Burpee.
Captain Ventura
A classic hybrid, ‘Captain Ventura’ features trumpet-shaped flowers of snow white with a pale green exterior base and attractive, lightly freckled arrowhead foliage of mid-green. ‘Captain Ventura’ An excellent choice for beds, borders, and containers, plants grow 18 to 24 inches and are hardy in Zones 8 to 11. Rhizomes are available at Eden Brothers.
Flame
Aptly named, ‘Flame’ is a luscious cultivar with large trumpet-shaped spathes in blazing, fiery shades of red, orange, and yellow beautifully displayed by the dark green, freckled arrowhead foliage. ‘Flame’ A spectacular specimen plant for island beds, borders, and patio pots, plants grow 18 to 22 inches and are hardy in Zones 8 to 11. Rhizomes are available from Eden Brothers.
Purple
This purple cultivar produces beautiful spathes of deep eggplant with a cream to gold spadix that’s handsomely set in dark green, sword-like foliage with light spotting. Dark and distinguished, purple callas pair beautifully with blooms in contrasting opposite colors – think gold, orange, and yellows. Purple Calla Lily Plants grow 12 to 36 inches and are hardy in Zones 8 to 10. Rhizomes are available at Nature Hills Nursery.
Red
This red cultivar has bold and bright spathes of cherry red with a creamy throat and white spadix. The strappy, dark green foliage is lightly freckled. Red Calla Lily An eye-catching standout in beds, borders, and containers, plants grow 12 to 36 inches and are hardy in Zones 8 to 10. Rhizomes are available at Nature Hills Nursery. Aphids are black, green, peach, or red-colored sapsuckers that feed on the undersides of leaves and stems, spreading disease as they go from plant to plant. Control aphids with a strong blast of water from the garden hose. Or introduce friendly predators such as lacewings, ladybugs, and parasitic wasps. Slugs and snails can leave large holes or notches in the foliage or eat entire leaves. Handpick slugs and snails and dispose of them. Or use traps throughout the garden – which you can read about in our guide to the best natural methods to protect your garden from slugs and snails. When planting, take care not to nick or injure rhizomes. If rhizomes are injured, or cut for propagation, sprinkle exposed surfaces with bulb powder or a general fungicide such as garden sulfur. A hot pepper wax spray is an effective natural insecticide for treating spider mite and whitefly infestations – the capsaicin in hot peppers is what does them in. Hot Pepper Wax insect repellent is available at Burpee. Hot Pepper Wax Insect Repellent Bacterial soft rot infects rhizomes below the surface of the soil and enters through any wounds. Botrytis or gray mold forms a gray, fuzzy mat on leaves, petals, and stems in cool, wet weather. Remove and dispose of any infected plants. Also, avoid overhead watering or watering in the evening, and ensure plants have good air circulation. Powdery mildew forms a fuzzy white or gray mat on leaves, petals, and stems and loves warm, humid conditions. Remove and dispose of any infected parts, clean debris from the soil around plants, and ensure adequate air circulation. Root rot is caused by a variety of pathogens in the soil that cause roots to collapse and rot. Remove and dispose of infected plants, and avoid planting any arums in the same spot for several years. Also, ensure that plants are growing in soil with excellent drainage, and that roots aren’t submerged in standing water.
Best Uses
With their glorious range of long-lasting colors and lovely foliage, callas make a great choice for the front or middle of beds, borders, and islands. Use them as a standalone specimen or mix them in with other flowering perennials. They’re also an excellent addition to containers or patio pots, and can be used on their own or underplanted with annuals. And don’t forget the cutting garden! Simply outstanding in bouquets and vases, if you enjoy floral arrangements, plant plenty for cutting as well. Give your plants some afternoon shade in hot areas and keep the soil consistently moist, and they’ll reward you with weeks of blooming beauty. And remember to lift the cold-tender rhizomes for winter storage, then replant in the spring. How do you folks use callas in the garden? Drop us a line in the comments below! For more know-how on summer flowering bulbs and rhizomes, add these articles to your reading list next:
How to Plant and Grow LiliesHow to Plant and Grow the Classic Perennial PeonyHow to Plant and Grow Blazing Star Liatris
