Many of us are familiar with the tall, handsome stands of bearded iris and the elegant charm of Japanese or Siberian varieties. These are the ones that grow from rhizomes – those thick, fleshy roots that look like ginger root. But are you familiar with bulbous iris? They’re a boon for iris lovers! They offer the same beautiful and lightly fragrant flowers in striking, intense shades of blue, bronze, gold, magenta, mauve, pink, purple, rose, white, and yellow. And they’re fabulous for extending the flowering season. There are very early blooming, miniature reticulatas that flower in February and March, the spring Junos in April and May, and the European varieties that flower in May to July. We link to vendors to help you find relevant products. If you buy from one of our links, we may earn a commission. Miniature to intermediate in size, they add outstanding color when massed in beds, borders, and containers as well as in cottage, courtyard, cutting, and naturalized gardens. Cold hardy varieties are planted in fall and the less hardy ones are often treated as annuals – planted in spring then dug up in autumn for winter storage in a frost free location. As easy to grow as daffodils or tulips, when allowed to perennialize, they form attractive clumps of colorful flowers with spiky, upright foliage. In addition, they multiply readily, providing years of reliable, fragrant blooms. Sound like the type of high-performance, low maintenance plant you need? Then let’s dig in! Here’s what I’ll cover:
What Is a Bulbous Iris?
Iris is a genus of herbaceous perennials in the Iridaceae family, that includes gladiolus and crocus. The bulbous varieties most commonly seen in home gardens typically belong to the following three subgenera of the genus Iris:
Hermodactyloides
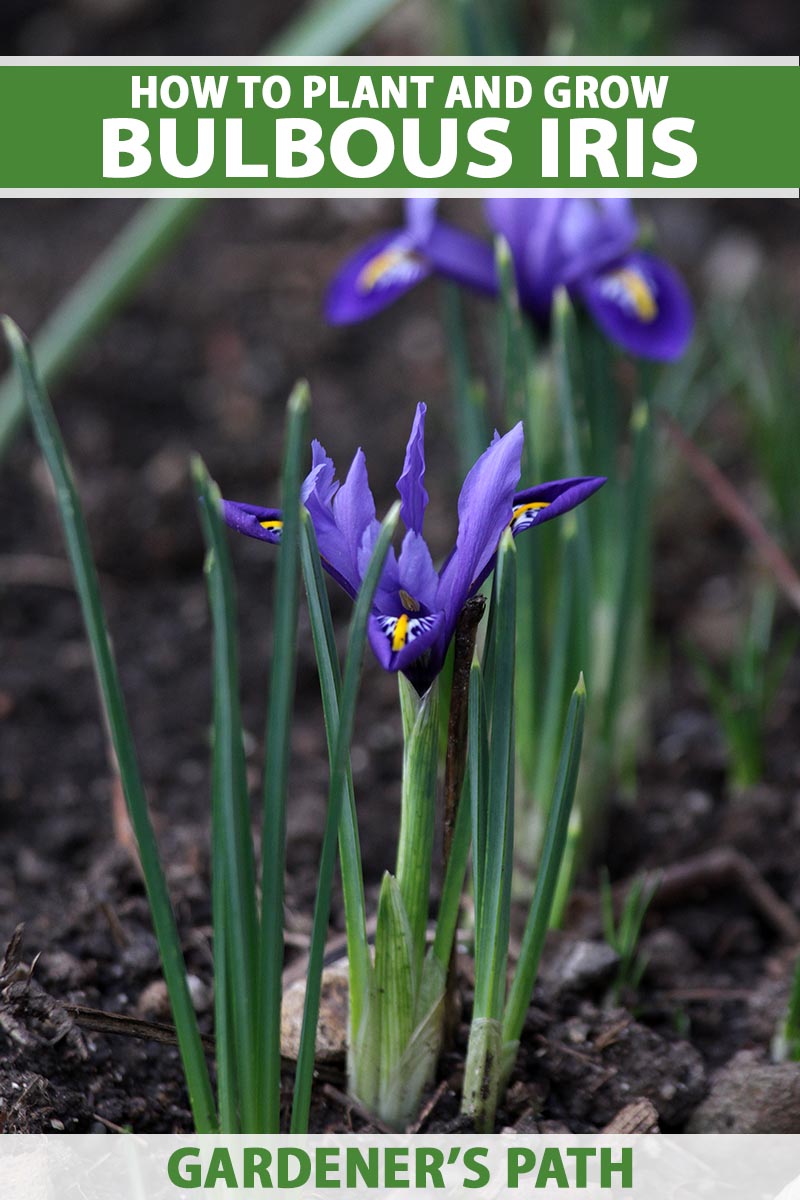
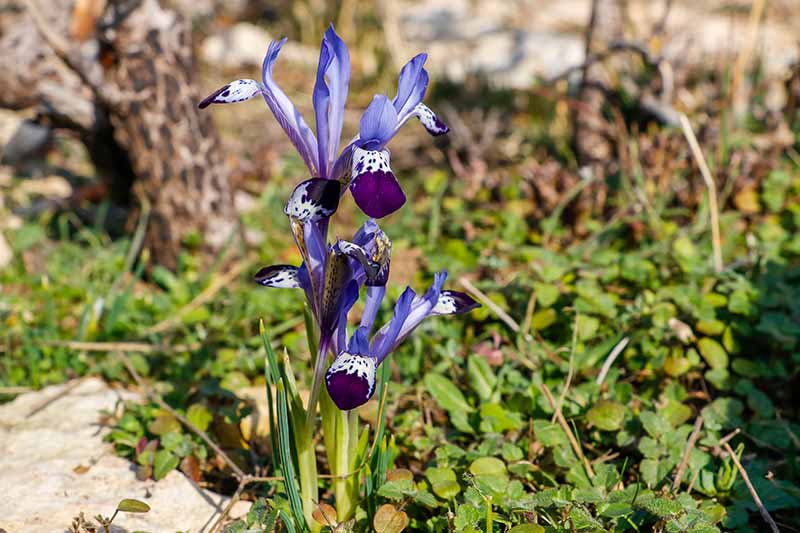
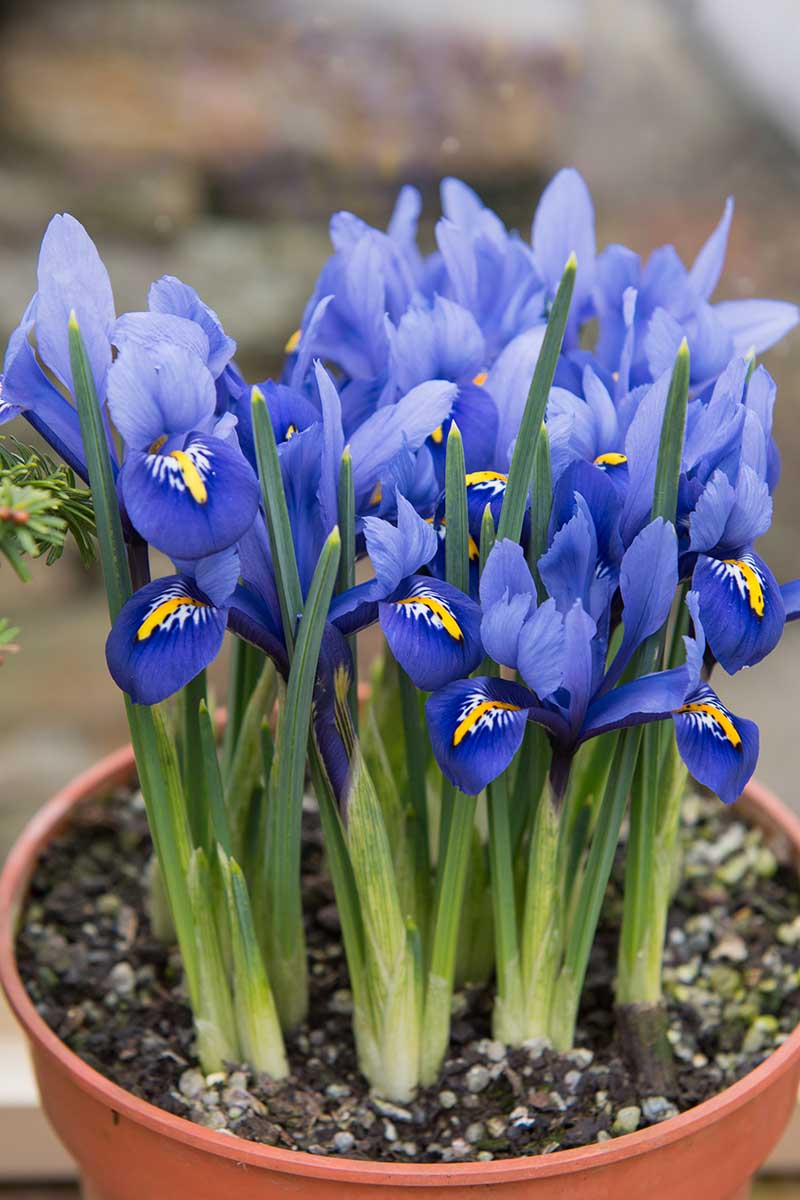
A dwarf subgenus endemic to areas of Asia Minor, particularly Turkey and Syria, Hermodactyloides types are small plants that flower in late winter and early spring. This subgenus includes the fragrant, early garden favorite I. reticulata, and the entire group is commonly referred to as reticulata iris. Other suitable garden species include I. bakeriana and I. danfordiae. Reticulata grow four to eight inches tall and are hardy in USDA Hardiness Zones 5-9.
Scorpiris
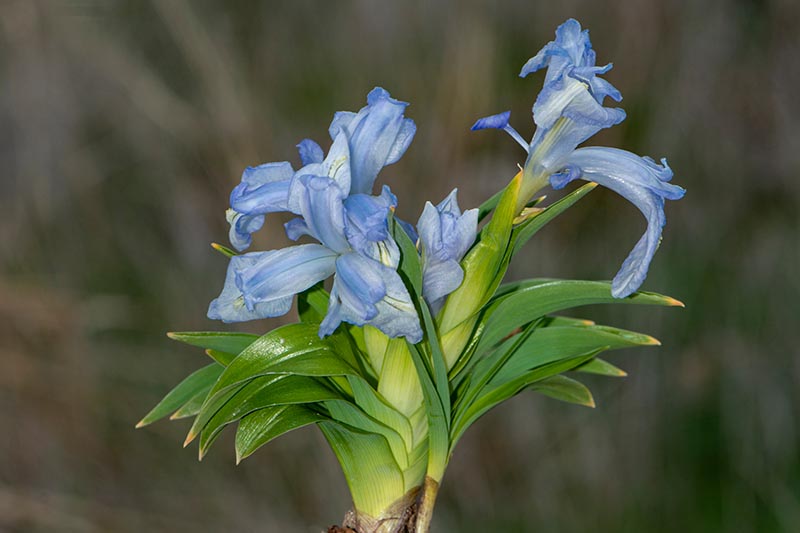
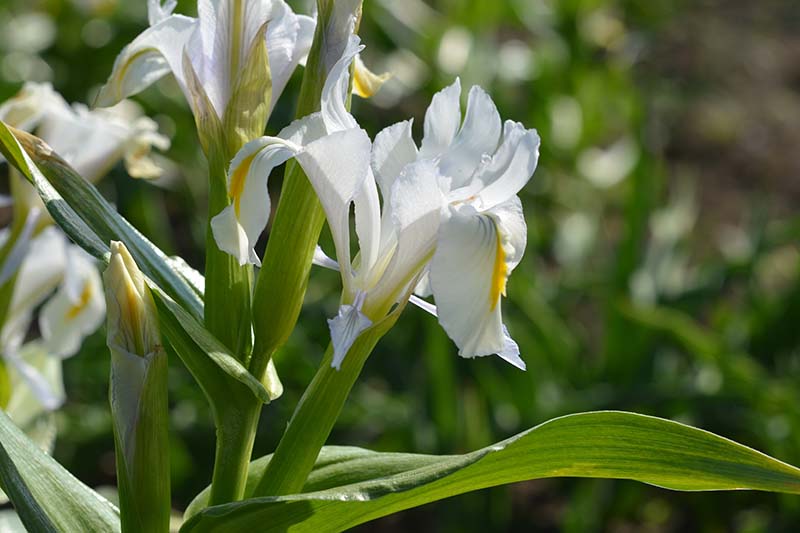
Native to the Middle East through central Asia, Scorpiris species are midsized plants with smooth, fleshy bulbs and thick roots that flower in mid spring. This subgenus contains about 60 species and the group is typically referred to as Juno iris. Sweetly fragrant, garden species typically have corn-like foliage and include I. aucheri, I. bucharica, and I. magnifica. Junos reach up to 12 to 16 inches tall and are hardy in Zones 3-8.
Xiphium
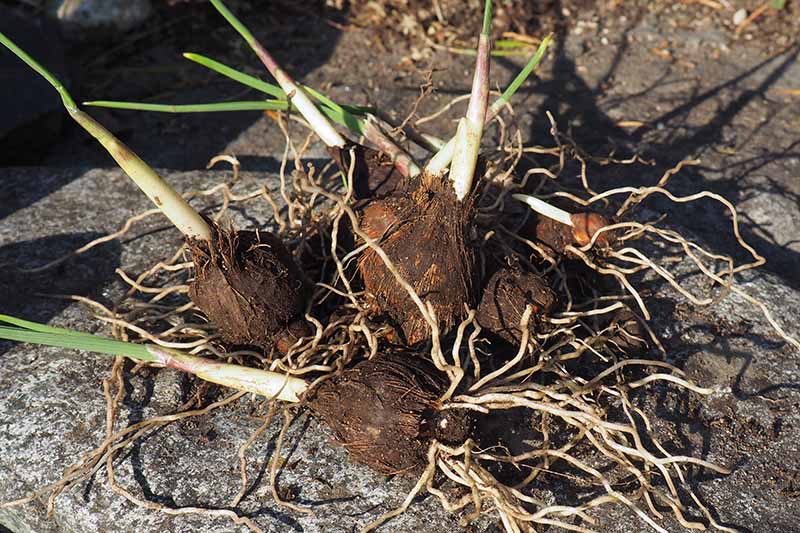
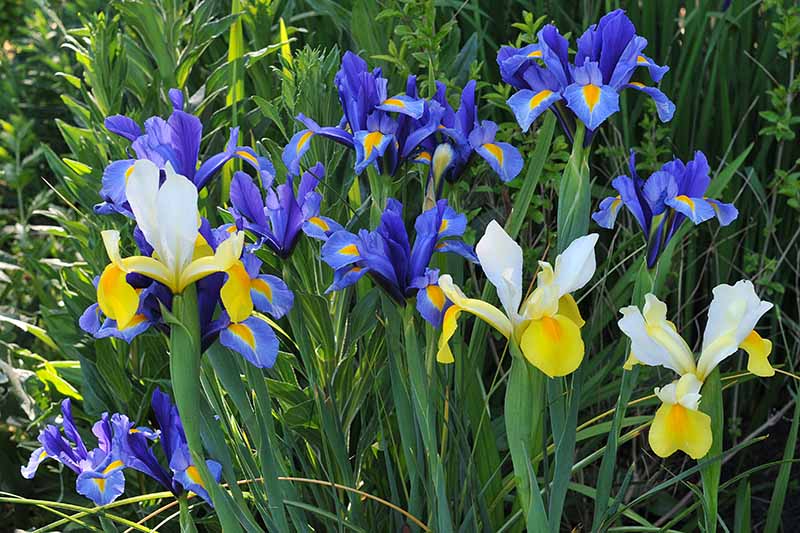
Indigenous to regions of France, Portugal, Gibraltar, and Spain in southern Europe, and Algeria and Morocco in northern Africa, Xiphium species flower in mid-spring to early summer and have firm bulbs with thin, fibrous roots. Commonly referred to as the European group, the most popular for home gardens are the lightly fragrant Dutch, English, and Spanish varieties. Dutch hybrid varieties, I. x hollandica, grow 18 to 24 inches tall and are hardy in Zones 3-9. The English types, I. latifolia, reach up to 24 inches tall and are hardy in Zones 5-9. And Spanish varieties, I. xiphium, grow up to 36 inches in height and are hardy in Zones 5-9. Adapted for dry habitats, the bulbs self-modified from ancestral rhizomes, taking on a round or teardrop shape with a squat, underground basal plate. Plants typically produce a single stem with one to three flowers per stem – although some of the Junos, like the award winning I. magnifica, have multiple blooms per stem. The flower structure is the typical iris motif of three upright standard petals with three fall petals. Uppers are narrower than the falls and are similar in appearance to Japanese and Siberian varieties, with butterfly or orchid-like profiles and a light scent of violets. Foliage is glaucous to deep green, narrow, upright, and strappy in form with some types having softer, corn-like leaves. After flowering, plants go dormant over the summer and the foliage turns brown and dies back. A surprisingly underused plant, they’re highly effective in mixed beds, borders, and containers. Anywhere they can pop up for a splash of color then dwindle away, disappearing until the following year.
Propagation
These plants may be propagated by bulb offsets or seeds. However, with seeds, propagation is slow and it can take several years to produce flowers. Seeds saved from cultivated hybrids may not produce an identical clone of the parent. Collecting offsets is the preferred propagation method because plants are identical replicas of the parent and often bloom the year after sowing. Offsets can be collected when clumps are lifted for rejuvenation or winter storage. Here’s how: In mid to late summer, after the foliage has completely died down, use a garden fork to lift clumps. To prevent bulb damage, dig six to eight inches deep, with four to six inches of ease out from the central stem or the outermost stems in a clump. Gently pull apart the clump and brush off the soil. Detach offsets from parents. Offsets are baby bulbs that sprout around the basal plate and on the stem base above the crown. Identical to mature bulbs but mini-sized, offsets are easy to snap off with your fingers. Lightly dust parents and offsets with garden sulphur to prevent bacterial infection. If your bulbs stay in-ground over winter, replant parents immediately after removing offsets. The dormant bulbs need time to produce healthy, new root formation during late summer and fall. Collect the offsets, choosing the largest – chickpea-sized and greater – and healthiest for propagation. Discard the smaller ones, or any that appear damaged, deformed, or soft. Fill small pots, six to eight inches in height and diameter, with a commercial potting medium. Or create your own soil blend using one third peat moss, perlite, or vermiculite; one third aged compost; and one third landscape sand. Water soil thoroughly until the mix is moist but not wet. Mix in some bone meal to help with rooting. Plant the offsets, three or four per pot, about two to three inches apart and two to three inches deep, then gently firm soil over top. Overwinter the pots in a dry, sheltered location such as a cold frame, garage, or shed. Keep the soil lightly moist, but not wet, and water when the top of the soil dries out. Plant out in the spring when all danger of frost has passed. Depending on the size of your offsets, new bulbs can take up to two years to flower. Alternatively you can purchase bulbs to plant in the garden.
How to Grow
Purchased bulbs do best when fall-planted, but can also be sown in spring to grow as annuals. Plants enjoy a full sun location in humus rich, well-draining soil with a neutral pH of 6.6 to 7.5. To plant, loosen the soil to a depth of 12 inches. Work in two to four inches of organic material like aged compost to the top six inches of soil. Mix in some bone meal to aid healthy root formation. Plant in odd-numbered groups to a depth of four inches, leaving two to three inches between bulbs. The use of odd-numbered groupings is a design element that provides a more visually interesting and pleasing scene over even-numbered items. Backfill gently and firm soil in place. Water lightly to settle, then water regularly when the top one to two inches of soil is dry. In areas with warm winters, the foliage of fall-planted bulbs often makes a first appearance after breaking summer dormancy and before winter starts, but vigorous growth stays in check until day length increases in spring. In areas with cold winters, protect clumps with a thick, two- to four-inch layer of mulch of leaf mold or straw. And in colder locations outside their hardiness zones, grow tender varieties as annuals, lifting the bulbs in fall and replanting in spring.
Indoor Forcing
Cold hardy types, such as Dutch iris, Junos, and reticulatas, are well-suited for forcing indoors over winter. Here are the steps. Place bulbs in a closable plastic bag with a cup or two of slightly damp peat moss. Seal the bag. Put the bag in the refrigerator for eight to 12 weeks. Alternatively, place them in an unheated garage or shed, provided they’ll receive temperatures of 35 to 50°F for the duration. This cold period is required to break dormancy. When the cold period is over, remove bulbs and set the flat ends in a shallow bowl lined with two to three inches of pebbles or glass marbles. Place them about half an inch to one inch apart. Add water to the bowl to just below their bases. Place the bowl in a warm window with indirect light for sprouting, which takes place in one to two weeks. After shoots appear, place the bowl where it will receive bright light until the flowers are well-formed, in two to six weeks. Once flowers are ready to open, move the bowl to a spot where you can enjoy the flowers and their fragrance. After blooming, either discard the bulbs or plant out in the garden after the last frost date, as described above. You can learn more about forcing bulbs in our guide.
Growing Tips
Plant bulbs in fall for perennial growth or in spring if growing as annuals.Choose a full sun location, with rich fertile soil.Divide clumps every two to five years to maintain plant vigor.
Pruning and Maintenance
Apply a low nitrogen or balanced fertilizer (6-10-10 or 10-10-10) in early spring and once again after flowering. Bulbs readily form clumps and can grow undisturbed for two to five years. When they become overcrowded, flower production dwindles, and they should be dug up and divided. After flowering, iris enter a dormant period when the foliage dries out and dies back. When foliage is completely dry, remove any debris to tidy beds. Non-hardy varieties grown outside of their normal hardiness range need to be lifted in fall and stored for winter. Before frosty temperatures arrive, lift clumps with a garden fork and gently brush off any soil. Spread onto a tray and allow to dry in a cool, dry location out of direct sunlight for up to two weeks. After drying, nestle bulbs into a basket, bin, or box of slightly damp peat moss and place in a dark and dry location with a temperature range of 40 to 50°F until ready to plant out after all danger of frost is past.
Species and Cultivars to Select
Unlike rhizomes, bulbs can be a little hard to source. If you can’t find them at your favorite garden center, they’re readily available through bulb houses, catalogues, and online shopping sites. Here are a few popular types to get you started:
I. Reticulata
The species I. reticulata adds allure and sweet fragrance to the late winter garden. They feature beautiful, bluey-purple flowers accented with a narrow, buttercup yellow signal and clear white throat splotches. Flowering in February and March, these miniature plants grow six to seven inches tall and look fantastic massed in beds, borders, containers, rockeries, and naturalized settings. I. reticulata I. reticulata is a pretty, scented choice for indoor forcing as well. Plants are hardy in Zones 5-9. Packs of 25 bulbs are available at Home Depot.
Harmony
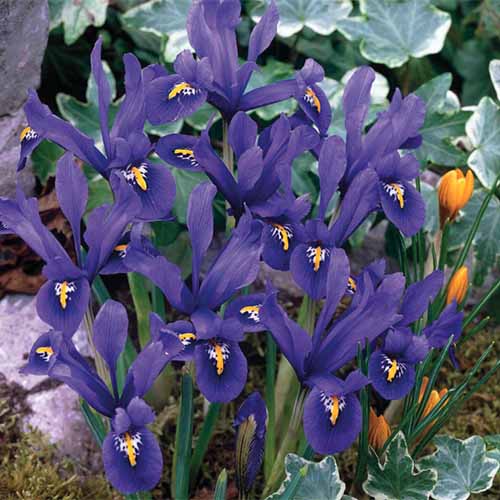
You’ll love the good vibes of this gorgeous addition to the early garden! I. reticulata ‘Harmony’ is a dwarf bicolored cultivar with sumptuous flowers – sky blue standards and deep, admiral blue falls with a contrasting yellow signal, white veins, and the sweet fragrance of violets. ‘Harmony’ Flowering in late winter and very early spring, plants grow six to eight inches tall and make a beautiful addition to borders, containers, rockeries, and naturalized areas or when planted with other early flowers like crocus and snowdrops. Packets of 15 bulbs are available at Burpee.
Lion King
A beast of a different color from the typical blue and yellow. I. hollandica ‘Lion King’ is a beautiful bicolored Dutch iris with plum standards and striking, tawny gold falls that are heavily veined in brown. ‘Lion King’ Flowers grow 12 to 18 inches and appear in late spring to early summer. Hardy in Zones 4-9, they are an eye-catching choice for beds, borders, containers, and cottage, courtyard, and cutting gardens. Also an excellent choice for winter forcing. Packets of 15 bulbs are available at Burpee. And if you plan on adding some of the rhizomatous varieties to your garden this year, be sure to read our guide on how to grow irises for fragrance and color first.
Managing Pests and Disease
Aphids are small green or gray sap sucking insects that also spread disease from plant to plant. These pests are easy to get rid of with a strong blast of water from a garden hose to leaves and stems. Caterpillars are known to chew holes in the foliage and can be easily controlled with handpicking. Snails and slugs will also eat leaves and flowers, creating irregular notches and holes. Handpick and dispose of gastropods clean away any sheltering spots like boards, bricks, and garden debris. More ideas on how to protect your garden from slugs and snails right here. Ink disease is caused by a fungus, Bipolaris iridis, that shows up as black blotches on the leaves and bulbs most commonly in the species I. reticulata and I. hollandica, causing leaves to yellow and wither and rotten roots. Plants infected with ink disease need to be removed and disposed of. Also, the soil should be replaced if you want to replant – or avoid growing any bulbing iris in the same site for three or four years. Rust fungi, Puccinia iridis, appears as small light green to yellow spots that develop a rusty brown bump turn black as leaves yellow and wither starting at the tip. Trim infected areas and discard to halt the spread of rust. They may be less well known than the popular rhizome plants, but they’re every bit as appealing and easy to grow! Allow the cold hardy varieties to perennialize and form clumps, or dig up and store tender varieties over the winter months for replanting in spring. And remember to plant plenty for the cutting garden – you’ll want to enjoy them indoors as well! Are you growing bulbous iris? Let us know in the comments section below, and feel free to share a picture! And for more information on growing iris flowers in your garden, check out these guides next:
Types of Irises: A Guide to Iris Classification and Flowering SequenceHow to Divide and Transplant Irises33 of the Best Iris Cultivars for Your Garden
