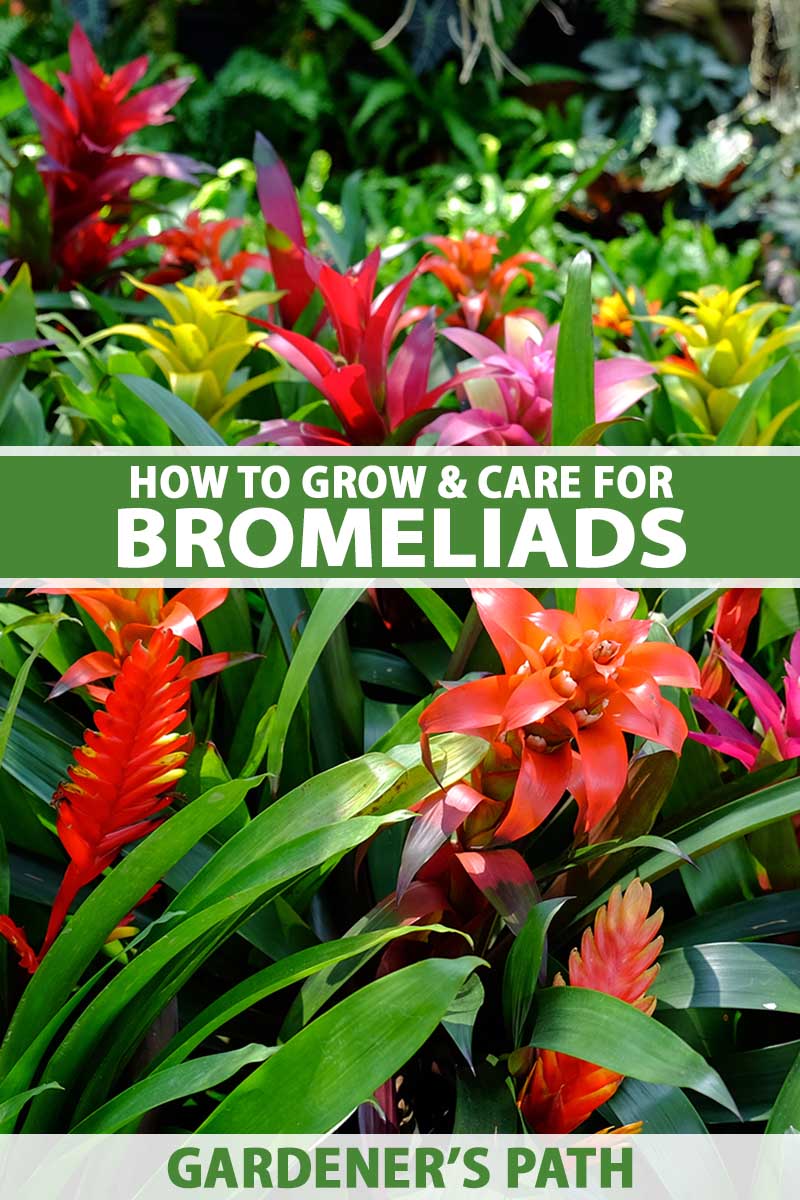
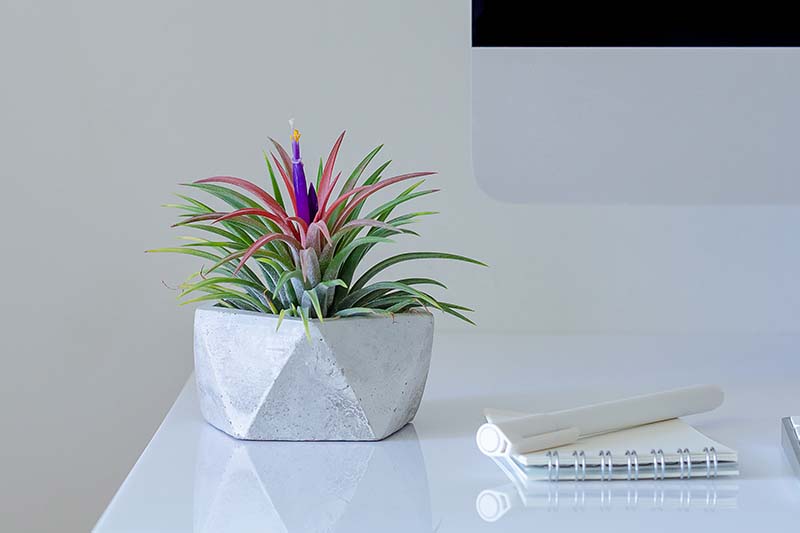
Can you believe it?! Here in Florida, they make stunning additions to gardens and landscapes year-round. But that’s not always possible in places where temperatures take a dive in fall and winter. In regions where seasonal lows make it impossible to add these tropical plants directly to the landscape, indoor growing can bring a touch of the tropics inside your home all year long. We link to vendors to help you find relevant products. If you buy from one of our links, we may earn a commission. Plus, a distinctive or colorful container can add extra appeal before blooms form. Some types of bromeliads might even make more sense in cultivation when grown as houseplants. They can trap water among their leaves and hold it for long periods, which can attract mosquitoes and other insects to the landscape. Others can be mounted for an amazing display that remains protected inside. It’s super easy to incorporate these lovely specimens into interior spaces without a huge hassle, or lots of time devoted to care. In fact, they prefer less caretaking! Let’s talk about what it takes to grow bromeliads as houseplants. I’ll cover all the information you need to start and maintain your own. Here’s what’s to come: Need a pop of hot pink to liven up your home? Perhaps a shock of deep red for some drama? These gorgeous succulents have you covered. Plus, healthy plants readily produce offshoots, so if you have a whole list of houseplant lovers on your gift list or you can’t get enough of them for your own home, it may save you some money to divide and repot them. Who doesn’t love free houseplants? Buckle up – we have a lot to cover, so let’s get started.
What Are Bromeliads?
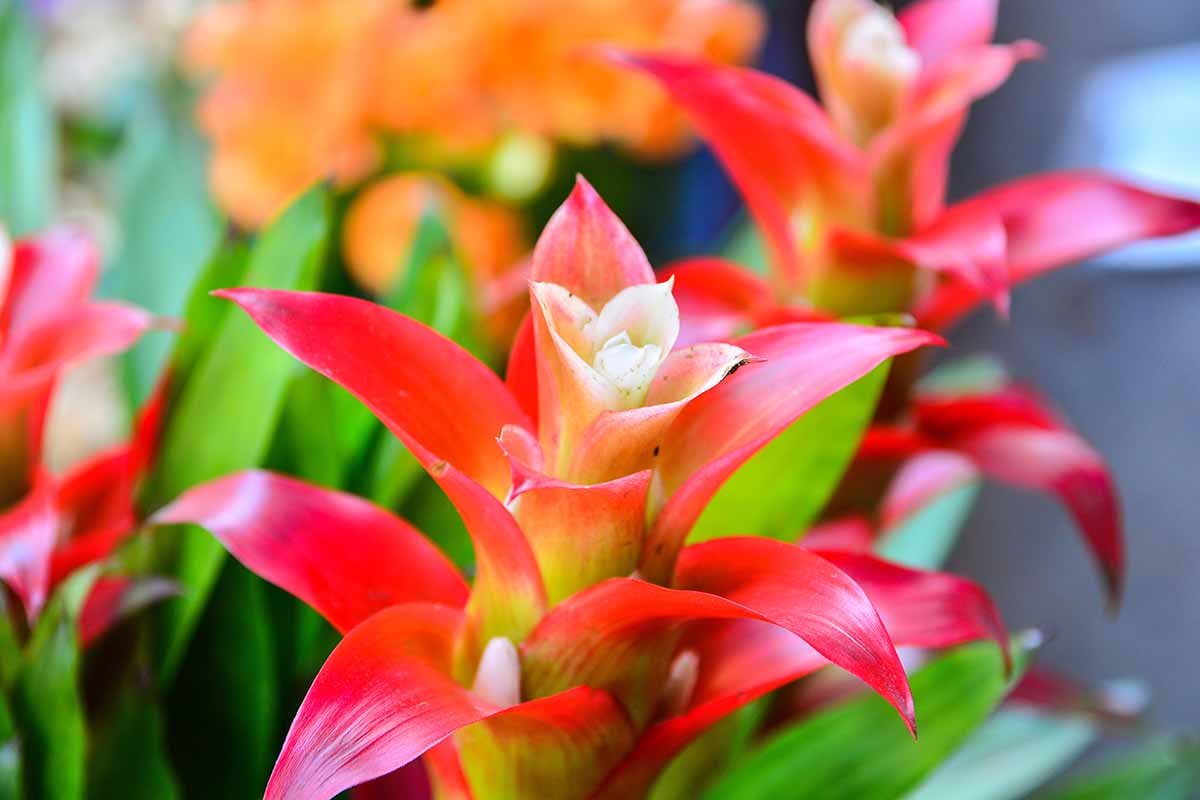
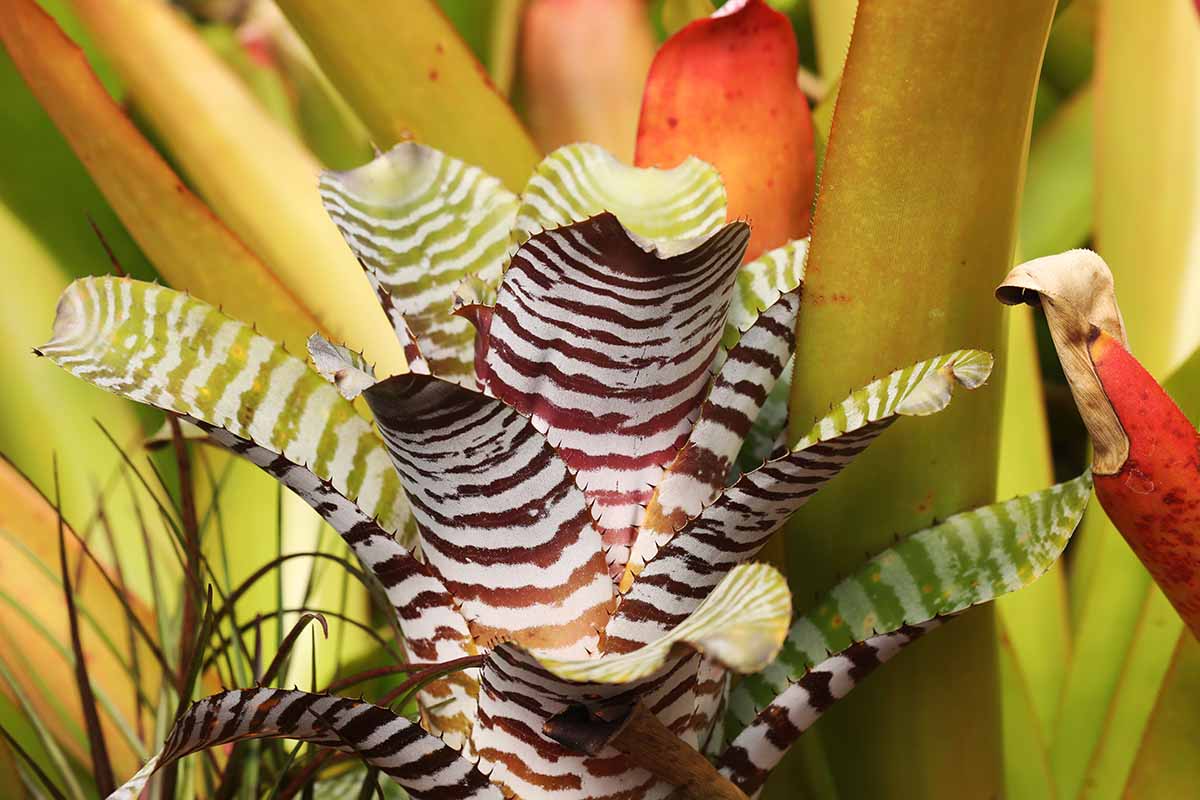
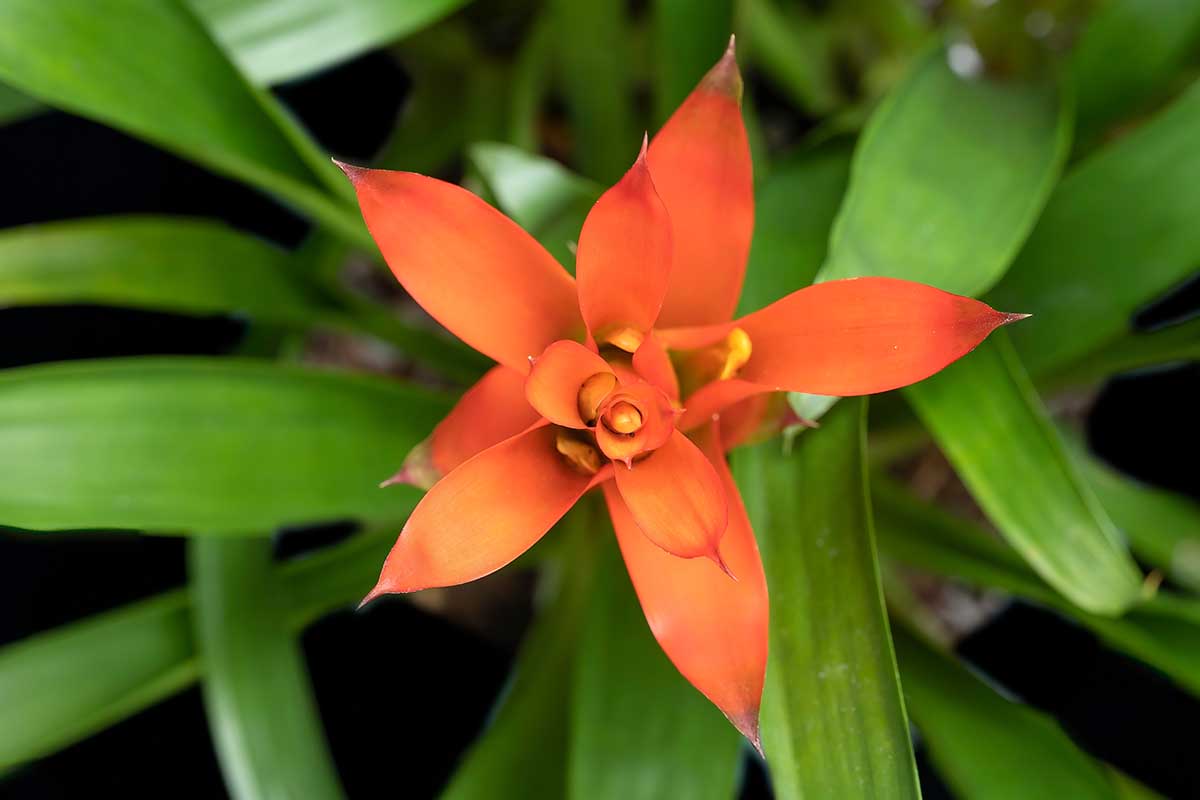
Bromeliads are members of the Bromeliaceae family, which includes dozens of genera and more than 3,000 known species. Most are primarily endemic to North, Central, and South America in regions with subtropical and tropical climates. Perennial, evergreen monocots such as these live for about three to five years, bloom once, and then die about four to six months later. The blooms are long-lasting and absolutely gorgeous, with thick, waxy bracts (or specially adapted leaves) in bright tones of pink, red, fuchsia, burgundy, yellow, and orange surrounding the smaller, inconspicuous inner blossoms which are the true flowers of the plant. Even though blooming leads to the eventual death of the parent plant, offshoots or “pups” are produced for self-propagation. Seeds are also produced but are rarely viable if the flowers are not pollinated by the same species. We’ll cover this more up ahead, in the propagation section of this guide. Some species produce thick, succulent leaves while others display grassy foliage. Both can be highly ornamental, even before blooming takes place. They may exhibit intricate stripes or centers of deep colors fading outward to green, and sometimes have spiny teeth along the margins. Species range in size from neat little bedside table specimens to massive types that are suited only for outdoor growing. We’ll cover some of the best choices for houseplant status in our Species and Cultivars to Choose section below.
Epiphytes and Terrestrials
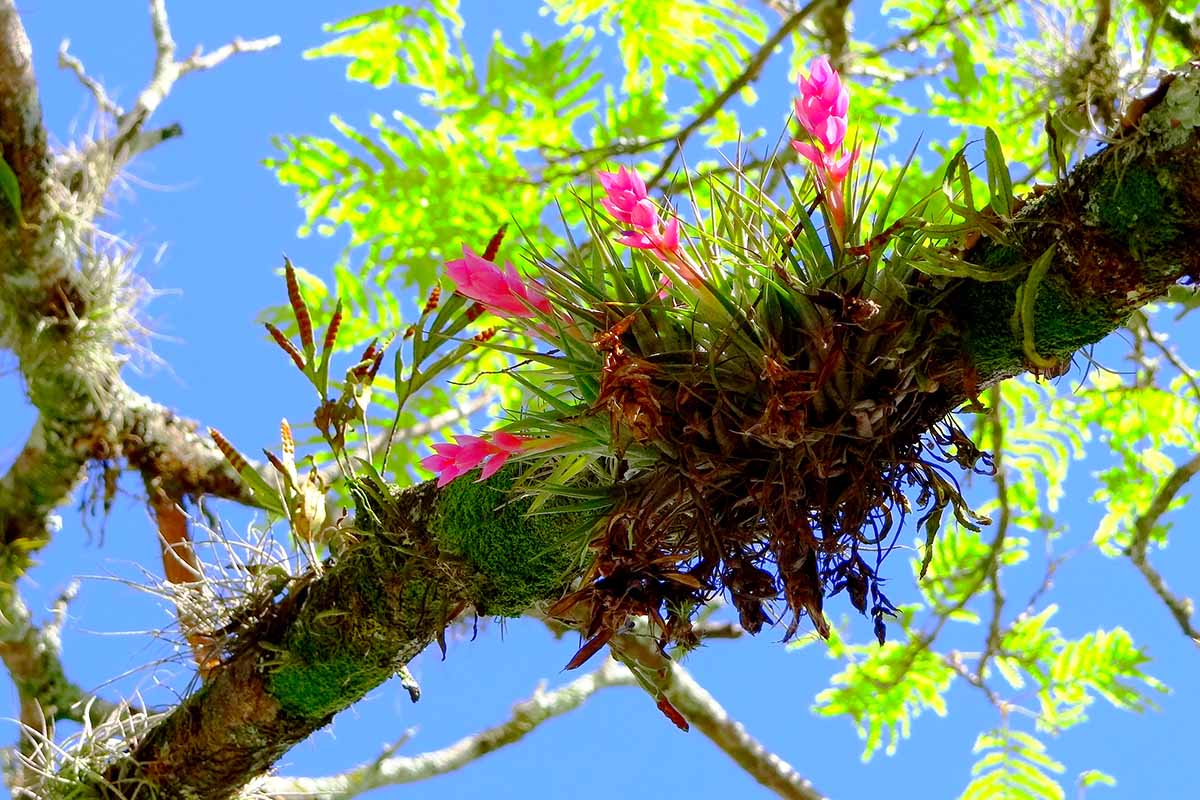
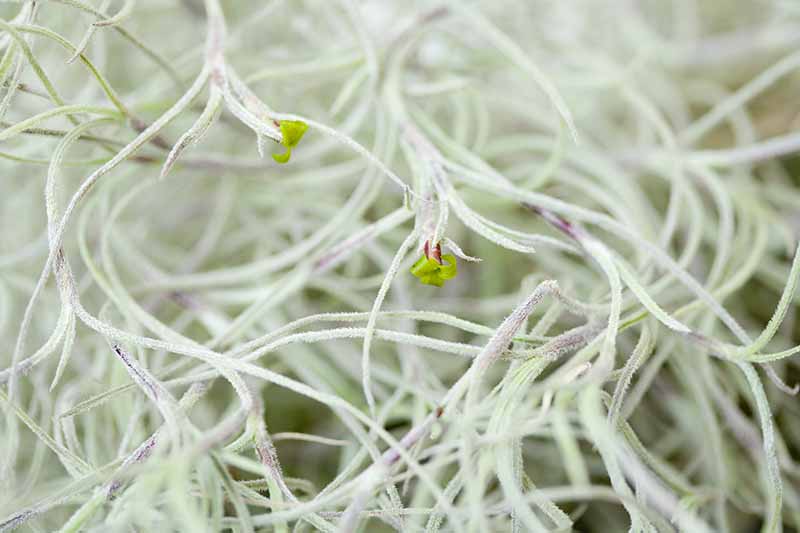
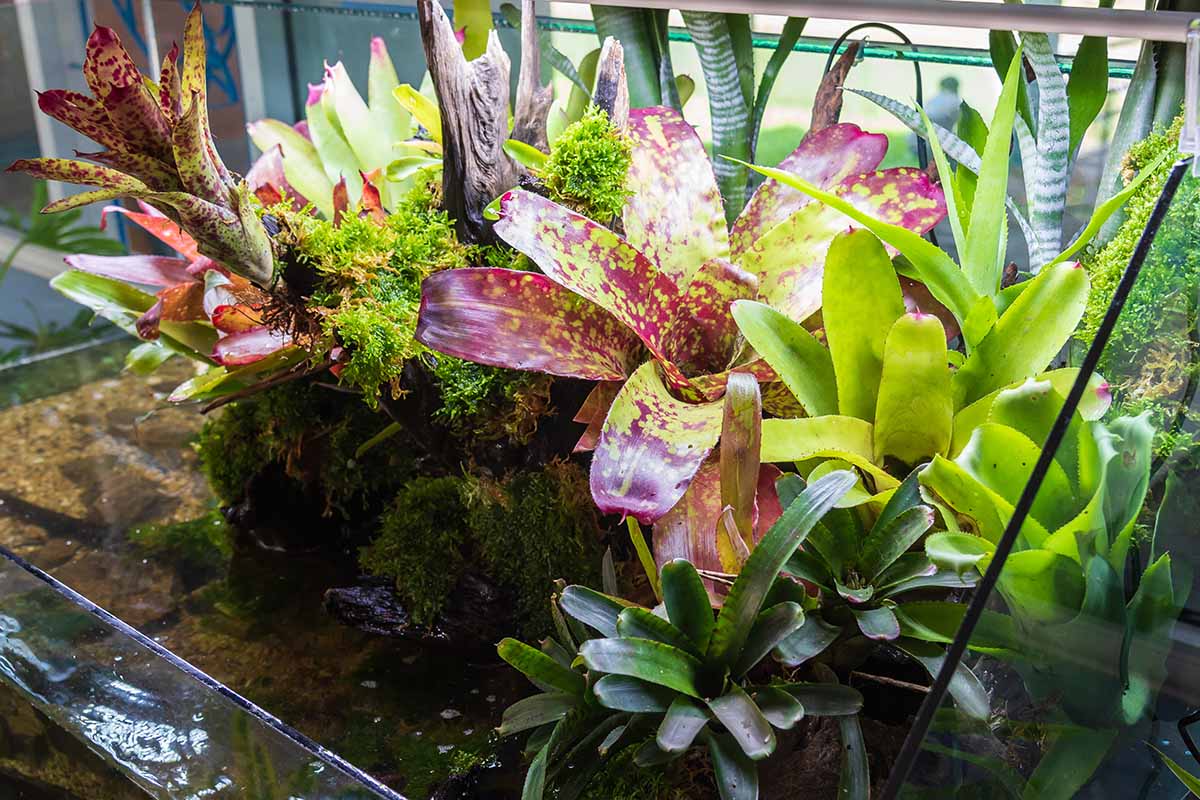
There are two types of bromeliads: epiphytic or terrestrial. Epiphytic species usually grow at the vertices of tree branches or in mats of moss in the treetops. A common misconception is that this growing habit qualifies them as parasitic plants, but in fact, they cause no harm to the tree and provide for themselves. These types do not need soil to grow, and draw water from the air. They can be mounted to driftwood or decorative boards for indoor growing, which makes a wonderful, bohemian display of “unstructured structure.” You may see epiphytic species, such as members of the Tillandsia genus, sold as “air plants” because of their soilless growing requirements. Terrestrial species grow in the soil, and most draw water through their roots. However, some terrestrial species employ other methods of water harvesting. Known as tank, living vase, or urn bromeliads, these can also absorb water through their root systems, but their foliage is designed to collect water in the folds at the base. This collected “tank” or cup of water is an adaptation that sustains the plant during long periods of drought. The accumulated water can even harbor small animals and insects – including mosquitoes! So, if you’re looking for a container specimen that can spend the summer outdoors, tank types may not be the best choice. The last thing you want is to bring mosquito larvae, which live in water, into your home. If you do move them outdoors in warm weather, be sure to flush the cups thoroughly and refill with fresh water before bringing them back in to remove any undesirable hitchhikers that might make their way inside the house. Some of the best-known bromeliads include pineapples (Ananas spp.), which are the only known edible type, and Spanish moss (Tillandsia usneoides). While pineapple plants bear a strong, obvious resemblance to other members of the Bromeliaceae family, it may be tough to see that in Spanish moss, which grows as a trailing curtain from tree branches, or in other types of air plants. However, Spanish moss produces teeny-tiny blooms of green, an unmistakable characteristic which indicates they’re related. A quick walk through the history of this plant family is in order before we move on to propagation and caretaking.
Cultivation and History
Bromeliads began a long history of cultivation in the late 1400s, when Spanish explorers traveling with Columbus landed in the West Indies. At the time, the Carib people native to the islands had been cultivating pineapples for centuries. Many plants spread throughout the world with the conquistadors, as they cataloged a huge number of species and genera in their travels, and often returned to Spain with specimens for study from new regions. At that time, pineapples were the first type of bromeliad to be collected and studied, which then led to cultivation in other parts of the world. The Middle East became a large producer for surrounding regions. It wasn’t until the late 1700s that other species were found by explorers and traders from Beligum and brought back to Europe for study, beginning with Guzmania lingulata, or the droophead tufted air plant, aka scarlet star. Since then, hundreds of species have been studied and cultivated, many of which have become the houseplants we know and love today. Cultivars have been developed by crossing the most spectacular or interesting features of parent species, resulting in amazing specimens with patterns, colors, and shapes that aren’t seen in nature. Hybridization also results in sterile plants that don’t produce viable seed, however, so other methods of propagation must be used – which brings us to our next topic, how to propagate bromeliads!
Propagation
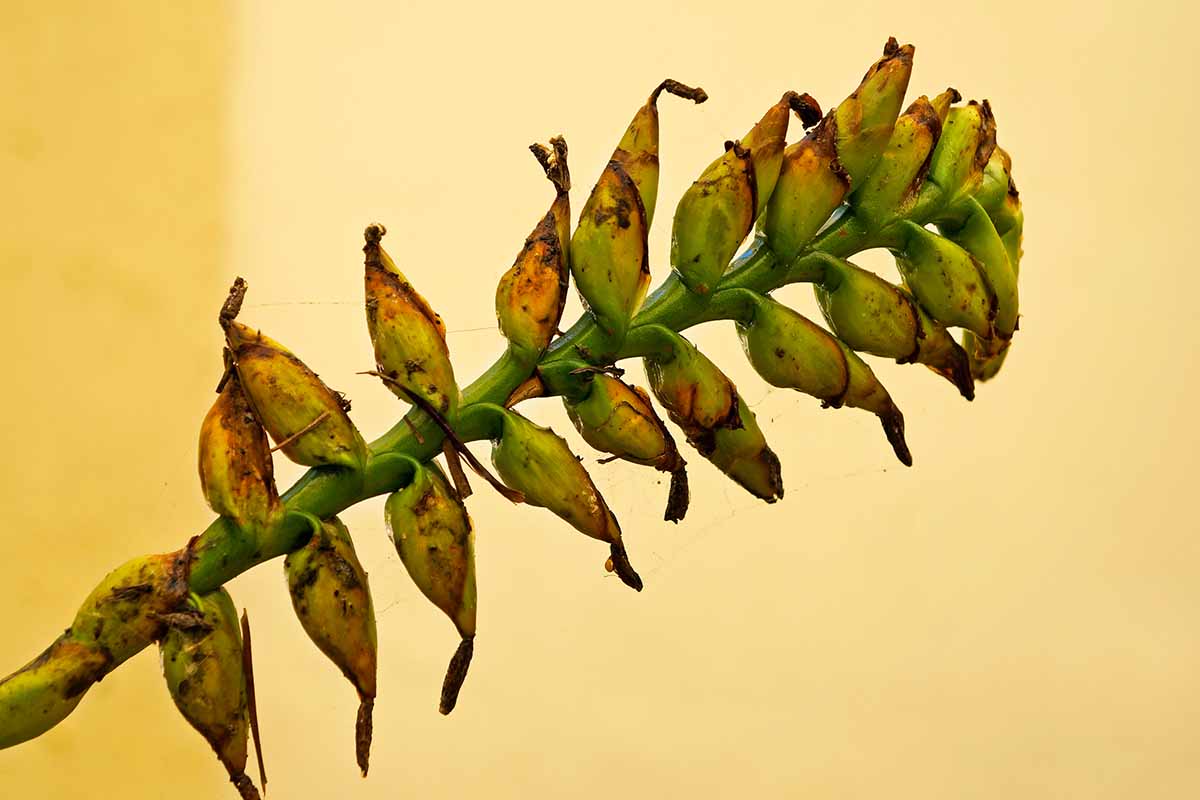
Super simple propagation is one of the perks of being a bromeliad parent. In fact, they do most of the work themselves by growing new pups that can be snipped off and repotted – boom! Done! It’s extremely rare to find viable seeds on species plants indoors since pollination is required. Hand-pollination is not out of the question with viable specimens, but it’s beyond the scope of this guide. If seed pods are produced, they should be collected when the stems or pods easily pull free from the plant. Then, seeds should be removed from the pods, rinsed clean, and dried briefly before planting. Be sure to sow them within a few days to a week after drying to avoid loss of viability.
From Seed
If you do happen to come across viable seed – which you may not be able to ascertain until you actually plant them, and germination occurs – it may be sown in a few ways. First, it’s helpful to treat the seeds with a fungicide to prevent damage or die-off from damping off. The fungus that causes this disease lives in soil and causes weak, rotten stems. It also attracts fungus gnats, which cause further damage. Seeds collected from epiphytic species can be placed in a three- to four-inch-deep layer of moistened sphagnum moss in a flat or pots. Place the seeds on top, about three to four inches apart, and press them just under the surface.
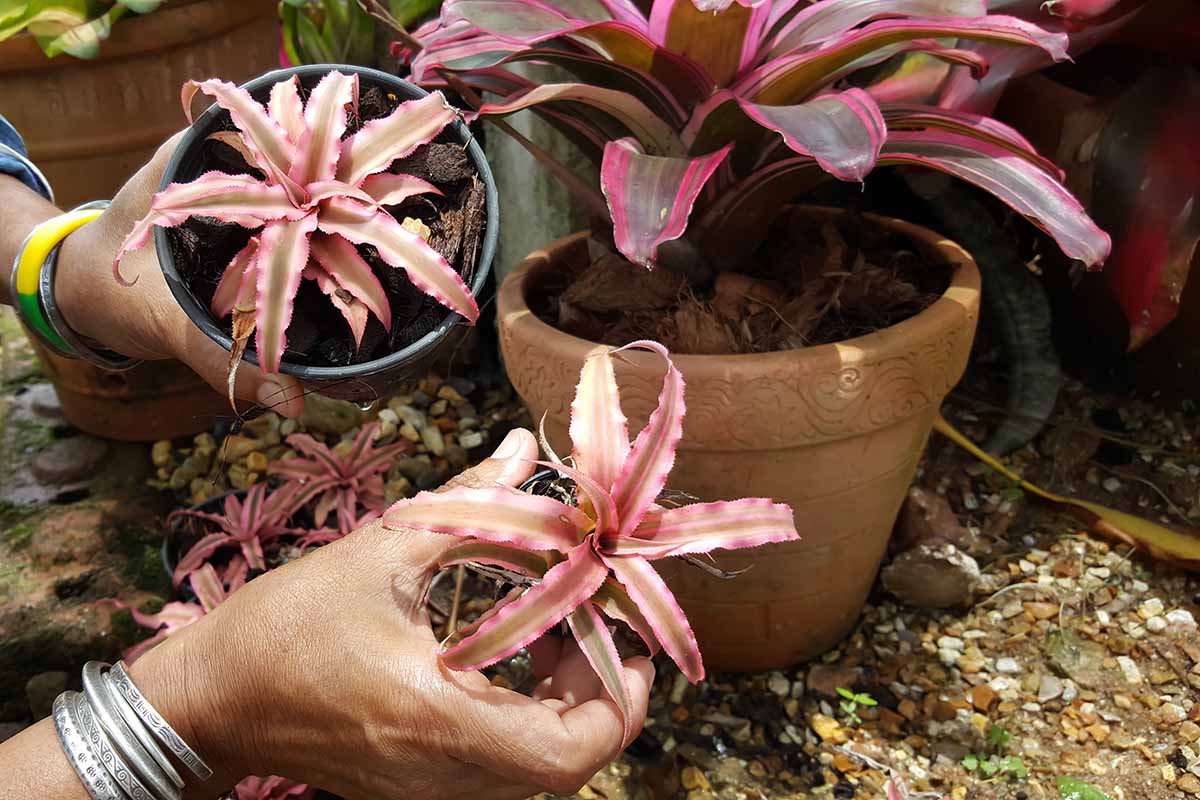
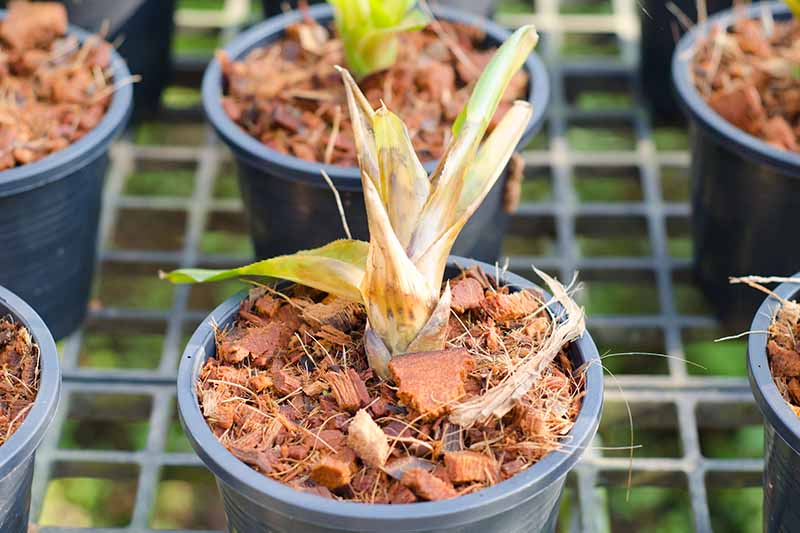
From Offshoots
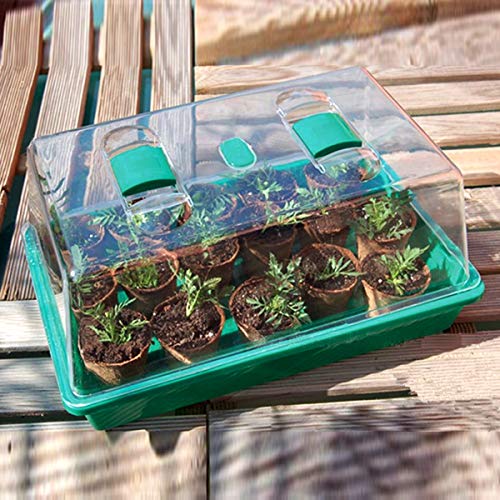
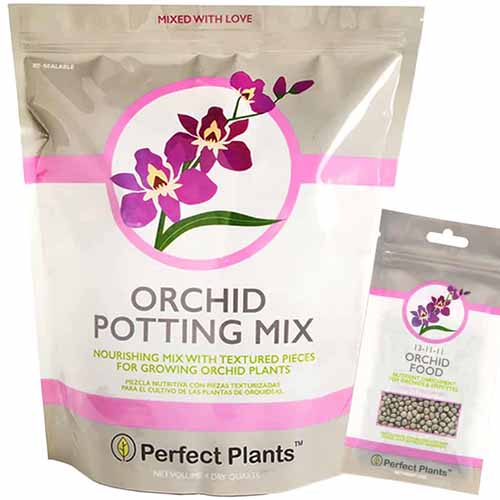
Offshoots, offsets, or pups are produced by mature plant, typically shortly after blooming. Repotting pups is the easiest and fastest way to produce new specimens. Propagator with Humidity Vents Monitor the moisture level; the moss should be slightly moist at all times. A light mist of water can be applied to maintain moisture every few days. Be sure to open the vents or lift the corner of the propagator or plastic sheeting to let out excess humidity if condensation collects. Seeds may take some time to sprout and the pots or trays should be placed in bright, indirect sunlight to germinate, in an area with temperatures between 70 and 80°F. After germination occurs and you spot sprouts, remove the plastic sheeting or open the propagator vents to allow for more airflow. Poor air circulation can result in wilting, rotting, and the growth of mold. Terrestrial types can be started in pots or cell trays filled with orchid potting mix, such as this organic orchid potting mix from Perfect Plants, available in a four-quart package from Home Depot. Orchid Potting Mix Or, you can order the same four-quart package with an included five-ounce packet of fertilizer directly from Perfect Plants Nursery. Follow the same procedure as for epiphytic species after planting, including misting to retain moisture. Following germination, epiphytes should remain in the pots or tray until they have established a small root system. They can then be relocated to their permanent location. For most species, once a pup forms several leaves, it can be cut free from the parent using a sharp knife. Sever it at the base, below the lowest set of leaves where it’s attached, or if it’s growing from the potting medium, sever it below the surface. Refill any holes left behind with fresh potting medium. Fill a pot with the same soilless medium and moisten it lightly. Insert the pup, whether it has roots or not, just so the base is seated in the substrate – do not bury the leaves. Place the potted offshoot in a location with bright, indirect light. Roots will form soon. Once the specimen begins to produce new growth aboveground, which happens slowly, it can be relocated to its permanent spot. Be sure to mist with water as needed to prevent the potting mix from drying out completely. Though bromeliads are not true succulents, propagating their offshots is similar to what you might do when propagating aloe. You can read more about the process in this guide. Next, we’ll talk about caretaking.
How to Grow
Caretaking can look slightly different between terrestrial and epiphytic species, although there is some common ground between the two types.
Light
Most bromeliads prefer diffused light rather than direct sunlight. Indoor areas that remain bright through most of the day are excellent spots to place containers. Some species, such as those that grow in regions where they remain in deep shade below a canopy of trees, prefer less light overall. However, some fare better in stronger sunlight if they’re growing in high humidity. The amount of light each plant receives can have an effect on the way it grows. Leaf shape and color may change depending on its requirements and what it’s actually receiving. Be sure to research how much light your particular specimen needs.
Water and Humidity
Water is equally important – but a common mistake that indoor gardeners make is offering too much and keeping the potting medium too wet. Humidity and light watering are preferred over soggy roots.
Temperature
Indoor temperatures should ideally remain between about 70 and 80°F in the daytime and 55 to 65°F in the evening for the best results. Cool evenings are important for the photosynthesis process of these plants. Crane Ultrasonic Cool Mist Humidifier Tank types of bromeliads must be flushed regularly. Once per month, pour the accumulated water out and refill it with fresh. Be sure to keep the cups full at all times. Note that hard water, which is water that contains a high concentration of dissolved minerals such as lime, can cause damage. If you have hard water, it’s best to use bottled or purified water instead. If the spot where your indoor garden is growing drops below these temperatures at any time, it may be necessary to relocate them to a warmer place. Most bromeliads can survive in temperatures as low as 30°F, and some lower, but it’s best not to chance it. Merely surviving is not the same thing as thriving.
Potting Media
Even though epiphytic species prefer life in the treetops, where they grow without soil and anchor themselves into moss instead, they can be potted provided that a moss substrate is used. Note that tillandsias, or air plants, don’t take well to being grown in containers. Potting media for terrestrial species should be loose and well-draining, with space for airflow. Orchid potting mix works very well as it is composed mainly of moss, loam, and bark. Preferred pH is typically an acidic 5.0 to 6.0. Acidity can be increased by adding a handful of sphagnum moss to the potting media.
Fertilizing
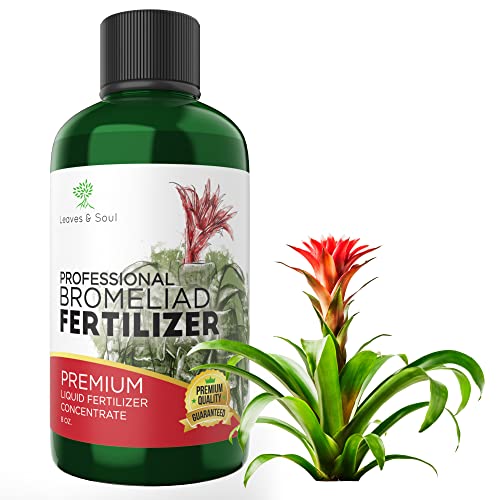
In most cases, frequent applications of fertilizer are not necessary to maintain a healthy bromeliad, particularly for those that are container grown or mounted. Note that an unglazed or perforated container will allow the potting media to dry out more quickly, so watering more often may be necessary in these types of pots. If a specimen is showing signs of poor health, such as wilting or producing few leaves, check to make sure there’s no issue with root health, such as overwatering or girdling, or signs of pests and disease, before adding fertilizer. Professional Liquid Bromeliad Plant Fertilizer The 3-1-2 NPK ratio in this product works to boost foliage growth while supporting flowers and roots as well. Rather than applying a diluted capful to containers every other watering cycle as recommended on the package, dilute the liquid to 50 percent strength and add it only during periods of active growth. Air Plant Fertilizing Spray Spray products can be used for potted and mounted species. Never fertilize a dormant plant as burning is a common problem.
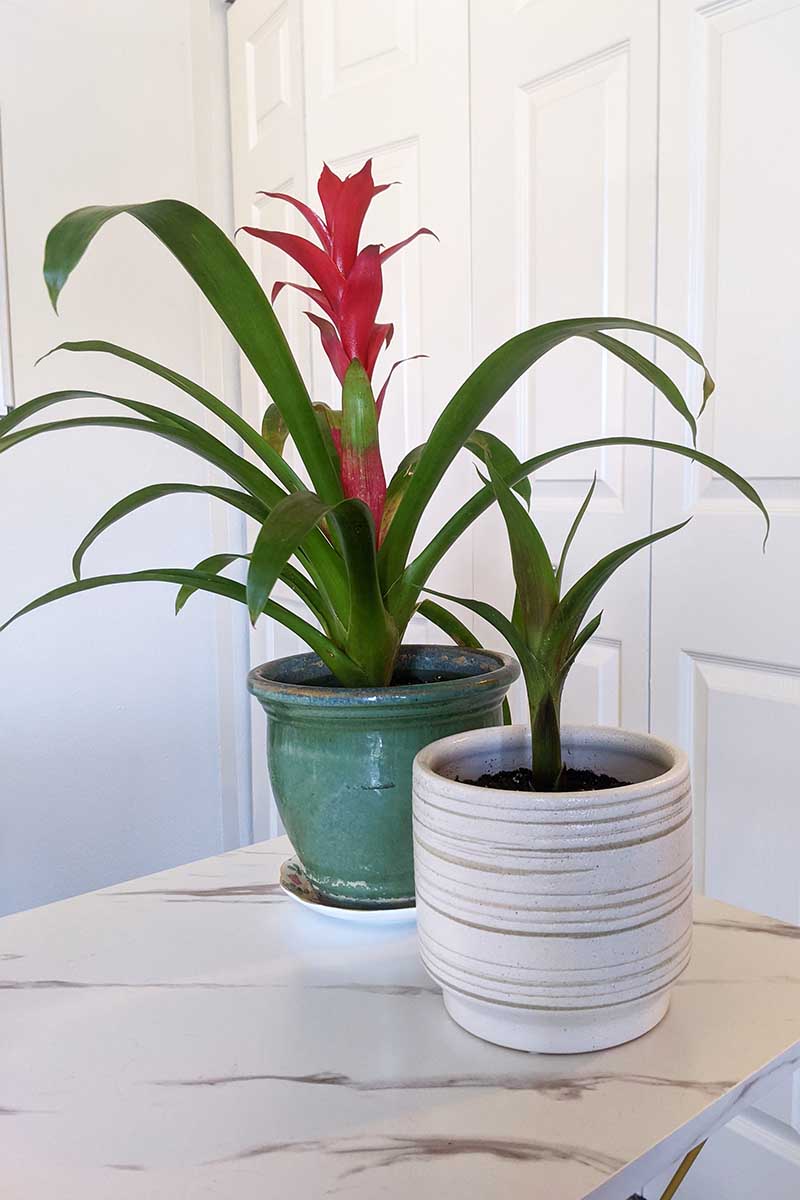
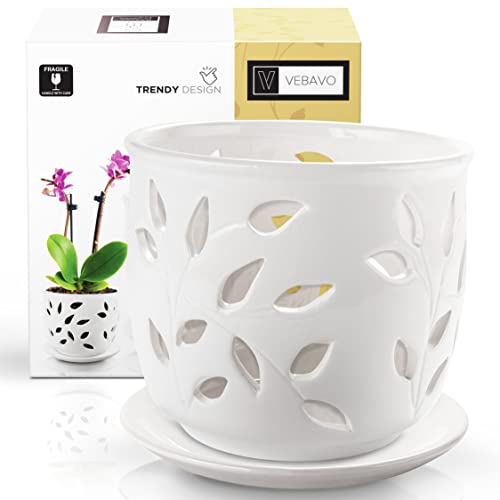
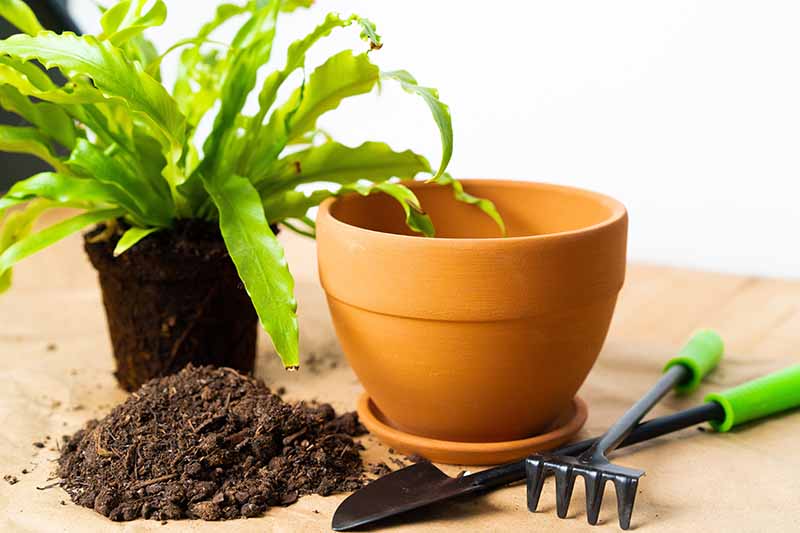
Choosing a Container
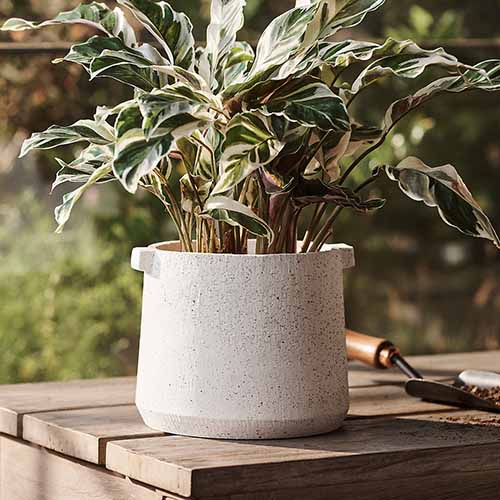
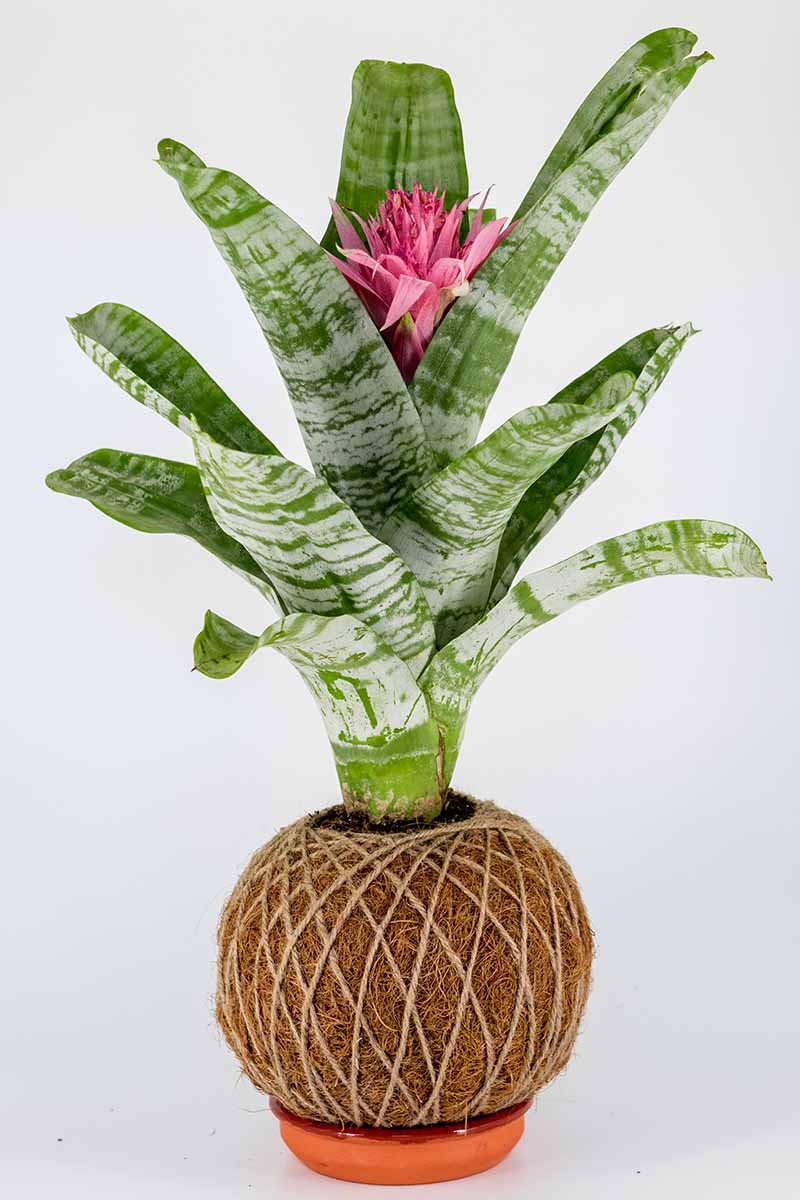
Neither terrestrial nor epiphytic specimens have extensive root systems. Because of this, they don’t require very large containers to be happy and healthy. Glazed ceramic pots are the best choice for members of this family, such as this Speckled Knob Planter in a seven-inch size, from Terrain. Speckled Knob Planter Note the wider footprint of the base – this is important for top-heavy species to help prevent tipping over. Perforated orchid pots or baskets are a good choice as well. Orchid Pot and Saucer A simple five- to eight-inch unglazed terra cotta pot works very well also, and the wide lip around the brim of this type of pot can fit neatly into a hanger. Wall hooks or mounts are perfect for creating a stunning display indoors, or mount them outdoors on the sun porch or partially shaded patio for an easy spot to transfer them to in the summer months. Be sure that any container you choose has good drainage, and if it has been used before, that it is sterilized prior to reuse. Or, skip the container and choose a kokedama, or moss ball! Epiphytic species will especially enjoy growing in a presentation such as this, with excellent air circulation. They can be hung from the ceiling or placed on a tray. Alternative planting methods can be used for epiphytes, and the results can be amazing! Let’s talk about that next.
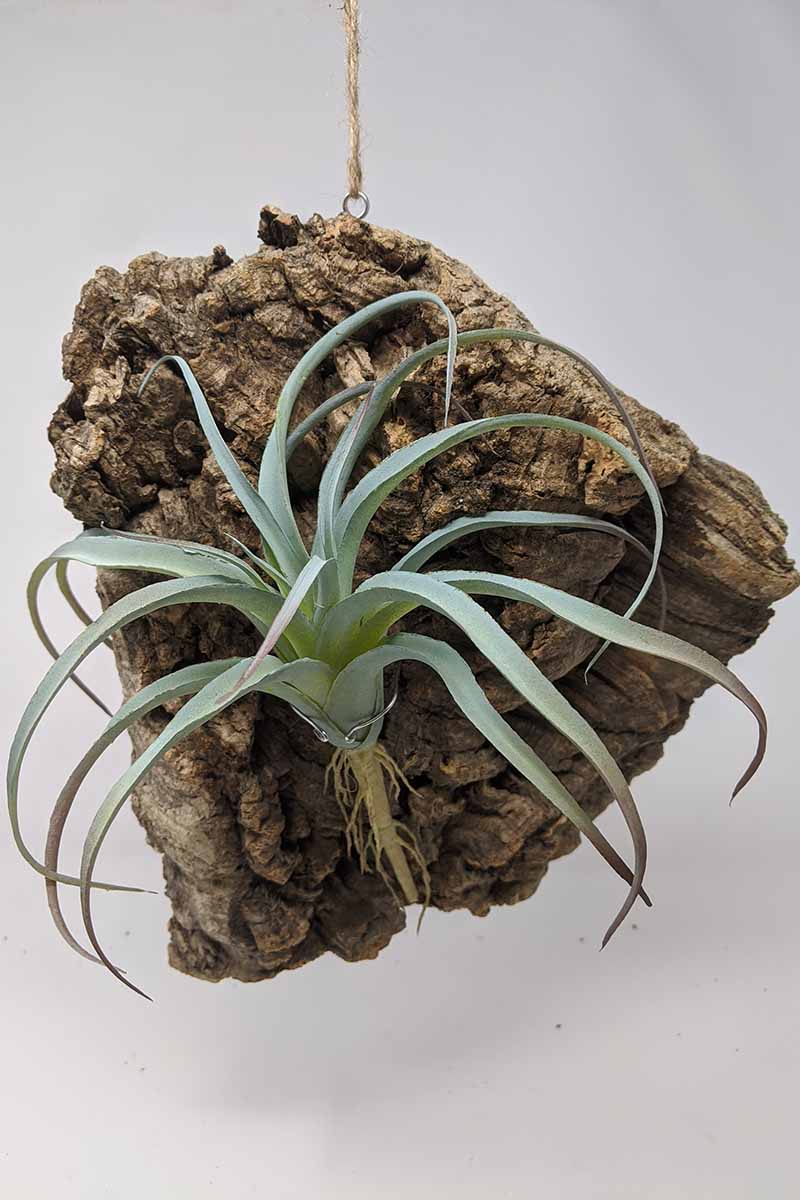
Mounting an Epiphytic Species
You might wonder how you can mount a live bromeliad to a piece of driftwood or hardwood, but it’s easy, and if you’re crafty, it can be a fun project! Mounting is a wonderful way to create an appropriate growing environment for epiphytes while also crafting an incredible natural display. It’s a win-win. Begin with a piece of wood – driftwood or grape wood with twists and gnarls works best, but larger, thicker pieces can also be used. If the piece of wood has been collected from the outdoors, check it over well for signs of infestation. Soak it in room temperature water for a few hours for a small piece, or a few days for a larger one, to remove any salts or other potentially harmful elements that may be present. Sit the piece of wood on a tabletop or flat surface to find a position in which it doesn’t rock around and remains upright, and locate suitable mounting spots from that angle. If you plan to hang the piece of wood, then this step can be skipped. Choose a location, or a couple of spots for more than one specimen, where the branch has crooks or vertices that can hold planting material. Pack the juncture between branches with sphagnum moss and place the specimen on top, root side down. Using cotton thread or twine, secure the plant to the spot so it’s held firmly in place, but don’t tie it down too tightly as this can cause damage. Kokedamas can also be mounted on wood, or placed between crossed branches, for a distinctive display. A humidifier should be used to add moisture to the air surrounding mounted specimens, and plants may be misted during especially dry periods, such as when heat or air conditioning is running. There are lots of ways to make a beautiful, finished product – I hope you’ll share some pictures in the comments below if you do this at home! We provide detailed, step-by-step instructions in our guide. (coming soon!)
Growing Tips
Provide a warm, humid indoor environment.Water only when the surface of the substrate begins to feel dry to the touch.Flush tank bromeliads well if they’ve been outdoors to avoid bringing pests into the home and be sure to keep the tanks filled with water.Diffused indoor light is best for most species.Use a potting mix designed for orchids and ceramic pots to maintain root health.
Maintenance
Maintaining bromeliads that are suitable for indoor growing is fairly simple and straightforward. Remove dead or dying leaves by snipping them off at the base. Inflorescences that have begun to wilt can also be removed if you haven’t hand-pollinated and you don’t plan to collect seed. Scorching can become an issue for specimens that receive too much direct sunlight. Be sure to choose a location with diffused, indirect light. If brown spots develop without evidence of too much light exposure, it may be a sign of disease – check the Pests and Disease section below for details. Potted specimens may need to be repotted between their third and fourth year of life, typically only after the root system has almost filled the pot. It may also be necessary if the substrate becomes spongy or compacted and begins to diminish in volume, which can happen over time with bark and moss-based media. Repotting consists of removing the specimen from the old substrate, discarding the media, adding fresh, and replacing the plant in its container, or in a new one that’s larger if it has outgrown the old one. Dormant specimens should be watered infrequently and sparingly, with just enough water to prevent the potting media from drying out completely. It usually becomes necessary to repot offshoots or pups as they mature enough to sustain themselves. Keep an eye out for overcrowding and remove or relocate offshoots that are taking up space. Now that you know almost all of the most important caretaking details, which specimen will you choose for your home? Let’s get to the fun part – allow me to introduce you to some of the best!
Species and Cultivars to Select
Some bromeliads have subtle coloration that adds a touch of greenery to the home. Others have wild patterns and colors, or blooms that look like something from a sci-fi film! As a bonus, many varieties are very affordable, so you can stock up and create the indoor garden of your dreams. Genera with species that are commonly chosen as houseplants include Aechmea, Billbergia, Cryptanthus, Guzmani, Neoregelia, Tillandsia, and Vriesea. Here are just a few of the species and cultivars to consider for houseplant candidacy.
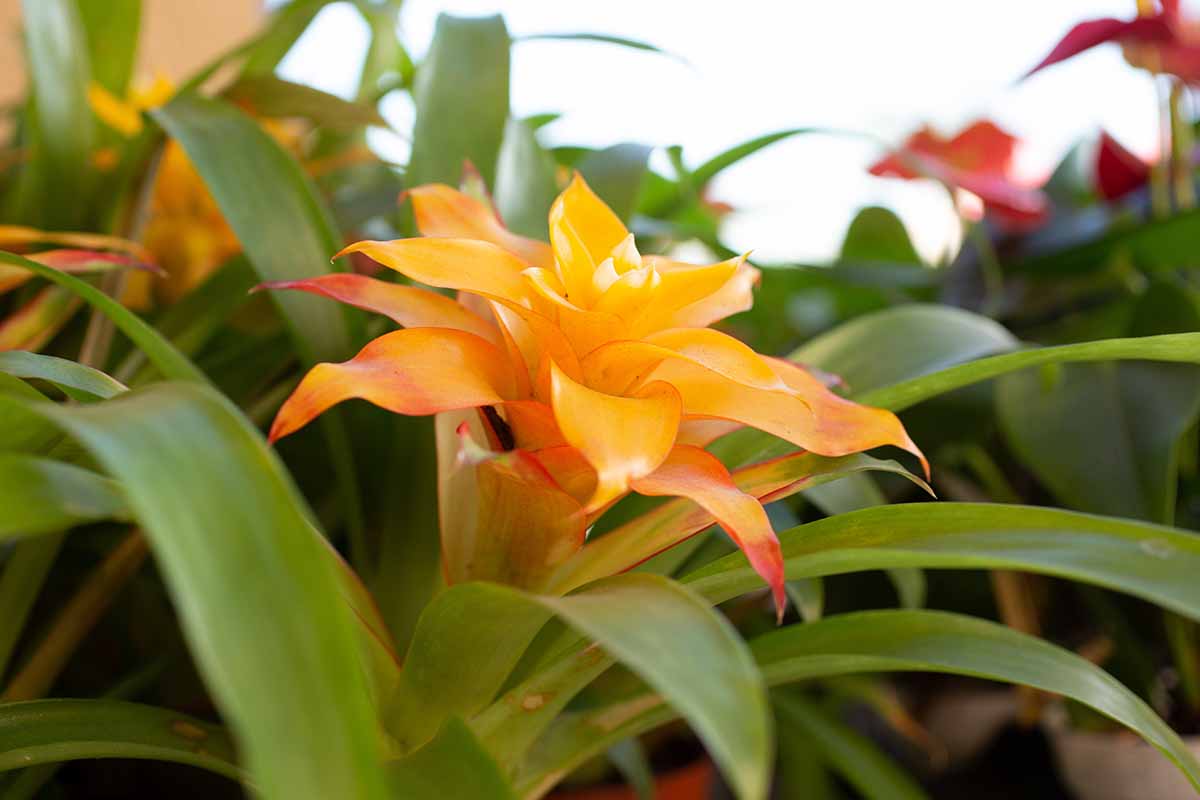
Flaming Sword
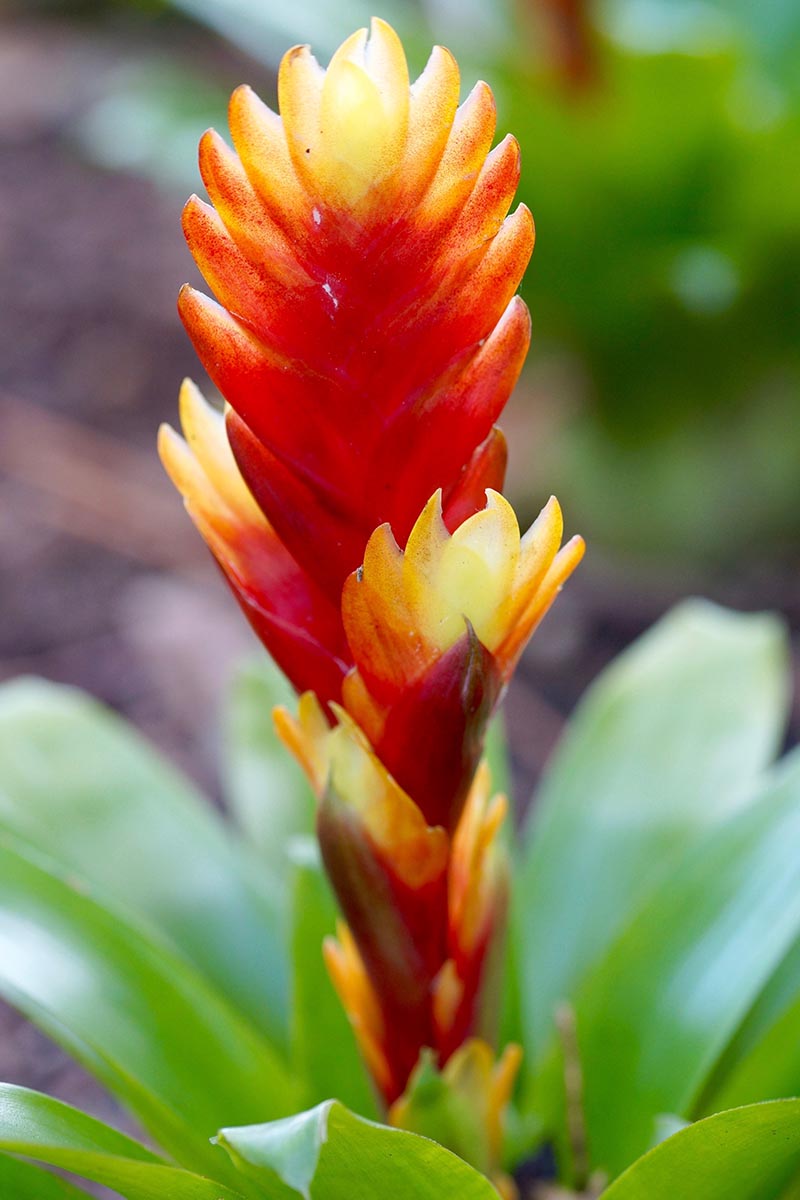
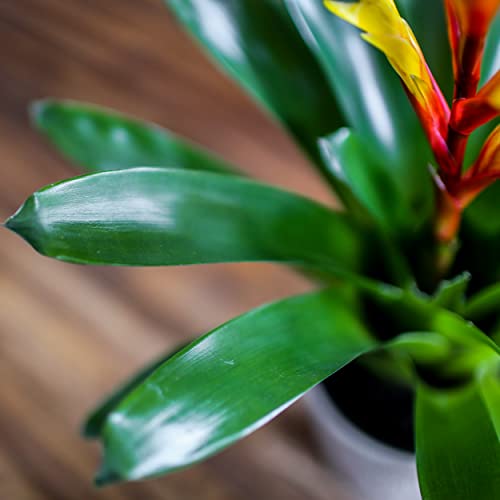
Yellow is always a great color for the indoors when you need a little pick-me-up. And when flaming sword, or Vriesea carinata, is in bloom, it’ll definitely call attention to itself and help to brighten the room.
Animals
Since you don’t have deer or squirrels traipsing through your living room (we hope!), the only animals of concern would be your chosen, furry companions. You may see this type advertised as “lobster claw,” which is an alternative common name that refers to the claw-like shape of the individual bracts surrounding the blooms. Tall flower stalks with a paddle-like structure consisting of yellow, orange, and red bracts are the signature of the flaming sword. Plants can reach about 18 inches in mature height, with a similar spread. Flaming Sword
Pink Star
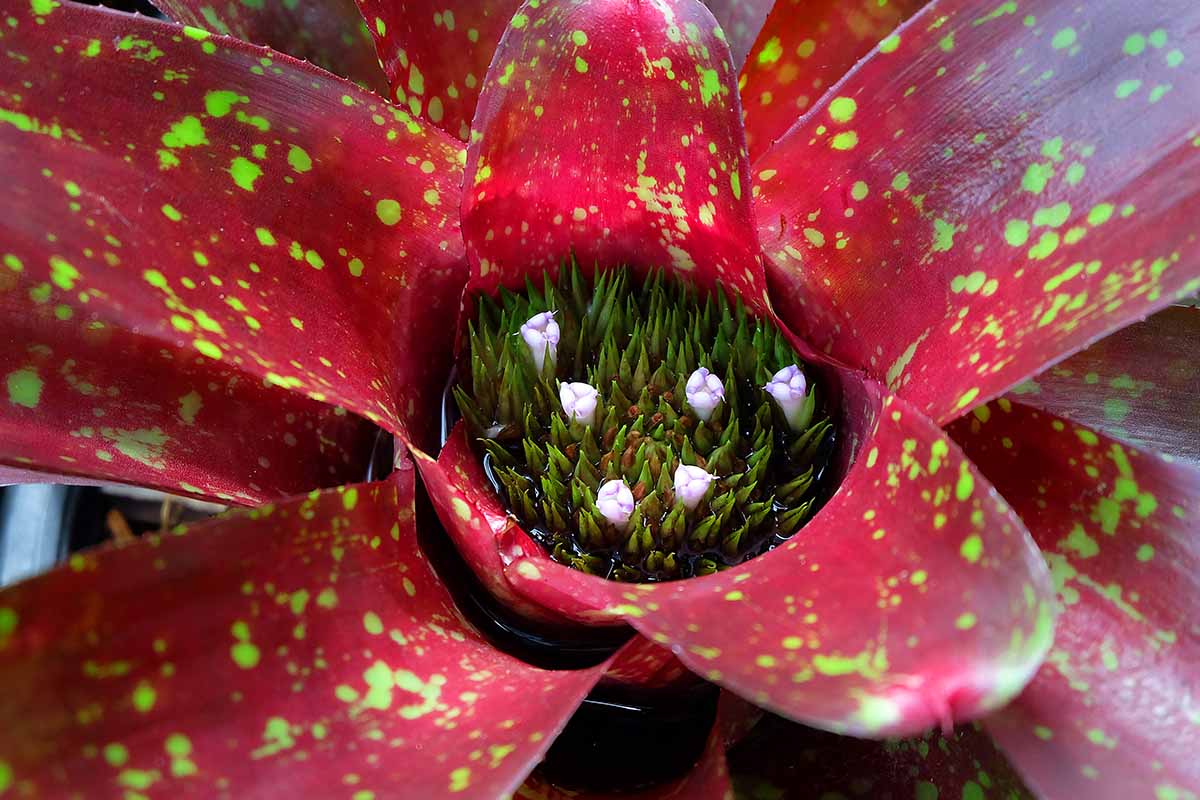
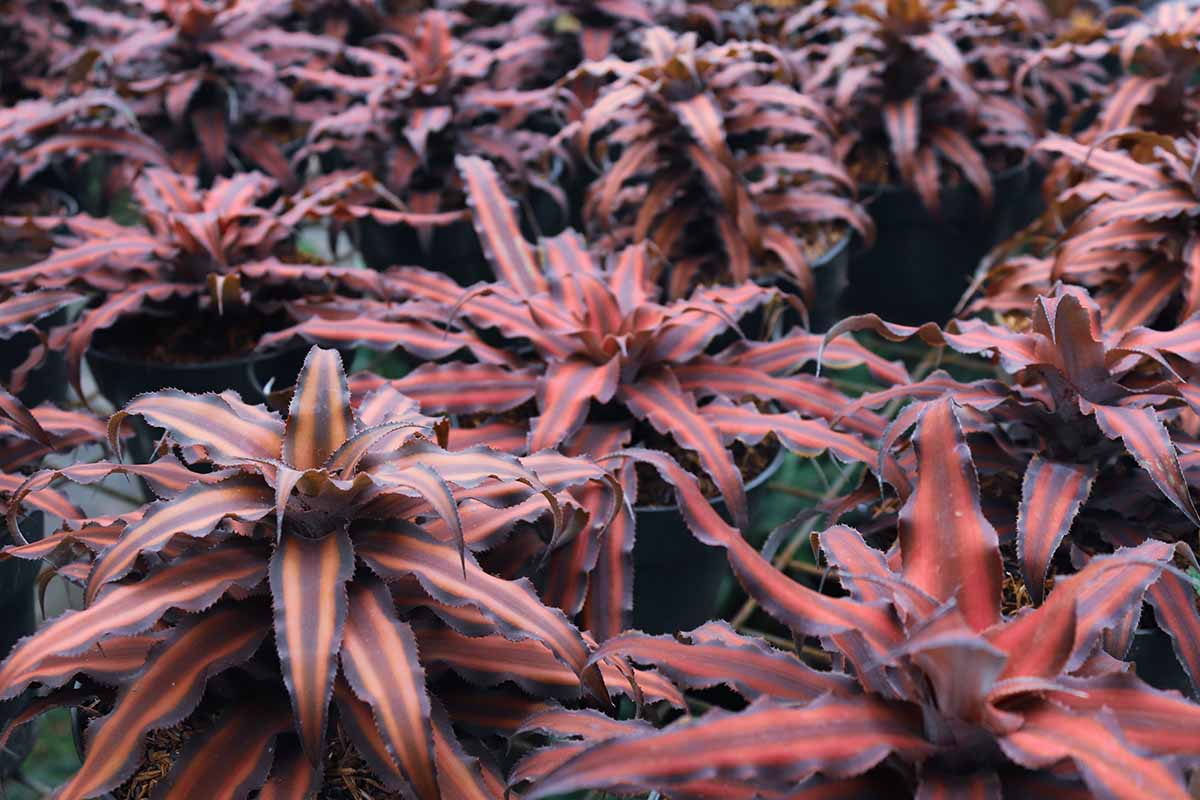
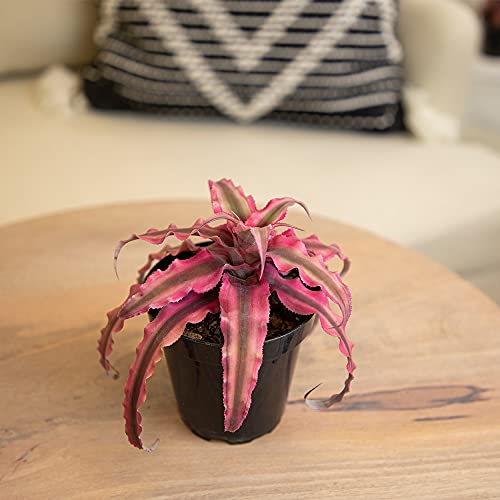
If you’re more interested in enjoying gorgeous foliage than the occasional, showy inflorescence, then Cryptanthus bivittatus ‘Pink Star’ may be the cultivar for you! This terrestrial, earth star bromeliad is low growing, reaching only about 10 to 12 inches in mature height at max, with a wider spread. Cryptanthus species, or earth stars, are so named because they produce flattened, star-shaped rosettes – and this one displays pointed, toothed foliage in stars striped with pink, green, fuchsia, and sometimes cream! Rather than producing a tall, showy scape, this cultivar sports a modest, central cluster of bracts in yellow and white. It also readily generates offshoots following blooming. ‘Pink Star’
Pink Vase Plant
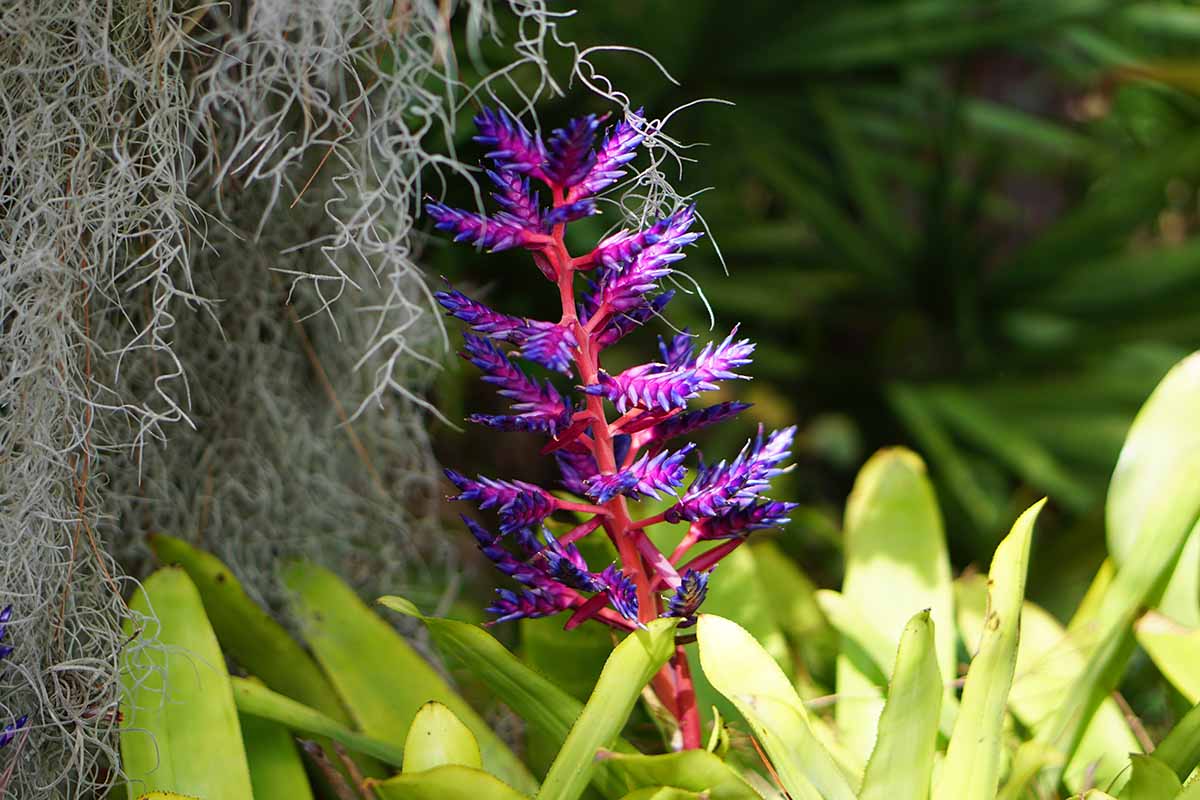
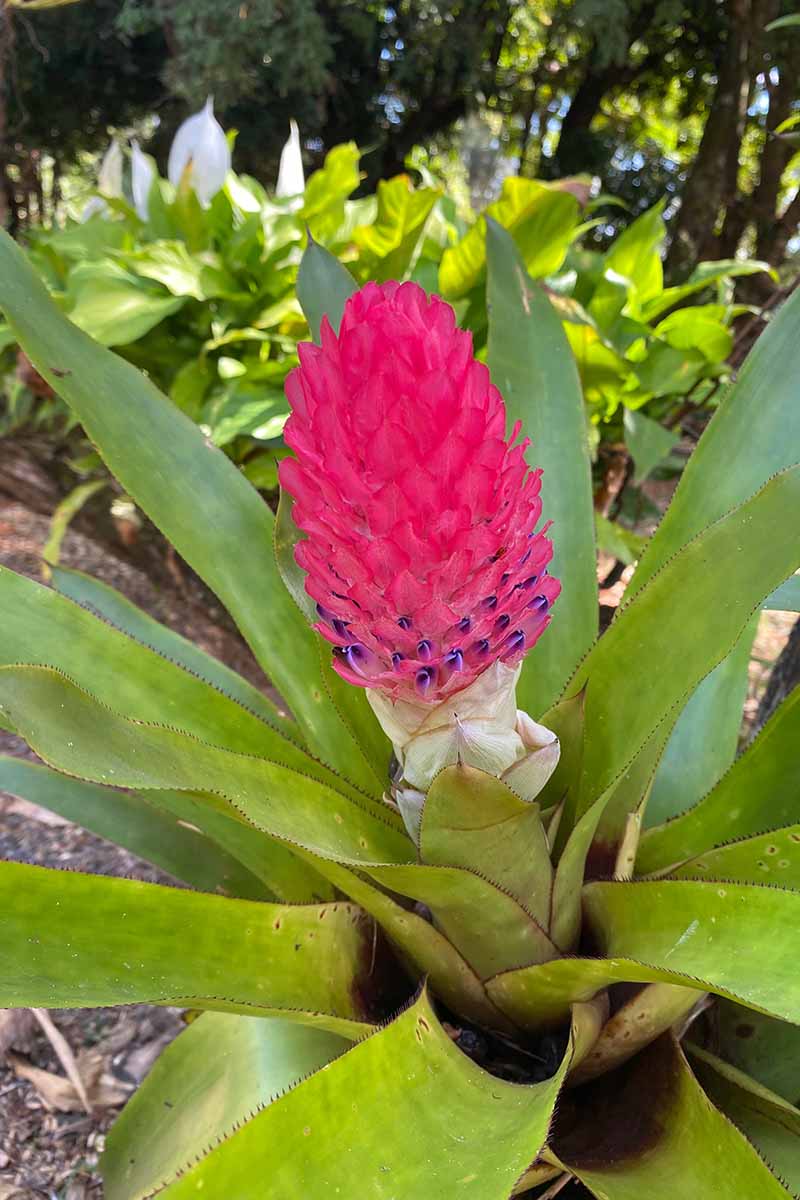
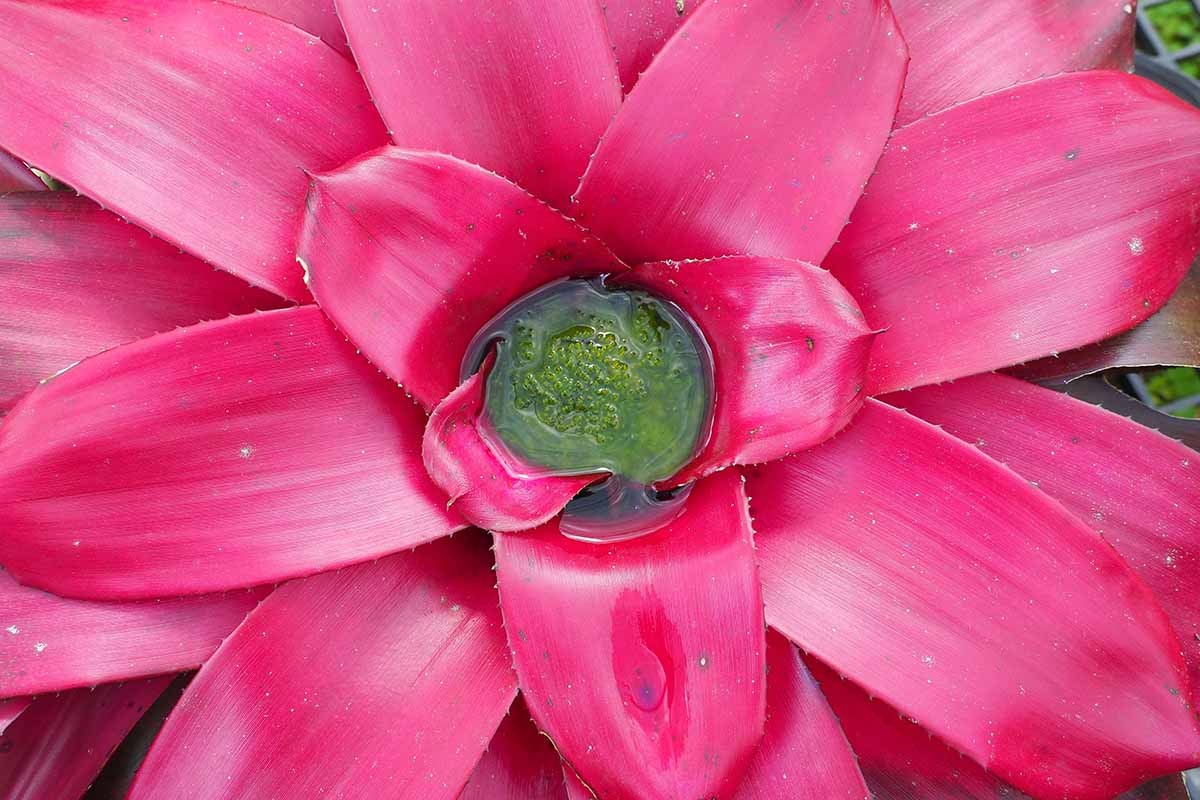
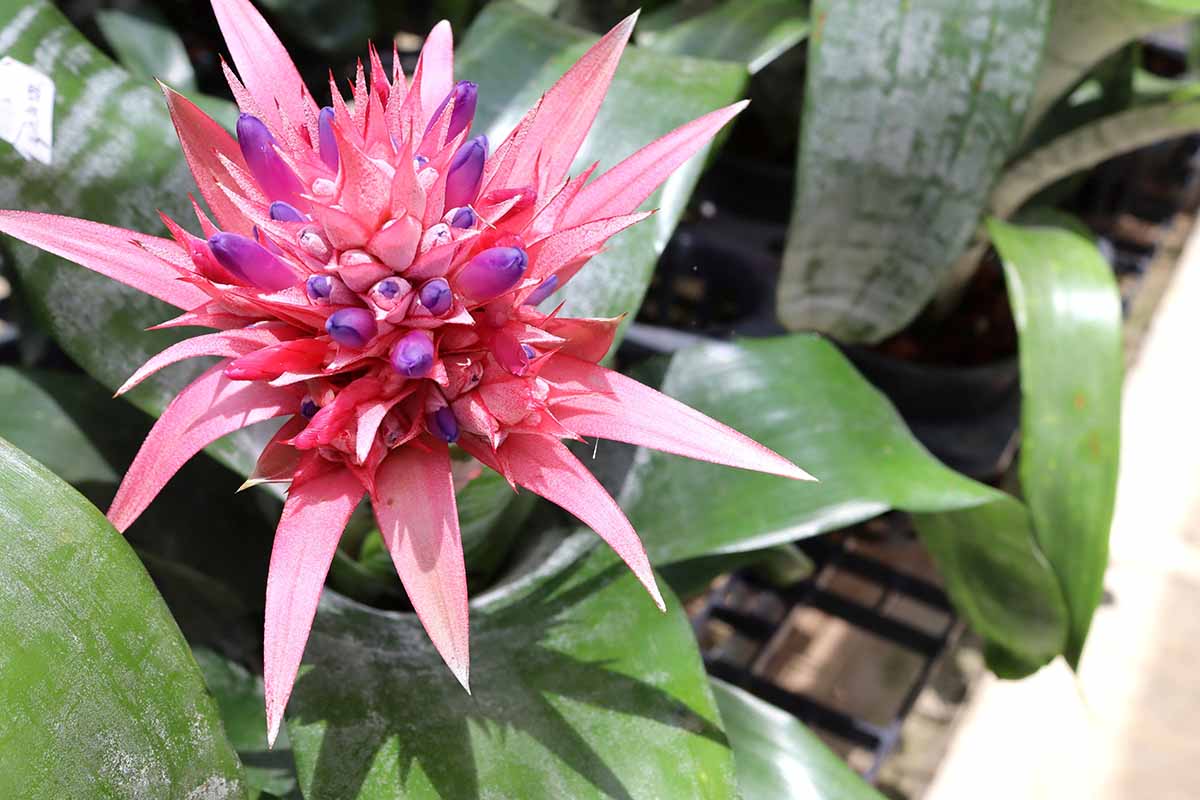
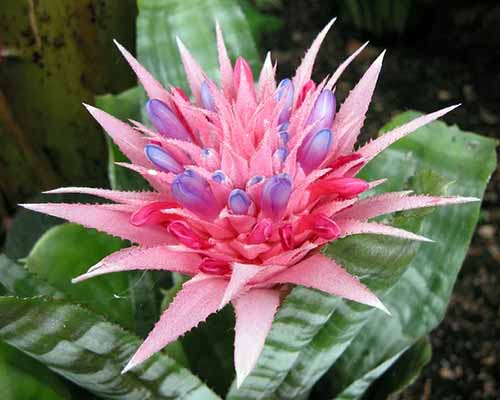
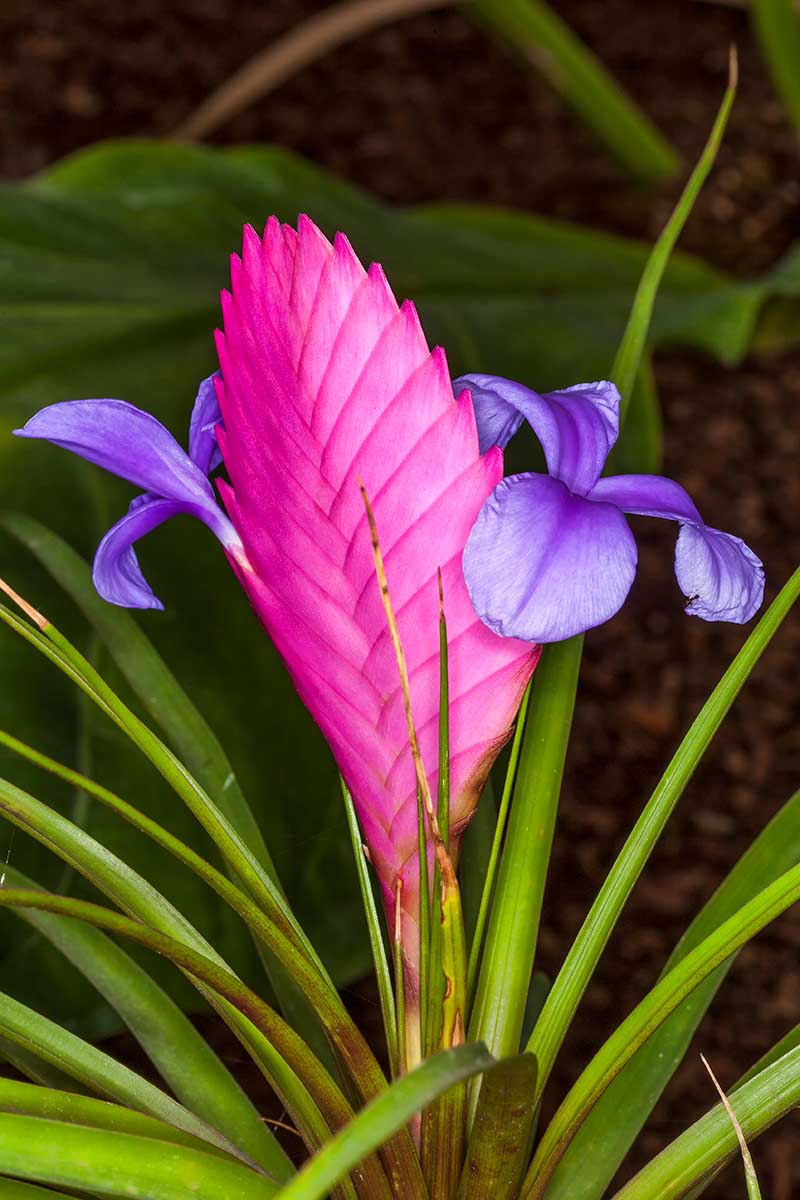
If plants could talk, this one would say, “Attention, please!” Pink vase plant, sometimes called urn plant (Aechmea primera), is one of the most popular, spectacular species chosen for indoor growing. If the foliage doesn’t catch your eye, the blooming spikes will! Wide, strappy leaves of deep green have dusty, sage green bands and short teeth along the margins – some mistake them for agave before scapes form. A huge, pink, bud-like group of bracts develop, which also exhibit the same striped pattern on the exterior, but in tones of fuchsia and soft rose. The bracts then open to reveal an intricate, showy clustered inflorescence touched with purple or blue toward the center. This terrestrial, tank species can reach 18 to 24 inches in height at maturity with a similar spread, so it makes quite a grand statement. Be sure to refill the cups with water as needed to keep it healthy. Pink Vase Plant Six-inch pink vase plants are available from Hirt’s Gardens via Walmart.
Pink Quill
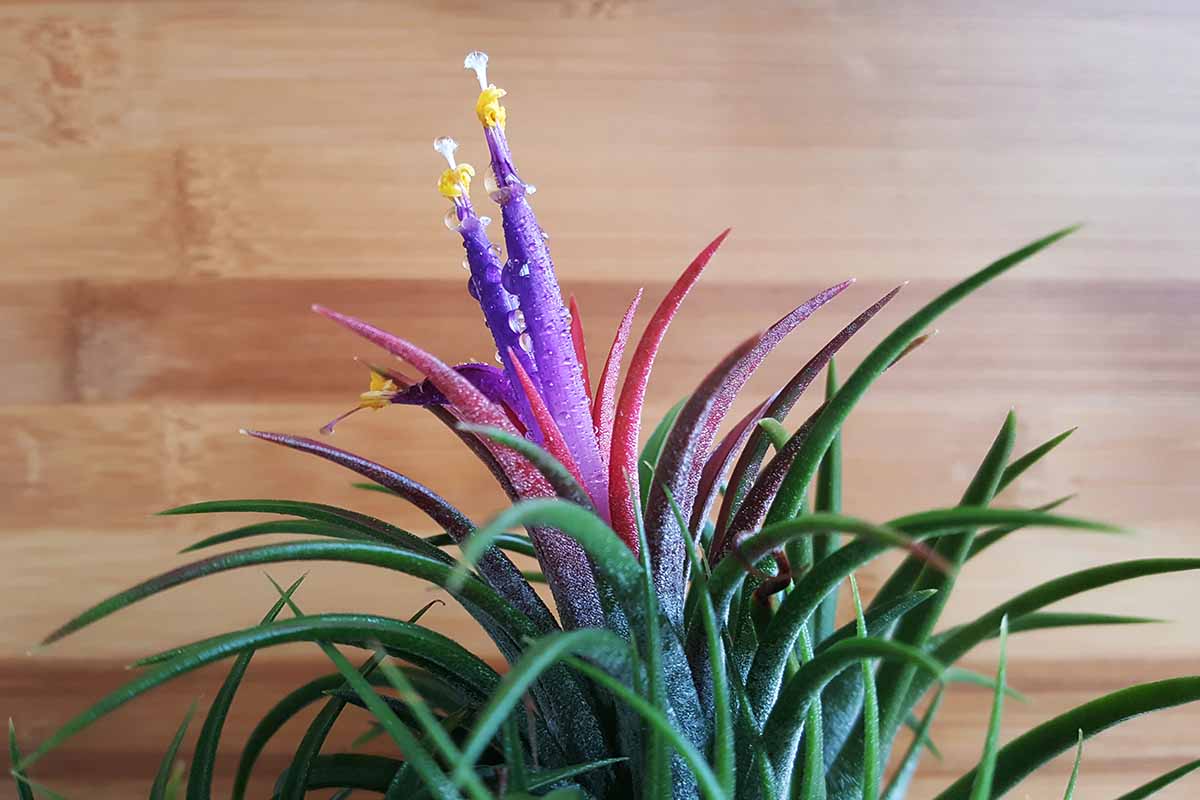
As one of the most popular epiphytes on the market, T. cyanea (syn. Wallisia cyanea) ‘Pink Quill,’ sometimes called ‘Hawaiian Pink Quill’ (even though it’s not native to Hawaii), is a smaller cultivar that makes a big impression. Mount this variety in moss where its grassy leaves of up to 14 inches in length can create an arching tuft. ‘Pink Quill’ remains compact over time, usually reaching no more than about 10 to 12 inches in height. The paddle- or quill-shaped scape produced by this cultivar is shocking pink, with interior blooms that open to reveal a deep indigo-blue. ‘Pink Quill’ Add ‘Pink Quill’ to a mounted arrangement or an orchid pot for a lovely presentation. You can find this cultivar available in four-inch grower’s pots from Hirt’s Gardens via Walmart.
Rubra
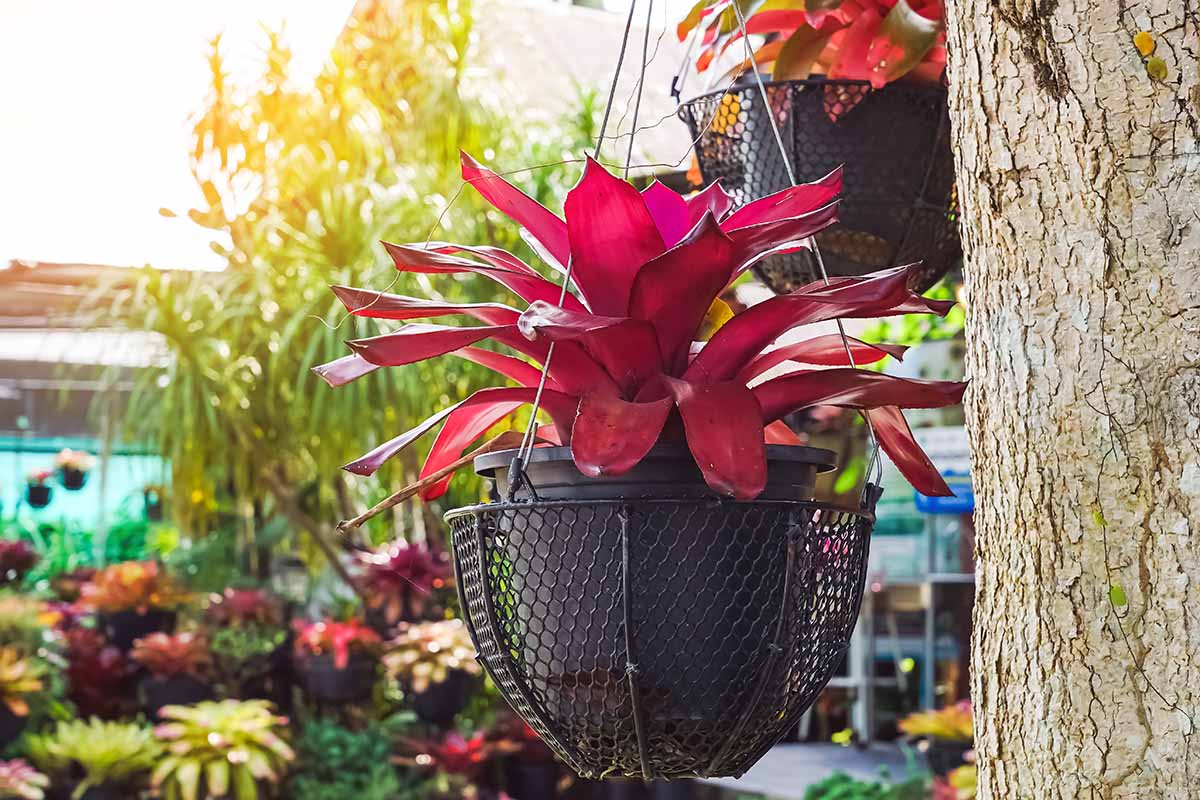
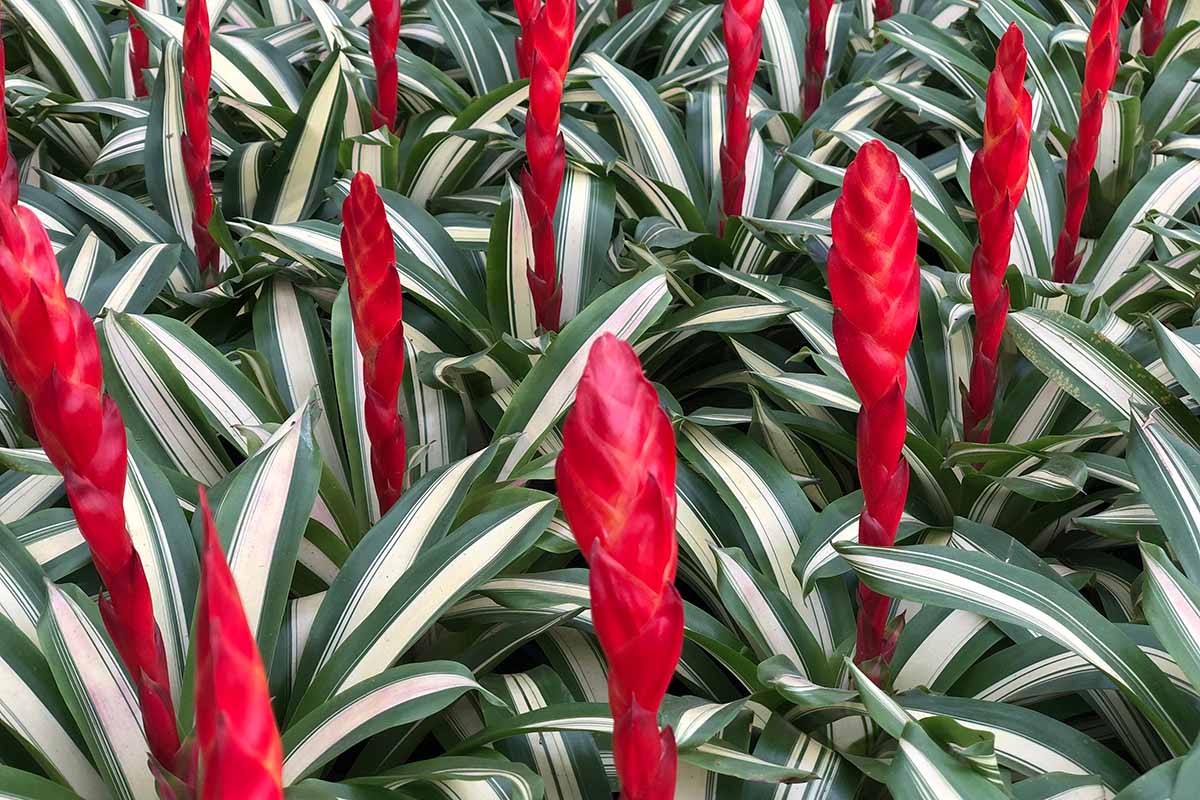
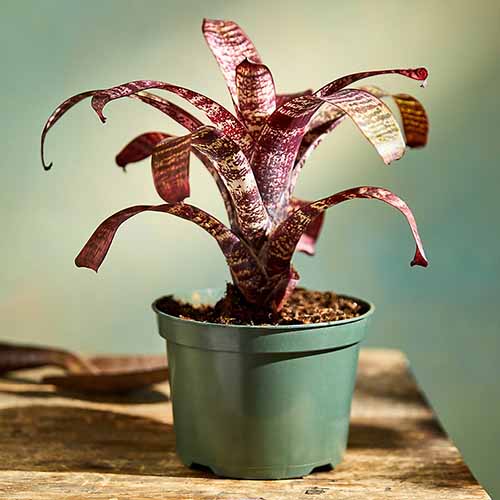
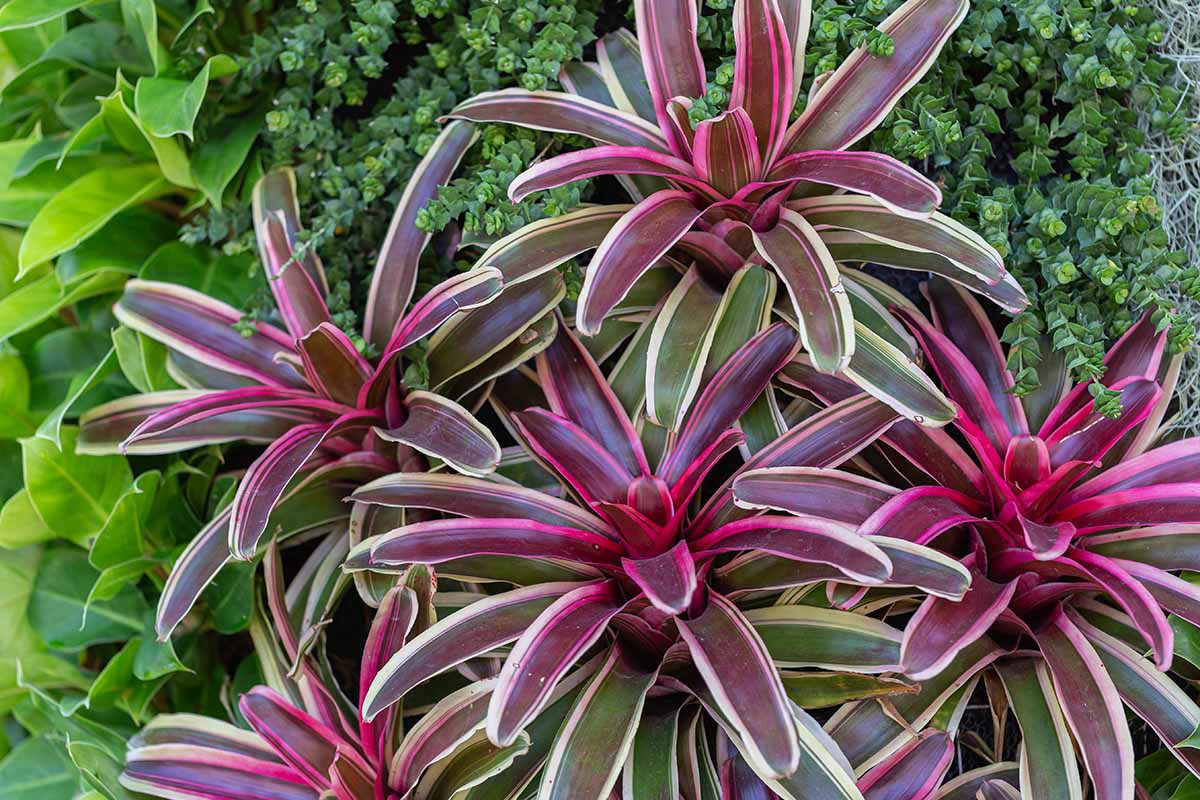
For show-stopping foliage, V. fosteriana ‘Rubra’ is unbeatable. Since most bromeliads take several years to bloom, why not choose a cultivar whose foliage is gorgeous enough on its own? The strappy, toothless lower leaves are often deep green, but the central foliage is burgundy, pale green, and white striped. This cultivar can reach about 14 to 18 inches in mature height, with a slightly smaller spread. ‘Rubra’ Color can be enhanced with exposure to bright sunlight, but avoid placing this variety in direct light. Terrestrial growing conditions are preferred. ‘Rubra’ is available in six-inch grower’s pots from Terrain.
Managing Pests and Disease
Container-grown specimens that spend their lives indoors are less likely to suffer infection or pest damage. It’s not impossible, however, so let’s take a quick look at what to keep an eye out for. Dogs and cats are curious and have a habit of nipping at plants. Fortunately, there are no toxic species in this family, so poisoning is not a concern. However, some species develop spiky teeth along their leaf margins, and these can cause a painful poke in some instances. If your pets might be tempted to take a bite or play with the foliage, it’s probably best to choose a spineless variety or keep them out of reach.
Insects
Insects and other pests can occasionally appear on leaves and stems, especially on specimens that are moved outdoors in warm weather.
Diseases
Diseases can be spread through water, contact with other plants, and even through potting soil. Sometimes just bringing a new member of the collection home from a garden center can introduce pathogens. A spray of neem oil or insecticidal soap works well, but both may need to be applied more than once. A cotton swab dipped in rubbing alcohol can be used to press and remove each visible scale insect, as well as their eggs. Bonide Neem Oil Bonide neem oil can be purchased in pint, quart, or gallon bottles from Arbico Organics. Bonide Insecticidal Soap Bonide insecticidal soap is available in bottles of 16 or 32 ounces, also from Arbico Organics. Be sure to thoroughly check any neighboring potted plants in your indoor garden for evidence of infestation as well, and quarantine infested specimens as needed. Note that eggs hatch in cycles, so treating once may not be enough to prevent a reinfestation. Leaf spots and rust are issues that typically appear in bromeliads grown outdoors. While they can also affect houseplants, it’s unlikely if appropriate preventative measures are taken, such as preventing water from settling and remaining on foliage – except in the case of tank bromeliads – and spraying with neem oil at the first signs of illness. Using a disinfected container and sterilized potting media, and avoiding overwatering, can help to prevent some disease issues from becoming a problem. Overwatering, on the other hand, is very common. Let’s cover crown and root rot in a little more detail..
Crown and Root Rot
Most potted plants are more susceptible to root and crown rot due to the enclosed growing environment. In such a small space, overwatering or poor drainage can quickly lead to the spread of pathogens, such as those from the Pythium genus of fungi or from Phytophthora oomycetes. Signs of disease include wilted, weak leaves that fall off or are easily pulled off; a mushy, brown crown; and/or a foul odor coming from the bromeliad or the container. Once these signs are apparent, don’t wait to take action. Remove the specimen from its pot and gently dislodge any potting media from the root system. Gently rinse the roots, and observe them. If any are brown or black, slimy, or smelly, trim them away. Discard trimmed roots, and the old potting mix, in the trash. Combine one part hydrogen peroxide with two parts water and spray it all over the entire root system. Allow the roots to air dry completely in a location with good airflow. Don’t expose them to sunlight or leave them unpotted for longer than necessary to dry. Rinse the container to remove any loose soil. To sanitize it, spray or soak the container in the same solution or substitute with one part bleach to five parts water. After soaking for about 30 minutes, remove the container and rinse it to remove all traces of bleach. If you’re concerned about the quality of your potting mix, you can sterilize a new batch by baking it on a cookie sheet in an oven set to 175°F. Let it bake for about 30 to 45 minutes, then take it out of the oven and allow it to cool down to room temperature. Fill the container with fresh, sterile potting medium, but be sure that the drainage holes are not obstructed. A small piece of screen can be used to prevent bark or other materials from becoming lodged in the holes. Return the specimen to the container, and water to settle. Avoid overwatering by only providing enough to moisten the potting mix when the surface feels dry to the touch.
Best Uses
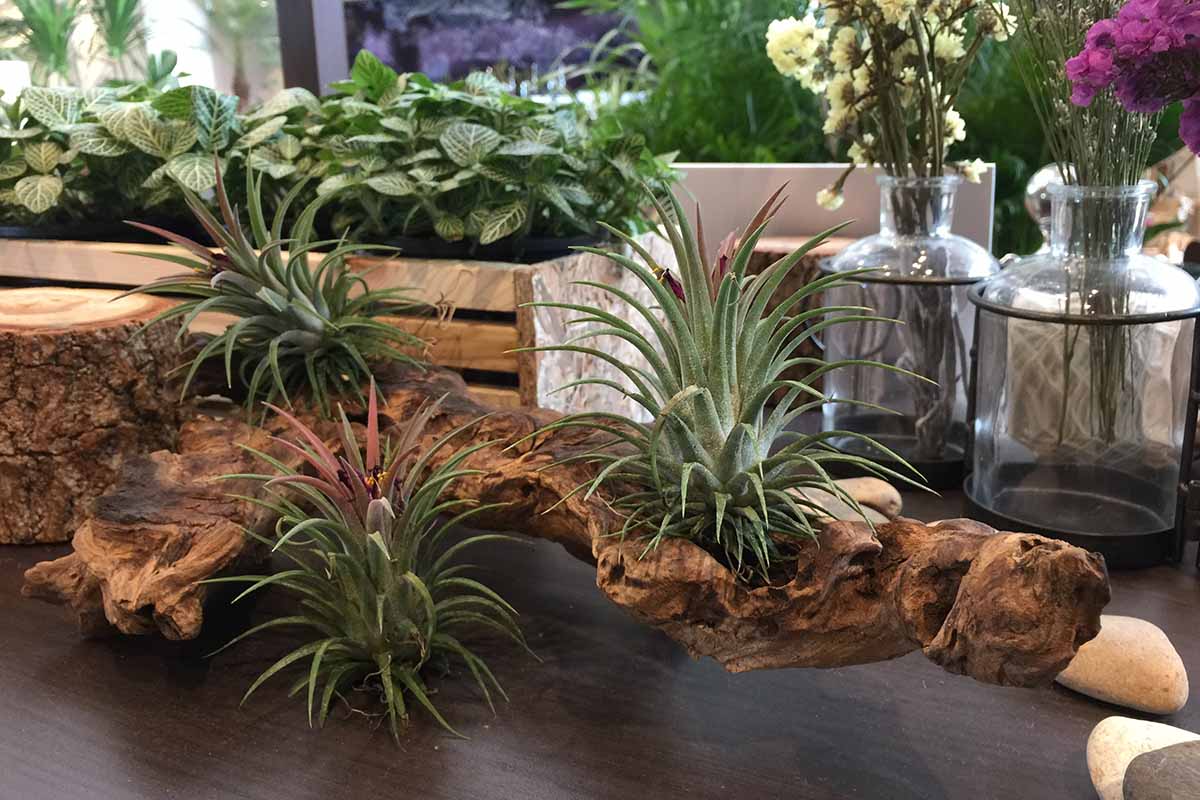
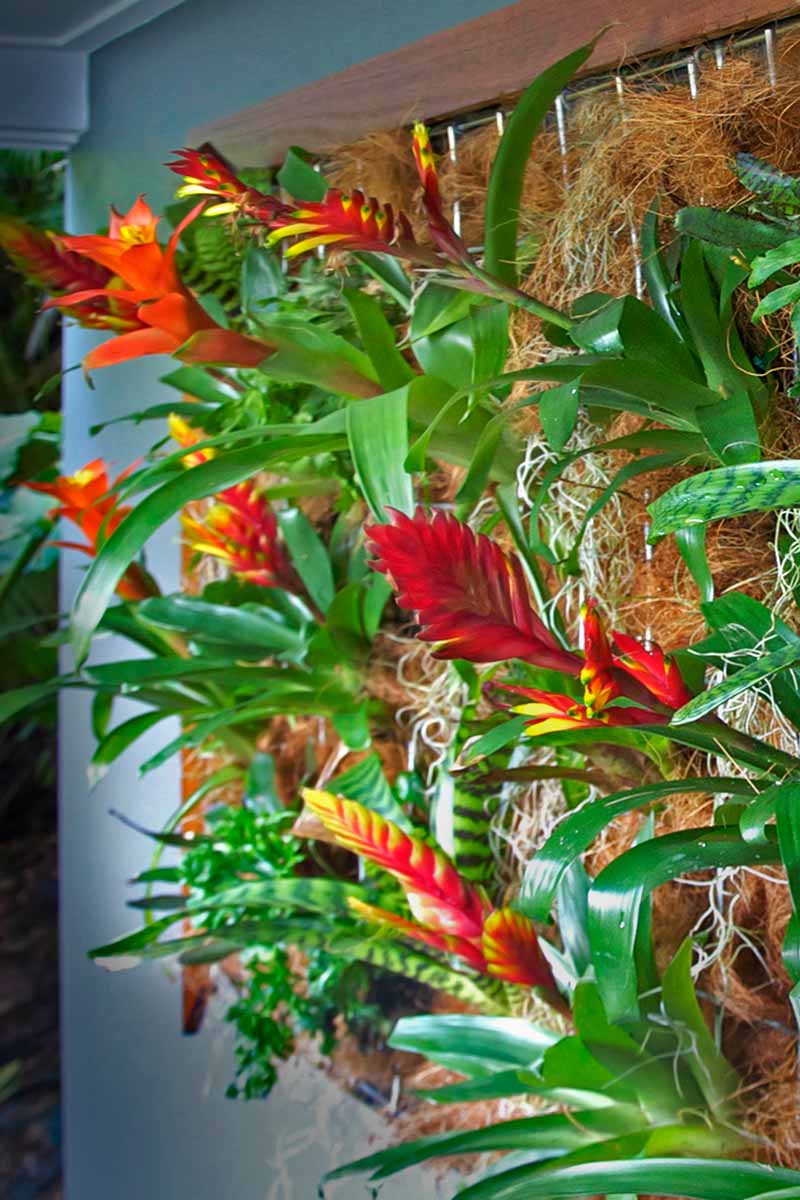
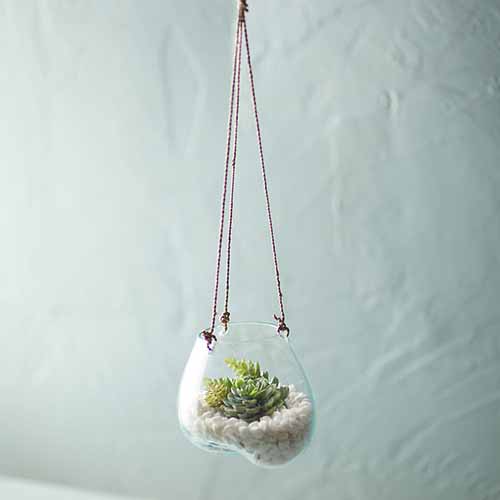
Oh boy, I love this part! There are far more ways to display potted bromeliads than simply sitting them on a table or floor. Which is your favorite? As I mentioned, epiphytes can be mounted – and they put on an incredible, living spectacle year-round. A mounted, natural-looking arrangement can be placed on a table, hung on a wall, or made into a room divider with multiple branches strung together. Pots can be hung from hooks to create a whole wall of color and texture, or hung from the ceiling in corners where life and interest are lacking. Tillandsia and other soilless species can be grown in glass bulbs, seashells, a bowl full of moss – get creative and make your display fun! Hanging Glass Planter Try some of these hanging glass planters from Terrain, if you’d like. You can read more about growing indoor air plants as living wall art in our guide. An indoor planter dividing rooms or other spaces can be packed with colorful specimens of the same or different species, provided they have the same care needs. There are so many possibilities, I could go on for days! But I digress – there are simply too many options to cover in one go!
Quick Reference Growing Guide
Content Container Candidates
Shapes and colors such as those provided by members of the Bromeliaceae family can create a living art installation inside the home. Crafty gardeners will have a field day designing and constructing hanging, floating, or mounted displays that can last for years with proper caretaking. Just think of the possibilities! So, let’s see those bromeliads! Show us what you’ve got growing in the comments below! And, if you still have questions now that we’ve reached the end of this guide, we’ll do our best to answer them for you. Shopping for more houseplants to include in your botanical menagerie? Here are a few more to consider:
Epiphytes 101: The Best Options to Grow as HouseplantsGrowing Orchid Cacti: How to Care for Epiphyllums Indoors25 of the Best Low-Light Houseplants to Liven up Your Decor