If you’re looking for a plant that’s tough, visually stunning, and capable of adhering to vertical surfaces like a botanical Spider-Man, then Boston ivy is all you need. We link to vendors to help you find relevant products. If you buy from one of our links, we may earn a commission. In this guide, we’ll go over the many aspects of growing Boston ivy, such as propagation, cultivation, and plant health care. By the end, you’ll have the know-how necessary to care for these bad boys all by your lonesome. Here’s what awaits, gang:
Cultivation and History
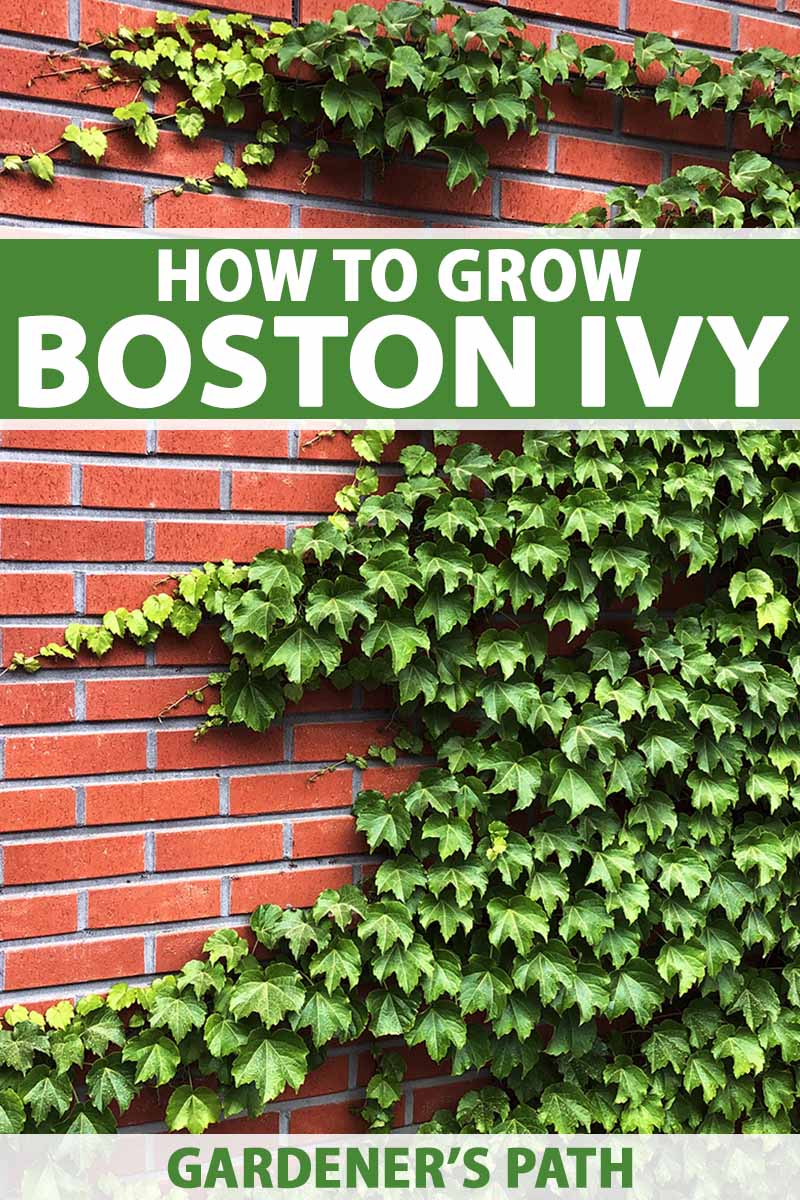
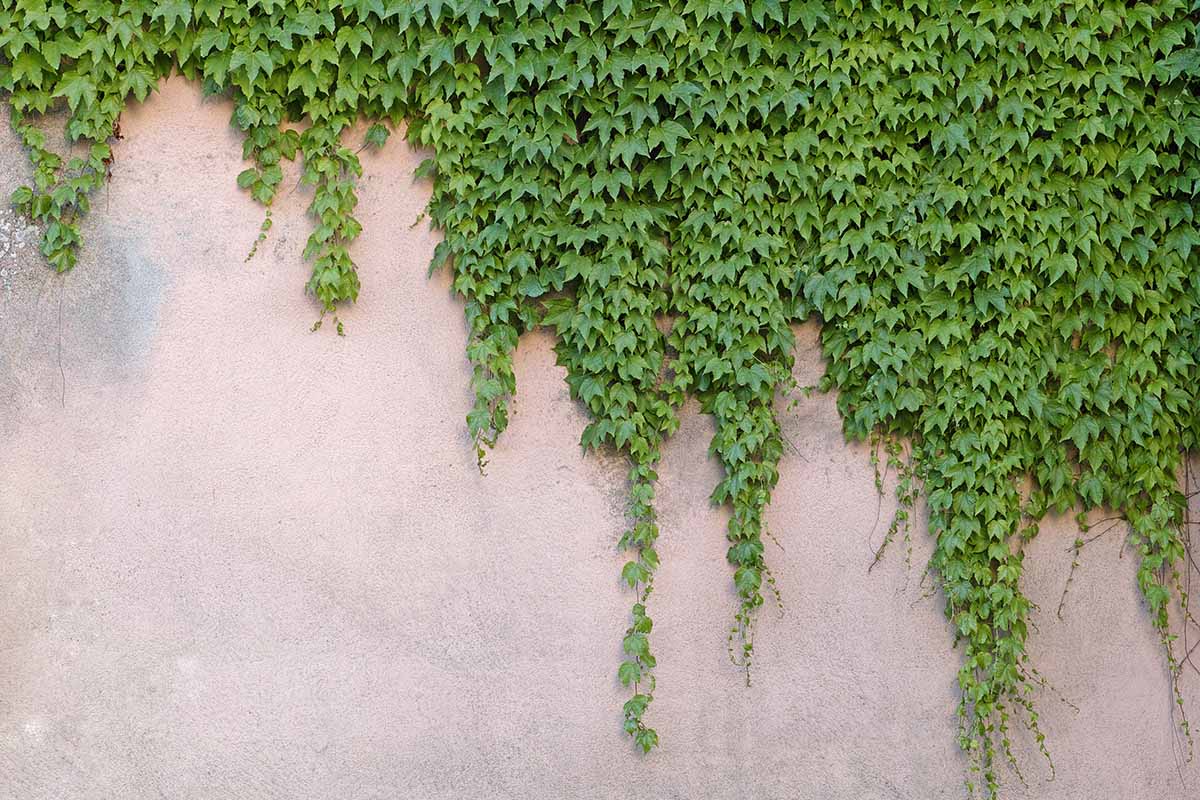
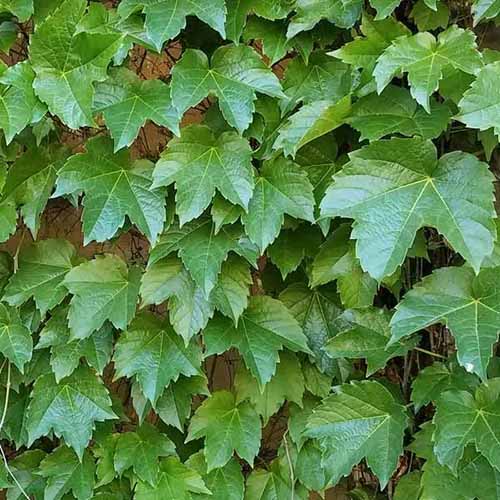
Despite its name, Boston ivy isn’t a true ivy like members of the Hedera genus – it’s actually more closely related to grapes and other members of the Vitaceae family. This plant is often confused with P. quinquefolia, i.e. the Virginia creeper. You can tell them apart by their foliage: Virginia creeper leaves are compound and five-lobed, while Boston ivy leaves are simple, three-lobed, and glossier. The “Boston” part of the moniker is also misleading, since this vine isn’t actually native to the northeastern United States. In 1852, Boston ivy arrived in Massachusetts from Japan, earning its name as a popular regional planting. Although technically invasive, it grows in landscape spaces that are not typically hospitable for other plantings, so it’s pretty benign. The “Ivy League” of prestigious US universities owes its title to this humble plant. Formal ivy-planting has made its way into the class day ceremonies and springtime traditions of many Northeastern colleges. Customs aside, P. tricuspidata is a common campus ornamental thanks to its conspicuous growing habit, which I’m sure really emphasizes the given schools’ Ivy League status. Boston ivy’s cultural influence doesn’t stop there: Wrigley Field, home of the Chicago Cubs, has P. tricuspidata climbing its outfield walls. It’s a beloved feature of the ballpark, and offers a bit of extra cushioning for those wall-colliding catches. Who knows, perhaps its appearance provides some stress relief for the Cubs’ outfielders as they watch a home run sail over the wall. In the green industry, Boston ivy has become a go-to plant for growing up walls, fences, arbors, and trellises, as well as for covering up landscape blemishes such as tree stumps and clumps of stones. It also makes for an effective ground cover, and can help control eroded slopes. As a deciduous vine, it shades any climbed-upon building with its dense foliage during hot summers, while also allowing sunlight to warm the structure once the leaves drop in colder seasons. After they’re done soaking, lay the seeds on a paper towel to dry. Place the seeds in a plastic baggie of moist sand. Leave the seeds in the fridge until spring, and check the sand periodically to see if it needs re-moistening.
From Seed
You can also collect seeds directly from the indigo berries when they ripen in the fall. To determine ripeness, gently squeeze the seeds. If they’re squishy, then the seeds are ready for harvesting. Harvest the seeds in autumn, and place them in a strainer. Gently press the pulp through to avoid crushing the seeds. Rinse off the extracted seeds in the strainer, then soak for 24 hours in warm water. Fast-forward to spring: it’s planting time. Break up and till the top six inches of the intended planting area. To improve soil fertility, work an inch or two of compost into the soil if it is especially lean. Plant the seeds a half-inch deep in the ground, then gently water them in. Keep the surrounding soil moist while the seeds germinate and sprout, and until the seedlings become established. If you want to start your seeds indoors, prepare a tray filled with a 50-50 mix of perlite and peat moss. In the spring, take the seeds from the fridge, plant them in the tray, and moisten them. Keep the cuttings indirectly lit indoors and keep the medium moist until the seeds germinate in about a month or so. Once the seedlings have developed a second set of true leaves, it’s time to start hardening them off by bringing them outside into the sun for 30 to 60 minutes. Add 30 to 60 minutes of outdoor exposure every day until the seedlings can handle a day’s worth of full or partial sunlight – whatever exposure you plan on giving them in their permanent location. Once they’re hardened off, the seedlings are ready to go into the ground. Stick the dipped ends of the cuttings into the medium, then place the container into a larger container for bottom watering. Keep the cuttings indirectly lit indoors, and maintain moist soil until they develop roots. Dip the cut ends into a rooting hormone, such as this IBA powder sold by Bonide, available from Arbico Organics. Bonide Bontone II Rooting Powder Prepare a 50-50 mix of perlite and peat moss – or coconut coir, if you’re environmentally conscious – in six-inch plastic pots with good drainage. Each pot can hold one to three cuttings, spaced evenly from each other and the container’s edges. Once they’ve developed a couple of new leaves, you can harden off the cuttings like you would with seedlings, as described above. After that, prepare planting holes large enough for the root systems, stick the rooted cuttings in the holes roots-first, backfill the holes with adjacent soil, and water in. Keep the cuttings well-watered until they’re established.
How to Grow
Growing Boston ivy is a lot like making Boston baked beans (and if you’re in the mood for those, try this recipe from Foodal!). All you gotta do is follow the recipe, with the ingredients provided by Mother Nature. While the beans may result in broken wind, P. tricuspidata can serve as a windbreak for your house instead.
Climate and Exposure Needs
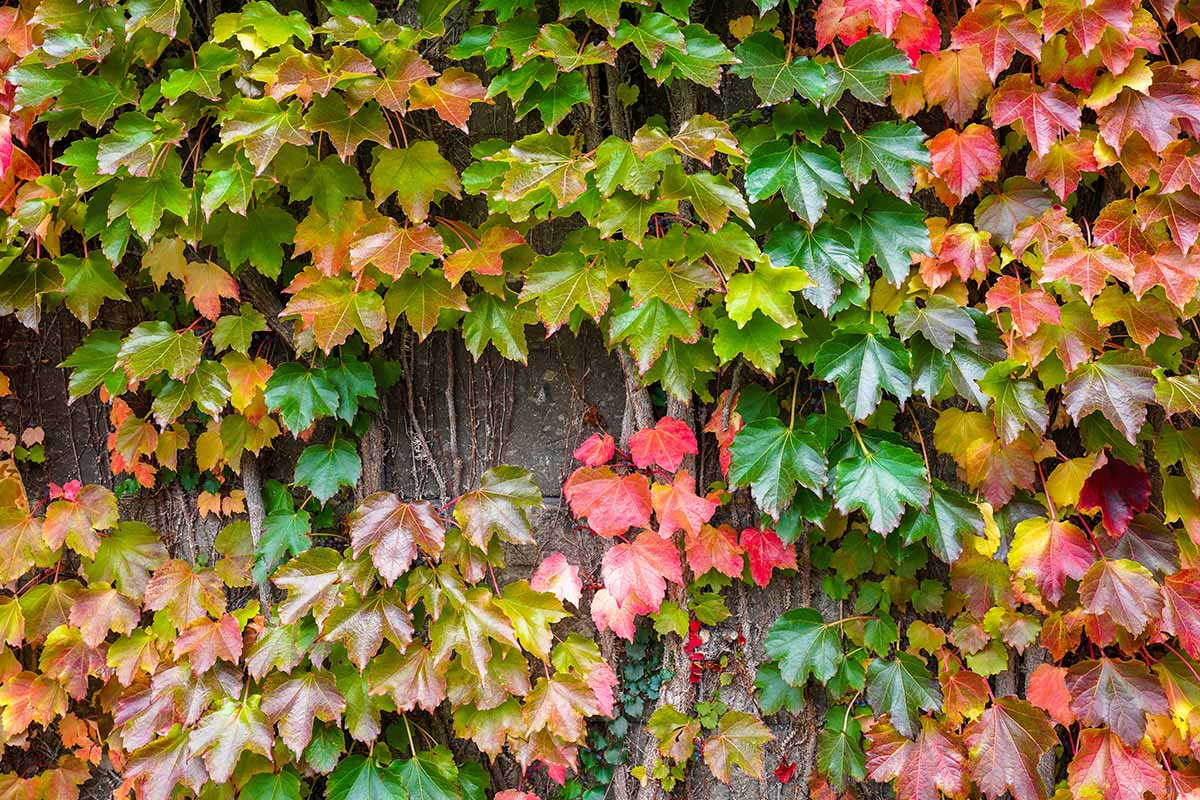
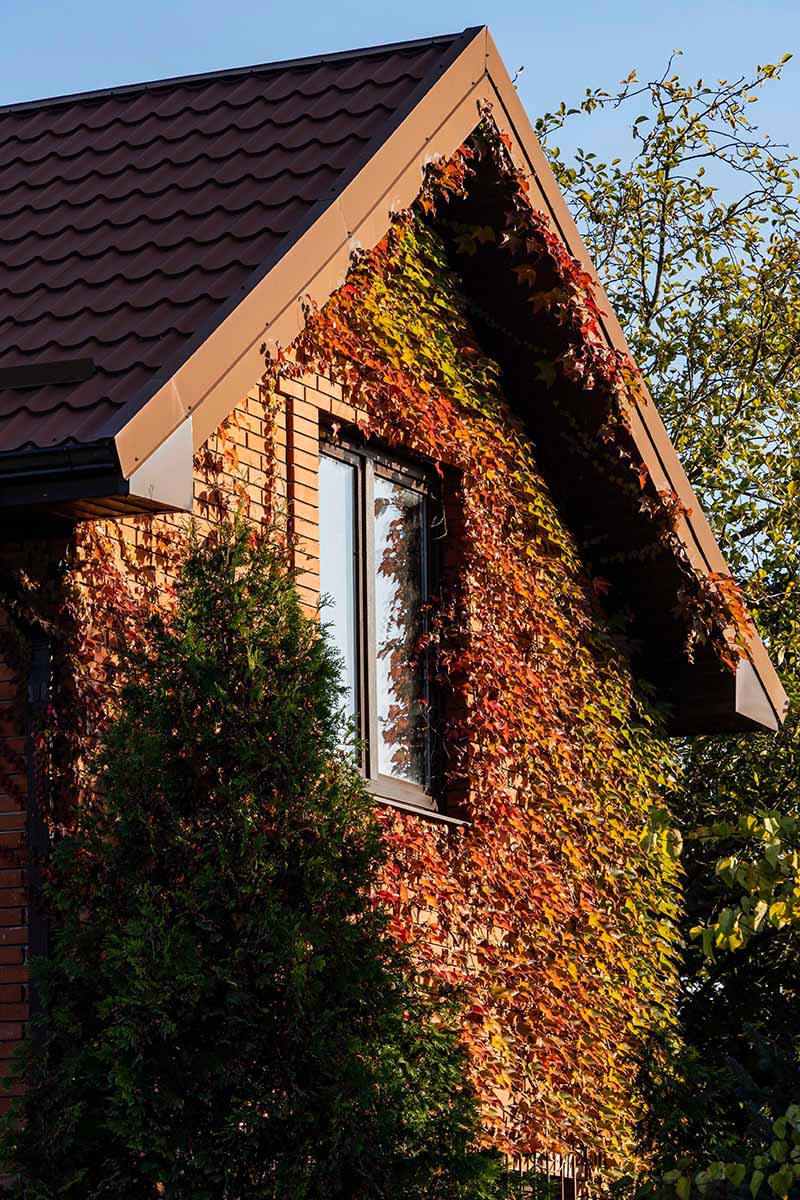
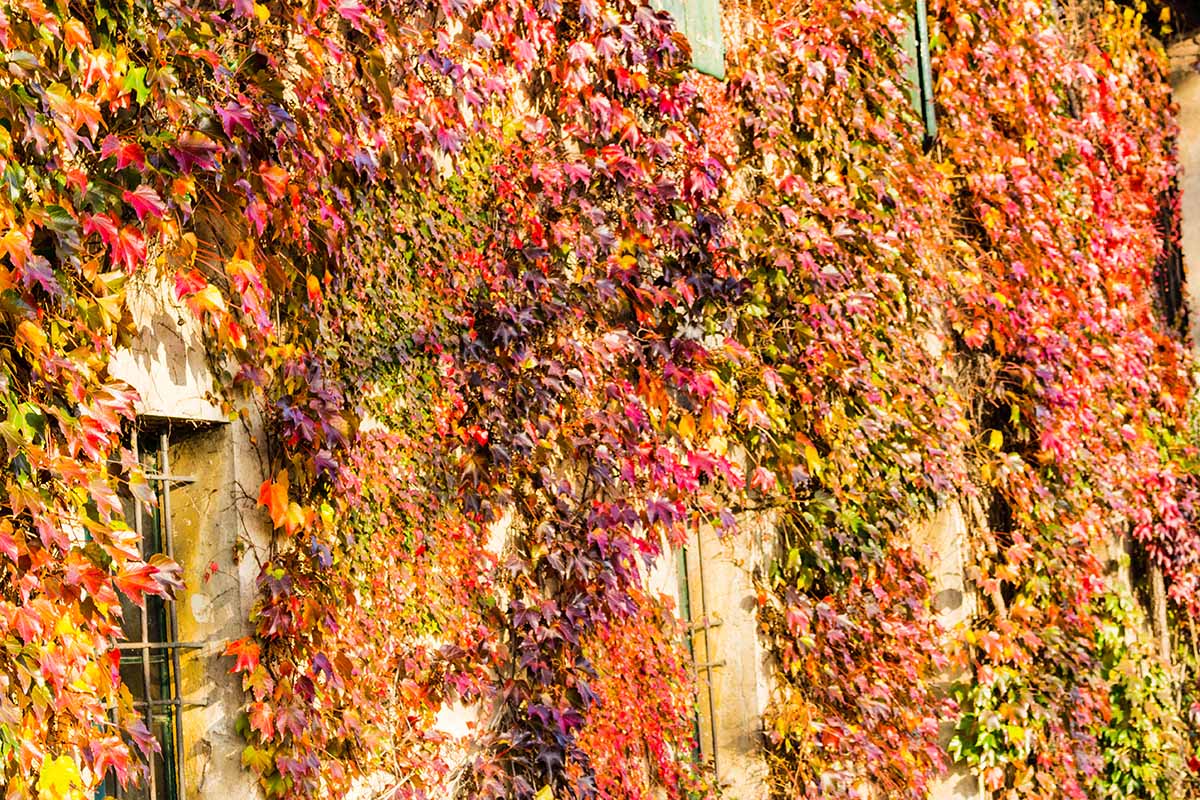
P. tricuspidata prefers to grow in USDA Hardiness Zones 4 to 8. Full sun exposure is ideal, and will result in peak autumn color. Growth is average in partial shade, and while full shade is definitely tolerable, growth will be slower and less vigorous.
Soil and Support Needs
When it comes to soil, almost any kind is fair game for Boston ivy, as long as it is well-draining and not completely void of nutrition. With an optimal pH range of 5.0 to 7.5 and an even larger survivable range, this plant can tolerate all but the worst of soils. And since this plant is adept at affixing to vertical surfaces, feel free to select a wall or trellis for it to climb.
Pruning and Maintenance
P. tricuspidata definitely needs some pruning to keep it within its designated garden areas. The same thing goes for fertilization, although a springtime application of general-purpose granular fertilizer couldn’t hurt. Southern Ag Granular Fertilizer
Growing Tips
USDA Hardiness Zones 4-8 are suitable for this plant.Full sun exposure is optimal.Watering isn’t necessary once Boston ivy is established.
Windows, doors, gutters, shutters, and wiring can also be obstructed or damaged by the climbing vines. Even structural surfaces such as shingles or wood can sustain tendril and holdfast damage. The best season for pruning is winter, when the plant is void of leaves. Although you can technically prune at any time, wintertime pruning is ideal because it won’t cause renewed flushes of growth like it would during the growing season. Such invigoration would be ideal for hedges or shrubs, but not for a fast-growing vine that you’re trying to keep contained. For pruning, don’t remove more than a third of the plant in one go. Aim to remove vines headed for undesirable areas, and make your pruning cuts right above a node. This will prevent dieback and potential infection. Boston ivy tendrils strongly adhere to surfaces, so you don’t want to just rip them off walls while they’re still alive. Doing so will either tear the vine from the tendril and leave the disks attached – a royal pain to remove, even when power washing – or the disks will come off and take building materials with them. To avoid this: make your cuts on the plant, then wait for the severed, still-attached plant tissues to die before removing the tendrils, which will come off much easier once they’re dead.
Green Showers
Standard P. tricuspidata foliage has a width of four to eight inches, but the leaves of ‘Green Showers’ can grow up to 10 inches across. Boston Ivy Plants Express also has Boston ivy in one-gallon containers available to customers in California. However, we can’t ignore cultivars entirely when talking about these beautiful climbing vines. In the spirit of P. tricuspidata’s three-lobed leaves, here are my top three favorite varieties:
Fenway Park
‘Fenway Park’ is known for its very striking chartreuse foliage in spring and summer, which becomes especially accentuated in full sun conditions. Not quite yellow, not quite green: the best of both worlds. Plus, this one has a cool origin story. Back in the ‘80s, a senior research scientist for the Arnold Arboretum of Harvard University named Peter Del Tredici was headed home from a Boston Red Sox game when he saw Boston ivy in a brilliant shade climbing up a nearby apartment. This particular specimen turned out to be a mutation, which Del Tredici was able to duplicate. After receiving legal permission, Del Tredici named the cultivar after the home of the Red Sox, and the rest is history. ‘Fenway Park’ Want a ‘Fenway Park’ Boston ivy of your own? Check out what Walmart has to offer.
Ginza Lights
Named after the luxurious Ginza district of Tokyo, Japan, ‘Ginza Lights’ is a rare cultivar with white variegation speckled across its dark green foliage. The leaves are also smaller than those of the species plant, offering a fun-sized foliar alternative to the standard sizing. This cultivar is also marketed as Powdered Sugar™ Boston ivy. A unique twist on an old favorite, this cultivar has icy blue fruits, and leaves that turn a deep burgundy red in autumn.
Managing Pests and Disease
This plant isn’t seriously threatened by any particular pests or diseases, but there are definitely some that’ll sap away at the health and vigor of P. tricuspidata if given the chance.
Insects
Insects are oftentimes vectors for other diseases, so keeping your plants free of pests will help to keep them healthy.
Black Vine Weevils
Also known as Otiorhynchus sulcatus, mature black vine weevils are half an inch in length, with a bead-shaped thorax and yellow-haired wing covers. Check your area’s pesticide regulations before acquiring these chemicals. If you can legally use them, refer to the label to ensure safe application. Insect pathogenic nematodes can be applied to the soil to control the larvae. Some high-quality species suited to this purpose, such as Steinernema kraussei and Heterorhabditis bacteriophora, are available from Arbico Organics. NemaSeek Beneficial Nematodes Foliar sprays of fluvalinate and/or acephate are solid options for dealing with the adults, and these should be applied when the adults are feeding, prior to laying eggs. Timing reapplication every three weeks in May, June, and July should be sufficient.
Eight-Spotted Forester
Larvae of the eight-spotted forester moth – or Alypia octomaculata – feed upon the foliage of vines like P. tricuspidata, which causes plant health issues. The caterpillars have black and white stripes running across their bodies, with intermittent bands of orange surrounding black, hairy growths. The adult moths have a wingspan just over an inch in length. These are black with a pair of yellow spots on each forewing, and a pair of white spots on each rear wing. Usually, the only control needed is removal by hand when you see the larvae. However, if the infestation is very abundant, an application of Bacillus thuringiensis var. aizawai will do the trick.
Leafhoppers
P. tricuspidata is a member of the grape family, so it’s also vulnerable to some common grape pests such as leafhoppers. Leafhoppers are slender, vibrantly-colored insects that suck sap from plant tissues and secrete honeydew in their wake. This weakens plants and leaves them vulnerable to disease. Controlling these pests with compounds such as carbaryl and imidacloprid is a good idea if the damage becomes significant. Spray the undersides of the leaves with carbaryl, and apply imidacloprid to the soil around the roots for systemic uptake.
Disease
In addition to keeping plants free from pests, using sterile tools and growing media will aid in keeping plants disease-free.
Leaf Spots
Caused by fungal organisms such as species of Guignardia and Cercospora, leaf spots show up on foliage as rounded or irregular, darkened spots surrounded by chlorotic leaf tissue. This can lead to rapid chlorosis and premature leaf drop. Some extra fertilization and proper watering can help maximize plant vigor to combat leaf spot disease. Pruning and destroying infected leaves can help to reduce disease spread, along with raking up and destroying infected leaf detritus.
Powdery Mildew
This condition, caused by Uncinula species of fungi, results in upper leaf surfaces developing powdery white to gray patches, which are especially prominent in hot weather. Severe bouts of powdery mildew can cause leaves to brown and shrivel up. Like with leaf spots, removing and destroying infected foliage curbs disease spread. You can read more about managing powdery mildew in our guide.
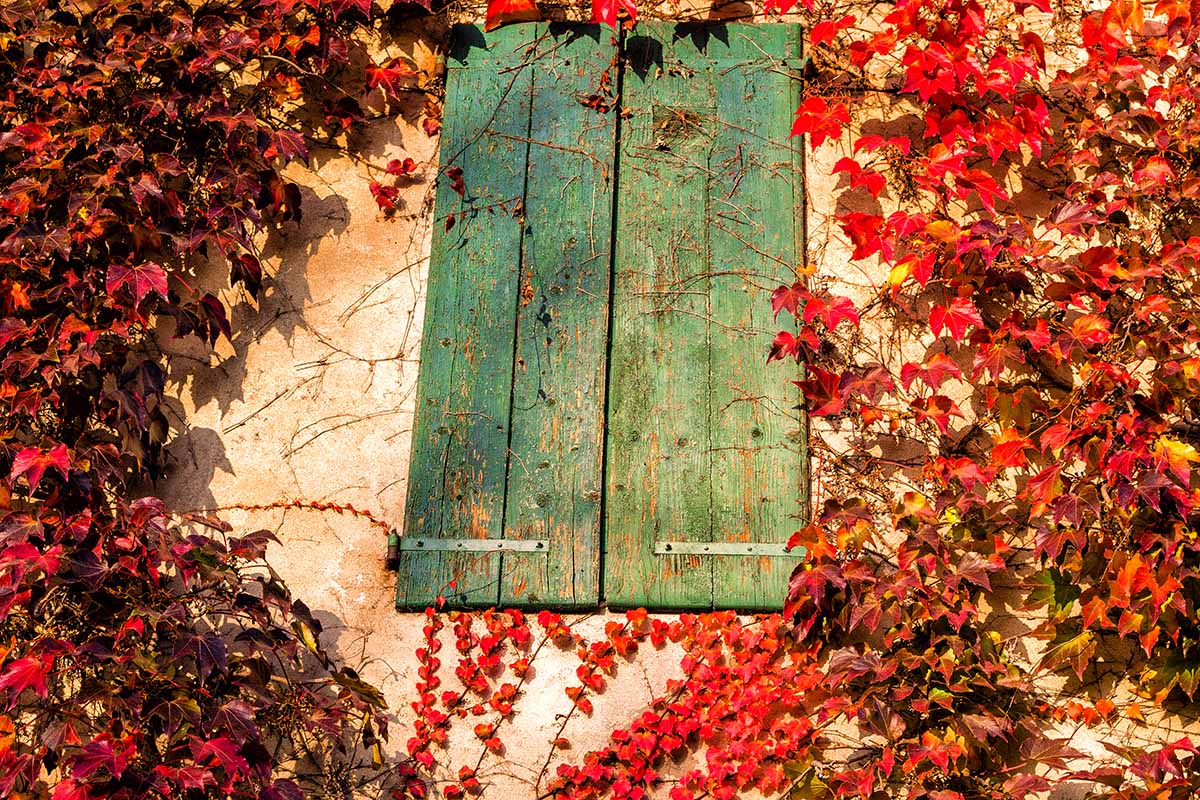
Best Uses
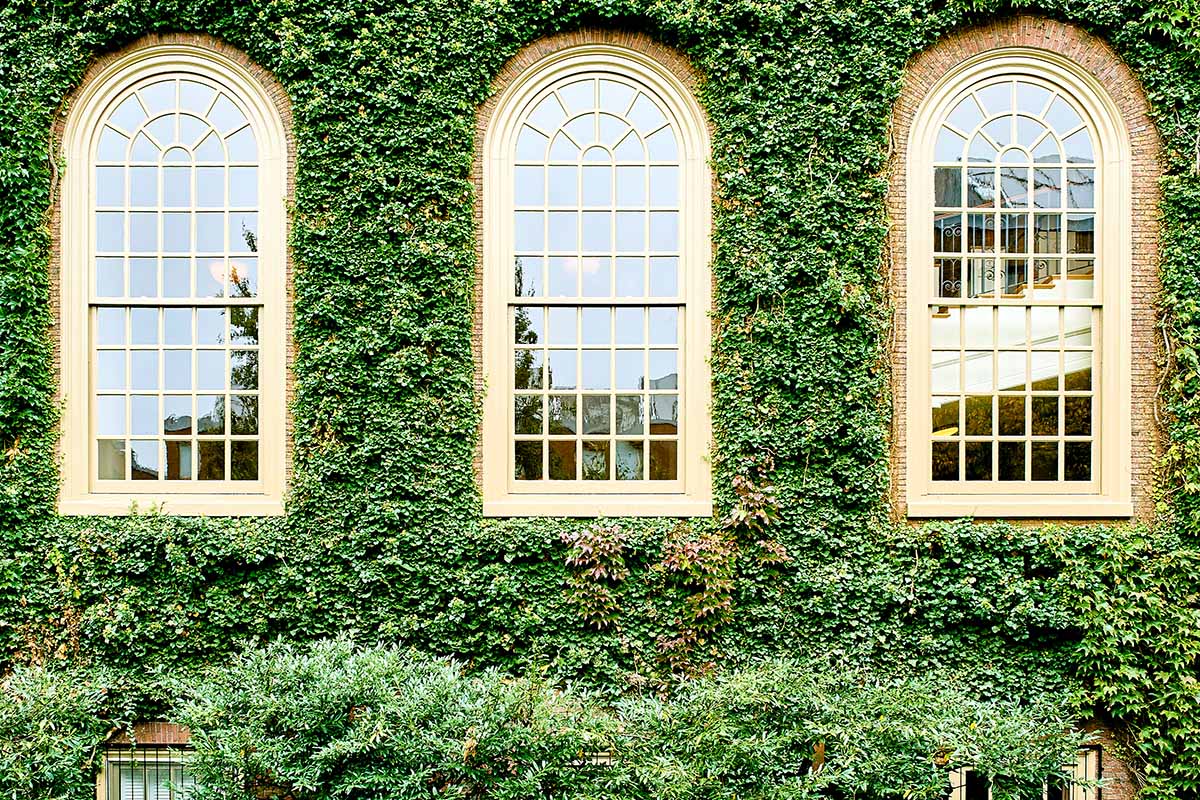
Boston ivy is an amazing vine for decorating vertical surfaces and buildings. Horizontally, it’s fantastic for using as a ground cover, as well as a way of covering visual blemishes in the landscape such as stumps and patches of stone. Plus, its fall color pairs magnificently with the aesthetic of the American Northeast, if you happen to live there. Besides its ornamental value, P. tricuspidata can significantly reduce the energy required for heating and cooling the building that it climbs. During the warm months, the leaves block out the harsh sun from overheating the structure. Come winter dormancy, though, the leaves fall and allow for light to warm the building. Have any questions or comments on the Boston ivy? Put ‘em in the comments section, I’d love to read and respond to them! If you enjoyed learning about this climbing vine, here are some more articles to read next that cover our twining friends:
Types of Honeysuckle Plants: 13 of the Best Species for Your GardenHow to Grow and Care for ClematisHow to Grow and Care for Passionflower